Technical data
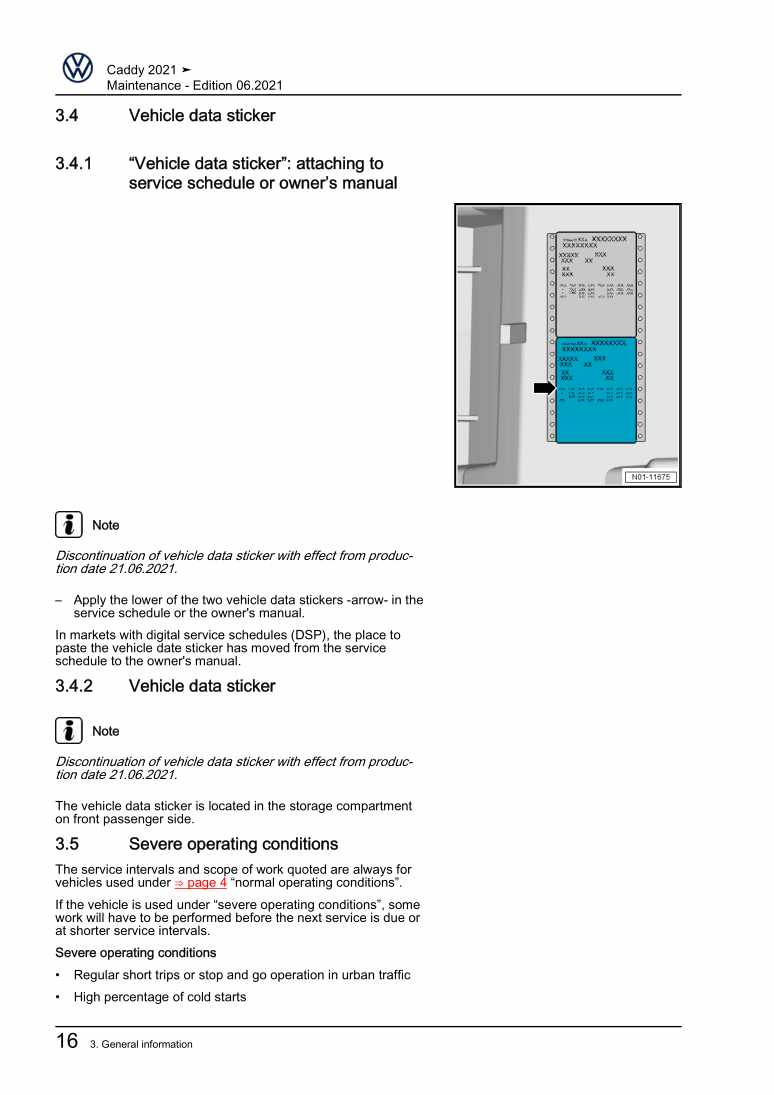
11 Identification
11.1 Engine number/engine data
12 Safety information
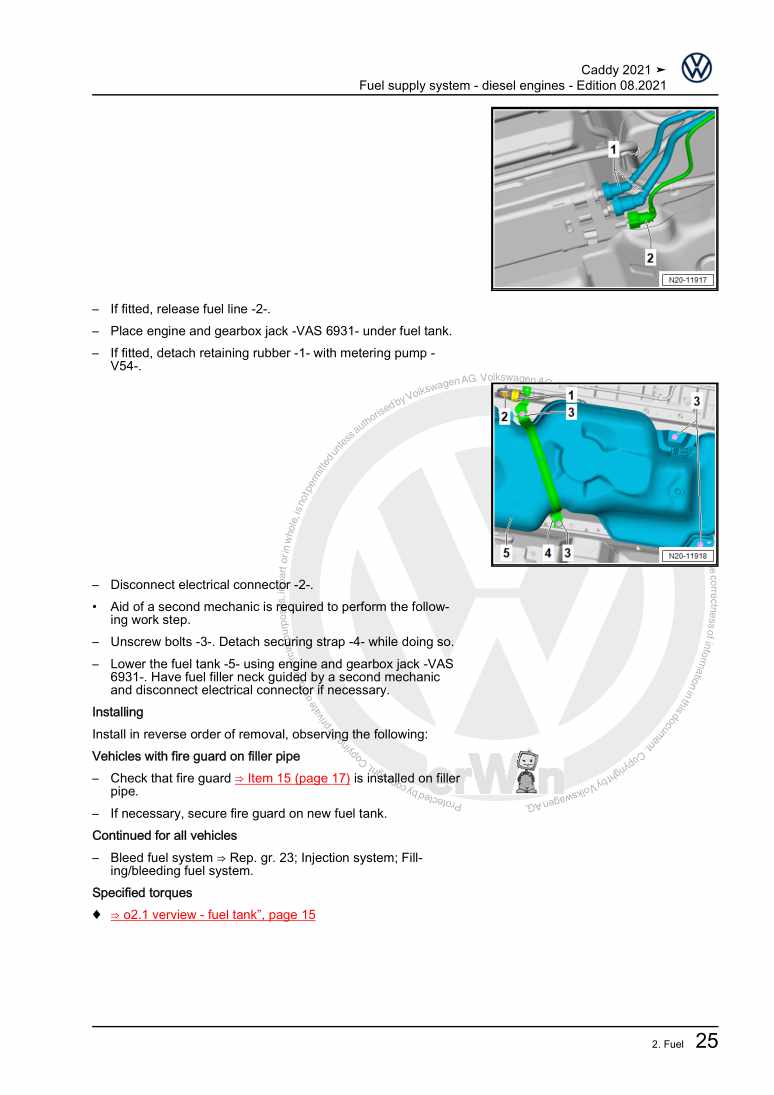
22.1 Safety regulations for working on fuel supply
22.2 Safety measures when working on vehicles with a start/stop system
22.4 Safety precautions when working on the cooling system
32.5 Safety precautions when working on ignition system
32.6 Safety precautions when working on exhaust system
43 Repair instructions
53.1 Rules for cleanliness
53.2 General information
53.3 Foreign objects in engine
53.4 Contact corrosion
63.5 Routing and attachment of lines
63.6 Checking vacuum system
6Removing and installing engine
81 Removing and installing engine
81.1 Removing engine
81.2 Separating engine and gearbox
131.3 Securing engine on engine and gearbox support
151.4 Installing engine
172 Assembly mountings
192.1 Assembly overview - assembly mountings
192.2 Removing and installing engine mounting
212.3 Removing and installing gearbox mounting
222.4 Removing and installing pendulum support
232.5 Supporting engine in installation position
242.6 Adjusting assembly mountings
282.7 Checking adjustment of assembly mountings
30Crankshaft group
311 Cylinder block (pulley end)
311.1 Assembly overview - cylinder block (pulley end)
311.2 Assembly overview - sealing flange, belt pulley end
331.3 Removing and installing poly-V belt
331.4 Removing and installing tensioner for poly V-belt
341.5 Removing and installing vibration damper
351.6 Removing and installing engine support
361.7 Renewing crankshaft oil seal - belt pulley end
381.8 Removing and installing sealing flange on pulley end
402 Cylinder block, gearbox end
412.1 Assembly overview - cylinder block, gearbox end
412.2 Removing and installing flywheel
432.3 Removing and installing sealing flange on gearbox side
442.4 Removing and installing intermediate plate
543 Crankshaft
563.1 Crankshaft dimensions
563.2 Measuring axial clearance of crankshaft
564 Pistons and conrods
584.1 Assembly overview - pistons and conrods
584.2 Removing and installing pistons
614.3 Checking pistons and cylinder bores
634.4 Separating new conrod
654.5 Checking radial clearance of conrods
664.6 Removing and installing oil spray jets
664.7 Setting piston to TDC position
67Cylinder head, valve gear
701 Cylinder head
701.1 Assembly overview - cylinder head
701.2 Assembly overview - camshaft housing
721.3 Removing and installing cylinder head
741.4 Removing and installing camshaft housing
781.5 Checking compression
802 Toothed belt drive
822.1 Assembly overview - toothed belt cover
822.2 Assembly overview - toothed belt
822.3 Removing and installing toothed belt guard
842.4 Removing and installing toothed belt
852.5 Checking valve timing
892.6 Preassembling and installing valve timing tool
912.7 Adjusting valve timing
992.8 Removing toothed belt from camshaft
1093 Valve gear
1113.1 Assembly overview - valve gear
1113.2 Measuring axial play of camshaft
1133.3 Removing and installing camshaft oil seal
1143.4 Removing and installing camshaft adjuster
1213.5 Removing and installing camshaft control valve 1 N205
1243.6 Removing and installing valve stem seals
1243.7 Removing and installing toothed belt pulley
1314 Inlet and exhaust valves
1344.1 Checking valve guides
1344.2 Checking valves
1354.3 Valve dimensions
135Lubrication
1361 Sump, oil pump
1361.1 Assembly overview - sump/oil pump
1361.2 Engine oil:
1391.3 Removing and installing lower part of sump
1391.4 Removing and installing upper part of sump
1431.5 Removing and installing oil pump
1452 Engine oil cooler
1472.1 Assembly overview - engine oil cooler
1472.2 Removing and installing engine oil cooler
1473 Crankcase ventilation
1493.1 Assembly overview - crankcase breather system
1493.2 Removing and installing oil separator
1504 Oil filter, oil pressure switch
1534.1 Assembly overview - oil filter/oil pressure switch
1534.2 Removing and installing oil pressure switch F1
1534.3 Checking oil pressure
154Cooling
1571 Cooling system/coolant
1571.1 Connection diagram - coolant hoses
1571.2 Checking cooling system for leaks
1581.3 Draining and adding coolant
1602 Coolant pump, regulation of cooling system
1672.1 Assembly overview - coolant pump, thermostat
1672.2 Assembly overview - coolant temperature sender
1702.3 Removing and installing coolant pump
1712.4 Removing and installing thermostat
1742.5 Removing and installing toothed belt for coolant pump
1762.6 Removing and installing toothed belt pulley for coolant pump
1772.7 Removing and installing coolant temperature sender G62
1782.8 Removing and installing radiator outlet coolant temperature sender G83
1793 Coolant pipes
1813.1 Assembly overview - coolant pipes
1813.2 Removing and installing coolant pipes
1814 Radiator, radiator fan
1864.1 Assembly overview - radiator, radiator fan
1864.2 Assembly overview – radiator cowl and radiator fan
1874.3 Removing and installing radiator
1884.4 Removing and installing radiator cowl
1914.5 Removing and installing radiator fan VX57
1924.6 Removing and installing radiator fan 2 V177
193Mixture preparation - injection
1951 Injectors
1951.1 Assembly overview - fuel rail with injectors
1951.2 Removing and installing fuel rail
1951.3 Removing and installing injectors
1971.4 Cleaning injectors
1982 Air filter
2002.1 Assembly overview - air filter housing
2002.2 Removing and installing air filter housing
2022.3 Removing and installing air guide on lock carrier
2023 Intake manifold
2043.1 Assembly overview – intake manifold
2043.2 Removing and installing intake manifold
2053.3 Removing and installing throttle valve module GX3
2073.4 Cleaning throttle valve module GX3
2084 Senders and sensors
2094.1 Removing and installing intake manifold sender GX9
2095 Engine control unit
2105.1 Removing and installing engine control unit J623
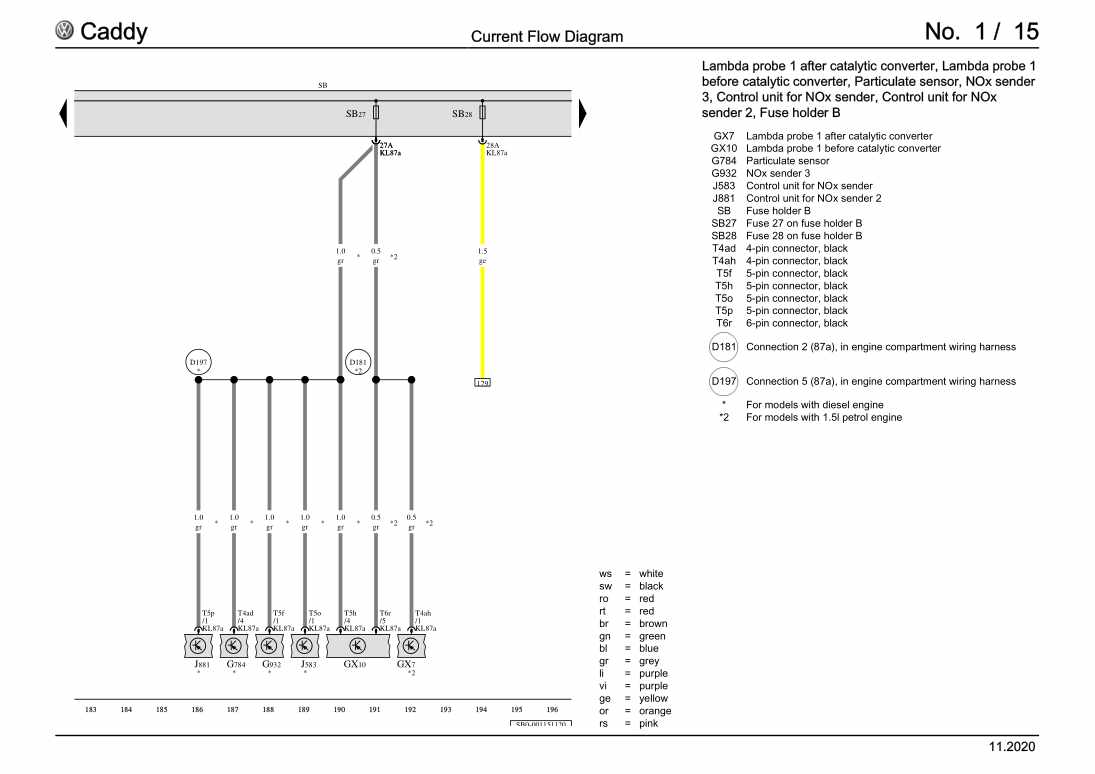
2106 Lambda probe
2126.1 Assembly overview - Lambda probe
2126.2 Removing and installing Lambda probe 1 before catalytic converter GX10
2126.3 Removing and installing Lambda probe 1 after catalytic converter GX7
214Exhaust system
2171 Exhaust pipes and silencers
2171.1 Assembly overview – silencers
2171.2 Separating exhaust pipes from silencers
2191.3 Removing and installing front silencer
2201.4 Removing and installing centre silencer
2211.5 Removing and installing rear silencer
2221.6 Aligning exhaust system free of stress
2231.7 Checking exhaust system for leaks
2241.8 Installation position of clamp
2252 Emission control
2262.1 Assembly overview – emission control
2262.2 Removing and installing catalytic converter
227Ignition system
2301 Ignition system
2301.1 Assembly overview - ignition system
2301.2 Removing and installing ignition coils
2321.3 Removing and installing knock sensor 1 G61
2331.4 Removing and installing Hall sender G40
2341.5 Removing and installing engine speed sender G28
235
