THE CAR REPAIR SHOP
0
Home » Manuals » Interior body repair
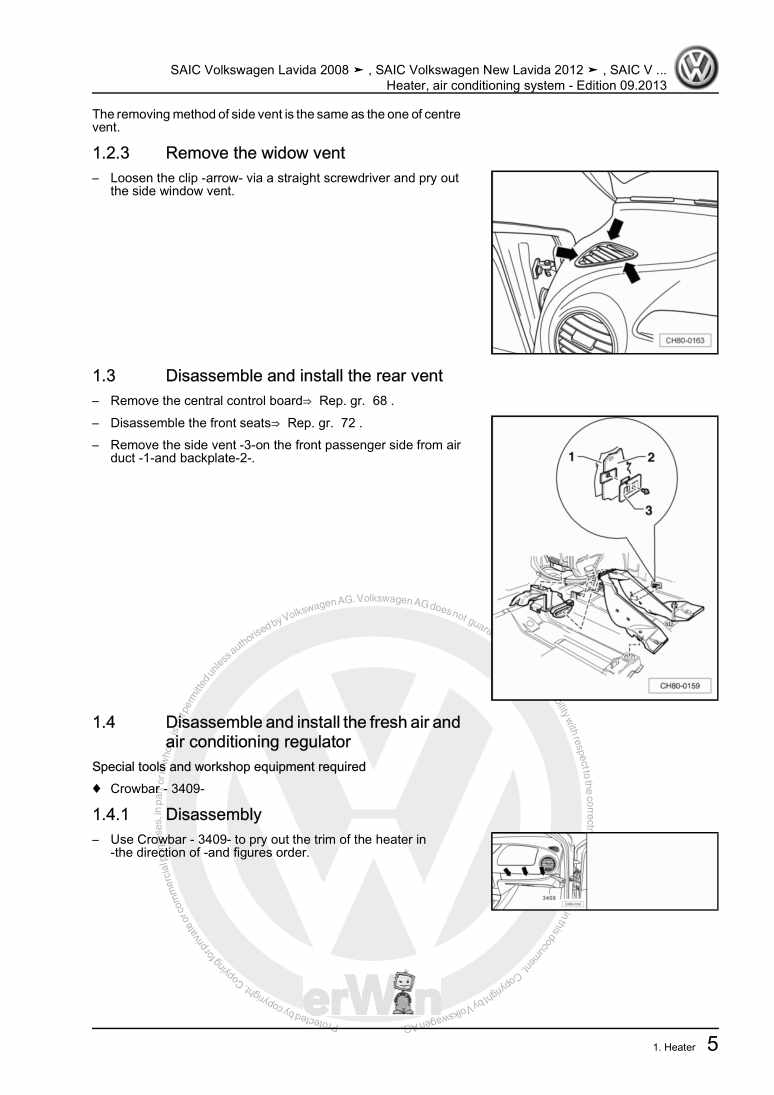
  • Examplepage for repair manual Interior body repair
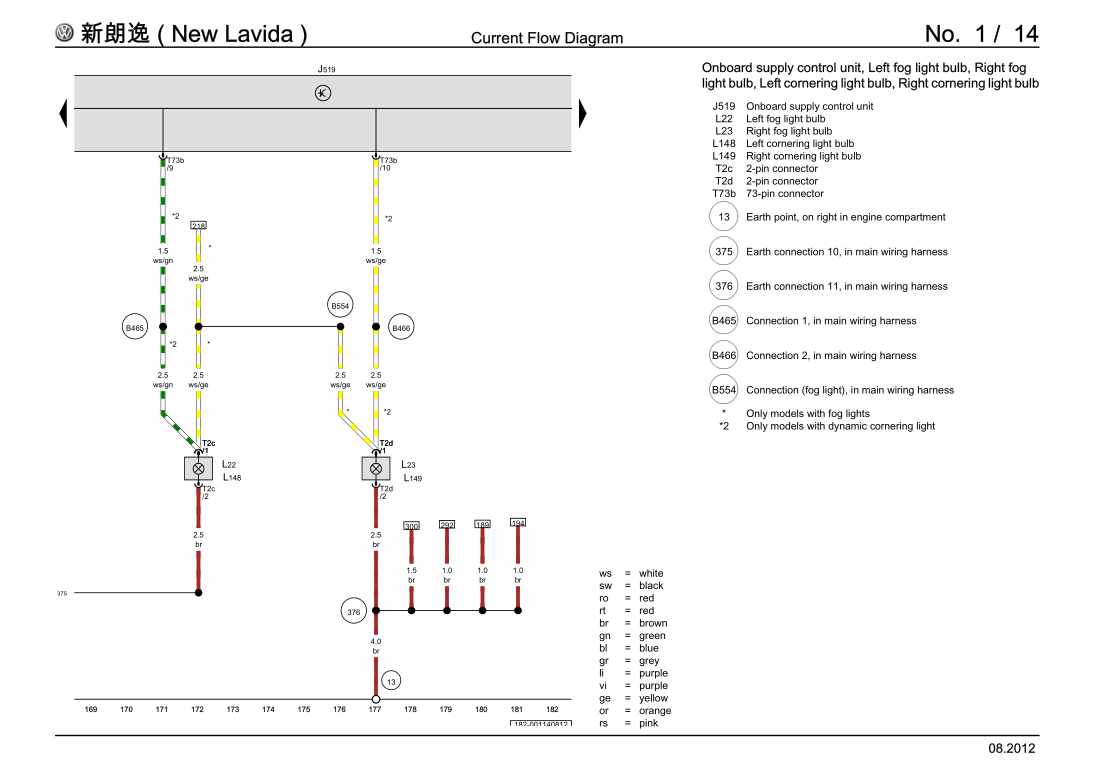
  • Examplepage for repair manual 2 Interior body repair
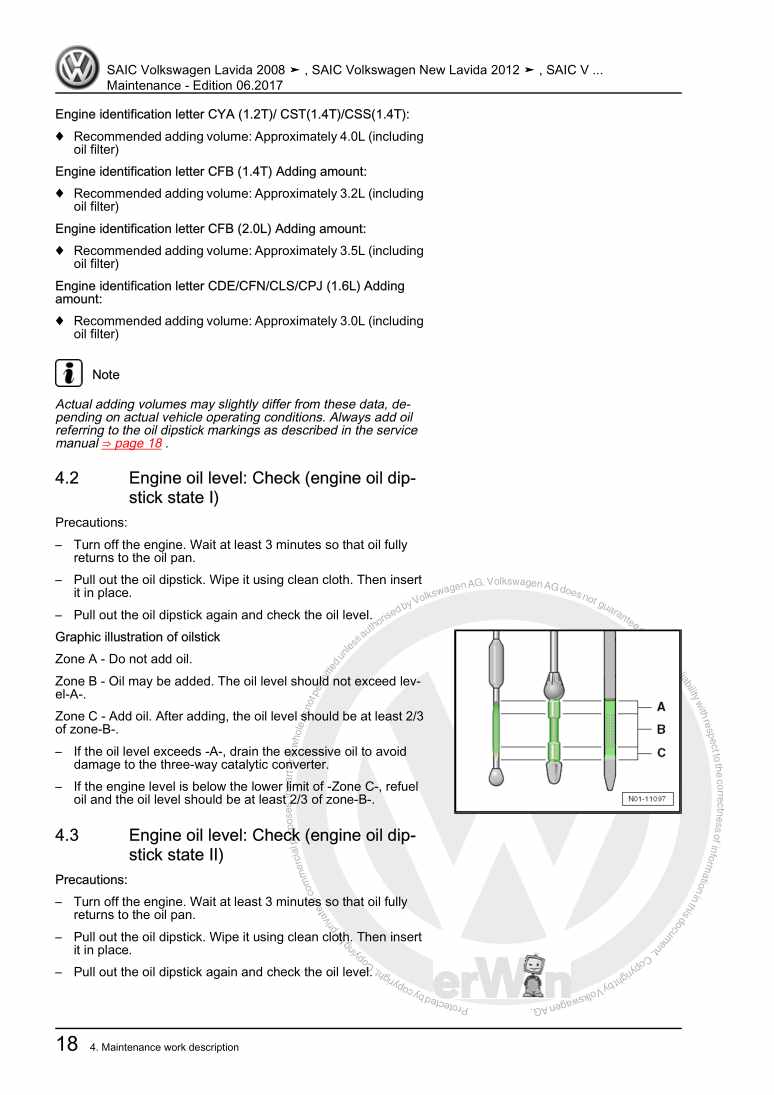
  • Examplepage for repair manual 3 Interior body repair
  • Examplepage for repair manual Interior body repair
  • Examplepage for repair manual 2 Interior body repair
  • Examplepage for repair manual 3 Interior body repair

Interior body repair

For Modell 181 Rl / Lavida Family [CN]

Original Volkswagen repair manual


21,77 €7% VAT incl.

Immediately available for download

Language: English

Digital PDF file

27.079 KB

272 Sites

Detailed technical data

Immediately readable

This repair manual contains: Interior rearview mirror, Storage box, cover and trim (applying to the models before March 2015), Sill trim, Roof handle, Seat belt, Check the child seat attachment device (ISOFIX), Airbag, Collision sensor, Front seats equipped with manual height adjustment device, Power driver seat and Rear seat covers and cushions. Show more
Secure Payment via PayPal, credit card, direct debit and more
PayPal Logo SEPA Lastschrift Logo Giropay Logo Sofort Überweisung Logo

Repair manual Modell 181 Rl / Lavida Family [CN] Interior body repair PDF download has the following content:

Chapter overview

  • Internal equipment
    1
  • 1 Interior rearview mirror
    1
  • 1.1 Tool
    1
  • 1.2 Automatic anti-dazzle interior rearview mirror
    1
  • 1.3 Disassemble and install the interior rearview mirror with rain sensors
    1
  • 1.4 Bond the rack for the interior rearview mirror with rain sensors
    2
  • 1.5 Disassemble and install the interior rearview mirror without rain sensors
    4
  • 1.6 Bond the fixing plate for the interior rearview mirror without rain sensors
    4
  • 2 Storage box, cover and trim (applying to the models before March 2015)
    6
  • 2.1 Tool
    6
  • 2.2 Disassemble and install the footwell trim
    6
  • 2.3 Disassemble and install the rear cover of the central channel
    10
  • 2.4 Disassemble and install the central channel cover
    11
  • 2.5 Disassemble and install the central channel
    15
  • 2.6 Disassemble and install the central channel (applying to New Lavida CNG taxi)
    17
  • 2.7 Disassemble and install the fixing bracket of the central channel
    20
  • 2.8 Replace the ashtray or the storage box
    21
  • 2.9 Disassemble and install the central trim on the dashboard
    21
  • 2.10 Disassemble and install the side trims of the dashboard
    24
  • 2.11 Disassemble and install the front storage box at the passenger side
    25
  • 2.14 Disassemble and install the side covers of the dashboard
    30
  • 2.15 Disassemble and install the steering column trim
    31
  • 2.16 Disassemble and install the lower trims on the dashboard
    34
  • 2.17 Disassemble and install the roof interior cover
    36
  • 2.18 Disassemble and install the sunvisor
    37
  • 3 Storage box, cover plate and trim (applying to the models from March 2015)
    40
  • 3.1 Tool
    40
  • 3.2 Assembly overview-central channel
    41
  • 3.3 Disassemble and install the footwell trim
    42
  • 3.4 Disassemble and install the rear cover of the central channel
    45
  • 3.5 Disassemble and install the ashtray
    46
  • 3.6 Disassemble and install the central channel
    48
  • 3.7 Disassemble and install the central trim on the dashboard
    52
  • 3.8 Disassemble and install the side trims of the dashboard
    53
  • 3.9 Disassemble and install the front storage box at the passenger side
    53
  • 3.11 Disassemble and install the side covers of the dashboard
    57
  • 3.12 Disassemble and install the steering column trim
    57
  • 3.13 Disassemble and install the lower trims on the dashboard
    60
  • 4 Sill trim
    63
  • 4.1 Tool
    63
  • 4.2 Disassemble and install sill trim
    63
  • 4.3 Disassemble and install the rear wheel casing trim
    65
  • 5 Roof handle
    67
  • 5.1 Disassemble and install concealed handles
    67
  • 6 Extinguisher bracket (applying to New Lavida taxi)
    69
  • 6.1 Tool
    69
  • 6.2 Disassemble and install fire extinguisher bracket
    69
  • Passenger protection
    71
  • 1 Seat belt
    71
  • 1.1 Tool
    71
  • 1.2 Safety regulations for airbags, seat belt tensioners and blasting components
    72
  • 1.3 Special instructions for seat belt tensioners
    73
  • 1.5 Disassemble and install front seat belts
    73
  • 1.6 Disassemble and install front seat belt height adjuster
    77
  • 1.7 Disassemble and install front seat belt buckles
    78
  • 1.8 Disassemble and install outer rear seat belt
    80
  • 1.9 Disassemble and install the middle belt at the rear seat
    82
  • 1.10 Disassemble and install rear seat belt buckles
    84
  • 2 Check the seat belts
    86
  • 2.1 Check items
    86
  • 3 Check the child seat attachment device (ISOFIX)
    90
  • 3.1 Check items
    90
  • 4 Airbag
    91
  • 4.1 Tool
    91
  • 4.2 Safety regulations for airbags, seat belt tensioners and blasting components
    93
  • 4.3 Special instructions for airbags at the driver and front passenger sides
    94
  • 4.4 Special instructions for head airbag
    94
  • 4.6 Replace the airbag unit after an accident
    95
  • 4.7 Remove and install the airbag control unit J234
    95
  • 4.10 Disassemble and install the reset ring with the slip ring
    106
  • 4.11 Disassemble and install the front airbag unit at the passenger side
    106
  • 4.12 Disassemble and install the side airbags at the driver side and the front passenger side.
    109
  • 4.13 Disassemble and install head airbags
    112
  • 4.14 Disassemble and install seat occupancy sensor G128 at the front passenger side
    115
  • 4.15 Matching parts
    118
  • 5 Collision sensor
    119
  • 5.1 Tool
    119
  • 5.2 Disassemble and install the side airbag collision sensor G179 at the driver side
    119
  • 5.3 Disassemble and install the side airbag collision sensor G180 at the front passenger side.
    122
  • 5.5 Disassemble and install the head airbag collision sensor G436 at the front passenger side.
    125
  • Trim and acoustic panel
    126
  • 1 Dashboard (applying to the models before March 2015)
    126
  • 1.1 Tool
    126
  • 1.2 Disassemble and install the dashboard
    126
  • 1.3 Disassemble and install the beam of the dashboard
    132
  • 2 Dashboard (applying to the models from March 2015)
    140
  • 2.1 Tool
    140
  • 2.2 Assembly overview-dashboard
    141
  • 2.3 Disassemble and install the dashboard
    141
  • 2.4 Disassemble and install the beam of the dashboard
    148
  • 3 Door trim (applying to the models before March 2015)
    152
  • 3.1 Tool
    152
  • 3.2 Disassemble and install front door trims
    152
  • 3.3 Disassemble and install rear door trims
    157
  • 3.4 Disassemble and install the triangular cover for the rearview mirror
    161
  • 4 Door trim (applying to the models from March 2015)
    162
  • 4.1 Tool
    162
  • 4.2 Disassemble and install the driver door trim
    162
  • 4.3 Disassemble and install the front passenger door trim
    167
  • 4.4 Disassemble and install rear door trims
    172
  • 4.5 Disassemble and install the triangular cover for the rearview mirror
    177
  • 5 Column trims
    179
  • 5.1 Tool
    179
  • 5.2 Disassemble and install column A’s upper trim
    180
  • 5.3 Disassemble and install the column A’s lower trim at the driver side
    182
  • 5.4 Disassemble and install the column A’s lower trim at the front passenger side
    184
  • 5.5 Disassemble and install column B’s upper trim
    185
  • 5.6 Disassemble and install column B’s lower trim
    187
  • 5.7 Disassemble and install column C’s trim
    188
  • 5.8 Disassemble and install hat rack liner
    189
  • 6 Trunk lid trim
    191
  • 6.1 Tool
    191
  • 6.2 Disassemble and install trunk lid trim
    191
  • 7 Trunk trim
    194
  • 7.1 Tool
    194
  • 7.2 Disassemble and install the lock bracket cover
    194
  • 7.3 Disassemble and install trunk carpet
    196
  • 7.4 Disassemble and install side trims of the trunk
    196
  • 7.5 Disassemble and install side trims of the trunk (applying to New Lavida CNG taxi)
    197
  • 7.6 Disassemble and install front trims of the trunk (applying to New Lavida CNG taxi)
    198
  • 8 Roof interior
    200
  • 8.1 Tool
    200
  • 8.2 Disassemble and install the roof interior without a sunroof
    201
  • 8.3 Disassemble and install the roof interior with a sunroof
    203
  • 8.5 Disassemble and install roof sound-insulation pad/reinforcement with a sunroof
    207
  • Seat frame
    210
  • 1 Front seat overview
    210
  • 1.1 Tool
    210
  • 1.2 Disassemble and install the front seats
    211
  • 1.3 Disassemble and install seat trims close to one side of the central channel
    215
  • 1.4 Disassemble and install the backrest adjustment wheel
    217
  • 1.5 Disassemble and install the heatable front seat control unit J774
    218
  • 1.6 Disassemble and install the lumbar support adjustment lever
    218
  • 1.7 Remove the headrest guide member
    219
  • 1.8 Disassemble and install the backrests
    220
  • 2 Front seats equipped with manual height adjustment device
    223
  • 2.1 Tool
    223
  • 2.2 Disassemble and install the seat trims near the side of the sill
    223
  • 2.3 Disassemble and install the height adjustment element
    225
  • 2.4 Disassemble and install the lumbar support (2-way and manual)
    227
  • 3 Power driver seat
    229
  • 3.1 Tool
    229
  • 3.2 Disassemble and install seat trims close to one side of the central channel
    230
  • 3.3 Disassemble and install the seat trims near the side of the sill
    232
  • 3.4 Disassemble and install the switch
    234
  • 3.5 Disassemble and install the seat trim bracket near the side of the sill
    236
  • 3.6 Disassemble and install the heatable front seat control unit J774
    238
  • 3.7 Disassemble and install the drive device for the longitudinal seat adjustment
    239
  • 3.8 Disassemble and install the drive device for the backrest adjustment
    241
  • 3.9 Disassemble and install the lumbar support adjustment wheel
    243
  • 3.10 Disassemble and install the lumbar support (2-way and manual)
    244
  • 4 Rear seats
    247
  • 4.1 Tool
    247
  • 4.2 Disassemble and install the rear seat cushions
    247
  • 4.3 Disassemble and install the separated rear seat backrest
    248
  • 4.4 Disassemble and install the one-piece rear seat backrest
    250
  • 4.5 Disassemble and install the central armrest with a beverage cup holder
    253
  • 4.7 disassemble and install the seat backrest unlocking mechanism
    255
  • Seat-seat cushion, seat cover
    257
  • 1 Front seat covers and cushions
    257
  • 1.1 Tool
    257
  • 1.2 Disassemble and install the front seat covers and cushions
    257
  • 1.3 Disassemble and install the front seat backrest covers and cushions
    259
  • 2 Rear seat covers and cushions
    262
  • 2.1 Tool
    262
  • 2.2 Disassemble and install the rear seat covers and cushions
    262
  • 2.3 Disassemble and install the rear seat backrest covers and cushions
    264
Manufacturer's designation Interior body repair
Manufacturer Volkswagen
Suitable for Modell 181 Rl (1970 - 1979) / Lavida Family [CN] (2015 >)
Suitable car types 182, 184
Category Reparaturanleitung

There are no reviews for this product at the moment.

Similar repair manuals

Air conditioning system with refrigerant of R134a
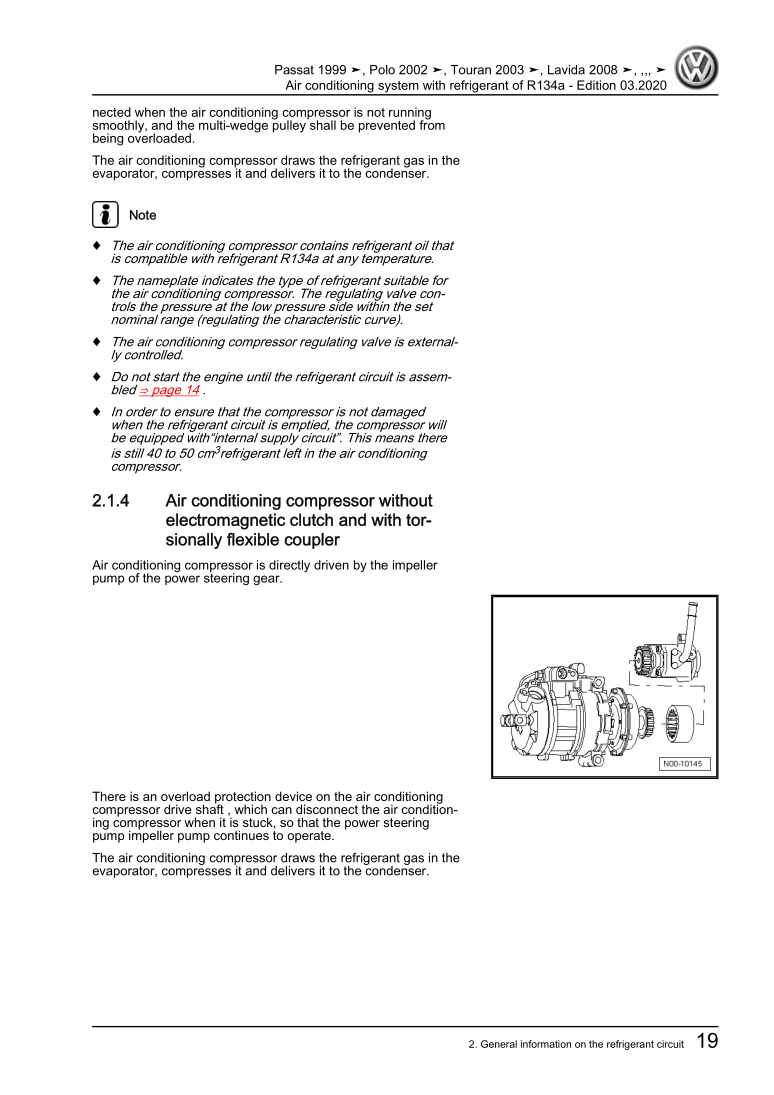
Examplepage for repair manual Air conditioning system with refrigerant of R134a

For Polo A04 (China) (2002 - 2006) / Polo A04 (China) (2002 - 2006) / Iltis (1979 - 1988) / Passat (China) (2005 - 2006) / Touran (China) (2004 - 2006) / Modell 181 Ll (1970 - 1979) / Polo A04 (China) (2006) / Passat (China) (2000 - 2006) / Polo A04 (China) (2006) / Modell 181 Rl (1970 - 1979) / Tiguan [CN] (2017 >) / NMS [CN] (2012 >) / New Polo [CN] (2010 >) / Lavida Family [CN] (2015 >) / Lavida Family [CN] (2015 >) / NMS [CN] (2016 >) / Touran [CN] (2016 >) / Phideon [CN] (2017 >) / B-SUV [CN] (2017 >) / Lamando [CN] (2015 >) / Tiguan [CN] (2009 >) / Tiguan [CN] (2013 >) / Santana NF [CN] (2017 >) / Santana Derivat [CN] (2015 >) / Santana NF [CN] (2013 >) / Lavida NF Hatchback [CN] (2017 >) / Lavida NF Notchback [CN] (2017 >) / Tharu (CN) (2018 >) / Passat [CN] (2019 >) / Lavida BEV [CN] (2019 >) / T-Cross [CN] (2019 >) / Teramont Coupe [CN] (2019 >) / Polo NF [CN] (2019 >) / Tharu [CN] (2020 >) / Viloran MPV (2020 >) / Passat [CN] (2009 - 2012) / Touran [CN] (2010 >) / Polo [CN] (2011 >)

12,47 € Details

7-gear dual-clutch gearbox 0AM

Examplepage for repair manual 7-gear dual-clutch gearbox 0AM

For Iltis (1979 - 1988) / Modell 181 Ll (1970 - 1979) / Modell 181 Rl (1970 - 1979) / NMS [CN] (2012 >) / New Polo [CN] (2010 >) / Lavida Family [CN] (2015 >) / Lavida Family [CN] (2015 >) / NMS [CN] (2016 >) / Santana NF [CN] (2017 >) / Santana Derivat [CN] (2015 >) / Santana NF [CN] (2013 >) / Touran [CN] (2010 >)

16,55 € Details

5-Speed manual gearbox KBX/KBY/LVK/NMR/LVJ/NJS/NJV/PEA/NYZ/PCD/QNC/QVG/SCJ/SCL
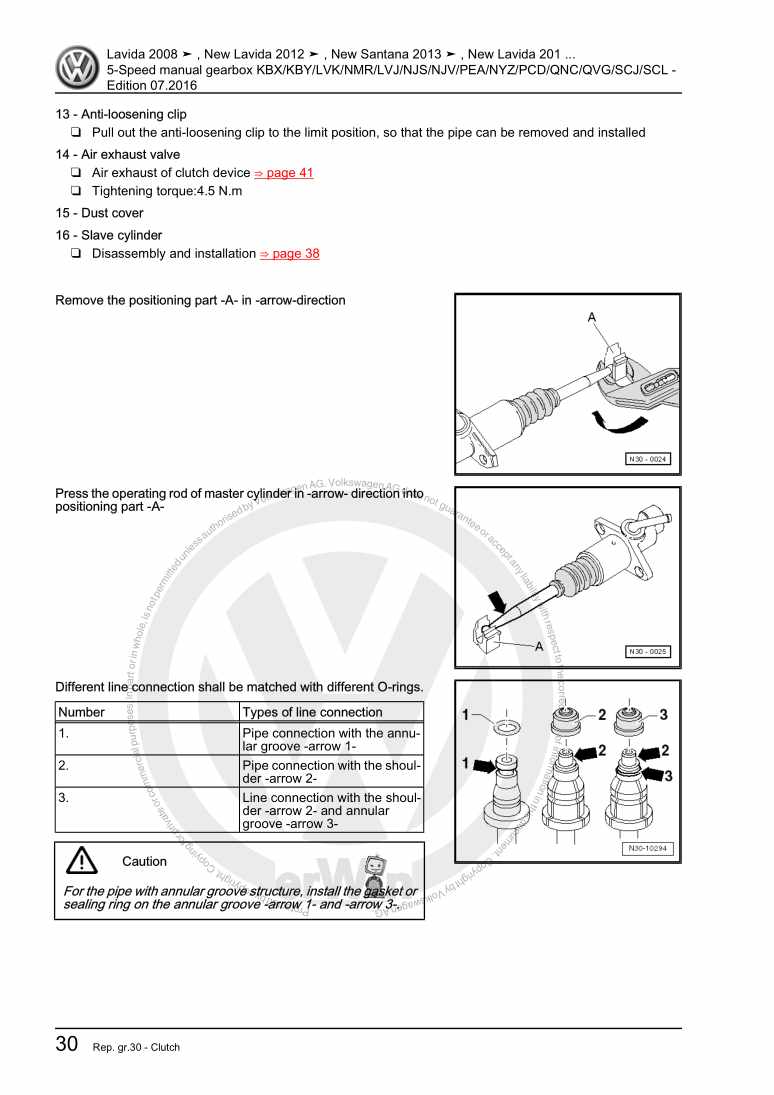
Examplepage for repair manual 5-Speed manual gearbox KBX/KBY/LVK/NMR/LVJ/NJS/NJV/PEA/NYZ/PCD/QNC/QVG/SCJ/SCL

For Iltis (1979 - 1988) / Modell 181 Ll (1970 - 1979) / Modell 181 Rl (1970 - 1979) / Lavida Family [CN] (2015 >) / Lavida Family [CN] (2015 >) / Santana NF [CN] (2017 >) / Santana Derivat [CN] (2015 >) / Santana NF [CN] (2013 >)

15,68 € Details

Body Repairs

Examplepage for repair manual Body Repairs

For Modell 181 Rl (1970 - 1979) / Lavida Family [CN] (2015 >)

21,98 € Details

Chassis

Examplepage for repair manual Chassis

For Iltis (1979 - 1988) / Modell 181 Ll (1970 - 1979) / Modell 181 Rl (1970 - 1979) / Lavida Family [CN] (2015 >) / Lavida Family [CN] (2015 >)

14,21 € Details

Exterior Body Repair

Examplepage for repair manual Exterior Body Repair

For Modell 181 Rl (1970 - 1979) / Lavida Family [CN] (2015 >)

27,07 € Details

Heater, air conditioning system

Examplepage for repair manual Heater, air conditioning system

For Iltis (1979 - 1988) / Modell 181 Ll (1970 - 1979) / Modell 181 Rl (1970 - 1979) / Lavida Family [CN] (2015 >) / Lavida Family [CN] (2015 >)

9,98 € Details

Basic equipment, From February 2012

Examplepage for repair manual Basic equipment, From February 2012

For Iltis / Modell 181 (1970 - 1988) / Modell 181 Ll (1970 - 1979) / Modell 181 Rl (1970 - 1979) / Lavida Family [CN] (2015 >) / Lavida SA [CN] (2020 >)

51,05 € Details

General information on electric system
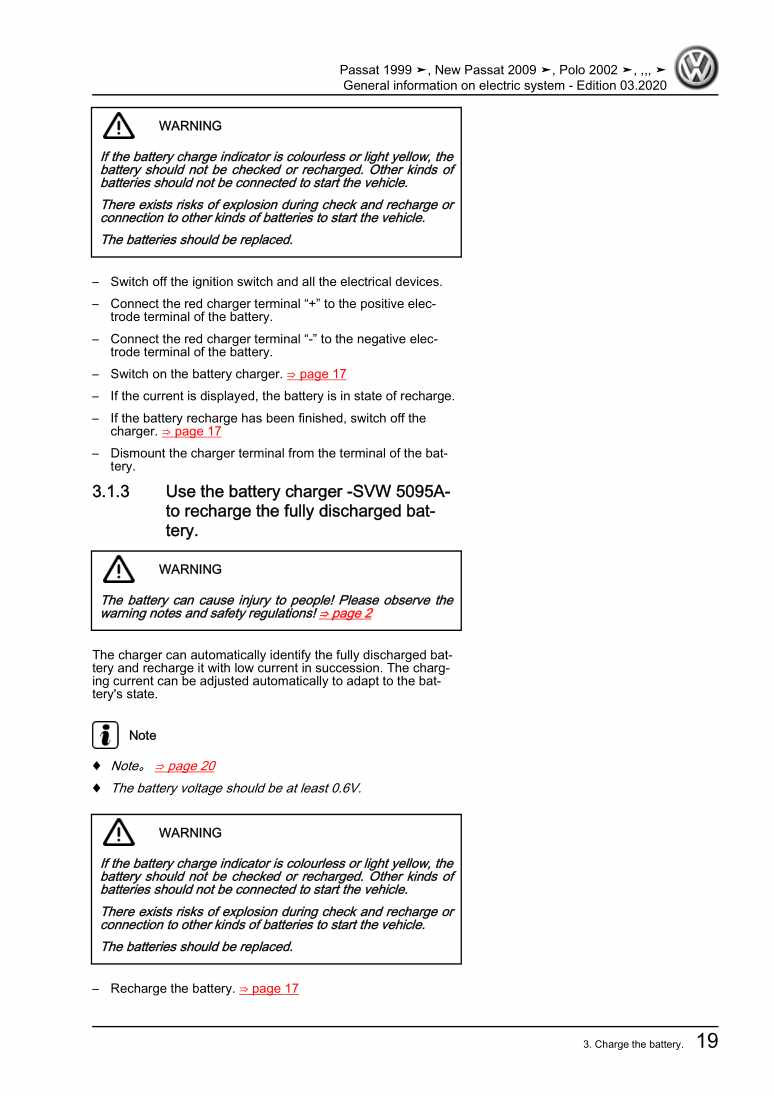
Examplepage for repair manual General information on electric system

For Polo A04 (China) (2002 - 2006) / Polo A04 (China) (2002 - 2006) / Iltis (1979 - 1988) / Passat (China) (2005 - 2006) / Touran (China) (2004 - 2006) / Modell 181 Ll (1970 - 1979) / Polo A04 (China) (2006) / Passat (China) (2000 - 2006) / Polo A04 (China) (2006) / Modell 181 Rl (1970 - 1979) / Tiguan [CN] (2017 >) / NMS [CN] (2012 >) / New Polo [CN] (2010 >) / Lavida Family [CN] (2015 >) / Lavida Family [CN] (2015 >) / NMS [CN] (2016 >) / Touran [CN] (2016 >) / Phideon [CN] (2017 >) / B-SUV [CN] (2017 >) / Lamando [CN] (2015 >) / Tiguan [CN] (2009 >) / Tiguan [CN] (2013 >) / Santana NF [CN] (2017 >) / Santana Derivat [CN] (2015 >) / Santana NF [CN] (2013 >) / Lavida NF Hatchback [CN] (2017 >) / Lavida NF Notchback [CN] (2017 >) / Lamando (BM2) [CN] (2018 >) / Tharu (CN) (2018 >) / Passat [CN] (2019 >) / Lavida BEV [CN] (2019 >) / T-Cross [CN] (2019 >) / Teramont Coupe [CN] (2019 >) / Polo NF [CN] (2019 >) / Tharu [CN] (2020 >) / Viloran MPV (2020 >) / Passat [CN] (2009 - 2012) / Touran [CN] (2010 >) / Polo [CN] (2011 >)

22,12 € Details

Maintenance

Examplepage for repair manual Maintenance

For Iltis (1979 - 1988) / Modell 181 Ll (1970 - 1979) / Modell 181 Rl (1970 - 1979) / Lavida Family [CN] (2015 >) / Lavida Family [CN] (2015 >)

10,26 € Details

Our Best Sellers

Did you know? We also offer original spare parts.

car part 2K5863328 Einlage

2K5863328

Einlage

6,02 €

Details
car part 6Q0810221 Schlieteil

6Q0810221

Schlieteil

48,10 €

Details
car part 070109153 Deckel

070109153

Deckel

38,73 €

Details
car part N904162024PK Schraube

N904162024PK

Schraube

1,29 €

Details
car part 06D103469N Zyl.Kopfha

06D103469N

Zyl.Kopfha

257,96 €

Details

Verteilergetriebe und Achsantriebe

Examplepage for repair manual Verteilergetriebe und Achsantriebe

For Touareg (2003 - 2007)

12,83 € Details

Ratgeber Räder, Reifen

Examplepage for repair manual Ratgeber Räder, Reifen

For Touran (2016 > )

5,52 € Details

Nr. 526: Die Dieselmotoren-Baureihe EA288 mit Abgasnorm EU6

Examplepage for repair manual Nr. 526: Die Dieselmotoren-Baureihe EA288 mit Abgasnorm EU6

5,89 € Details

image/svg+xml About Clonck

Original repair manuals und spare parts

Our repair manuals are original, come directly from Volkswagen and meet the highest quality standards.

In our original parts shop we sell high-quality original spare parts from car manufacturers. Use the search function to enter the desired part number (OE number) and order the required spare part quickly and easily.

Highest quality standards

At Clonck, we want to make car mechanics and car professionals happy. That's why you will only find professional and high-quality repair manuals at Clonck that will help you to repair your vehicle professionally.

Our partners

Autohaus Schmidt GmbH
Automag GmbH Filiale Laim
KFZ-VERLAG GmbH
Zimpel und Franke GmbH

Clonck: The car repair shop - also as app!

Clonck App Logo Play Store

Clonck: Fitting car parts for your car repair

4,5 90

With Clonck you can order the right original spare parts in no time.

  • Add your car model
  • Select assembly group
  • Enter vehicle identification number (VIN)
  • Access to over 5,000 original repair manuals
Start app now
Clonck App Preview Car Mobilephone Carparts