THE CAR REPAIR SHOP
0
Home » Manuals » Heating and air conditioning system, Jetta A7
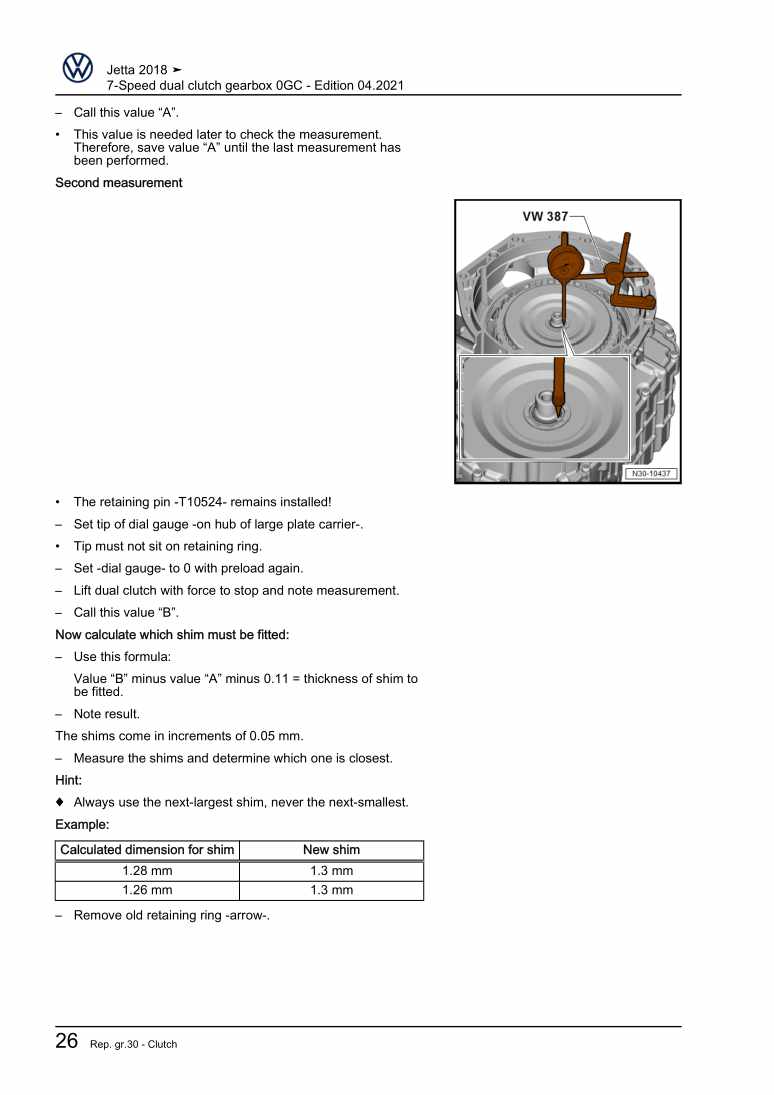
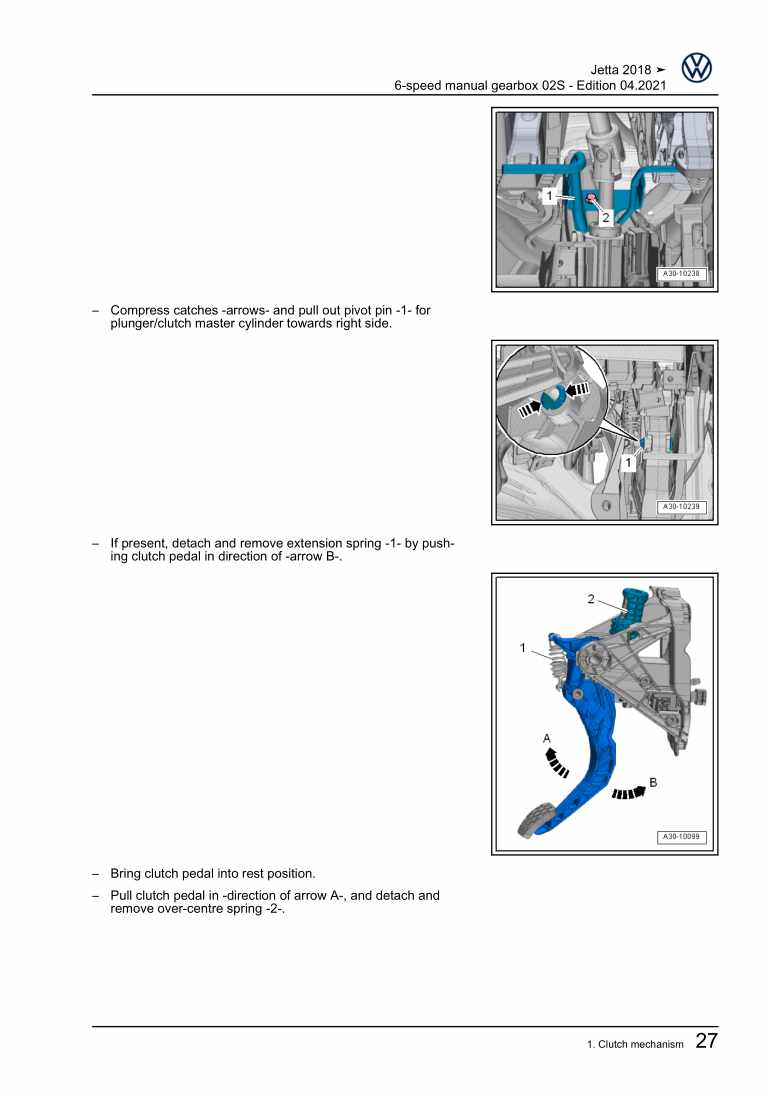
  • Examplepage for repair manual Heating and air conditioning system, Jetta A7
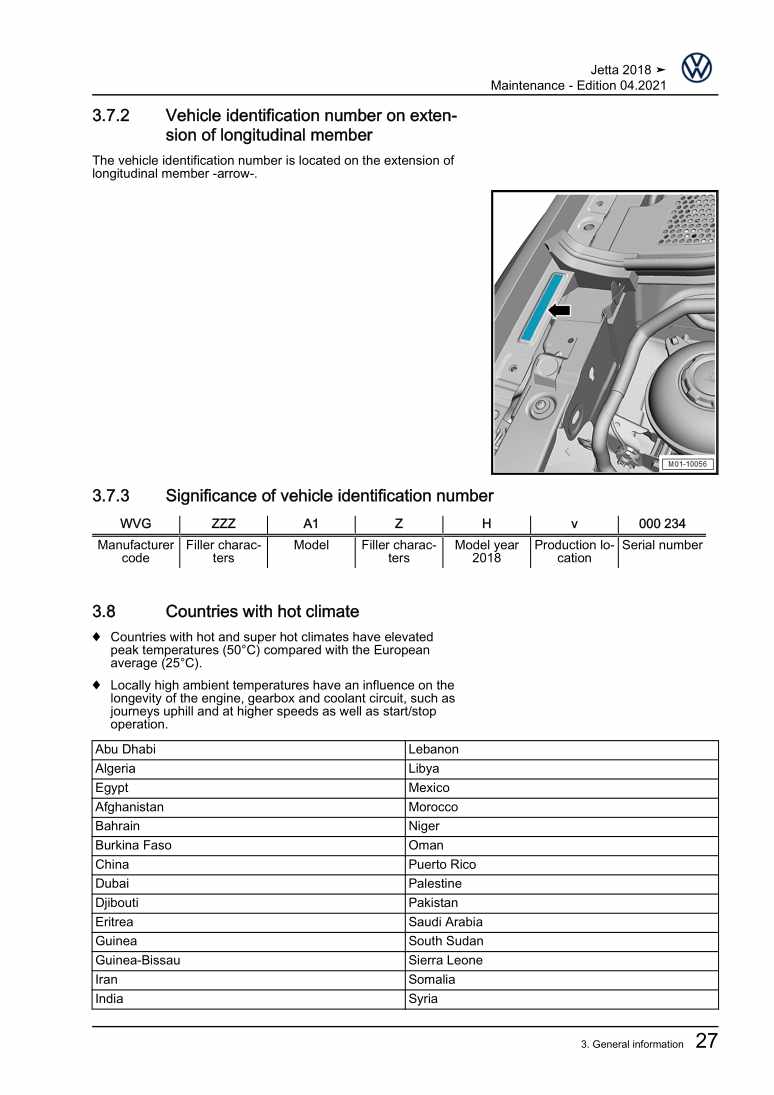
  • Examplepage for repair manual 2 Heating and air conditioning system, Jetta A7
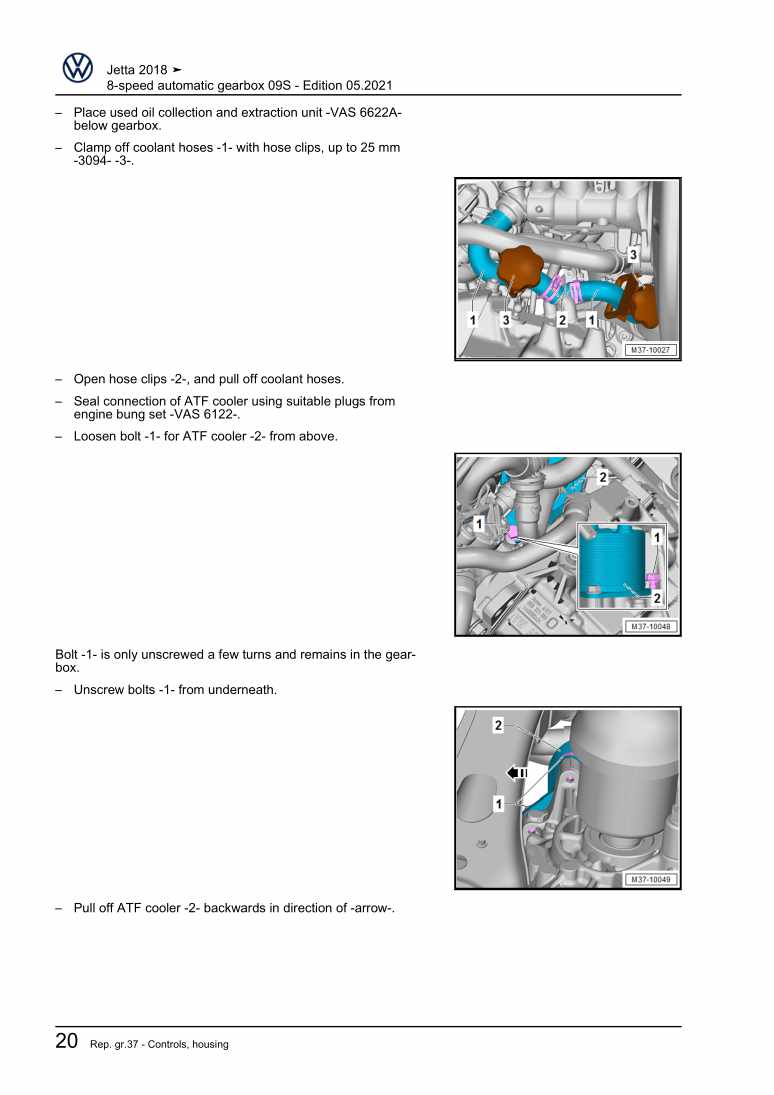
  • Examplepage for repair manual 3 Heating and air conditioning system, Jetta A7
  • Examplepage for repair manual Heating and air conditioning system, Jetta A7
  • Examplepage for repair manual 2 Heating and air conditioning system, Jetta A7
  • Examplepage for repair manual 3 Heating and air conditioning system, Jetta A7

Heating and air conditioning system, Jetta A7

For Jetta [MX]

Original Volkswagen repair manual


15,68 €7% VAT incl.

Immediately available for download

Language: English

Digital PDF file

9.117 KB

187 Sites

Detailed technical data

Immediately readable

This repair manual contains: Overview of fitting locations - heating, Heater, Control motors, Air duct, Operating and display unit, Other controlling and regulating components, Overview of fitting locations - air conditioning system, Refrigerant circuit, Air conditioner compressor and Front heater and air conditioning unit. Show more
Secure Payment via PayPal, credit card, direct debit and more
PayPal Logo SEPA Lastschrift Logo Giropay Logo Sofort Überweisung Logo

Repair manual Jetta [MX] Heating and air conditioning system, Jetta A7 PDF download has the following content:

Chapter overview

  • Technical data
    1
  • 1 Safety information
    1
  • 1.1 Safety precautions when working on air conditioning systems
    1
  • 1.2 Safety measures when working on vehicles with a start/stop system
    1
  • 1.4 Safety precautions when working on the cooling system
    2
  • 1.5 Safety precautions when handling refrigerants
    2
  • 1.6 Safety precautions for working on vehicles with auxiliary/supplementary heater
    3
  • 2 General information
    5
  • 2.1 Type plates
    5
  • 2.2 Notes concerning odours in air conditioned vehicles
    6
  • 2.3 Notes for vehicles with start-stop system
    7
  • 2.4 Notes on dust and pollen filter
    8
  • 3 Repair instructions
    9
  • 3.1 Rules for cleanliness
    9
  • 3.2 Nuts and bolts
    9
  • 3.3 Routing and attachment of lines
    10
  • 3.4 Fitting radiators and condensers
    10
  • 3.5 Checking heater output
    10
  • 3.6 Checking cooling output
    13
  • 3.7 Working on refrigerant circuit
    15
  • 3.8 Paint work on vehicles with air conditioning system
    16
  • 3.9 Refrigerant circuit seals
    16
  • 3.10 General repair instructions
    16
  • 4 Technical data
    18
  • 4.1 Refrigerant capacity
    18
  • 4.2 Refrigerant oil capacities
    18
  • 4.3 Oil distribution
    18
  • Heating
    20
  • 1 Overview of fitting locations - heating
    20
  • 1.1 Overview of fitting locations - components not located in passenger compartment
    20
  • 2 Heater
    22
  • 2.1 Assembly overview – heater unit
    22
  • 3 Control motors
    28
  • 3.1 Overview of fitting locations – control motors at front
    28
  • 3.2 Removing and installing fresh air and air recirculation flap control motor V154
    28
  • 4 Air duct
    30
  • 5 Operating and display unit
    31
  • 5.1 Overview of operating and display unit
    31
  • 6 Other controlling and regulating components
    33
  • Air conditioning system
    34
  • 1 Overview of fitting locations - air conditioning system
    34
  • 1.1 Overview of fitting locations - components not located in passenger compartment
    34
  • 2 Refrigerant circuit
    39
  • 2.1 System overview - refrigerant circuit
    39
  • 2.2 Assembly overview – condenser
    41
  • 2.3 Removing and installing refrigerant circuit pressure sender G805
    43
  • 2.4 Removing and installing refrigerant line with internal heat exchanger
    44
  • 2.5 Removing and installing expansion valve
    48
  • 2.6 Removing and installing condenser
    53
  • 2.7 Removing and installing desiccant bag or cartridge
    56
  • 2.8 Removing and installing damper weight for refrigerant line, low-pressure side
    61
  • 3 Air conditioner compressor
    73
  • 3.1 Assembly overview – drive unit of air conditioner compressor
    73
  • 3.2 Assembly overview - pulley
    75
  • 3.3 Removing air conditioning compressor from and installing on bracket
    77
  • 3.4 Removing and installing air conditioner compressor
    79
  • 3.5 Checking high-pressure safety valve on air conditioner compressor
    83
  • 3.6 Removing and installing pulley
    85
  • 4 Control motors
    88
  • 4.1 Overview of fitting locations – control motors at front
    88
  • 4.2 Removing and installing temperature flap control motor V68
    90
  • 4.3 Removing and installing defroster flap control motor V107
    92
  • 4.4 Removing and installing air recirculation flap control motor V113
    94
  • 4.5 Removing and installing left temperature flap control motor V158
    96
  • 4.6 Removing and installing right temperature flap control motor V159
    98
  • 4.7 Removing and installing fresh air/air recirculation, air flow flap control motor V425
    100
  • 4.8 Removing and installing front air distribution flap control motor V426
    102
  • 4.9 Removing and installing air distribution flap control motor V428
    104
  • 4.10 Removing and installing air distribution flap actuator
    106
  • 5 Front heater and air conditioning unit
    110
  • 5.2 Assembly overview - flaps and partitions in air distribution housing
    112
  • 5.3 Assembly overview – heater and air conditioning unit
    115
  • 5.4 Assembly overview – evaporator housing
    119
  • 5.5 Removing and installing evaporator
    120
  • 5.6 Checking auxiliary air heater element Z35
    122
  • 5.7 Removing and installing auxiliary air heater element Z35
    123
  • 5.8 Removing and installing heater and air conditioning unit
    124
  • 5.9 Removing and installing holder for heater and air conditioning unit
    131
  • 5.10 Dismantling and assembling heater and air conditioning unit
    133
  • 5.11 Removing and installing air distribution housing
    135
  • 5.12 Removing and installing dust and pollen filter
    135
  • 5.13 Removing and installing fresh air blower V2
    138
  • 5.14 Removing and installing fresh air blower control unit J126
    139
  • 5.15 Removing and installing heat exchanger
    139
  • 5.16 Removing and installing coolant pipes on heat exchanger
    145
  • 5.17 Removing and installing evaporator temperature sensor G308
    147
  • 5.18 Removing and installing condensation drain
    148
  • 5.19 Checking condensation drain
    151
  • 6 Air duct
    153
  • 6.1 Assembly overview – air duct and air distribution in passenger compartment
    153
  • 6.2 Removing and installing driver side footwell vents
    154
  • 6.3 Removing and installing front passenger side footwell vents
    155
  • 6.4 Removing and installing rear footwell vent
    157
  • 6.5 Removing and installing air ducts
    158
  • 6.6 Removing and installing forced ventilation for passenger compartment
    159
  • 6.7 Checking forced ventilation for passenger compartment
    160
  • 6.8 Removing and installing fresh air intake
    160
  • 6.9 Removing and installing cover for fresh air intake
    162
  • 6.10 Removing and installing air intake duct
    162
  • 6.11 Removing and installing air duct for defroster vent
    164
  • 6.12 Removing and installing air duct for centre dash panel vent
    164
  • 7 Operating and display unit
    166
  • 7.1 Overview of fitting locations – operating and display unit
    166
  • 7.2 Removing and installing operating and display unit
    170
  • 8 Other controlling and regulating components
    173
  • 8.1 Removing and installing sunlight penetration photosensor G107
    173
  • 8.2 Working principles of air quality sensor G238
    174
  • 8.3 Removing and installing air quality sensor G238
    175
  • 8.4 Removing and installing ambient temperature sensor G17
    176
  • 8.5 Removing and installing humidity sender for air conditioning system G260
    176
  • 8.6 Removing and installing left vent temperature sender G150
    177
  • 8.7 Removing and installing right vent temperature sender G151
    178
  • 8.8 Removing and installing footwell vent temperature sender G192
    179
Manufacturer's designation Heating and air conditioning system, Jetta A7
Manufacturer Volkswagen
Suitable for Jetta [MX] (2018 >)
Suitable car types BU3
Category Reparaturanleitung

There are no reviews for this product at the moment.

Similar repair manuals

Communication

Examplepage for repair manual Communication

For Jetta [MX] (2018 >)

6,82 € Details

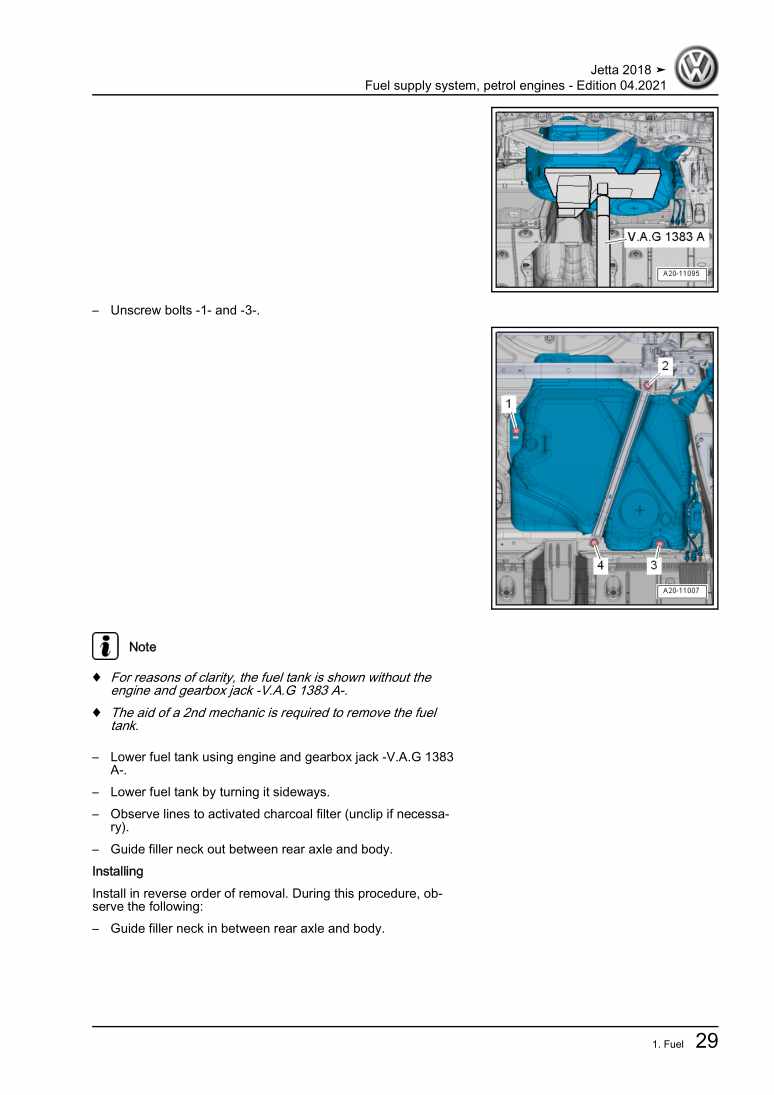
Fuel supply system, petrol engines

Examplepage for repair manual Fuel supply system, petrol engines

For Jetta [MX] (2018 >)

15,75 € Details

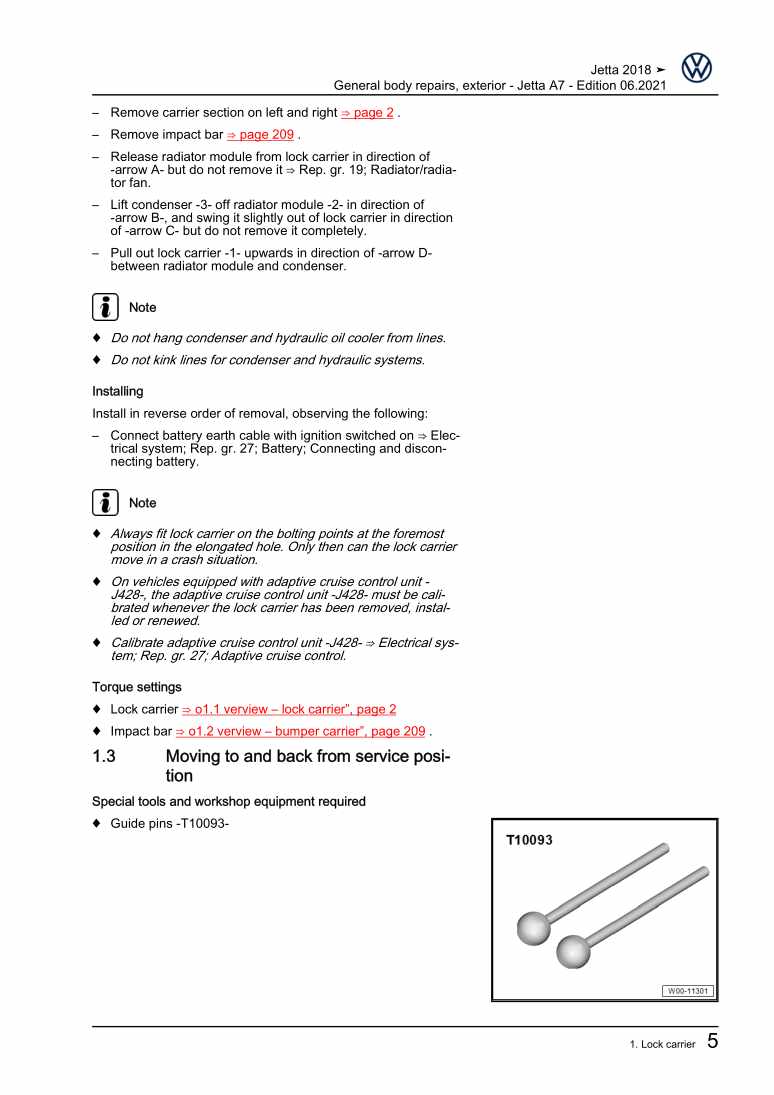
General body repairs, exterior - Jetta A7

Examplepage for repair manual General body repairs, exterior - Jetta A7

For Jetta [MX] (2018 >)

26,36 € Details

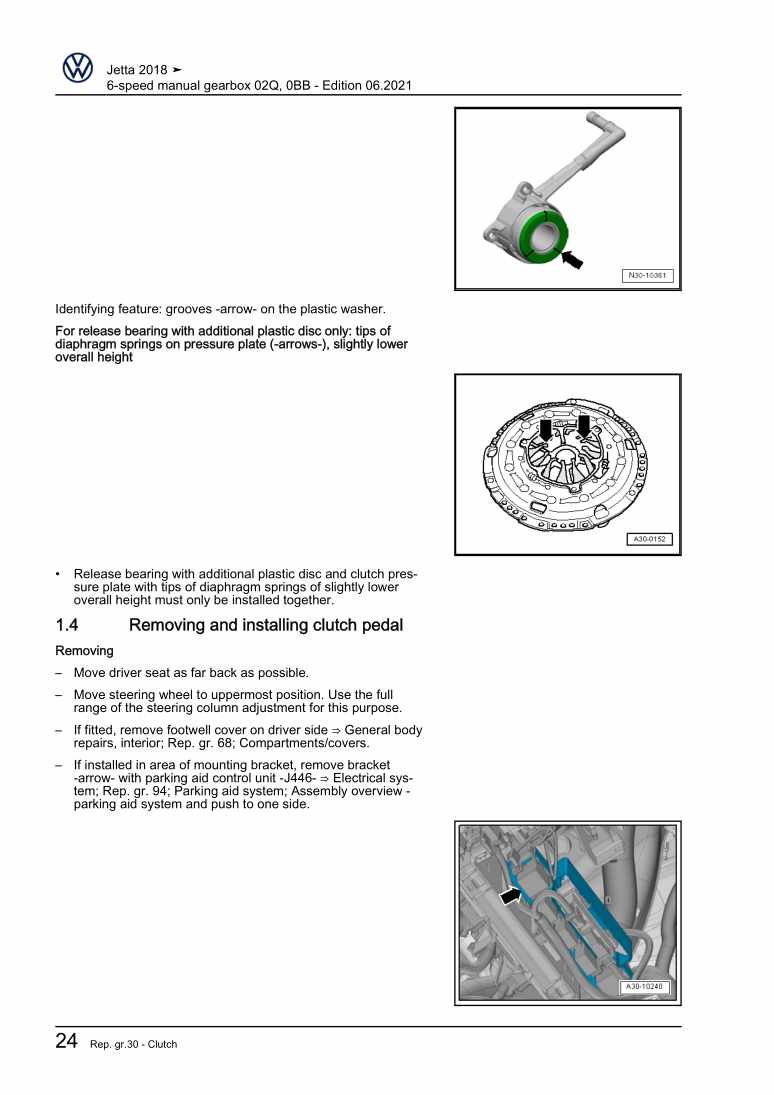
6-speed manual gearbox 02Q, 0BB

Examplepage for repair manual 6-speed manual gearbox 02Q, 0BB

For Jetta [MX] (2018 >)

29,15 € Details

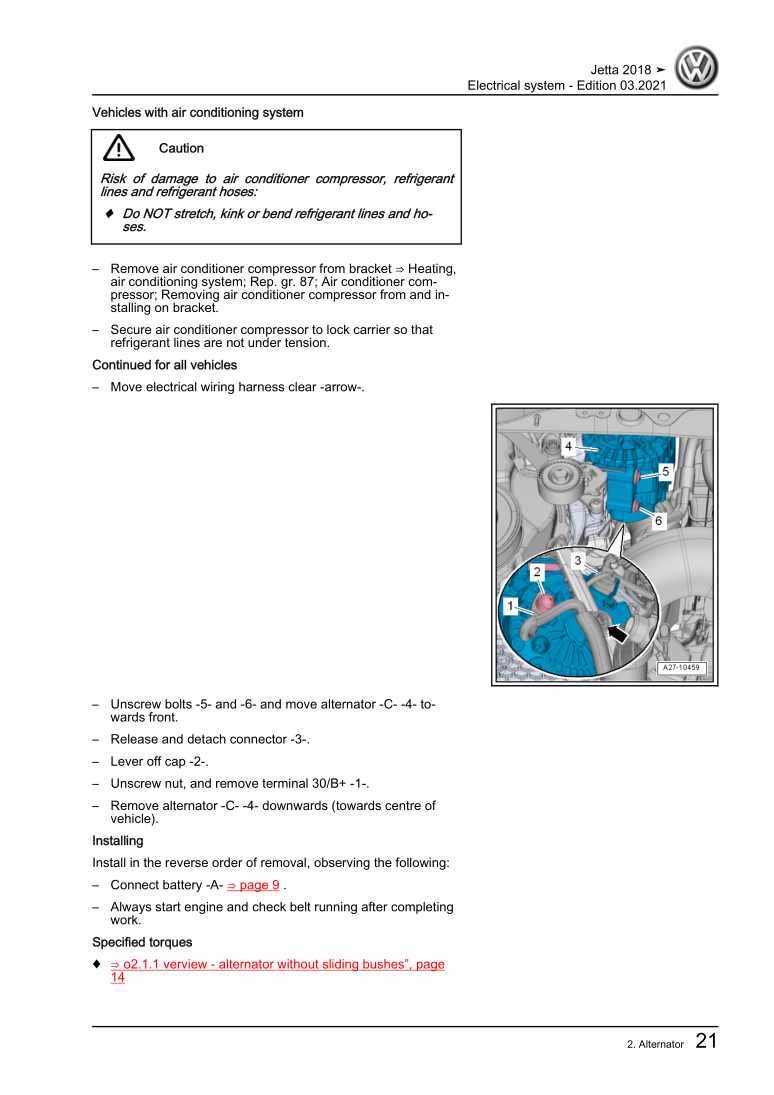
Electrical system

Examplepage for repair manual Electrical system

For Jetta [MX] (2018 >)

20,22 € Details

7-Speed dual clutch gearbox 0GC

Examplepage for repair manual 7-Speed dual clutch gearbox 0GC

For Jetta [MX] (2018 >)

11,97 € Details

Maintenance

Examplepage for repair manual Maintenance

For Jetta [MX] (2018 >)

11,25 € Details

8-speed automatic gearbox 09S

Examplepage for repair manual 8-speed automatic gearbox 09S

For Jetta [MX] (2018 >)

9,84 € Details

6-speed manual gearbox 02S

Examplepage for repair manual 6-speed manual gearbox 02S

For Jetta [MX] (2018 >)

21,49 € Details

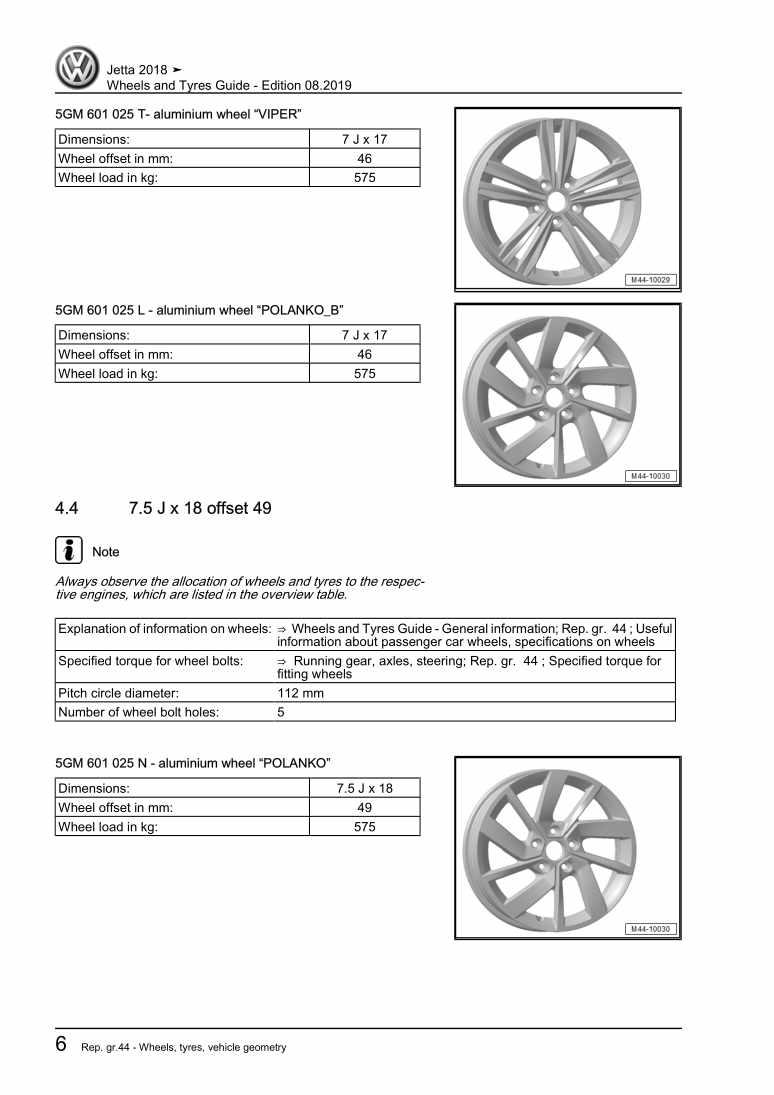
Wheels and Tyres Guide

Examplepage for repair manual Wheels and Tyres Guide

For Jetta [MX] (2018 >)

4,43 € Details

Our Best Sellers

Did you know? We also offer original spare parts.

car part G052141A2 Paste

G052141A2

Paste

39,14 €

Details
car part 1J0881671G4PK Knopf

1J0881671G4PK

Knopf

5,27 €

Details
car part N90328504 Schraube

N90328504

Schraube

2,53 €

Details
car part N91005902 Schraube

N91005902

Schraube

3,08 €

Details
car part 5N0971148AA Leitg.Satz

5N0971148AA

Leitg.Satz

155,32 €

Details

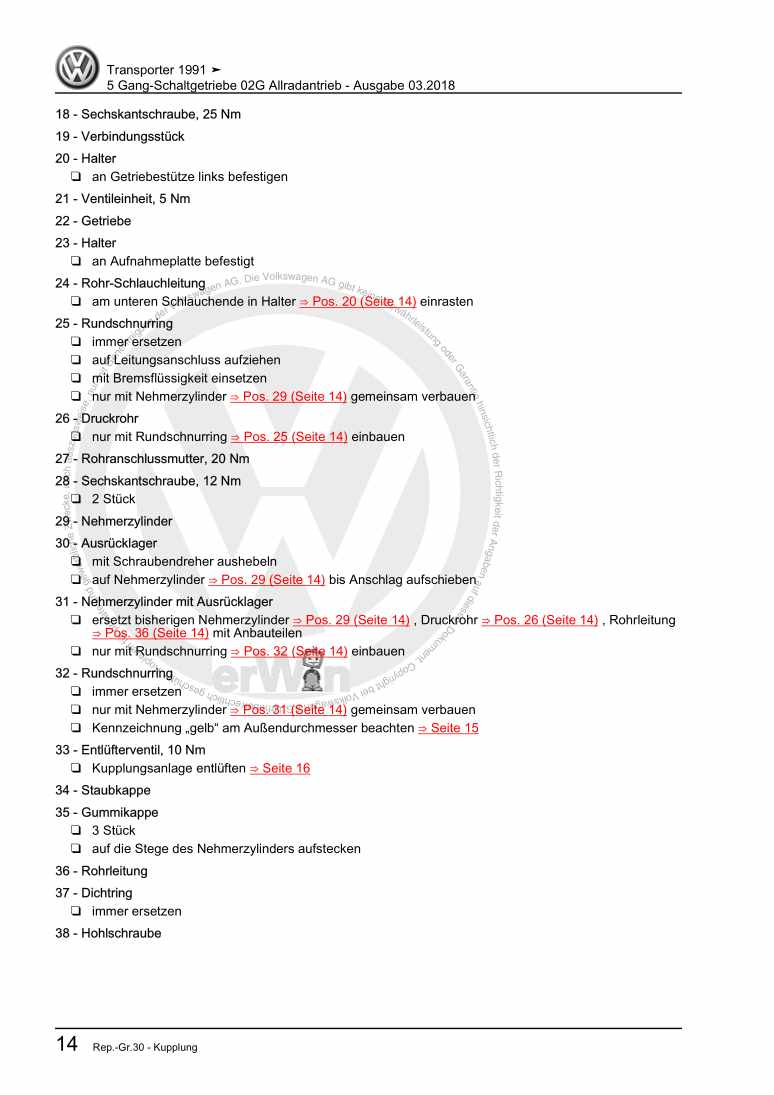
5 Gang-Schaltgetriebe 02G Allradantrieb

Examplepage for repair manual 5 Gang-Schaltgetriebe 02G Allradantrieb

For Transporter Caravelle / Transporter Doppelkab / Transporter Kasten / Transporter Kombi/Cam / Transporter Pritsche (1991 - 1996)

23,09 € Details

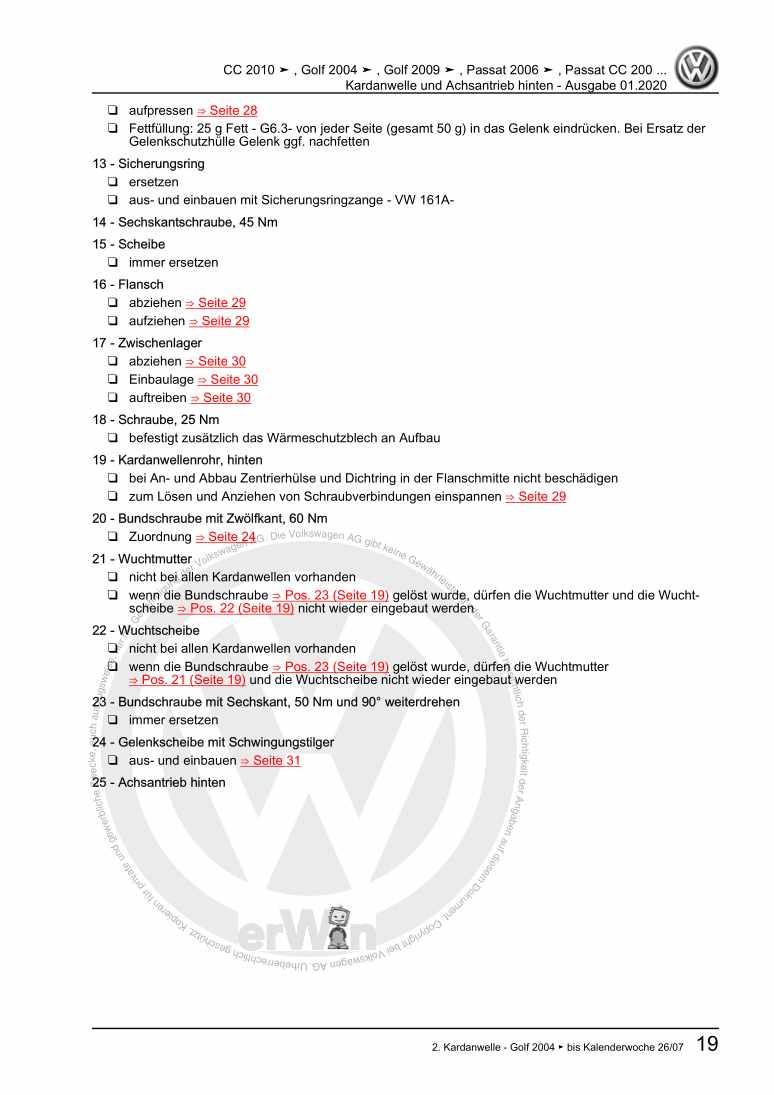
Kardanwelle und Achsantrieb hinten

Examplepage for repair manual Kardanwelle und Achsantrieb hinten

For Passat / Passat Variant (2005 - 2008) / Golf (2004 - 2007) / Tiguan (2008) / Passat CC (2009) / Golf (2009) / Sharan (2011)

20,15 € Details

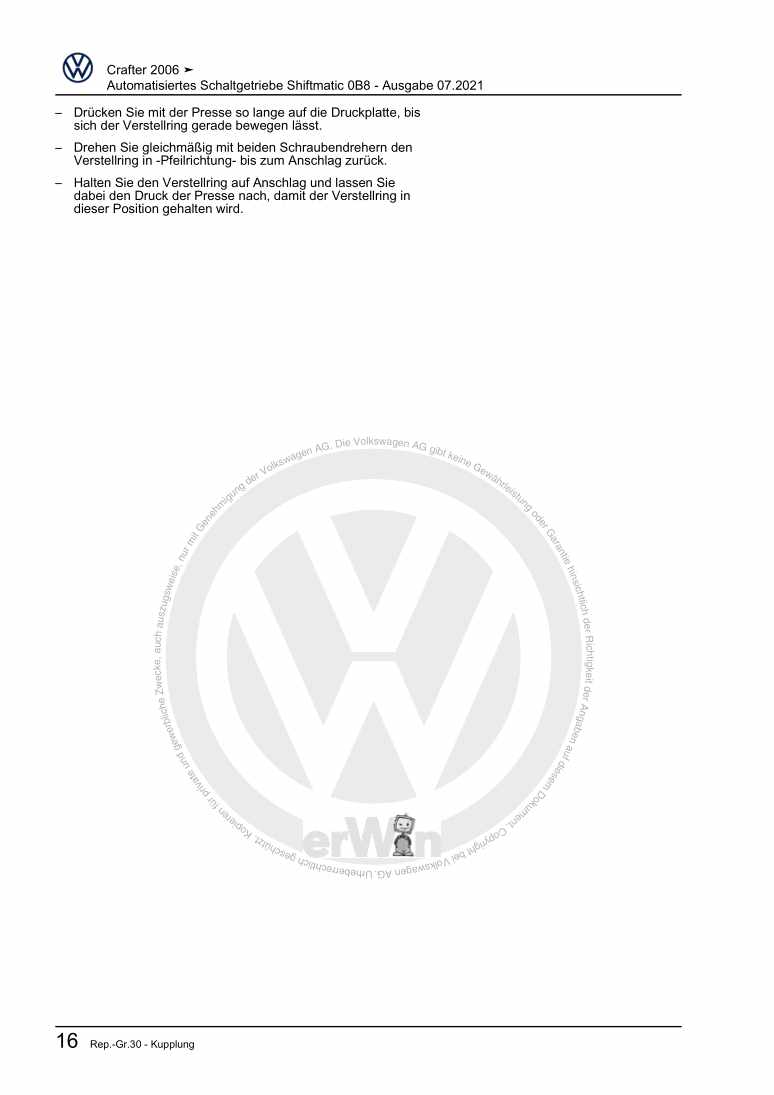
Automatisiertes Schaltgetriebe Shiftmatic 0B8

Examplepage for repair manual Automatisiertes Schaltgetriebe Shiftmatic 0B8

For CRAFTER (2006 - 2007) / LT 2006> (2006 - 2007)

8,22 € Details

image/svg+xml About Clonck

Original repair manuals und spare parts

Our repair manuals are original, come directly from Volkswagen and meet the highest quality standards.

In our original parts shop we sell high-quality original spare parts from car manufacturers. Use the search function to enter the desired part number (OE number) and order the required spare part quickly and easily.

Highest quality standards

At Clonck, we want to make car mechanics and car professionals happy. That's why you will only find professional and high-quality repair manuals at Clonck that will help you to repair your vehicle professionally.

Our partners

Autohaus Schmidt GmbH
Automag GmbH Filiale Laim
KFZ-VERLAG GmbH
Zimpel und Franke GmbH

Clonck: The car repair shop - also as app!

Clonck App Logo Play Store

Clonck: Fitting car parts for your car repair

4,5 90

With Clonck you can order the right original spare parts in no time.

  • Add your car model
  • Select assembly group
  • Enter vehicle identification number (VIN)
  • Access to over 5,000 original repair manuals
Start app now
Clonck App Preview Car Mobilephone Carparts