THE CAR REPAIR SHOP
0
Home » Manuals » Electrical system
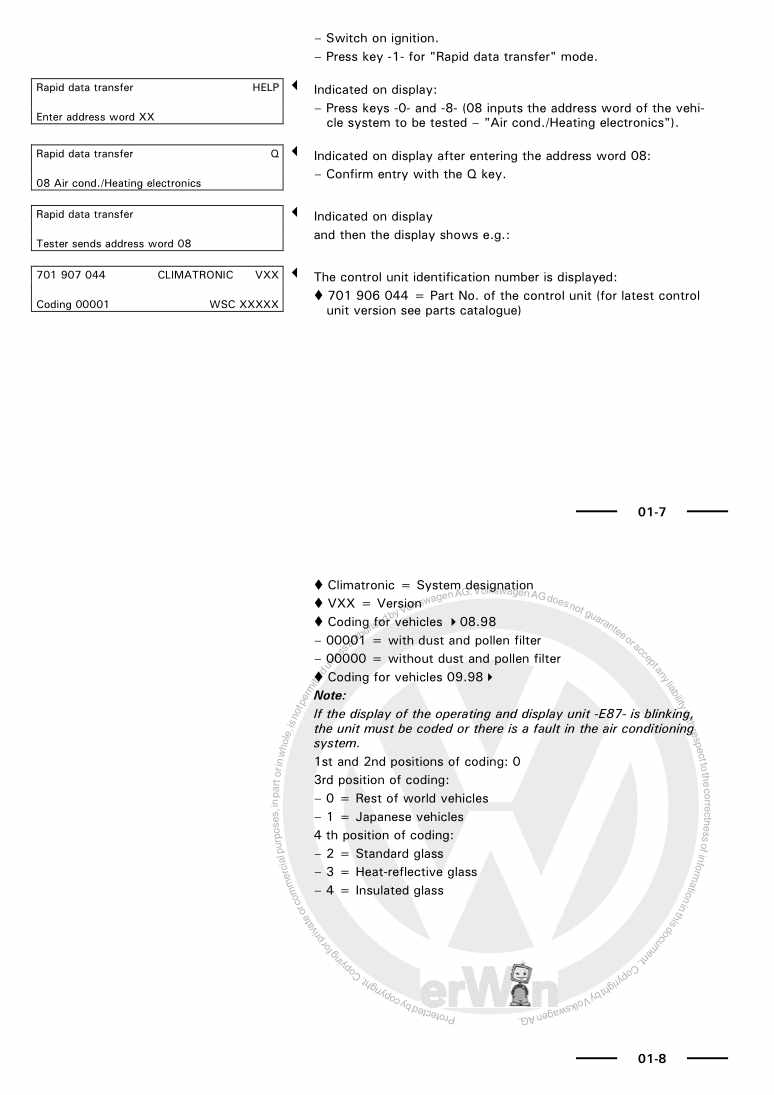
  • Examplepage for repair manual Electrical system
  • Examplepage for repair manual 2 Electrical system
  • Examplepage for repair manual 3 Electrical system
  • Examplepage for repair manual Electrical system
  • Examplepage for repair manual 2 Electrical system
  • Examplepage for repair manual 3 Electrical system

Electrical system

For Transporter Kombi / Transporter Kasten / Transporter Pritsche / Transporter Bus/Campe / Transporter Doppelkab / ...

Original Volkswagen repair manual


19,94 €7% VAT incl.

  • Deutsch
  • English

Immediately available for download

Language: English

Digital PDF file

4.503 KB

246 Sites

Detailed technical data

Immediately readable

This repair manual contains: Battery, Disconnecting and connecting battery, Specified torques: starter, Alternator with V-belt, Cruise control system (CCS), Dash panel insert ► 12.95, Tachograph 05.00 ►, Window washer system (long front end) 01.96 ►, Hose repair, Additional brake light, Steering column switch and ignition/starter switch ►08.98, Relay plate and Renewal of aerial wiring. Show more
Secure Payment via PayPal, credit card, direct debit and more
PayPal Logo SEPA Lastschrift Logo Giropay Logo Sofort Überweisung Logo

Repair manual Electrical system PDF download has the following content:

Chapter overview

  • Starter, current supply, CCS
    1
  • 1 Battery
    1
  • 1.1 Fundamentals for batteries
    1
  • 1.2 Types of battery
    1
  • 1.3 Warning notices and safety regulations
    2
  • 1.4 Fitting battery terminal clamps
    4
  • 2 Checking battery
    5
  • 2.1 Procedure when checking a battery
    5
  • 2.2 Visual inspection
    5
  • 2.3 Checking battery with magic eye
    6
  • 2.4 Checking low maintenance battery
    7
  • 2.5 Checking "no load" voltage of battery
    10
  • 2.6 Battery tester with printer VAS 5097 A
    11
  • 2.7 Evaluating test result
    14
  • 3 Charging battery
    15
  • 3.1 Battery charger VAS 5095 A
    15
  • 3.2 Battery charger VAS 5900
    19
  • 3.3 Totally discharged batteries
    27
  • 4 Disconnecting and connecting battery
    29
  • 4.1 Disconnecting battery
    29
  • 4.2 Connecting battery:
    29
  • 5 Removing and installing battery
    31
  • 5.1 Battery in engine compartment
    31
  • 5.2 Second battery under driver seat
    33
  • 6 Specified torques: battery
    36
  • 7 Starter motor
    37
  • 7.1 Removing and installing starter motor
    37
  • 8 Specified torques: starter
    42
  • 9 Alternator with V-belt
    43
  • 9.1 4-cylinder petrol engine
    43
  • 9.2 4-cylinder diesel engine
    45
  • 9.3 Checking and adjusting V-belt tension
    48
  • 10 Alternator with poly V-belt
    51
  • 10.1 4-cyl. engine with 90 A alternator ► 04.99
    51
  • 10.2 4-cylinder engine with 90 A alternator 05.99 ►
    57
  • 10.3 4-cyl. engine with 120 A alternator ► 04.99
    62
  • 10.4 4-cylinder engine with 120 A alternator 05.99 ►
    68
  • 10.5 4-cylinder engine with air conditioner compressor or 2nd alternator ► 04.99
    74
  • 10.6 4-cylinder engine with air conditioner compressor or 2nd alternator 05.99 ►
    79
  • 10.7 5-cylinder engine without air conditioner or 2nd alternator ► 04.99
    85
  • 10.8 5-cylinder engine without air conditioner or 2nd alternator 05.99 ►
    88
  • 10.9 5-cyl. engines with air conditioning or 2nd alternator/hydraulic pump ► 04.99
    90
  • 10.10 5-cyl. engines with air conditioning or 2nd alternator/hydraulic pump 05.99 ►
    93
  • 10.11 6-cylinder injection engine ► 04.99
    96
  • 10.12 6-cylinder injection engine 05.99 ►
    99
  • 10.13 Compact alternator with poly V-belt drive ► 04.99
    102
  • 10.14 Compact alternator with poly V-belt drive 05.99 ►
    104
  • 10.15 Renewing poly V-belt pulley without freewheel on alternator
    106
  • 10.16 Renewing poly V-belt with freewheel
    107
  • 11 Repairing alternator
    109
  • 11.1 65 A - Valeo version with poly V-belt drive
    109
  • 11.2 90 A - Bosch version with poly V-belt drive
    113
  • 11.3 70 A, 90 A and 120 A alternator with poly V-belt
    117
  • 12 Specified torques: alternator
    120
  • 12.1 General torque settings
    120
  • 12.2 Specified torques: alternator with V-belt
    120
  • 12.3 4-cyl. engine with 90 A alternator ► 04.99
    121
  • 12.4 4-cylinder engine with 90 A alternator 05.99 ►
    121
  • 12.5 4-cyl. engine with 120 A alternator ► 04.99
    121
  • 12.6 4-cylinder engine with 120 A alternator 05.99 ►
    121
  • 12.7 4-cylinder engine with air conditioner compressor or 2nd alternator ► 04.99
    121
  • 12.8 4-cylinder engine with air conditioner compressor or 2nd alternator 05.99 ►
    122
  • 12.9 5-cylinder engine without air conditioner or 2nd alternator ► 04.99
    122
  • 12.10 5-cylinder engine without air conditioner or 2nd alternator 05.99 ►
    122
  • 12.11 5-cyl. engine with air conditioning or 2nd alternator/hydraulic pump ► 04.99 . . . . .
    122
  • 12.12 5-cyl. engine with air conditioning or 2nd alternator/hydraulic pump 05.99 ► . . . . .
    122
  • 12.13 6-cylinder injection engine ► 04.99
    123
  • 12.14 6-cylinder injection engine 05.99 ►
    123
  • 13 Cruise control system (CCS)
    124
  • 13.1 Cruise control system (CCS) for vehicles with electronic accelerator
    124
  • 13.2 Cruise control system (CCS) for vehicles without electronic accelerator
    124
  • 13.3 Adjusting control element
    126
  • 13.4 Removing actuator
    126
  • 13.5 Removing and installing breather valve
    126
  • 13.6 Removing and installing cruise control system (CCS) vacuum pump V18
    127
  • 13.7 Removing and installing cruise control system (CCS) control unit J213
    127
  • 13.8 Checking vacuum system for leaks
    127
  • Gauges, instruments
    128
  • 1 Dash panel insert ► 12.95
    128
  • 1.1 Removing and installing dash panel insert
    128
  • 1.2 Assembly overview - dash panel insert with rev. counter or analogue clock
    129
  • 1.3 Assembly overview - dash panel insert with multifunction indicator (MFI)
    131
  • 1.4 Dismantling and assembling dash panel insert
    134
  • 1.5 Pin assignment of connectors on dash panel insert
    143
  • 2 Dash panel insert 01.96 ►07.98
    145
  • 2.1 Removing and installing dash panel insert
    145
  • 2.2 Pin assignment of connectors on dash panel insert
    147
  • 3 Dash panel insert 08.98 ►
    149
  • 3.1 Warning with oil level too low
    149
  • 3.2 Fault detection and fault display
    149
  • 3.3 Removing and installing dash panel insert
    150
  • 3.4 Dash panel insert, rear view
    153
  • 3.5 Pin assignment of connections on dash panel insert with no data BUS connection
    154
  • 4 Service interval display
    159
  • 4.1 Function
    159
  • 4.3 Service interval display on dash panel inserts with data BUS connection
    161
  • 5 Tachograph ► 04.99
    164
  • 5.1 Pin assignment of the connections on the tachograph hood
    164
  • 5.2 Pin assignment of connections on tachograph
    165
  • 6 Tachograph 05.00 ►
    166
  • 6.1 Pin assignment of connections on tachograph
    166
  • 6.2 Removing and installing tachograph
    167
  • Windscreen wash/wipe system
    169
  • 1 Windscreen wiper system
    169
  • 1.1 Assembly overview - windscreen wiper system
    169
  • 1.2 Setting park position
    170
  • 1.3 Adjusting wiper blade park position
    170
  • 1.4 Removing and installing wiper rubber
    171
  • 2 Window washer system (short front end) ► 12.95
    172
  • 2.1 Assembly overview - windscreen washer system
    172
  • 2.2 Removing and adjusting washer jets
    173
  • 2.3 Hose connections at windscreen washer pump V5
    173
  • 3 Window washer system (long front end) 01.96 ►
    174
  • 3.1 Assembly overview - windscreen washer system
    174
  • 3.2 Removing and adjusting washer jets
    175
  • 3.3 Hose connections at windscreen washer pump V5
    175
  • 4 Rear window wiper and washer system (tailgate)
    176
  • 4.1 Assembly overview of rear window wipe/wash system
    176
  • 4.2 Setting park position
    177
  • 4.3 Adjusting rear window wiper park position
    177
  • 4.4 Adjusting spray jet
    177
  • 5 Rear window wiper and washer system (rear hinged doors)
    178
  • 5.1 Assembly overview of rear window wipe/wash system
    178
  • 5.2 Setting park position
    180
  • 5.3 Adjusting rear window wiper park position
    180
  • 5.4 Adjusting spray jet
    181
  • 6 Headlight washer system
    182
  • 6.1 Assembly overview - headlight washer system
    182
  • 6.2 Removing and installing spray jet retainer
    182
  • 6.3 Removing and installing spray jet pop-up cylinders
    183
  • 6.4 Adjusting spray jets
    185
  • 7 Hose repair
    186
  • 7.1 General description
    186
  • 7.2 Repairing smooth pipe
    186
  • 7.3 Repairing corrugated pipe
    186
  • Lights, bulbs, switches - exterior
    188
  • 1 Headlights (short front end) ► 12.95
    188
  • 1.1 Assembly overview - headlights
    188
  • 1.2 Renewing headlight bulbs
    189
  • 1.3 Removing and installing headlight insert
    189
  • 1.5 Adjusting headlights
    191
  • 2 Headlights (long front end) 01.96 ►
    192
  • 2.1 Assembly overview - headlights
    192
  • 2.2 Renewing headlight bulbs
    193
  • 2.3 Removing and installing headlight insert
    193
  • 2.5 Adjusting headlights
    195
  • 3 Fog lights (short front end) ► 12.95
    196
  • 3.1 Removing and installing fog lights
    196
  • 3.2 Renewing fog light bulb
    196
  • 3.3 Adjusting fog lights
    196
  • 4 Fog lights (long front end) 01.96 ►
    198
  • 4.1 Removing and installing fog lights
    198
  • 4.2 Renewing fog light bulb
    198
  • 4.3 Adjusting fog lights
    198
  • 5 Turn signals and front (short front end) ► 12.95
    199
  • 5.1 Removing and installing front turn signal
    199
  • 5.2 Renewing front left turn signal bulb M5 and front right turn signal bulb M7
    199
  • 6 Turn signals at front (long front end) 01.96 ►
    200
  • 6.1 Removing and installing front turn signal
    200
  • 6.2 Renewing front left turn signal bulb M5 and front right turn signal bulb M7
    200
  • 7 Tail light cluster
    201
  • 7.1 Removing and installing tail light cluster of a panel van
    201
  • 7.2 Removing and installing drop-side tail light cluster
    202
  • 8 Additional brake light
    203
  • 8.1 Removing and installing high-level brake light bulb holder (rear lid)
    203
  • 8.2 Removing and installing high-level brake light housing (rear lid)
    203
  • 9 Number plate light
    204
  • 9.1 Removing number plate lights
    204
  • 10 Rear fog light
    205
  • 10.1 Removing rear fog light
    205
  • 11 Steering column switch and ignition/starter switch ►08.98
    206
  • 11.1 Assembly overview - steering column
    206
  • 11.2 Removing and installing steering column switch
    208
  • 11.3 Pin assignment on steering column switch and ignition and starter switch
    209
  • 11.5 Removing and installing steering lock housing
    210
  • 11.6 Removing and installing lock cylinder
    212
  • 12 Steering column switch and ignition/starter switch 08.98 ►
    214
  • 12.1 Assembly overview - steering column
    214
  • 12.2 Removing and installing steering column switch
    215
  • 12.3 Removing and installing steering lock housing
    216
  • 12.4 Removing and installing lock cylinder
    217
  • 12.5 Pin assignment on steering column switch and ignition and starter switch
    217
  • Lights, bulbs, switches - interior
    219
  • 1 Immobiliser
    219
  • 1.1 Assembly overview - immobiliser
    219
  • 1.2 Immobiliser control unit J362
    219
  • 1.3 Removing and installing immobiliser reader coil D2
    219
  • 1.4 Transponder
    220
  • 1.5 Fuel shut-off valve control unit J366
    220
  • 2 Interior lights and switches
    229
  • 2.1 Removing and installing light switch
    229
  • 2.2 Removing and installing headlight range control regulator E102
    229
  • 2.3 Removing and installing switches in centre of dash panel ► 12.95
    229
  • 2.4 Removing and installing switches in centre of dash panel 01.96 ►
    230
  • Wiring
    231
  • 1 Relay plate
    231
  • 1.1 Removing and installing relay plate
    231
  • 1.2 Removing and installing multi-pin connector on back of relay plate
    232
  • 2 Wiring harness and connector repairs
    234
  • 2.1 Safety notes:
    234
  • 2.2 General notes concerning repairs to vehicle electrical system
    234
  • 2.3 Instructions concerning wiring harness and connector repairs
    234
  • 2.4 Supplementary notes on repair of CAN bus wiring
    235
  • 2.5 Wiring harness repair set VAS 1978
    235
  • 3 Renewal of aerial wiring
    237
  • 3.1 General description
    237
  • 3.2 Assembly overview - aerial wire
    237
  • 3.3 Installing a new aerial wire
    237
Manufacturer's designation Electrical system
Manufacturer Volkswagen
Suitable for Transporter Bus/Campe / Transporter Doppelkab / Transporter Kasten / Transporter Kombi / Transporter Kombi/Cam / Transporter Pritsche (1996 - 2003) / Transporter Caravelle / Transporter Pritsche (1991 - 1996)
Suitable car types 7D, 70
Category Reparaturanleitung

There are no reviews for this product at the moment.

Similar repair manuals

Brake systems as of January 1996
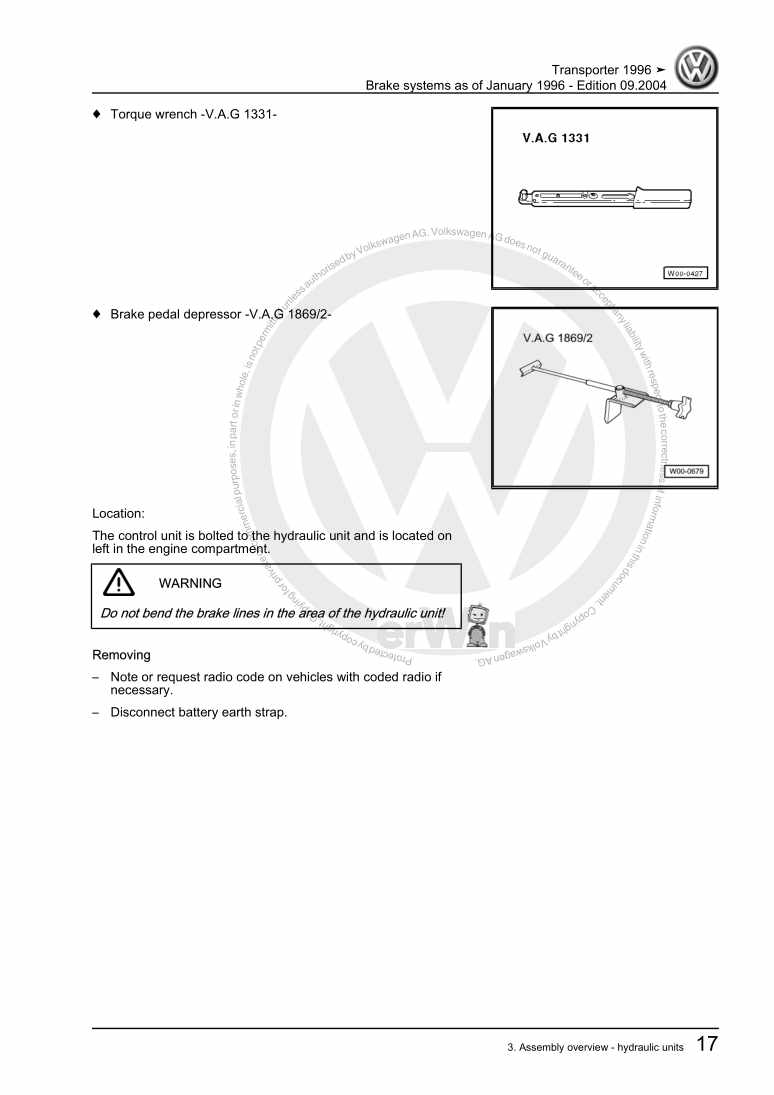
Examplepage for repair manual Brake systems as of January 1996

For Transporter Bus/Campe / Transporter Doppelkab / Transporter Kasten / Transporter Kombi / Transporter Kombi/Cam / Transporter Pritsche (1996 - 2003) / Transporter Caravelle / Transporter Doppelkab / Transporter Kasten / Transporter Kombi/Cam / Transporter Pritsche (1991 - 1996)

9,50 € Details

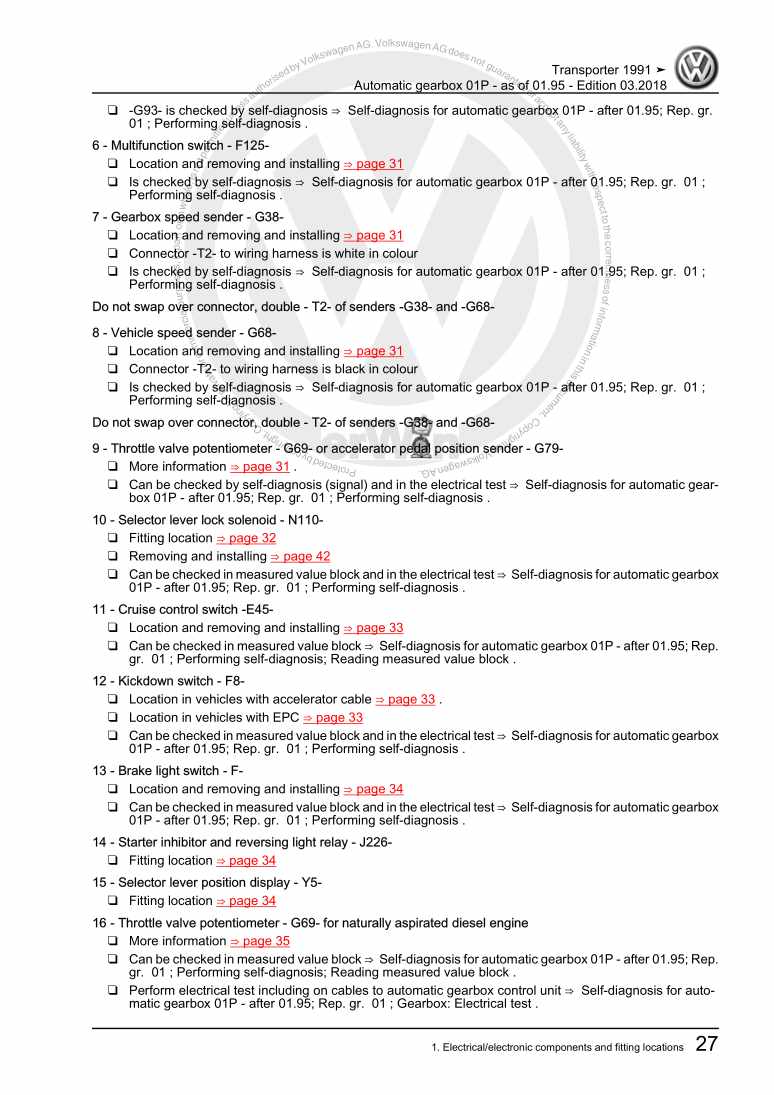
Automatic gearbox 01P - as of 01.95

Examplepage for repair manual Automatic gearbox 01P - as of 01.95

For Transporter Bus/Campe / Transporter Doppelkab / Transporter Kasten / Transporter Kombi / Transporter Kombi/Cam / Transporter Pritsche (1996 - 2003) / Transporter Caravelle / Transporter Doppelkab / Transporter Kasten / Transporter Kombi/Cam / Transporter Pritsche (1991 - 1996)

18,94 € Details

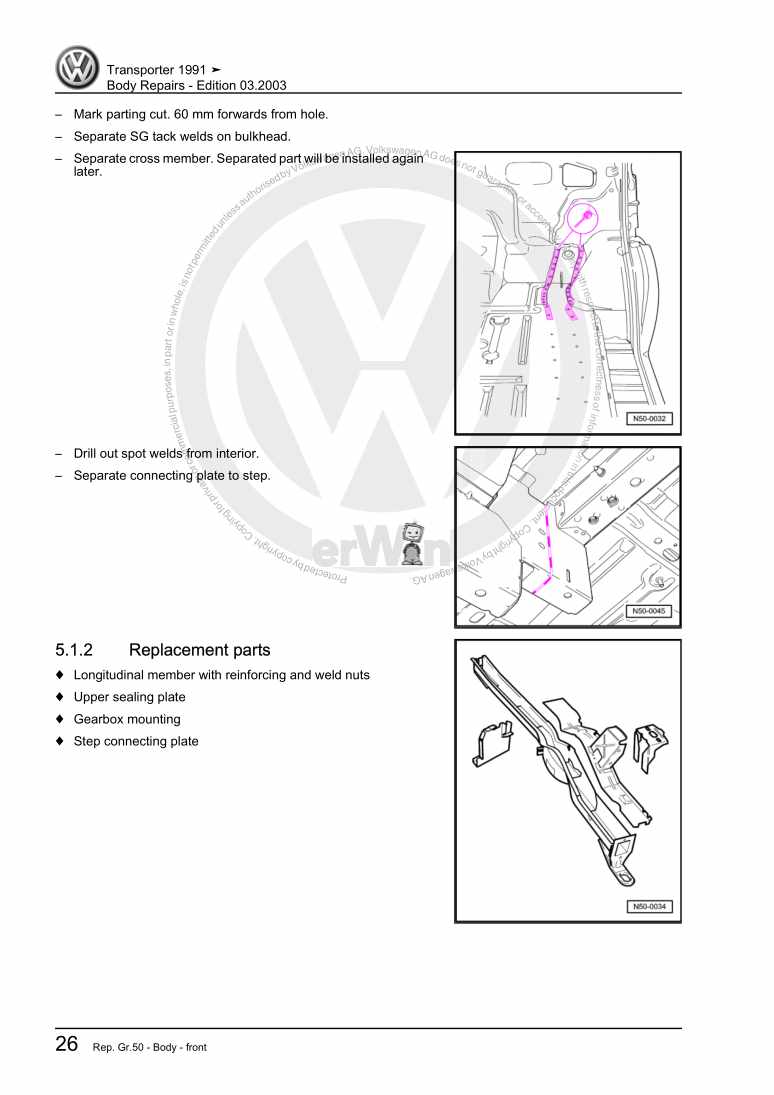
Body Repairs

Examplepage for repair manual Body Repairs

For Transporter Bus/Campe / Transporter Doppelkab / Transporter Kasten / Transporter Kombi / Transporter Kombi/Cam / Transporter Pritsche (1996 - 2003) / Transporter Caravelle / Transporter Doppelkab / Transporter Kasten / Transporter Kombi/Cam / Transporter Pritsche (1991 - 1996)

10,75 € Details

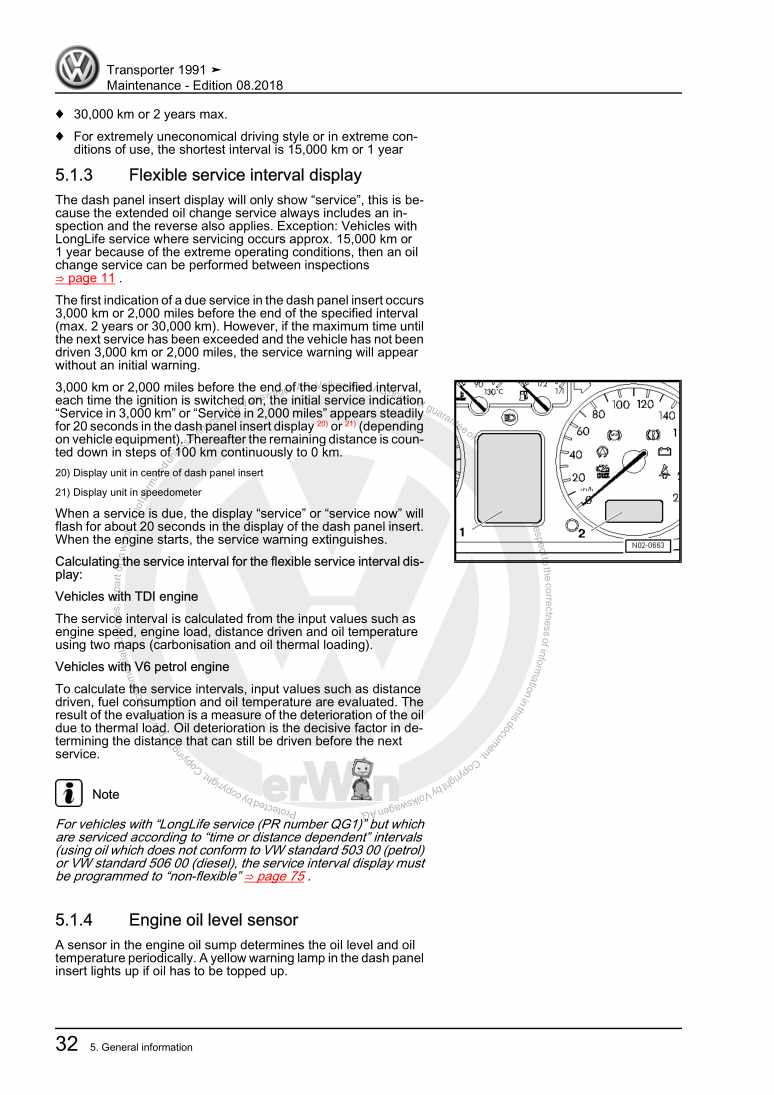
Maintenance

Examplepage for repair manual Maintenance

For Transporter Bus/Campe / Transporter Doppelkab / Transporter Kasten / Transporter Kombi / Transporter Kombi/Cam / Transporter Pritsche (1996 - 2003) / Transporter Caravelle / Transporter Doppelkab / Transporter Kasten / Transporter Kombi/Cam / Transporter Pritsche (1991 - 1996)

23,63 € Details

Current flow diagrams, electrical fault finding and fitting locations 09.90
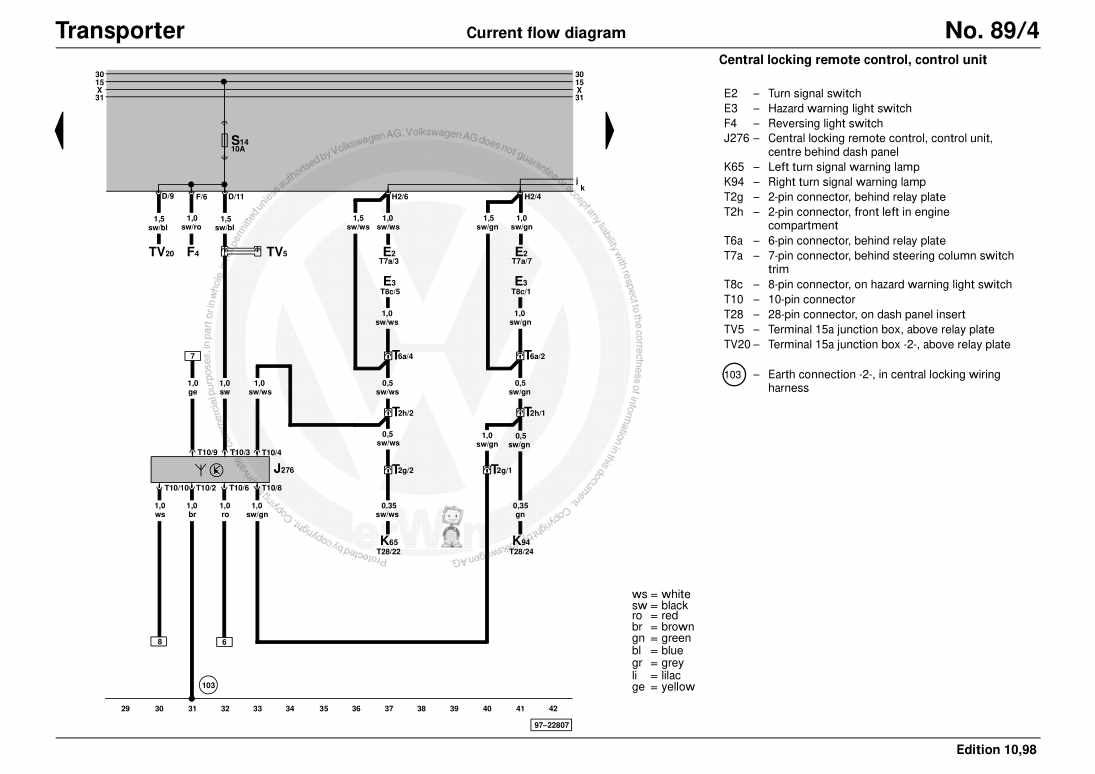
Examplepage for repair manual Current flow diagrams, electrical fault finding and fitting locations 09.90

For Transporter Bus/Campe / Transporter Doppelkab / Transporter Kasten / Transporter Kombi / Transporter Kombi/Cam / Transporter Pritsche (1996 - 2003) / Transporter Caravelle / Transporter Doppelkab / Transporter Kasten / Transporter Kombi/Cam / Transporter Pritsche (1991 - 1996)

34,60 € Details

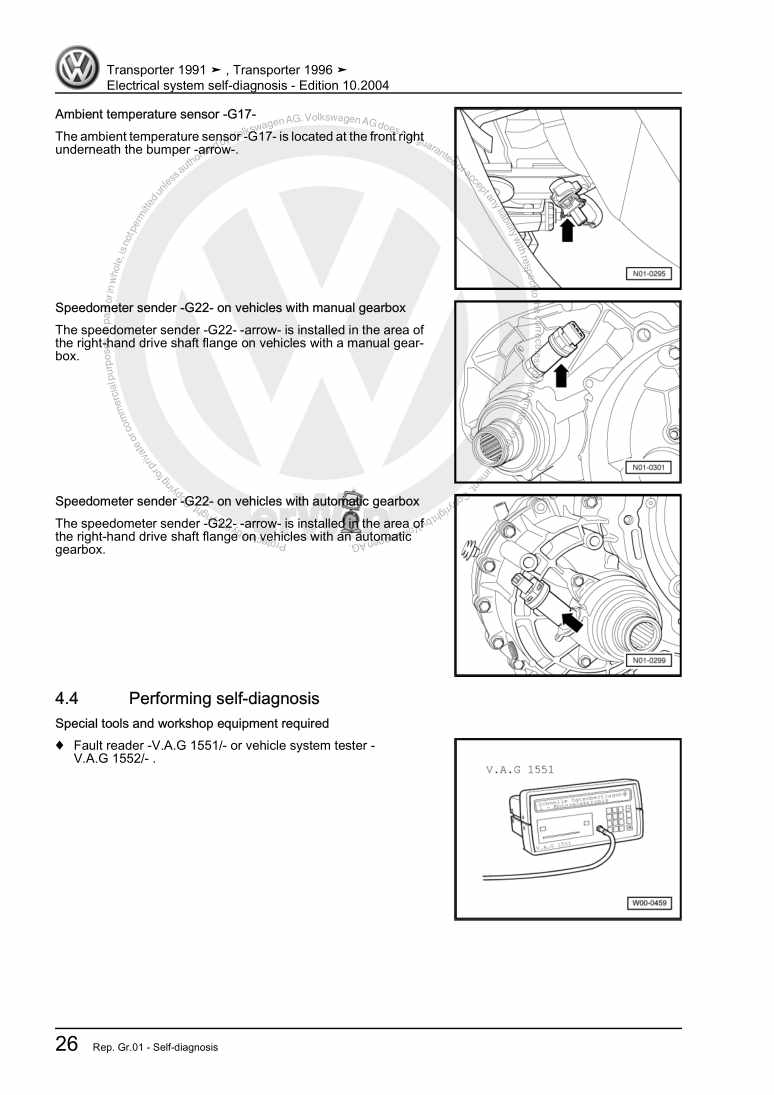
Electrical system self-diagnosis

Examplepage for repair manual Electrical system self-diagnosis

For Transporter Bus/Campe / Transporter Doppelkab / Transporter Kasten / Transporter Kombi / Transporter Kombi/Cam / Transporter Pritsche (1996 - 2003) / Transporter Caravelle / Transporter Doppelkab / Transporter Kasten / Transporter Kombi/Cam / Transporter Pritsche (1991 - 1996)

10,40 € Details

Heating, Air conditioner

Examplepage for repair manual Heating, Air conditioner

For Transporter Bus/Campe / Transporter Doppelkab / Transporter Kasten / Transporter Kombi / Transporter Kombi/Cam / Transporter Pritsche (1996 - 2003) / Transporter Caravelle / Transporter Doppelkab / Transporter Kasten / Transporter Kombi/Cam / Transporter Pritsche (1991 - 1996)

13,41 € Details

5-cylinder diesel engine (distributor-type injection pump)
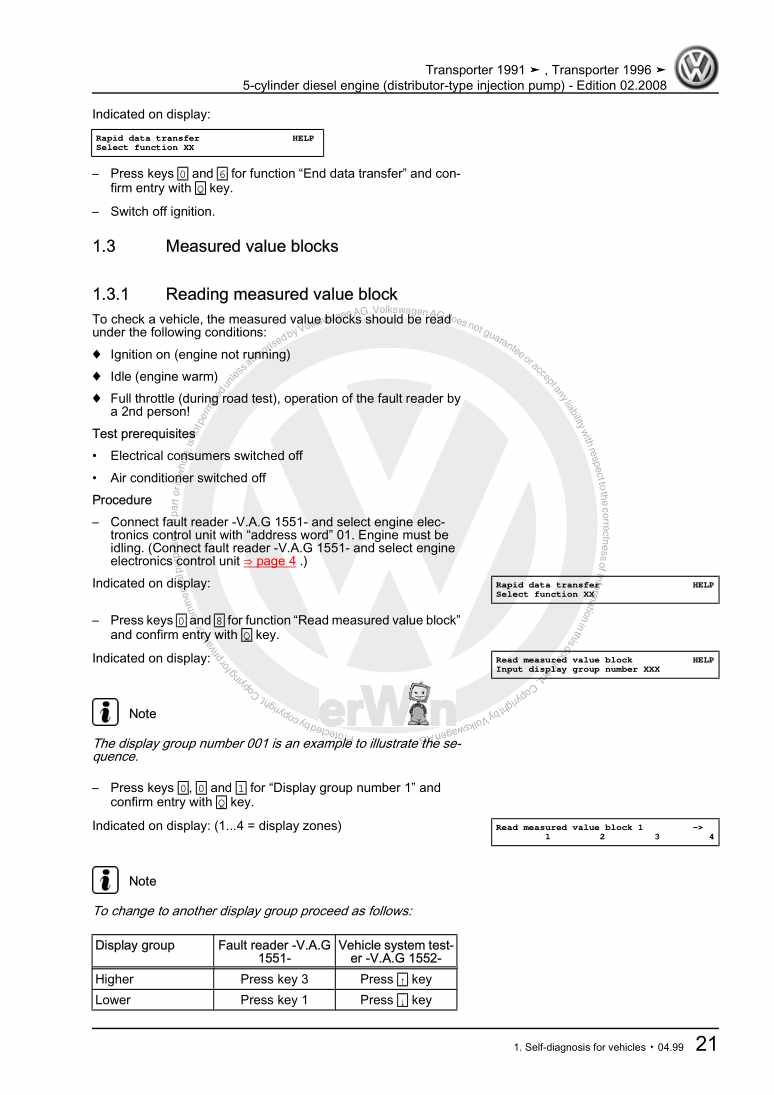
Examplepage for repair manual 5-cylinder diesel engine (distributor-type injection pump)

For Transporter Bus/Campe / Transporter Doppelkab / Transporter Kasten / Transporter Kombi / Transporter Kombi/Cam / Transporter Pritsche (1996 - 2003) / Transporter Caravelle / Transporter Doppelkab / Transporter Kasten / Transporter Kombi/Cam / Transporter Pritsche (1991 - 1996)

26,56 € Details

Self-diagnosis for automatic gearbox 01P - from 01.95
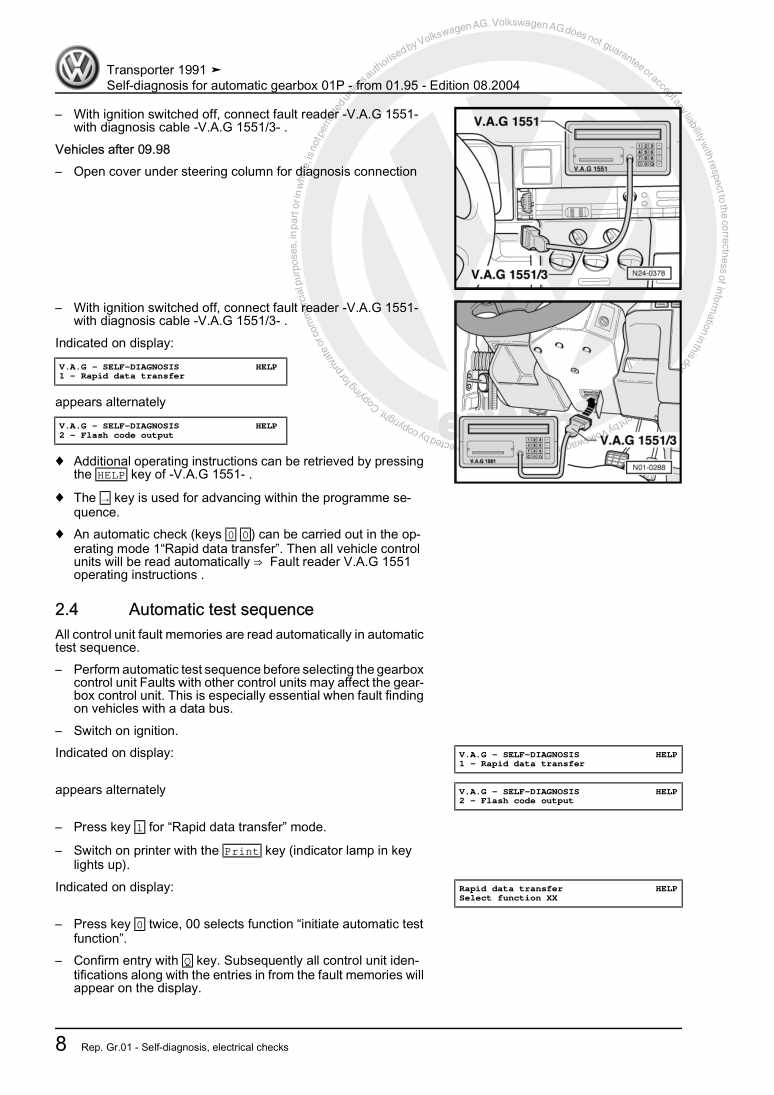
Examplepage for repair manual Self-diagnosis for automatic gearbox 01P - from 01.95

For Transporter Bus/Campe / Transporter Doppelkab / Transporter Kasten / Transporter Kombi / Transporter Kombi/Cam / Transporter Pritsche (1996 - 2003) / Transporter Caravelle / Transporter Doppelkab / Transporter Kasten / Transporter Kombi/Cam / Transporter Pritsche (1991 - 1996)

6,00 € Details

General body repairs, camping equipment California and Multivan
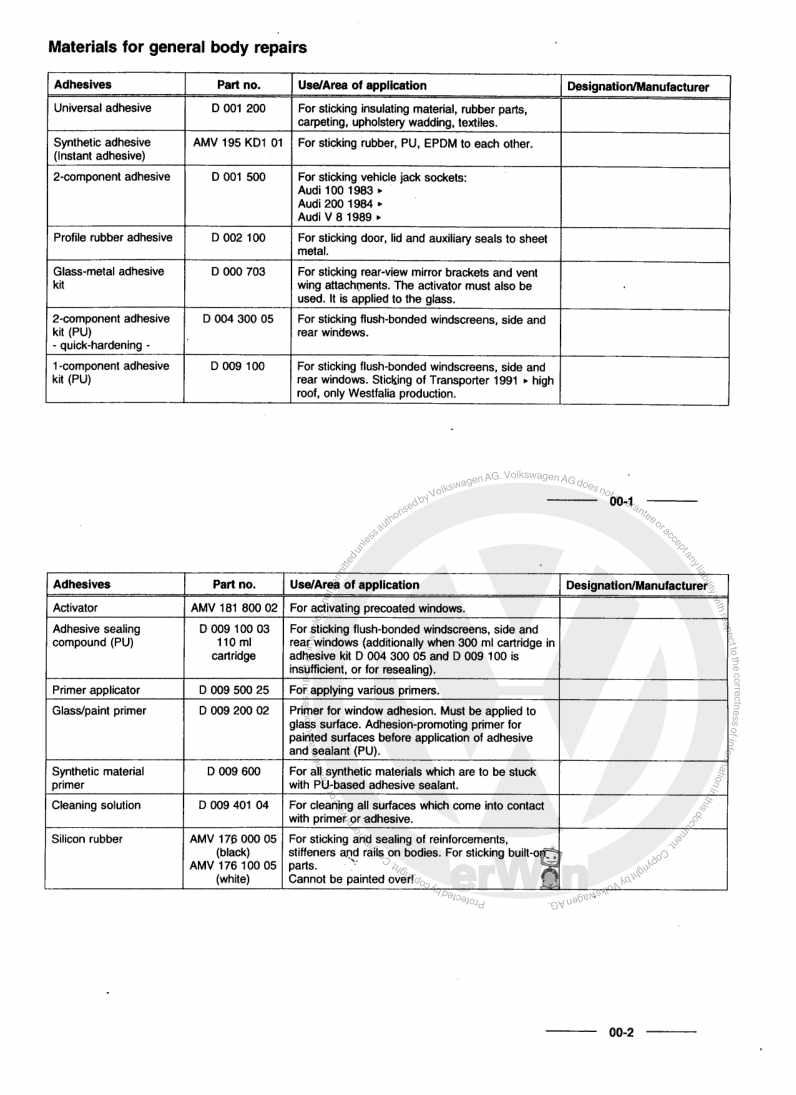
Examplepage for repair manual General body repairs, camping equipment California and Multivan

For Transporter Bus/Campe / Transporter Doppelkab / Transporter Kasten / Transporter Kombi / Transporter Kombi/Cam / Transporter Pritsche (1996 - 2003) / Transporter Caravelle / Transporter Doppelkab / Transporter Kasten / Transporter Kombi/Cam / Transporter Pritsche (1991 - 1996)

10,26 € Details

Our Best Sellers

Did you know? We also offer original spare parts.

car part 0BF598079 Rep.Satz

0BF598079

Rep.Satz

187,48 €

Details
car part 03L103647G Abdeckung

03L103647G

Abdeckung

17,65 €

Details
car part N90631202 Mutter

N90631202

Mutter

1,92 €

Details
car part G001790M3 Additiv

G001790M3

Additiv

20,39 €

Details
car part N10196105 Schraube

N10196105

Schraube

0,97 €

Details

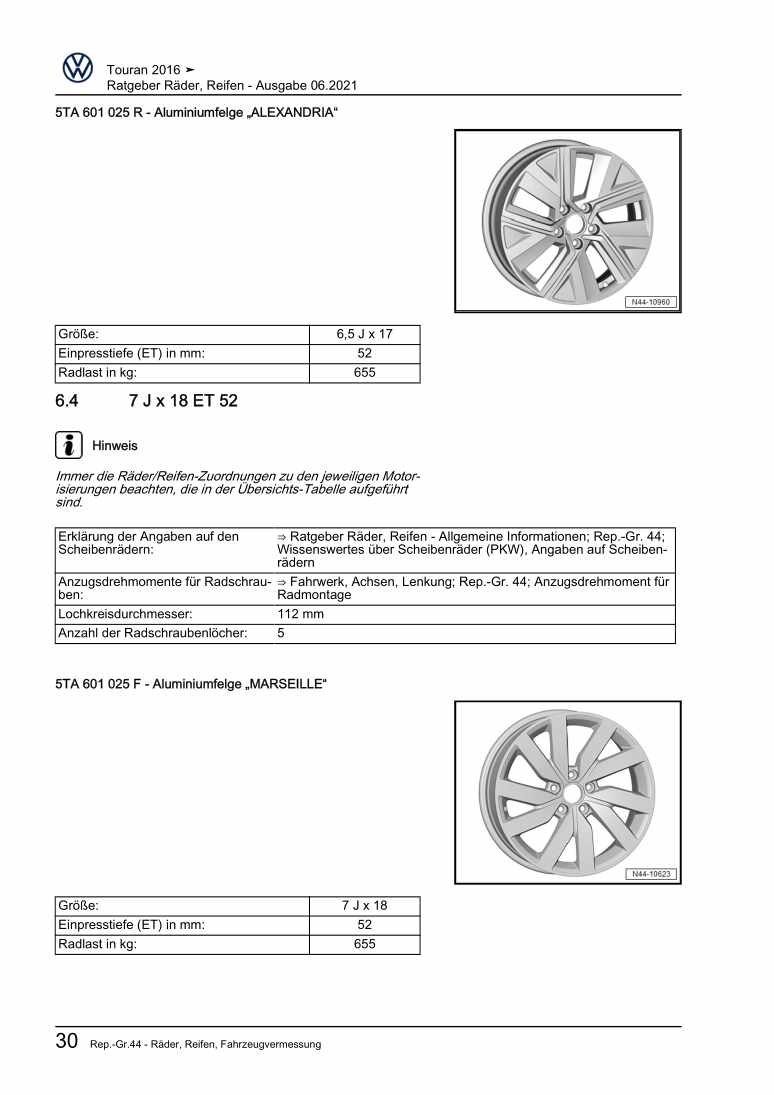
Ratgeber Räder, Reifen

Examplepage for repair manual Ratgeber Räder, Reifen

For Touran (2016 > )

5,52 € Details

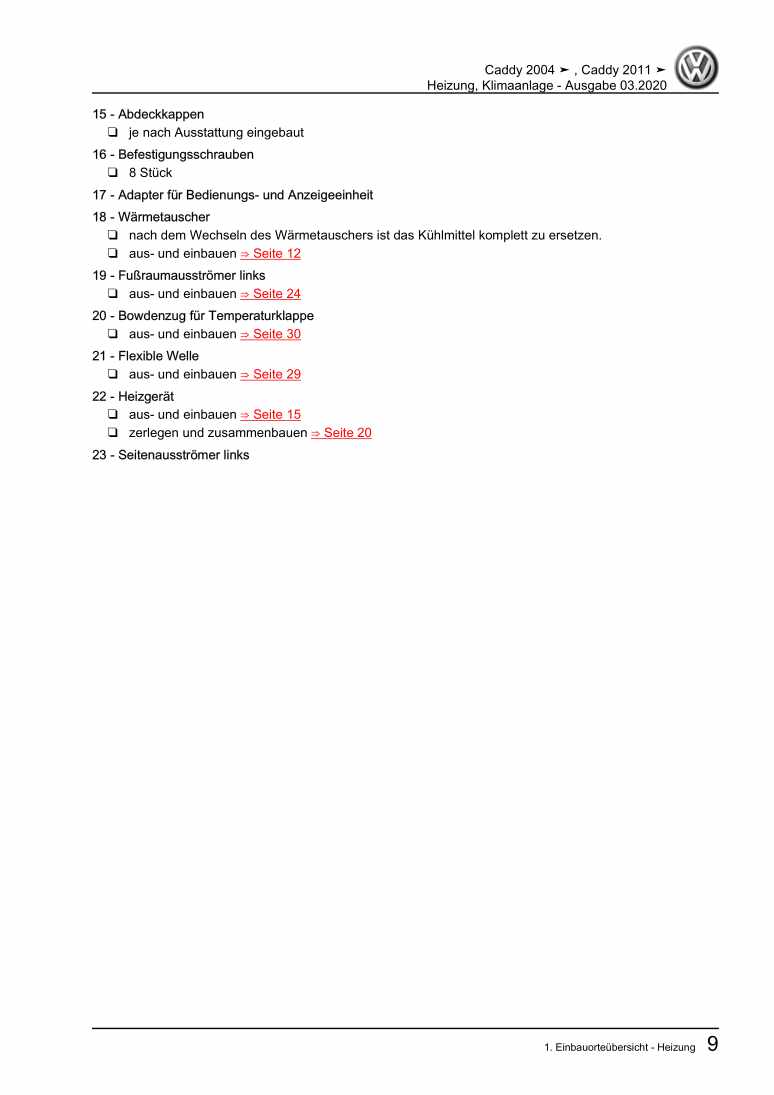
Heizung, Klimaanlage

Examplepage for repair manual Heizung, Klimaanlage

For Caddy (2004 - 2010) / Caddy KA / Caddy Maxi (2011)

12,76 € Details

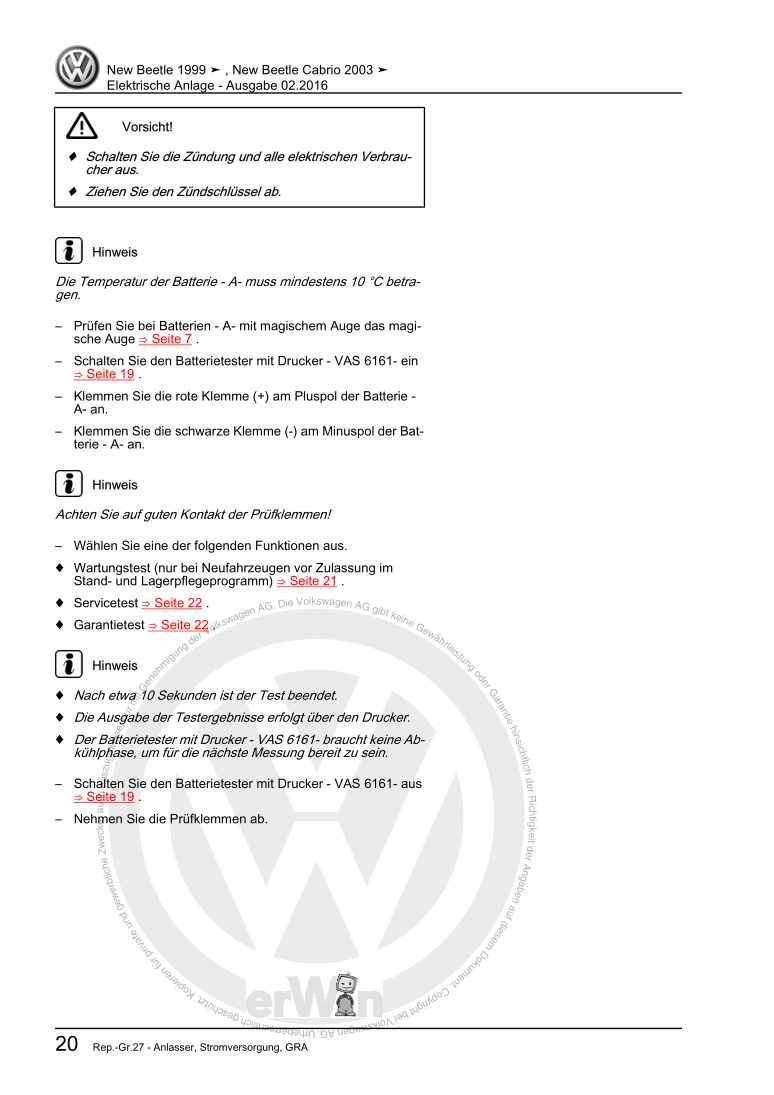
Elektrische Anlage

Examplepage for repair manual Elektrische Anlage

For New Beetle Cabrio (2003 - 2010) / New Beetle / New Beetle (USA) (1998 - 2007) / New Beetle (Europe) (1999 - 2002)

21,63 € Details

image/svg+xml About Clonck

Original repair manuals und spare parts

Our repair manuals are original, come directly from Volkswagen and meet the highest quality standards.

In our original parts shop we sell high-quality original spare parts from car manufacturers. Use the search function to enter the desired part number (OE number) and order the required spare part quickly and easily.

Highest quality standards

At Clonck, we want to make car mechanics and car professionals happy. That's why you will only find professional and high-quality repair manuals at Clonck that will help you to repair your vehicle professionally.

Our partners

Autohaus Schmidt GmbH
Automag GmbH Filiale Laim
KFZ-VERLAG GmbH
Zimpel und Franke GmbH

Clonck: The car repair shop - also as app!

Clonck App Logo Play Store

Clonck: Fitting car parts for your car repair

4,5 90

With Clonck you can order the right original spare parts in no time.

  • Add your car model
  • Select assembly group
  • Enter vehicle identification number (VIN)
  • Access to over 5,000 original repair manuals
Start app now
Clonck App Preview Car Mobilephone Carparts