DER AUTOREPARATUR-SHOP
0
Home » Anleitungen » Running gear, axles, steering
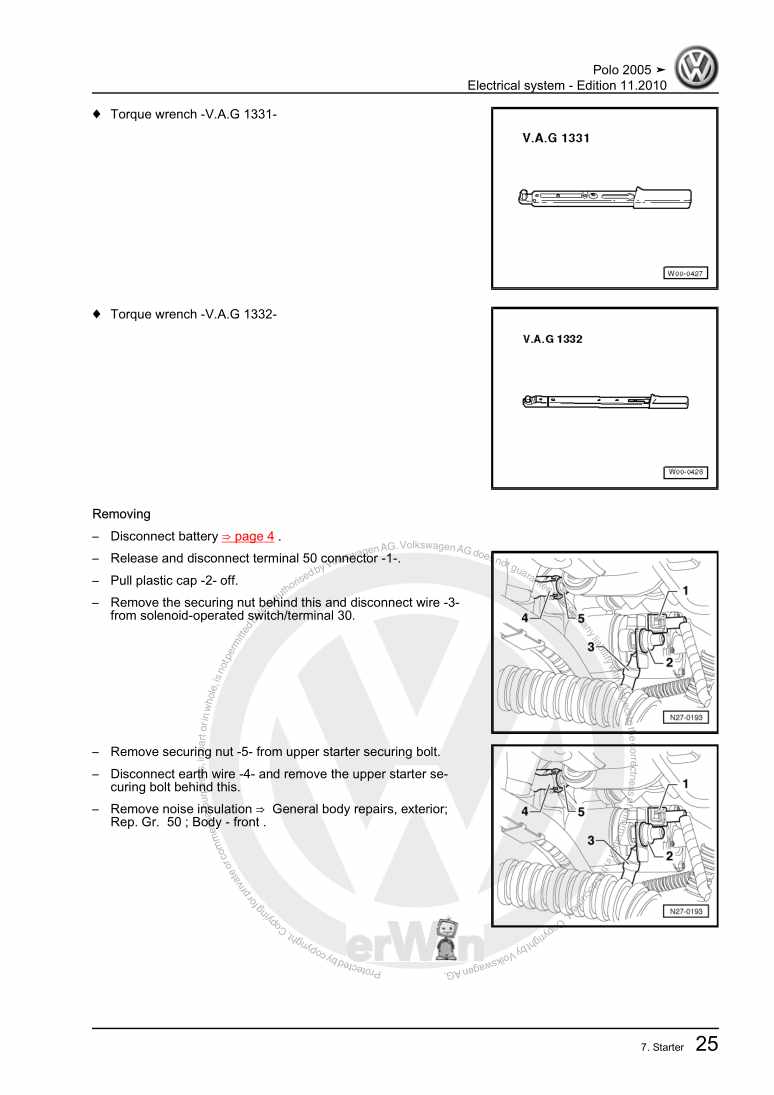
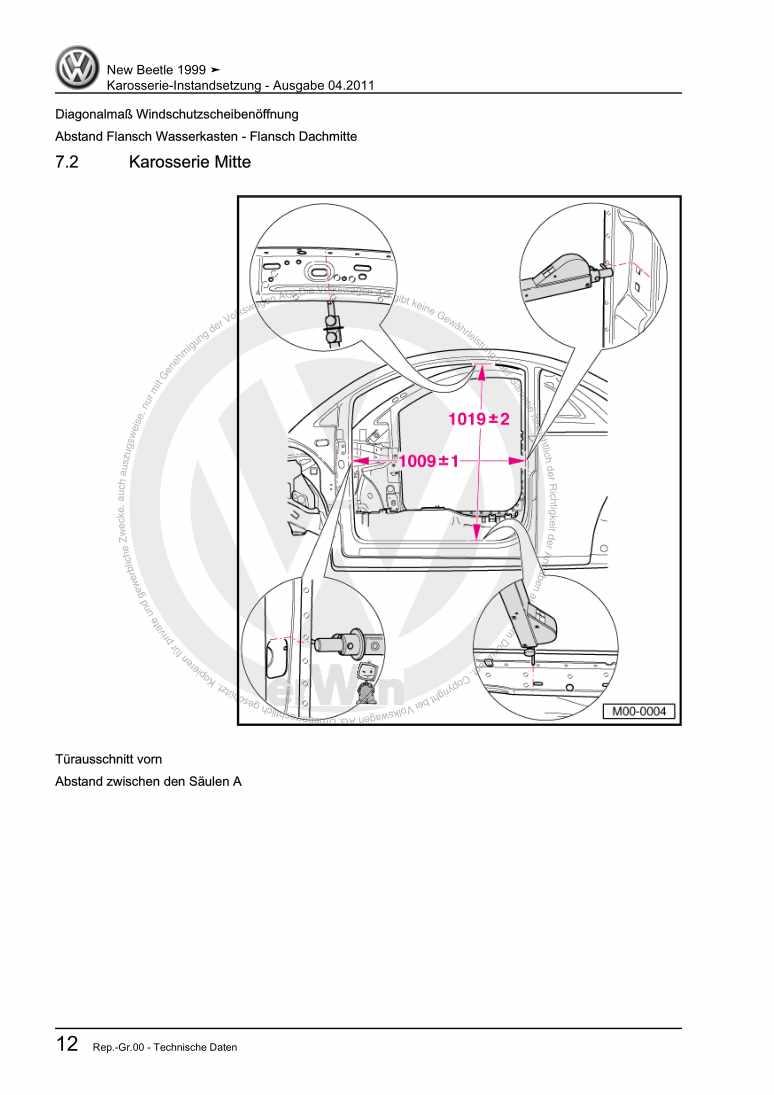
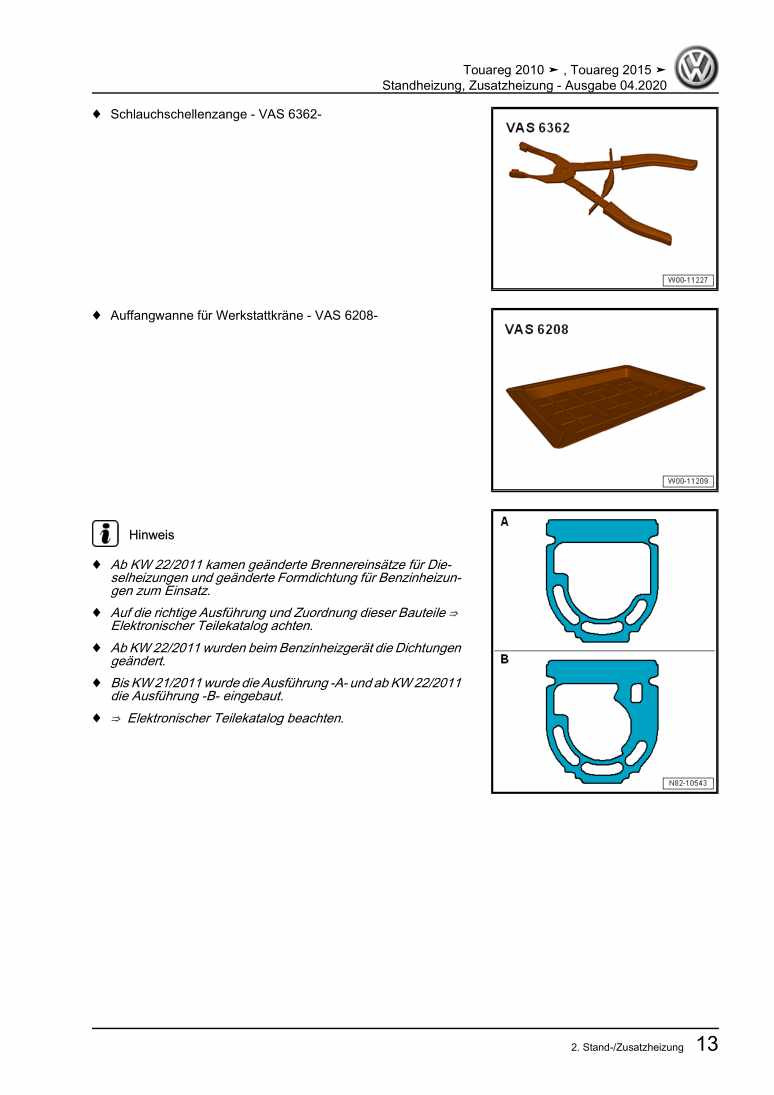
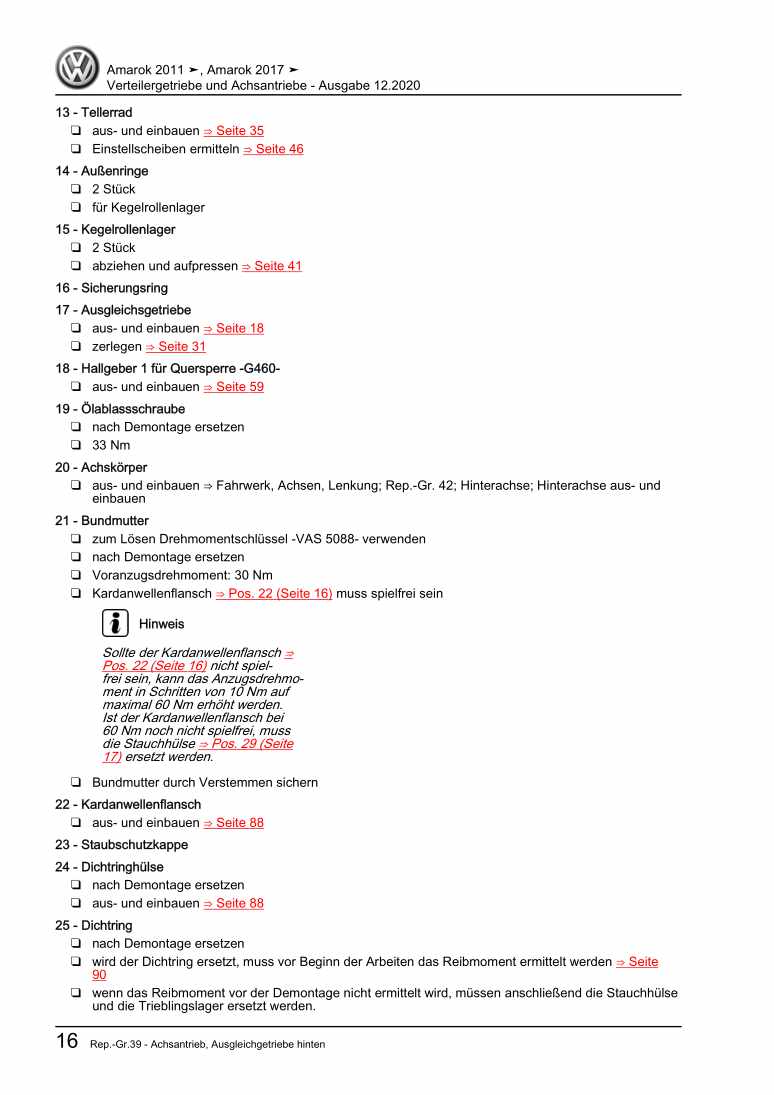
  • Beispielseite für Reparaturanleitung Running gear, axles, steering
  • Beispielseite für Reparaturanleitung 2 Running gear, axles, steering
  • Beispielseite für Reparaturanleitung 3 Running gear, axles, steering
  • Beispielseite für Reparaturanleitung Running gear, axles, steering
  • Beispielseite für Reparaturanleitung 2 Running gear, axles, steering
  • Beispielseite für Reparaturanleitung 3 Running gear, axles, steering

Running gear, axles, steering

Für Polo Sedan / Polo

Original VW-Reparaturanleitung


15,89 €inkl. 7% MwSt.

Sofort als Download verfügbar

Sprache: English

Digitale PDF Version

5.484 KB

190 Seiten

Detaillierte technische Daten

Sofort lesbar

Diese Reparaturanleitung umfasst: Appraisal of accident vehicles, Repairing front suspension, I - Assembly overview, subframe, anti-roll bar and suspension link, Specified torques for wheel bolts, Removing and fitting tyres with run-flat capability to wheel rims, Tyre Pressure Monitor Display (TPM), Wheel alignment, Protecting wheel centring seat against corrosion, Electrical/electronic components and fitting locations und Bleeding steering system, checking for leaks and checking fluid level. Mehr anzeigen
Sichere Zahlung per PayPal, Kreditkarte, Lastschrift, Sofort-Überweisung oder Giropay
PayPal Logo SEPA Lastschrift Logo Giropay Logo Sofort Überweisung Logo

Reparaturanleitung Polo Sedan / Polo Running gear, axles, steering pdf Download mit dem Inhalt:

Kapitelübersicht

  • Technical data
    1
  • 1 Check list for assessing the running gear on accident vehicles
    1
  • 2 General notes
    3
  • Front suspension
    4
  • 1 Appraisal of accident vehicles
    4
  • 2 Repairing front suspension
    5
  • 2.1 Overview - front axle
    5
  • 2.2 Raising wheel suspension to unladen position
    6
  • 3 I - Assembly overview, subframe, anti-roll bar and suspension link
    8
  • 3.1 Repairing threads in longitudinal member
    10
  • 3.2 Fixing subframe in position
    10
  • 3.3 Checking swivel joint
    12
  • 3.4 Removing and installing swivel joint
    12
  • 3.5 Installation position of swivel joints
    15
  • 3.6 Removing and installing suspension link
    15
  • 3.7 Removing and installing bracket
    17
  • 3.8 Renewing bonded rubber bush for bracket
    19
  • 3.9 Removing and installing subframe
    21
  • 3.10 Removing and installing anti-roll bar, vehicles with power-assisted steering
    24
  • 4 II - Assembly overview - wheel bearing
    26
  • 5 III - Assembly overview - suspension strut
    38
  • 5.1 Vehicle data sticker
    39
  • 5.2 Removing and installing suspension strut
    39
  • 5.3 Repairing front coil spring suspension strut
    43
  • 6 Repairing drive shafts
    46
  • 6.1 Removing and installing drive shafts
    46
  • 7 IV - Repairing drive shaft with constant velocity joint
    49
  • 7.1 Checking outer constant velocity joint
    54
  • 7.2 Checking inner constant velocity joint
    55
  • 8 V - Repairing drive shaft with triple roller joint
    57
  • 8.1 Dismantling and assembling triple roller joint
    60
  • Rear suspension
    64
  • 1 Appraisal of accident vehicles
    64
  • 2 Repairing rear axle
    65
  • 2.1 Removing and installing rear axle
    65
  • 2.2 Assembly overview - rear axle beam, drum brake
    68
  • 2.3 Assembly overview - rear axle beam, disc brake
    71
  • 2.4 Removing and installing bonded rubber bush
    73
  • 2.5 Removing and installing spring
    76
  • 2.6 Removing and installing shock absorber
    77
  • 2.7 Assembly overview - shock absorber on vehicle with front wheel drive
    79
  • 3 Repairing wheel bearing, drum brake
    82
  • 3.1 Assembly overview - wheel bearing
    82
  • 3.2 Removing and installing wheel bearing/hub unit on vehicles with drum brakes
    83
  • 4 Repairing wheel bearing (disc brake)
    85
  • 4.1 Assembly overview - wheel bearing
    85
  • 4.2 Removing and installing wheel bearing/wheel hub on vehicles with disc brakes
    86
  • Wheels, tyres, vehicle geometry
    89
  • 1 Appraisal of accident vehicles
    89
  • 2 Specified torques for wheel bolts
    90
  • 3 Removing and fitting tyres with run-flat capability to wheel rims
    91
  • 3.1 Pressing tyre off wheel rim
    91
  • 3.2 Removing tyre from wheel
    92
  • 3.3 Fitting tyre to wheel rim
    93
  • 4 Tyre Pressure Monitor Display (TPM)
    95
  • 5 Wheel alignment
    97
  • 5.1 General
    97
  • 5.2 Test prerequisites
    98
  • 5.3 Test preparations
    99
  • 5.4 Vehicle data sticker
    99
  • 5.5 Wheel alignment specifications
    99
  • 5.6 Transverse vehicle inclination “zero position”
    101
  • 5.7 Overview - wheel alignment procedure
    101
  • 5.8 Adjusting front axle camber
    101
  • 5.9 Check rear axle camber
    103
  • 5.10 Check rear axle toe
    103
  • 5.11 Adjusting front axle toe
    103
  • 5.12 Checking left and right wheel lock
    103
  • 6 Wheels, tyres
    105
  • 6.1 Vehicles with breakdown set
    105
  • 6.2 Tyre sealant
    105
  • 6.3 Removing a tyre
    105
  • 6.4 Fitting a new tyre
    106
  • 6.5 Disposal of tyre sealant
    106
  • 7 Protecting wheel centring seat against corrosion
    107
  • Steering
    108
  • 1 Appraisal of accident vehicles
    108
  • 2 Electrical/electronic components and fitting locations
    109
  • 3 Steering column
    110
  • 3.1 Removing and installing steering column
    110
  • 3.2 Checking steering column for damage
    114
  • 3.3 Removing and installing steering lock housing
    115
  • 3.4 Assembly overview - cross member for steering column
    116
  • 3.5 Removing and installing locking cable for ignition with key removal lock
    117
  • 3.6 Checking ignition key removal lock
    118
  • 3.7 Removing and installing mounting bracket
    118
  • 3.8 Removing and installing strut
    119
  • 4 Repairing mechanical (manual) steering box
    121
  • 4.1 Assembly overview - mechanical (manual) steering box
    121
  • 4.2 Removing and installing mechanical (manual) steering box
    122
  • 4.3 Dismantling and assembling mechanical (manual) steering box
    125
  • 4.4 Removing and installing track rod
    127
  • 4.5 Checking play, tightness and bellows of track rod ball joints
    128
  • 4.6 Checking and adjusting left track rod length
    128
  • 4.7 Allocation of track rod ball joints
    129
  • 4.8 Determining centre position of steering rack
    129
  • 4.9 Adjusting steering box
    129
  • 5 Repairing electrohydraulic power-assisted steering box (TRW)
    131
  • 5.1 Assembly overview - power-assisted steering box (TRW)
    131
  • 5.2 Removing and installing power-assisted steering box (TRW)
    132
  • 5.3 Removing and installing power steering sensor G250 (TRW)
    138
  • 5.4 Dismantling and assembling power-assisted steering box (TRW)
    141
  • 5.5 Removing and installing track rod (TRW)
    143
  • 5.6 Checking play, tightness and bellows of track rod ball joints (TRW)
    144
  • 5.7 Checking and adjusting left track rod length (TRW)
    144
  • 5.8 Allocation of track rod ball joints (TRW)
    145
  • 5.9 Determining centre position of rack (TRW)
    145
  • 5.10 Adjusting steering box (TRW)
    146
  • 5.11 Checking delivery pressure of motor/pump unit (TRW)
    146
  • 5.12 Removing and installing motor/pump unit (TRW)
    149
  • 5.13 Assembly overview - motor/pump unit (TRW)
    153
  • 5.14 Renewing reservoir of motor/pump unit (TRW)
    154
  • 6 Repairing electrohydraulic power-assisted steering box (Koyo)
    157
  • 6.1 Assembly overview - power-assisted steering box (Koyo)
    157
  • 6.2 Removing and installing power-assisted steering box (Koyo)
    158
  • 6.3 Removing and installing power steering sensor G250 ( Koyo)
    164
  • 6.4 Dismantling and assembling power-assisted steering box (Koyo)
    167
  • 6.5 Removing and installing track rod (Koyo)
    169
  • 6.6 Checking play, tightness and bellows of track rod ball joints (Koyo)
    170
  • 6.7 Checking and adjusting left track rod length (Koyo)
    170
  • 6.8 Allocation of track rod ball joints (Koyo)
    171
  • 6.9 Determining centre position of rack (Koyo)
    171
  • 6.10 Adjusting steering box (Koyo)
    171
  • 6.11 Checking delivery pressure of motor/pump unit (Koyo)
    172
  • 6.12 Removing and installing motor/pump unit (Koyo)
    174
  • 6.13 Assembly overview - motor/pump unit (Koyo)
    178
  • 6.14 Renewing reservoir of motor/pump unit (Koyo)
    179
  • 7 Bleeding steering system, checking for leaks and checking fluid level
    182
  • 7.1 Bleeding steering system
    182
  • 7.2 Checking steering system for leaks
    182
  • 7.3 Checking hydraulic fluid level of power-assisted steering
    183
Hersteller­bezeichnung Running gear, axles, steering
Hersteller Volkswagen
Passend für Polo Sedan (2003 - 2005) / Polo (2005 - 2007)
Passende Autotypen 9N2, 9N4
Kategorie Reparaturanleitung

Im Moment sind noch keine Bewertungen für dieses Produkt vorhanden.

Ähnliche Reparaturanleitungen

Electrical system

Beispielseite für Reparaturanleitung Electrical system

Für Polo Sedan (2003 - 2005) / Polo (2005 - 2007)

26,88 € Details

General-body-repairs; Exterior

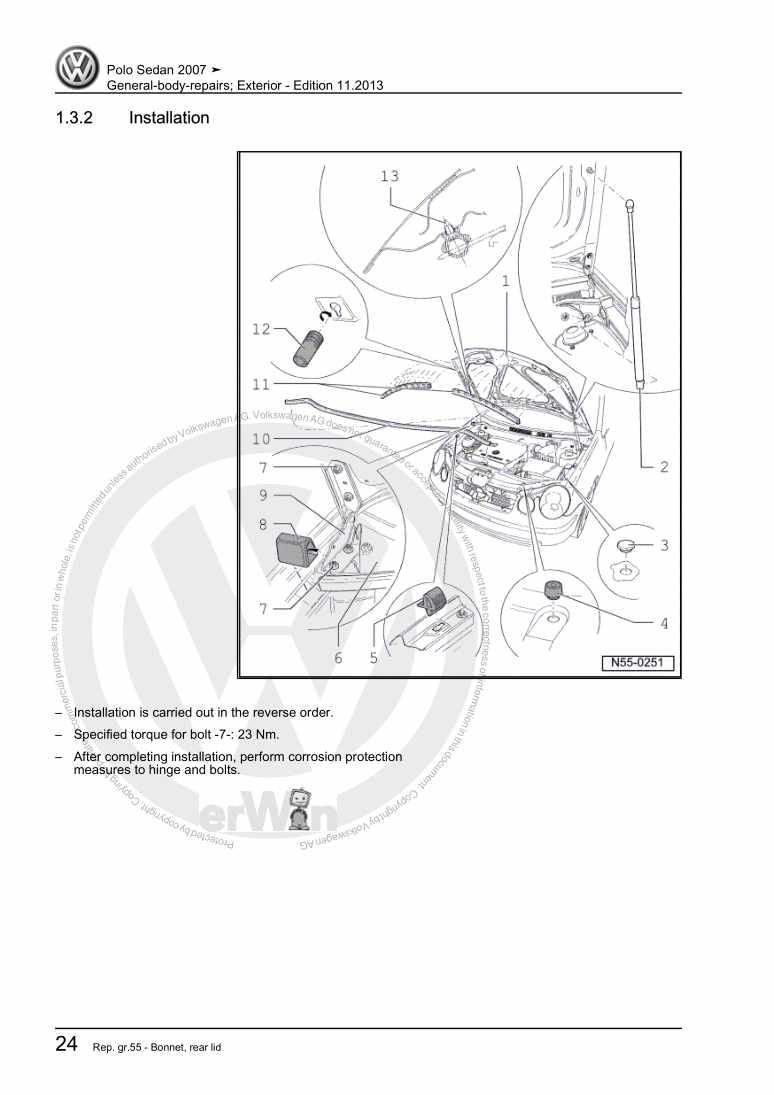
Beispielseite für Reparaturanleitung General-body-repairs; Exterior

Für Polo (2005 - 2007)

19,15 € Details

Heating, air conditioning

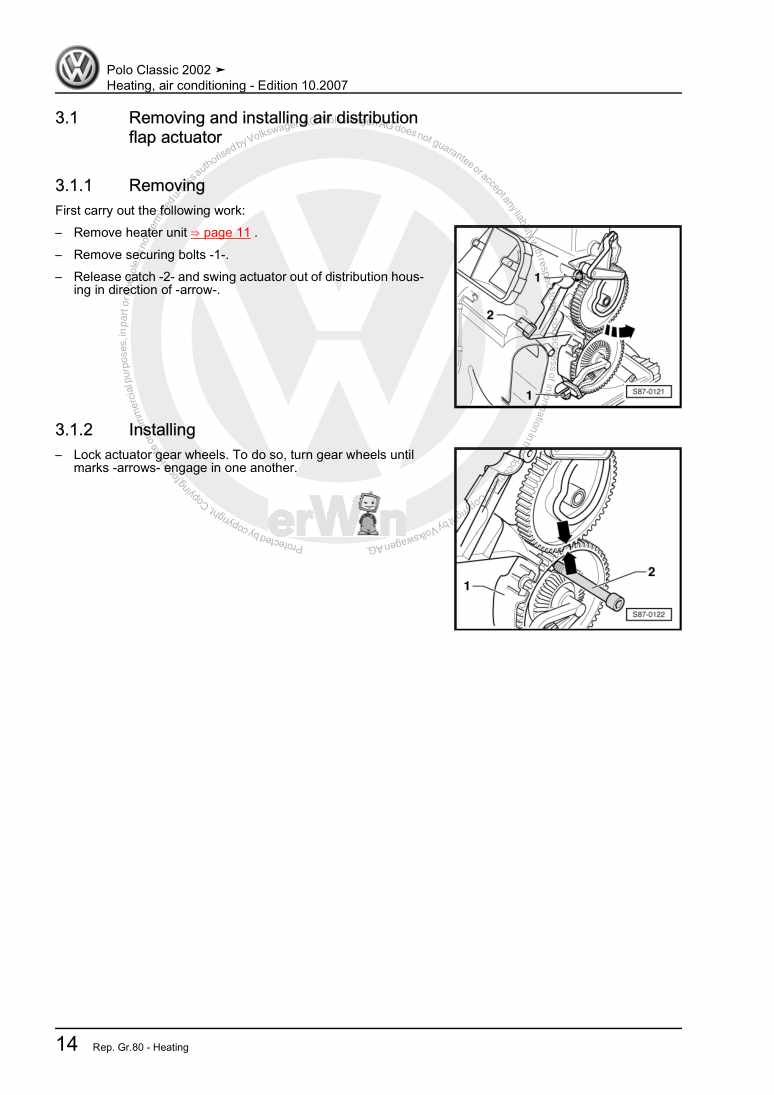
Beispielseite für Reparaturanleitung Heating, air conditioning

Für Polo Sedan (2003 - 2005) / Polo (2005 - 2007)

8,61 € Details

Basic equipment (only for Polo Limousine), From July 2003

Beispielseite für Reparaturanleitung Basic equipment (only for Polo Limousine), From July 2003

Für Polo Sedan (2003 - 2005) / Polo (2005 - 2007)

23,84 € Details

4 - Cyl. injection engine (2 valves, roller rocker fingers)

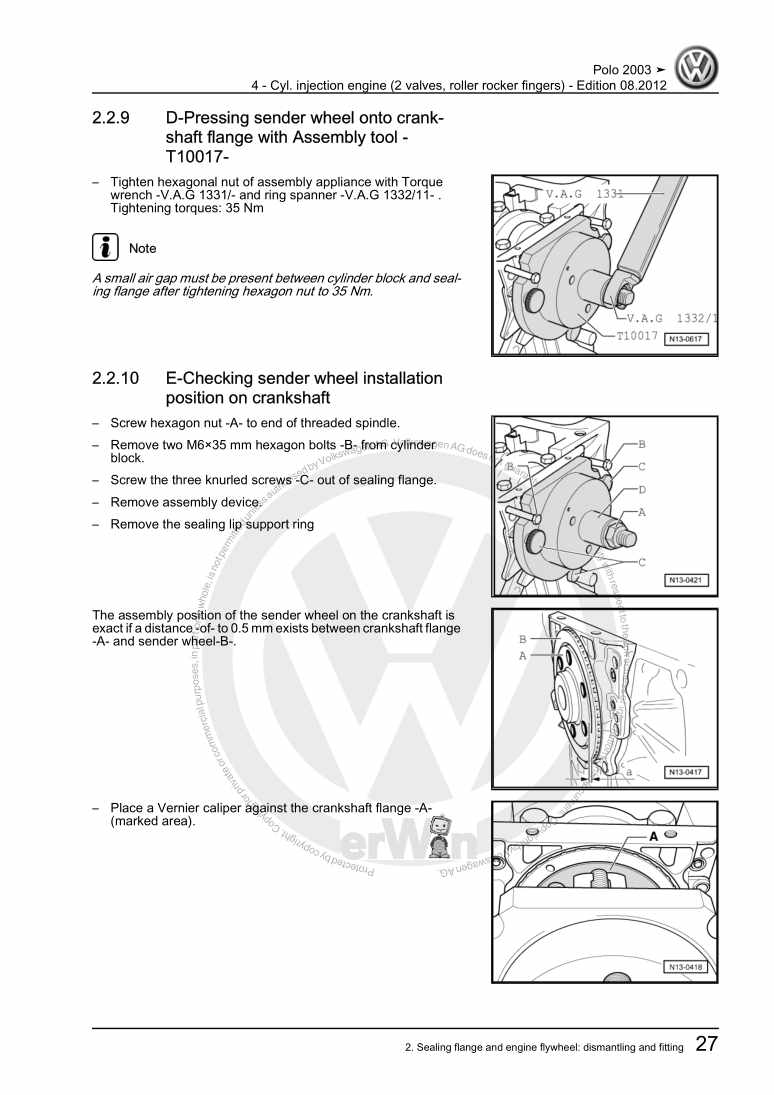
Beispielseite für Reparaturanleitung 4 - Cyl. injection engine (2 valves, roller rocker fingers)

Für Polo (2005 - 2007) / Polo (2005 - 2007)

12,33 € Details

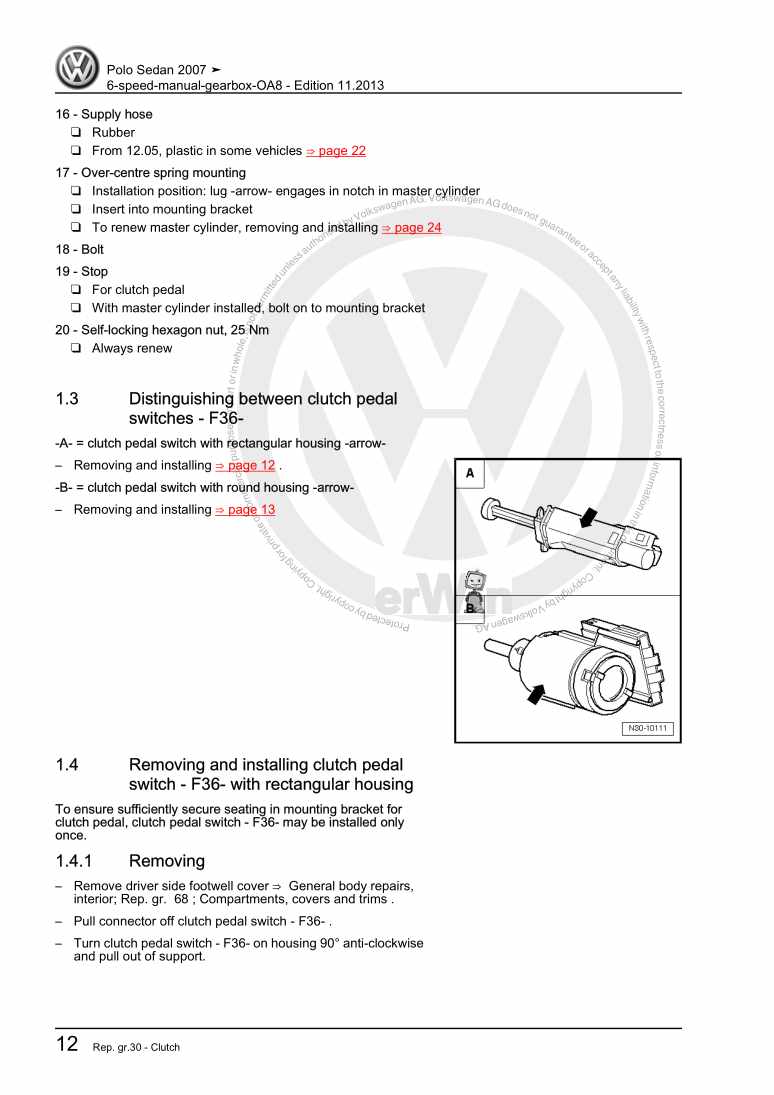
6-speed-manual-gearbox-OA8

Beispielseite für Reparaturanleitung 6-speed-manual-gearbox-OA8

Für Polo (2005 - 2007)

14,87 € Details

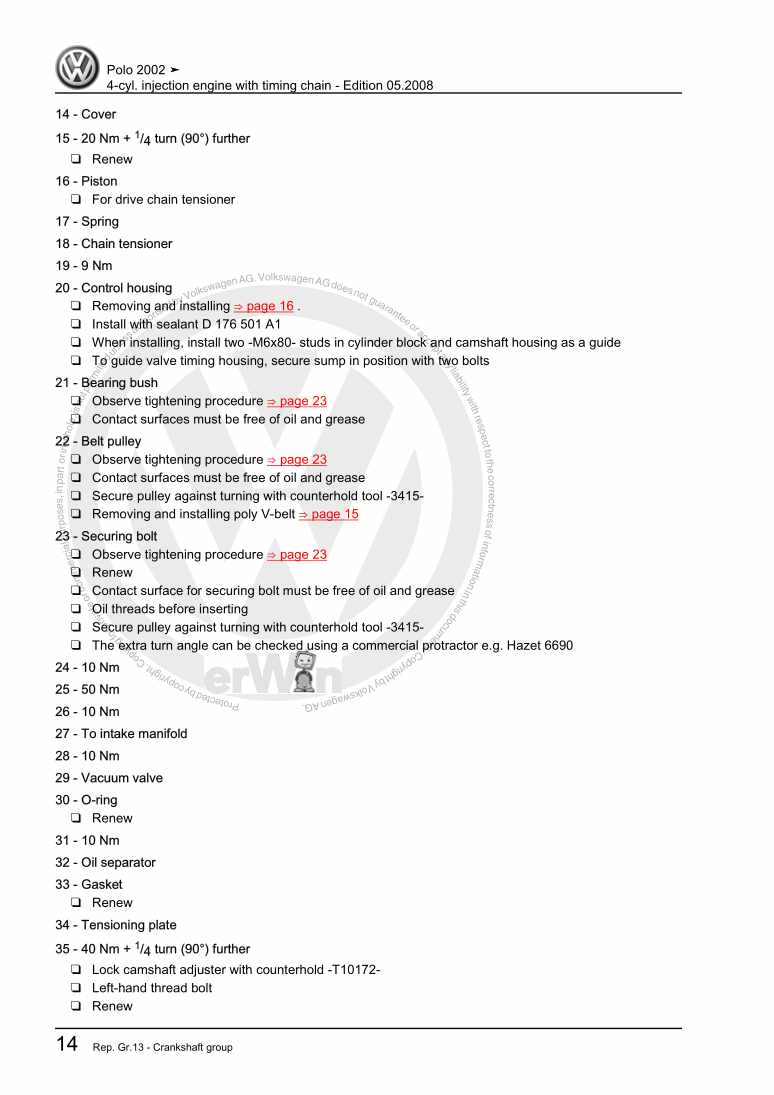
4-cyl. injection engine with timing chain

Beispielseite für Reparaturanleitung 4-cyl. injection engine with timing chain

Für Polo (2002 - 2005) / Polo (2005 - 2007) / Polo Sedan (2003 - 2005) / Polo (2005 - 2007)

12,83 € Details

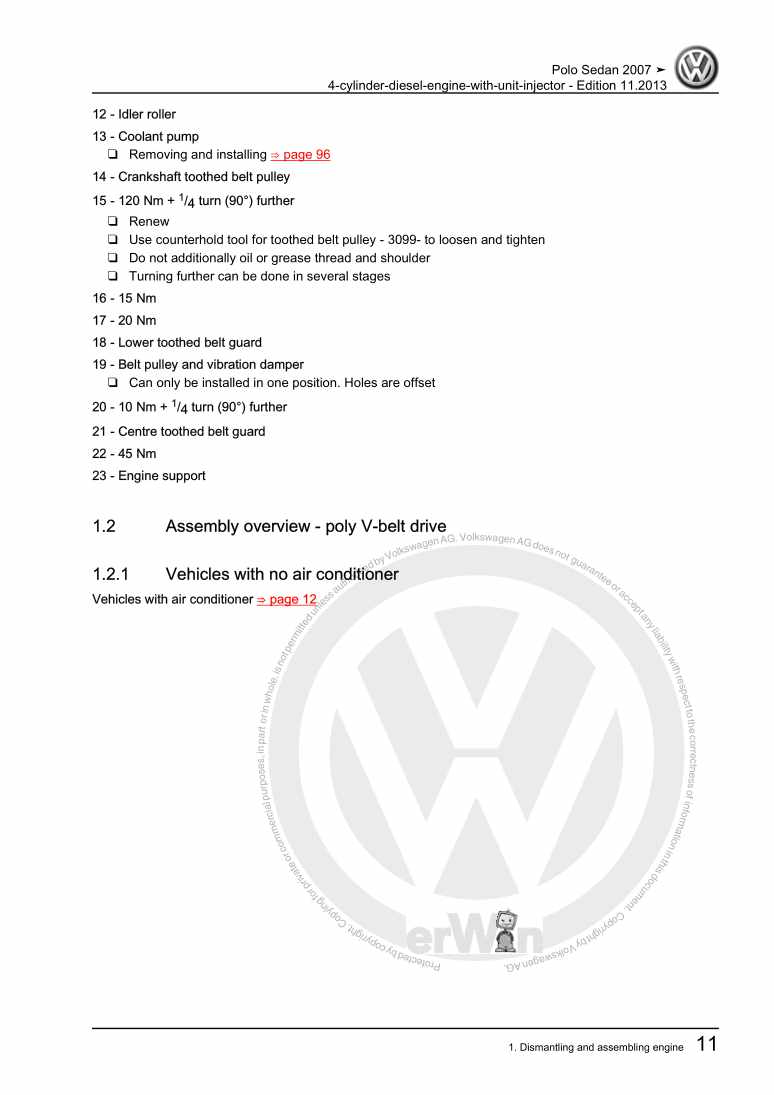
4-cylinder-diesel-engine-with-unit-injector

Beispielseite für Reparaturanleitung 4-cylinder-diesel-engine-with-unit-injector

Für Polo (2005 - 2007)

15,24 € Details

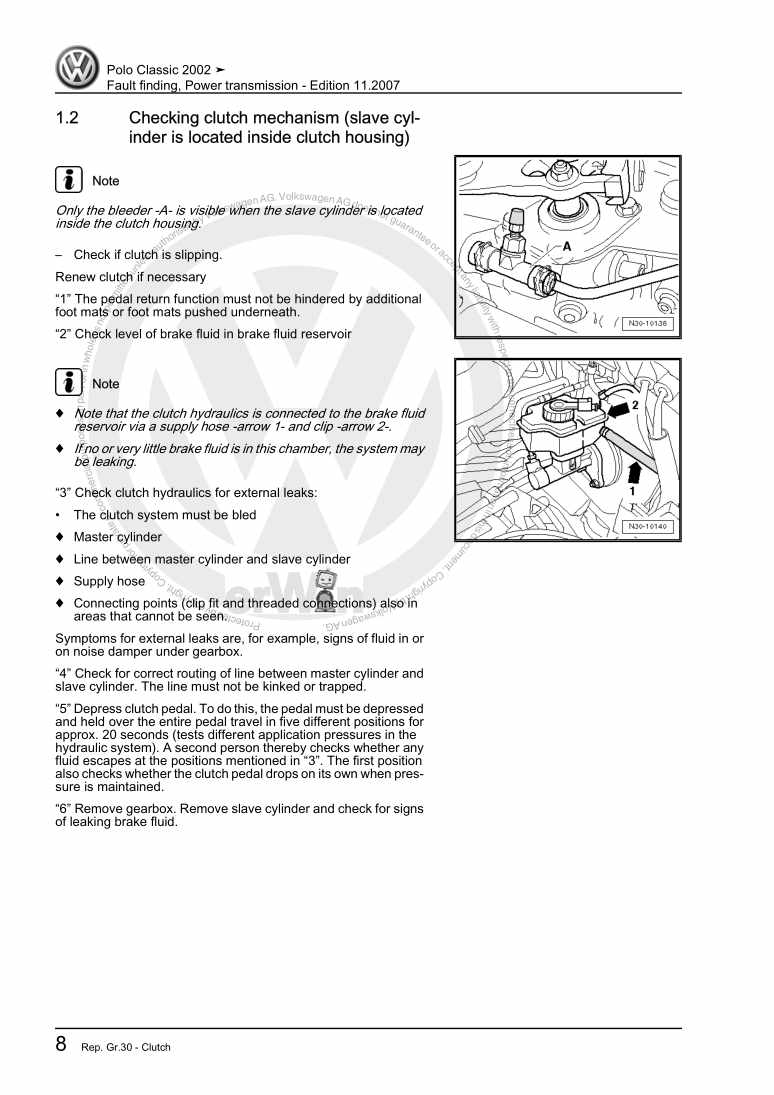
Fault finding, Power transmission

Beispielseite für Reparaturanleitung Fault finding, Power transmission

Für Polo / Polo Sedan (2002 - 2007) / Polo (2005 - 2007)

4,47 € Details

Electrical system

Beispielseite für Reparaturanleitung Electrical system

Für Polo (2005 - 2007)

27,01 € Details

Unsere Best Seller

Schon gewusst? Wir bieten auch originale Autoteile an.

Autoteil 5NB857189GHZG Blende

5NB857189GHZG

Blende

314,75 €

Details
Autoteil 4H0035402 Lautsprech

4H0035402

Lautsprech

133,98 €

Details
Autoteil 5Z0941589 Relais

5Z0941589

Relais

39,48 €

Details
Autoteil 7H7067081 Gasdrfeder

7H7067081

Gasdrfeder

35,85 €

Details
Autoteil 0BF598079 Rep.Satz

0BF598079

Rep.Satz

187,48 €

Details

Karosserie-Instandsetzung

Beispielseite für Reparaturanleitung Karosserie-Instandsetzung

Für New Beetle / New Beetle (USA) (1998 - 2007) / New Beetle (Europe) (1999 - 2002)

10,12 € Details

Standheizung, Zusatzheizung

Beispielseite für Reparaturanleitung Standheizung, Zusatzheizung

Für Touareg (2011) / Touareg FL (2015 > )

6,64 € Details

Verteilergetriebe und Achsantriebe

Beispielseite für Reparaturanleitung Verteilergetriebe und Achsantriebe

Für Amarok (2011) / Amarok (2013) / Amarok (2017 >) / Amarok (2017)

16,26 € Details

image/svg+xml Über Clonck

Originale Reparaturanleitungen und Ersatzteile

Unsere Reparaturanleitungen sind Originale, kommen direkt von Volkswagen und erfüllen die höchsten Qualitätsstandards.

In unserem Originalteile-Shop verkaufen wir hochwertige Originalersatzteile der Fahrzeughersteller. Mithilfe der Suche gibst du die gewünschte Teilenummer (OE-Nummer) ein und bestellst schnell und einfach das benötigte Ersatzteil.

Höchste Qualitätsstandards

Bei Clonck wollen wir Autoschrauber und Kfz-Profis glücklich machen. Aus diesem Grund findest du bei Clonck ausschließlich professionelle und hochwertige Reparaturanleitungen, mit deren Hilfe du dein Fahrzeug fachgerecht reparieren kannst.

Unsere Partner

Autohaus Schmidt GmbH
Automag GmbH Filiale Laim
KFZ-VERLAG GmbH
Zimpel und Franke GmbH

Clonck: Der Autoreparatur-Shop - gibt's auch als App!

Clonck App Logo Play Store

Clonck: Passende Autoteile für deine Autoreparatur

4,5 90

Mit Clonck bestellst du die richtigen Originalersatzteile im Handumdrehen.

  • Fahrzeugmodell hinzufügen
  • Baugruppe auswählen
  • Fahrzeug-Identifizierungsnummer (FIN) eingeben
  • Über 5.000 originale Reparaturanleitungen einsehen
Jetzt App starten
Clonck App Preview Auto Mobiltelefon Autoteile