DER AUTOREPARATUR-SHOP
0
Home » Anleitungen » Running gear, axles, steering
  • Beispielseite für Reparaturanleitung Running gear, axles, steering
  • Beispielseite für Reparaturanleitung 2 Running gear, axles, steering
  • Beispielseite für Reparaturanleitung 3 Running gear, axles, steering
  • Beispielseite für Reparaturanleitung Running gear, axles, steering
  • Beispielseite für Reparaturanleitung 2 Running gear, axles, steering
  • Beispielseite für Reparaturanleitung 3 Running gear, axles, steering

Running gear, axles, steering

Für Golf VII / Golf Variant / eGolf / Golf / e-Golf

Original VW-Reparaturanleitung


39,28 €inkl. 7% MwSt.

Sofort als Download verfügbar

Sprache: English

Digitale PDF Version

34.084 KB

570 Seiten

Detaillierte technische Daten

Sofort lesbar

Diese Reparaturanleitung umfasst: Front axle, Subframe, Suspension strut, upper suspension link, Wheel bearing, Drive shaft, Electronically controlled damping system, Vehicle level sender, Adaptive cruise control, Front camera for driver assist systems und Sensors. Mehr anzeigen
Sichere Zahlung per PayPal, Kreditkarte, Lastschrift, Sofort-Überweisung oder Giropay
PayPal Logo SEPA Lastschrift Logo Giropay Logo Sofort Überweisung Logo

Reparaturanleitung Golf VII / Golf Variant / eGolf / Golf / e-Golf Running gear, axles, steering pdf Download mit dem Inhalt:

Kapitelübersicht

  • Technical data
    1
  • 1 Safety information
    1
  • 1.1 Safety measures when working on vehicles with a start/stop system
    1
  • 1.2 Safety precautions when working on high-voltage system
    1
  • 1.3 Safety precautions when working in the vicinity of high-voltage components
    2
  • 1.4 Safety precautions when working on subframe
    2
  • 2 Repair notes
    3
  • 2.1 Leaks at shock absorbers
    3
  • 2.2 Noises from shock absorbers
    3
  • 2.3 Checking shock absorbers when removed
    4
  • 2.4 Steering rack
    4
  • 2.5 Gaskets and seals
    5
  • 2.6 Nuts and bolts
    5
  • 2.7 Electrical components
    5
  • 2.8 Raising suspension to unladen position (vehicles with coil springs)
    6
  • 3 Evaluating accident vehicles
    12
  • 3.1 Check list for evaluating running gear on accident vehicles
    12
  • 4 Disposal
    14
  • 4.1 Releasing gas and draining front gas-filled shock absorbers
    14
  • 4.2 Releasing gas and draining rear gas-filled shock absorbers
    16
  • Front suspension
    18
  • 1 Front axle
    18
  • 1.1 Overview of fitting locations - front axle
    18
  • 2 Subframe
    19
  • 2.1 Assembly overview – subframe
    19
  • 2.2 Removing and installing subframe without steering rack
    21
  • 2.3 Removing and installing subframe with steering rack
    30
  • 2.4 Repairing subframe
    61
  • 2.5 Removing and installing anti-roll bar
    73
  • 2.6 Removing and installing coupling rod
    78
  • 2.7 Repairing thread in longitudinal member
    80
  • 2.8 Fixing subframe in position
    80
  • 2.9 Lowering subframe
    85
  • 3 Suspension strut, upper suspension link
    96
  • 3.1 Assembly overview - suspension strut, upper suspension link
    96
  • 3.2 Removing and installing suspension strut
    97
  • 3.3 Repairing suspension strut
    108
  • 4 Lower suspension link, swivel joint
    112
  • 4.1 Assembly overview - lower suspension link, swivel joint
    112
  • 4.2 Removing and installing lower suspension link
    113
  • 4.3 Checking swivel joint
    127
  • 4.4 Removing and installing swivel joint
    128
  • 4.5 Renewing bonded rubber bush for lower suspension link
    133
  • 5 Wheel bearing
    141
  • 5.1 Assembly overview – wheel bearing assembly
    141
  • 5.2 Removing and installing wheel bearing housing
    141
  • 5.3 Removing and installing wheel bearing unit
    148
  • 6 Drive shaft
    153
  • 6.1 Overview - drive shaft
    153
  • 6.2 Assembly overview – drive shaft
    154
  • 6.3 Removing and installing drive shaft
    160
  • 6.4 Loosening and tightening threaded connections of drive shaft
    186
  • 6.5 Removing and installing drive shaft heat shield
    187
  • 6.6 Dismantling and assembling drive shaft
    188
  • 6.7 Checking outer constant velocity joint
    206
  • 6.8 Checking inner constant velocity joint
    207
  • Rear suspension
    211
  • 1 Rear axle
    211
  • 1.1 Overview – rear axle
    211
  • 1.2 Lowering rear axle
    215
  • 1.3 Removing and installing rear axle
    227
  • 1.4 Removing and installing shield for rear axle
    248
  • 2 Axle beam
    250
  • 2.1 Assembly overview – axle beam
    250
  • 2.2 Renewing bonded rubber bush for axle beam
    250
  • 3 Subframe
    259
  • 3.1 Assembly overview – subframe
    259
  • 3.2 Assembly overview - add-on parts for subframe
    261
  • 3.3 Fixing subframe in position
    262
  • 3.4 Repairing subframe
    283
  • 4 Anti-roll bar
    298
  • 4.1 Assembly overview - anti-roll bar
    298
  • 4.2 Removing and installing anti-roll bar
    299
  • 4.3 Removing and installing coupling rod
    301
  • 5 Suspension link, track rod
    304
  • 5.1 Assembly overview - transverse link
    304
  • 5.2 Assembly overview - track rod
    308
  • 5.3 Removing and installing upper transverse link
    309
  • 5.4 Removing and installing lower transverse link
    312
  • 5.5 Removing and installing track rod
    314
  • 6 Suspension strut, shock absorber, spring
    317
  • 6.1 Assembly overview - suspension strut, shock absorber, spring
    317
  • 6.2 Removing and installing shock absorber
    319
  • 6.3 Repairing shock absorber
    326
  • 6.4 Removing and installing spring
    329
  • 7 Wheel bearing assembly, trailing arm
    340
  • 7.1 Assembly overview – wheel bearing assembly
    340
  • 7.2 Assembly overview - trailing arm
    343
  • 7.3 Removing and installing wheel bearing housing
    345
  • 7.4 Removing and installing wheel bearing unit
    358
  • 7.5 Renewing bonded rubber bush for wheel bearing housing
    369
  • 7.6 Removing and installing trailing arm with mounting bracket
    372
  • 7.7 Repairing trailing arm, standard trailing arm bushes
    381
  • 8 Drive shaft
    387
  • 8.1 Assembly overview – drive shaft
    387
  • 8.2 Removing and installing drive shaft
    389
  • 8.3 Dismantling and assembling drive shaft
    394
  • 8.4 Loosening and tightening threaded connections of drive shaft
    400
  • 8.5 Checking outer constant velocity joint
    402
  • 8.6 Checking inner constant velocity joint
    404
  • Self-levelling suspension
    407
  • 1 Electronically controlled damping system
    407
  • 1.1 Assembly overview - electronically controlled damping system
    407
  • 1.2 Removing and installing electronically controlled damping control unit J250
    413
  • 1.3 Removing and installing front body acceleration senders G341/G342
    416
  • 1.4 Removing and installing rear body acceleration sender G343
    417
  • 2 Vehicle level sender
    419
  • 2.1 Assembly overview - front vehicle level senders
    419
  • 2.2 Assembly overview - rear vehicle level senders
    420
  • 2.3 Removing and installing front vehicle level senders G78/G289
    422
  • 2.4 Removing and installing rear vehicle level senders G76/G77
    424
  • Wheels, tyres, vehicle geometry
    428
  • 1 Wheel alignment
    428
  • 1.1 Notes for wheel alignment
    428
  • 1.2 Conditions for testing
    429
  • 1.3 Test preparations
    429
  • 1.4 Specifications for wheel alignment
    431
  • 1.5 Setting vehicle to initial position for wheel alignment
    442
  • 1.6 Wheel alignment procedure
    443
  • 1.7 Necessity of wheel alignment
    444
  • 1.8 Adjusting camber at front wheels
    446
  • 1.9 Adjusting camber on rear axle
    448
  • 1.10 Adjusting toe at rear axle
    450
  • 1.11 Adjusting front axle toe
    451
  • 1.12 Wheel runout compensation
    452
  • 1.13 Vehicle data sticker
    453
  • 1.14 Checking maximum wheel lock
    453
  • 2 Adaptive cruise control
    455
  • 2.1 Calibrating adaptive cruise control
    455
  • 3 Front camera for driver assist systems
    480
  • 3.1 Calibrating front camera for assist systems
    480
  • Steering
    488
  • 1 Steering wheel
    488
  • 1.1 Assembly overview – steering wheel
    488
  • 1.2 Removing and installing steering wheel
    488
  • 2 Steering column
    491
  • 2.1 Assembly overview – steering column
    491
  • 2.2 Checking steering column for damage
    492
  • 2.3 Handling and transporting steering column
    493
  • 2.4 Removing and installing steering column
    494
  • 2.5 Removing and installing control unit for electronic steering column lock J764
    506
  • 3 Steering rack
    508
  • 3.1 Assembly overview – steering rack
    508
  • 3.2 Removing and installing steering rack
    513
  • 3.3 Removing and installing boot
    549
  • 3.4 Removing and installing track rod
    552
  • 3.5 Removing and installing track rod ball joint
    557
  • 3.6 Repairing steering rack
    558
  • 4 Sensors
    564
  • 4.1 Removing and installing steering angle sender G85
    564
Hersteller­bezeichnung Running gear, axles, steering
Hersteller Volkswagen
Passend für Golf VII (2013) / Golf Variant (2014) / eGolf (ab 2014) / Golf VII (2017) / Golf (2017) / e-Golf (2017)
Passende Autotypen 5G1, BE1, BQ1, BV5, BE2
Kategorie Reparaturanleitung

Im Moment sind noch keine Bewertungen für dieses Produkt vorhanden.

Ähnliche Reparaturanleitungen

Fuel supply system - petrol engines, hybrid vehicles
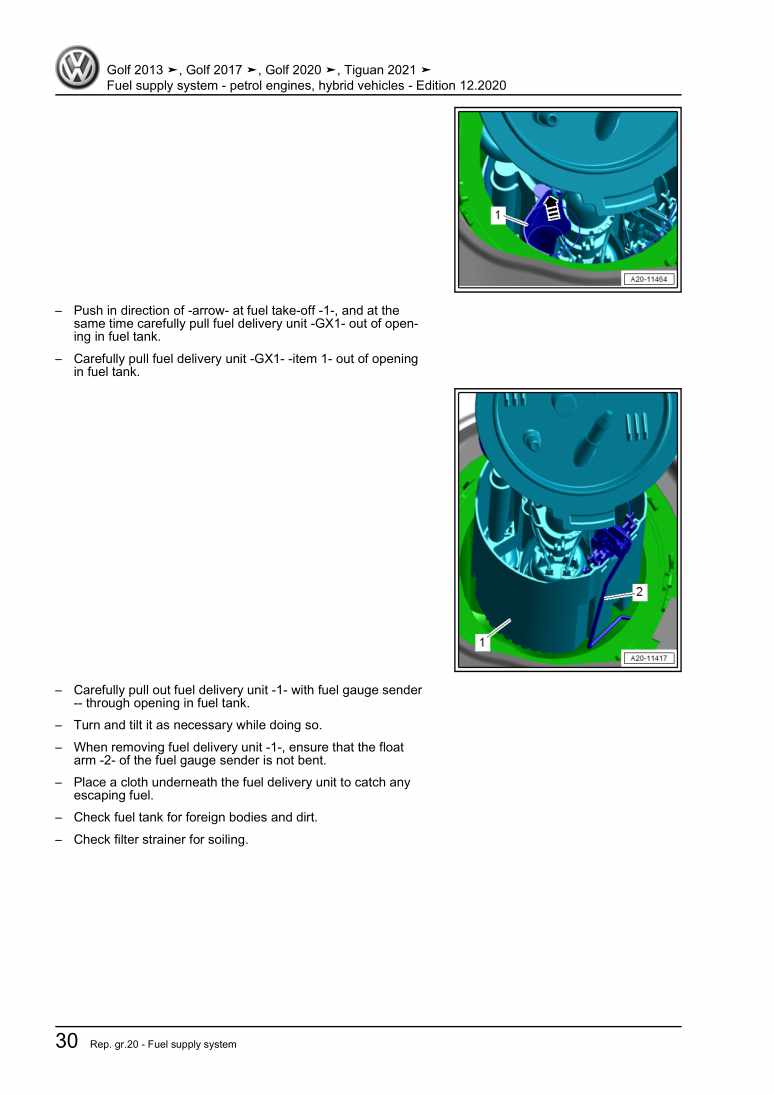
Beispielseite für Reparaturanleitung Fuel supply system - petrol engines, hybrid vehicles

Für Golf VII (2013) / Golf VII (2017) / Golf (2020 >) / Tiguan (2021 >)

8,75 € Details

Brake system (hybrid)

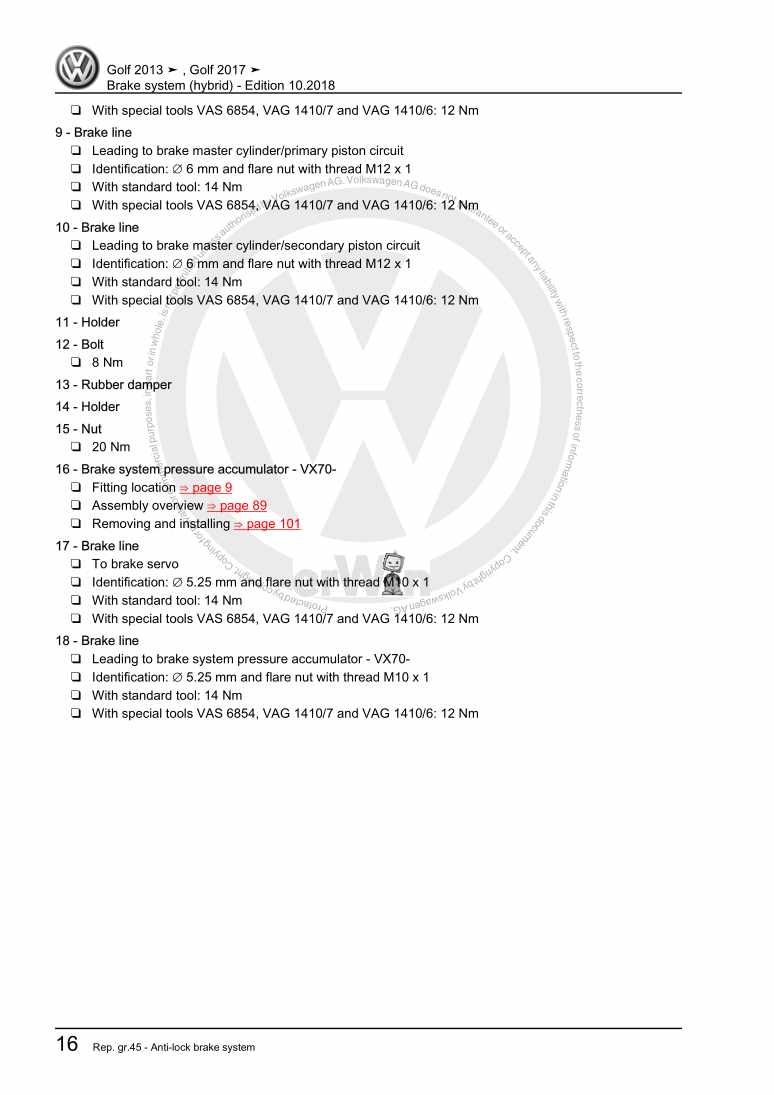
Beispielseite für Reparaturanleitung Brake system (hybrid)

Für Golf VII (2013) / Golf VII (2017)

12,33 € Details

General body repairs, interior

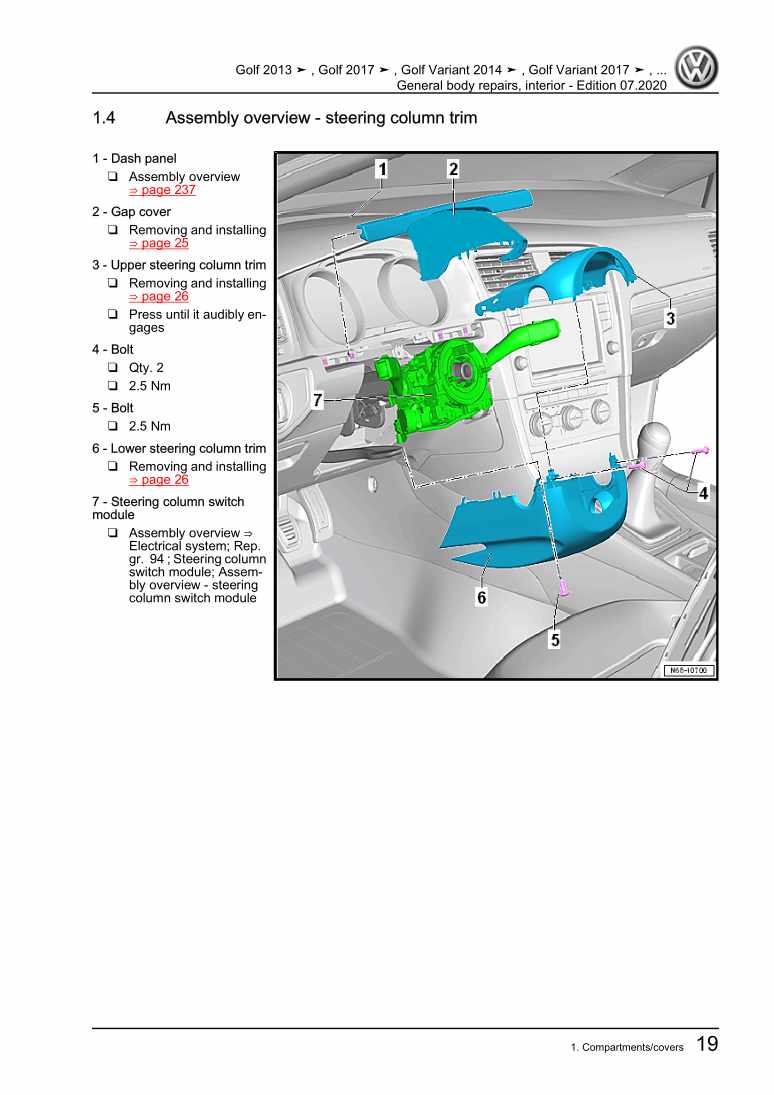
Beispielseite für Reparaturanleitung General body repairs, interior

Für Golf VII (2013) / Golf Variant (2014) / eGolf (ab 2014) / Golf VII (2017) / Golf (2017) / e-Golf (2017)

36,82 € Details

Manual on Localising the Ingress of Water
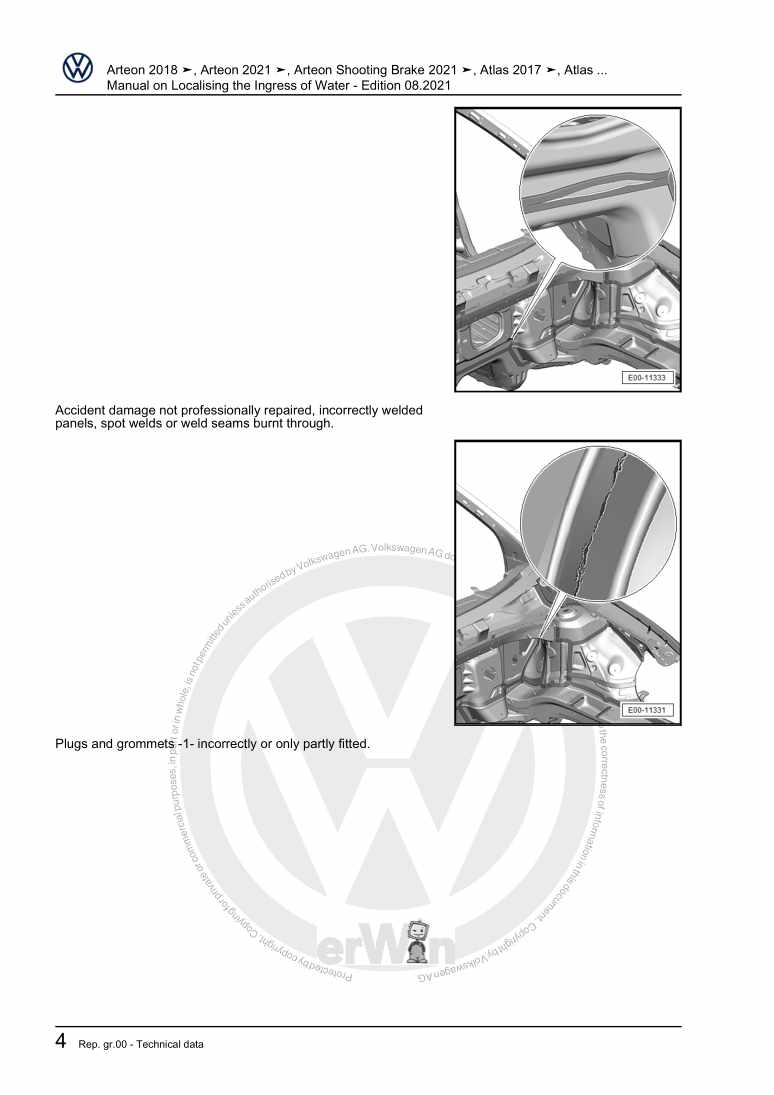
Beispielseite für Reparaturanleitung Manual on Localising the Ingress of Water

Für Touran (2003 - 2011) / EOS (2006) / Passat Variant (2006 - 2007) / Jetta 2-türig Rl (1980 - 1984) / Passat (2005 - 2008) / Jetta 4-türig Ll (1980 - 1984) / Tiguan (2008) / Passat CC (2009) / Scirocco (2008) / Golf (2009) / Golf Plus (2009) / Golf VI Variant (2010) / Touareg (2011) / Sharan (2011) / Polo (Russ.) (2010) / Polo A05 (2010) / Passat/Passat Variant (2011 >) / Passat/Passat Variant (2011 >) / Golf Cabriolet (2012) / Beetle (NBL) Limousine (2012) / Passat (NMS - US) (2012) / Passat CC (2009) / Beetle (NBC) Cabrio (2012) / Up! (2012) / Golf VII (2013) / Golf Variant (2014) / Polo MY (KH) (2014) / Polo MY (LIM) (2014) / Jetta (2014 >) / eUp! (ab 2014) / eGolf (ab 2014) / Polo (2014) / Golf (Mexiko) (2014 >) / Jetta (Malaysia) (2013 >) / Golf Sportsvan (2014 >) / Scirocco GP (2015) / Polo (Malaysia) (2015 >) / Passat Lim (2015 >) / Polo G (Indien) (2015) / Touareg FL (2015 > ) / Passat Var. (2015 >) / Sharan (2016 > ) / Polo G (Indien) (2015) / Polo (Russland) (2015 >) / Polo Malaysia (2016) / Touran (2016 > ) / Passat (2016) / Tiguan (2016) / VW eUP (2012) / VW Beetle (2011) / Golf VII (2017) / Arteon () / Tiguan RUS (2017) / e-Golf (2017) / e-UP! (2017) / Golf [MX] (2018 >) / Polo (2018) / T-Roc (2018 >) / Jetta [MX] (2018 >) / Golf Sportsvan (2018 >) / Passat (USA) (2019 >) / T-Roc Cabriolet (2020 >) / Tiguan (2021 >) / Arteon (2021 >) / Arteon Shooting Brake (2021 >)

4,58 € Details

Communication

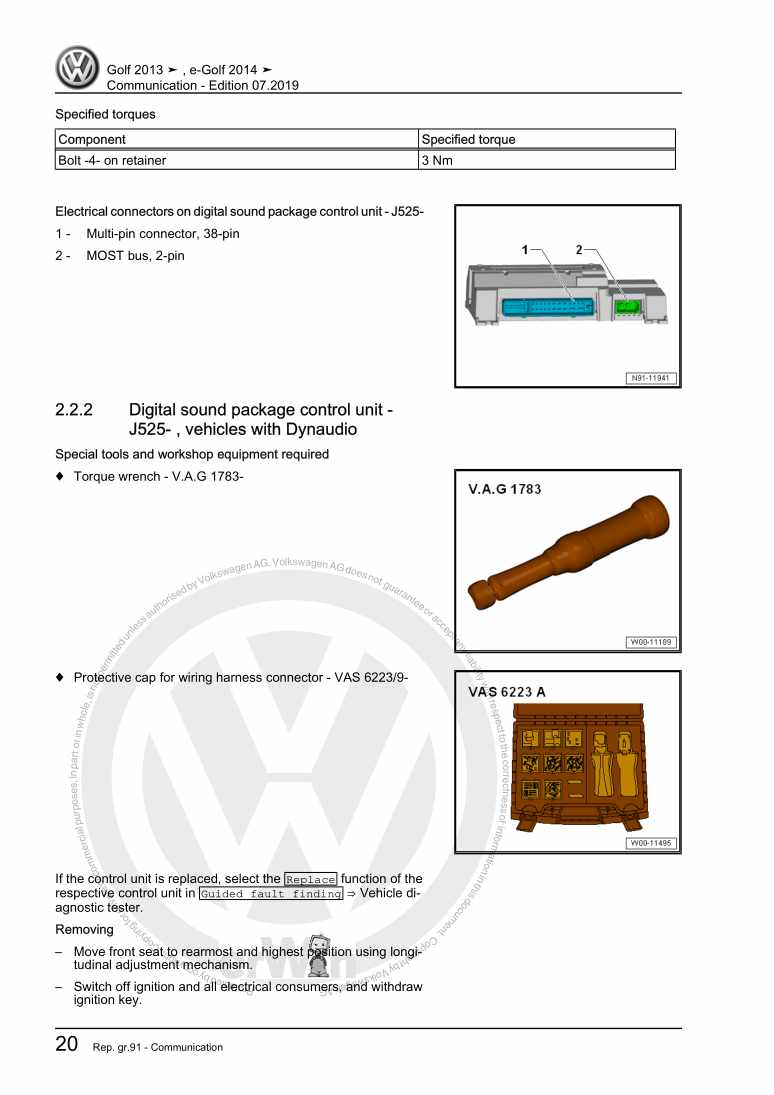
Beispielseite für Reparaturanleitung Communication

Für Golf VII (2013) / eGolf (ab 2014)

7,50 € Details

5-speed manual gearbox 0AH

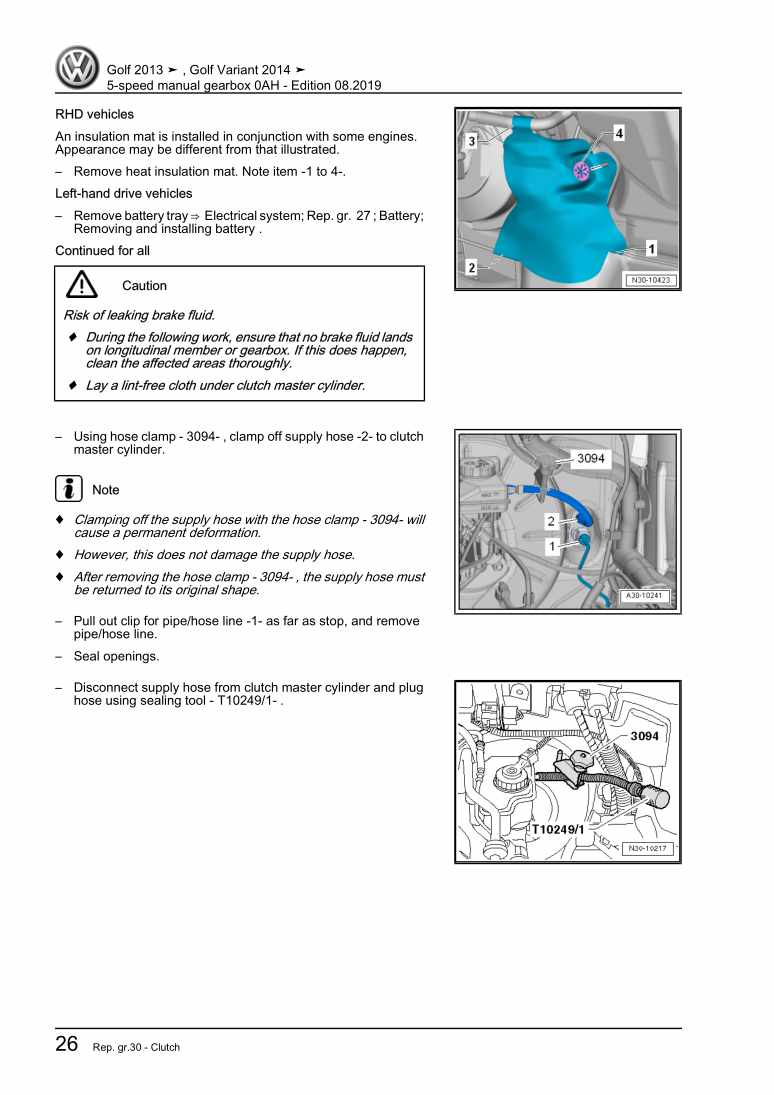
Beispielseite für Reparaturanleitung 5-speed manual gearbox 0AH

Für Golf VII (2013) / Golf Variant (2014)

12,98 € Details

3-cylinder direct injection engine (1.0 l engine, 4V, EA 211, turbocharger)
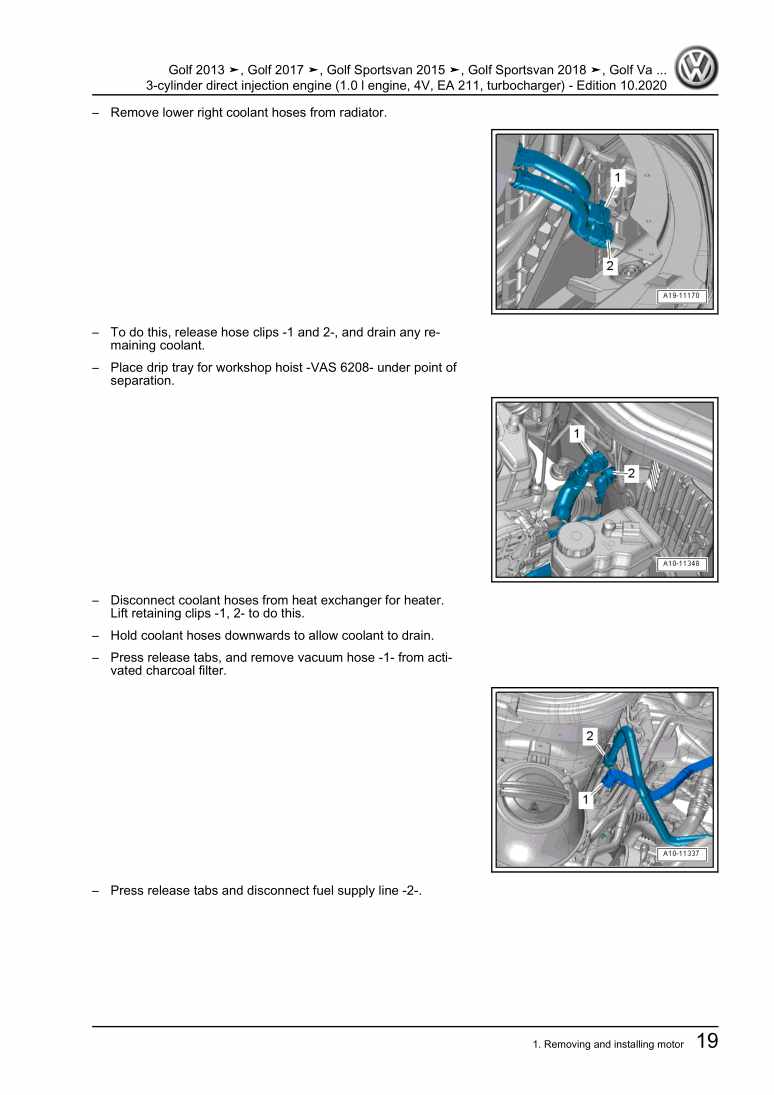
Beispielseite für Reparaturanleitung 3-cylinder direct injection engine (1.0 l engine, 4V, EA 211, turbocharger)

Für Golf VII (2013) / Golf Variant (2014) / Polo (2014) / Golf Sportsvan (2014 >) / Polo G (Indien) (2015) / Polo G (Indien) (2015) / Touran (2016 > ) / VW eUP (2012) / Golf VII (2017) / Golf (2017) / Polo (2018) / T-Roc (2018 >) / Golf Sportsvan (2018 >) / T-Cross (2019 >) / Up! (2020 >) / T-Roc Cabriolet (2020 >)

42,23 € Details

4-cylinder injection engine (1.4 l, natural gas, 4 V EA 211, turbocharger)
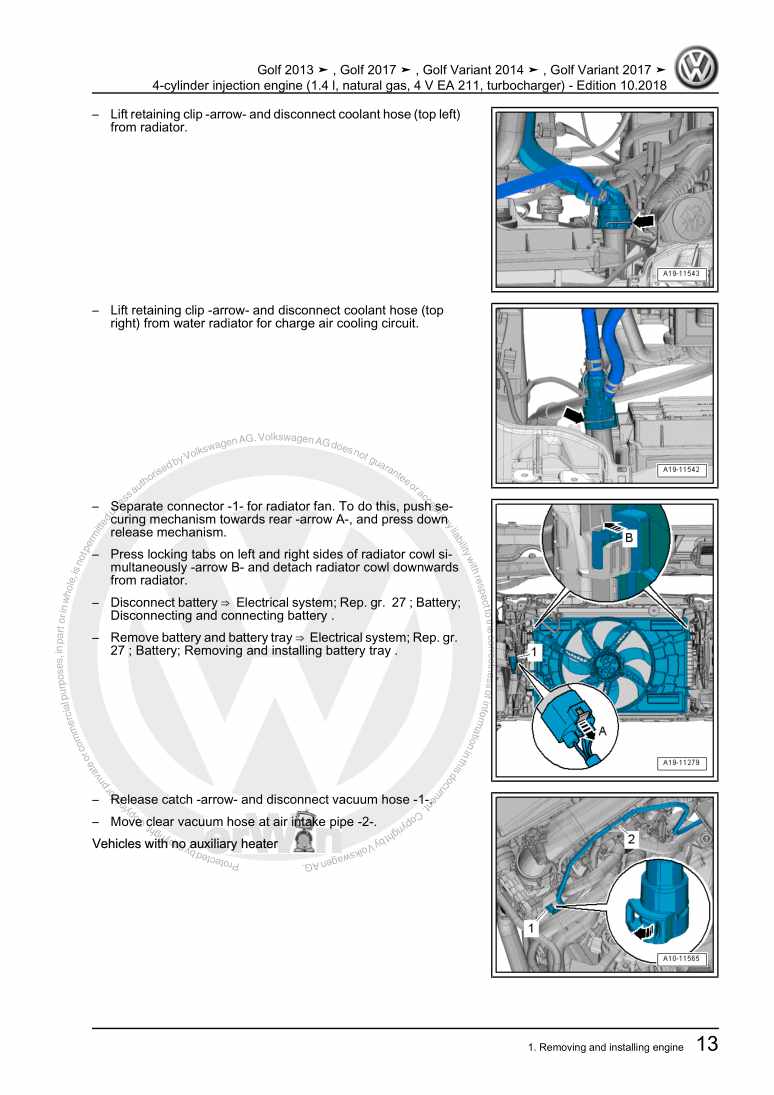
Beispielseite für Reparaturanleitung 4-cylinder injection engine (1.4 l, natural gas, 4 V EA 211, turbocharger)

Für Golf VII (2013) / Golf Variant (2014) / Golf VII (2017) / Golf (2017)

27,52 € Details

Electrical system

Beispielseite für Reparaturanleitung Electrical system

Für Golf VII (2013)

27,58 € Details

Auxiliary heater

Beispielseite für Reparaturanleitung Auxiliary heater

Für Golf VII (2013) / Golf Variant (2014) / Golf VII (2017) / Golf (2017)

7,31 € Details

Unsere Best Seller

Schon gewusst? Wir bieten auch originale Autoteile an.

Autoteil 2E1864611 Abdeckung

2E1864611

Abdeckung

70,48 €

Details
Autoteil 0B5141030E Kupplung

0B5141030E

Kupplung

1.253,55 €

Details
Autoteil 8X0804128 Konsole

8X0804128

Konsole

57,48 €

Details
Autoteil 4L0898283A Teilesatz

4L0898283A

Teilesatz

56,38 €

Details
Autoteil 028103531B Schraube

028103531B

Schraube

8,90 €

Details

Heizung Klimaanlage

Beispielseite für Reparaturanleitung Heizung Klimaanlage

Für Golf Plus (2005 - 2007) / Golf Plus (2009)

13,20 € Details

1AV Einspritz- und Zündanlage

Beispielseite für Reparaturanleitung 1AV Einspritz- und Zündanlage

Für Golf / Golf Variant / Vento (1992 - 1999)

8,28 € Details

Nr. 528: Der Erdgasantrieb im Golf/Golf Variant TGI BlueMotion

Beispielseite für Reparaturanleitung Nr. 528: Der Erdgasantrieb im Golf/Golf Variant TGI BlueMotion

5,26 € Details

image/svg+xml Über Clonck

Originale Reparaturanleitungen und Ersatzteile

Unsere Reparaturanleitungen sind Originale, kommen direkt von Volkswagen und erfüllen die höchsten Qualitätsstandards.

In unserem Originalteile-Shop verkaufen wir hochwertige Originalersatzteile der Fahrzeughersteller. Mithilfe der Suche gibst du die gewünschte Teilenummer (OE-Nummer) ein und bestellst schnell und einfach das benötigte Ersatzteil.

Höchste Qualitätsstandards

Bei Clonck wollen wir Autoschrauber und Kfz-Profis glücklich machen. Aus diesem Grund findest du bei Clonck ausschließlich professionelle und hochwertige Reparaturanleitungen, mit deren Hilfe du dein Fahrzeug fachgerecht reparieren kannst.

Unsere Partner

Autohaus Schmidt GmbH
Automag GmbH Filiale Laim
KFZ-VERLAG GmbH
Zimpel und Franke GmbH

Clonck: Der Autoreparatur-Shop - gibt's auch als App!

Clonck App Logo Play Store

Clonck: Passende Autoteile für deine Autoreparatur

4,5 90

Mit Clonck bestellst du die richtigen Originalersatzteile im Handumdrehen.

  • Fahrzeugmodell hinzufügen
  • Baugruppe auswählen
  • Fahrzeug-Identifizierungsnummer (FIN) eingeben
  • Über 5.000 originale Reparaturanleitungen einsehen
Jetzt App starten
Clonck App Preview Auto Mobiltelefon Autoteile