DER AUTOREPARATUR-SHOP
0
Home » Anleitungen » General body repairs, exterior
  • Beispielseite für Reparaturanleitung General body repairs, exterior
  • Beispielseite für Reparaturanleitung 2 General body repairs, exterior
  • Beispielseite für Reparaturanleitung 3 General body repairs, exterior
  • Beispielseite für Reparaturanleitung General body repairs, exterior
  • Beispielseite für Reparaturanleitung 2 General body repairs, exterior
  • Beispielseite für Reparaturanleitung 3 General body repairs, exterior

General body repairs, exterior

Für Crafter / TGE / eTGE

Original VW-Reparaturanleitung


32,48 €inkl. 7% MwSt.

Sofort als Download verfügbar

Sprache: English

Digitale PDF Version

34.720 KB

440 Seiten

Detaillierte technische Daten

Sofort lesbar

Diese Reparaturanleitung umfasst: Lock carrier, Wings, Bulkhead, Carrier frames for high-voltage components, Deformation elements, Bonnet, Tank flap unit, Door, Central locking, Rear windscreen, Mouldings, trims, extensions, Exterior mirror, Spare wheel bracket und Load floor body. Mehr anzeigen
Sichere Zahlung per PayPal, Kreditkarte, Lastschrift, Sofort-Überweisung oder Giropay
PayPal Logo SEPA Lastschrift Logo Giropay Logo Sofort Überweisung Logo

Reparaturanleitung Crafter / TGE / eTGE General body repairs, exterior pdf Download mit dem Inhalt:

Kapitelübersicht

  • Technical data
    1
  • 1 Safety information
    1
  • 1.1 Safety precautions when working in the vicinity of high-voltage components
    1
  • 1.2 Safety precautions when working on high-voltage system
    1
  • 1.3 Safety measures when working on vehicles with a start/stop system
    2
  • 1.5 Safety precautions when working on the cooling system
    3
  • 2 Repair instructions
    4
  • 2.1 General repair instructions
    4
  • 2.2 Contact corrosion
    4
  • 2.3 Routing and attachment of lines
    5
  • 2.4 Nuts and bolts
    5
  • 3 Hazard classification for the high-voltage system
    6
  • Body - front
    7
  • 1 Lock carrier
    7
  • 1.1 Assembly overview – lock carrier
    7
  • 1.2 Removing and installing lock carrier
    10
  • 1.3 Moving to and back from service position
    15
  • 1.4 Removing and installing air duct
    23
  • 1.5 Removing and installing lock carrier struts
    29
  • 2 Wings
    32
  • 2.1 Assembly overview – wing
    32
  • 2.2 Removing and installing wing
    33
  • 3 Bulkhead
    40
  • 3.1 Assembly overview – plenum chamber cover
    40
  • 3.2 Removing and installing plenum chamber cover
    43
  • 4 Carrier frames for high-voltage components
    50
  • 4.1 Assembly overview – carrier frames for high-voltage components
    50
  • 4.2 Removing and installing carrier frame
    50
  • Body - centre
    55
  • 1 Carrier frame for high-voltage battery 1 AX2
    55
  • 1.1 Assembly overview - carrier frame for high-voltage battery 1 AX2
    55
  • 1.2 Removing and installing carrier frame for high-voltage battery 1 AX2
    57
  • 2 Deformation elements
    58
  • 2.1 Assembly overview - deformation elements
    58
  • 2.2 Removing and installing deformation elements
    58
  • Bonnet, rear lid
    60
  • 1 Bonnet
    60
  • 1.1 Assembly overview – bonnet
    60
  • 1.2 Assembly overview – Bowden cable
    63
  • 1.3 Removing and installing bonnet
    64
  • 1.4 Adjusting bonnet
    67
  • 1.5 Removing and installing rear lid lock
    70
  • 1.6 Removing and installing bonnet lock operating lever
    72
  • 1.7 Removing and installing striker pin
    72
  • 1.8 Removing and installing hinges
    73
  • 1.9 Removing and installing insulation
    75
  • 1.10 Removing and installing Bowden cable
    76
  • 1.11 Removing and installing bonnet stay
    78
  • 2 Tank flap unit
    81
  • 2.1 Assembly overview – tank flap unit
    81
  • 2.2 Removing and installing fuel tank flap
    82
  • Front doors, door components, central locking
    85
  • 1 Door
    85
  • 1.1 Assembly overview – door
    85
  • 1.2 Assembly overview - door seals
    87
  • 1.3 Removing and installing inner door seal
    90
  • 1.4 Removing and installing door
    93
  • 1.5 Adjusting door
    95
  • 1.6 Adjusting striker pin
    97
  • 1.7 Removing and installing door hinge
    98
  • 1.8 Removing and installing door arrester
    99
  • 2 Door components
    101
  • 2.1 Assembly overview – door components
    101
  • 2.2 Assembly overview – window regulator
    102
  • 2.3 Assembly overview – door handle and door lock
    103
  • 2.4 Assembly overview - window channels and window slot (aperture) seals
    104
  • 2.5 Removing and installing window regulator motor
    105
  • 2.6 Removing and installing window regulator
    106
  • 2.7 Removing and installing inner door cover
    108
  • 2.8 Removing and installing striker pin
    109
  • 2.9 Removing and installing door handle
    110
  • 2.10 Removing and installing mounting bracket
    112
  • 2.11 Removing and installing door lock
    113
  • 2.12 Removing and installing window channel
    116
  • 2.13 Removing and installing lock cylinder
    117
  • 2.14 Removing and installing cap on door handle
    119
  • 2.15 Removing and installing window slot inner seal
    120
  • 2.16 Removing and installing window slot outer seal
    121
  • 3 Central locking
    123
  • 3.1 Overview of fitting locations – central locking system
    123
  • 3.3 Removing and installing ignition key battery
    126
  • 3.4 Removing and installing cap on ignition key
    127
  • 3.5 Removing and installing bonnet contact switch F266
    128
  • Rear doors, door components
    129
  • 1 Door
    129
  • 1.1 Assembly overview – door
    129
  • 1.2 Assembly overview - door seals
    129
  • 1.3 Removing and installing door
    130
  • 1.4 Adjusting door
    132
  • 1.5 Adjusting striker pin
    133
  • 1.6 Removing and installing door hinges
    136
  • 1.7 Removing and installing door arrester
    138
  • 1.8 Removing and installing inner door seal
    141
  • 2 Door components
    143
  • 2.1 Assembly overview – door handle and door lock
    143
  • 2.2 Removing and installing door components
    150
  • 2.3 Removing and installing striker pin
    160
  • 2.4 Removing and installing door handle
    162
  • 2.5 Removing and installing mounting bracket
    164
  • 2.6 Removing and installing door lock
    167
  • 2.7 Removing and installing cap on door handle
    177
  • 2.8 Removing and installing lock cylinder
    179
  • 3 Sliding door
    182
  • 3.1 Assembly overview – sliding door
    182
  • 3.2 Assembly overview - door seals
    186
  • 3.3 Removing and installing sliding door
    186
  • 3.4 Adjusting sliding door
    189
  • 3.5 Removing and installing add-on parts
    196
  • 3.6 Removing and installing inner door seal
    202
  • 3.7 Removing and installing rear right door control unit J389
    204
  • 4 Wing door
    205
  • 4.1 Assembly overview - wing door
    205
  • 4.2 Assembly overview - door seals
    209
  • 4.3 Removing and installing wing door
    209
  • 4.4 Adjusting wing door
    210
  • 4.5 Removing and installing hinges
    212
  • 4.6 Removing and installing door attachments, wing door
    214
  • 4.7 Removing and installing outer door seal
    221
  • 4.8 Removing and installing inner door seal
    222
  • Bumpers
    224
  • 1 Bumper, front
    224
  • 1.1 Assembly overview – bumper cover
    224
  • 1.2 Removing and installing bumper cover
    226
  • 1.3 Removing and installing bumper carrier
    229
  • 1.4 Removing and installing add-on parts
    232
  • 1.5 Repairing bumper cover
    235
  • 2 Bumper, rear
    240
  • 2.1 Assembly overview – bumper cover
    240
  • 2.2 Assembly overview – bumper carrier
    241
  • 2.3 Removing and installing bumper cover
    244
  • 2.4 Removing and installing bumper carrier
    248
  • 2.5 Removing and installing add-on parts
    250
  • 2.6 Installing sender retainer for parking aid
    252
  • Glazing
    255
  • 1 Repair notes
    255
  • 1.1 Minimum drying times for bonded windows
    255
  • 1.2 Window repair
    255
  • 1.3 Installation instructions for bonded windows
    256
  • 1.4 Preparing old undamaged windows for installing
    258
  • 1.5 Preparing new windows for installing
    260
  • 1.6 Preparing body flange for installing
    261
  • 1.7 Cleaning off excess adhesive
    262
  • 2 Windscreen
    263
  • 2.1 Assembly overview – windscreen
    263
  • 2.2 Removing and installing windscreen
    263
  • 3 Rear windscreen
    269
  • 3.1 Assembly overview – rear window
    269
  • 3.2 Removing and installing rear window
    271
  • 4 Side windows
    286
  • 4.1 Assembly overview - front side window
    286
  • 4.2 Assembly overview - rear side windows
    287
  • 4.3 Removing and installing front side window
    289
  • 4.4 Removing and installing rear side window
    297
  • 5 Door windows
    301
  • 5.1 Assembly overview - rear door window
    301
  • 5.2 Removing and installing front door window
    301
  • 5.3 Removing and installing fixed front door window
    302
  • 5.4 Removing and installing rear door window
    304
  • 5.5 Removing and installing movable side window for sliding window
    307
  • Exterior equipment
    311
  • 1 Radiator grille and front trim
    311
  • 1.1 Assembly overview – radiator grille
    311
  • 1.2 Removing and installing radiator grille
    312
  • 2 Mouldings, trims, extensions
    313
  • 2.1 Assembly overview – covers
    313
  • 2.2 Assembly overview – wheel arch covers
    314
  • 2.3 Removing and installing cover
    315
  • 2.4 Removing and installing trim strip
    330
  • 2.5 Removing and installing B-pillar trim
    332
  • 2.6 Removing and installing wheel arch covers
    333
  • 3 Noise insulation
    335
  • 3.1 Assembly overview - noise insulation
    335
  • 3.2 Removing and installing noise insulation
    336
  • 4 Underbody cladding
    340
  • 4.1 Overview of fitting locations - underbody cladding
    340
  • 4.2 Assembly overview – underbody cladding
    343
  • 4.3 Removing and installing front underbody cladding
    344
  • 4.4 Removing and installing rear centre underbody cladding
    350
  • 4.5 Removing and installing centre underbody cladding
    353
  • 4.6 Removing and installing rear underbody cladding
    356
  • 5 Roof rails for roof load carrier
    362
  • 5.1 Assembly overview - roof rails for roof load carrier
    362
  • 6 Exterior mirror
    363
  • 6.1 Assembly overview – exterior mirror
    363
  • 6.2 Removing and installing exterior mirror
    365
  • 6.3 Removing and installing mirror glass
    367
  • 6.4 Removing and installing mirror cover
    368
  • 6.5 Removing and installing mirror frame
    370
  • 7 Wheel housing liner
    372
  • 7.1 Assembly overview – front wheel housing liner
    372
  • 7.2 Removing and installing front wheel housing liner
    372
  • 8 Lettering and emblems
    376
  • 8.1 Assembly overview – lettering and badges
    376
  • 8.2 Dimensions - lettering and emblems on rear
    381
  • 8.3 Dimensions – lettering and emblems on sides
    384
  • 8.4 Renewing lettering and badges at rear
    386
  • 8.5 General information on renewal of badges and lettering
    390
  • 8.6 Removing and installing lettering and emblems for radiator grille
    391
  • 9 Towing bracket
    395
  • 9.1 Assembly overview – towing bracket
    395
  • 9.2 Removing and installing towing bracket
    397
  • 10 Spare wheel bracket
    403
  • 10.1 Assembly overview - spare wheel bracket
    403
  • 10.2 Removing and installing spare wheel bracket
    404
  • 11 Mudflap
    409
  • 11.1 Assembly overview - mudflap
    409
  • 11.2 Removing and installing mudflaps
    409
  • 12 Heat shields
    413
  • 12.1 Assembly overview - heat shields
    413
  • 12.2 Removing and installing front heat shield
    414
  • 12.3 Removing and installing centre heat shield
    415
  • 12.4 Removing and installing rear heat shield
    415
  • 13 Load floor body
    417
  • 13.1 Assembly overview – dropside bed
    417
  • 13.2 Assembly overview - dropside body
    420
  • 13.3 Assembly overview - rear cross member
    421
  • 13.4 Assembly overview - carrier
    422
  • 13.5 Assembly overview – skid plate
    423
  • 13.6 Assembly overview - wheel housing
    424
  • 13.7 Removing and installing dropside bed
    425
  • 13.8 Removing and installing sideboard
    427
  • 13.9 Removing and installing carrier
    428
  • 13.10 Removing and installing side skid plate
    430
  • 13.11 Removing and installing wheel housing
    431
Hersteller­bezeichnung General body repairs, exterior
Hersteller Volkswagen
Passend für Crafter () / TGE (2017 > ) / eTGE (2018 >) / Crafter (2019 >)
Passende Autotypen SY, UZ, UY, UX, SX, SCB
Kategorie Reparaturanleitung

Im Moment sind noch keine Bewertungen für dieses Produkt vorhanden.

Ähnliche Reparaturanleitungen

Fuse assignment, From September 2016
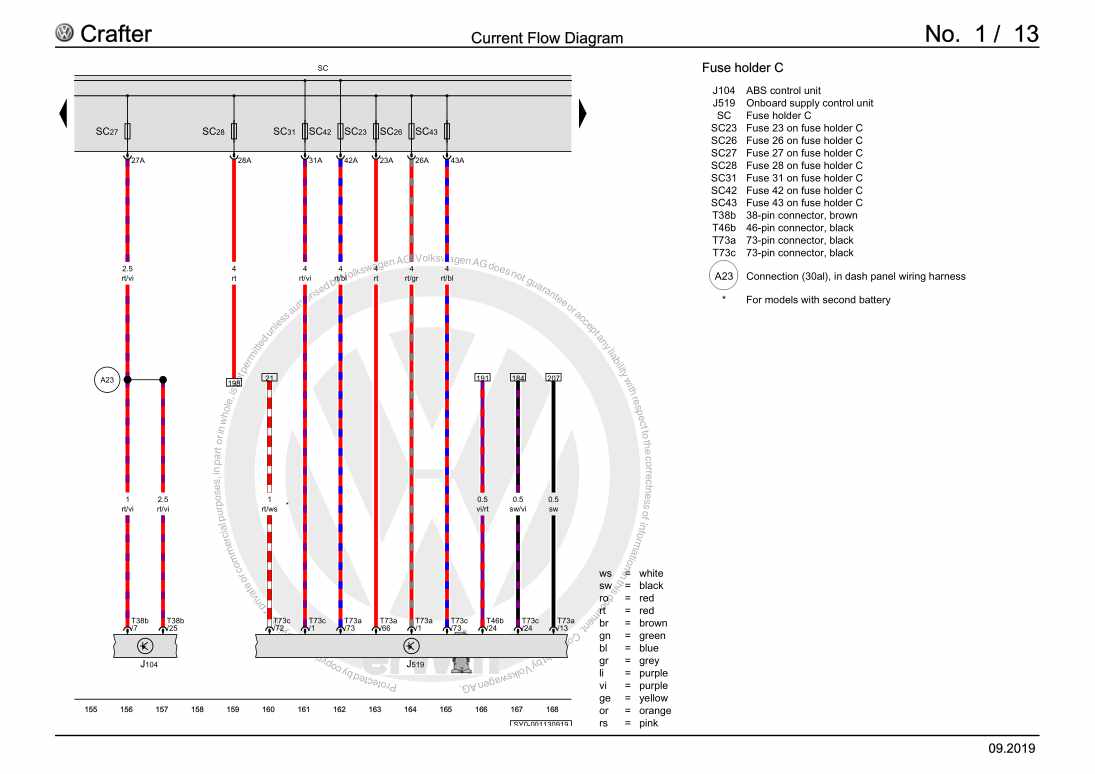
Beispielseite für Reparaturanleitung Fuse assignment, From September 2016

Für Crafter () / Crafter () / TGE (2017 > ) / TGE (2017 > ) / eTGE (2018 >) / Crafter (2019 >) / Crafter (2020 >)

66,47 € Details

4-cyl. common rail (2.0 l, 4V, turbocharger, inline engine)
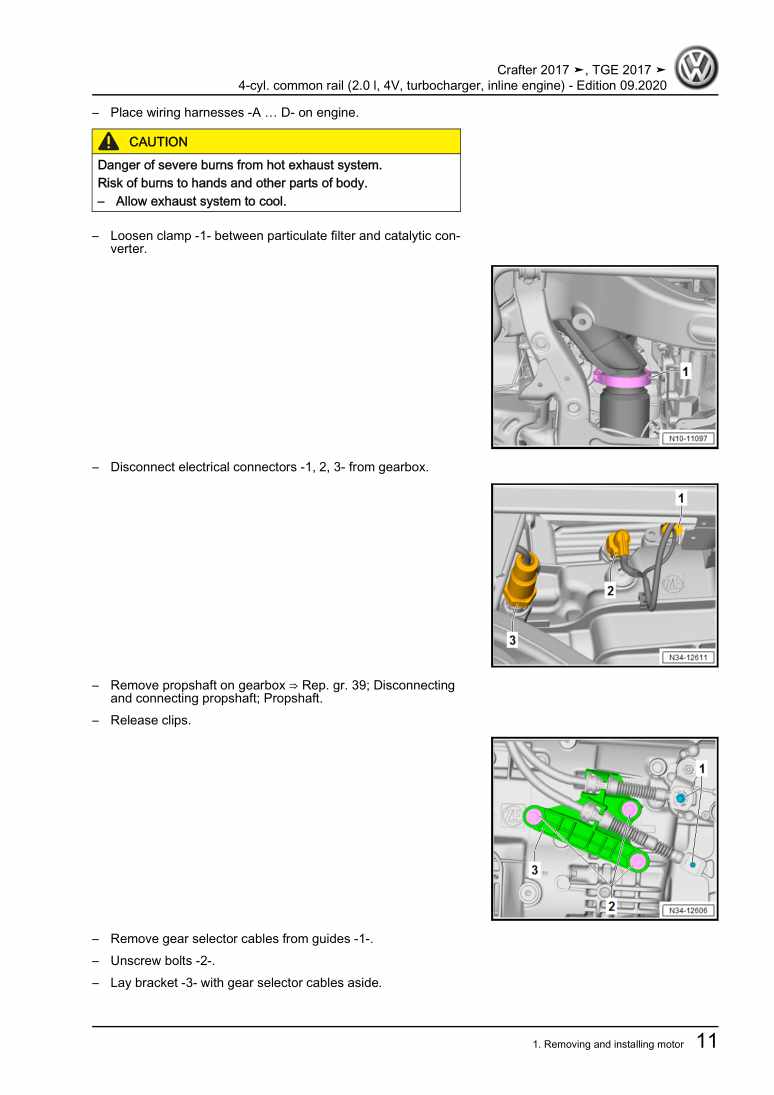
Beispielseite für Reparaturanleitung 4-cyl. common rail (2.0 l, 4V, turbocharger, inline engine)

Für Crafter () / Crafter () / TGE (2017 > ) / TGE (2017 > )

34,76 € Details

Wheels and Tyres Guide

Beispielseite für Reparaturanleitung Wheels and Tyres Guide

Für Crafter () / Crafter () / TGE (2017 > ) / TGE (2017 > ) / eTGE (2018 >) / Crafter (2019 >) / Crafter ()

18,80 € Details

General body repairs, interior

Beispielseite für Reparaturanleitung General body repairs, interior

Für Crafter () / Crafter () / TGE (2017 > ) / TGE (2017 > ) / eTGE (2018 >) / Crafter (2019 >) / Crafter () / Crafter ()

34,71 € Details

6-speed manual gearbox 0F6

Beispielseite für Reparaturanleitung 6-speed manual gearbox 0F6

Für Crafter () / Crafter () / TGE (2017 > ) / TGE (2017 > )

8,68 € Details

Auxiliary heater, supplementary heater
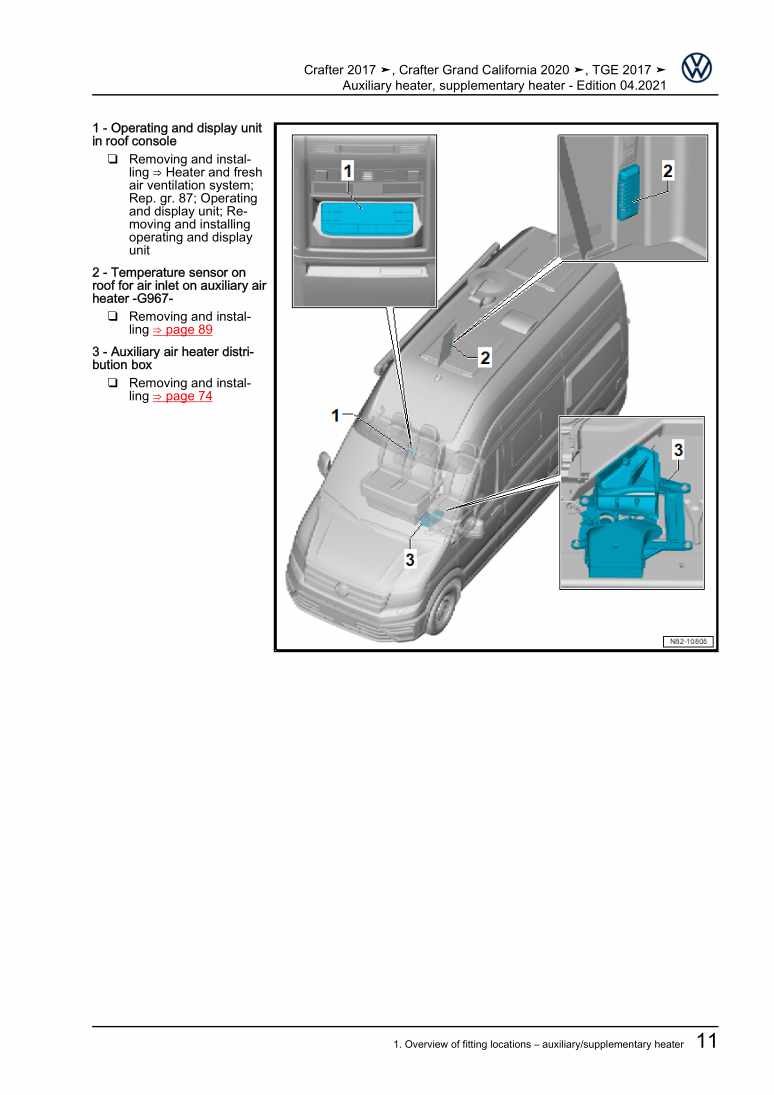
Beispielseite für Reparaturanleitung Auxiliary heater, supplementary heater

Für Crafter () / Crafter () / TGE (2017 > ) / TGE (2017 > ) / Crafter () / Crafter ()

9,08 € Details

Body Repairs

Beispielseite für Reparaturanleitung Body Repairs

Für Crafter () / Crafter () / TGE (2017 > ) / TGE (2017 > ) / eTGE (2018 >) / Crafter (2019 >) / Crafter () / Crafter ()

36,04 € Details

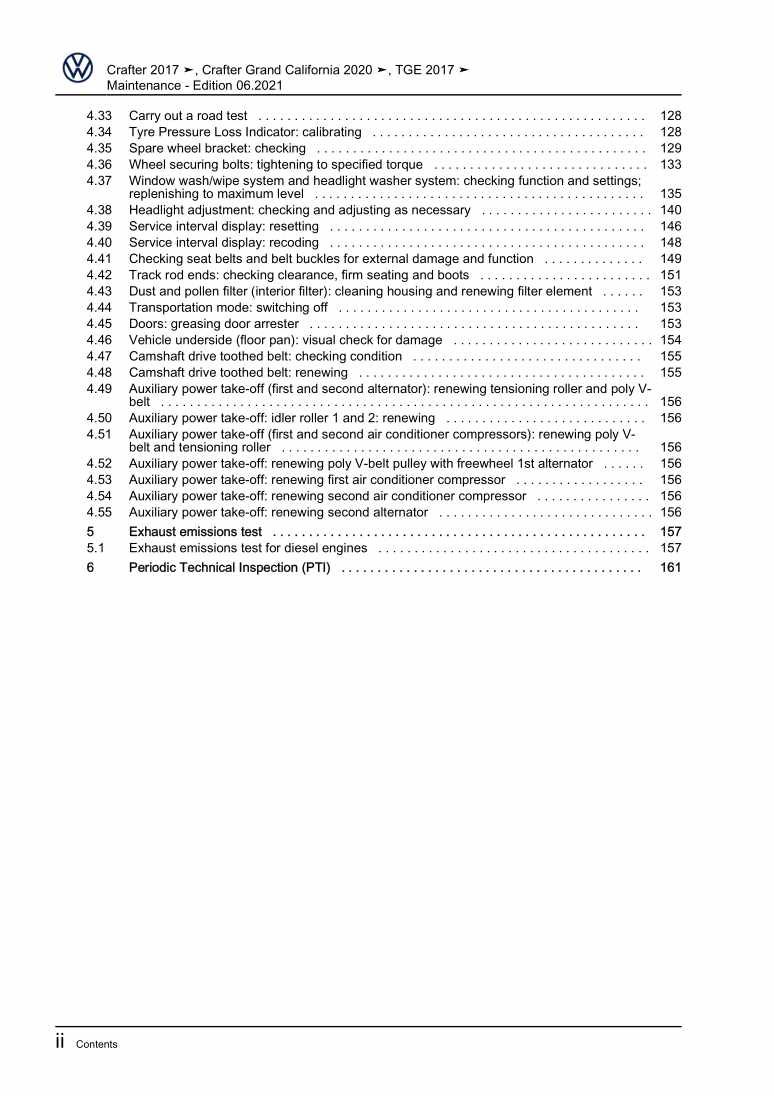
Maintenance

Beispielseite für Reparaturanleitung Maintenance

Für Crafter () / Crafter () / TGE (2017 > ) / TGE (2017 > ) / Crafter () / Crafter ()

14,14 € Details

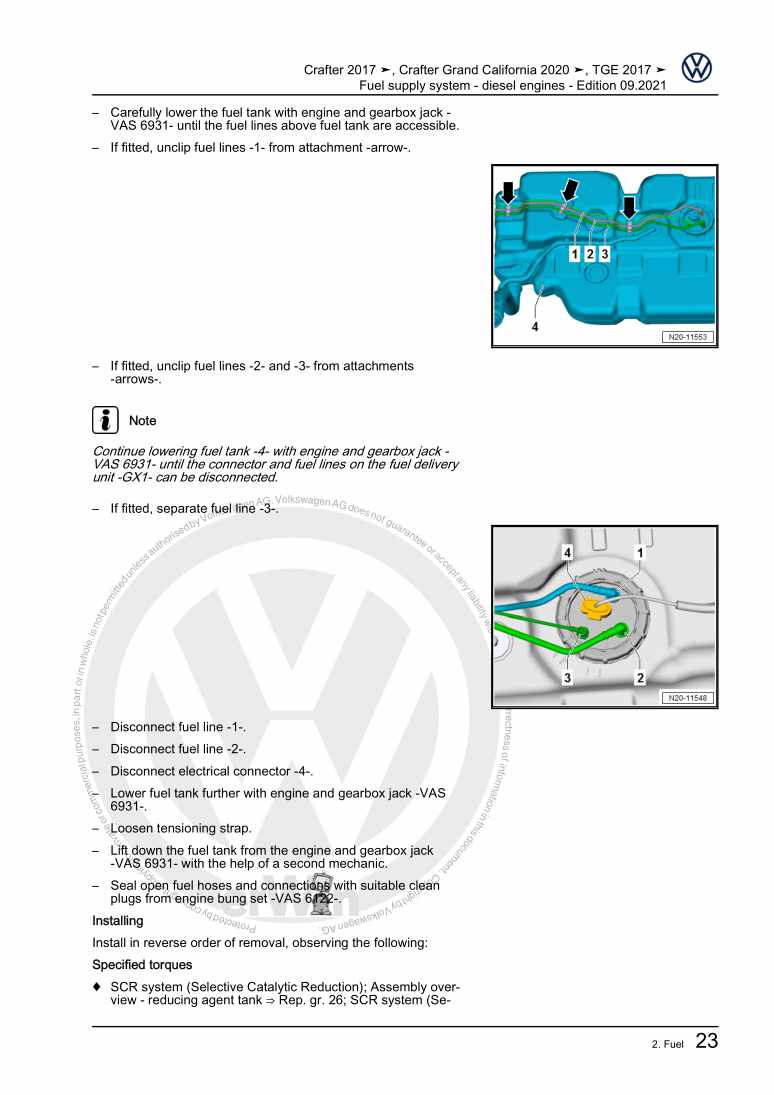
Fuel supply system - diesel engines

Beispielseite für Reparaturanleitung Fuel supply system - diesel engines

Für Crafter () / Crafter () / TGE (2017 > ) / TGE (2017 > ) / Crafter () / Crafter ()

6,70 € Details

Air conditioning systems with refrigerant R1234yf – General information
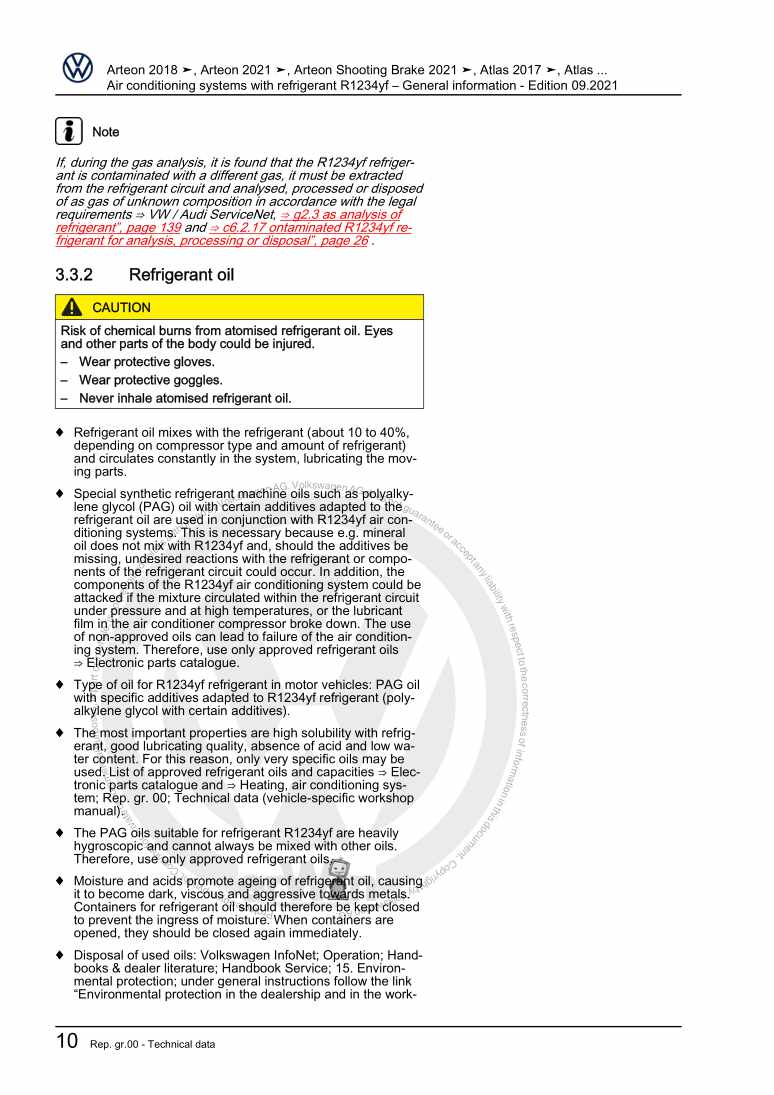
Beispielseite für Reparaturanleitung Air conditioning systems with refrigerant R1234yf – General information

Für Jetta 4-türig Ll (1980 - 1984) / Golf Cabriolet (2012) / Passat CC (2009) / Up! (2012) / Golf VII (2013) / Golf Variant (2014) / eGolf (ab 2014) / Polo (2014) / Golf (Mexiko) (2014 >) / Golf Sportsvan (2014 >) / Scirocco GP (2015) / Passat Lim (2015 >) / Golf Variant (Mexiko) (2015 >) / Touareg FL (2015 > ) / Passat Var. (2015 >) / Sharan (2016 > ) / Caddy (2016) / Transporter (2016) / Touran (2016 > ) / Transporter (2016) / Passat (2016) / Tiguan (2016) / VW eUP (2012) / VW Beetle (2011) / Crafter () / Crafter () / TGE (2017 > ) / TGE (2017 > ) / Golf VII (2017) / Arteon () / Tiguan RUS (2017) / Golf (2017) / Beetle (2017) / e-Golf (2017) / e-UP! (2017) / Tiguan [MX] (2017 >) / Golf [MX] (2018 >) / Polo (2018) / T-Roc (2018 >) / Golf Variant [MX] (2018 >) / Atlas (2017 >) / Jetta [MX] (2018 >) / Golf Sportsvan (2018 >) / Touareg (2018 >) / Passat (USA) (2019 >) / Passat Variant (2019 >) / Passat Limousine (2019 >) / T-Cross (2019 >) / Golf (2020 >) / Atlas (2020 >) / ID.3 (2020 >) / e-Up! (2020 >) / Up! (2020 >) / T-Roc Cabriolet (2020 >) / Atlas (2020 >) / Transporter (2020 >) / Transporter (2020 >) / Taos [MX] (2021 >) / Taos [MX] (2021 >) / Tiguan [RU] (2021 >) / Tiguan (2021 >) / Arteon (2021 >) / Arteon Shooting Brake (2021 >) / ID.4 (2020 >) / Golf Variant (2021 >) / Caddy (2021 >)

21,28 € Details

Unsere Best Seller

Schon gewusst? Wir bieten auch originale Autoteile an.

Autoteil 2K588331882V Verkleid.

2K588331882V

Verkleid.

29,08 €

Details
Autoteil 4G8805607 Aufnahme

4G8805607

Aufnahme

34,69 €

Details
Autoteil 3Q0253574 Leitung

3Q0253574

Leitung

36,27 €

Details
Autoteil 5Q1815101D Wasserrohr

5Q1815101D

Wasserrohr

64,80 €

Details
Autoteil 8D0253115C Dichtung

8D0253115C

Dichtung

15,74 €

Details

7 Gang-Doppelkupplungsgetriebe 0GC Volkswagen R GmbH
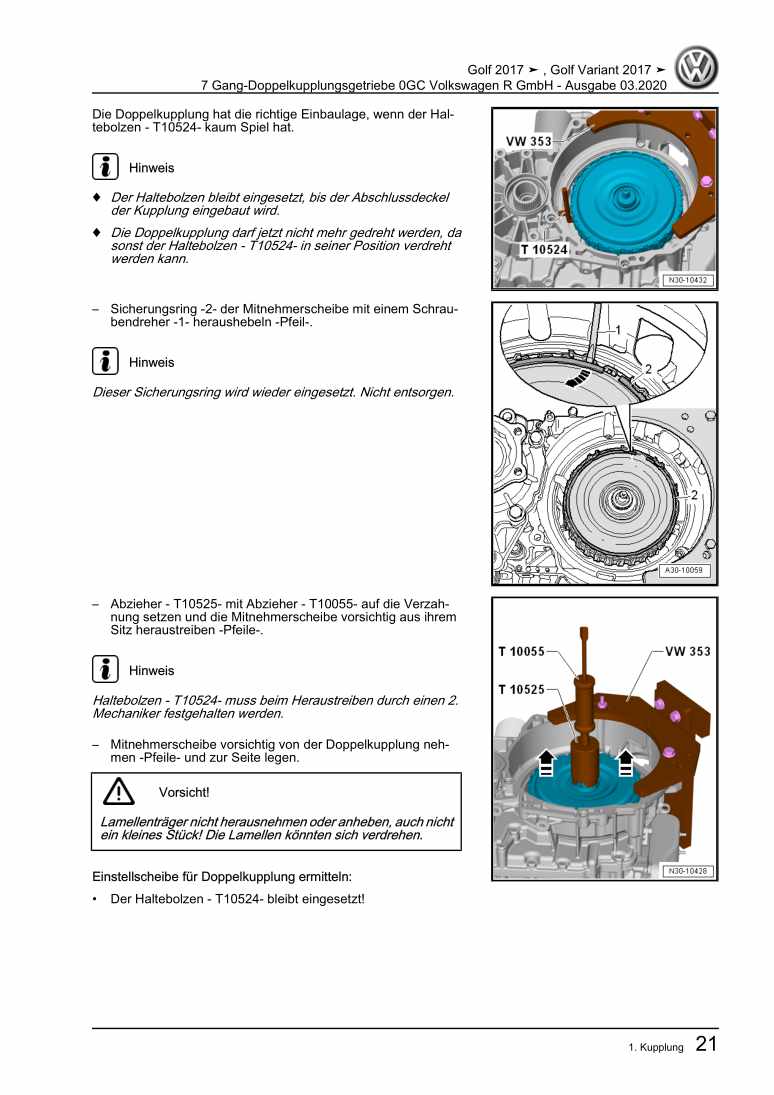
Beispielseite für Reparaturanleitung 7 Gang-Doppelkupplungsgetriebe 0GC Volkswagen R GmbH

Für Golf VII (2017) / Golf (2017)

10,54 € Details

4-Zylinder-Dieselmotor (1,9 l-Motor) 028.B / ADE / ADG

Beispielseite für Reparaturanleitung 4-Zylinder-Dieselmotor (1,9 l-Motor) 028.B / ADE / ADG

Für Industriemotoren - Industrial Engines ()

7,57 € Details

Eigendiagnose für Automatisches Getriebe 09A - 5 Gang
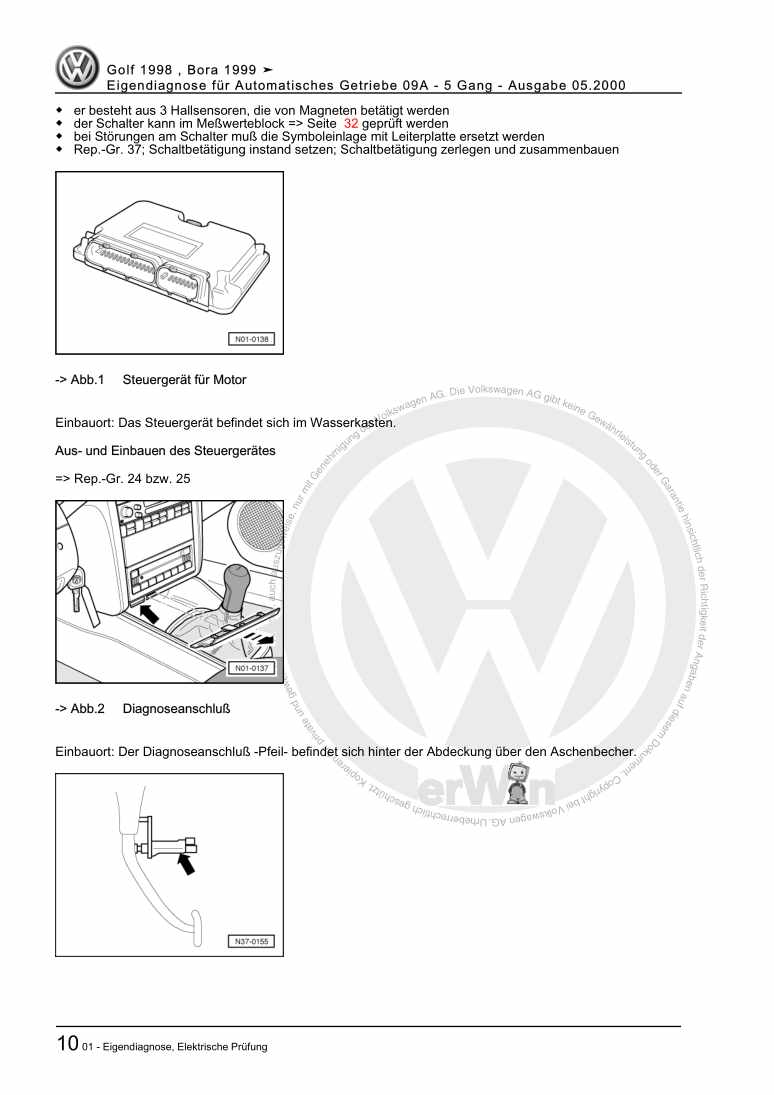
Beispielseite für Reparaturanleitung Eigendiagnose für Automatisches Getriebe 09A - 5 Gang

Für Bora / Bora Variant / Golf / Golf Variant (1998 - 2006)

6,00 € Details

image/svg+xml Über Clonck

Originale Reparaturanleitungen und Ersatzteile

Unsere Reparaturanleitungen sind Originale, kommen direkt von Volkswagen und erfüllen die höchsten Qualitätsstandards.

In unserem Originalteile-Shop verkaufen wir hochwertige Originalersatzteile der Fahrzeughersteller. Mithilfe der Suche gibst du die gewünschte Teilenummer (OE-Nummer) ein und bestellst schnell und einfach das benötigte Ersatzteil.

Höchste Qualitätsstandards

Bei Clonck wollen wir Autoschrauber und Kfz-Profis glücklich machen. Aus diesem Grund findest du bei Clonck ausschließlich professionelle und hochwertige Reparaturanleitungen, mit deren Hilfe du dein Fahrzeug fachgerecht reparieren kannst.

Unsere Partner

Autohaus Schmidt GmbH
Automag GmbH Filiale Laim
KFZ-VERLAG GmbH
Zimpel und Franke GmbH

Clonck: Der Autoreparatur-Shop - gibt's auch als App!

Clonck App Logo Play Store

Clonck: Passende Autoteile für deine Autoreparatur

4,5 90

Mit Clonck bestellst du die richtigen Originalersatzteile im Handumdrehen.

  • Fahrzeugmodell hinzufügen
  • Baugruppe auswählen
  • Fahrzeug-Identifizierungsnummer (FIN) eingeben
  • Über 5.000 originale Reparaturanleitungen einsehen
Jetzt App starten
Clonck App Preview Auto Mobiltelefon Autoteile