DER AUTOREPARATUR-SHOP
0
Home » Anleitungen » Electric drive
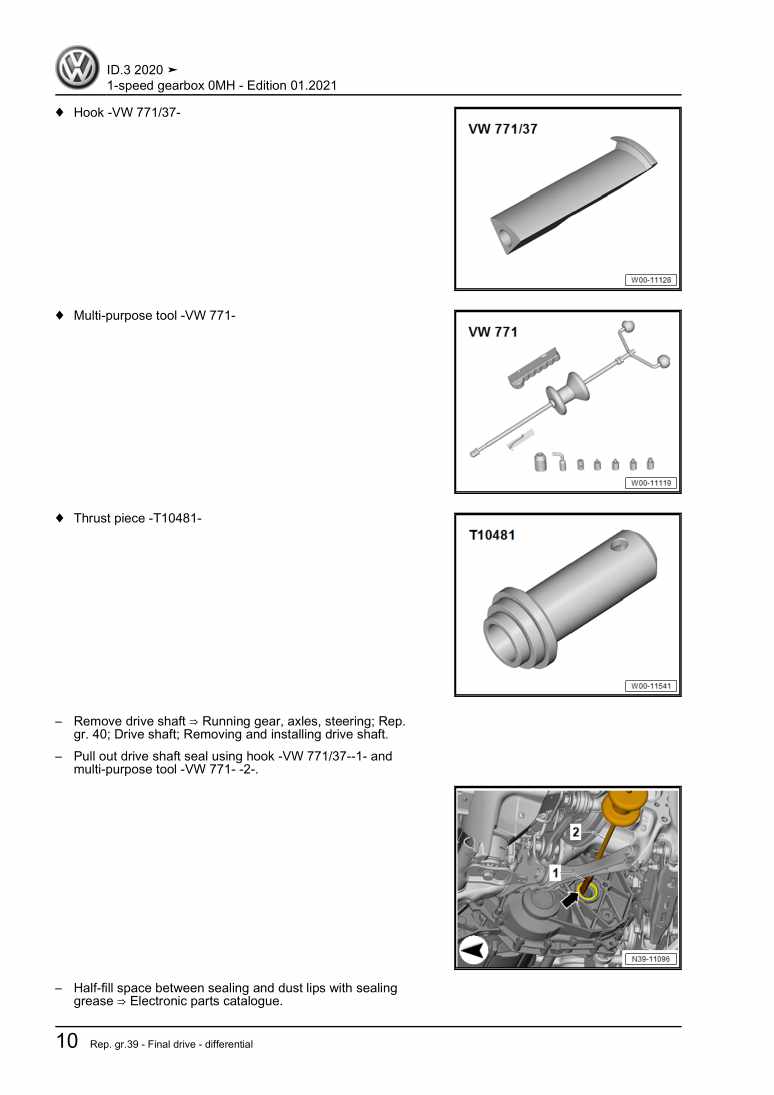
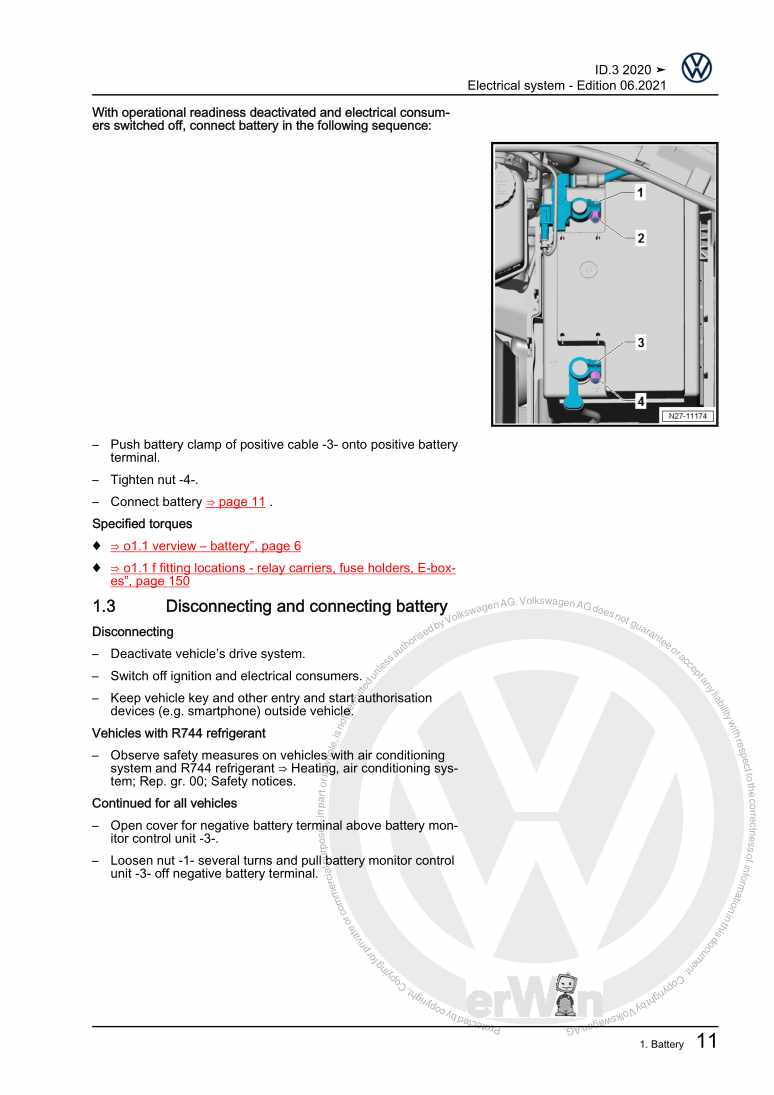
  • Beispielseite für Reparaturanleitung Electric drive
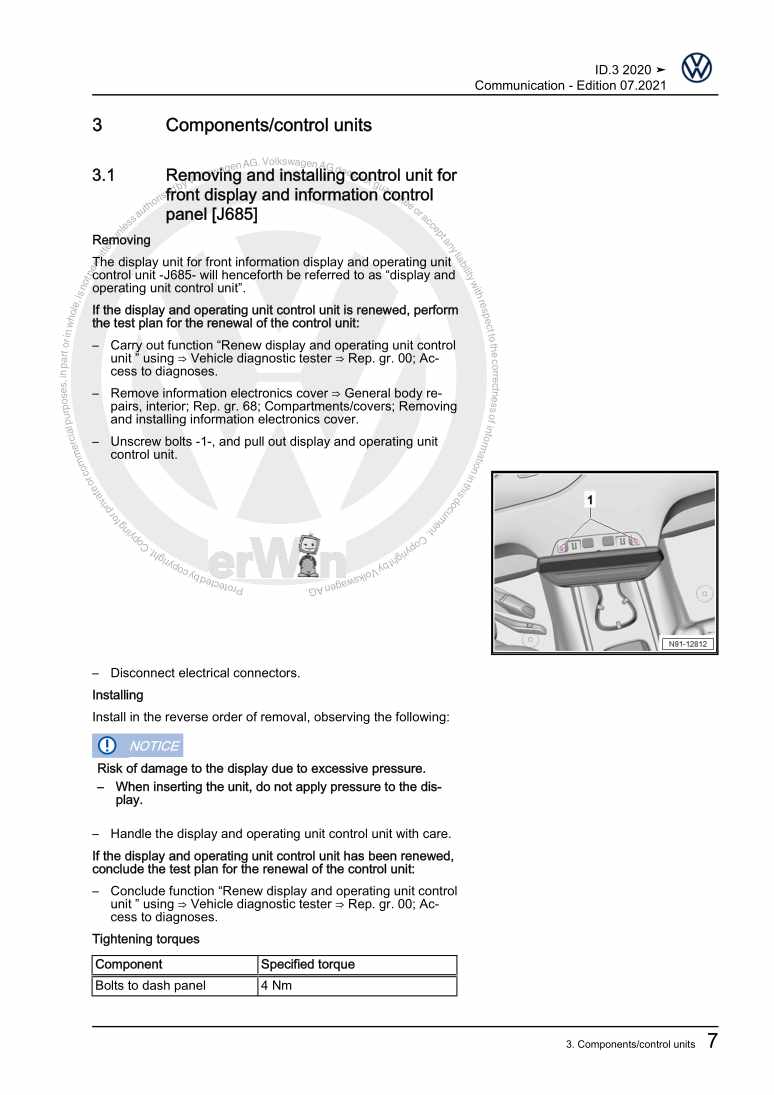
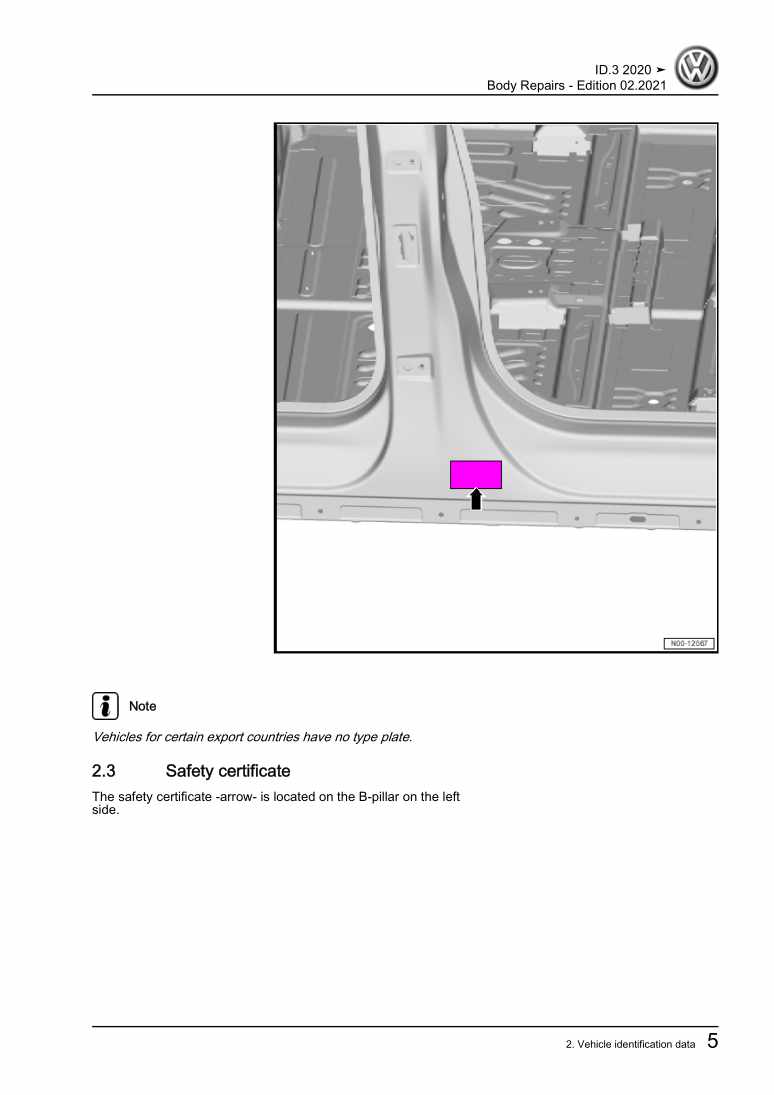
  • Beispielseite für Reparaturanleitung 2 Electric drive
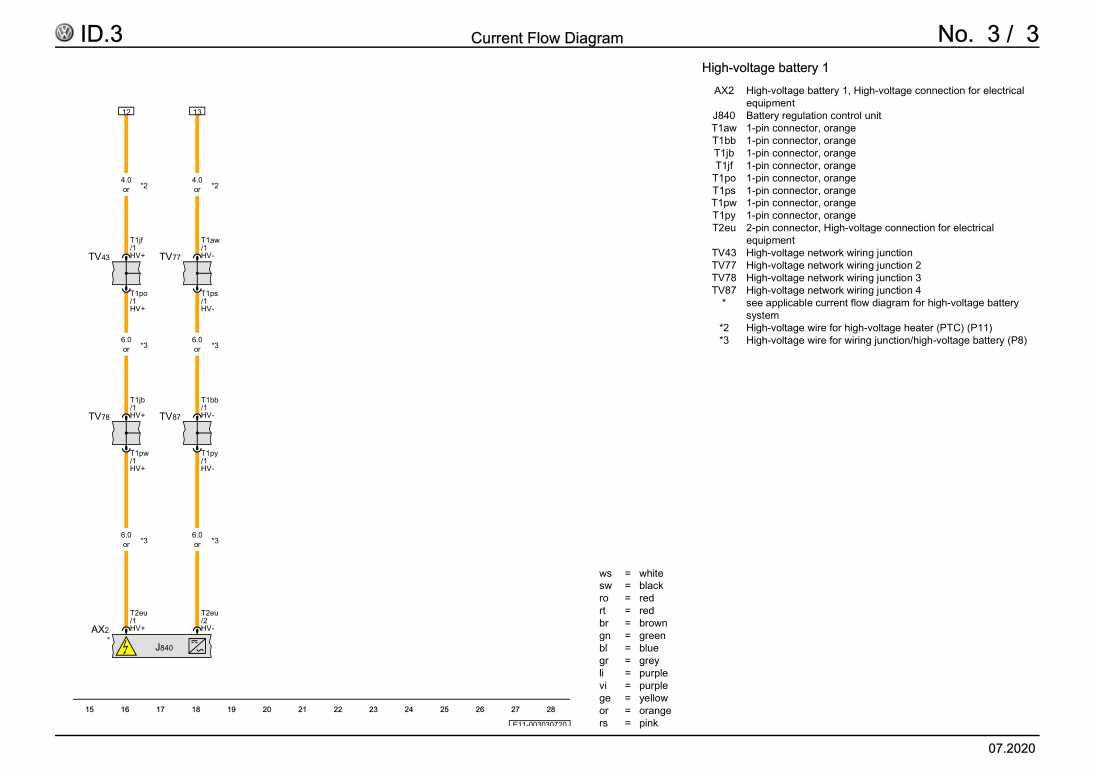
  • Beispielseite für Reparaturanleitung 3 Electric drive
  • Beispielseite für Reparaturanleitung Electric drive
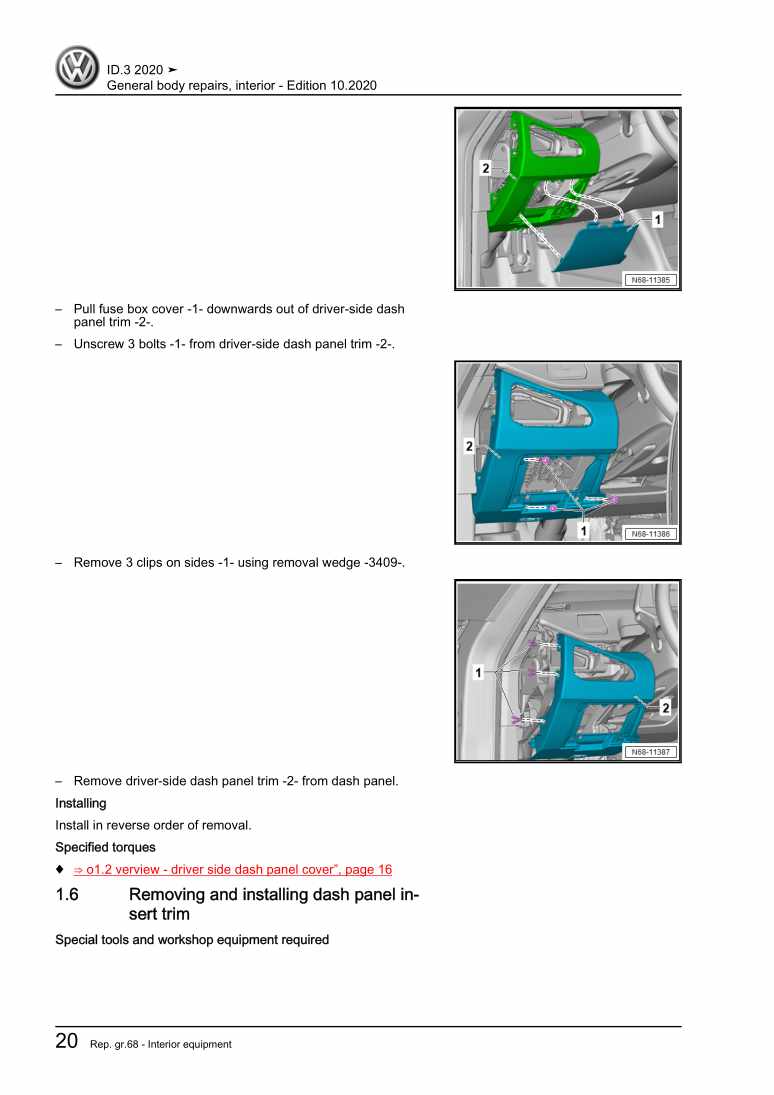
  • Beispielseite für Reparaturanleitung 2 Electric drive
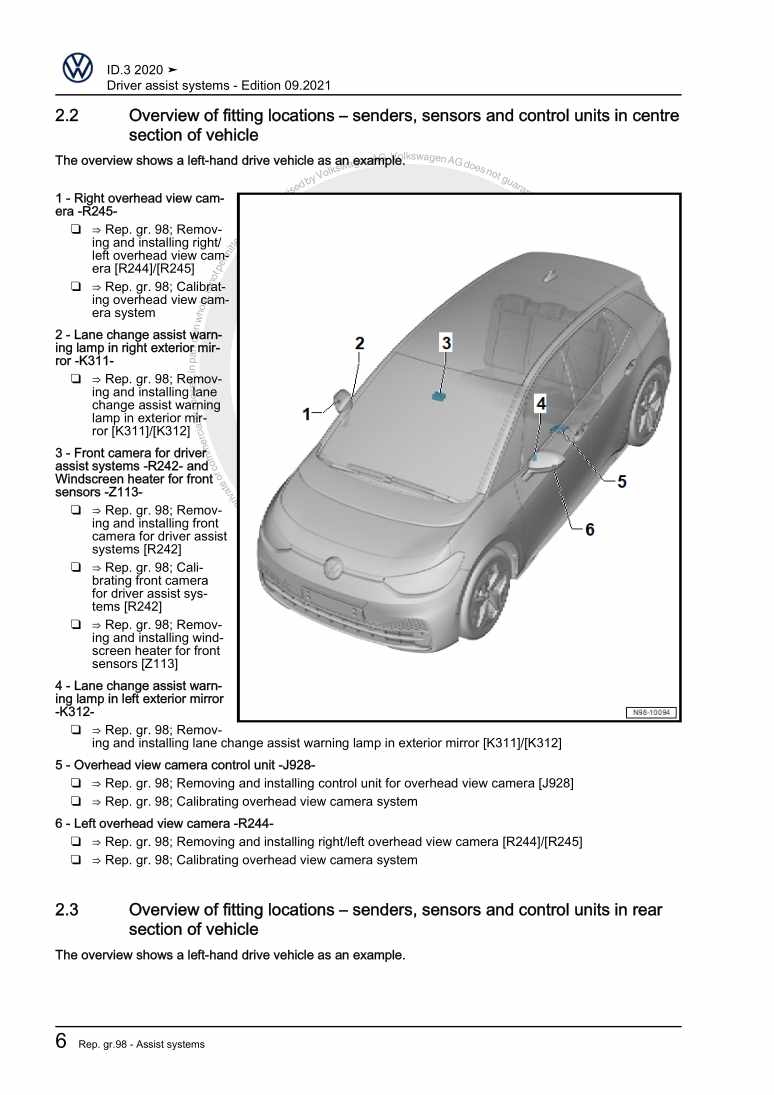
  • Beispielseite für Reparaturanleitung 3 Electric drive

Electric drive

Für ID.3

Original VW-Reparaturanleitung


18,51 €inkl. 7% MwSt.

Sofort als Download verfügbar

Sprache: English

Digitale PDF Version

22.746 KB

226 Seiten

Detaillierte technische Daten

Sofort lesbar

Diese Reparaturanleitung umfasst: Removing and installing rear motor, Rear assembly mountings, Cooling system/coolant, Radiator, radiator fan, Warning stickers, High-voltage battery unit, Power and control electronics for electric drive, Electric drive motor, Vehicle noise/engine sound und Accelerator pedal. Mehr anzeigen
Sichere Zahlung per PayPal, Kreditkarte, Lastschrift, Sofort-Überweisung oder Giropay
PayPal Logo SEPA Lastschrift Logo Giropay Logo Sofort Überweisung Logo

Reparaturanleitung ID.3 Electric drive pdf Download mit dem Inhalt:

Kapitelübersicht

  • Technical data
    1
  • 1 Safety information
    1
  • 1.1 Safety measures for working on vehicles with high-voltage system
    1
  • 1.2 Safety precautions when working in the vicinity of high-voltage components
    2
  • 1.4 Safety precautions when working on the cooling system
    2
  • 2 Identification
    3
  • 2.1 Engine number/engine data
    3
  • 3 Repair instructions
    4
  • 3.1 Contact corrosion
    4
  • 3.2 Routing and attachment of lines
    4
  • 3.3 Fitting radiator and condensers
    4
  • 3.4 Using impact drivers
    4
  • 3.5 Rules for cleanliness
    5
  • 4 Hazard classification of high-voltage system
    6
  • Removing and installing engine
    13
  • 1 Removing and installing rear motor
    13
  • 1.1 Assembly overview – motor
    13
  • 1.2 Removing engine
    15
  • 1.3 Securing engine on engine and gearbox support
    22
  • 1.4 Installing engine
    26
  • 2 Rear assembly mountings
    31
  • Cooling
    32
  • 1 Cooling system/coolant
    32
  • 1.1 Connection diagram - coolant hoses
    32
  • 1.2 Overview of fitting locations – cooling system
    34
  • 1.3 Assembly overview – cooling system
    36
  • 1.4 Checking cooling system for leaks
    40
  • 1.5 Draining coolant
    43
  • 1.6 Filling cooling system
    44
  • 1.7 Checking filling quality
    54
  • 1.8 Removing and installing coolant expansion tank
    56
  • 2 Coolant pump, regulation of cooling system
    59
  • 2.1 Assembly overview - electric coolant pump
    59
  • 2.2 Removing and installing coolant pump for high-voltage battery V590
    60
  • 2.3 Removing and installing coolant pump for low-temperature circuit V468
    62
  • 2.4 Assembly overview – coolant valves
    63
  • 2.5 Removing and installing mixing valve for high-voltage battery pre-heating V683
    64
  • 2.6 Removing and installing temperature sensor G18
    67
  • 3 Radiator, radiator fan
    71
  • 3.1 Assembly overview - radiator/radiator fan
    71
  • 3.2 Assembly overview – radiator cowl and radiator fan
    71
  • 3.3 Removing and installing radiator module
    72
  • 3.4 Dismantling and assembling radiator module
    74
  • 3.5 Removing and installing radiator cowl with radiator fan
    77
  • 3.6 Removing and installing radiator fan V7
    78
  • 3.7 Removing and installing control motor for radiator roller blind V711
    79
  • Electric drive systems
    81
  • 1 High-voltage components
    81
  • 1.1 Overview of fitting locations - high-voltage components
    81
  • 2 Warning stickers
    82
  • 2.1 Checking warning stickers
    82
  • 3 High-voltage battery unit
    87
  • 3.1 Visual inspection of high-voltage battery 1 AX2
    87
  • 3.2 Diagnosis of high-voltage battery 1 AX2
    88
  • 3.3 Leakage test of high-voltage battery 1 AX2
    88
  • 3.4 Searching for leaks from high-voltage battery
    89
  • 3.5 Removing and installing high-voltage battery 1 AX2
    89
  • 3.6 Raising high-voltage battery 1 AX2
    109
  • 3.7 Opening high-voltage battery 1 AX2
    112
  • 3.8 Closing high-voltage battery 1 AX2
    113
  • 3.9 Voltage and insulation measurement
    118
  • 3.10 Opening electrical circuit
    120
  • 3.11 Removing and installing battery regulation control unit J840
    127
  • 3.12 Charging and discharging battery modules
    129
  • 3.13 Renewing lower part of battery housing
    130
  • 4 High-voltage battery components
    132
  • 4.1 Overview of fitting locations - battery modules
    132
  • 4.2 Assembly overview – high-voltage battery
    136
  • 4.3 Removing battery module
    147
  • 4.4 Installing battery module
    152
  • 4.5 Removing and installing battery modules control unit
    157
  • 4.6 Removing and installing connecting element
    159
  • 5 Power and control electronics for electric drive
    175
  • 5.1 Assembly overview - power and control electronics for electric drive
    175
  • 5.2 Removing and installing power and control electronics for electric drive
    175
  • 6 Electric drive motor
    185
  • 6.1 Assembly overview – electric drive motor
    185
  • 6.2 Calibrating three-phase current drive VX54
    187
  • 6.3 Removing and installing drive motor rotor position sender 1 G713
    187
  • 6.4 Leak testing of electric drive motor
    188
  • 7 Engine control unit
    199
  • 7.1 Assembly overview – engine/motor control unit
    199
  • 7.2 Removing and installing engine control unit J623
    199
  • 7.3 Removing and installing bracket for engine/motor control unit J623
    200
  • 8 De-energising high-voltage system
    201
  • 9 Re-energising high-voltage system
    203
  • 10 Potential equalisation lines
    204
  • 10.1 Overview of fitting locations - potential equalisation lines
    204
  • 11 Charging socket
    205
  • 11.1 Assembly overview – charging socket
    205
  • 11.2 Removing and installing high-voltage battery charging socket 1 UX4
    206
  • 11.3 Manual release mechanism for charging socket
    208
  • 12 Charging unit for high-voltage battery
    210
  • 12.1 Assembly overview – charging unit for high-voltage battery
    210
  • 12.2 Removing and installing charging unit 1 for high-voltage battery AX4
    210
  • 13 Vehicle noise/engine sound
    215
  • 13.1 Overview of fitting locations – vehicle noise/engine sound
    215
  • 13.2 Removing and installing engine sound generator module 1 RX21
    215
  • 14 Accelerator pedal
    217
  • 14.1 Assembly overview - accelerator module
    217
  • 14.2 Removing and installing accelerator pedal module GX2
    217
  • 15 Voltage converter A19
    219
  • 15.1 Assembly overview - voltage converter A19
    219
  • 15.2 Removing and installing voltage converter A19
    219
Hersteller­bezeichnung Electric drive
Hersteller Volkswagen
Passend für ID.3 (2020 >)
Passende Autotypen E11
Motor­kennbuchstaben EBJC, EBJD
Kategorie Reparaturanleitung

Im Moment sind noch keine Bewertungen für dieses Produkt vorhanden.

Ähnliche Reparaturanleitungen

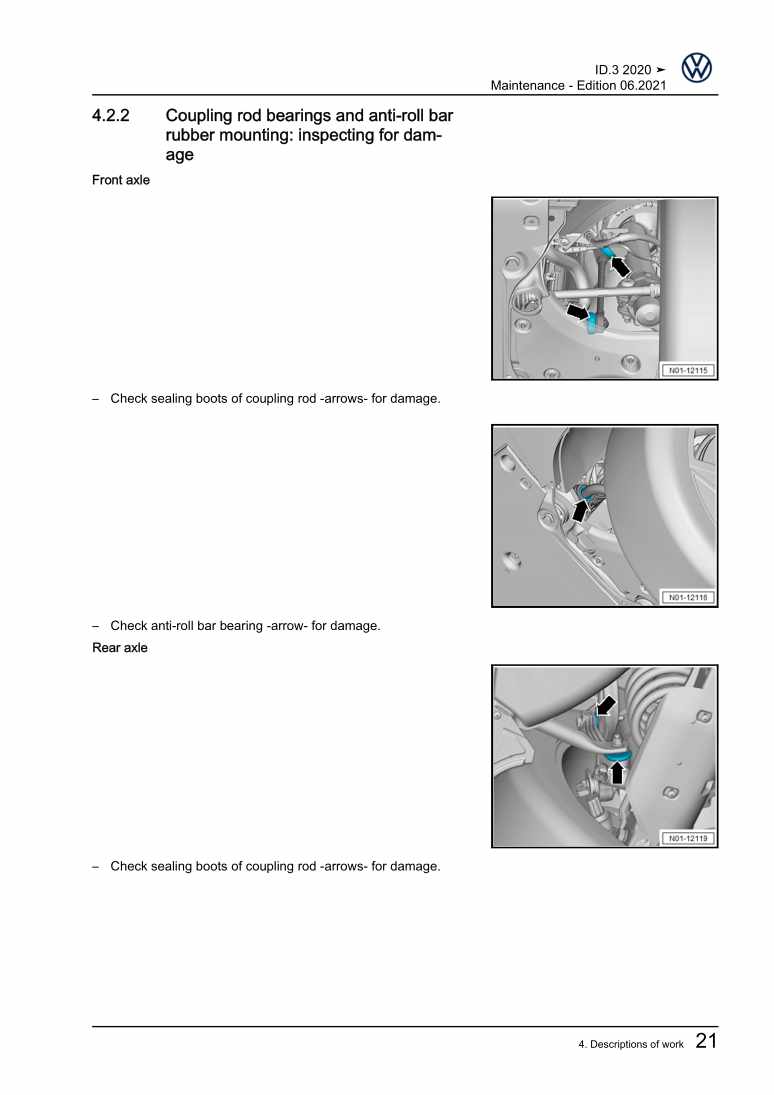
Maintenance

Beispielseite für Reparaturanleitung Maintenance

Für ID.3 (2020 >)

7,70 € Details

Communication

Beispielseite für Reparaturanleitung Communication

Für ID.3 (2020 >)

5,36 € Details

General body repairs, interior

Beispielseite für Reparaturanleitung General body repairs, interior

Für ID.3 (2020 >)

20,15 € Details

Driver assist systems

Beispielseite für Reparaturanleitung Driver assist systems

Für ID.3 (2020 >)

5,95 € Details

Running gear, axles, steering

Beispielseite für Reparaturanleitung Running gear, axles, steering

Für ID.3 (2020 >)

19,30 € Details

1-speed gearbox 0MH

Beispielseite für Reparaturanleitung 1-speed gearbox 0MH

Für ID.3 (2020 >)

4,51 € Details

Body Repairs

Beispielseite für Reparaturanleitung Body Repairs

Für ID.3 (2020 >)

24,51 € Details

Electric drive system, motor control unit, EBJD, From March 2020

Beispielseite für Reparaturanleitung Electric drive system, motor control unit, EBJD, From March 2020

Für ID.3 (2020 >)

49,15 € Details

Electrical system

Beispielseite für Reparaturanleitung Electrical system

Für ID.3 (2020 >)

15,16 € Details

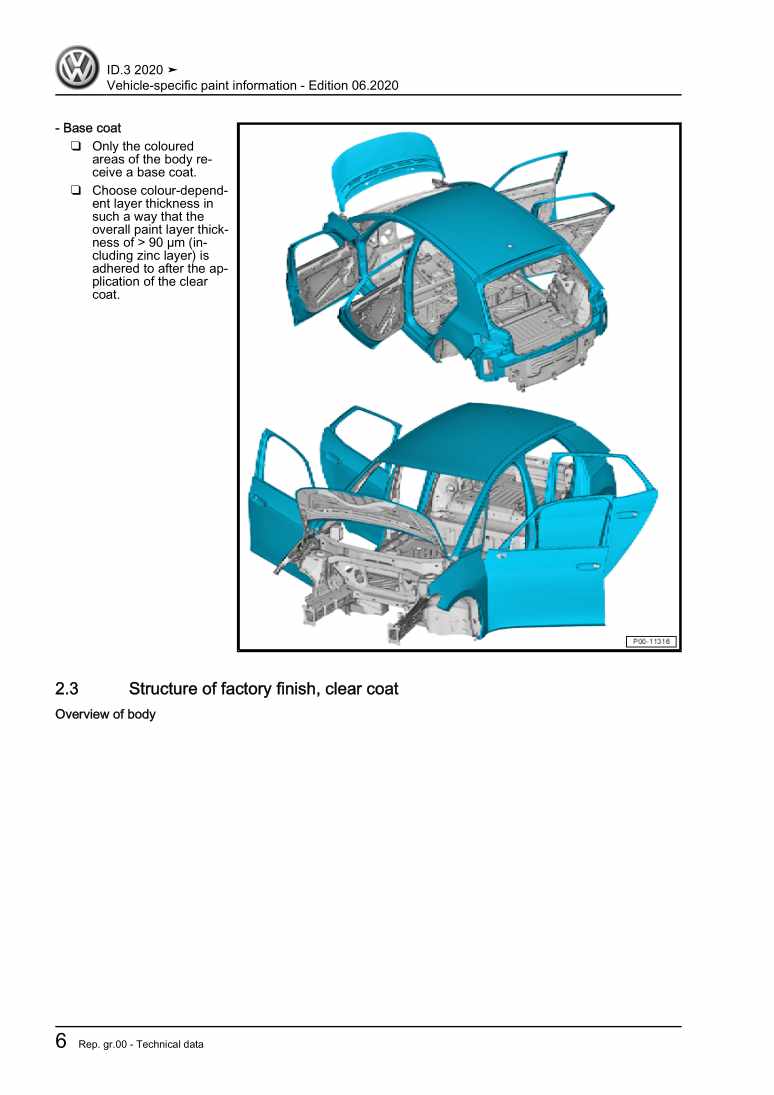
Vehicle-specific paint information

Beispielseite für Reparaturanleitung Vehicle-specific paint information

Für ID.3 (2020 >)

6,29 € Details

Unsere Best Seller

Schon gewusst? Wir bieten auch originale Autoteile an.

Autoteil 2K588331882V Verkleid.

2K588331882V

Verkleid.

29,08 €

Details
Autoteil 4G8805607 Aufnahme

4G8805607

Aufnahme

34,69 €

Details
Autoteil 3Q0253574 Leitung

3Q0253574

Leitung

36,27 €

Details
Autoteil 5Q1815101D Wasserrohr

5Q1815101D

Wasserrohr

64,80 €

Details
Autoteil 8D0253115C Dichtung

8D0253115C

Dichtung

15,74 €

Details

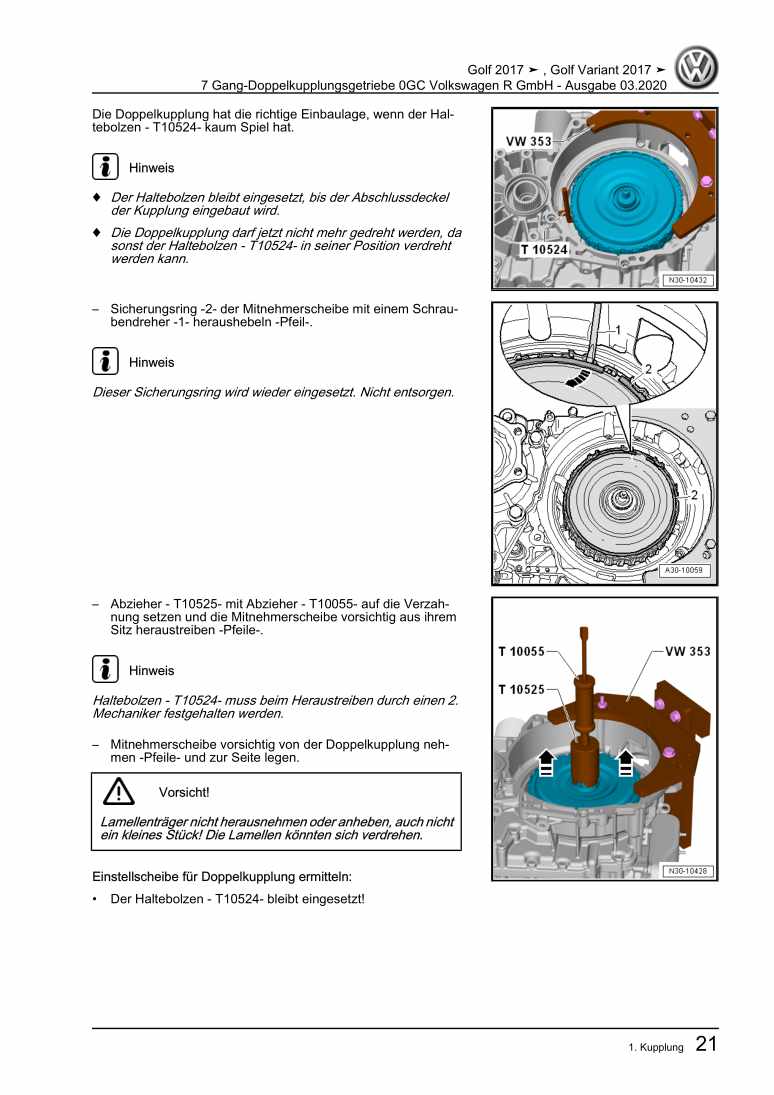
7 Gang-Doppelkupplungsgetriebe 0GC Volkswagen R GmbH

Beispielseite für Reparaturanleitung 7 Gang-Doppelkupplungsgetriebe 0GC Volkswagen R GmbH

Für Golf VII (2017) / Golf (2017)

10,54 € Details

4-Zylinder-Dieselmotor (1,9 l-Motor) 028.B / ADE / ADG

Beispielseite für Reparaturanleitung 4-Zylinder-Dieselmotor (1,9 l-Motor) 028.B / ADE / ADG

Für Industriemotoren - Industrial Engines ()

7,57 € Details

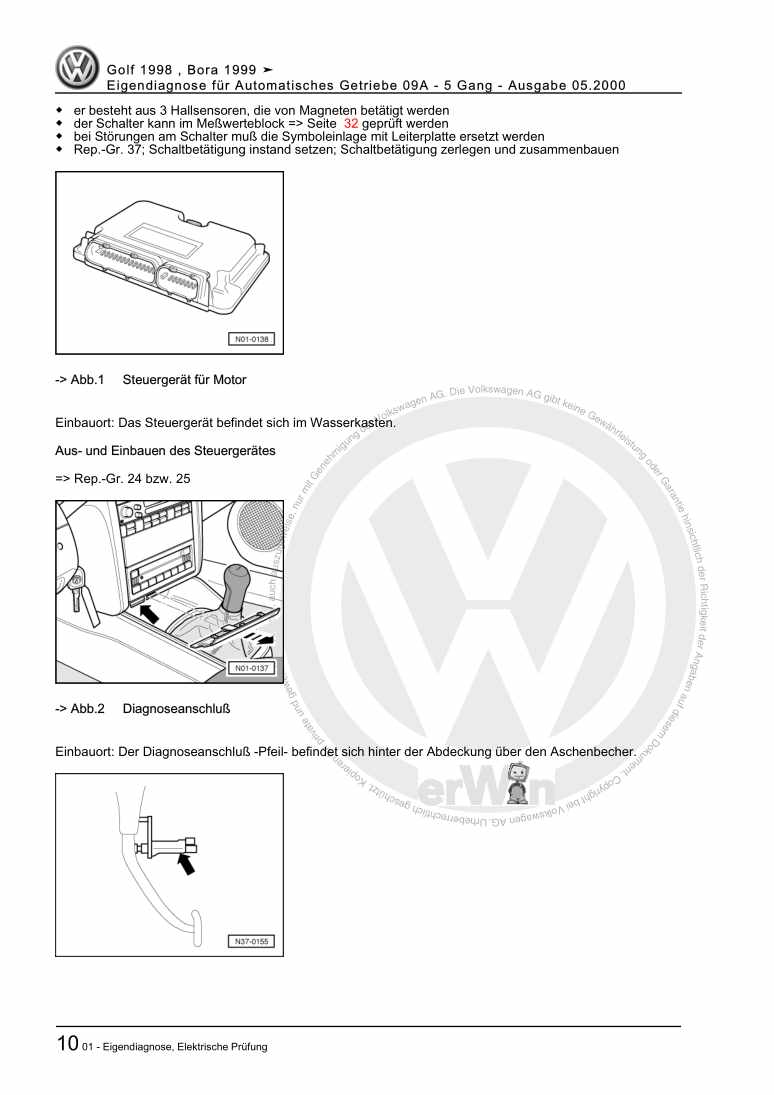
Eigendiagnose für Automatisches Getriebe 09A - 5 Gang

Beispielseite für Reparaturanleitung Eigendiagnose für Automatisches Getriebe 09A - 5 Gang

Für Bora / Bora Variant / Golf / Golf Variant (1998 - 2006)

6,00 € Details

image/svg+xml Über Clonck

Originale Reparaturanleitungen und Ersatzteile

Unsere Reparaturanleitungen sind Originale, kommen direkt von Volkswagen und erfüllen die höchsten Qualitätsstandards.

In unserem Originalteile-Shop verkaufen wir hochwertige Originalersatzteile der Fahrzeughersteller. Mithilfe der Suche gibst du die gewünschte Teilenummer (OE-Nummer) ein und bestellst schnell und einfach das benötigte Ersatzteil.

Höchste Qualitätsstandards

Bei Clonck wollen wir Autoschrauber und Kfz-Profis glücklich machen. Aus diesem Grund findest du bei Clonck ausschließlich professionelle und hochwertige Reparaturanleitungen, mit deren Hilfe du dein Fahrzeug fachgerecht reparieren kannst.

Unsere Partner

Autohaus Schmidt GmbH
Automag GmbH Filiale Laim
KFZ-VERLAG GmbH
Zimpel und Franke GmbH

Clonck: Der Autoreparatur-Shop - gibt's auch als App!

Clonck App Logo Play Store

Clonck: Passende Autoteile für deine Autoreparatur

4,5 90

Mit Clonck bestellst du die richtigen Originalersatzteile im Handumdrehen.

  • Fahrzeugmodell hinzufügen
  • Baugruppe auswählen
  • Fahrzeug-Identifizierungsnummer (FIN) eingeben
  • Über 5.000 originale Reparaturanleitungen einsehen
Jetzt App starten
Clonck App Preview Auto Mobiltelefon Autoteile