DER AUTOREPARATUR-SHOP
0
Home » Anleitungen » 6-cylinder injection engine (direct injection)
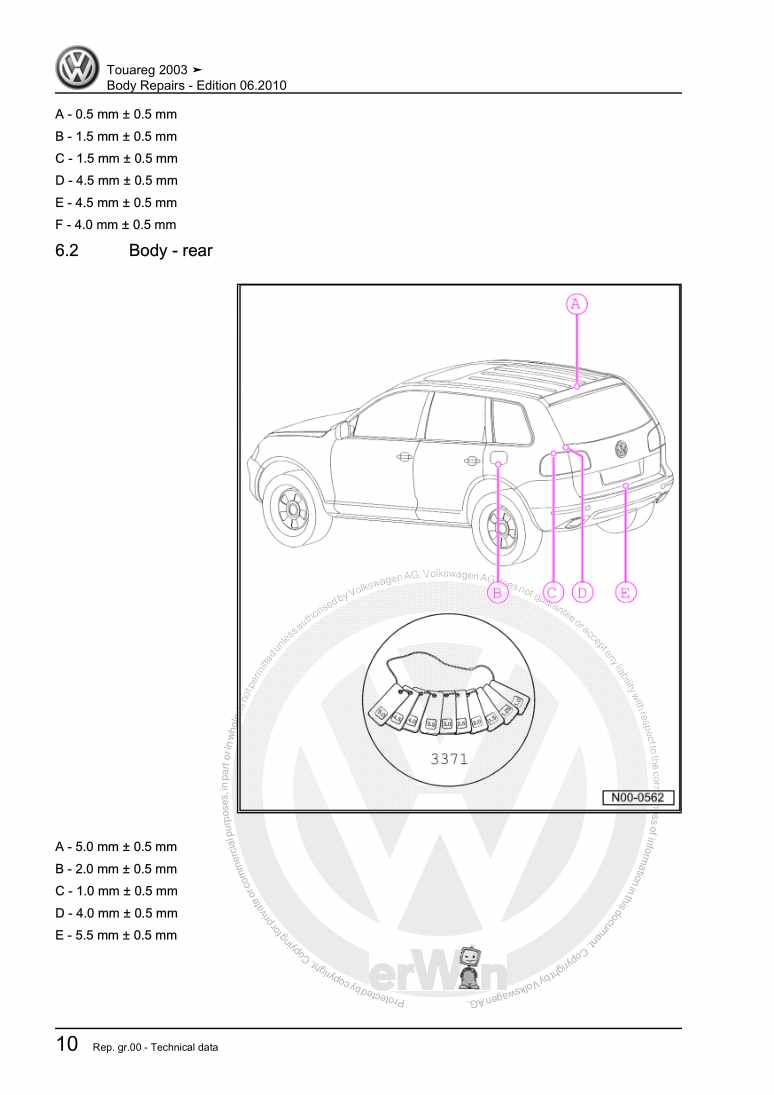
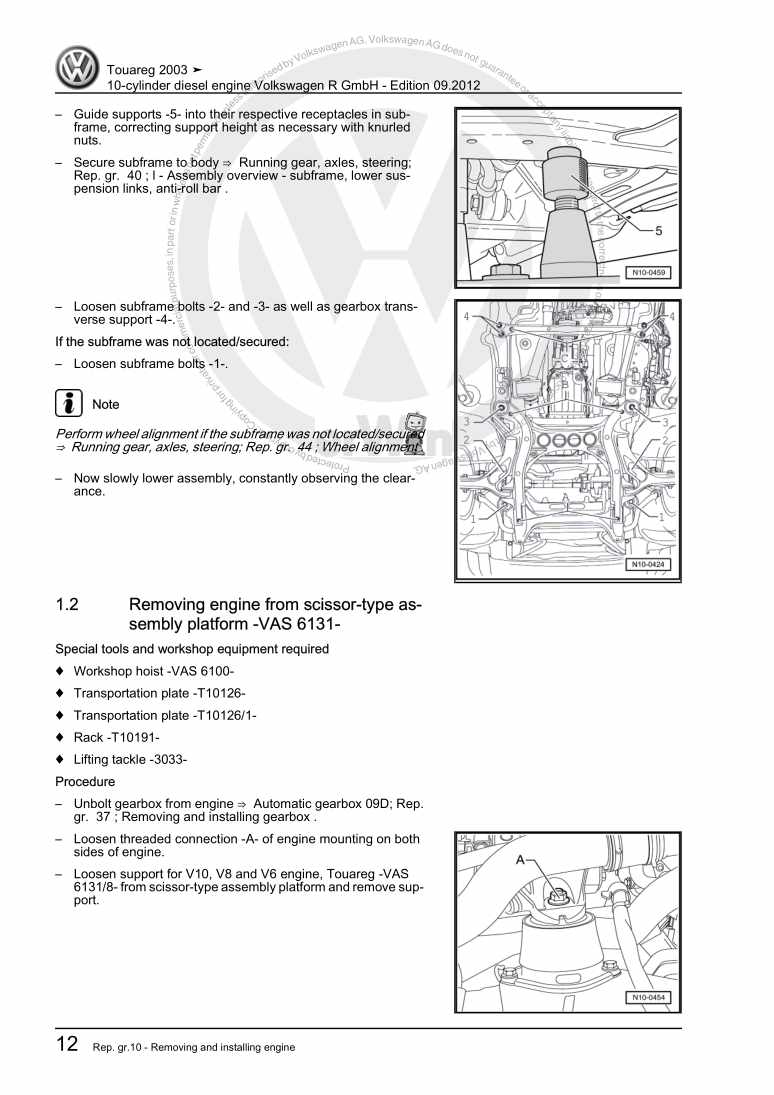
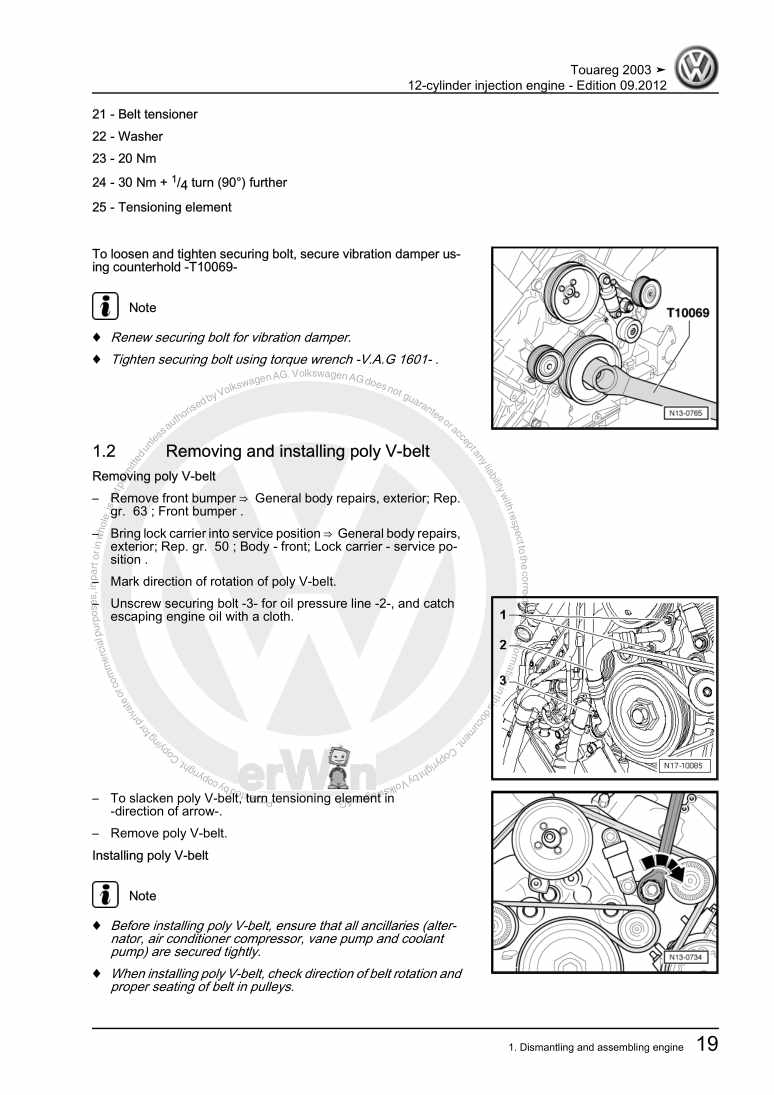
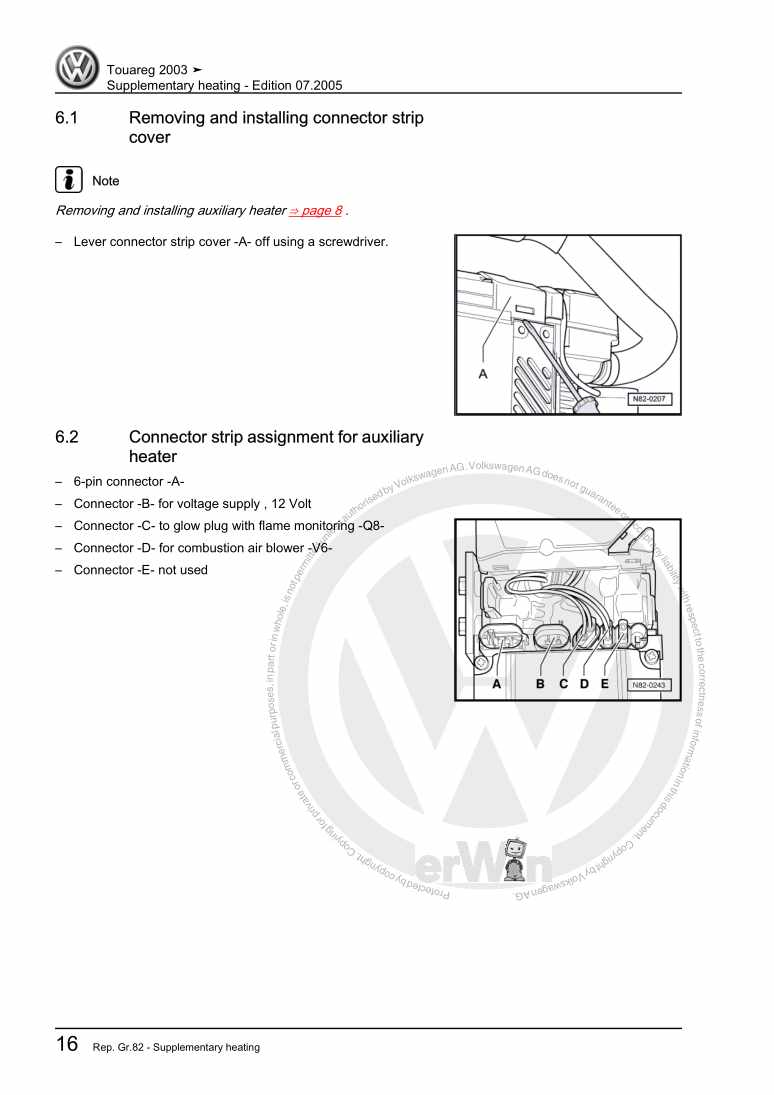
  • Beispielseite für Reparaturanleitung 6-cylinder injection engine (direct injection)
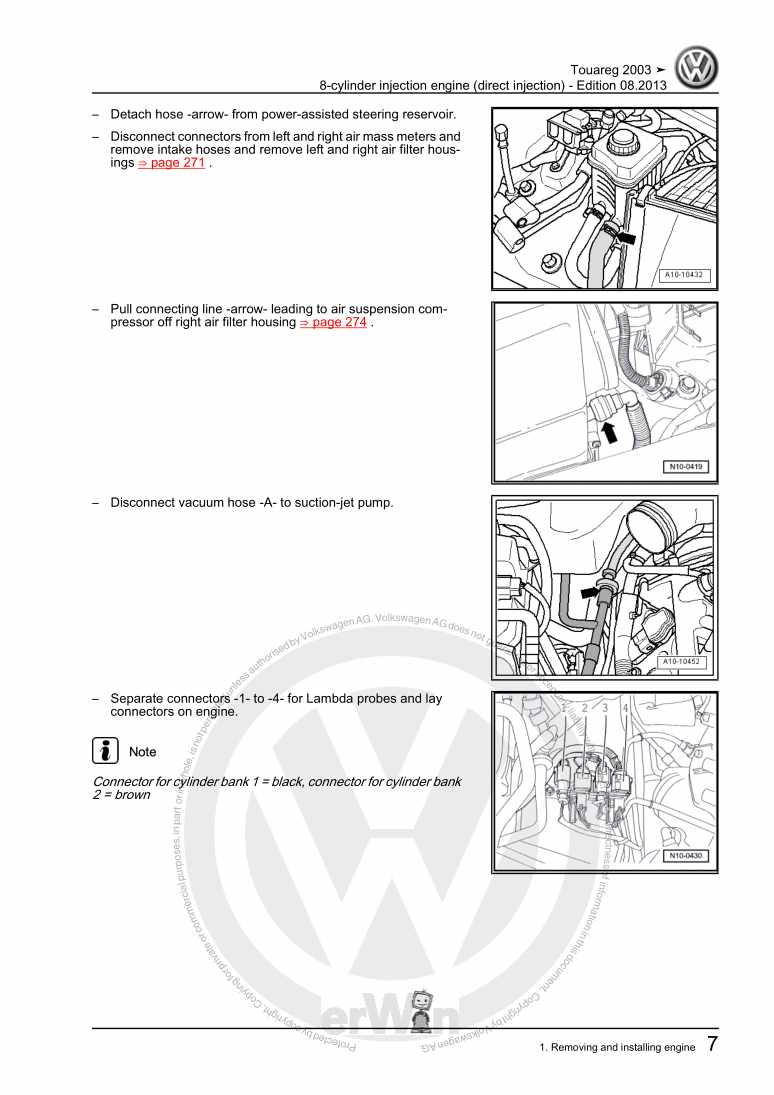
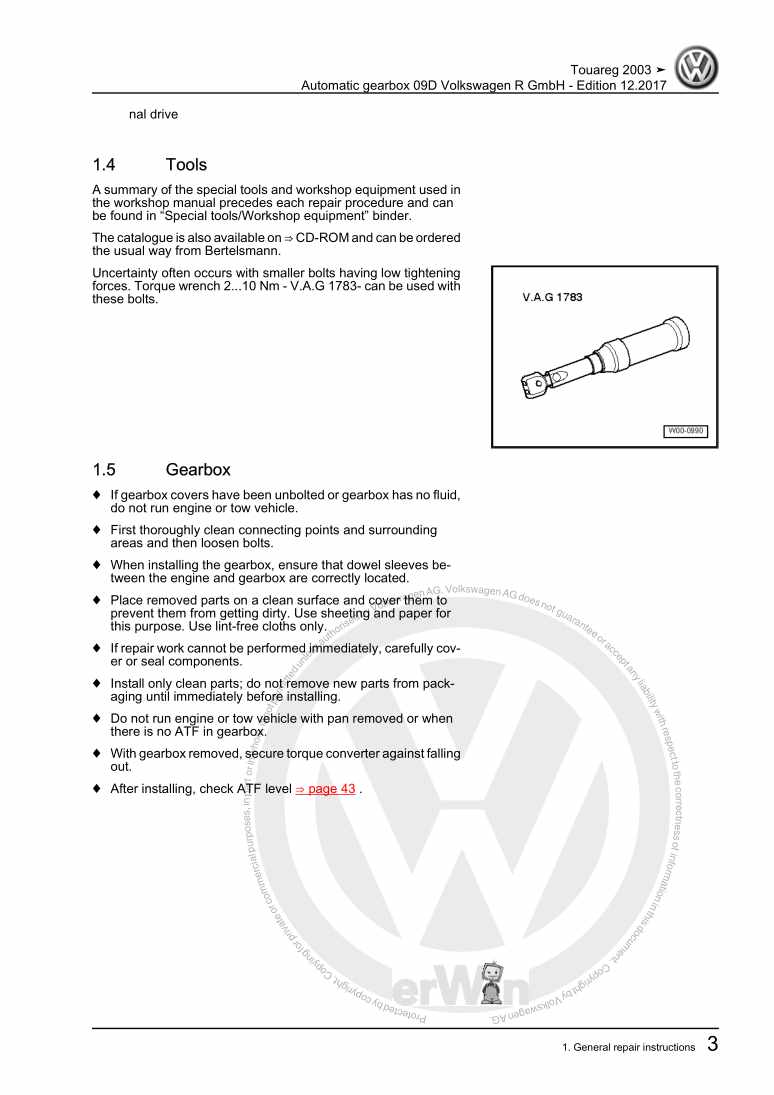
  • Beispielseite für Reparaturanleitung 2 6-cylinder injection engine (direct injection)
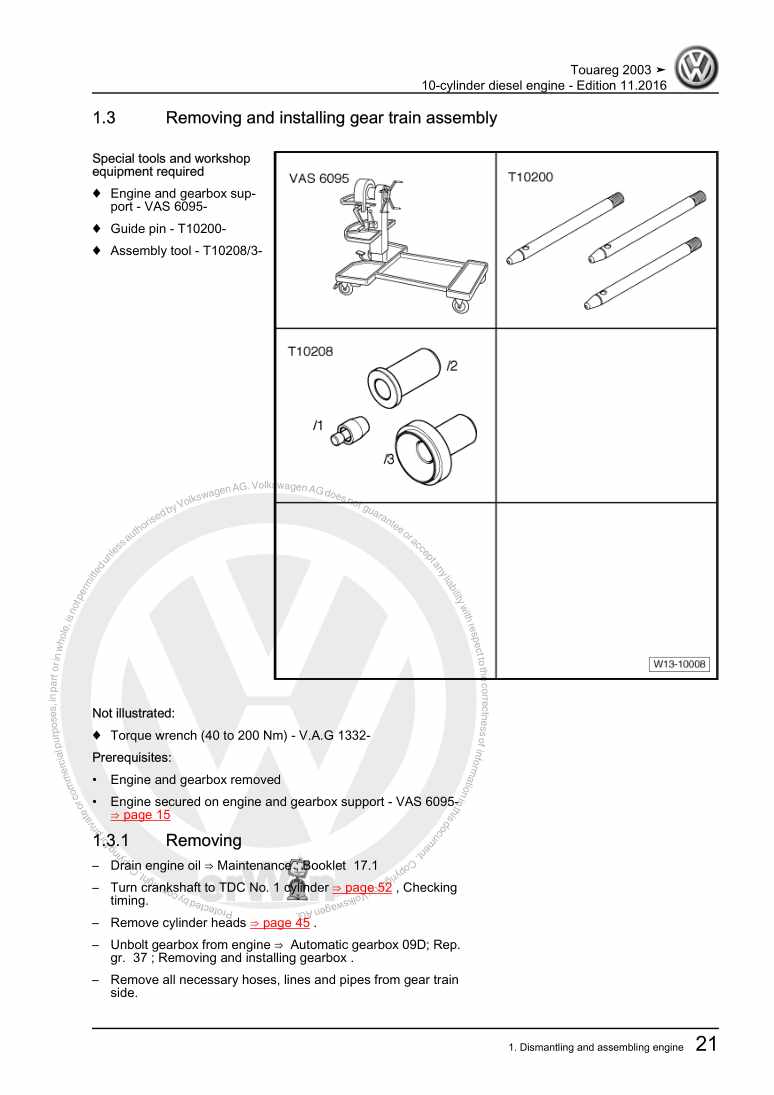
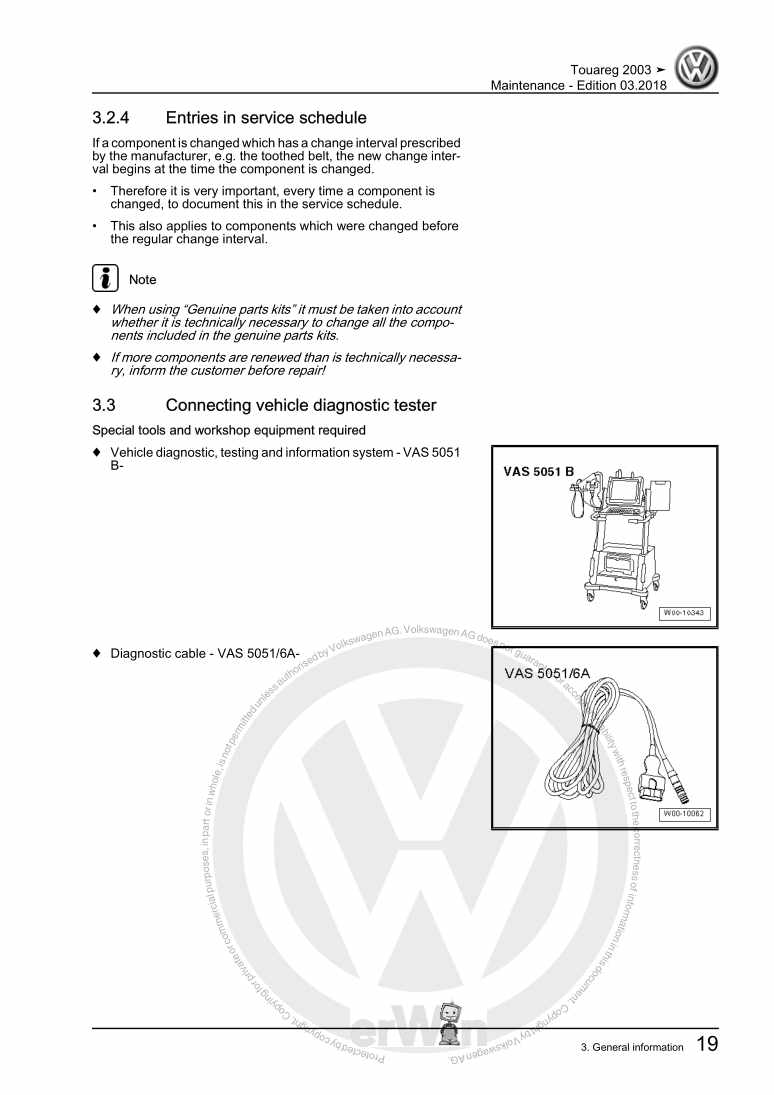
  • Beispielseite für Reparaturanleitung 3 6-cylinder injection engine (direct injection)
  • Beispielseite für Reparaturanleitung 6-cylinder injection engine (direct injection)
  • Beispielseite für Reparaturanleitung 2 6-cylinder injection engine (direct injection)
  • Beispielseite für Reparaturanleitung 3 6-cylinder injection engine (direct injection)

6-cylinder injection engine (direct injection)

Für Touareg

Original VW-Reparaturanleitung


24,38 €inkl. 7% MwSt.

  • Deutsch
  • English

Sofort als Download verfügbar

Sprache: English

Digitale PDF Version

9.572 KB

310 Seiten

Detaillierte technische Daten

Sofort lesbar

Diese Reparaturanleitung umfasst: Removing and installing engine, Assembly mountings, Sealing flange and dual-mass flywheel/drive plate, Crankshaft, Pistons and conrods, Cylinder head, Parts of fuel supply system und Activated charcoal filter system (vehicles for USA and Canada from 08.2006). Mehr anzeigen
Sichere Zahlung per PayPal, Kreditkarte, Lastschrift, Sofort-Überweisung oder Giropay
PayPal Logo SEPA Lastschrift Logo Giropay Logo Sofort Überweisung Logo

Reparaturanleitung Touareg 6-cylinder injection engine pdf Download mit dem Inhalt:

Kapitelübersicht

  • Technical data
    1
  • 1 Engine number
    1
  • 2 Engine data
    2
  • Removing and installing engine
    3
  • 1 Removing and installing engine
    3
  • 1.1 Removing engine
    4
  • 1.2 Securing engine on engine and gearbox support VAS 6095
    11
  • 1.3 Installing engine
    13
  • 2 Assembly mountings
    16
  • 2.1 Assembly overview - assembly mountings
    16
  • 2.2 Removing and installing engine mountings
    16
  • Crankshaft group
    21
  • 1 Dismantling and assembling engine
    21
  • 1.1 Part I
    22
  • 1.2 Part II
    25
  • 1.3 Removing and installing poly V-belt
    27
  • 2 Sealing flange and dual-mass flywheel/drive plate
    29
  • 2.1 Assembly overview - sealing flanges and dual-mass flywheel/drive plate
    29
  • 2.2 Assembly overview - timing chain covers
    30
  • 2.3 Removing and installing seal, flywheel end
    31
  • 2.4 Removing and installing sealing flange on gearbox side
    32
  • 2.5 Removing and installing flywheel
    35
  • 2.6 Removing and installing drive plate
    36
  • 2.7 Renewing crankshaft sealing flange -vibration damper side-
    37
  • 3 Crankshaft
    40
  • 3.1 Assembly overview - crankshaft
    40
  • 3.2 Fitting sender wheel to crankshaft
    41
  • 3.3 Allocation of main bearing shells
    42
  • 4 Pistons and conrods
    47
  • 4.1 Assembly overview - pistons and conrods
    47
  • 4.2 Checking piston and cylinder
    48
  • 4.3 Piston and cylinder dimensions
    52
  • Cylinder head, valve gear
    53
  • 1 Cylinder head
    53
  • 1.1 Assembly overview - cylinder head
    53
  • 1.2 Removing and installing cylinder head
    56
  • 1.3 Checking valve timing
    63
  • 1.4 Removing and installing camshaft adjuster
    69
  • 1.5 Removing and installing chain drive for oil pump
    82
  • 1.6 Removing and installing camshaft drive timing chain, vehicles with vacuum pump
    91
  • 1.8 Removing and installing cylinder head cover
    99
  • 1.9 Assembly overview - mechanical vacuum pump
    101
  • 1.10 Removing and installing mechanical vacuum pump
    102
  • 1.11 Installing cover oil seals
    104
  • 1.12 Checking compression
    105
  • 2 Valve gear
    108
  • 2.1 Assembly overview - valve gear
    108
  • 2.2 Camshafts, checking axial clearance
    110
  • 2.3 Assembly overview - timing housing
    111
  • 2.4 Removing and installing camshaft control valves
    112
  • 2.5 Removing and installing camshafts
    114
  • 2.6 Camshaft identification
    121
  • 2.7 Renewing valve stem seals
    121
  • 2.8 Valve dimensions
    124
  • 2.9 Checking valve guides
    124
  • 2.10 Reworking valve seats
    125
  • Lubrication
    127
  • 1 Parts of lubrication system
    127
  • 1.1 Engine oil
    127
  • 1.2 Assembly overview - sump, oil pump and oil filter bracket
    128
  • 1.3 Removing and installing oil sump
    130
  • 1.4 Removing and installing oil pump
    135
  • 1.5 Assembly overview - oil filter housing
    138
  • 1.6 Removing and installing left engine support with oil filter housing
    140
  • 1.7 Removing and installing engine oil cooler
    143
  • 1.8 Checking oil pressure and oil pressure switch
    145
  • Cooling
    149
  • 1 Parts of cooling system
    149
  • 1.1 Assembly overview - radiator
    150
  • 1.2 Assembly overview - radiator fan
    152
  • 1.3 Assembly overview - cooling system, engine side, front and rear
    152
  • 1.4 Assembly overview - cooling system, engine side, left
    153
  • 1.5 Assembly overview - coolant pump and thermostat
    154
  • 1.6 Assembly overview - parts of cooling system, body side
    156
  • 1.7 Coolant hose schematic diagram
    157
  • 1.8 Draining and filling coolant
    158
  • 1.9 Removing and installing fan support with fans
    161
  • 1.10 Removing and installing radiator
    161
  • 1.11 Removing and installing, checking thermostat
    163
  • 1.12 Removing and installing coolant pump
    164
  • 1.13 Checking cooling system for leaks
    166
  • Fuel supply system
    169
  • 1 Safety precautions
    169
  • 1.1 Safety precautions when working on fuel supply system
    169
  • 1.2 Releasing pressure in high-pressure area
    170
  • 2 Parts of fuel supply system
    172
  • 2.1 Rules for cleanliness
    173
  • 2.2 Assembly overview - fuel tank with attachments
    174
  • 2.3 Assembly overview - fuel filter
    176
  • 2.4 Renewing fuel filter
    176
  • 2.5 Emptying fuel tank
    178
  • 2.6 Removing and installing fuel gauge sender and suction-jet pumps
    181
  • 2.7 Removing and installing fuel delivery unit and fuel gauge sender
    183
  • 2.8 Removing and installing fuel tank with attached components
    186
  • 2.9 Checking fuel pump (vehicles with one-piece intake manifold)
    190
  • 2.10 Checking fuel pumps (vehicles with two-piece intake manifold)
    199
  • 3 Electronic power control (EPC)
    207
  • 3.1 Function of EPC system
    207
  • 3.2 Assembly overview - accelerator
    207
  • 4 Activated charcoal filter system
    209
  • 4.1 Function
    209
  • 4.2 Assembly overview - activated charcoal filter system (vehicles up to 08.2006)
    210
  • 4.3 Assembly overview - activated charcoal filter system (vehicles from 08.2006)
    211
  • 5.1 Assembly overview - activated charcoal filter system
    213
  • 5.2 Checking fuel system for leaks
    215
  • 6 Activated charcoal filter system (vehicles for USA and Canada from 08.2006)
    222
  • 6.1 Assembly overview - activated charcoal filter system
    223
  • 6.2 Checking fuel system for leaks
    224
  • Mixture preparation - injection
    232
  • 1 Injection system (vehicles with one-piece manifold)
    232
  • 1.1 General notes on the injection system
    233
  • 1.2 Rules for cleanliness
    233
  • 1.3 Technical data
    233
  • 1.4 Assembly overview - intake manifold
    234
  • 1.5 Checking vacuum reservoir in intake manifold for leaks
    235
  • 1.6 Checking vacuum unit for intake manifold flaps
    236
  • 1.7 Assembly overview - fuel rail with high-pressure pump and injectors
    237
  • 1.8 Assembly overview - air filter
    240
  • 1.9 Assembly overview - suction-jet pump
    241
  • 1.10 Removing and installing intake manifold
    242
  • 1.11 Removing and installing high-pressure pump
    248
  • 1.12 Checking fuel pressure sender G247
    250
  • 1.13 Removing and installing injectors
    253
  • 2 Injection system (vehicles with two-piece manifold)
    261
  • 2.1 General notes on the injection system
    262
  • 2.2 Rules for cleanliness
    262
  • 2.3 Technical data
    262
  • 2.4 Assembly overview - intake manifold
    263
  • 2.5 Checking vacuum reservoir in intake manifold for leaks
    264
  • 2.6 Checking vacuum unit for intake manifold flap
    265
  • 2.7 Assembly overview - fuel rail with high-pressure pump and injectors
    266
  • 2.8 Assembly overview - air filter
    269
  • 2.9 Removing and installing intake manifold upper part
    270
  • 2.10 Removing and installing intake manifold lower part with fuel rail
    273
  • 2.11 Removing and installing high-pressure pump
    276
  • 2.12 Checking fuel pressure sender G247
    278
  • 2.13 Removing and installing injectors
    281
  • 3 Engine control unit
    288
  • 3.1 Removing and installing engine control unit
    288
  • 3.2 Removing and installing anti-theft engine control unit
    288
  • Exhaust system
    292
  • 1 Parts of the exhaust system
    292
  • 1.1 Assembly overview - exhaust manifold with starter catalytic converters and attachments
    293
  • 1.2 Silencer with mountings
    295
  • 1.4 Removing and installing catalytic converters
    297
  • Ignition system
    299
  • 1 Ignition system
    299
  • 1.1 General notes on ignition system
    299
  • 1.2 Assembly overview - ignition system
    299
  • 1.3 Safety precautions
    301
  • 1.4 Test data, spark plugs
    302
  • 1.5 Removing and installing ignition coils with output stage
    302
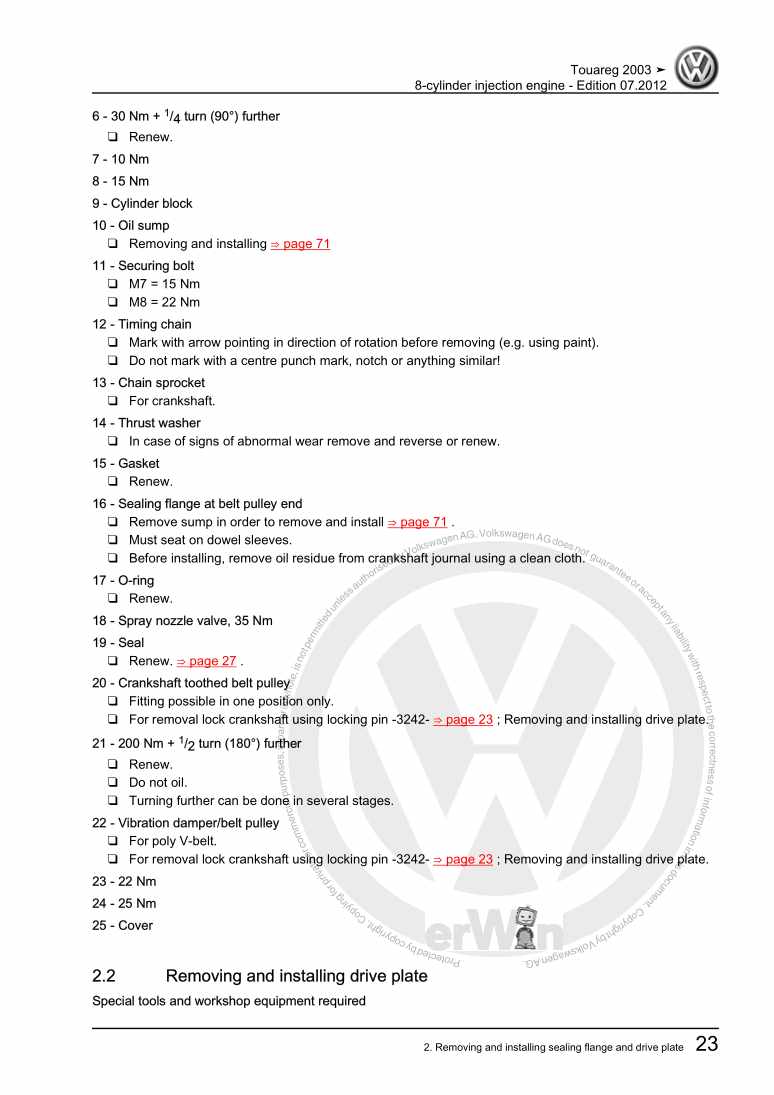
Hersteller­bezeichnung 6-cylinder injection engine (direct injection)
Hersteller Volkswagen
Passend für Touareg (2003 - 2007)
Passende Autotypen 7L
Motor­kennbuchstaben BHL
Kategorie Reparaturanleitung

Im Moment sind noch keine Bewertungen für dieses Produkt vorhanden.

Ähnliche Reparaturanleitungen

8-cylinder injection engine

Beispielseite für Reparaturanleitung 8-cylinder injection engine

Für Touareg (2003 - 2007)

14,51 € Details

Body Repairs

Beispielseite für Reparaturanleitung Body Repairs

Für Touareg (2003 - 2007)

16,26 € Details

8-cylinder injection engine (direct injection)

Beispielseite für Reparaturanleitung 8-cylinder injection engine (direct injection)

Für Touareg (2003 - 2007)

25,44 € Details

10-cylinder diesel engine

Beispielseite für Reparaturanleitung 10-cylinder diesel engine

Für Touareg (2003 - 2007)

16,77 € Details

6-cylinder injection engine

Beispielseite für Reparaturanleitung 6-cylinder injection engine

Für Touareg (2003 - 2007)

16,26 € Details

10-cylinder diesel engine Volkswagen R GmbH

Beispielseite für Reparaturanleitung 10-cylinder diesel engine Volkswagen R GmbH

Für Touareg (2003 - 2007)

14,51 € Details

Automatic gearbox 09D Volkswagen R GmbH

Beispielseite für Reparaturanleitung Automatic gearbox 09D Volkswagen R GmbH

Für Touareg (2003 - 2007)

7,50 € Details

Maintenance

Beispielseite für Reparaturanleitung Maintenance

Für Touareg (2003 - 2007)

14,43 € Details

12-cylinder injection engine

Beispielseite für Reparaturanleitung 12-cylinder injection engine

Für Touareg (2003 - 2007)

15,75 € Details

Supplementary heating

Beispielseite für Reparaturanleitung Supplementary heating

Für Touareg (2003 - 2007)

5,26 € Details

Unsere Best Seller

Schon gewusst? Wir bieten auch originale Autoteile an.

Autoteil 8K0807681J01C Gitter

8K0807681J01C

Gitter

50,43 €

Details
Autoteil ASE44726700000 Bloecke

ASE44726700000

Bloecke

460,47 €

Details
Autoteil N10220404 Schraube

N10220404

Schraube

5,06 €

Details
Autoteil 055129723A Stuetze

055129723A

Stuetze

7,73 €

Details
Autoteil 5K0937087MZ4G Steuerg.

5K0937087MZ4G

Steuerg.

673,30 €

Details

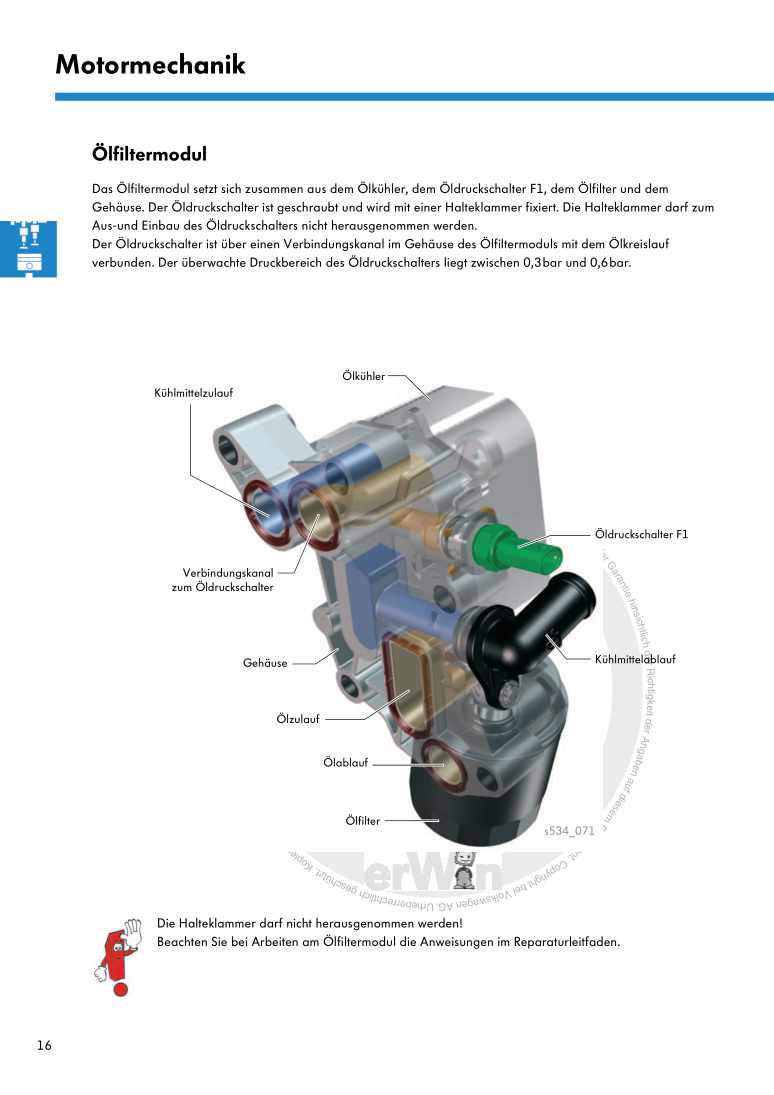
Nr. 534: Der 1,4 l-3-Zylinder-TDI-Motor der Dieselmotoren-Baureihe EA288

Beispielseite für Reparaturanleitung Nr. 534: Der 1,4 l-3-Zylinder-TDI-Motor der Dieselmotoren-Baureihe EA288

5,89 € Details

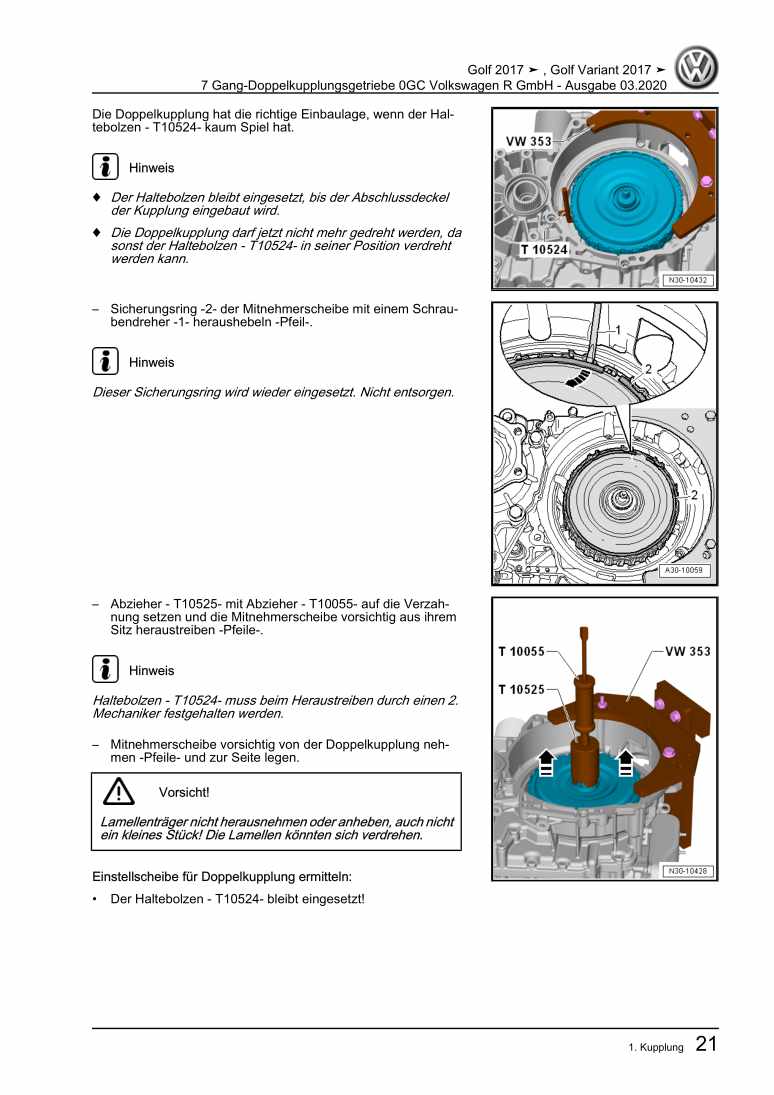
7 Gang-Doppelkupplungsgetriebe 0GC Volkswagen R GmbH

Beispielseite für Reparaturanleitung 7 Gang-Doppelkupplungsgetriebe 0GC Volkswagen R GmbH

Für Golf VII (2017) / Golf (2017)

10,54 € Details

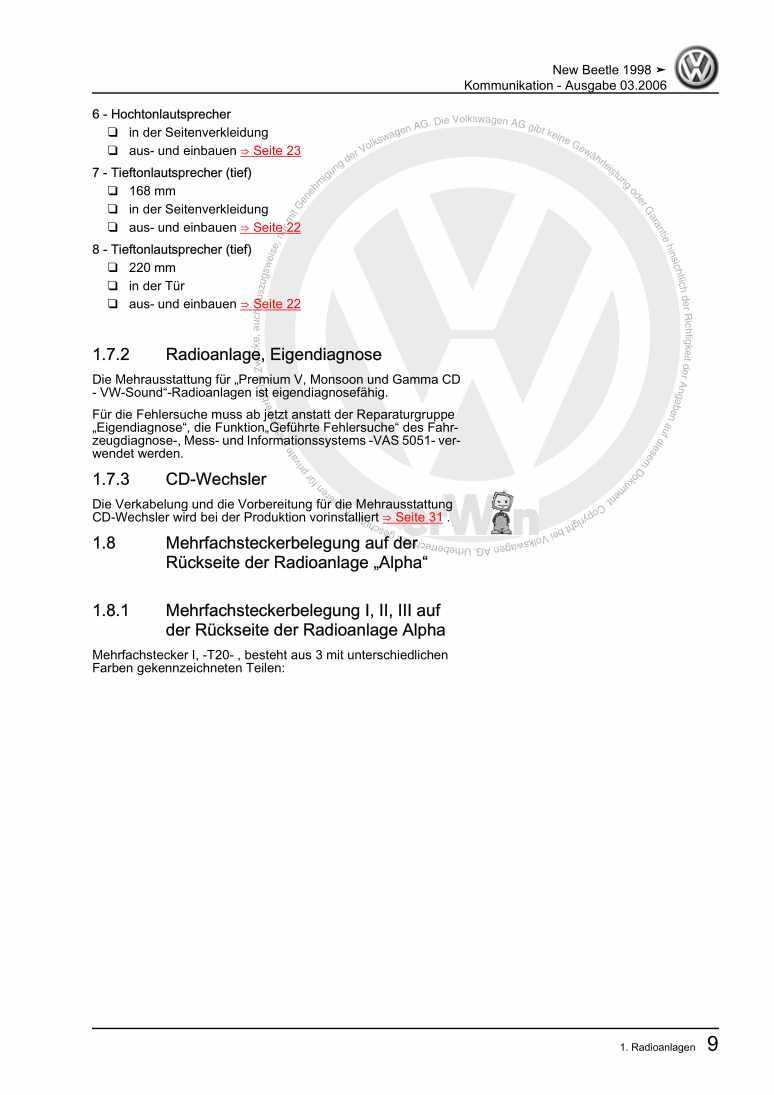
Kommunikation

Beispielseite für Reparaturanleitung Kommunikation

Für New Beetle Cabrio (2003 - 2010) / New Beetle / New Beetle (USA) (1998 - 2007) / New Beetle (Europe) (1999 - 2002)

6,46 € Details

image/svg+xml Über Clonck

Originale Reparaturanleitungen und Ersatzteile

Unsere Reparaturanleitungen sind Originale, kommen direkt von Volkswagen und erfüllen die höchsten Qualitätsstandards.

In unserem Originalteile-Shop verkaufen wir hochwertige Originalersatzteile der Fahrzeughersteller. Mithilfe der Suche gibst du die gewünschte Teilenummer (OE-Nummer) ein und bestellst schnell und einfach das benötigte Ersatzteil.

Höchste Qualitätsstandards

Bei Clonck wollen wir Autoschrauber und Kfz-Profis glücklich machen. Aus diesem Grund findest du bei Clonck ausschließlich professionelle und hochwertige Reparaturanleitungen, mit deren Hilfe du dein Fahrzeug fachgerecht reparieren kannst.

Unsere Partner

Autohaus Schmidt GmbH
Automag GmbH Filiale Laim
KFZ-VERLAG GmbH
Zimpel und Franke GmbH

Clonck: Der Autoreparatur-Shop - gibt's auch als App!

Clonck App Logo Play Store

Clonck: Passende Autoteile für deine Autoreparatur

4,5 90

Mit Clonck bestellst du die richtigen Originalersatzteile im Handumdrehen.

  • Fahrzeugmodell hinzufügen
  • Baugruppe auswählen
  • Fahrzeug-Identifizierungsnummer (FIN) eingeben
  • Über 5.000 originale Reparaturanleitungen einsehen
Jetzt App starten
Clonck App Preview Auto Mobiltelefon Autoteile