DER AUTOREPARATUR-SHOP
0
Home » Anleitungen » 4-cylinder diesel engine (2.0 l engine, common rail, generation II)
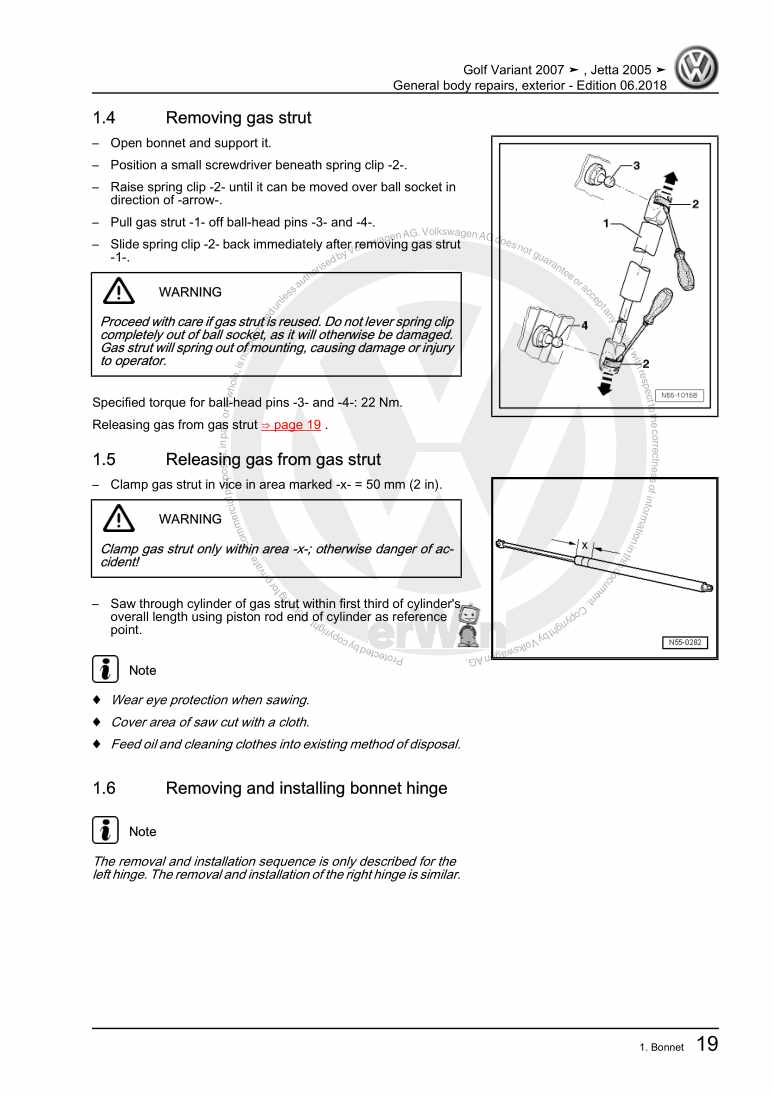
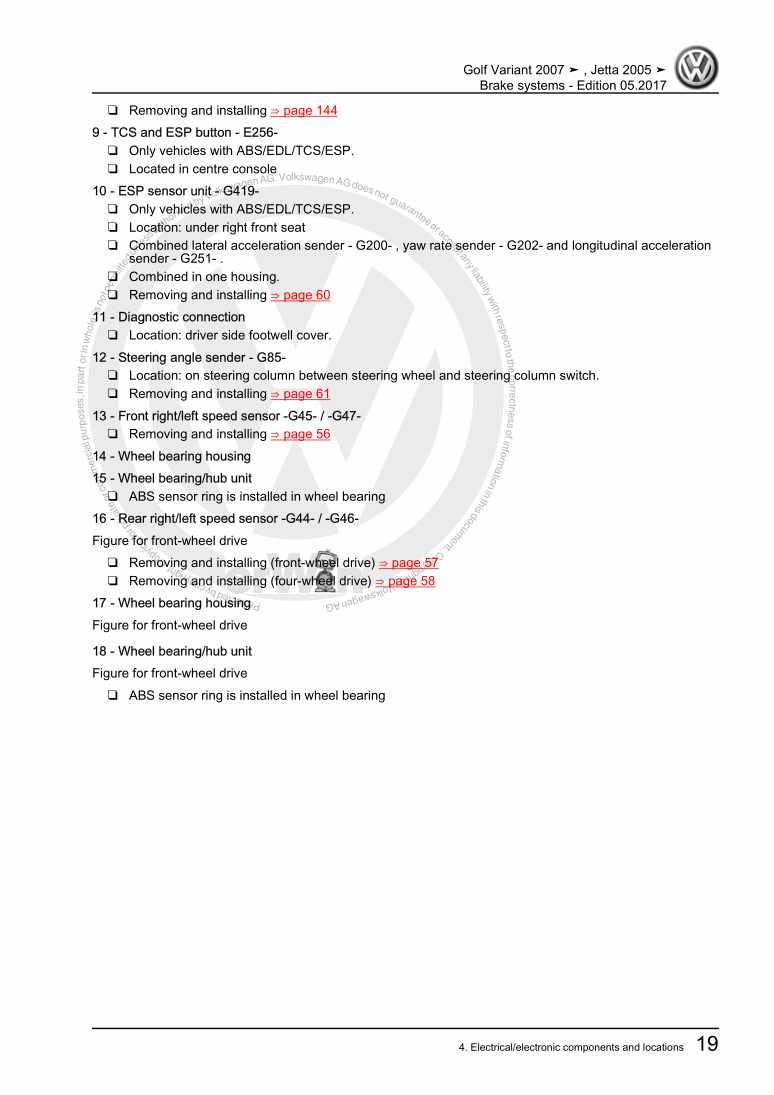
  • Beispielseite für Reparaturanleitung 4-cylinder diesel engine (2.0 l engine, common rail, generation II)
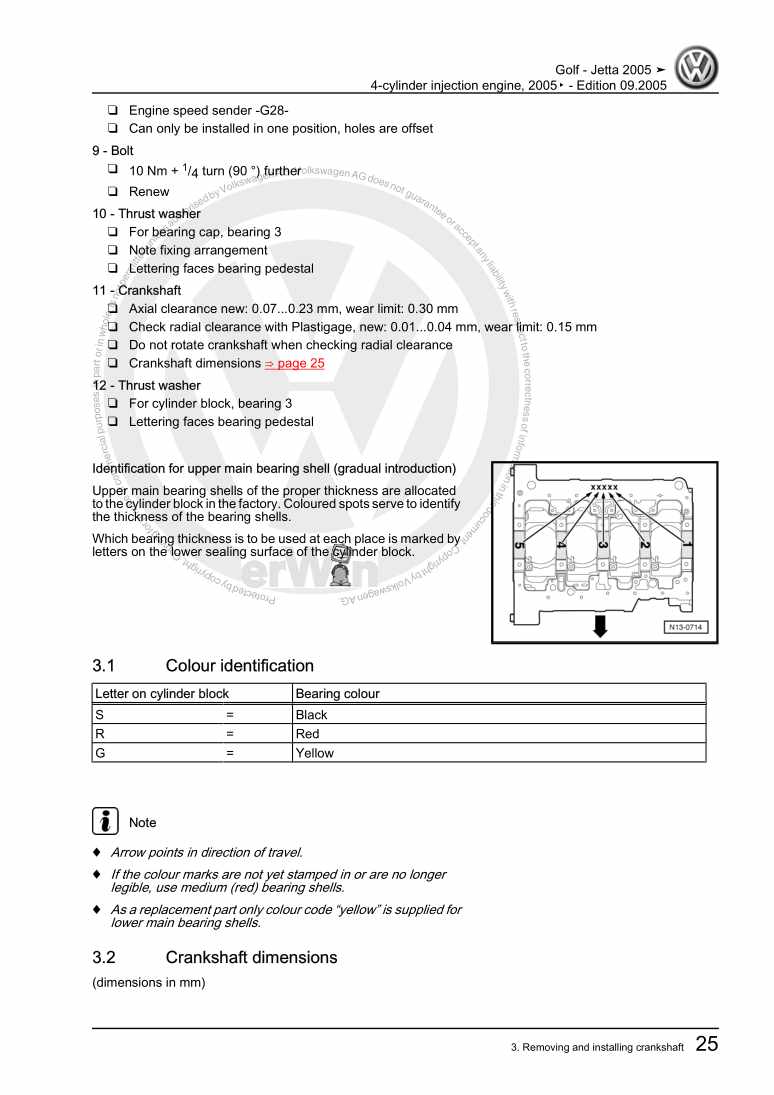
  • Beispielseite für Reparaturanleitung 2 4-cylinder diesel engine (2.0 l engine, common rail, generation II)
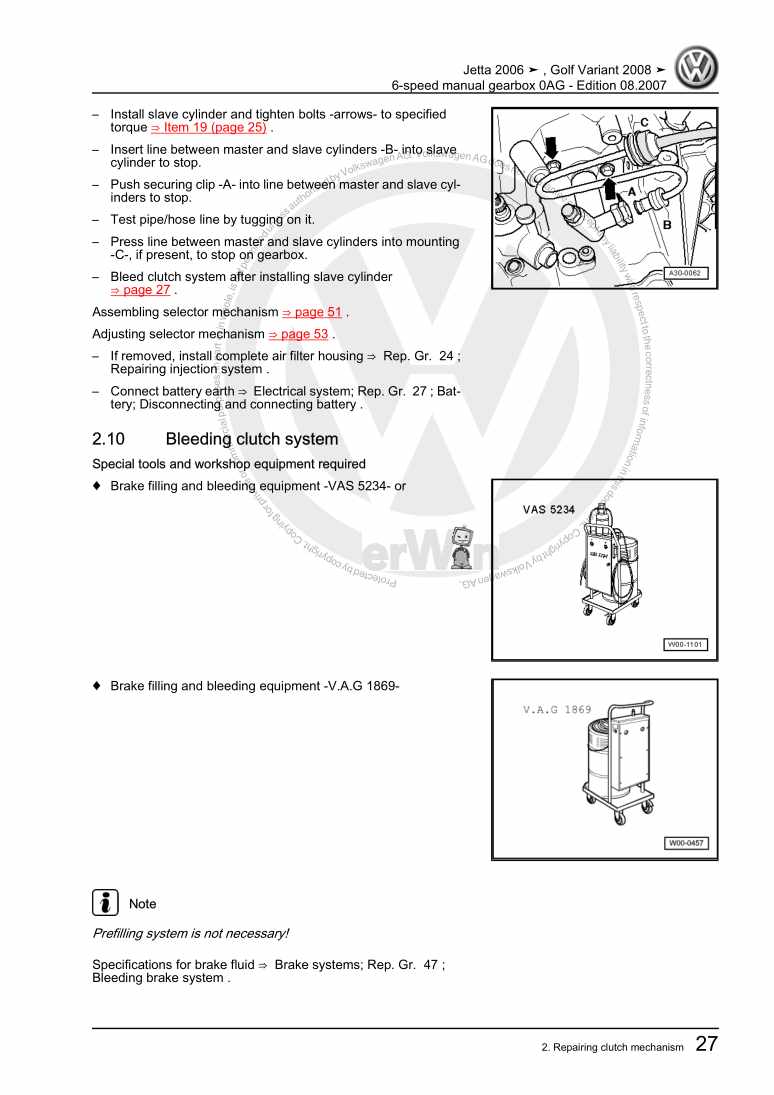
  • Beispielseite für Reparaturanleitung 3 4-cylinder diesel engine (2.0 l engine, common rail, generation II)

4-cylinder diesel engine (2.0 l engine, common rail, generation II)

Für Jetta / Jetta 2-türig Rl / Jetta 4-türig Ll / Golf VI Variant

Original VW-Reparaturanleitung


32,65 €inkl. 7% MwSt.

  • Deutsch
  • English

Sofort als Download verfügbar

Sprache: English

Digitale PDF Version

14.690 KB

443 Seiten

Detaillierte technische Daten

Sofort lesbar

Diese Reparaturanleitung umfasst: Removing and installing engine, Assembly mounting, except Jetta 2011 ▶, Pistons and conrods, Crankshaft, Cylinder head, Engine oil:, Oil filter bracket and engine oil cooler, Safety regulations for working on fuel supply, Procedure in event of misfuelling, Turbocharger, High-pressure pump, Injectors, Front exhaust pipe with particulate filter und Checking glow plug system. Mehr anzeigen
Sichere Zahlung per PayPal, Kreditkarte, Lastschrift, Sofort-Überweisung oder Giropay
PayPal Logo SEPA Lastschrift Logo Giropay Logo Sofort Überweisung Logo

Reparaturanleitung 4-cylinder diesel engine pdf Download mit dem Inhalt:

Kapitelübersicht

  • Technical data
    1
  • 1 Technical data
    1
  • 1.1 Engine number
    1
  • 1.2 Engine data
    1
  • Removing and installing engine
    3
  • 1 Removing and installing engine
    3
  • 1.1 Removing and installing engine cover
    3
  • 1.2 Removing engine
    4
  • 1.3 Separating engine from gearbox
    13
  • 1.4 Separating engine from dual clutch gearbox
    15
  • 1.5 Securing engine to assembly stand
    18
  • 1.6 Installing engine
    20
  • 2 Assembly mounting, except Jetta 2011 ▶
    24
  • 2.1 Assembly overview - assembly mountings
    24
  • 2.2 Checking adjustment of engine assembly mountings
    27
  • 2.3 Adjusting assembly mountings
    27
  • 3 Assembly mounting, Jetta 2011 ▶
    33
  • 3.1 Assembly overview - assembly mountings
    33
  • 3.2 Removing and installing engine mounting
    35
  • 3.3 Removing and installing gearbox mounting
    39
  • 3.4 Removing and installing pendulum support
    42
  • 3.5 Supporting engine in installation position
    43
  • 3.6 Adjusting assembly mountings
    48
  • 3.7 Checking adjustment of assembly mountings
    49
  • Crankshaft group
    51
  • 1 Dismantling and assembling engine
    51
  • 1.1 Poly V-belt drive with tensioning element and air conditioner compressor
    51
  • 1.2 Poly V-belt drive with tensioning roller and air conditioner compressor
    55
  • 1.3 Poly V-belt drive without air conditioning compressor
    59
  • 1.4 Removing and installing bracket for ancillaries
    61
  • 1.5 Assembly overview - toothed belt drive
    63
  • 1.6 Removing and installing engine bracket
    65
  • 1.7 Assembly overview - crankcase
    69
  • 2 Removing and installing sealing flange and flywheel
    71
  • 2.1 Assembly overview - Sealing flange, belt pulley end
    71
  • 2.2 Renewing crankshaft oil seal, pulley end
    73
  • 2.3 Removing and installing sealing flange - pulley end
    75
  • 2.4 Assembly overview - Dual-mass flywheel and sealing flange
    79
  • 2.5 Removing and installing dual-mass flywheel
    80
  • 2.6 Renewing crankshaft sealing flange, flywheel end
    81
  • 2.7 Removing and installing engine speed sender G28
    92
  • 3 Pistons and conrods
    94
  • 3.1 Assembly overview - pistons and conrods
    94
  • 3.2 Piston and cylinder dimensions
    98
  • 3.3 Separating new conrods
    98
  • 3.4 Bearing shells - installation position
    99
  • 3.5 Piston and cylinder dimensions
    100
  • 3.6 Checking piston projection at TDC
    100
  • 3.7 Measuring radial clearance of conrods
    102
  • 4 Crankshaft
    103
  • 4.1 Assembly overview - crankshaft
    103
  • 4.2 Crankshaft dimensions
    103
  • 4.3 Pulling needle bearing out of and driving into crankshaft
    104
  • Cylinder head, valve gear
    107
  • 1 Cylinder head
    107
  • 1.1 Assembly overview - cylinder head
    107
  • 1.2 Assembly overview - cylinder head cover
    111
  • 1.3 Assembly overview - toothed belt
    113
  • 1.4 Removing and installing cylinder head cover
    116
  • 1.5 Removing, installing and tensioning toothed belt
    119
  • 1.6 Removing and installing cylinder head
    128
  • 1.7 Removing and installing vacuum pump
    140
  • 1.8 Compression test
    141
  • 2 Valve gear
    143
  • 2.1 Assembly overview - valve gear
    143
  • 2.2 Removing and installing camshafts
    145
  • 2.3 Measuring axial clearance of camshaft
    154
  • 2.4 Measuring radial clearance of camshafts
    155
  • 2.5 Removing and installing camshaft oil seal
    156
  • 2.6 Checking hydraulic compensation elements
    161
  • 2.7 Renewing valve stem seals with cylinder head installed
    162
  • 2.8 Renewing valve stem seals with cylinder head removed
    166
  • 2.9 Valves
    171
  • Lubrication
    174
  • 1 Engine oil:
    174
  • 1.1 Oil capacities
    174
  • 1.2 Checking engine oil level
    174
  • 2 Parts of lubrication system
    175
  • 2.1 Assembly overview - oil pump, sump
    175
  • 2.2 Removing and installing oil level and oil temperature sender G266
    178
  • 2.3 Removing and installing oil sump
    178
  • 2.4 Removing and installing oil pump
    184
  • 3 Oil filter bracket and engine oil cooler
    186
  • 3.1 Assembly overview - oil filter bracket and engine oil cooler
    186
  • 3.2 Removing and installing oil filter bracket with engine oil cooler
    188
  • 3.3 Removing and installing oil pressure switch F1
    191
  • 3.4 Checking oil pressure switch F1
    192
  • 3.5 Checking oil pressure
    194
  • Cooling
    196
  • 1 Parts of cooling system
    196
  • 1.1 Assembly overview - parts of cooling system, body side
    196
  • 1.2 Assembly overview - parts of cooling system, engine side
    197
  • 1.3 Assembly overview - coolant pump and thermostat
    199
  • 1.4 Coolant hose connection diagram
    199
  • 2 Repairing cooling system
    202
  • 2.2 Removing and installing radiator
    203
  • 2.3 Removing and installing coolant pump
    204
  • 2.4 Removing and installing 4/2-way valve with thermostat
    206
  • 2.5 Draining and adding coolant
    216
  • 2.6 Coolant pipes, coolant temperature sender
    222
  • 2.7 Checking cooling system for leaks
    236
  • Fuel supply system
    239
  • 1 Safety regulations for working on fuel supply
    239
  • 2 Rules for cleanliness
    240
  • 3 Procedure in event of misfuelling
    241
  • 3.1 Procedure for 1st scenario
    241
  • 3.2 Procedure for 2nd scenario
    242
  • 4 Parts of fuel supply system
    245
  • 4.1 Fuel tank, vehicles with front-wheel drive
    245
  • 4.2 Fuel tank, vehicles with four-wheel drive
    254
  • 4.3 Emptying fuel tank
    263
  • 4.4 Removing and installing fuel delivery unit
    267
  • 4.5 Removing and installing fuel gauge sender
    269
  • 5 Repairing fuel supply
    270
  • 5.1 Assembly overview - fuel filter
    270
  • 5.2 Removing and installing upper part of fuel filter
    273
  • 5.3 Removing and installing fuel filter
    276
  • 5.4 Checking fuel system pressurisation pump G6
    277
  • 5.7 Assembly overview - accelerator mechanism
    288
  • Turbocharging/supercharging
    292
  • 1 Turbocharger
    292
  • 1.1 Safety precautions
    292
  • 1.2 Rules for cleanliness
    292
  • 1.3 Assembly overview - turbocharger
    293
  • 1.4 Removing and installing turbocharger
    295
  • 1.5 Changing vacuum unit with position sender for charge pressure positioner G581
    299
  • 2 Charge air system
    307
  • 2.1 Installing hose connections with corrugated pipe and hose clips
    307
  • 2.2 Assembly overview - parts of charge air cooling
    308
  • 2.4 Removing and installing charge air cooler
    310
  • 2.5 Checking charge air system for leaks
    312
  • 2.6 Vacuum hose connection diagram
    316
  • 2.7 Checking vacuum system
    316
  • Mixture preparation - injection
    321
  • 1 Diesel direct injection system
    321
  • 1.1 Safety precautions
    321
  • 1.2 Rules for cleanliness
    321
  • 1.3 System layout
    322
  • 2 High-pressure pump
    324
  • 2.1 Assembly overview – high-pressure pump
    324
  • 2.2 Removing and installing high-pressure pump
    326
  • 2.3 Filling/bleeding fuel system
    330
  • 2.4 Checking for leaks in the fuel system
    331
  • 3 Injectors
    332
  • 3.1 Assembly overview - injectors
    332
  • 3.2 Carrying out adaptation for injector delivery calibration
    335
  • 3.3 Checking for injectors sticking open
    336
  • 3.4 Checking return flow rate of injectors with engine running
    337
  • 3.5 Checking return flow rate of injectors at starter speed
    340
  • 3.6 Removing and installing injectors
    342
  • 3.7 Installing high-pressure lines
    346
  • 3.8 Checking fuel pressure regulating valve N276
    348
  • 3.9 Checking low pressure fuel system
    349
  • 3.10 Removing and installing fuel pressure regulating valve N276
    352
  • 3.11 Removing and installing fuel pressure sender G247
    354
  • 3.12 Removing and installing fuel rail
    356
  • 4 Intake manifold
    360
  • 4.1 Assembly overview - intake manifold with attachments
    360
  • 4.2 Removing and installing throttle valve module J338
    362
  • 4.3 Removing and installing intake manifold
    363
  • 5 Air filter
    368
  • 5.1 Assembly overview - air filter
    368
  • 5.2 Removing and installing air filter housing
    370
  • 5.3 Removing and installing air mass meter G70
    372
  • 5.4 Checking changeover flap for intake air preheater
    373
  • 5.5 Removing and installing changeover flap for intake air preheater
    374
  • 6 Lambda probe and pressure differential sender
    377
  • 6.1 Removing and installing Lambda probe G391 with Lambda probe heater Z191
    377
  • 6.2 Removing and installing pressure difference sender G5051
    378
  • 7 Engine control unit J623
    380
  • 7.1 Reading and clearing engine control unit fault memory
    380
  • 7.2 Adapting functions and components
    380
  • 7.5 Removing and installing engine control unit J623, only Jetta from MY 2011
    387
  • Exhaust system
    390
  • 1 Front exhaust pipe with particulate filter
    390
  • 1.1 Assembly overview - front exhaust pipe with particulate filter
    390
  • 1.2 Removing and installing particulate filter
    393
  • 2 Silencer
    400
  • 2.1 Silencer, Jetta, Golf Variant
    400
  • 2.2 Aligning exhaust system free of stress
    401
  • 2.3 Installation position and specified torque of clamp
    402
  • 3 Exhaust gas temperature regulation
    405
  • 3.1 Assembly overview - exhaust gas temperature regulation
    405
  • 3.2 Removing and installing exhaust gas temperature sender 1 G235
    406
  • 3.3 Removing and installing exhaust gas temperature sender 3 G495
    408
  • 3.4 Removing and installing exhaust gas temperature sender 4 G648
    410
  • 4 Exhaust gas recirculation
    413
  • 4.1 Assembly overview – exhaust gas recirculation
    413
  • 4.2 Removing and installing exhaust gas recirculation cooler
    415
  • 4.3 Checking changeover for exhaust gas recirculation cooler
    418
  • 4.4 Checking exhaust gas recirculation cooler for leaks
    419
  • 4.5 Cleaning exhaust gas recirculation system
    424
  • Glow plug system
    432
  • 1 Checking glow plug system
    432
  • 1.1 Automatic glow period control unit J179
    432
  • 1.2 Removing and installing glow plugs
    432
  • 1.3 Removing and installing automatic glow period control unit J179
    435
Hersteller­bezeichnung 4-cylinder diesel engine (2.0 l engine, common rail, generation II)
Hersteller Volkswagen
Passend für Jetta (2005 - 2007) / Jetta 2-türig Rl (1980 - 1984) / Jetta 4-türig Ll (1980 - 1984) / Golf VI Variant (2010)
Passende Autotypen 1K2, 163, AJ5
Motor­kennbuchstaben CFHB, CFHC, CLCA, CLCB
Kategorie Reparaturanleitung

Im Moment sind noch keine Bewertungen für dieses Produkt vorhanden.

Ähnliche Reparaturanleitungen

4-cylinder Injection engine (1.6 l engine, direct injection)
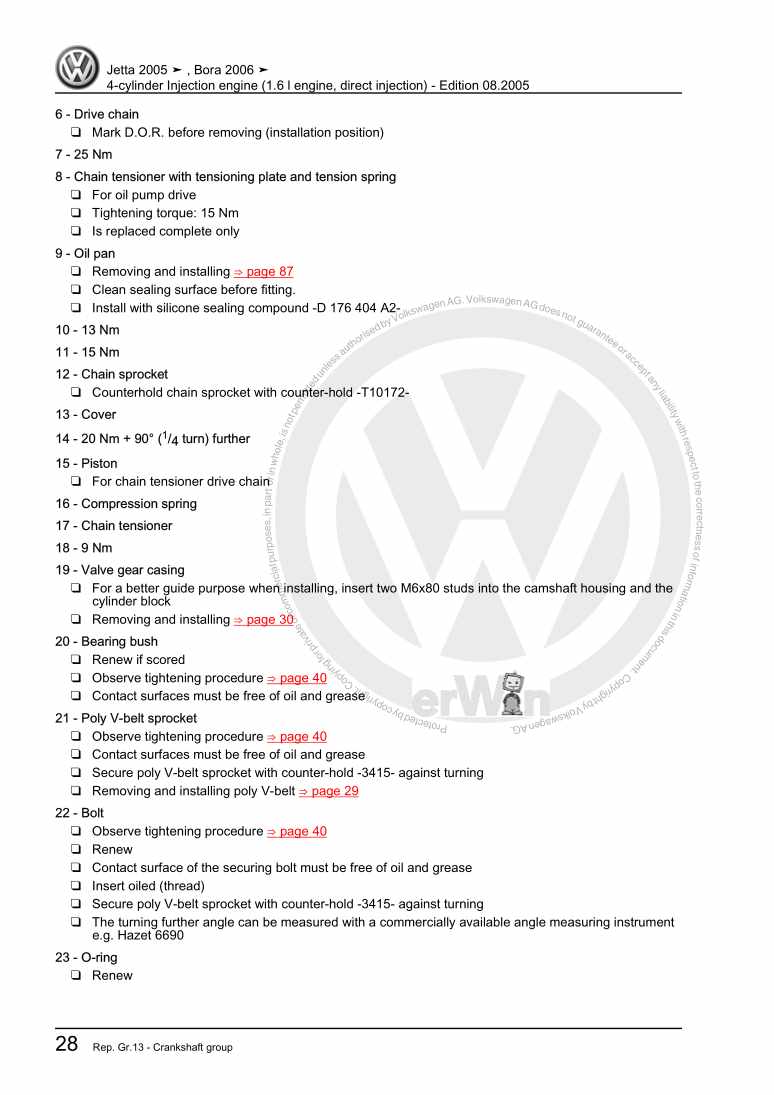
Beispielseite für Reparaturanleitung 4-cylinder Injection engine (1.6 l engine, direct injection)

Für Jetta (2005 - 2007)

17,06 € Details

General body repairs, exterior

Beispielseite für Reparaturanleitung General body repairs, exterior

Für Golf Variant (2007) / Jetta (2005 - 2007)

29,40 € Details

4-cylinder injection engine (2.0 l turbocharger)
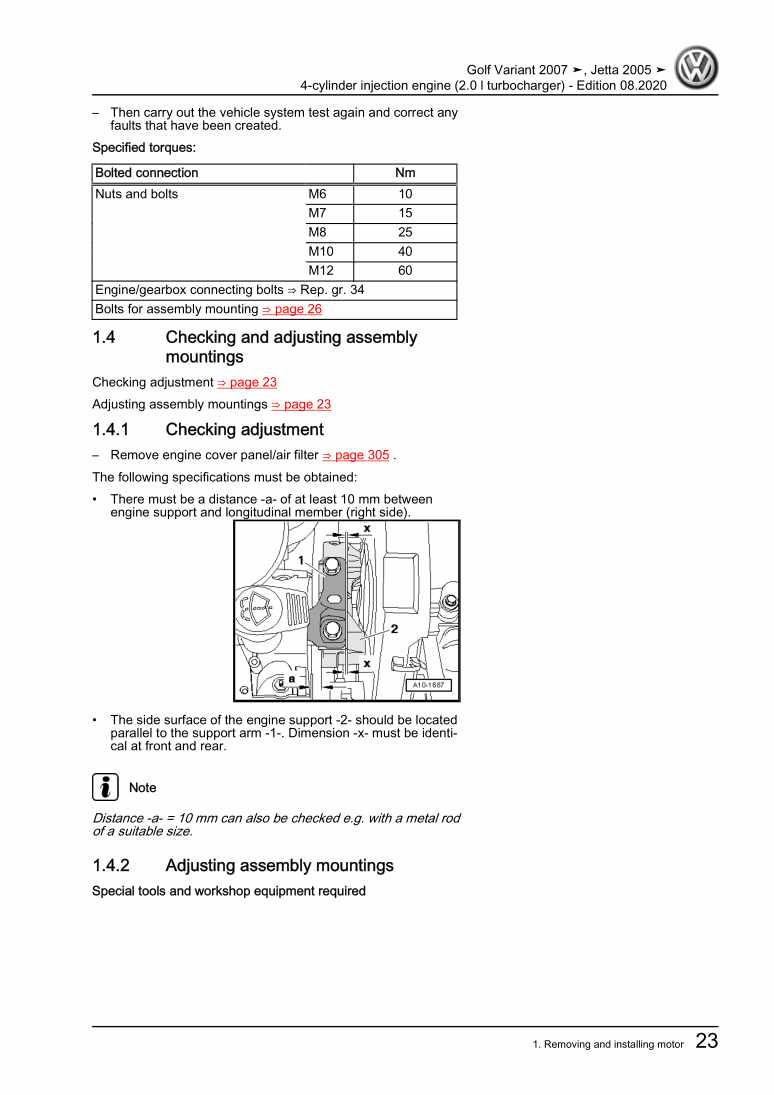
Beispielseite für Reparaturanleitung 4-cylinder injection engine (2.0 l turbocharger)

Für Golf Variant (2007) / Jetta (2005 - 2007)

28,28 € Details

General information - Paint, passenger vehicles
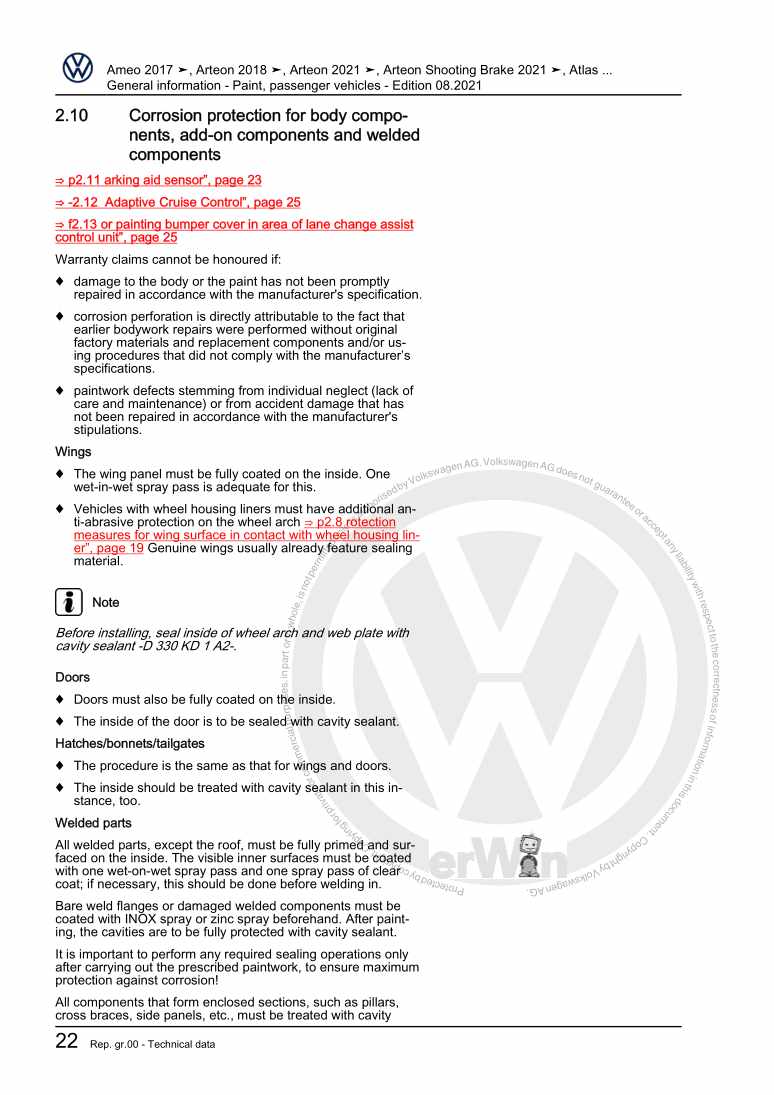
Beispielseite für Reparaturanleitung General information - Paint, passenger vehicles

Für Touareg (2003 - 2007) / New Beetle Cabrio (2003 - 2010) / New Beetle / New Beetle (USA) (1998 - 2007) / Phaeton (2001 - 2008) / Golf Variant (2007) / Golf (2004 - 2007) / Jetta (2005 - 2007) / Polo (2002 - 2005) / Touran (2003 - 2011) / Golf Plus (2005 - 2007) / Polo (2005 - 2007) / Sharan (1995 - 2010) / EOS (2006) / Passat Variant (2006 - 2007) / Jetta 2-türig Rl (1980 - 1984) / Passat (2005 - 2008) / Jetta 4-türig Ll (1980 - 1984) / Tiguan (2008) / Passat CC (2009) / Scirocco (2008) / Golf (2009) / Golf Plus (2009) / Golf VI Variant (2010) / Polo (India) (2010) / Touareg (2011) / Polo (India) (2010) / Sharan (2011) / Polo (Russ.) (2010) / Polo A05 (2010) / Passat/Passat Variant (2011 >) / Passat/Passat Variant (2011 >) / Golf Cabriolet (2012) / Beetle (NBL) Limousine (2012) / Passat (NMS - US) (2012) / Passat CC (2009) / Beetle (NBC) Cabrio (2012) / Up! (2012) / Jetta (Mexiko) (1998 - 2007) / Golf VII (2013) / Polo MY (KH) (2014) / Polo MY (LIM) (2014) / Polo (2014) / Scirocco GP (2015) / Polo (Malaysia) (2015 >) / Passat Lim (2015 >) / Polo G (Indien) (2015) / Touareg FL (2015 > ) / Passat Var. (2015 >) / Sharan (2016 > ) / Polo G (Indien) (2015) / Polo (Russland) (2015 >) / Polo Malaysia (2016) / Touran (2016 > ) / Passat (2016) / Tiguan (2016) / VW eUP (2012) / VW Beetle (2011) / Arteon () / Beetle (2017) / Polo [IN] (2016 >) / T-Roc (2018 >) / Passat (USA) (2019 >) / Up! (2020 >) / T-Roc Cabriolet (2020 >) / Arteon (2021 >) / Arteon Shooting Brake (2021 >)

34,27 € Details

4-cylinder diesel engine (2.0 l engine, 2-valve, TDI)
Beispielseite für Reparaturanleitung 4-cylinder diesel engine (2.0 l engine, 2-valve, TDI)

Für Golf Variant (2007) / Jetta (2005 - 2007)

15,60 € Details

4-cylinder injection engine, 2005▸

Beispielseite für Reparaturanleitung 4-cylinder injection engine, 2005▸

Für Golf (2004 - 2007) / Jetta (2005 - 2007)

11,89 € Details

6-speed manual gearbox 0AG

Beispielseite für Reparaturanleitung 6-speed manual gearbox 0AG

Für Golf Variant (2007) / Jetta (2005 - 2007)

12,47 € Details

Running gear, axles, steering

Beispielseite für Reparaturanleitung Running gear, axles, steering

Für Golf Variant (2007) / Jetta (2005 - 2007)

29,89 € Details

Brake systems

Beispielseite für Reparaturanleitung Brake systems

Für Golf Variant (2007) / Jetta (2005 - 2007)

14,00 € Details

4-cylinder Injection engine (2.0 l engine, direct injection)
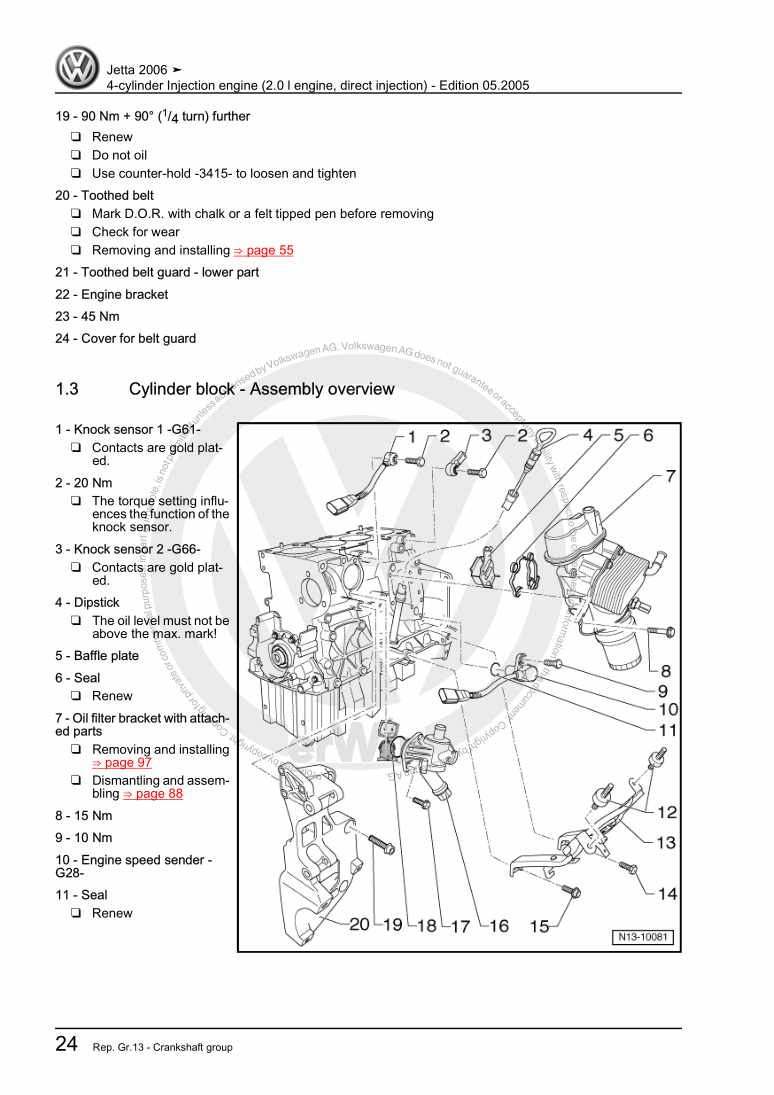
Beispielseite für Reparaturanleitung 4-cylinder Injection engine (2.0 l engine, direct injection)

Für Jetta (2005 - 2007)

17,79 € Details

Unsere Best Seller

Schon gewusst? Wir bieten auch originale Autoteile an.

Autoteil 1k8823301e Scharnier

1k8823301e

Scharnier

40,71 €

Details
Autoteil 3AB971557D Leitg.Satz

3AB971557D

Leitg.Satz

115,91 €

Details
Autoteil N10739401 Schraube

N10739401

Schraube

3,90 €

Details
Autoteil 4F0411309E Stabilisat

4F0411309E

Stabilisat

310,65 €

Details
Autoteil N90328504 Schraube

N90328504

Schraube

2,53 €

Details

Nr. 540: Das Abgasnachbehandlungssystem Selective-Catalytic-Reduction
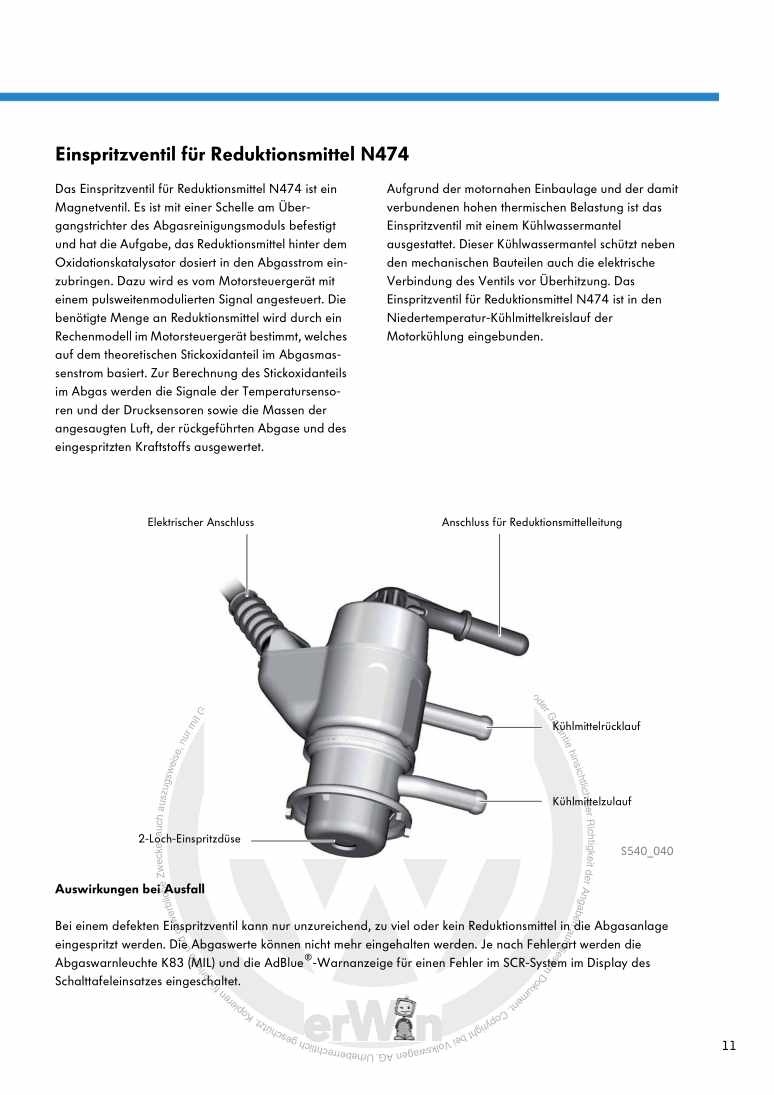
Beispielseite für Reparaturanleitung Nr. 540: Das Abgasnachbehandlungssystem Selective-Catalytic-Reduction

5,67 € Details

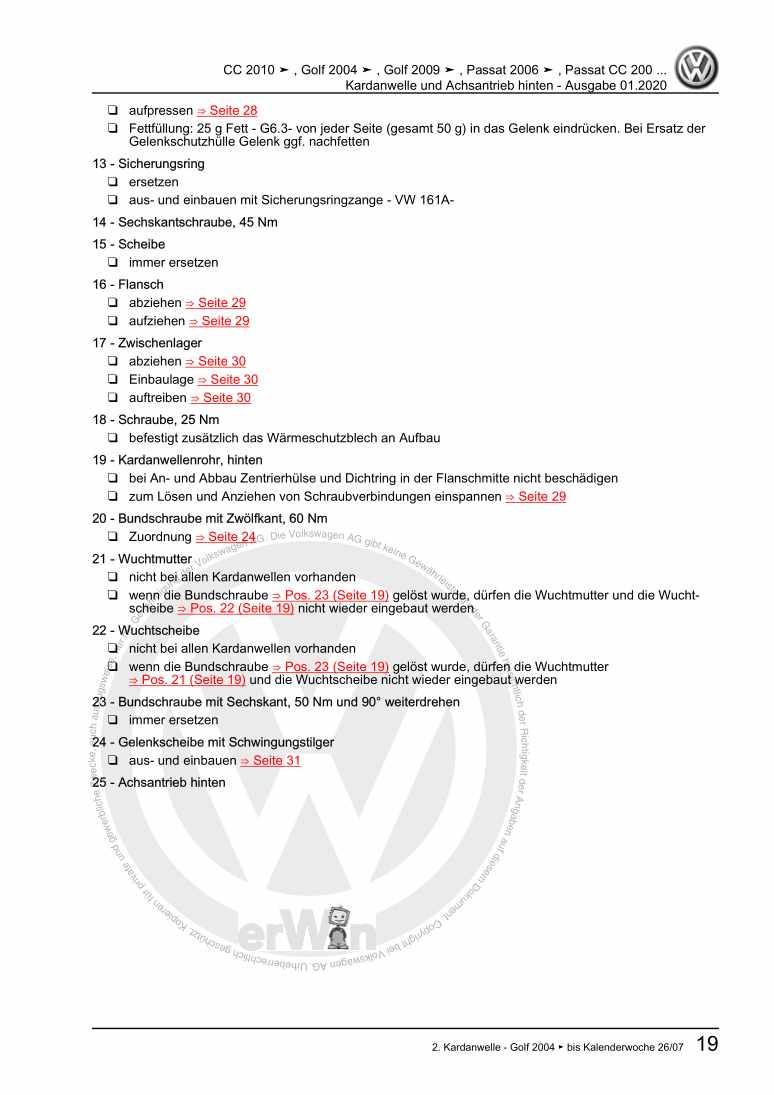
Kardanwelle und Achsantrieb hinten

Beispielseite für Reparaturanleitung Kardanwelle und Achsantrieb hinten

Für Passat / Passat Variant (2005 - 2008) / Golf (2004 - 2007) / Tiguan (2008) / Passat CC (2009) / Golf (2009) / Sharan (2011)

20,15 € Details

Nr. 547: Der 2,0l-176kW-TDI-Biturbo-Motor der Dieselmotoren-Baureihe EA288
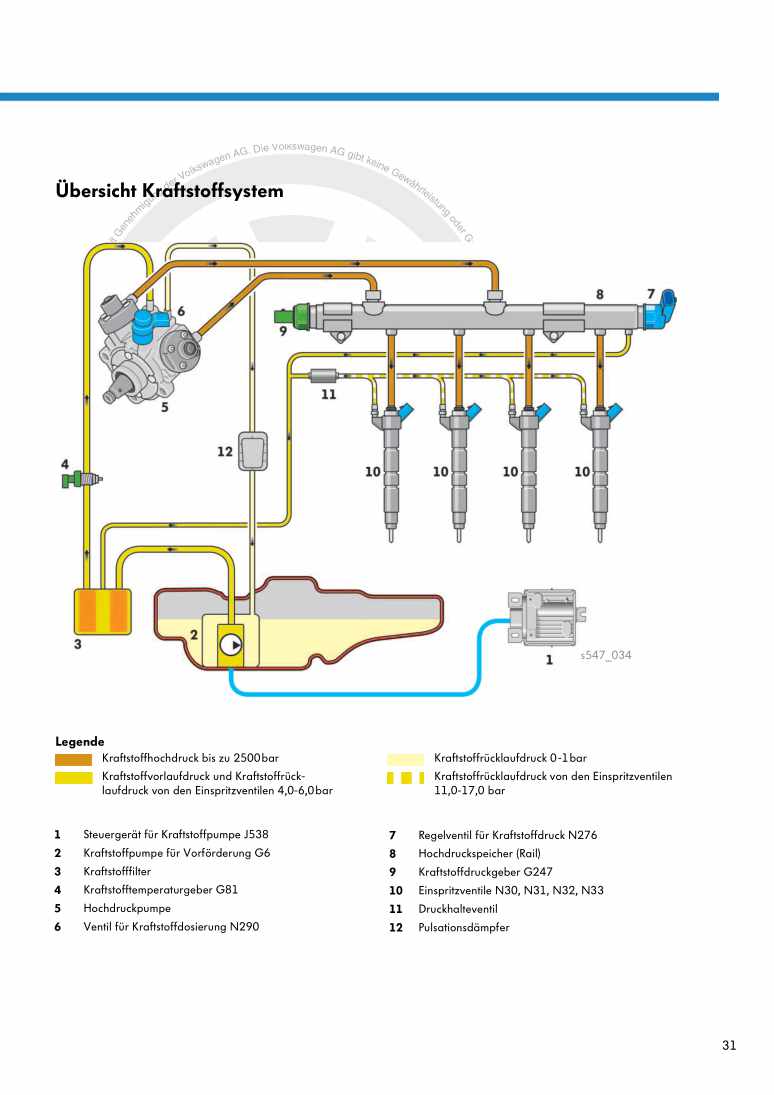
Beispielseite für Reparaturanleitung Nr. 547: Der 2,0l-176kW-TDI-Biturbo-Motor der Dieselmotoren-Baureihe EA288

5,89 € Details

image/svg+xml Über Clonck

Originale Reparaturanleitungen und Ersatzteile

Unsere Reparaturanleitungen sind Originale, kommen direkt von Volkswagen und erfüllen die höchsten Qualitätsstandards.

In unserem Originalteile-Shop verkaufen wir hochwertige Originalersatzteile der Fahrzeughersteller. Mithilfe der Suche gibst du die gewünschte Teilenummer (OE-Nummer) ein und bestellst schnell und einfach das benötigte Ersatzteil.

Höchste Qualitätsstandards

Bei Clonck wollen wir Autoschrauber und Kfz-Profis glücklich machen. Aus diesem Grund findest du bei Clonck ausschließlich professionelle und hochwertige Reparaturanleitungen, mit deren Hilfe du dein Fahrzeug fachgerecht reparieren kannst.

Unsere Partner

Autohaus Schmidt GmbH
Automag GmbH Filiale Laim
KFZ-VERLAG GmbH
Zimpel und Franke GmbH

Clonck: Der Autoreparatur-Shop - gibt's auch als App!

Clonck App Logo Play Store

Clonck: Passende Autoteile für deine Autoreparatur

4,5 90

Mit Clonck bestellst du die richtigen Originalersatzteile im Handumdrehen.

  • Fahrzeugmodell hinzufügen
  • Baugruppe auswählen
  • Fahrzeug-Identifizierungsnummer (FIN) eingeben
  • Über 5.000 originale Reparaturanleitungen einsehen
Jetzt App starten
Clonck App Preview Auto Mobiltelefon Autoteile