THE CAR REPAIR SHOP
0
Home » Manuals » Body Repairs
  • Examplepage for repair manual Body Repairs
  • Examplepage for repair manual 2 Body Repairs
  • Examplepage for repair manual 3 Body Repairs
  • Examplepage for repair manual Body Repairs
  • Examplepage for repair manual 2 Body Repairs
  • Examplepage for repair manual 3 Body Repairs

Body Repairs

For CRAFTER / LT 2006>

Original Volkswagen repair manual


33,67 €7% VAT incl.

  • Deutsch
  • English

Immediately available for download

Language: English

Digital PDF file

6.199 KB

461 Sites

Detailed technical data

Immediately readable

This repair manual contains: Renewing reinforcing for front wheel housing, Renewing rear roof panelling (high roof with no sliding door for load compartment) and Renewing lock column, C-pillar, double cab. Show more
Secure Payment via PayPal, credit card, direct debit and more
PayPal Logo SEPA Lastschrift Logo Giropay Logo Sofort Überweisung Logo

Repair manual CRAFTER / LT 2006> Body Repairs PDF download has the following content:

Chapter overview

  • Technical data
    1
  • 1 Vehicle identification data
    1
  • 1.1 Vehicle identification number
    1
  • 1.2 Type plate
    2
  • 1.3 Type plate
    3
  • 1.4 Vehicle data sticker
    3
  • 2 Safety information
    4
  • 3 Moulded foam inserts
    5
  • 4 Galvanised body parts
    7
  • 5 Laser welding
    8
  • 6 Gaps/shut lines
    9
  • 6.1 Body, front
    9
  • 6.2 Body, centre
    11
  • 6.3 Body centre, cab door
    12
  • 6.4 Body - rear
    13
  • 7 Body dimensions
    15
  • 7.1 Floor panel - front
    15
  • 7.2 Floor panel - rear
    16
  • 7.3 Body, front
    17
  • 7.4 Body, centre
    20
  • 7.5 Body - rear
    24
  • 8 Alignment jig
    28
  • 8.1 Tools
    28
  • 8.2 Converting the alignment jig
    28
  • 8.3 Support trolley VAS 6404 set-up
    30
  • 8.4 Front repairs
    31
  • 8.5 Rear repairs
    34
  • 8.6 Overview of alignment bracket positions
    37
  • 9 Body builder guidelines
    44
  • 9.1 Planning the bodies
    44
  • 9.2 Technical limit values for planning
    45
  • 9.3 Prevention of damage
    48
  • 9.4 Modifications to the base vehicle
    49
  • 9.5 Body designs
    64
  • 9.6 Electrical/electronic system
    78
  • Body - front
    81
  • 1 Renewing reinforcing for front wheel housing
    81
  • 1.1 Removing
    81
  • 1.2 Installing
    83
  • 2 Renewing front wheel housing (subpart)
    85
  • 2.1 Removing
    85
  • 2.2 Installing
    87
  • 3 Renewing front longitudinal member complete
    90
  • 3.1 Removing
    90
  • 3.2 Installing
    94
  • 4 Renewing front longitudinal member (part section)
    98
  • 4.1 Removing
    98
  • 4.2 Installing
    99
  • Body - centre
    102
  • 1 Renewing the GRP high roof
    102
  • 1.1 Removing
    103
  • 1.2 Installing
    106
  • 2 Renewing front section of high roof
    117
  • 2.1 Removing
    117
  • 2.2 Installing
    118
  • 3.1 Removing (vehicles with and without sliding door for load compartment)
    122
  • 3.2 Installing (vehicles with and without sliding door for load compartment)
    126
  • 4 Renewing rear roof panelling (high roof with no sliding door for load compartment)
    130
  • 4.1 Removing
    130
  • 4.2 Installing
    133
  • 5 Renewing rear roof panelling (high roof with sliding door for load compartment)
    137
  • 5.1 Removing
    137
  • 5.2 Installing
    139
  • 6 Renewing front roof panelling (flat roof)
    142
  • 6.1 Removing
    142
  • 6.2 Installing
    144
  • 7 Renewing rear roof panelling (flat roof, double cab)
    147
  • 7.1 Removing
    147
  • 7.2 Installing
    149
  • 8.1 Removing
    151
  • 8.2 Installing
    154
  • 9.1 Removing
    157
  • 9.2 Installing
    159
  • 10 Renewing front roof frame (only installed in GRP high roof)
    162
  • 10.1 Removing
    162
  • 10.2 Installing
    163
  • 11 Renewing front cross member for roof
    164
  • 11.1 Removing
    164
  • 11.2 Installing
    165
  • 12 Renewing roof reinforcement (high roof)
    166
  • 12.1 Removing
    166
  • 12.2 Installing
    167
  • 13 Renewing rear outer roof cross member
    169
  • 13.1 Removing
    169
  • 13.2 Installing
    170
  • 14 Renewing rear roof inner cross member
    172
  • 14.1 Removing
    172
  • 14.2 Installing
    173
  • 15 Renewing rear window frame, complete (dropside and double cab)
    175
  • 15.1 Removing
    175
  • 15.2 Installing
    177
  • 16 Renewing rear window frame, part section (dropside and double cab)
    190
  • 16.1 Removing
    190
  • 16.2 Installing
    192
  • 17 Renewing middle section of high roof
    202
  • 17.1 Removing
    202
  • 17.2 Installing
    203
  • 18 Renewing cowl panel
    206
  • 18.1 Removing
    206
  • 18.2 Installing
    207
  • 19 Renewing rear section of high roof
    209
  • 19.1 Removing
    209
  • 19.2 Installing
    210
  • 20.1 Removing
    212
  • 20.2 Installing
    215
  • 21.1 Removing
    222
  • 21.2 Installing
    224
  • 22 Renewing rear side panel (part section, Kombi with no sliding door for load compartment)
    229
  • 22.1 Removing
    229
  • 22.2 Installing
    231
  • 23 Renewing front side panel lower part
    235
  • 23.1 Removing
    235
  • 23.2 Installing
    236
  • 24.1 Removing
    238
  • 24.2 Installing
    240
  • 25 Renewing rear lower side panel after wheel arch
    243
  • 25.1 Removing
    243
  • 25.2 Installing
    244
  • 26 Renewing inner part of side panel (part section, Kombi)
    247
  • 26.1 Removing
    247
  • 26.2 Installing
    250
  • 27 Renewing complete inner part of side panel (panel van and Kombi)
    256
  • 27.1 Removing
    256
  • 27.2 Installing
    259
  • 28 Renewing inner front side panel at bottom
    264
  • 28.1 Removing
    264
  • 28.2 Installing
    267
  • 29 Renewing complete front door frame (high roof, panel van and Kombi)
    270
  • 29.1 Removing
    271
  • 29.2 Installing
    273
  • 30 Renewing complete front side panel (high roof, panel van and Kombi)
    277
  • 30.1 Removing
    277
  • 30.2 Installing
    279
  • 31 Renewing front side panel (part section, Kombi)
    282
  • 31.1 Removing
    282
  • 31.2 Installing
    284
  • 32.1 Removing
    288
  • 32.2 Installing
    291
  • 33.1 Removing
    298
  • 33.2 Installing
    300
  • 34.1 Removing
    305
  • 34.2 Installing
    307
  • 35.1 Removing
    311
  • 35.2 Installing
    312
  • 36 Renewing hinge pillar (A-pillar) (part section)
    315
  • 36.1 Removing
    316
  • 36.2 Installing
    318
  • 37 Renewing hinge pillar (A-pillar) reinforcement
    322
  • 37.1 Removing
    322
  • 37.2 Installing
    323
  • 38 Renewing lock column, C-pillar, double cab
    325
  • 38.1 Removing
    325
  • 38.2 Installing
    327
  • 39 Renewing front step complete
    330
  • 39.1 Removing
    330
  • 39.2 Installing
    332
  • 40 Renewing step of load compartment sliding door completely
    338
  • 40.1 Removing
    338
  • 40.2 Installing
    341
  • 41 Renewing rear step (double cab)
    346
  • 41.1 Removing
    346
  • 41.2 Installing
    347
  • 42.1 Removing
    350
  • 42.2 Installing
    352
  • 43.1 Removing
    355
  • 43.2 Installing
    356
  • 44.1 Removing
    359
  • 44.2 Installing
    360
  • 45 Renewing outer side member
    362
  • 45.1 Removing
    362
  • 45.2 Installing
    364
  • 46.1 Removing
    366
  • 46.2 Installing
    368
  • 47.1 Removing
    371
  • 47.2 Installing
    373
  • 48 Renewing rear side member (double cab)
    375
  • 48.1 Removing
    375
  • 48.2 Installing
    376
  • 49 Renewing side member section for sliding door frame - part section
    378
  • 49.1 Removing
    378
  • 49.2 Installing
    380
  • 50 Renewing rear inner side member (double cab)
    382
  • 50.1 Removing
    382
  • 50.2 Installing
    384
  • 51.1 Removing
    386
  • 51.2 Installing
    388
  • 52 Renewing C-pillar reinforcement (vehicles with sliding door for load compartment)
    391
  • 52.1 Removing
    391
  • 52.2 Installing
    392
  • 53 Renewing C-pillar reinforcement (double cab)
    395
  • 53.1 Removing
    395
  • 53.2 Installing
    396
  • Body - rear
    398
  • 1 Renewing rear apron
    398
  • 1.1 Removing
    398
  • 1.2 Installing
    400
  • 2 Renewing rear crash box
    402
  • 2.1 Removing
    402
  • 2.2 Installing
    402
  • 3 Renewing rear lock carrier
    404
  • 3.1 Removing
    404
  • 3.2 Installing
    407
  • 4 Renewing rear panel upper corner piece complete
    411
  • 4.1 Removing
    411
  • 4.2 Installing
    414
  • 5 Renewing rear panel lower outer corner piece
    419
  • 5.1 Removing
    419
  • 5.2 Installing
    420
  • 6 Renewing rear lower door hinge mounting
    423
  • 6.1 Removing
    423
  • 6.2 Installing
    424
  • 7 Renewing bearing bracket for rear leaf spring mounting (panel van and Kombi)
    426
  • 7.1 Removing
    426
  • 7.2 Installing
    428
  • 8 Renewing bearing bracket for rear leaf spring mounting (dropside body)
    431
  • 8.1 Removing
    431
  • 8.2 Installing
    433
  • 9 Renewing rear cross panel carrier
    438
  • 9.1 Removing
    438
  • 9.2 Installing
    440
  • 10 Renewing rear inner wheel housing liner
    443
  • 10.1 Removing
    443
  • 10.2 Installing
    444
  • 11 Renewing rear outer wheel housing liner
    446
  • 11.1 Removing
    446
  • 11.2 Installing
    447
  • 12 Repairing hinge bearing for drop side
    450
  • 12.1 Removing
    450
  • 12.2 Installing
    451
  • 13 Renewing longitudinal member
    453
Manufacturer's designation Body Repairs
Manufacturer Volkswagen
Suitable for CRAFTER (2006 - 2007) / LT 2006> (2006 - 2007)
Suitable car types 2F, 2E
Category Reparaturanleitung

There are no reviews for this product at the moment.

Similar repair manuals

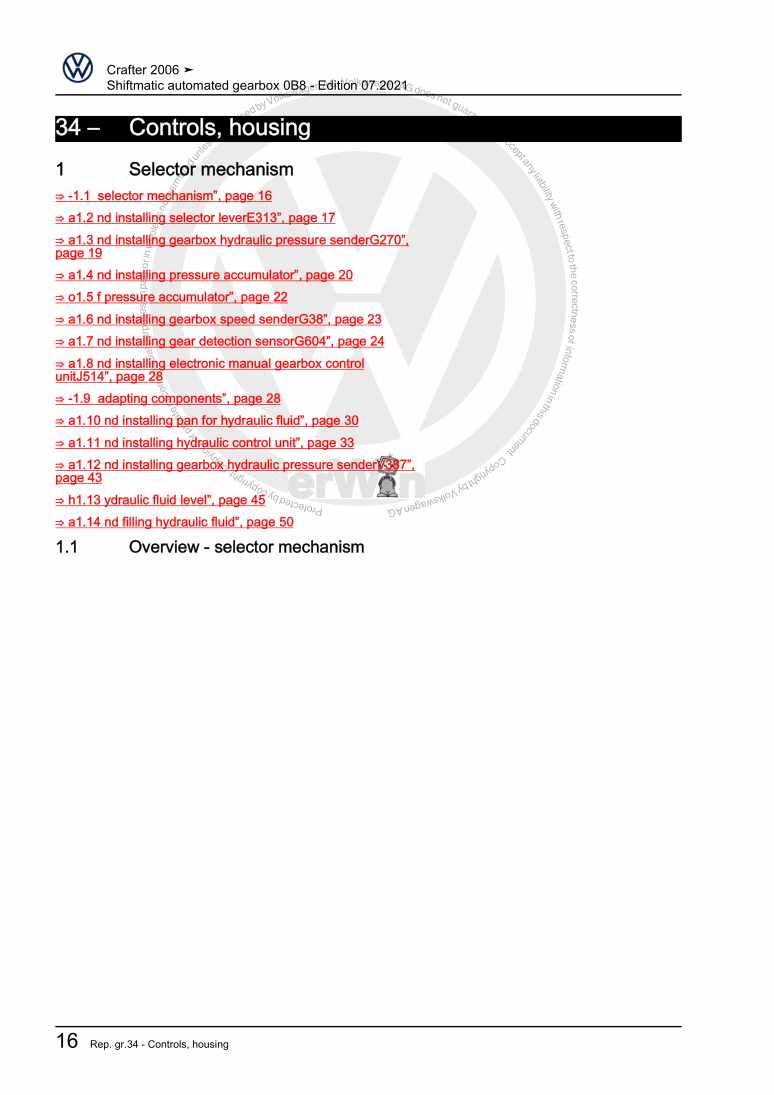
Shiftmatic automated gearbox 0B8

Examplepage for repair manual Shiftmatic automated gearbox 0B8

For CRAFTER (2006 - 2007) / LT 2006> (2006 - 2007)

8,02 € Details

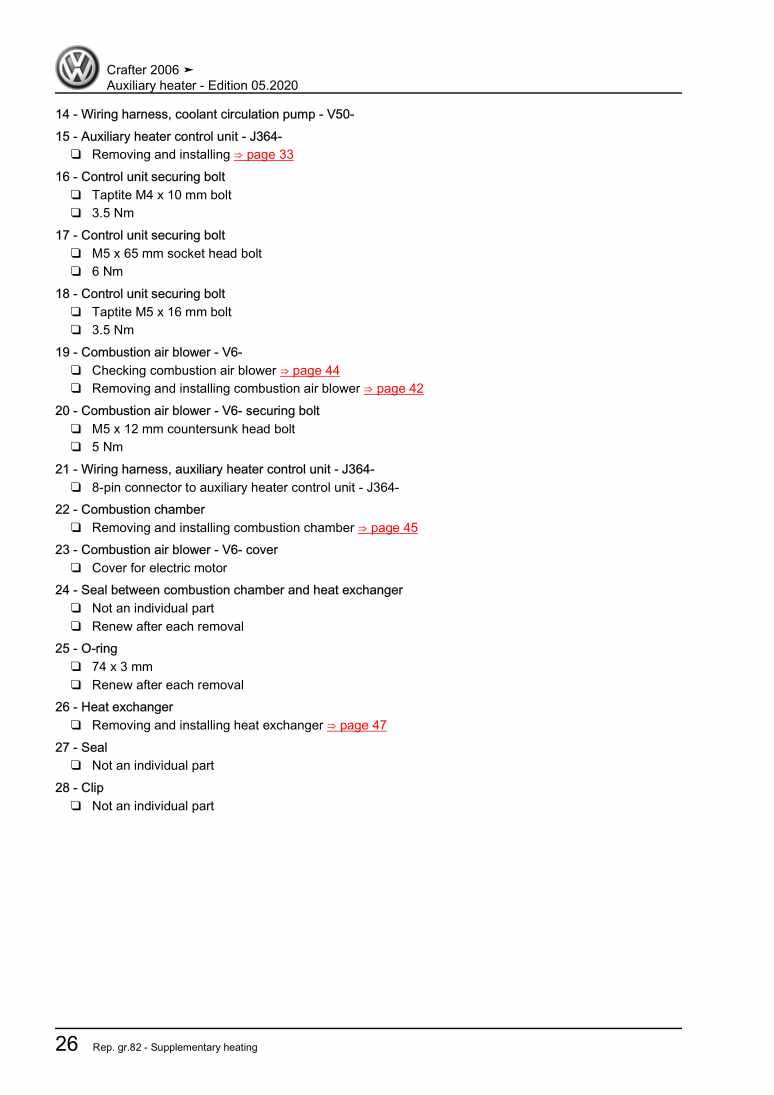
Auxiliary heater

Examplepage for repair manual Auxiliary heater

For CRAFTER (2006 - 2007) / LT 2006> (2006 - 2007)

13,56 € Details

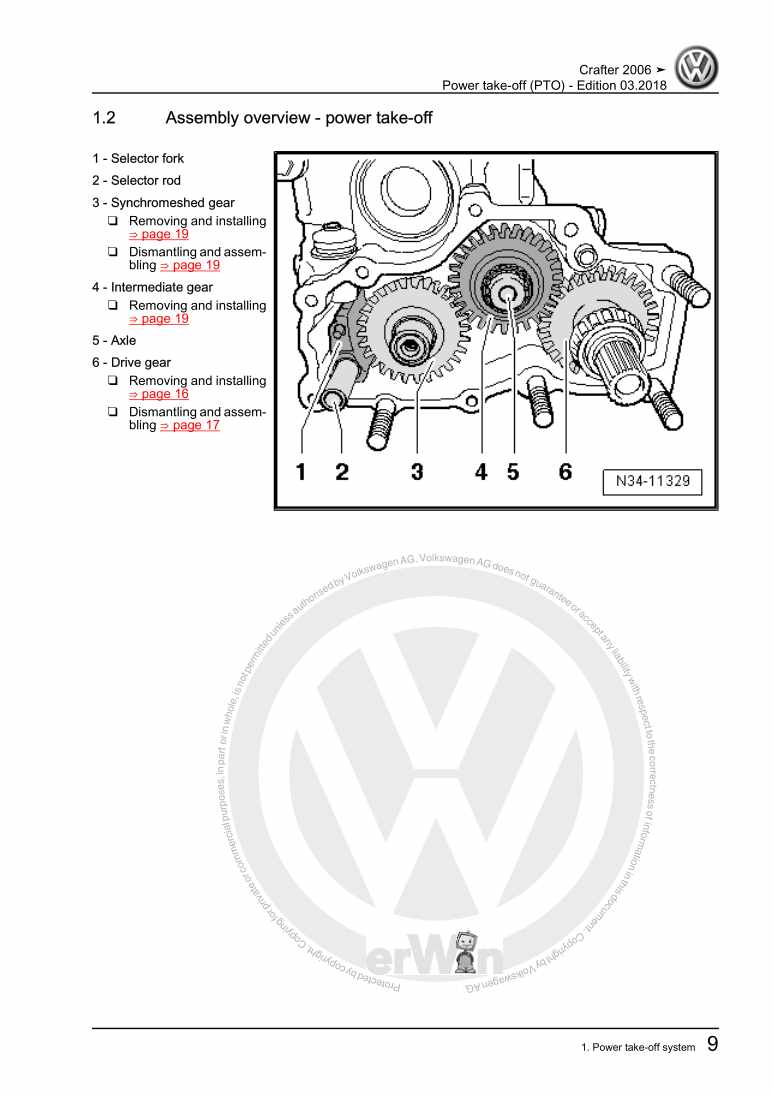
Power take-off (PTO)

Examplepage for repair manual Power take-off (PTO)

For CRAFTER (2006 - 2007) / LT 2006> (2006 - 2007)

5,16 € Details

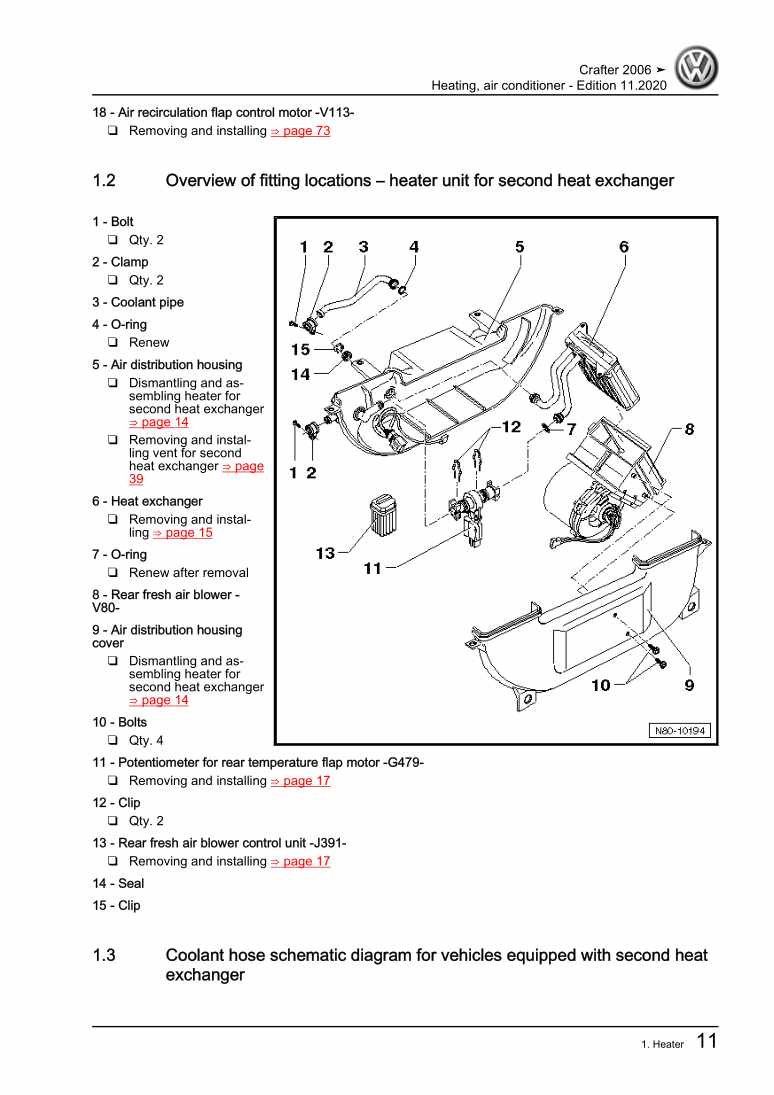
Heating, air conditioner

Examplepage for repair manual Heating, air conditioner

For CRAFTER (2006 - 2007) / LT 2006> (2006 - 2007)

12,11 € Details

Electrical system

Examplepage for repair manual Electrical system

For CRAFTER (2006 - 2007) / LT 2006> (2006 - 2007)

18,22 € Details

4-cylinder diesel engine (2.0 l engine, common rail)

Examplepage for repair manual 4-cylinder diesel engine (2.0 l engine, common rail)

For CRAFTER (2006 - 2007) / LT 2006> (2006 - 2007)

34,66 € Details

2.5l diesel engine, BJM, From March 2006

Examplepage for repair manual 2.5l diesel engine, BJM, From March 2006

For CRAFTER (2006 - 2007) / LT 2006> (2006 - 2007)

68,90 € Details

6-speed manual gearbox 0CB

Examplepage for repair manual 6-speed manual gearbox 0CB

For CRAFTER (2006 - 2007) / LT 2006> (2006 - 2007)

11,68 € Details

Fuel supply system - Diesel engines

Examplepage for repair manual Fuel supply system - Diesel engines

For CRAFTER (2006 - 2007) / LT 2006> (2006 - 2007)

5,57 € Details

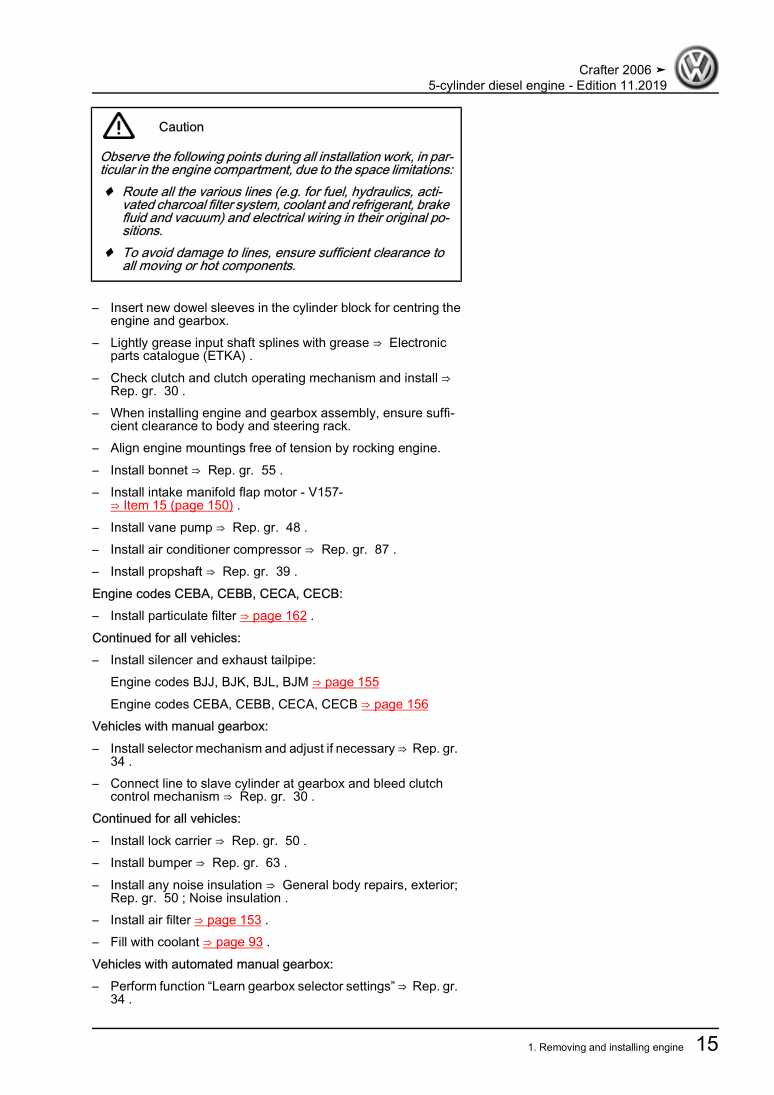
5-cylinder diesel engine

Examplepage for repair manual 5-cylinder diesel engine

For CRAFTER (2006 - 2007) / LT 2006> (2006 - 2007)

16,84 € Details

Our Best Sellers

Did you know? We also offer original spare parts.

car part 80A820035C Ventil

80A820035C

Ventil

169,01 €

Details
car part 4G0807682D9B9 Gitter

4G0807682D9B9

Gitter

89,23 €

Details
car part 0B5398009F Rep.Satz

0B5398009F

Rep.Satz

478,97 €

Details
car part 5G0959855JWZU Schalter

5G0959855JWZU

Schalter

33,46 €

Details
car part 8V3807820B Blende

8V3807820B

Blende

38,45 €

Details

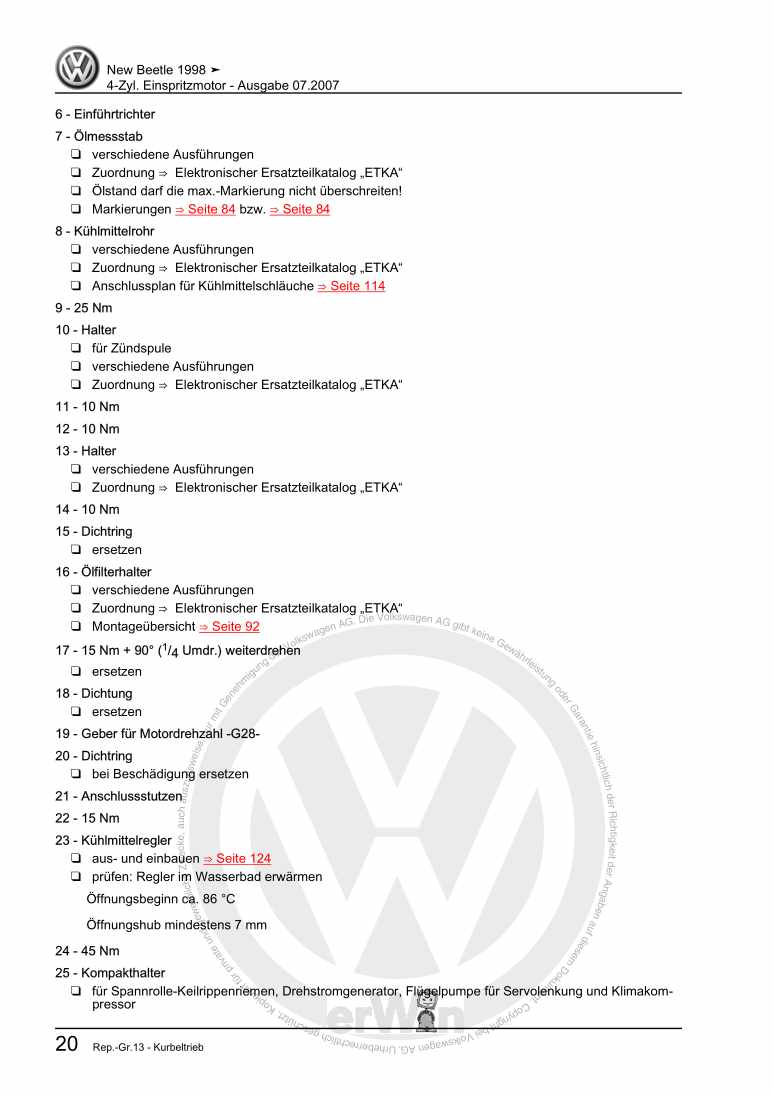
4-Zyl. Einspritzmotor

Examplepage for repair manual 4-Zyl. Einspritzmotor

For New Beetle Cabrio (2003 - 2010) / New Beetle / New Beetle (USA) (1998 - 2007) / New Beetle (Europe) (1999 - 2002)

21,00 € Details

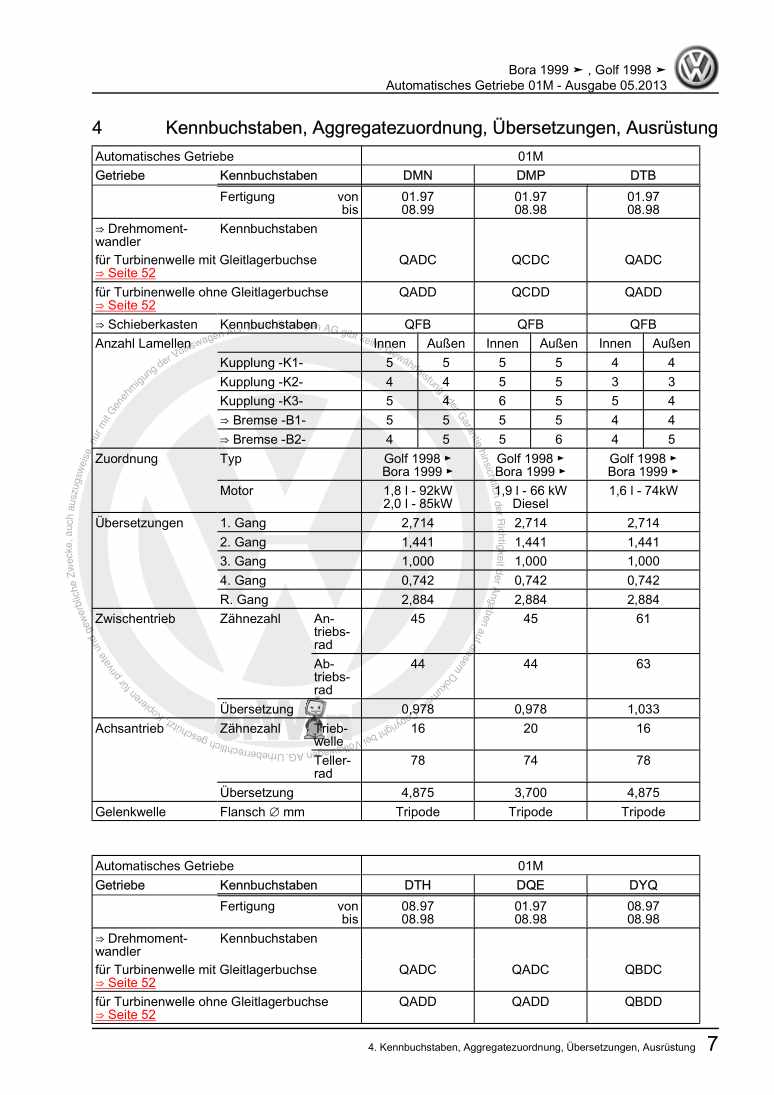
Automatisches Getriebe 01M

Examplepage for repair manual Automatisches Getriebe 01M

For Bora / Bora Variant / Golf / Golf Variant (1998 - 2006)

20,15 € Details

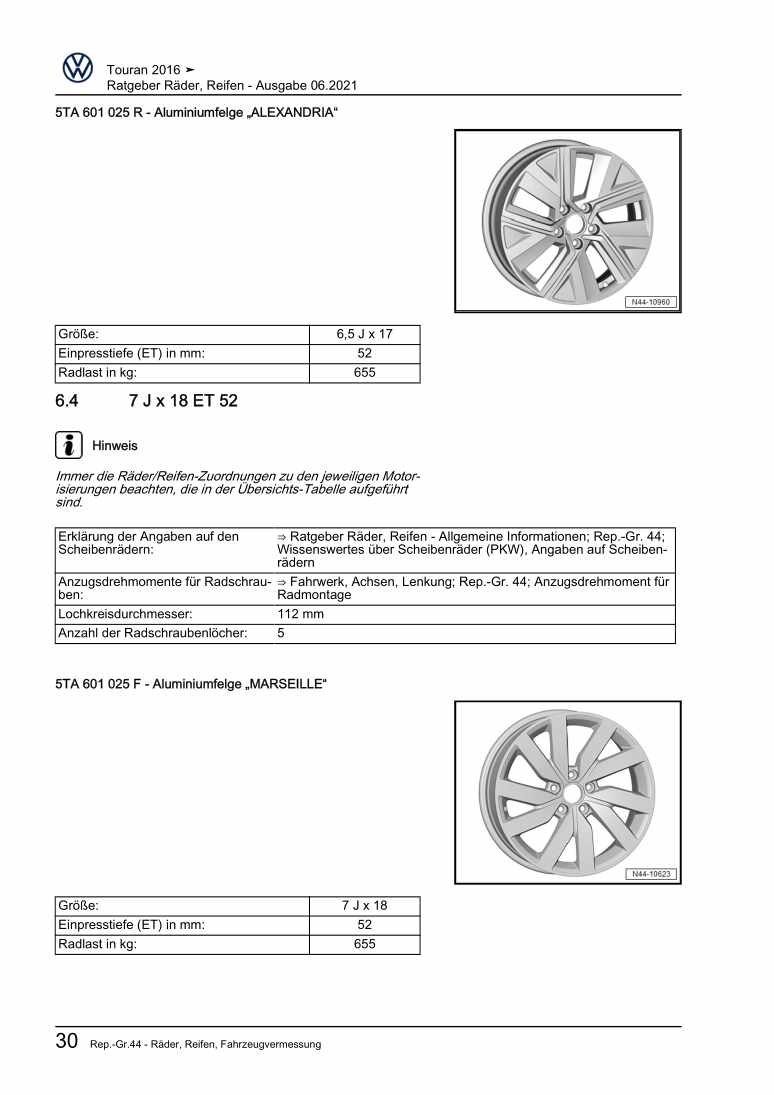
Ratgeber Räder, Reifen

Examplepage for repair manual Ratgeber Räder, Reifen

For Touran (2016 > )

5,52 € Details

image/svg+xml About Clonck

Original repair manuals und spare parts

Our repair manuals are original, come directly from Volkswagen and meet the highest quality standards.

In our original parts shop we sell high-quality original spare parts from car manufacturers. Use the search function to enter the desired part number (OE number) and order the required spare part quickly and easily.

Highest quality standards

At Clonck, we want to make car mechanics and car professionals happy. That's why you will only find professional and high-quality repair manuals at Clonck that will help you to repair your vehicle professionally.

Our partners

Autohaus Schmidt GmbH
Automag GmbH Filiale Laim
KFZ-VERLAG GmbH
Zimpel und Franke GmbH

Clonck: The car repair shop - also as app!

Clonck App Logo Play Store

Clonck: Fitting car parts for your car repair

4,5 90

With Clonck you can order the right original spare parts in no time.

  • Add your car model
  • Select assembly group
  • Enter vehicle identification number (VIN)
  • Access to over 5,000 original repair manuals
Start app now
Clonck App Preview Car Mobilephone Carparts