DER AUTOREPARATUR-SHOP
0
Home » Anleitungen » Heating, air conditioner
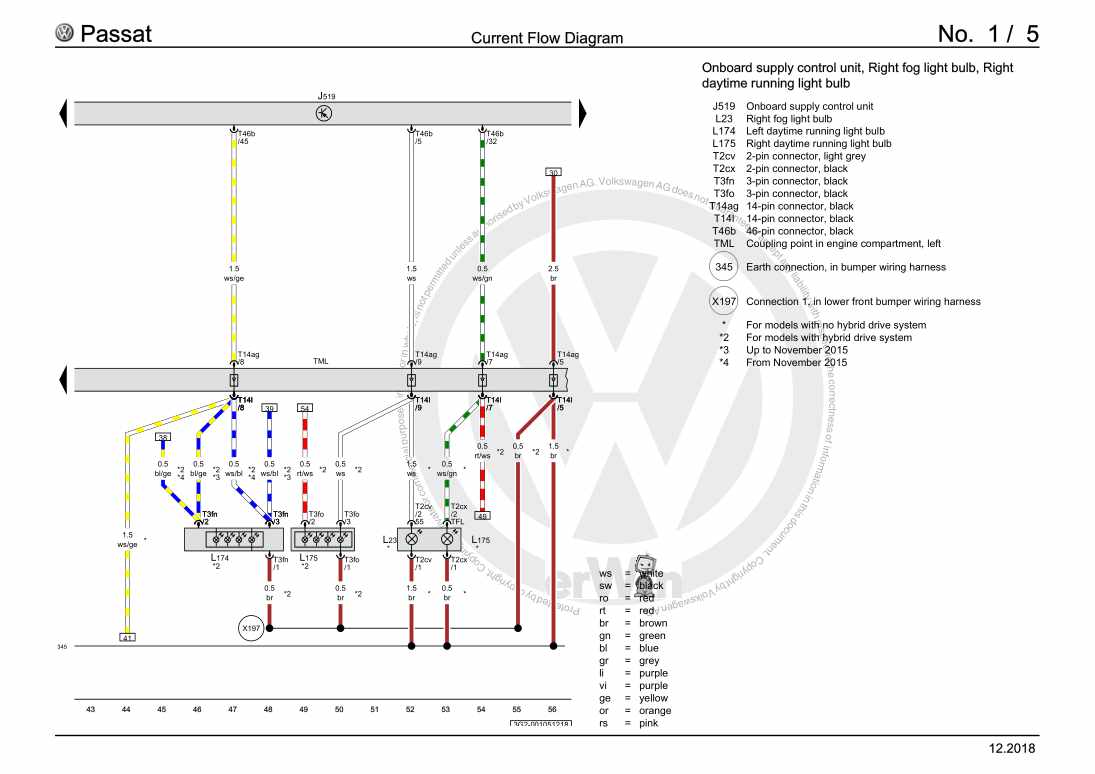
  • Beispielseite für Reparaturanleitung Heating, air conditioner
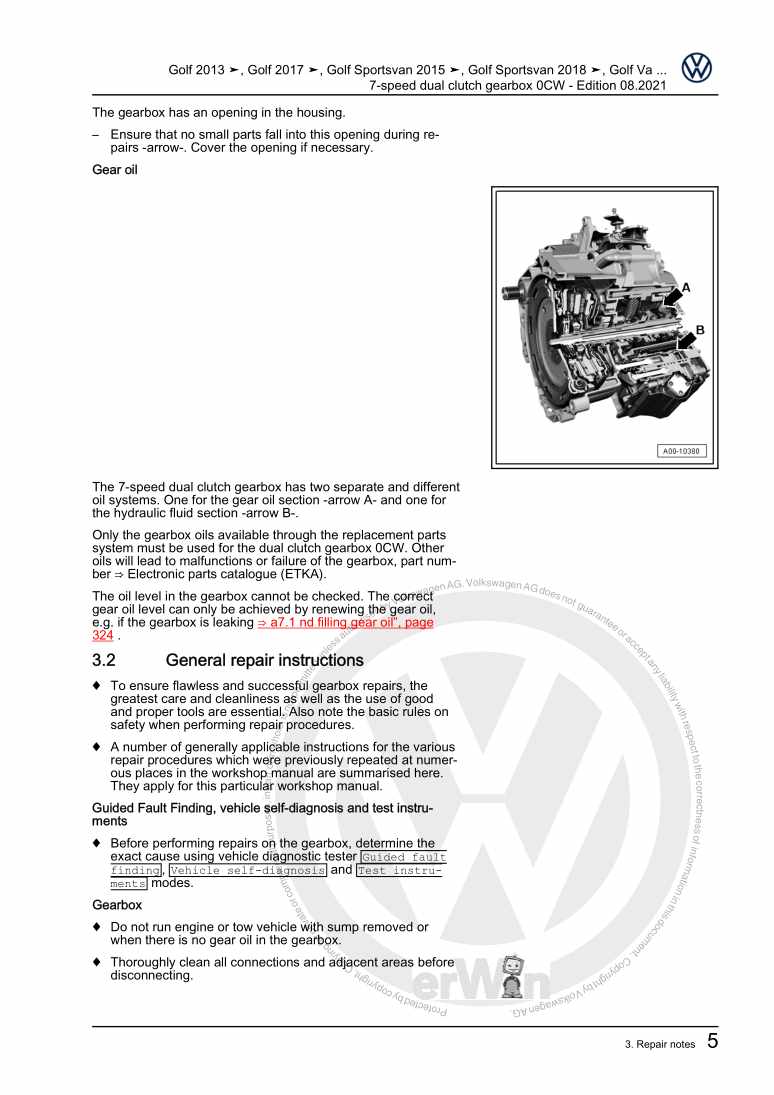
  • Beispielseite für Reparaturanleitung 2 Heating, air conditioner
  • Beispielseite für Reparaturanleitung 3 Heating, air conditioner
  • Beispielseite für Reparaturanleitung Heating, air conditioner
  • Beispielseite für Reparaturanleitung 2 Heating, air conditioner
  • Beispielseite für Reparaturanleitung 3 Heating, air conditioner

Heating, air conditioner

Für Passat Lim / Passat Var.

Original VW-Reparaturanleitung


24,51 €inkl. 7% MwSt.

Sofort als Download verfügbar

Sprache: English

Digitale PDF Version

14.025 KB

312 Seiten

Detaillierte technische Daten

Sofort lesbar

Diese Reparaturanleitung umfasst: Heating, Overview of fitting locations - air conditioning system, Refrigerant circuit, Air conditioner compressor, Control motors, Front heater and air conditioning unit, Air duct, Coolant circuit, Operating and display unit und Other controlling and regulating components. Mehr anzeigen
Sichere Zahlung per PayPal, Kreditkarte, Lastschrift, Sofort-Überweisung oder Giropay
PayPal Logo SEPA Lastschrift Logo Giropay Logo Sofort Überweisung Logo

Reparaturanleitung Passat Lim / Passat Var. Heating, air conditioner pdf Download mit dem Inhalt:

Kapitelübersicht

  • Technical data
    1
  • 1 Safety information
    1
  • 1.1 Safety precautions when working on air conditioning systems
    1
  • 1.2 Safety precautions when handling refrigerants
    2
  • 1.3 Safety measures when working on vehicles with a start/stop system
    2
  • 1.4 Safety precautions when working on high-voltage system
    2
  • 1.5 Safety precautions when working in the vicinity of high-voltage components
    3
  • 1.6 Safety precautions when working on the cooling system
    3
  • 1.7 Safety precautions when working on vehicles with auxiliary/supplementary heater
    4
  • 2 Identification
    5
  • 2.1 Identification of heater and air conditioning unit
    5
  • 3 General information
    6
  • 3.1 Notes concerning odours in air conditioned vehicles
    6
  • 3.2 Notes for vehicles with start-stop system
    6
  • 3.3 Type plates
    7
  • 4 Repair notes
    8
  • 4.1 Working on refrigerant circuit
    8
  • 4.2 General repair instructions
    9
  • 4.3 Refrigerant circuit seals
    9
  • 4.4 Checking heater output
    10
  • 4.5 Checking cooling output
    30
  • 5 Technical data
    60
  • 5.1 Refrigerant capacity
    60
  • 5.2 Refrigerant oil capacities
    60
  • 5.3 Oil distribution
    61
  • Heating
    62
  • 1 Heating
    62
  • Air conditioning system
    63
  • 1 Overview of fitting locations - air conditioning system
    63
  • 1.1 Overview of fitting locations - components not located in passenger compartment
    63
  • 2 Refrigerant circuit
    69
  • 2.1 System overview - refrigerant circuit
    69
  • 2.2 Assembly overview - condenser
    75
  • 2.3 Removing and installing refrigerant circuit pressure sender G805
    77
  • 2.4 Removing and installing expansion valve
    79
  • 2.5 Removing and installing condenser
    86
  • 2.6 Removing and installing desiccant bag or cartridge
    90
  • 2.7 Removing and installing damper weight for refrigerant line, low-pressure side
    98
  • 2.8 Removing and installing refrigerant pressure and temperature sender G395
    99
  • 2.9 Removing and installing refrigerant shut-off valve for heater and air conditioner unit N541
    100
  • 2.11 Removing and installing heat exchanger for high-voltage battery
    107
  • 2.12 Removing and installing evacuating and charging valves on low and high-pressure side
    110
  • 2.13 Removing and installing refrigerant line with internal heat exchanger
    112
  • 2.14 Refrigerant line with restrictor
    119
  • 2.17 Removing and installing refrigerant line between condenser and evaporator
    124
  • 2.21 Commissioning of air conditioning system after filling refrigerant circuit
    135
  • 3 Air conditioner compressor
    137
  • 3.1 Assembly overview - drive unit of air conditioner compressor
    137
  • 3.2 Assembly overview - pulley
    141
  • 3.3 Removing air conditioning compressor from and installing on bracket
    145
  • 3.4 Removing and installing air conditioner compressor
    149
  • 3.5 Removing and installing high-voltage system fuse 3 S353
    156
  • 3.6 Checking high-pressure safety valve on air conditioner compressor
    157
  • 3.7 Removing and installing pulley
    157
  • 4 Control motors
    162
  • 4.1 Overview of fitting locations – front control motors
    162
  • 4.4 Removing and installing air recirculation flap control motor V113
    174
  • 4.5 Removing and installing left temperature flap control motor V158 with potentiometer G220
    178
  • 4.6 Removing and installing right temperature flap control motor V159 with potentiometer G221
    182
  • 4.7 Removing and installing rear temperature flap control motor V137
    185
  • 4.10 Removing and installing air distribution flap control motor V428 with potentiometer G645
    196
  • 4.11 Removing and installing air distribution flap actuation unit
    200
  • 5 Front heater and air conditioning unit
    206
  • 5.1 Assembly overview - heater and air conditioning unit
    206
  • 5.2 Assembly overview - add-on parts of heater and air conditioning unit and of air intake box
    210
  • 5.3 Assembly overview - evaporator housing
    212
  • 5.4 Assembly overview - flaps and partitions in air distribution housing
    213
  • 5.5 Removing and installing heater and air conditioning unit
    216
  • 5.6 Dismantling and assembling heater and air conditioning unit
    221
  • 5.7 Removing and installing air distribution housing
    222
  • 5.8 Removing and installing holder for heater and air conditioning unit
    222
  • 5.9 Removing and installing evaporator
    223
  • 5.10 Removing and installing fresh air blower control unit J126
    225
  • 5.11 Removing and installing dust and pollen filter
    226
  • 5.12 Removing and installing fresh air blower V2
    228
  • 5.15 Removing and installing heat exchanger
    233
  • 5.16 Removing and installing coolant pipes on heat exchanger
    254
  • 5.17 Removing and installing evaporator temperature sensor G308
    256
  • 5.18 Checking condensation drain
    258
  • 5.19 Removing and installing condensation drain
    259
  • 5.20 Removing and installing baffle plate
    263
  • 6 Air duct
    264
  • 6.1 Assembly overview - air duct and air distribution in passenger compartment
    264
  • 6.2 Removing and installing fresh air intake
    265
  • 6.3 Removing and installing cover for fresh air intake
    267
  • 6.4 Removing and installing air intake duct
    268
  • 6.5 Removing and installing driver side footwell vents
    269
  • 6.6 Removing and installing front passenger side footwell vents
    270
  • 6.7 Removing and installing rear footwell vent
    271
  • 6.8 Removing and installing air duct for rear vent
    272
  • 6.9 Removing and installing dash panel air duct
    273
  • 6.10 Removing and installing rear centre console vent duct
    273
  • 6.11 Checking forced ventilation for passenger compartment
    274
  • 6.12 Removing and installing forced ventilation for passenger compartment
    274
  • 6.13 Removing and installing air duct for defroster vent
    275
  • 6.14 Removing and installing air duct for centre vent
    276
  • 7 Coolant circuit
    277
  • 7.1 Incorporation of high-voltage heater (PTC) Z115 into coolant circuit
    277
  • 7.3 Removing and installing coolant valve for high-voltage battery N688
    283
  • 7.4 Removing and installing coolant valve for high-voltage battery V590
    285
  • 7.5 Removing and installing high-voltage heater (PTC) Z115 / high-voltage heater (PTC) J848
    286
  • 8 Operating and display unit
    291
  • 8.1 Overview of operating and display unit
    291
  • 8.2 Removing and installing operating and display unit
    296
  • 9 Other controlling and regulating components
    299
  • 9.1 Removing and installing sunlight penetration photosensor G107
    299
  • 9.2 Removing and installing external air quality and humidity sensor G935
    300
  • 9.3 Removing and installing ambient temperature sensor G17
    302
  • 9.4 Removing and installing humidity sender for air conditioning system G260
    302
  • 9.5 Removing and installing left vent temperature sender G150
    302
  • 9.6 Removing and installing right vent temperature sender G151
    303
  • 9.7 Removing and installing rear vent temperature sender G174
    304
  • 9.8 Removing and installing footwell vent temperature sender G192
    305
Hersteller­bezeichnung Heating, air conditioner
Hersteller Volkswagen
Passend für Passat Lim (2015 >) / Passat Var. (2015 >)
Passende Autotypen 3G2, 3G5
Kategorie Reparaturanleitung

Im Moment sind noch keine Bewertungen für dieses Produkt vorhanden.

Ähnliche Reparaturanleitungen

Brake system (hybrid)
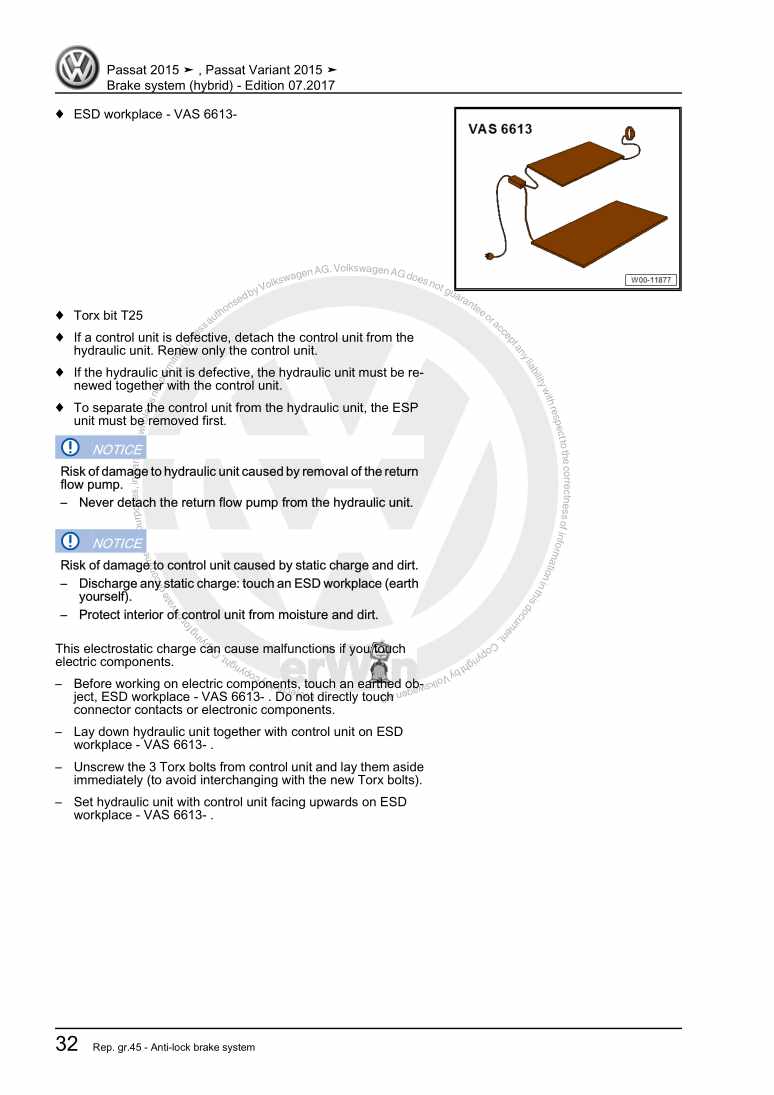
Beispielseite für Reparaturanleitung Brake system (hybrid)

Für Passat Lim (2015 >) / Passat Var. (2015 >)

12,11 € Details

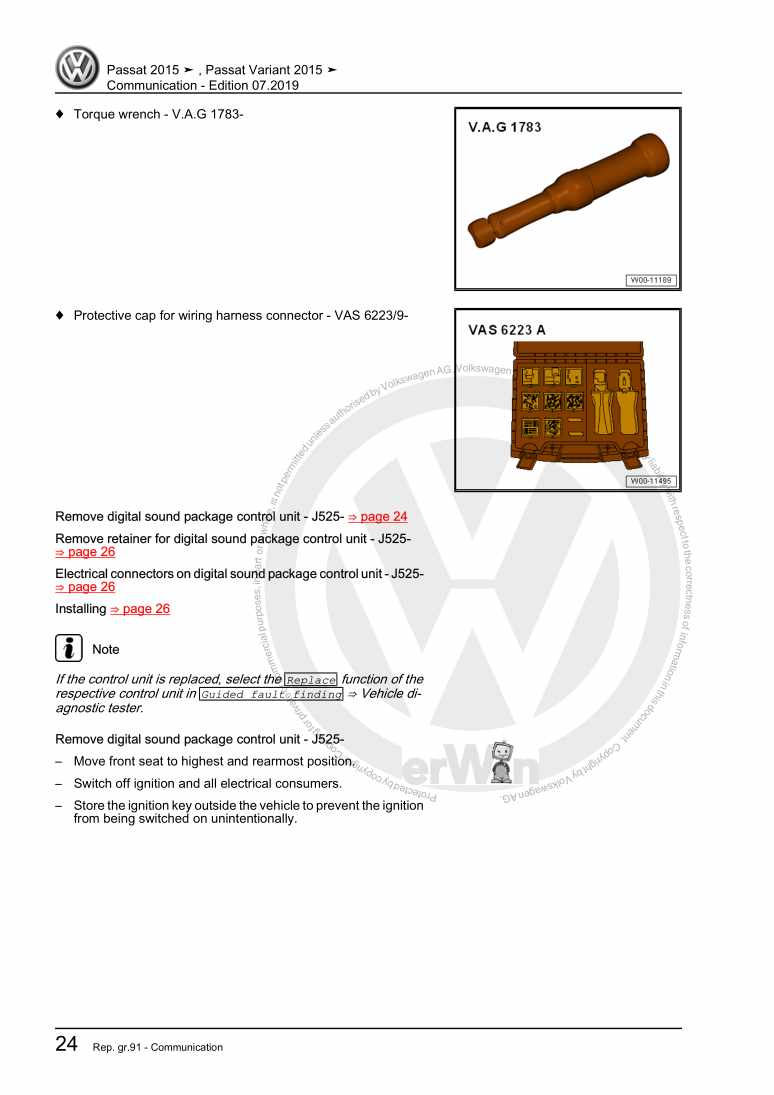
Communication

Beispielseite für Reparaturanleitung Communication

Für Passat Lim (2015 >) / Passat Var. (2015 >)

9,43 € Details

6-speed manual gearbox 02Q, 0BB and 0FB
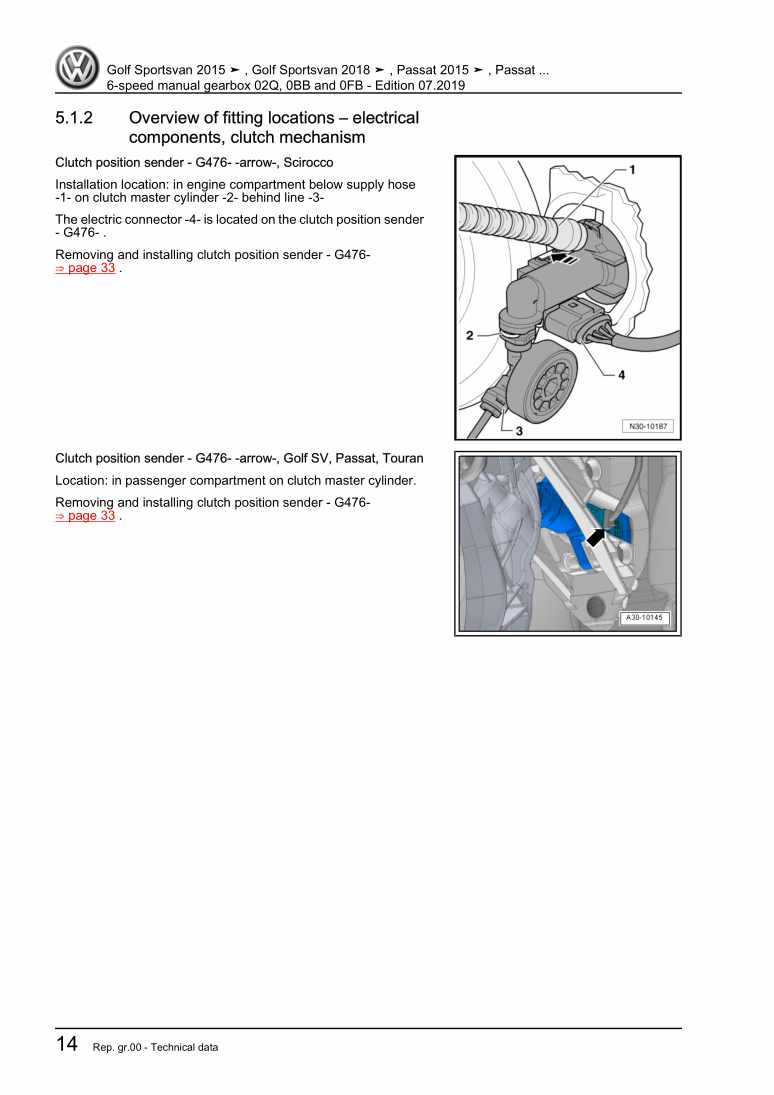
Beispielseite für Reparaturanleitung 6-speed manual gearbox 02Q, 0BB and 0FB

Für Golf Sportsvan (2014 >) / Scirocco GP (2015) / Passat Lim (2015 >) / Passat Var. (2015 >) / Touran (2016 > ) / Golf Sportsvan (2018 >) / Passat Variant (2019 >) / Passat Limousine (2019 >)

32,37 € Details

4-cylinder direct injection engine (1.4 l engine, 4V, EA 211, turbocharger)
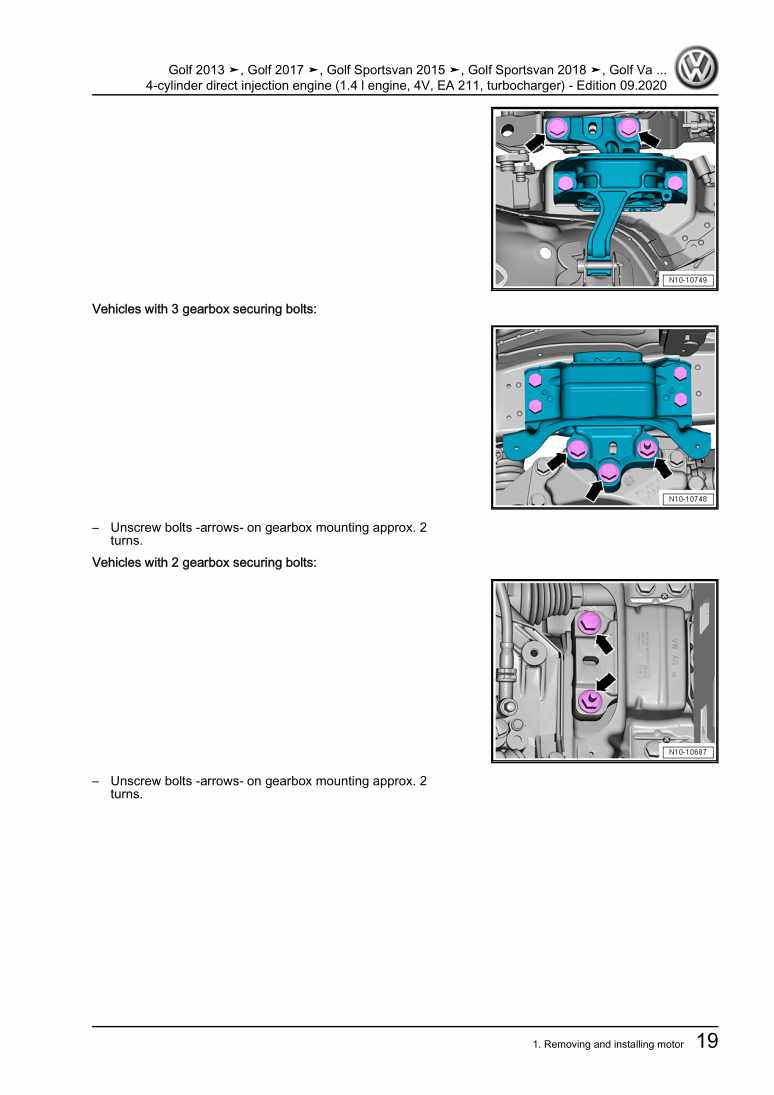
Beispielseite für Reparaturanleitung 4-cylinder direct injection engine (1.4 l engine, 4V, EA 211, turbocharger)

Für Golf VII (2013) / Golf Variant (2014) / Golf Sportsvan (2014 >) / Passat Lim (2015 >) / Passat Var. (2015 >) / Touran (2016 > ) / Tiguan (2016) / Golf VII (2017) / Tiguan RUS (2017) / Golf (2017) / Golf Sportsvan (2018 >) / Passat Variant (2019 >) / Passat Limousine (2019 >) / Tiguan [RU] (2021 >) / Tiguan (2021 >)

36,97 € Details

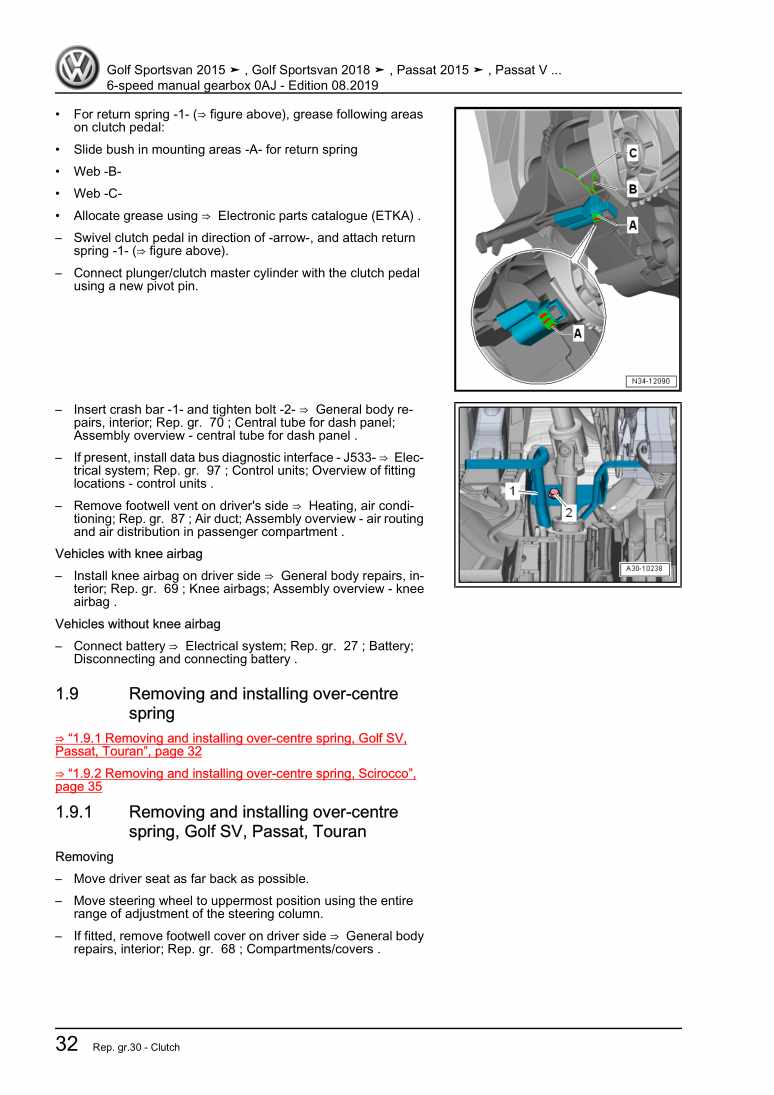
6-speed manual gearbox 0AJ

Beispielseite für Reparaturanleitung 6-speed manual gearbox 0AJ

Für Golf Sportsvan (2014 >) / Scirocco GP (2015) / Passat Lim (2015 >) / Passat Var. (2015 >) / Touran (2016 > ) / Golf Sportsvan (2018 >)

19,23 € Details

4-cyl. direct injection engine (1.8 l and 2.0 l, 4 V, EA 888 gen III, turbocharger, chain drive)
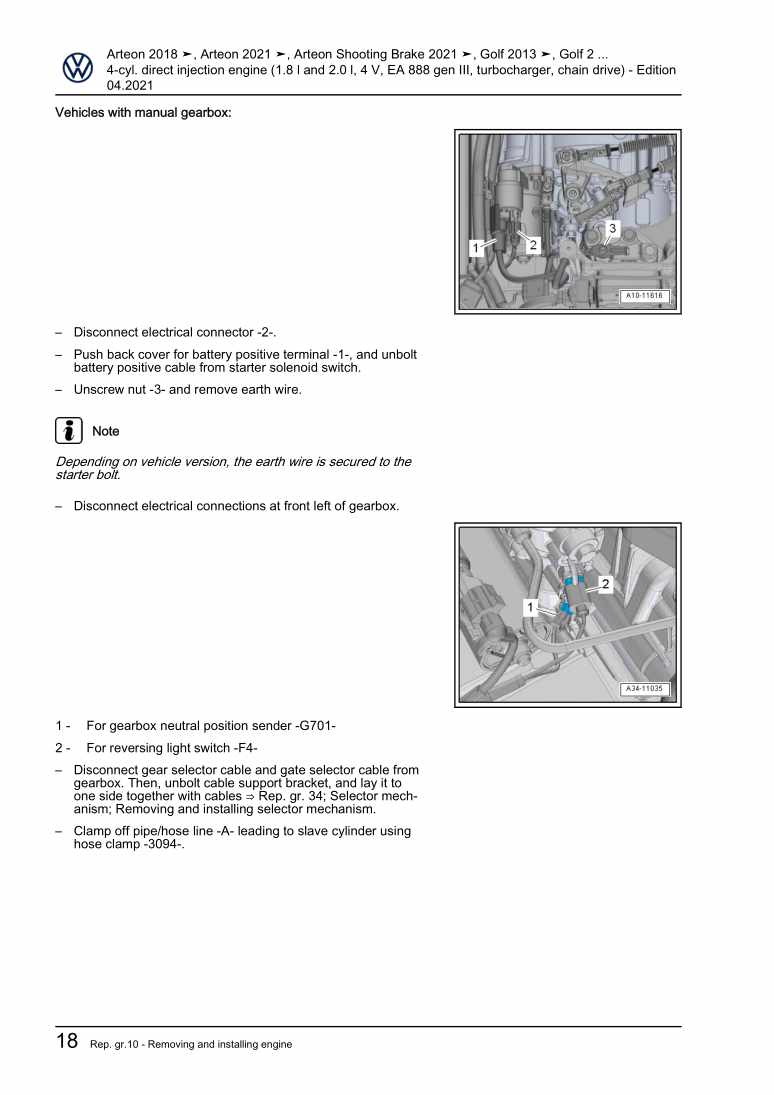
Beispielseite für Reparaturanleitung 4-cyl. direct injection engine (1.8 l and 2.0 l, 4 V, EA 888 gen III, turbocharger, chain drive)

Für Golf VII (2013) / Golf Variant (2014) / Passat Lim (2015 >) / Passat Var. (2015 >) / Sharan (2016 > ) / Touran (2016 > ) / Tiguan (2016) / Golf VII (2017) / Arteon () / Tiguan RUS (2017) / Golf (2017) / Passat Variant (2019 >) / Passat Limousine (2019 >) / Golf (2020 >) / Tiguan [RU] (2021 >) / Tiguan (2021 >) / Arteon (2021 >) / Arteon Shooting Brake (2021 >)

40,45 € Details

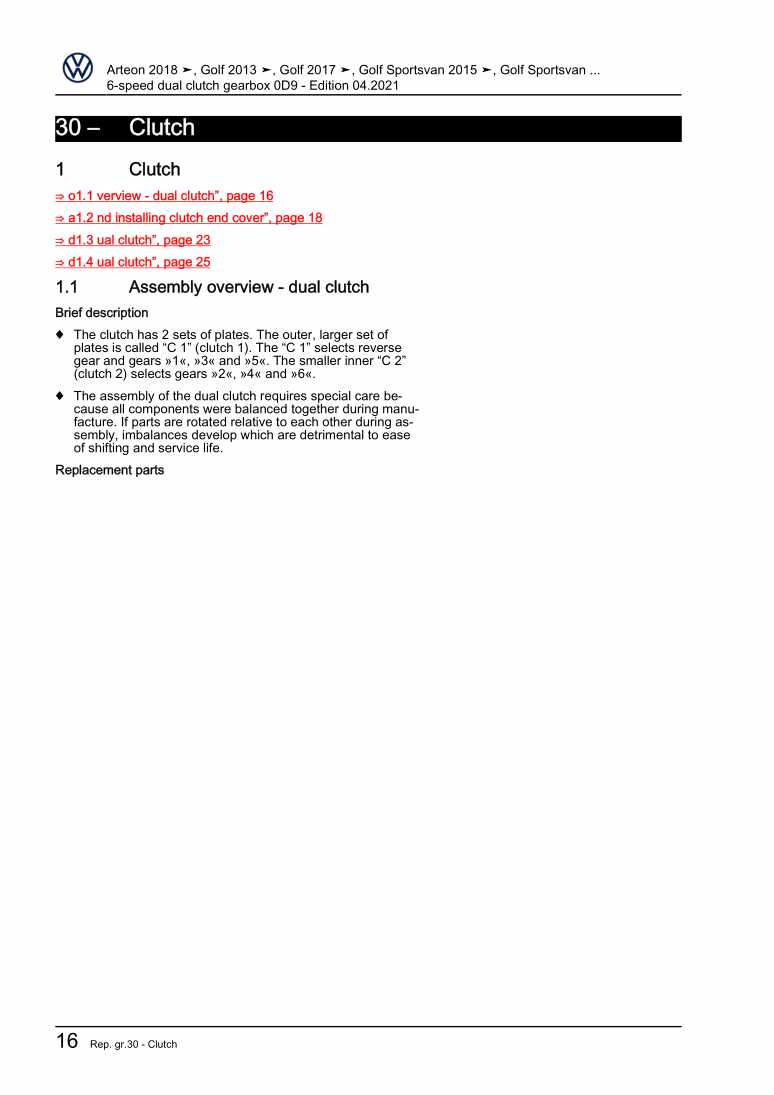
6-speed dual clutch gearbox 0D9

Beispielseite für Reparaturanleitung 6-speed dual clutch gearbox 0D9

Für Golf VII (2013) / Golf Variant (2014) / Golf Sportsvan (2014 >) / Passat Lim (2015 >) / Passat Var. (2015 >) / Touran (2016 > ) / Tiguan (2016) / Golf VII (2017) / Arteon () / Tiguan RUS (2017) / Golf (2017) / Polo (2018) / Golf Sportsvan (2018 >) / Passat Variant (2019 >) / Passat Limousine (2019 >) / Tiguan [RU] (2021 >)

29,15 € Details

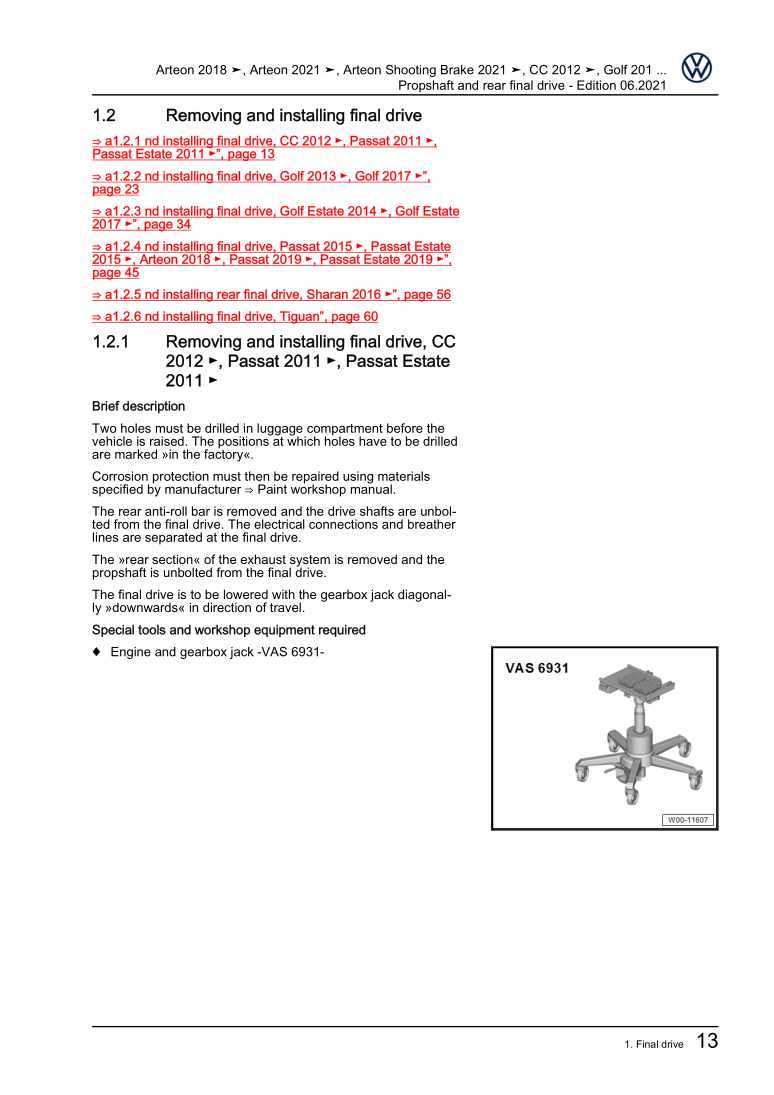
Propshaft and rear final drive

Beispielseite für Reparaturanleitung Propshaft and rear final drive

Für Passat/Passat Variant (2011 >) / Passat/Passat Variant (2011 >) / Passat CC (2009) / Golf VII (2013) / Golf Variant (2014) / Passat Lim (2015 >) / Passat Var. (2015 >) / Sharan (2016 > ) / Tiguan (2016) / Golf VII (2017) / Arteon () / Tiguan RUS (2017) / Golf (2017) / Passat Variant (2019 >) / Passat Limousine (2019 >) / Tiguan [RU] (2021 >) / Tiguan (2021 >) / Arteon (2021 >) / Arteon Shooting Brake (2021 >)

16,19 € Details

Basic equipment, From August 2014

Beispielseite für Reparaturanleitung Basic equipment, From August 2014

Für Passat Lim (2015 >) / Passat Var. (2015 >)

66,70 € Details

7-speed dual clutch gearbox 0CW

Beispielseite für Reparaturanleitung 7-speed dual clutch gearbox 0CW

Für Golf VII (2013) / Golf Variant (2014) / Polo (2014) / Golf Sportsvan (2014 >) / Passat Lim (2015 >) / Passat Var. (2015 >) / Touran (2016 > ) / Golf VII (2017) / Golf (2017) / Polo (2018) / T-Roc (2018 >) / Golf Sportsvan (2018 >) / Passat Variant (2019 >) / Passat Limousine (2019 >) / T-Roc Cabriolet (2020 >) / Polo (2022)

26,94 € Details

Unsere Best Seller

Schon gewusst? Wir bieten auch originale Autoteile an.

Autoteil D177500A1 Glasprimer

D177500A1

Glasprimer

73,63 €

Details
Autoteil N10220404 Schraube

N10220404

Schraube

5,06 €

Details
Autoteil 4G8805607 Aufnahme

4G8805607

Aufnahme

34,69 €

Details
Autoteil 171823395 Gummilager

171823395

Gummilager

4,52 €

Details
Autoteil N10700001 Schraube

N10700001

Schraube

3,63 €

Details

Verteilergetriebe und Achsantriebe

Beispielseite für Reparaturanleitung Verteilergetriebe und Achsantriebe

Für Touareg (2003 - 2007)

12,83 € Details

Heizung, Klimaanlage

Beispielseite für Reparaturanleitung Heizung, Klimaanlage

Für Caddy (2004 - 2010) / Caddy KA / Caddy Maxi (2011)

12,76 € Details

Eigendiagnose für Automatisches Getriebe 09A - 5 Gang

Beispielseite für Reparaturanleitung Eigendiagnose für Automatisches Getriebe 09A - 5 Gang

Für Bora / Bora Variant / Golf / Golf Variant (1998 - 2006)

6,00 € Details

image/svg+xml Über Clonck

Originale Reparaturanleitungen und Ersatzteile

Unsere Reparaturanleitungen sind Originale, kommen direkt von Volkswagen und erfüllen die höchsten Qualitätsstandards.

In unserem Originalteile-Shop verkaufen wir hochwertige Originalersatzteile der Fahrzeughersteller. Mithilfe der Suche gibst du die gewünschte Teilenummer (OE-Nummer) ein und bestellst schnell und einfach das benötigte Ersatzteil.

Höchste Qualitätsstandards

Bei Clonck wollen wir Autoschrauber und Kfz-Profis glücklich machen. Aus diesem Grund findest du bei Clonck ausschließlich professionelle und hochwertige Reparaturanleitungen, mit deren Hilfe du dein Fahrzeug fachgerecht reparieren kannst.

Unsere Partner

Autohaus Schmidt GmbH
Automag GmbH Filiale Laim
KFZ-VERLAG GmbH
Zimpel und Franke GmbH

Clonck: Der Autoreparatur-Shop - gibt's auch als App!

Clonck App Logo Play Store

Clonck: Passende Autoteile für deine Autoreparatur

4,5 90

Mit Clonck bestellst du die richtigen Originalersatzteile im Handumdrehen.

  • Fahrzeugmodell hinzufügen
  • Baugruppe auswählen
  • Fahrzeug-Identifizierungsnummer (FIN) eingeben
  • Über 5.000 originale Reparaturanleitungen einsehen
Jetzt App starten
Clonck App Preview Auto Mobiltelefon Autoteile