DER AUTOREPARATUR-SHOP
0
Home » Anleitungen » General body repairs, interior
  • Beispielseite für Reparaturanleitung General body repairs, interior
  • Beispielseite für Reparaturanleitung 2 General body repairs, interior
  • Beispielseite für Reparaturanleitung 3 General body repairs, interior
  • Beispielseite für Reparaturanleitung General body repairs, interior
  • Beispielseite für Reparaturanleitung 2 General body repairs, interior
  • Beispielseite für Reparaturanleitung 3 General body repairs, interior

General body repairs, interior

Für Touran

Original VW-Reparaturanleitung


20,08 €inkl. 7% MwSt.

Sofort als Download verfügbar

Sprache: English

Digitale PDF Version

9.186 KB

248 Seiten

Detaillierte technische Daten

Sofort lesbar

Diese Reparaturanleitung umfasst: Interior mirror, Compartments, covers and trims, Sill panel mouldings, Grab handles, Seat belts, Airbag und Crash sensors. Mehr anzeigen
Sichere Zahlung per PayPal, Kreditkarte, Lastschrift, Sofort-Überweisung oder Giropay
PayPal Logo SEPA Lastschrift Logo Giropay Logo Sofort Überweisung Logo

Reparaturanleitung Touran General body repairs, interior pdf Download mit dem Inhalt:

Kapitelübersicht

  • Interior equipment
    1
  • 1 Interior mirror
    1
  • 1.1 Tools
    1
  • 1.2 Automatic anti-dazzle interior mirror
    1
  • 1.3 Removing and installing interior mirror (►2008)
    1
  • 1.4 Removing and installing interior mirror (model year 2009►)
    3
  • 1.5 Removing and installing interior mirror with rain sensor (model year 2009►)
    4
  • 1.6 Bonding retaining plate for interior mirror
    5
  • 2 Compartments, covers and trims
    12
  • 2.1 Tools
    12
  • 2.2 Removing and installing front section of centre console
    12
  • 2.3 Removing and installing centre console
    16
  • 2.4 Removing and installing centre armrest, equipment version “Concept line”
    24
  • 2.8 Removing and installing centre dash panel compartment
    38
  • 2.9 Removing and installing foot well trim
    39
  • 2.10 Removing and installing dash panel trim
    40
  • 2.11 Removing and installing dash panel centre trim
    41
  • 2.12 Removing and installing dash panel end trims
    42
  • 2.13 Removing and installing steering column trim
    43
  • 2.14 Removing and installing sun visor
    44
  • 2.15 Removing and installing compartment in moulded headliner
    49
  • 2.16 Removing and installing driver side compartment
    50
  • 2.17 Removing and installing glove compartment
    51
  • 3 Sill panel mouldings
    53
  • 3.1 Tools
    53
  • 3.2 Removing and installing sill panel moulding
    53
  • 3.3 Removing and installing sill panel mouldings at rear
    54
  • 3.4 Removing and installing inner and end scuff plates for rear seat
    55
  • 4 Grab handles
    57
  • 4.1 Removing and installing roof grab handles
    57
  • Passenger protection
    58
  • 1 Seat belts
    58
  • 1.1 Safety regulations for belt tensioners
    58
  • 1.2 Disposal of belt tensioner units
    58
  • 1.3 Assembly overview - front seat belts
    58
  • 1.4 Removing and installing front seat belts
    59
  • 1.5 Removing and installing front belt height adjuster
    61
  • 1.6 Removing and installing front belt buckle
    62
  • 1.7 Assembly overview - seat belts for outer seats, 2nd row
    63
  • 1.8 Removing and installing seat belts for outer seats, 2nd row
    64
  • 1.9 Removing and installing belt height adjusters for 2nd row
    66
  • 1.10 Removing and installing seat belts for middle seat, 2nd row
    68
  • 1.11 Removing and installing belt buckles for 2nd row
    71
  • 1.12 Removing and installing seat belts for 3rd row
    72
  • 1.13 Removing and installing belt buckles for 3rd row
    74
  • 2 Inspecting seat belts
    76
  • 2.1 Checks
    76
  • 3 Airbag
    80
  • 3.1 Overview of locations - airbag systems
    80
  • 3.2 Safety precautions when working on airbag
    81
  • 3.4 Removing and installing airbag control unit (J234)
    83
  • 3.5 Removing and installing driver airbag unit
    85
  • 3.6 Removing and installing return spring with slip ring
    96
  • 3.7 Removing and installing front passenger airbag unit
    96
  • 3.8 Removing and installing side airbags on driver and front passenger sides
    101
  • 3.12 Removing and installing Seat occupied sensor, front passenger side G128
    116
  • 4 Crash sensors
    118
  • 4.1 Crash sensors
    118
  • Trim, insulation
    120
  • 1 Dash panel
    120
  • 1.1 Tools
    120
  • 1.2 Removing and installing dash panel
    120
  • 1.3 Removing and installing central tube for dash panel
    125
  • 2 Door trims
    131
  • 2.1 Tools
    131
  • 2.2 Removing and installing front door trim on driver side
    131
  • 2.3 Removing and installing front door trim on passenger side
    133
  • 2.4 Removing and installing rear door trim
    135
  • 2.5 Renewing trim strip in door trim
    138
  • 2.6 Renewing loudspeaker cover in door trim
    139
  • 3 Pillar trims
    140
  • 3.2 Removing and installing upper trim for A-pillar
    140
  • 3.3 Removing and installing middle trim for A-pillar
    143
  • 3.4 Removing and installing upper B-pillar trim
    144
  • 3.5 Removing and installing lower trim for B-pillar
    145
  • 3.6 Removing and installing C-pillar trim
    146
  • 3.7 Separating C-pillar trim from fasteners
    148
  • 3.8 Removing and installing D-pillar trim, 5-seater
    149
  • 3.9 Removing and installing D-pillar trim, 7-seater
    151
  • 4 Rear lid trim
    153
  • 4.1 Tools
    153
  • 4.2 Removing and installing rear lid trim
    153
  • 4.3 Removing and installing window frame trim
    154
  • 5 Luggage compartment trims
    156
  • 5.1 Removing and installing luggage compartment floor
    156
  • 5.2 Removing and installing rear floor covering
    157
  • 5.3 Removing and installing storage compartment
    158
  • 5.4 Removing and installing rear lock carrier cover
    159
  • 5.5 Removing and installing side panel trim, 5-seater
    161
  • 5.6 Removing and installing mounting bracket for bag hooks, 5-seater
    163
  • 5.7 Removing and installing side panel trim, 7-seater
    164
  • 6 Roof trims
    168
  • 6.1 Tools
    168
  • 6.2 Removing and installing roof end strip
    168
  • Seat frames
    184
  • 1 Front seats
    184
  • 1.1 Tools
    184
  • 1.2 Removing and installing front seat
    185
  • 1.3 Removing and installing seat frame adapter
    188
  • 1.4 Removing and installing trim on sill side
    189
  • 1.6 Removing and installing trim on tunnel side
    194
  • 1.8 Removing and installing front seat drawer mounting
    196
  • 1.9 Removing and installing front seat bar and operating lever
    198
  • 1.10 Removing and installing front seat folding table
    199
  • 1.11 Removing and installing head restraint, adjustable
    200
  • 1.12 Removing head restraint guides
    201
  • 1.13 Removing and installing front seat backrest
    202
  • 1.14 Removing and installing backrest of front passenger seat with load-through hatch
    204
  • 1.15 Removing and installing lumbar support adjustment wheel
    206
  • 1.16 Removing and installing manually adjustable lumbar support frame
    207
  • 2 Seats, 2nd row
    211
  • 2.1 Removing and installing trims for 2nd row backrest fittings
    211
  • 2.2 Removing and installing foot well trim for 2nd row
    212
  • 2.3 Removing and installing backrest trim for middle seat, 2nd row
    213
  • 2.4 Removing and installing seat backrest for 2nd row
    214
  • 2.5 Removing and installing securing rods, trims and support parts
    216
  • 3 Seats, 3rd row
    218
  • 3.1 Tools
    218
  • 3.2 Removing and installing seats for 3rd row
    218
  • 3.3 Removing and installing trims for 3rd row backrest fittings
    219
  • 3.4 Removing and installing seat backrest for third row
    220
  • Seat - padding, covers
    222
  • 1 Front seat covers and padding
    222
  • 1.1 Tools
    222
  • 1.2 Removing and installing front seat cushion cover and padding
    222
  • 1.3 Removing and installing front seat backrest cover and padding
    225
  • 1.4 Renewing heater element for front seat (Touran 2011▶)
    229
  • 1.5 Renewing heater element for front seat backrest (Touran 2011▶)
    230
  • 2 Second row seat covers and padding
    232
  • 2.1 Removing and installing 2nd row seat cushion cover and padding
    232
  • 2.2 Removing and installing 2nd row seat backrest cover and padding
    234
  • 3 Third row seat covers and padding
    237
  • 3.1 Removing and installing 3rd row seat cushion cover and padding
    237
  • 3.2 Removing and installing 3rd row seat backrest cover and padding
    239
Hersteller­bezeichnung General body repairs, interior
Hersteller Volkswagen
Passend für Touran (2003 - 2011)
Passende Autotypen 1T
Kategorie Reparaturanleitung

Im Moment sind noch keine Bewertungen für dieses Produkt vorhanden.

Ähnliche Reparaturanleitungen

Brake systems

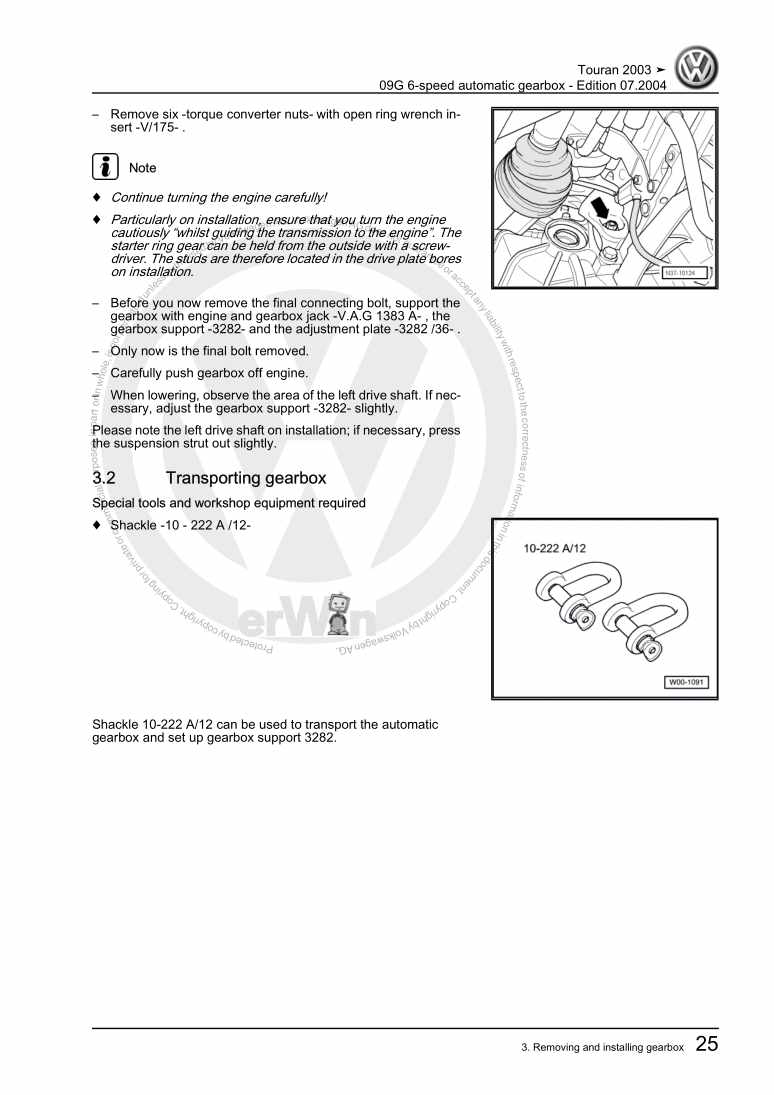
Beispielseite für Reparaturanleitung Brake systems

Für Touran (2003 - 2011)

14,29 € Details

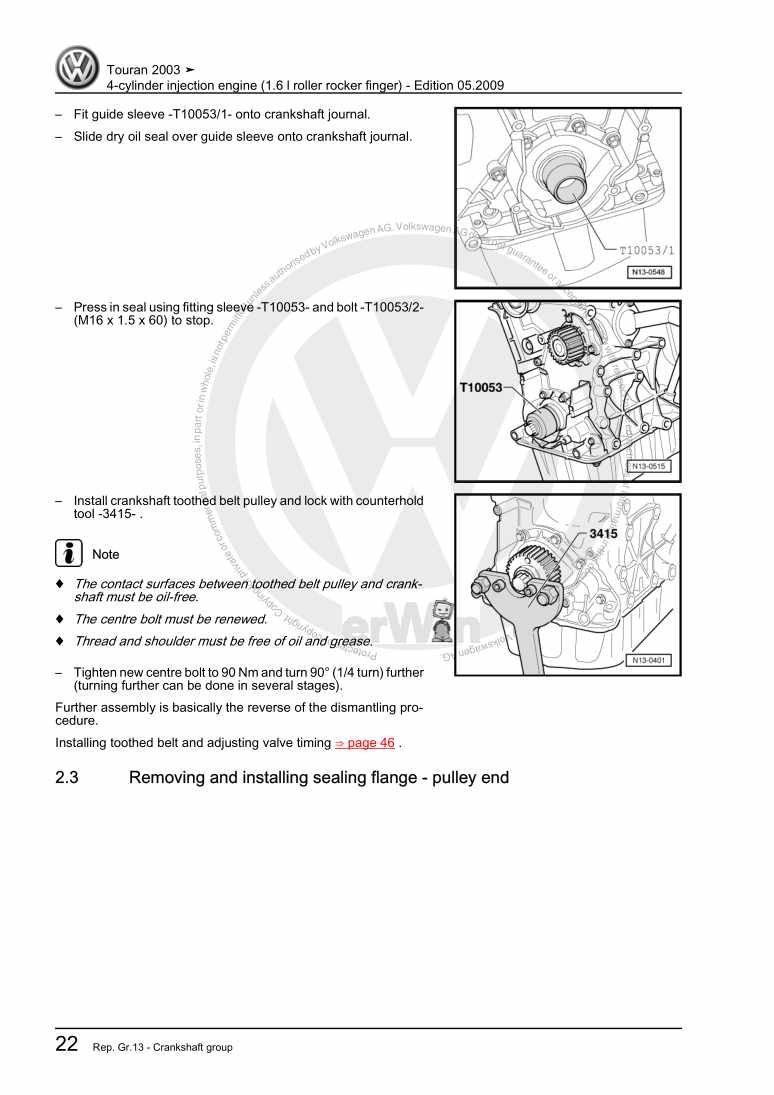
4-cylinder injection engine (1.6 l roller rocker finger)

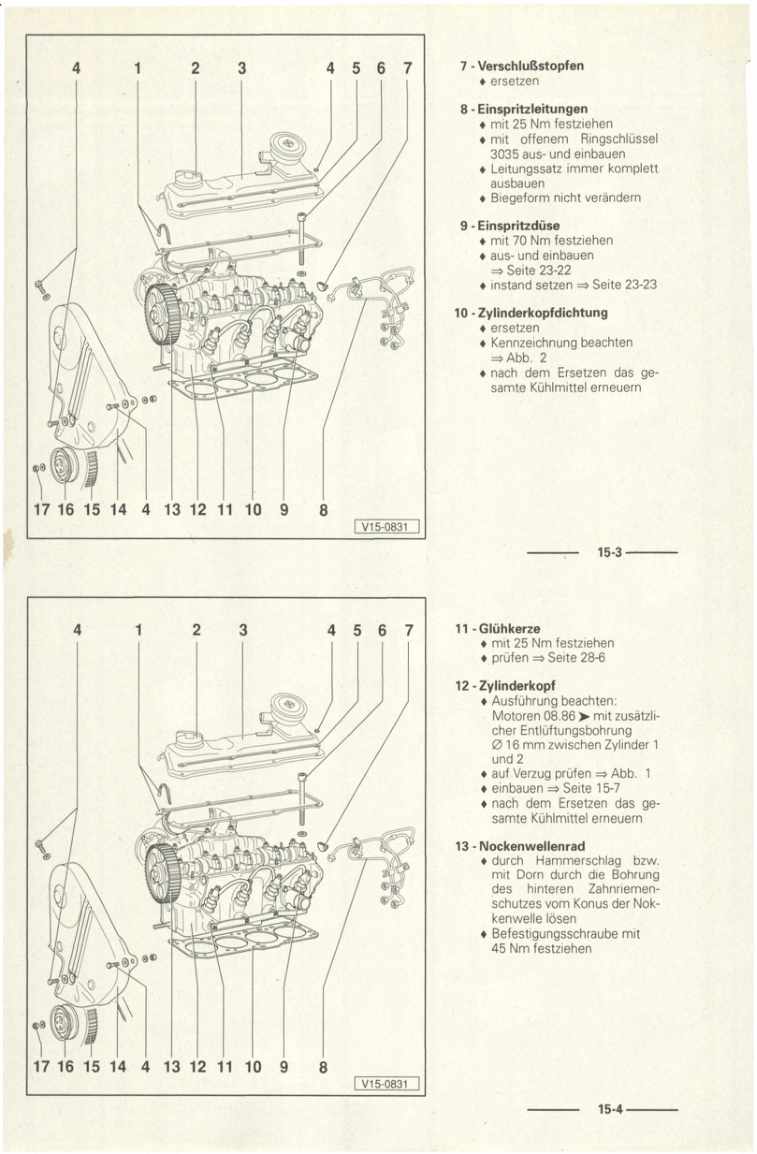
Beispielseite für Reparaturanleitung 4-cylinder injection engine (1.6 l roller rocker finger)

Für Touran (2003 - 2011)

16,55 € Details

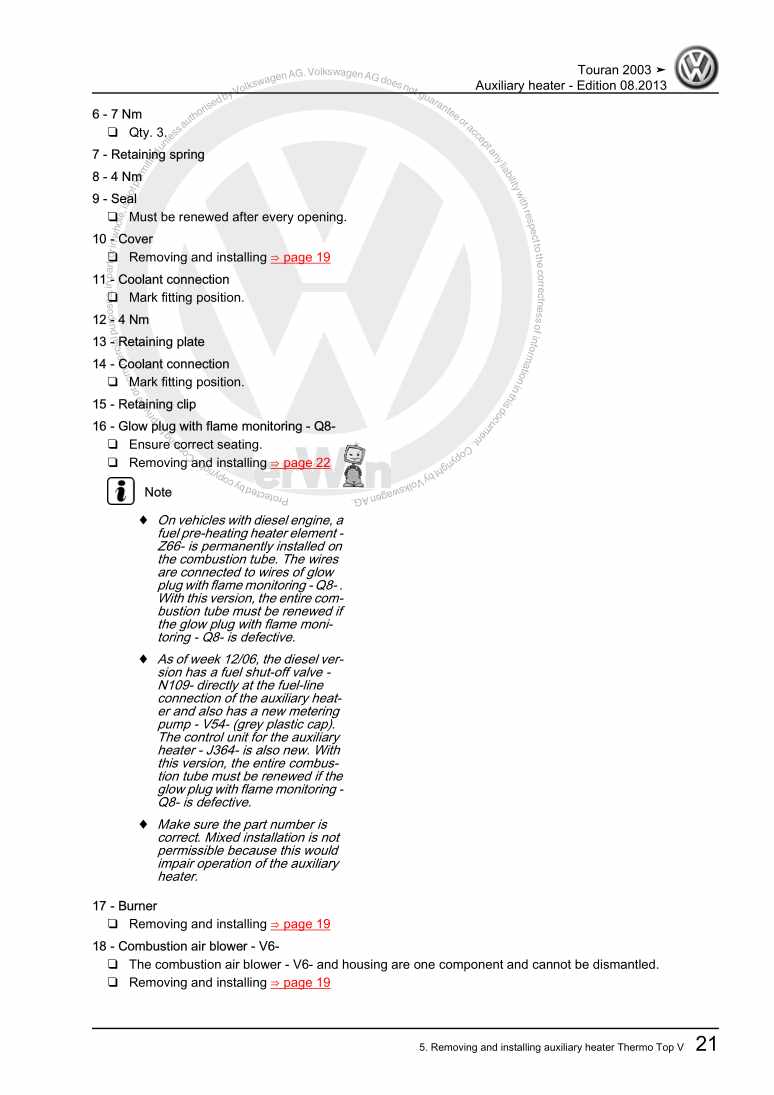
Auxiliary heater

Beispielseite für Reparaturanleitung Auxiliary heater

Für Touran (2003 - 2011)

6,64 € Details

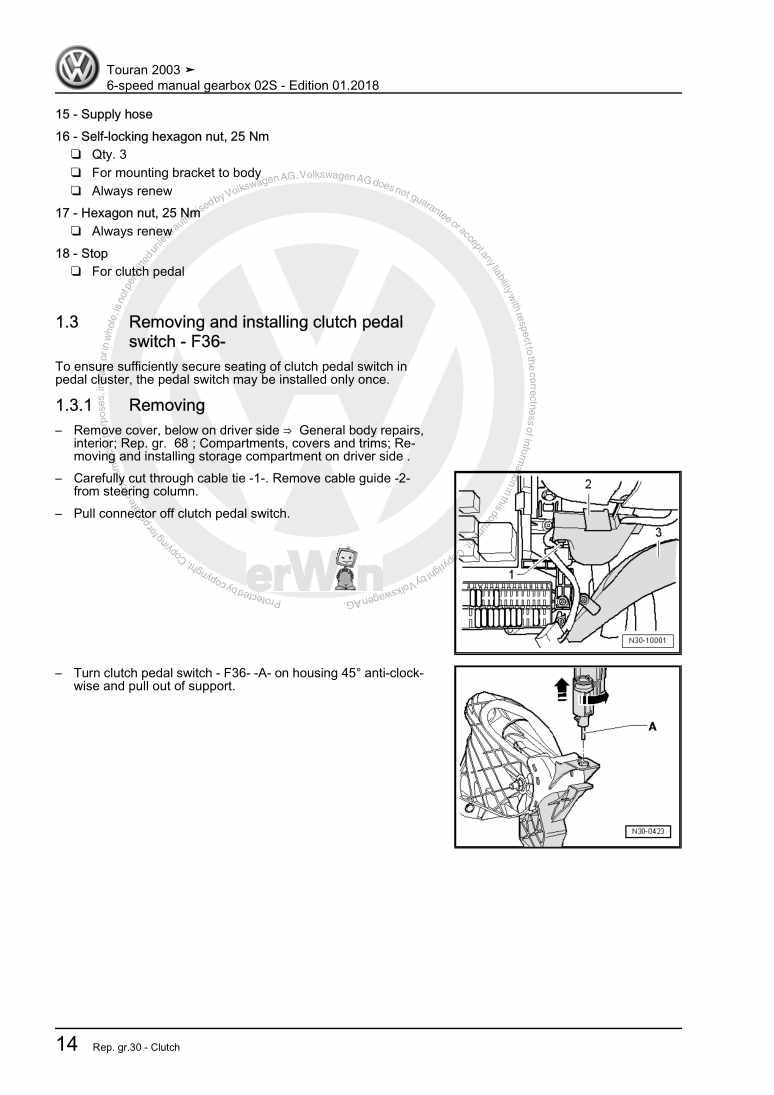
6-speed manual gearbox 02S

Beispielseite für Reparaturanleitung 6-speed manual gearbox 02S

Für Touran (2003 - 2011)

19,30 € Details

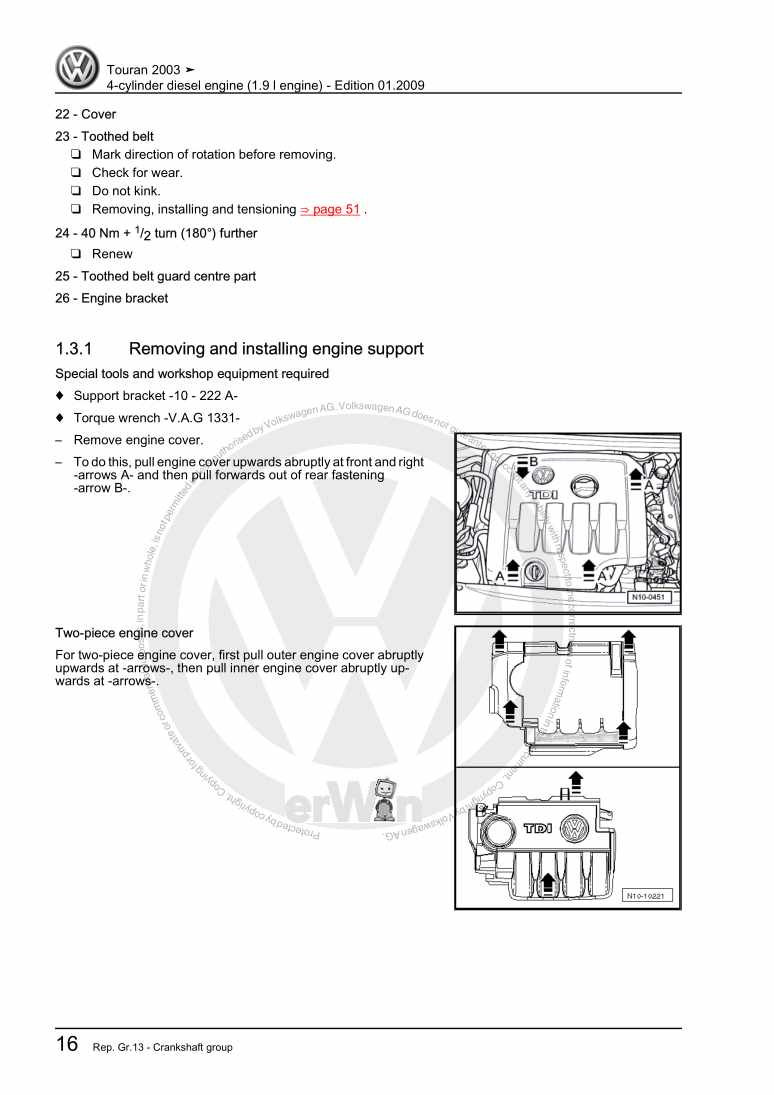
4-cylinder diesel engine (1.9 l engine)

Beispielseite für Reparaturanleitung 4-cylinder diesel engine (1.9 l engine)

Für Touran (2003 - 2011)

16,19 € Details

Running gear, axles, steering

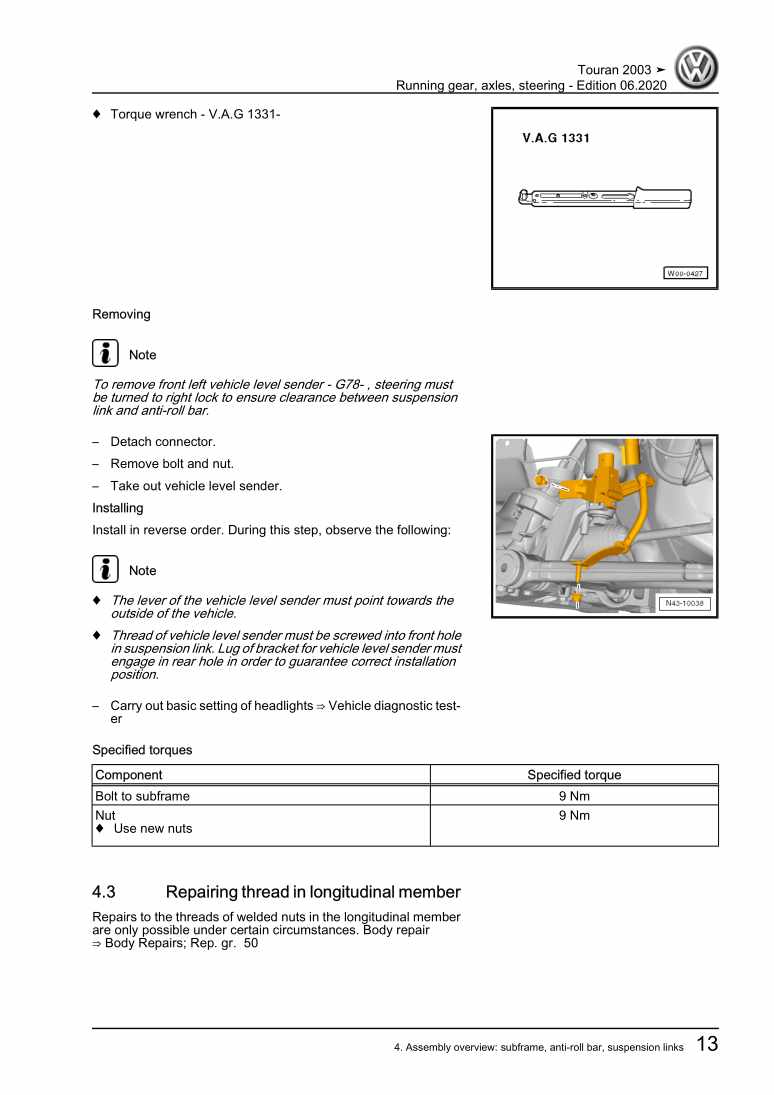
Beispielseite für Reparaturanleitung Running gear, axles, steering

Für Touran (2003 - 2011)

30,79 € Details

Fuel supply system, petrol engines

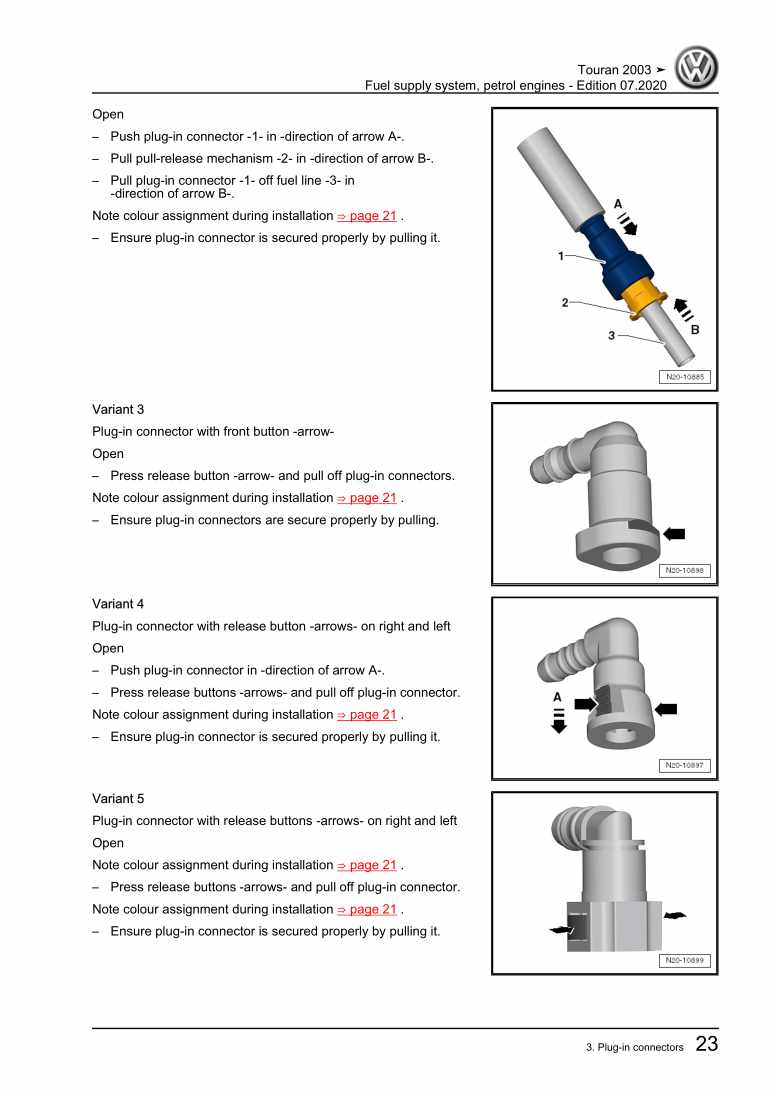
Beispielseite für Reparaturanleitung Fuel supply system, petrol engines

Für Touran (2003 - 2011)

6,82 € Details

6-speed manual gearbox 02Q

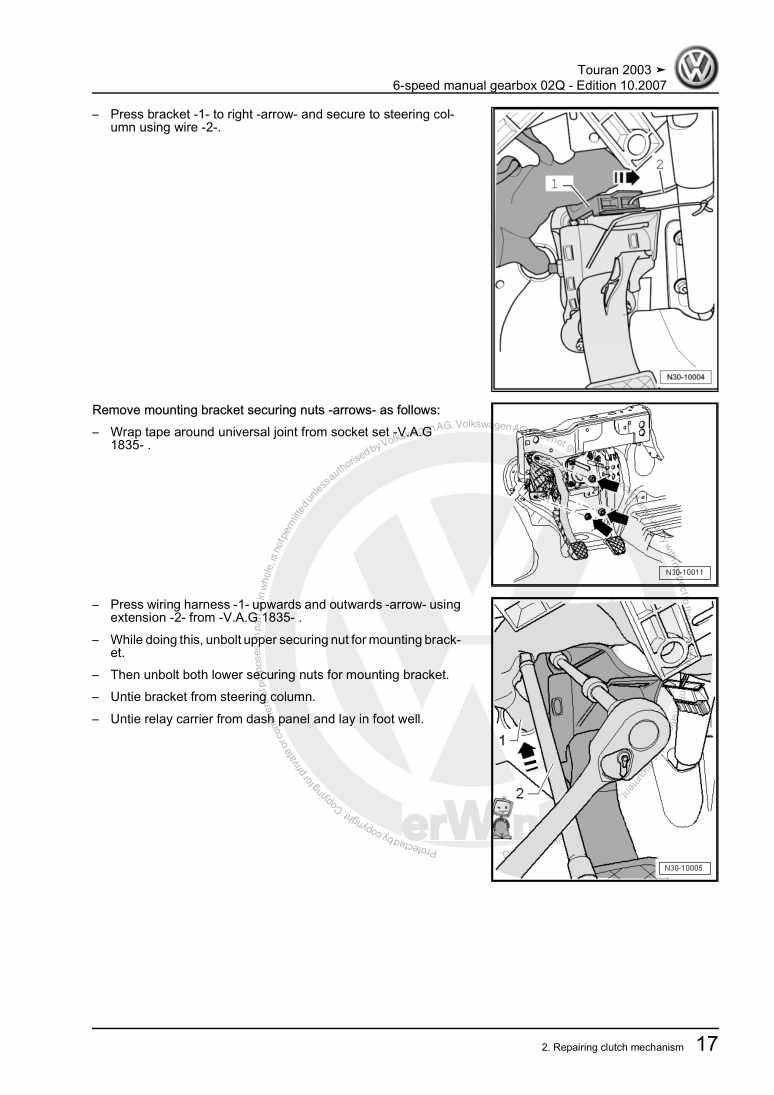
Beispielseite für Reparaturanleitung 6-speed manual gearbox 02Q

Für Touran (2003 - 2011)

18,36 € Details

Heating, air conditioning

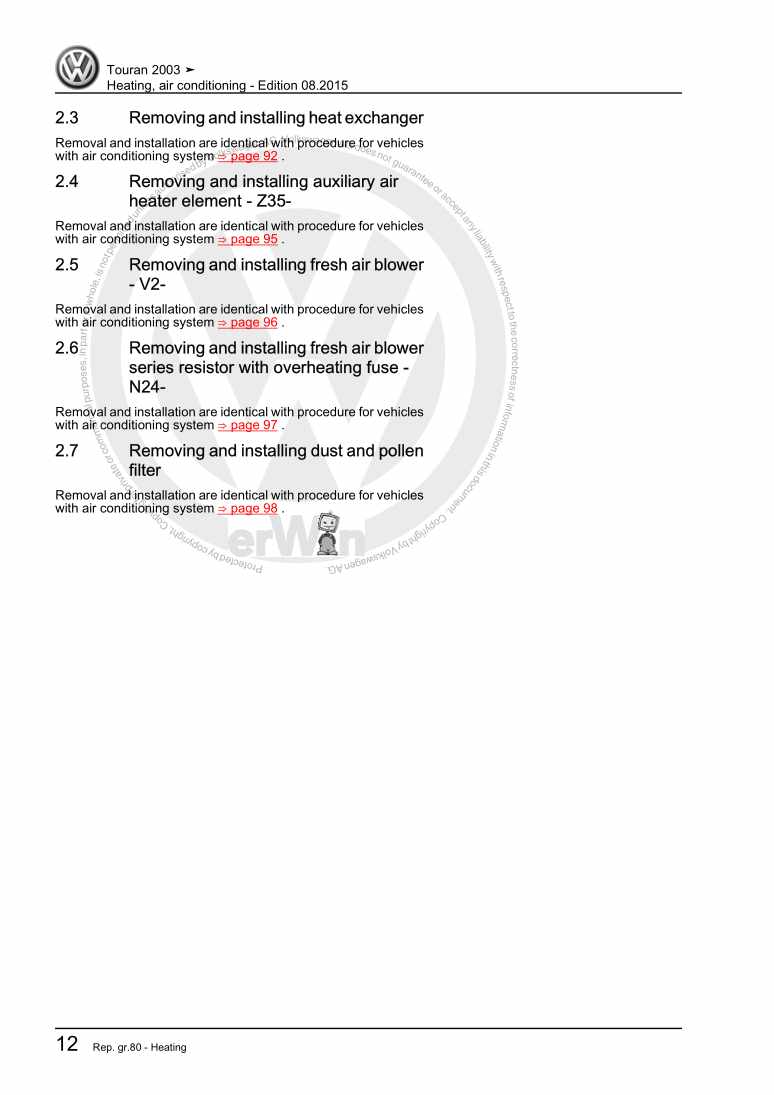
Beispielseite für Reparaturanleitung Heating, air conditioning

Für Touran (2003 - 2011)

11,89 € Details

09G 6-speed automatic gearbox

Beispielseite für Reparaturanleitung 09G 6-speed automatic gearbox

Für Touran (2003 - 2011)

7,38 € Details

Unsere Best Seller

Schon gewusst? Wir bieten auch originale Autoteile an.

Autoteil 8W0265356D Schlauch

8W0265356D

Schlauch

20,25 €

Details
Autoteil 4G0919267H Aufnahme

4G0919267H

Aufnahme

21,35 €

Details
Autoteil 8V3807820B Blende

8V3807820B

Blende

36,27 €

Details
Autoteil 5TA898619 Bef.Satz

5TA898619

Bef.Satz

40,99 €

Details
Autoteil N90978403 Schraube

N90978403

Schraube

3,69 €

Details

4-Zyl.-Dieselmotor (1,5- und 1,6 l-Motor) 068.2 / 068.5 / 068.A / ADK

Beispielseite für Reparaturanleitung 4-Zyl.-Dieselmotor (1,5- und 1,6 l-Motor) 068.2 / 068.5 / 068.A / ADK

Für Industriemotoren - Industrial Engines ()

8,15 € Details

4-Zylinder-Dieselmotor, Mechanik CS,JX,KY

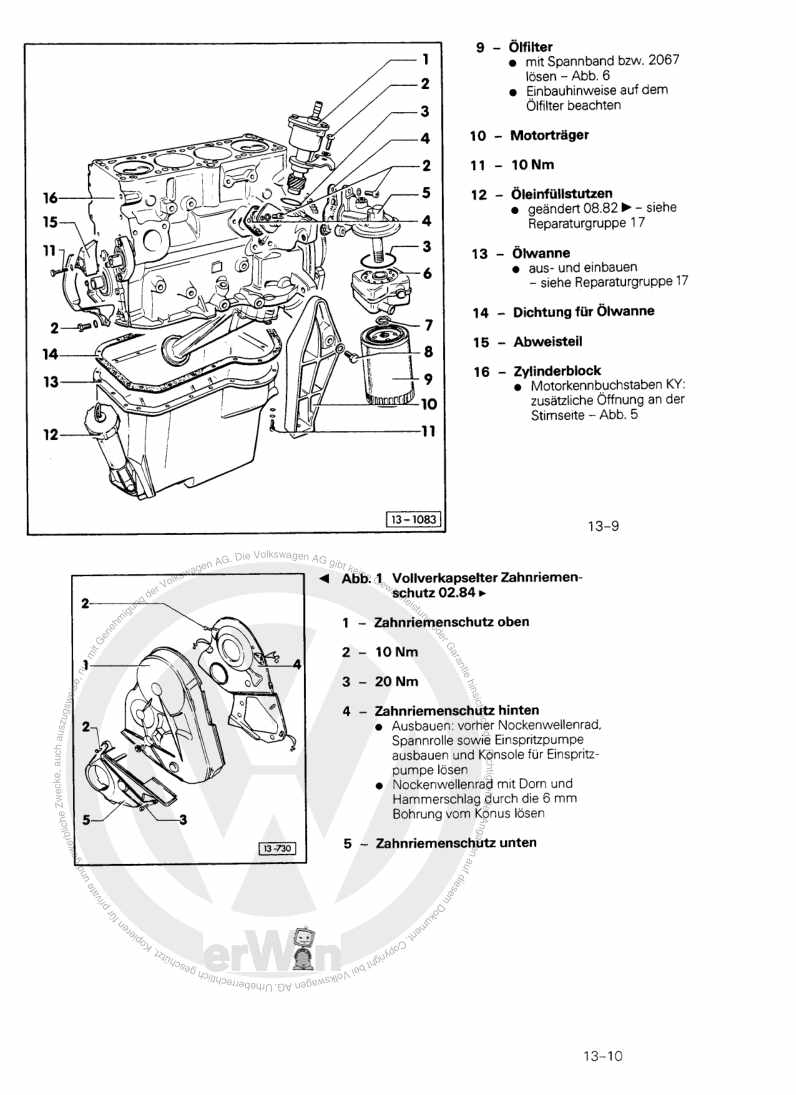
Beispielseite für Reparaturanleitung 4-Zylinder-Dieselmotor, Mechanik CS,JX,KY

Für Typ 2 / Typ 2 7-9-Sitzer / Typ 2 Doppelkabine / Typ 2 Pritsche (1968 - 2007) / MICROBUS / Typ 2 Bus/Caravelle / Typ 2 Kasten / Typ 2 Kombi/... / VAN (1980 - 1999)

8,15 € Details

Kommunikation

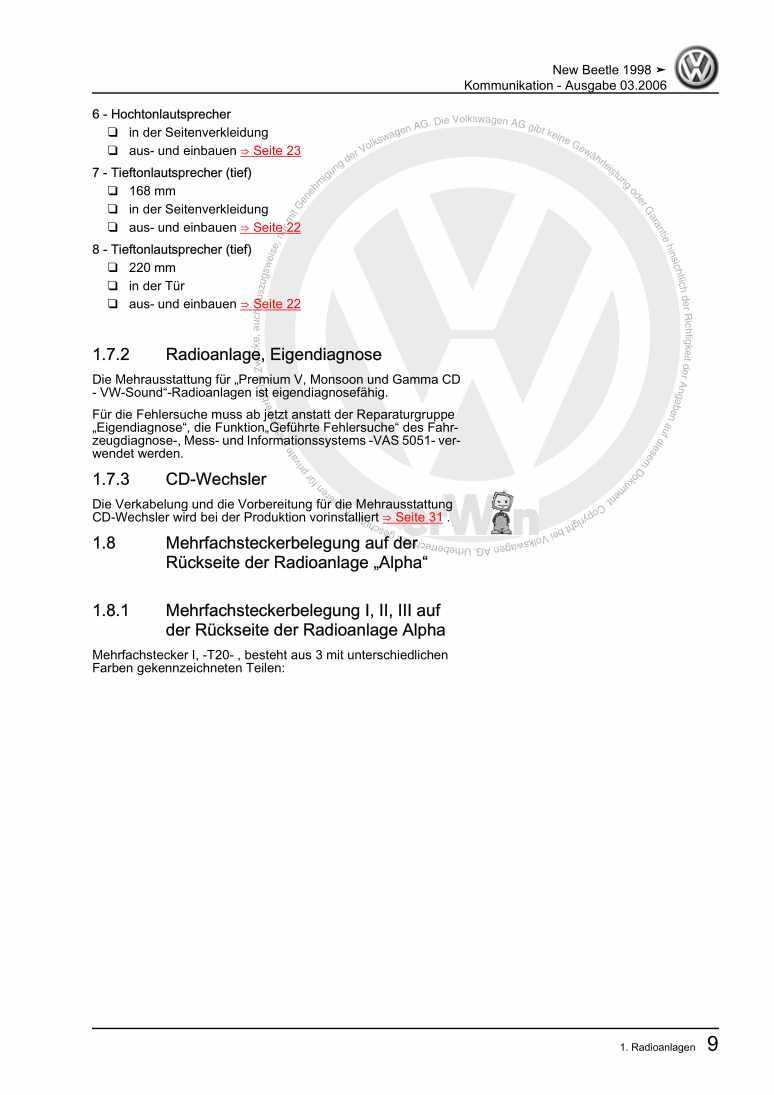
Beispielseite für Reparaturanleitung Kommunikation

Für New Beetle Cabrio (2003 - 2010) / New Beetle / New Beetle (USA) (1998 - 2007) / New Beetle (Europe) (1999 - 2002)

6,46 € Details

image/svg+xml Über Clonck

Originale Reparaturanleitungen und Ersatzteile

Unsere Reparaturanleitungen sind Originale, kommen direkt von Volkswagen und erfüllen die höchsten Qualitätsstandards.

In unserem Originalteile-Shop verkaufen wir hochwertige Originalersatzteile der Fahrzeughersteller. Mithilfe der Suche gibst du die gewünschte Teilenummer (OE-Nummer) ein und bestellst schnell und einfach das benötigte Ersatzteil.

Höchste Qualitätsstandards

Bei Clonck wollen wir Autoschrauber und Kfz-Profis glücklich machen. Aus diesem Grund findest du bei Clonck ausschließlich professionelle und hochwertige Reparaturanleitungen, mit deren Hilfe du dein Fahrzeug fachgerecht reparieren kannst.

Unsere Partner

Autohaus Schmidt GmbH
Automag GmbH Filiale Laim
KFZ-VERLAG GmbH
Zimpel und Franke GmbH

Clonck: Der Autoreparatur-Shop - gibt's auch als App!

Clonck App Logo Play Store

Clonck: Passende Autoteile für deine Autoreparatur

4,5 90

Mit Clonck bestellst du die richtigen Originalersatzteile im Handumdrehen.

  • Fahrzeugmodell hinzufügen
  • Baugruppe auswählen
  • Fahrzeug-Identifizierungsnummer (FIN) eingeben
  • Über 5.000 originale Reparaturanleitungen einsehen
Jetzt App starten
Clonck App Preview Auto Mobiltelefon Autoteile