DER AUTOREPARATUR-SHOP
0
Home » Anleitungen » General body repairs, exterior
  • Beispielseite für Reparaturanleitung General body repairs, exterior
  • Beispielseite für Reparaturanleitung 2 General body repairs, exterior
  • Beispielseite für Reparaturanleitung 3 General body repairs, exterior
  • Beispielseite für Reparaturanleitung General body repairs, exterior
  • Beispielseite für Reparaturanleitung 2 General body repairs, exterior
  • Beispielseite für Reparaturanleitung 3 General body repairs, exterior

General body repairs, exterior

Für Transporter Caravelle / Transporter Doppelkab / Transporter Kasten / Transporter Kombi/Cam / Transporter Pritsche

Original VW-Reparaturanleitung


14,65 €inkl. 7% MwSt.

Sofort als Download verfügbar

Sprache: English

Digitale PDF Version

4.393 KB

173 Seiten

Detaillierte technische Daten

Sofort lesbar

Diese Reparaturanleitung umfasst: Body - front, Noise insulation, Rear lid, Sliding door, Sunroof with glass panel, Servicing glass/tilting sunroof, Assembly of convertible roof frame and canopy, Bumper, rear, Windows having threaded connections, Exterior mirror und Cover strip for number plate lighting. Mehr anzeigen
Sichere Zahlung per PayPal, Kreditkarte, Lastschrift, Sofort-Überweisung oder Giropay
PayPal Logo SEPA Lastschrift Logo Giropay Logo Sofort Überweisung Logo

Reparaturanleitung General body repairs, exterior pdf Download mit dem Inhalt:

Kapitelübersicht

  • Body - front
    1
  • 1 Body - front
    1
  • 1.1 Tools
    1
  • 1.2 Lock carrier - service position (vehicles with long front-end)
    1
  • 1.3 Removing and installing lock carrier with attachments
    3
  • 2 Front wing
    6
  • 2.1 Tools
    6
  • 2.2 Assembly overview 01.96 ►
    6
  • 3 Noise insulation
    9
  • 3.1 Tool
    9
  • 3.2 Assembly overview
    9
  • 3.3 Renewing insulation
    10
  • Bonnet, rear lid
    11
  • 1 Bonnet
    11
  • 1.1 Tools
    11
  • 1.2 Removing lid ► 12.95
    11
  • 1.3 Installing and adjusting lid ► 12.95
    12
  • 1.4 Assembly overview 01.96 ►
    13
  • 1.5 Removing lid 01.96 ►
    15
  • 1.6 Installing and adjusting bonnet 01.96 ►
    16
  • 1.7 Removing and installing bonnet catch cable ► 12.95
    18
  • 1.8 Removing and installing bonnet catch cable and bonnet catch 01.96 ►
    18
  • 2 Rear lid
    20
  • 2.1 Tools
    20
  • 2.2 Assembly overview
    20
  • 2.3 Removing and installing bonnet
    21
  • 2.4 Adjusting rear lid
    22
  • 2.5 Removing and installing tailgate lock mechanism
    24
  • 2.6 Removing and installing lock cylinder
    25
  • 2.7 Removing gas strut
    25
  • 2.8 Releasing gas from gas strut
    26
  • Front doors, door components, central locking
    27
  • 1 Rear door
    27
  • 1.1 Tools
    27
  • 1.2 Assembly overview
    27
  • 1.3 Removing and installing door ► 12.95
    29
  • 1.4 Installing and adjusting door ► 12.95
    29
  • 1.5 Removing and installing door 01.96 ►
    30
  • 1.6 Installing and adjusting door 01.96 ►
    31
  • 1.7 Removing and installing window regulator
    33
  • 1.8 Repairing electric window regulators
    34
  • 1.10 Overcoming resistance with excess force limitation
    36
  • 1.11 Initialising and releasing automatic closing function
    36
  • 1.12 Removing door window
    37
  • 1.13 Installing door window
    37
  • 1.14 Removing exterior door handle
    38
  • 1.15 Removing door lock
    38
  • 1.16 Removing lock cylinder (front door, side wing door)
    38
  • 2 Central locking
    39
  • 2.1 Tools
    39
  • 2.2 Assembly overview - central locking
    39
  • 2.3 Removing and installing front door positioning element
    40
  • 2.4 Removing and installing sliding door lock actuating element
    41
  • 2.5 Removing and installing tailgate door lock positioning element
    41
  • 2.6 Removing and installing wing door lock actuating element
    42
  • 2.7 Functional check of central locking with radio remote control
    42
  • 2.8 Synchronising keys with radio remote control ► 04.00
    43
  • 2.9 Removing and installing batteries for key with remote control ► 04.00
    44
  • 2.10 Adapting ignition keys with radio remote control 05.00 ►
    46
  • 2.11 Adapting a new additional key 05.00 ►
    49
  • 2.12 Synchronising ignition keys with radio remote control 05.00 ►
    50
  • Rear doors, door components
    53
  • 1 Sliding door
    53
  • 1.1 Tools
    53
  • 1.2 Assembly overview ► 12.95
    53
  • 1.3 Assembly overview 01.96 ► 03.01
    55
  • 1.4 Assembly overview 04.01 ►
    57
  • 1.5 Removing and installing sliding door ► 03.01
    58
  • 1.6 Removing and installing sliding door 04.01 ►
    59
  • 1.7 Removing and installing door arrester
    61
  • 1.8 Adjusting sliding door ► 12.95
    61
  • 1.9 Adjusting sliding door 01.96 ► 03.01
    64
  • 1.10 Adjusting sliding door 04.01 ►
    67
  • 1.11 Removing and installing central lock
    70
  • 1.12 Removing and installing exterior door handle
    71
  • 1.13 Removing and installing lock cylinder (sliding door)
    72
  • 1.14 Assembly overview - guide rail
    73
  • 2 Rear wing door
    74
  • 2.1 Tools
    74
  • 2.2 Assembly overview - left wing door
    74
  • 2.3 Assembly overview - right wing door
    75
  • 2.4 Removing and installing wing door
    76
  • 2.5 Adjusting wing doors
    77
  • 2.6 Removing and installing door locks
    78
  • 2.7 Removing and installing lock operating mechanism
    80
  • 2.8 Adjusting lock operating mechanism
    80
  • 2.9 Removing and installing interior door handle
    81
  • 2.10 Removing and installing lock cylinder
    81
  • 3 Side wing door
    82
  • 3.1 Tools
    82
  • 3.2 Assembly overview - side wing door
    82
  • 3.3 Removing and installing wing door
    83
  • 3.4 Removing and installing door lock
    85
  • Sunroof
    86
  • 1 Sunroof with glass panel
    86
  • 1.1 Tools
    86
  • 1.2 Assembly overview - sliding/tilting sunroof
    86
  • 1.3 Removing sliding/tilting sunroof glass panel
    88
  • 1.4 Installing sliding/tilting sunroof glass panel
    88
  • 1.5 Adjusting height of sliding/tilting sunroof glass panel
    89
  • 1.6 Adjusting panel seal
    90
  • 1.7 Removing and installing electric drive
    90
  • 1.8 Checking electric drive (0 position)
    91
  • 1.9 Checking and adjusting parallel running
    93
  • 1.10 Removing sliding headliner
    94
  • 1.11 Installing sunroof sun blind
    96
  • 1.12 Removing and installing carrier unit
    96
  • 1.13 Routing and cleaning water drain hoses
    99
  • 2 Servicing glass/tilting sunroof
    101
  • 2.1 Assembly overview - glass/tilting sunroof
    101
  • 2.2 Removing glass panel
    101
  • 2.3 Installing glass panel
    102
  • 2.4 Routing and cleaning water drain hoses
    103
  • 3 Tilting/sliding sunroof with glass panel
    107
  • 3.1 Tools
    107
  • 3.2 Assembly overview - tilting/sliding roof
    107
  • 3.3 Removing and installing tilting/sliding sunroof
    108
  • 3.4 Removing and installing water collector plate (with sun blind)
    109
  • 3.5 Removing and installing glass panel for tilting/sliding sunroof
    110
  • 3.6 Removing and installing electric drive
    111
  • 3.7 Checking parallel running
    111
  • 3.8 Adjusting parallel running
    111
  • Convertible roof, hardtop, canopy
    113
  • 1 Assembly of convertible roof frame and canopy
    113
  • 1.1 Tools
    113
  • 1.2 Canopy frame for dropside and double cab
    113
  • 1.3 Assembly overview - canopy frame for dropside and double cab
    113
  • 1.4 Assembly overview - canopy frame (cab height) for double cab
    114
  • 1.5 Assembling convertible roof frame and cover
    116
  • Bumpers
    118
  • 1 Bumper, front
    118
  • 1.1 Tools
    118
  • 1.2 Assembly overviews
    118
  • 2 Bumper, rear
    122
  • 2.1 Tools
    122
  • 2.2 Assembly overviews
    122
  • 2.3 Towing bracket 08.90 ►
    124
  • Glazing
    126
  • 1 Flush bonded windows
    126
  • 1.1 Tools
    126
  • 1.2 Materials
    127
  • 1.3 Assembly overview - flush bonded windows
    128
  • 1.4 Spacings for flush bonded windows
    129
  • 1.5 Windscreen
    131
  • 1.6 Assembly overview - side window and rear window
    133
  • 1.7 Removing windscreen, undamaged side window and undamaged rear window
    133
  • 1.8 Removing irreparable side window and rear window
    135
  • 1.9 Installing windscreen, side window and rear window
    136
  • 1.10 Preparing old undamaged window for glazing
    136
  • 1.11 Preparing new window for glazing
    136
  • 1.12 Preparing body flange and door window flange for glazing
    137
  • 1.13 Fitting instructions
    137
  • 1.14 Minimum curing period
    138
  • 1.15 Touching up paint damage
    138
  • 1.16 Cleaning in the event of dirt caused by adhesive sealing material
    138
  • 1.17 Installing frame (repair profile) (side and rear windows)
    138
  • 1.18 Re-sealing windows
    139
  • 2 Windows having threaded connections
    141
  • 2.1 Tools
    141
  • 2.2 Assembly overview - side window with intake trim
    141
  • 2.3 Removing and installing side window with intake trim
    142
  • 3 Sliding window
    144
  • 3.1 Tools
    144
  • 3.2 Assembly overviews - sliding window (sliding door)
    144
  • 3.3 Renewing detent rail
    149
  • 3.4 Renewing sealing frame
    150
  • 3.5 Renewing ledge
    151
  • 3.6 Renewing moving window
    151
  • 3.7 Retrofitting sliding window
    152
  • Exterior equipment
    159
  • 1 Exterior mirror
    159
  • 1.1 Tool
    159
  • 1.2 Exterior mirror
    159
  • 2 Trim
    162
  • 2.1 Tools
    162
  • 2.2 Assembly overview - radiator grille ► 12.95
    162
  • 2.3 Removing radiator grille ► 08.94
    163
  • 2.4 Radiator grille with trim frame 09.94 ►
    164
  • 2.5 Removing and installing radiator grille 01.96 ►
    166
  • 3 Cover strip for number plate lighting
    167
  • 3.1 Tools
    167
  • 3.2 Removing and installing for tailgate
    167
  • 3.3 For removing and installing rear wing door
    167
Hersteller­bezeichnung General body repairs, exterior
Hersteller Volkswagen
Passend für Transporter Caravelle / Transporter Doppelkab / Transporter Kasten / Transporter Kombi/Cam / Transporter Pritsche (1991 - 1996)
Passende Autotypen 70
Kategorie Reparaturanleitung

Im Moment sind noch keine Bewertungen für dieses Produkt vorhanden.

Ähnliche Reparaturanleitungen

Digifant injection and ignition system (2.5 ltr. engine)
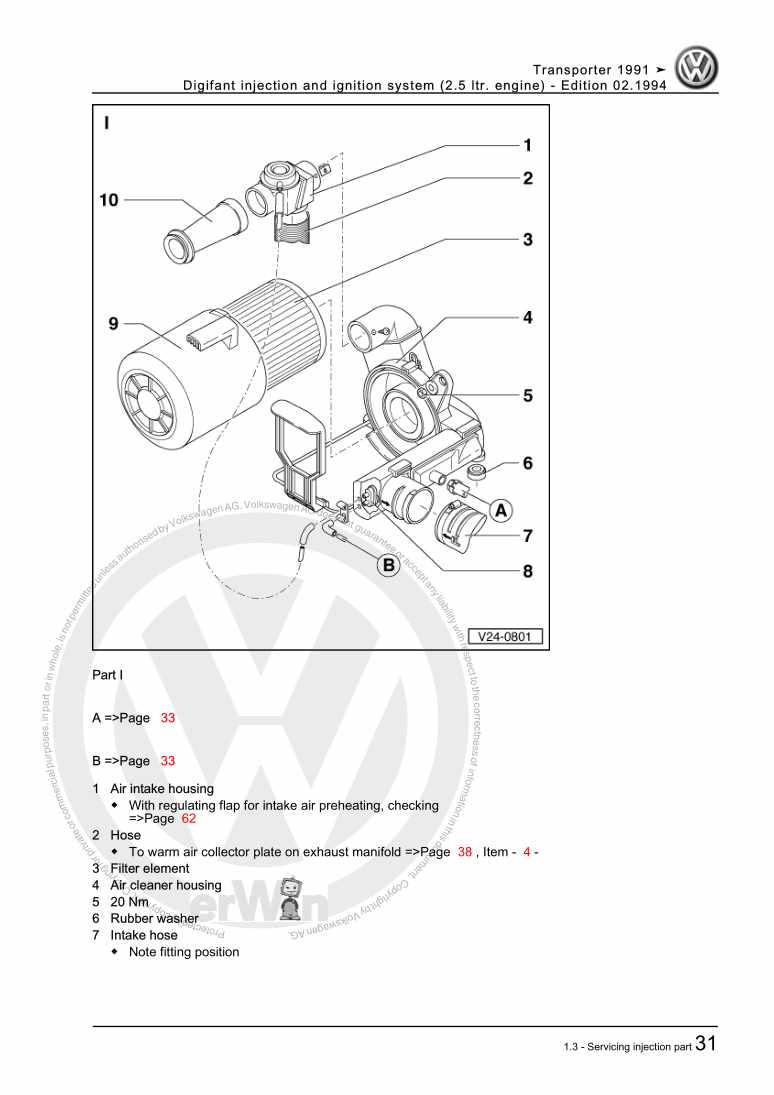
Beispielseite für Reparaturanleitung Digifant injection and ignition system (2.5 ltr. engine)

Für Transporter Caravelle / Transporter Doppelkab / Transporter Kasten / Transporter Kombi/Cam / Transporter Pritsche (1991 - 1996)

8,15 € Details

5-speed manual gearbox 02B

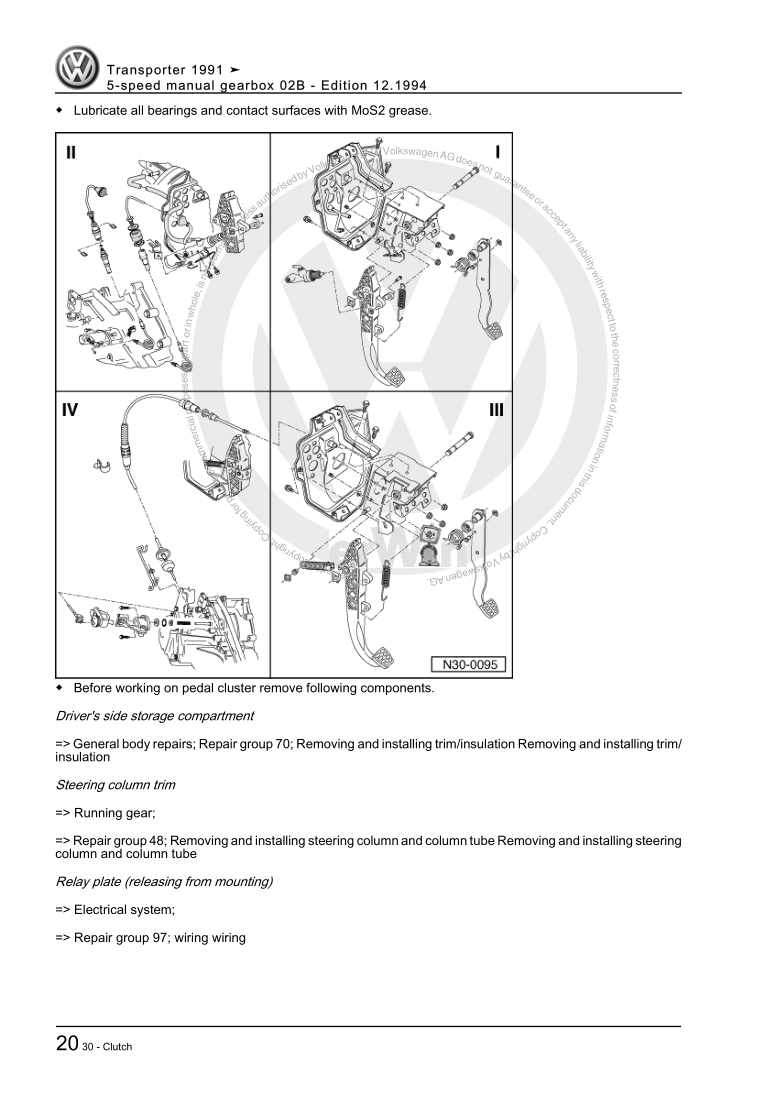
Beispielseite für Reparaturanleitung 5-speed manual gearbox 02B

Für Transporter Caravelle / Transporter Doppelkab / Transporter Kasten / Transporter Kombi/Cam / Transporter Pritsche (1991 - 1996)

18,80 € Details

4-Cyl. carburetor engine, mechanics

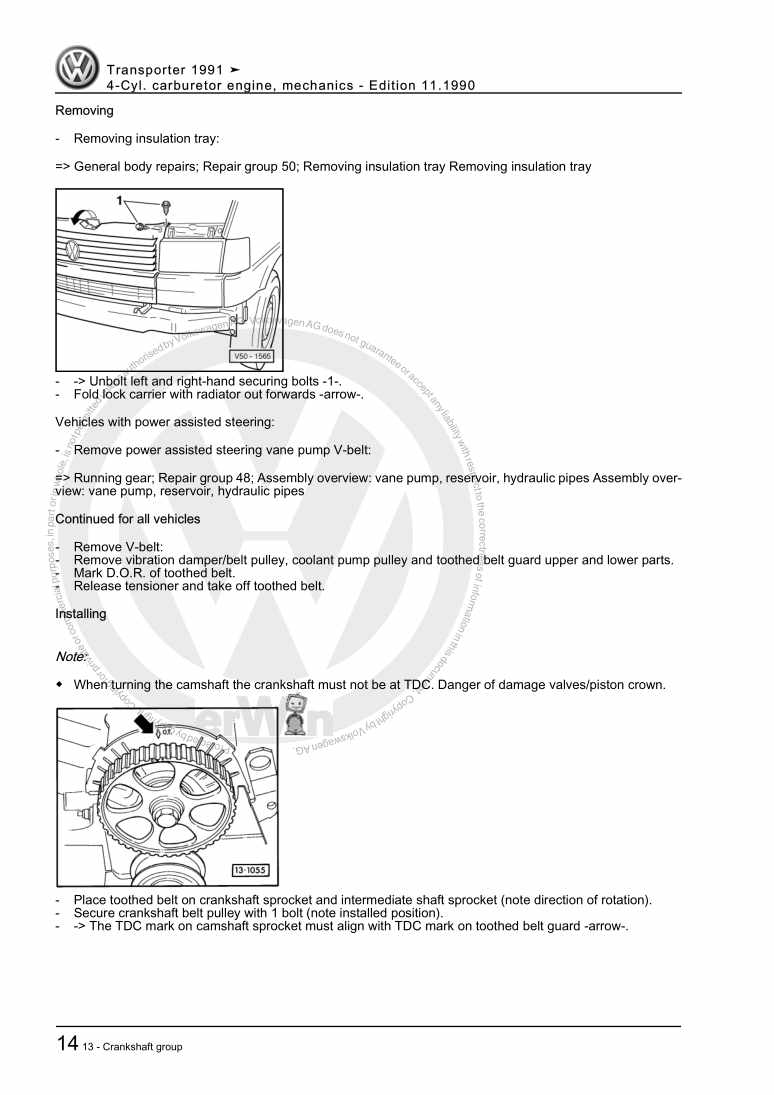
Beispielseite für Reparaturanleitung 4-Cyl. carburetor engine, mechanics

Für Transporter Caravelle / Transporter Doppelkab / Transporter Kasten / Transporter Kombi/Cam / Transporter Pritsche (1991 - 1996)

8,22 € Details

5-Speed manual gearbox 02G

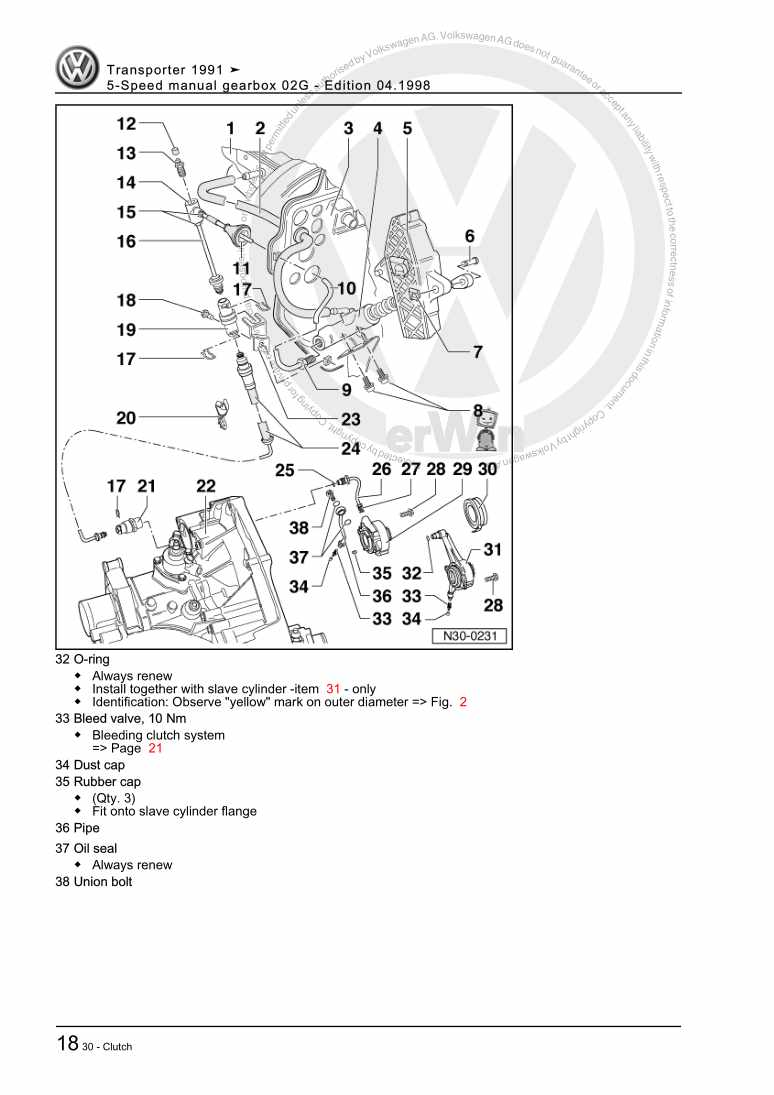
Beispielseite für Reparaturanleitung 5-Speed manual gearbox 02G

Für Transporter Caravelle / Transporter Doppelkab / Transporter Kasten / Transporter Kombi/Cam / Transporter Pritsche (1991 - 1996)

20,22 € Details

Digifant injection and ignition system (2.0 l engine) ä 12.95
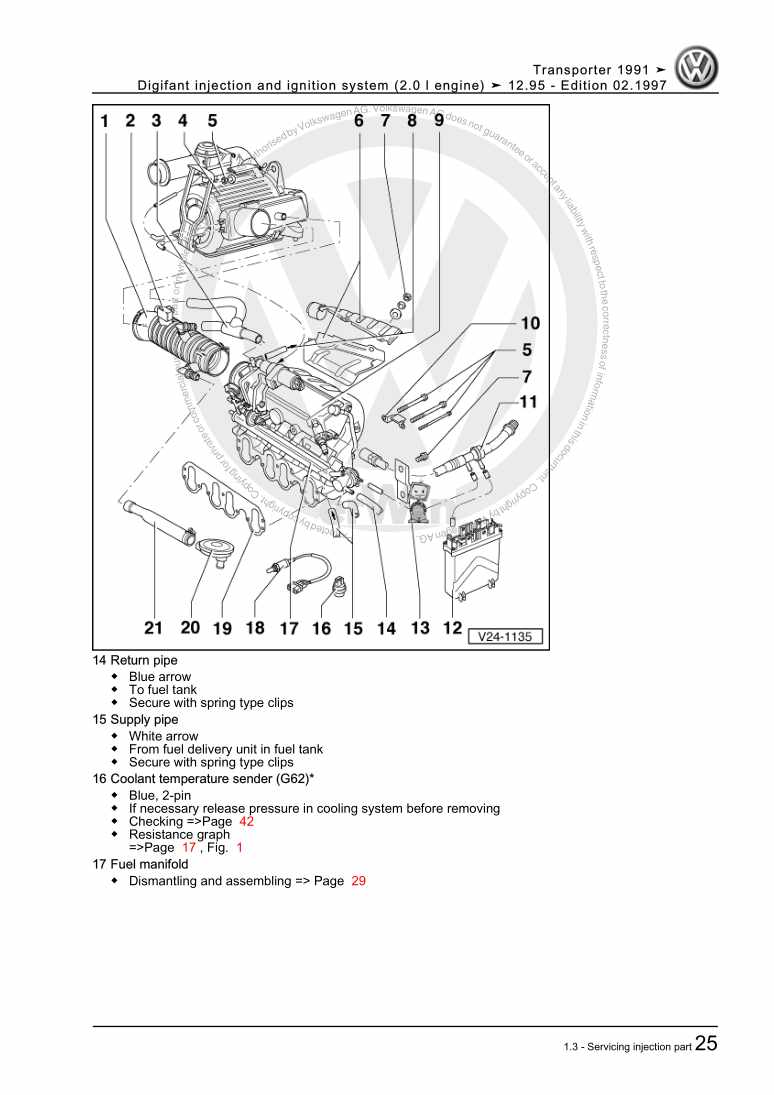
Beispielseite für Reparaturanleitung Digifant injection and ignition system (2.0 l engine) ä 12.95

Für Transporter Caravelle / Transporter Doppelkab / Transporter Kasten / Transporter Kombi/Cam / Transporter Pritsche (1991 - 1996)

7,70 € Details

Diesel direct injection and glow plug system 05.99 >
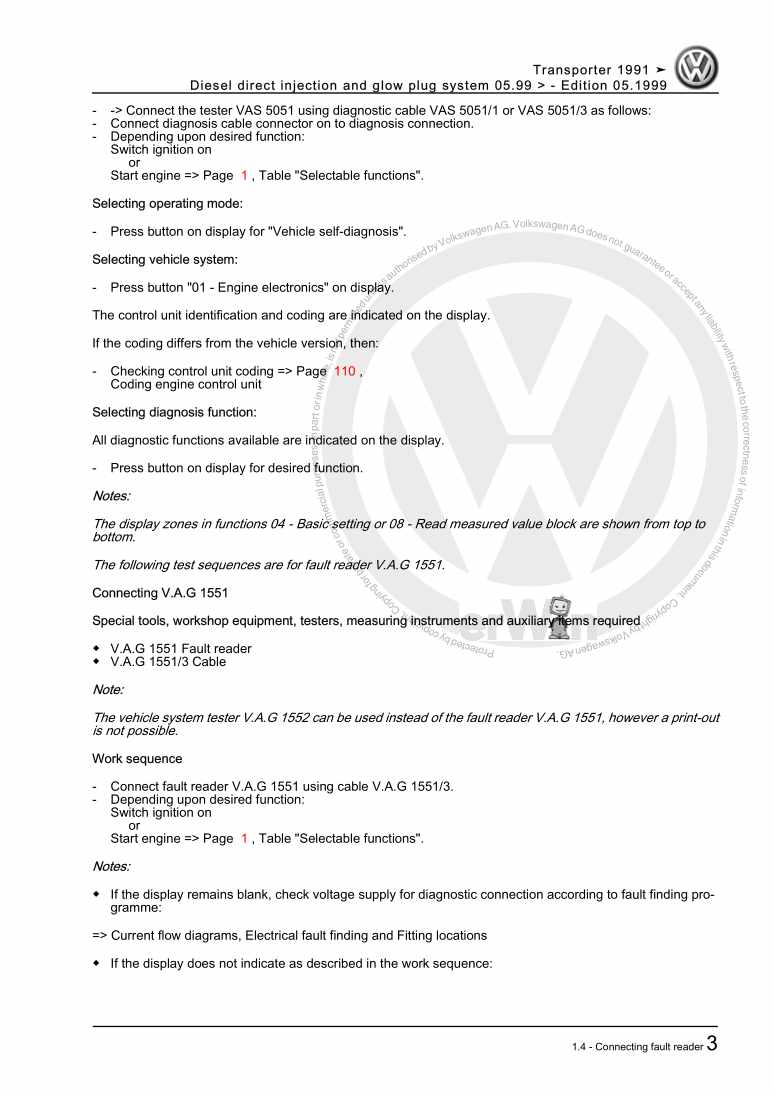
Beispielseite für Reparaturanleitung Diesel direct injection and glow plug system 05.99 >

Für Transporter Caravelle / Transporter Doppelkab / Transporter Kasten / Transporter Kombi/Cam / Transporter Pritsche (1991 - 1996)

10,68 € Details

Immobilizer for petrol engine, ACU, From January 1995

Kein Bild vorhanden

Für Transporter Caravelle / Transporter Doppelkab / Transporter Kasten / Transporter Kombi/Cam / Transporter Pritsche (1991 - 1996)

4,21 € Details

4-Cyl. Diesel engine, Mechanics (1.9 ltr. engine)
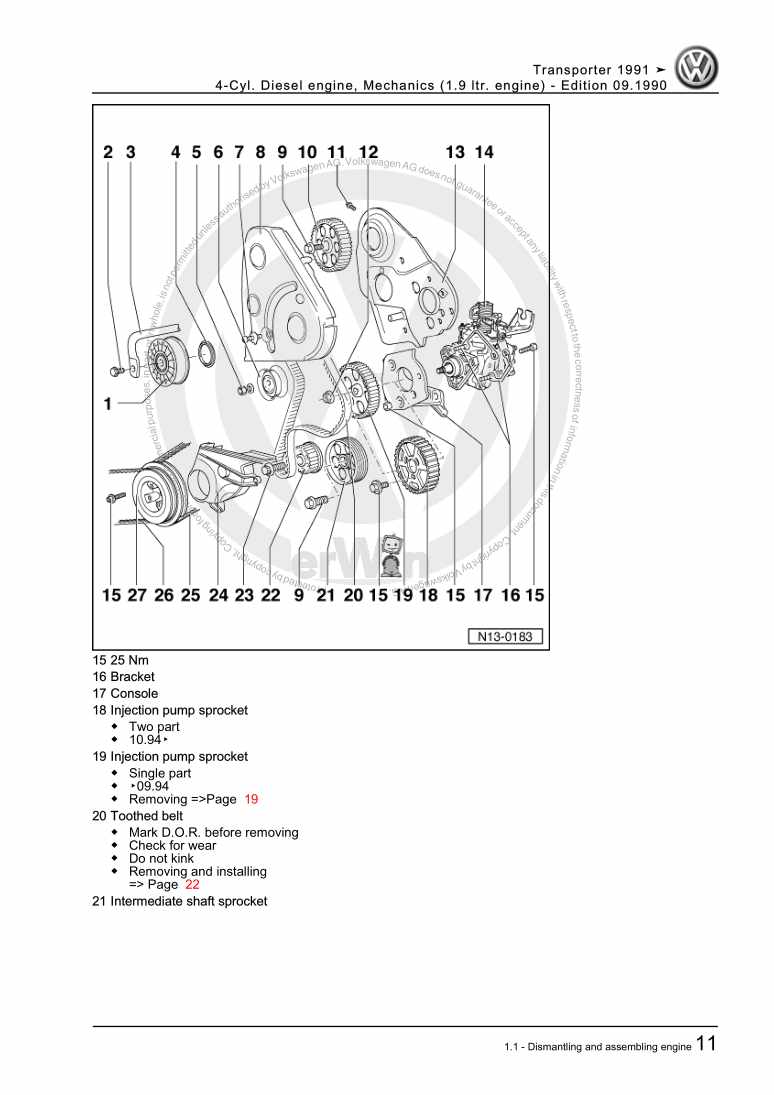
Beispielseite für Reparaturanleitung 4-Cyl. Diesel engine, Mechanics (1.9 ltr. engine)

Für Transporter Caravelle / Transporter Doppelkab / Transporter Kasten / Transporter Kombi/Cam / Transporter Pritsche (1991 - 1996)

11,25 € Details

General body repairs, exterior

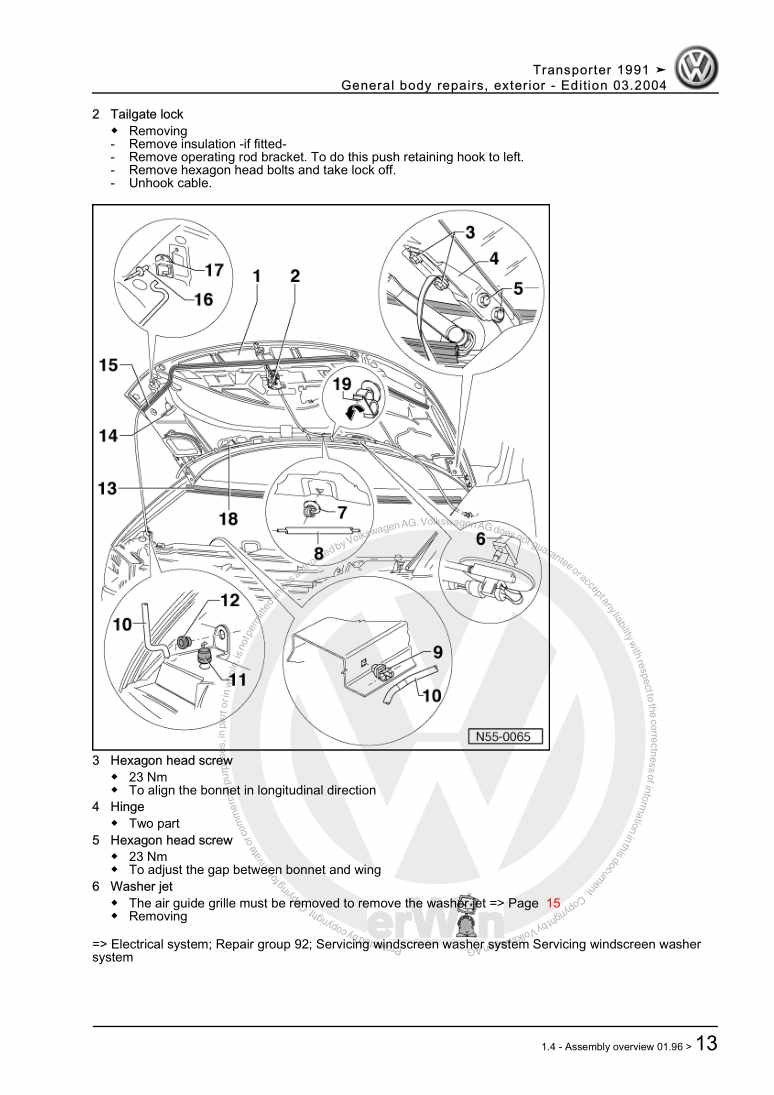
Beispielseite für Reparaturanleitung General body repairs, exterior

Für Transporter Caravelle / Transporter Doppelkab / Transporter Kasten / Transporter Kombi/Cam / Transporter Pritsche (1991 - 1996)

19,30 € Details

Diesel direct injection and glow plug system
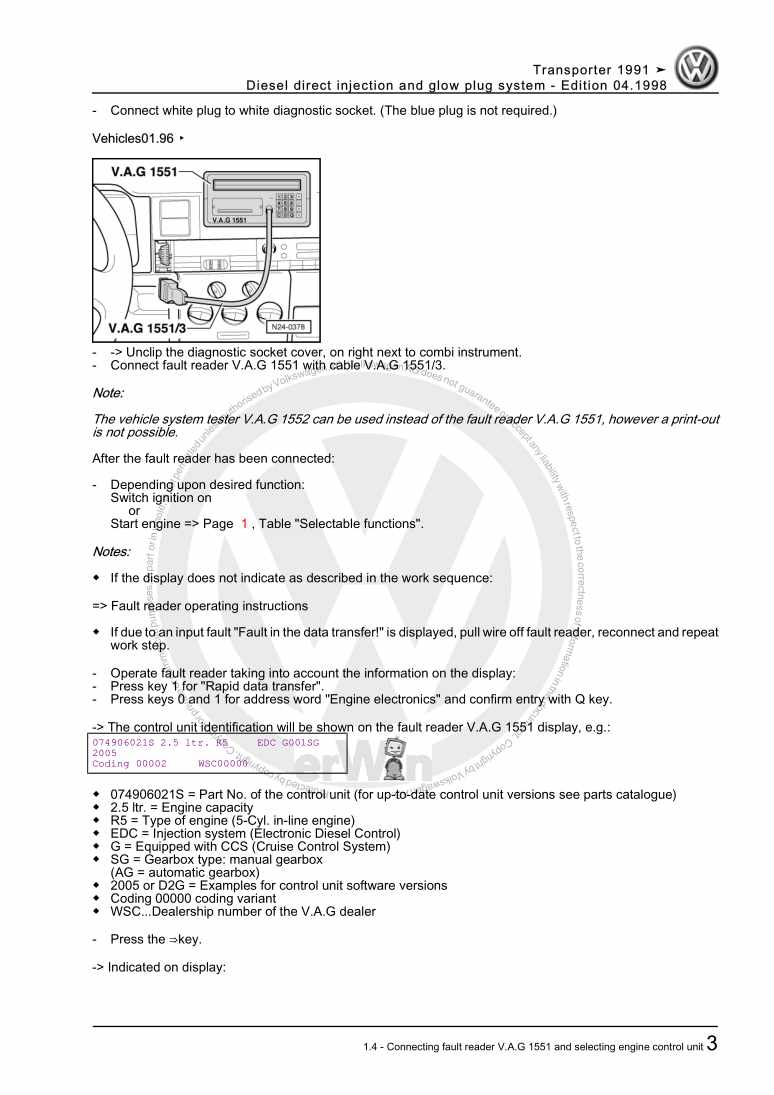
Beispielseite für Reparaturanleitung Diesel direct injection and glow plug system

Für Transporter Caravelle / Transporter Doppelkab / Transporter Kasten / Transporter Kombi/Cam / Transporter Pritsche (1991 - 1996)

11,04 € Details

Unsere Best Seller

Schon gewusst? Wir bieten auch originale Autoteile an.

Autoteil 8W0973737 Gehaeuse

8W0973737

Gehaeuse

6,57 €

Details
Autoteil 022133759 Antrieb

022133759

Antrieb

191,59 €

Details
Autoteil 5G0959855JWZU Schalter

5G0959855JWZU

Schalter

31,41 €

Details
Autoteil 5Q0825271A Abdeckung

5Q0825271A

Abdeckung

5,41 €

Details
Autoteil 5TA898619 Bef.Satz

5TA898619

Bef.Satz

40,99 €

Details

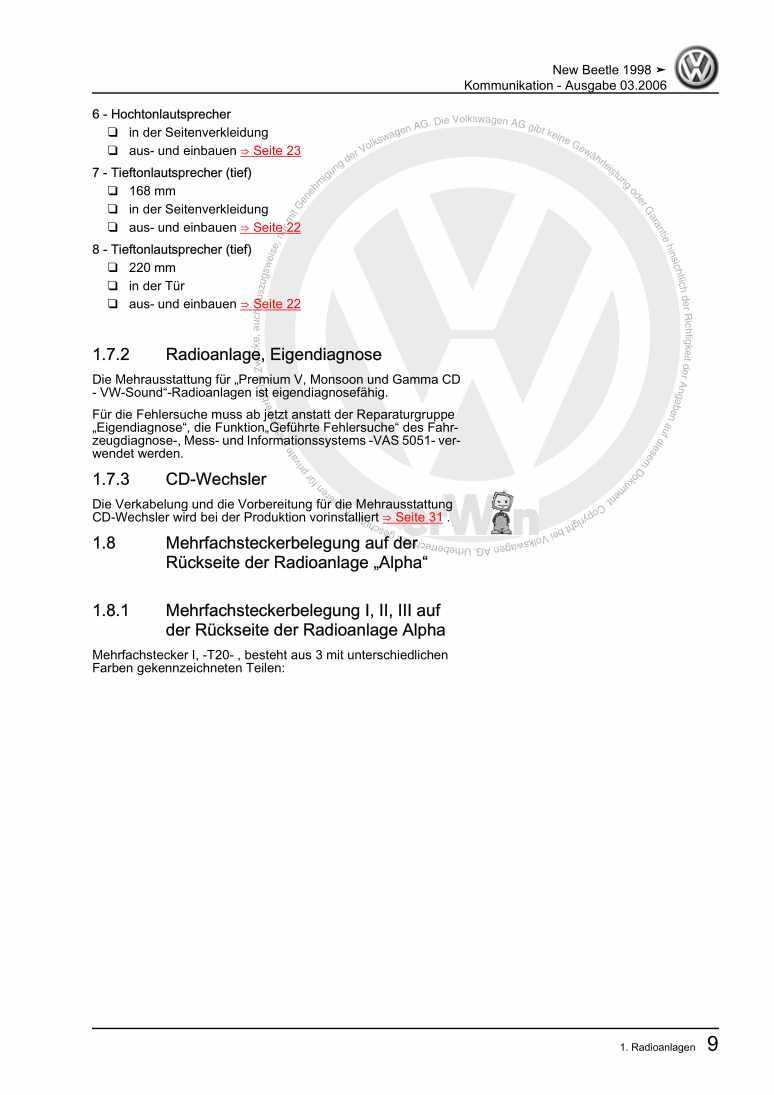
Kommunikation

Beispielseite für Reparaturanleitung Kommunikation

Für New Beetle Cabrio (2003 - 2010) / New Beetle / New Beetle (USA) (1998 - 2007) / New Beetle (Europe) (1999 - 2002)

6,46 € Details

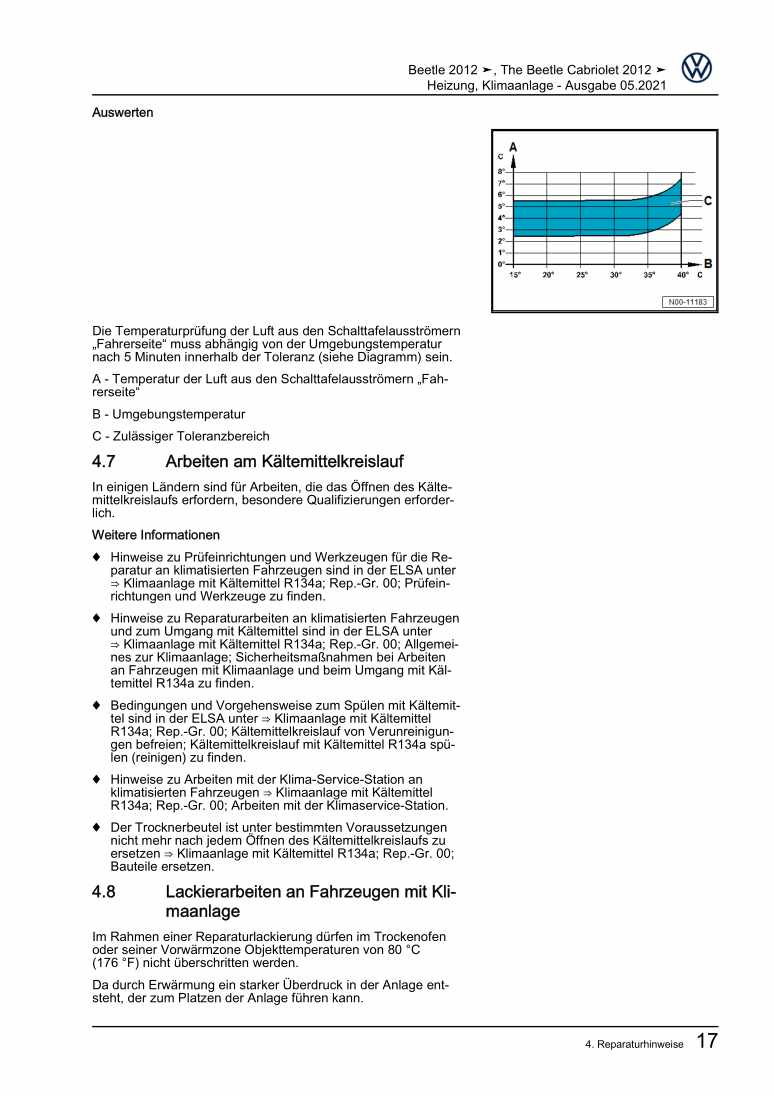
Heizung, Klimaanlage

Beispielseite für Reparaturanleitung Heizung, Klimaanlage

Für Beetle (NBL) Limousine (2012) / Beetle (NBC) Cabrio (2012)

15,89 € Details

5 Gang-Schaltgetriebe 02G Allradantrieb
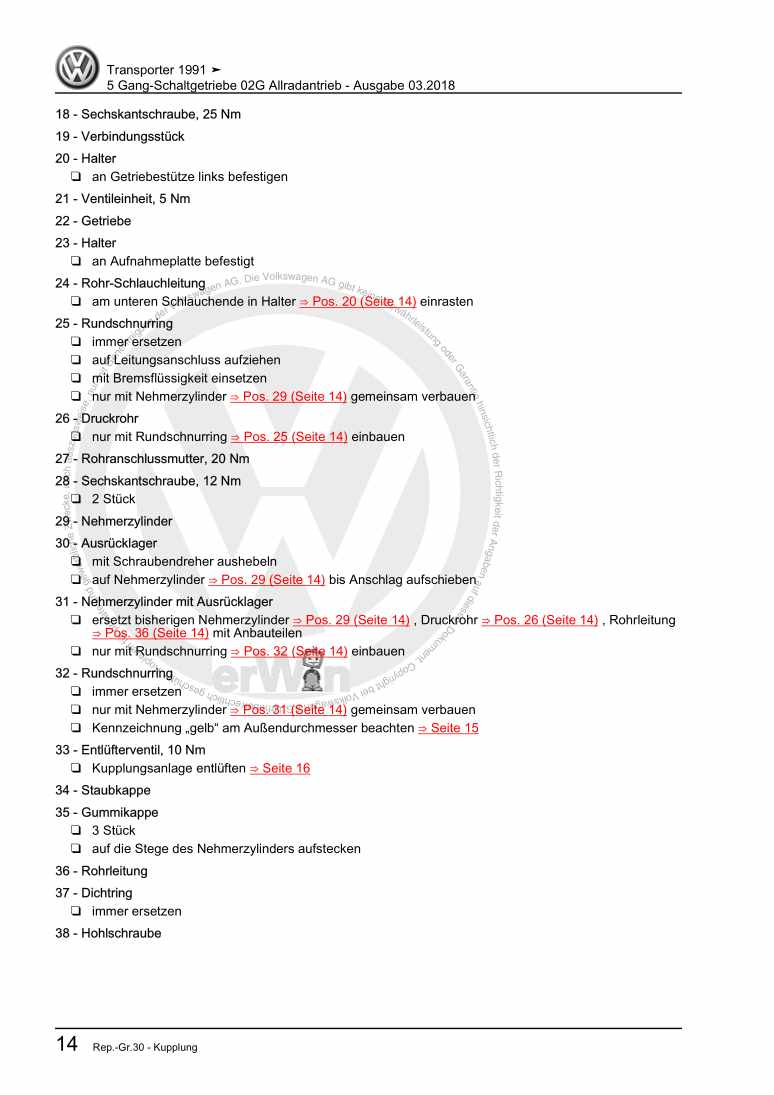
Beispielseite für Reparaturanleitung 5 Gang-Schaltgetriebe 02G Allradantrieb

Für Transporter Caravelle / Transporter Doppelkab / Transporter Kasten / Transporter Kombi/Cam / Transporter Pritsche (1991 - 1996)

23,09 € Details

image/svg+xml Über Clonck

Originale Reparaturanleitungen und Ersatzteile

Unsere Reparaturanleitungen sind Originale, kommen direkt von Volkswagen und erfüllen die höchsten Qualitätsstandards.

In unserem Originalteile-Shop verkaufen wir hochwertige Originalersatzteile der Fahrzeughersteller. Mithilfe der Suche gibst du die gewünschte Teilenummer (OE-Nummer) ein und bestellst schnell und einfach das benötigte Ersatzteil.

Höchste Qualitätsstandards

Bei Clonck wollen wir Autoschrauber und Kfz-Profis glücklich machen. Aus diesem Grund findest du bei Clonck ausschließlich professionelle und hochwertige Reparaturanleitungen, mit deren Hilfe du dein Fahrzeug fachgerecht reparieren kannst.

Unsere Partner

Autohaus Schmidt GmbH
Automag GmbH Filiale Laim
KFZ-VERLAG GmbH
Zimpel und Franke GmbH

Clonck: Der Autoreparatur-Shop - gibt's auch als App!

Clonck App Logo Play Store

Clonck: Passende Autoteile für deine Autoreparatur

4,5 90

Mit Clonck bestellst du die richtigen Originalersatzteile im Handumdrehen.

  • Fahrzeugmodell hinzufügen
  • Baugruppe auswählen
  • Fahrzeug-Identifizierungsnummer (FIN) eingeben
  • Über 5.000 originale Reparaturanleitungen einsehen
Jetzt App starten
Clonck App Preview Auto Mobiltelefon Autoteile