DER AUTOREPARATUR-SHOP
0
Home » Anleitungen » General body repairs, exterior
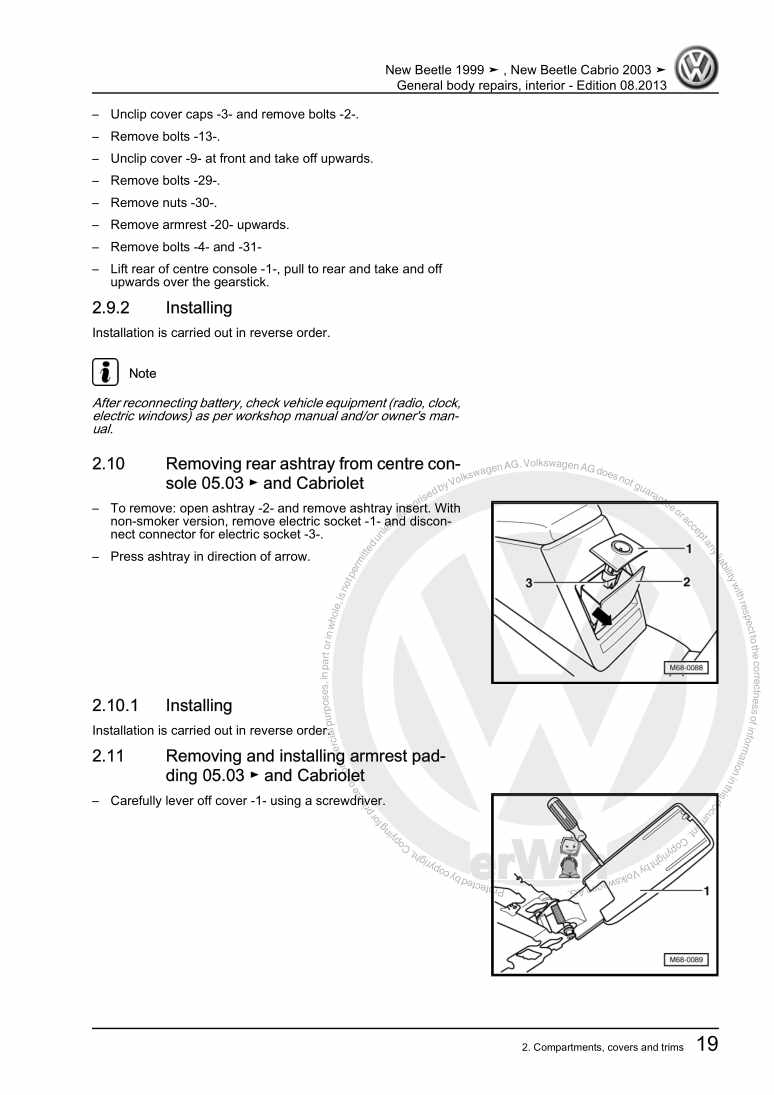
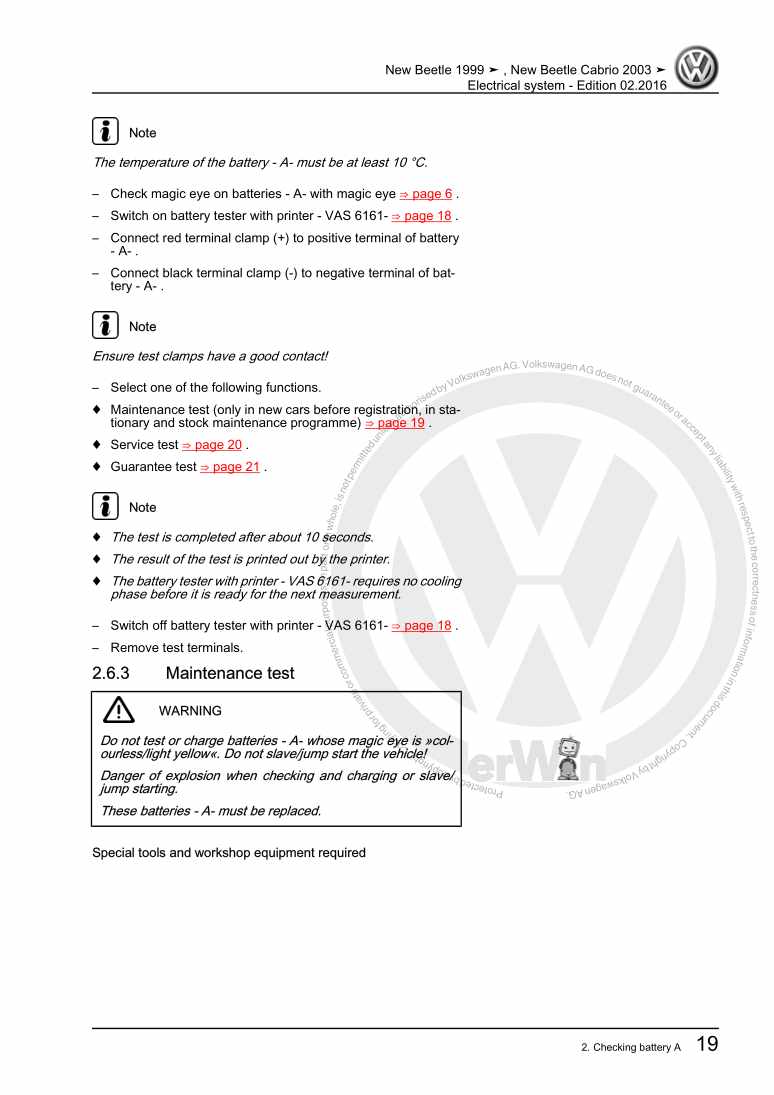
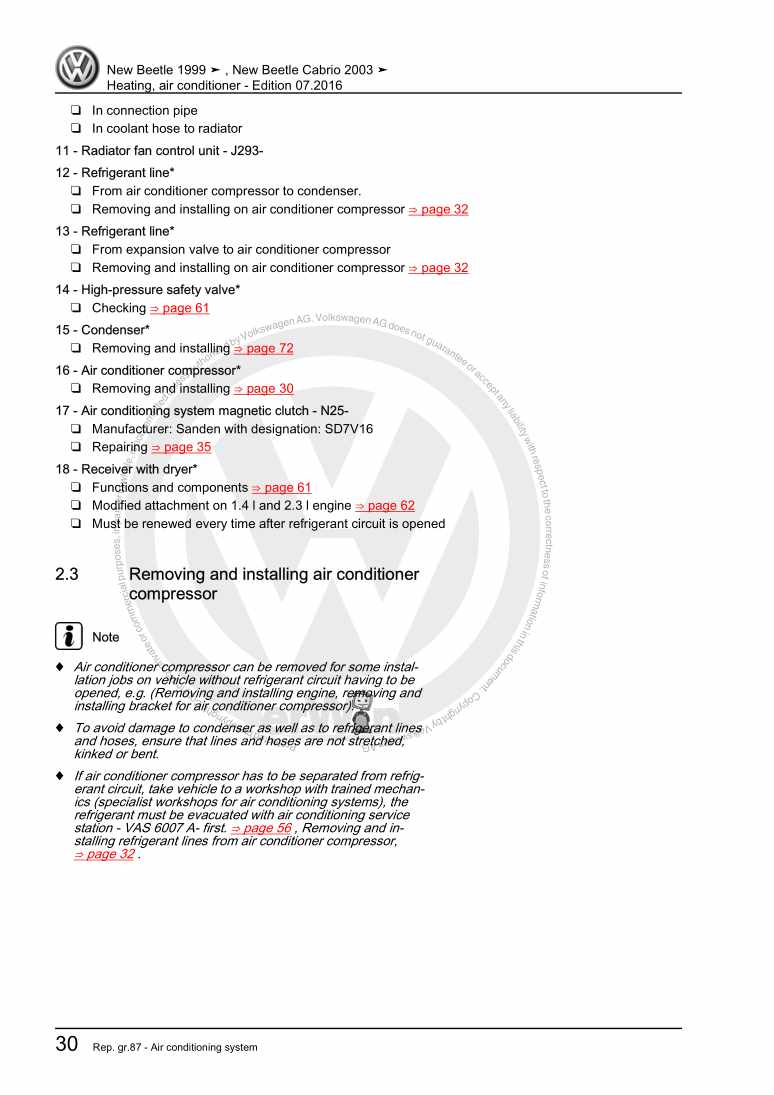
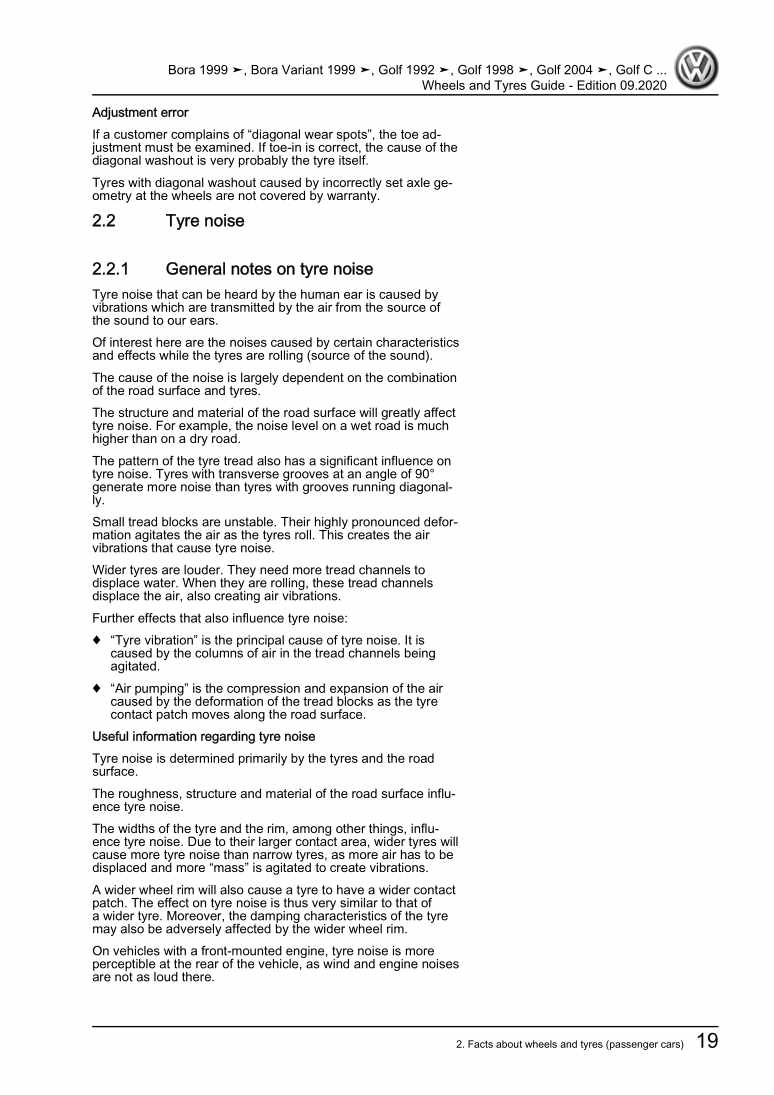
  • Beispielseite für Reparaturanleitung General body repairs, exterior
  • Beispielseite für Reparaturanleitung 2 General body repairs, exterior
  • Beispielseite für Reparaturanleitung 3 General body repairs, exterior
  • Beispielseite für Reparaturanleitung General body repairs, exterior
  • Beispielseite für Reparaturanleitung 2 General body repairs, exterior
  • Beispielseite für Reparaturanleitung 3 General body repairs, exterior

General body repairs, exterior

Für New Beetle Cabrio / New Beetle

Original VW-Reparaturanleitung


20,58 €inkl. 7% MwSt.

Sofort als Download verfügbar

Sprache: English

Digitale PDF Version

7.916 KB

255 Seiten

Detaillierte technische Daten

Sofort lesbar

Diese Reparaturanleitung umfasst: Body, front, Rear lid, Sliding/tilting sunroof, Convertible top, Electrical/hydraulic top, Windscreen frame, Front bumper, Flush bonded windows, Removing and installing wheel housing liner und Exterior mirror. Mehr anzeigen
Sichere Zahlung per PayPal, Kreditkarte, Lastschrift, Sofort-Überweisung oder Giropay
PayPal Logo SEPA Lastschrift Logo Giropay Logo Sofort Überweisung Logo

Reparaturanleitung New Beetle Cabrio / New Beetle General body repairs, exterior pdf Download mit dem Inhalt:

Kapitelübersicht

  • Body - front
    1
  • 1 Body, front
    1
  • 1.1 Tools
    1
  • 1.2 Assembly overview - lock carrier
    1
  • 1.3 Lock carrier - service position
    3
  • 1.4 Assembly overview - front end
    5
  • 1.5 Assembly overview - front wing
    7
  • 1.6 Replacing anti-friction foil
    8
  • 1.7 Assembly overview - noise insulation
    10
  • 1.8 Removing and installing plenum chamber cover
    14
  • 1.9 Assembly overview - vibration damper, Cabriolet
    15
  • Body - rear
    16
  • 1 Body - rear
    16
  • 1.1 Assembly overview - rear end
    16
  • 1.2 Assembly overview - rear end, Cabriolet
    18
  • 1.3 Assembly overview - rear wing
    20
  • 1.4 Removing and installing diagonal struts
    22
  • Bonnet, rear lid
    24
  • 1 Bonnet
    24
  • 1.1 Assembly overview
    24
  • 1.2 Adjusting rear lid
    25
  • 1.3 Removing and installing Bowden cable
    26
  • 1.4 Removing and installing release lever
    27
  • 1.5 Removing, installing and adjusting bonnet lock
    28
  • 2 Rear lid
    29
  • 2.1 Assembly overview - rear lid
    29
  • 2.2 Assembly overview - rear lid, Cabriolet
    30
  • 2.3 Removing gas strut
    31
  • 2.4 Removing gas strut, Cabriolet
    31
  • 2.5 Releasing gas from gas strut
    32
  • 2.6 Adjusting rear lid
    32
  • 2.7 Adjusting lid, Cabriolet
    34
  • 2.8 Removing and installing lid lock
    34
  • 2.9 Installing and removing lid lock 09.01 ► (USA)
    36
  • 2.10 Removing and installing lid lock, Cabriolet
    37
  • 2.11 Removing and installing motor carrier for remote release of rear lid
    38
  • 2.12 Removing and installing motor carrier for rear lid remote release 09.01 ► (USA)
    39
  • 2.13 Removing and installing retaining plate with motor for remote release of rear lid, Cabriolet
    40
  • 2.14 Removing and installing carrier with microswitch for rear lid, Cabriolet
    42
  • 3 Tank flap unit
    43
  • 3.1 Removing and installing tank flap unit
    43
  • 3.2 Removing and installing fuel tank filler flap release motor
    44
  • Front doors, door components, central locking
    45
  • 1 Front door
    45
  • 1.1 Tools
    45
  • 1.2 Assembly overview - front door
    45
  • 1.3 Assembly overview - front door, Cabriolet
    47
  • 1.4 Removing and installing door
    49
  • 1.5 Removing and installing door, Cabriolet
    52
  • 1.6 Adjusting door
    54
  • 1.7 Assembly overview - door handle and door lock
    55
  • 1.8 Removing and installing lock cylinder housing
    56
  • 1.9 Removing and installing door handle
    57
  • 1.10 Removing and installing door lock
    58
  • 1.11 Removing and installing door lock, Cabriolet
    63
  • 1.12 Removing and installing bearing bracket
    65
  • 1.13 Removing and installing locking knob for release rod
    66
  • 1.14 Door seals, Cabriolet
    67
  • 2 Central locking
    70
  • 2.1 Assembly overview - central locking and convenience system
    70
  • Sunroof
    73
  • 1 Sliding/tilting sunroof
    73
  • 1.1 Tools
    73
  • 1.2 Function
    73
  • 1.3 Assembly overview - sliding/tilting sunroof with glass panel
    73
  • 1.4 Removing and installing sliding/tilting sunroof glass panel
    75
  • 1.5 Adjusting height of sliding/tilting sunroof glass panel
    76
  • 1.6 Adjusting panel seal
    77
  • 1.7 Renewing panel seal
    77
  • 1.8 Removing wind deflector
    77
  • 1.9 Removing sliding headlining
    78
  • 1.10 Removing sliding/tilting sunroof drive
    78
  • 1.11 Adjusting drive for sliding/tilting sunroof (zero position)
    81
  • 1.12 Removing pre-selector control for sliding/tilting sunroof
    82
  • 1.13 Checking parallel running
    82
  • 1.14 Adjusting parallel running
    83
  • 1.15 Removing and installing carrier unit
    83
  • 1.16 Removing coulisse guide
    85
  • 1.17 Cleaning water drain hoses
    86
  • Convertible roof, hardtop, canopy
    89
  • 1 Convertible top
    89
  • 1.1 Safety precautions when working on convertible roof
    89
  • 1.2 Tools
    89
  • 1.3 Assembly overview - electrical/hydraulic convertible roof
    90
  • 1.4 Removing and installing electric/hydraulic convertible roof
    91
  • 1.6 Assembly overview - manual convertible roof
    101
  • 1.7 Removing and installing manual convertible roof
    102
  • 1.8 Removing and installing cover of manual convertible roof
    105
  • 1.9 Removing and installing padding of electric/hydraulic and manual convertible roof
    119
  • 1.11 Assembly overview - convertible roof headliner, tensioning system ► 11.03
    132
  • 1.12 Removing and installing convertible roof liner tensioning system ► 11.03
    134
  • 1.13 Assembly overview - convertible roof headliner, tensioning system 12.03 ►
    139
  • 1.14 Removing and installing convertible roof headliner tensioning system 12.03 ►
    141
  • 1.16 Removing and installing front convertible roof catch
    148
  • 1.18 Assembly overview - rear locking mechanism for manual convertible roof
    150
  • 2 Electrical/hydraulic top
    151
  • 2.1 Assembly overview
    151
  • 2.2 Filling and bleeding the hydraulic system
    151
  • 2.3 Removing and installing hydraulic pump
    153
  • 2.4 Assembly overview - impeller for hydraulic pump
    154
  • 2.5 Removing and installing impeller for hydraulic pump
    154
  • 2.6 Assembly overview - oil reservoir
    158
  • 2.7 Removing and installing oil reservoir
    158
  • 2.8 Assembly overview - hydraulic cylinder
    161
  • 2.9 Removing and installing the hydraulic cylinder
    161
  • 2.10 Removing and installing hydraulic hoses
    163
  • 3 Manually operated convertible roof
    166
  • 3.1 Assembly overview - manual convertible roof
    166
  • 3.2 Assembly overview - dampers
    167
  • 3.3 Removing and installing dampers
    167
  • 4 Windscreen frame
    169
  • Bumpers
    171
  • 1 Front bumper
    171
  • 1.1 Assembly overview
    171
  • 2 Rear bumper
    173
  • 2.1 Assembly overview
    173
  • Glazing
    175
  • 1 Flush bonded windows
    175
  • 1.1 Tools
    175
  • 1.2 Materials
    177
  • 1.3 Assembly overview - windscreen
    177
  • 1.4 Removing windscreen
    178
  • 1.5 Removing windscreen, Cabriolet
    180
  • 1.6 Installing windscreen
    181
  • 1.7 Removing and installing rain sensor
    181
  • 1.8 Assembly overview - side window
    182
  • 1.9 Removing undamaged side window
    183
  • 1.10 Removing broken side window
    184
  • 1.11 Installing side window
    184
  • 1.12 Assembly overview - rear window
    184
  • 1.13 Removing undamaged rear window
    185
  • 1.14 Removing broken rear window
    187
  • 1.15 Installing rear window
    187
  • 1.16 Preparing old undamaged window for glazing
    187
  • 1.17 Preparing new window for glazing
    188
  • 1.18 Preparing body flange for glazing
    188
  • 1.19 Installation instructions
    189
  • 1.20 Minimum curing period
    189
  • 1.21 Touching up paint damage
    189
  • 1.22 Cleaning off excess adhesive sealing material
    190
  • 2 Door windows
    191
  • 2.1 Tools
    191
  • 2.2 Assembly overview- front door window
    191
  • 2.3 Removing front door window
    192
  • 2.4 Adjusting door window
    193
  • 2.5 Removing and installing assembly carrier
    193
  • 2.6 Renewing window regulators
    197
  • 2.7 Assembly overview - front door window, Cabriolet
    199
  • 2.8 Removing and installing front door window, Cabriolet
    200
  • 2.9 Adjusting front door window, Cabriolet
    201
  • 2.10 Removing and installing assembly carrier, Cabriolet
    204
  • 2.11 Removing and installing front window regulators, Cabriolet
    205
  • 2.12 Renewing window regulator, Cabriolet
    207
  • 2.14 Overcoming resistance with excess force limitation
    213
  • 3 Side window, Cabriolet
    214
  • 3.1 Assembly overview - side windows
    214
  • 3.2 Removing and installing side window
    214
  • 3.3 Adjusting side window
    216
  • 3.4 Removing and installing carrier plate
    220
  • 3.5 Renewing window regulators
    220
  • 3.6 Removing and installing window regulator motor
    222
  • Exterior equipment
    223
  • 1 Removing and installing wheel housing liner
    223
  • 1.1 Front wheel housing liner
    223
  • 1.2 Rear wheel housing liner
    224
  • 2 Exterior mirror
    227
  • 2.1 Tools
    227
  • 2.2 Removing and installing mirror glass
    227
  • 2.3 Removing and installing mirror housing
    228
  • 2.4 Removing and installing turn signal bulb
    229
  • 2.5 Removing and installing rear view mirror
    230
  • 3 Roof mouldings
    235
  • 3.1 Roof moulding
    235
  • 4 Protective strips
    236
  • 4.1 Renewing protective strips
    236
  • 4.2 Replacing sill panel strips, Cabriolet
    237
  • 4.3 Removing and installing convertible roof frame protective strip, Cabriolet
    238
  • 5 Rear spoiler
    241
  • 5.1 Assembly overview
    241
  • 5.2 Function
    241
  • 5.3 Raising and lowering the rear spoiler “manually”
    242
  • 5.4 Removing and installing rear spoiler drive
    242
  • 5.5 Removing and installing rear spoiler assembly
    243
  • 5.6 Checking and adjusting parallel running
    245
  • 5.7 Removing and installing cable lower guide tubes
    246
  • 5.8 Lubricate rear spoiler rods
    247
  • 6 Windbreak
    248
  • 6.1 Removing and installing windbreak mounting
    248
  • 6.2 Removing and installing rear windbreak mounting
    248
Hersteller­bezeichnung General body repairs, exterior
Hersteller Volkswagen
Passend für New Beetle Cabrio (2003 - 2010) / New Beetle / New Beetle (USA) (1998 - 2007) / New Beetle (Europe) (1999 - 2002)
Passende Autotypen 1Y7, 9C1
Kategorie Reparaturanleitung

Im Moment sind noch keine Bewertungen für dieses Produkt vorhanden.

Ähnliche Reparaturanleitungen

Brake systems
Beispielseite für Reparaturanleitung Brake systems

Für New Beetle Cabrio (2003 - 2010) / New Beetle / New Beetle (USA) (1998 - 2007) / New Beetle (Europe) (1999 - 2002)

12,61 € Details

General body repairs, interior

Beispielseite für Reparaturanleitung General body repairs, interior

Für New Beetle Cabrio (2003 - 2010) / New Beetle / New Beetle (USA) (1998 - 2007) / New Beetle (Europe) (1999 - 2002)

21,07 € Details

Electrical system, General information
Beispielseite für Reparaturanleitung Electrical system, General information

Für New Beetle Cabrio (2003 - 2010) / New Beetle / New Beetle (USA) (1998 - 2007) / Golf Variant (2007) / Jetta (2005 - 2007) / Jetta 2-türig Rl (1980 - 1984) / Jetta 4-türig Ll (1980 - 1984) / New Beetle RSI (2001) / Golf VI Variant (2010) / Beetle (NBL) Limousine (2012) / Beetle (NBC) Cabrio (2012) / Jetta (Mexiko) (1998 - 2007) / Jetta (2014 >) / Golf (Mexiko) (2014 >) / Jetta (Malaysia) (2013 >) / Jetta GP (Russland) (2015) / Golf Variant (Mexiko) (2015 >) / Jetta GP (2015 >) / VW Beetle (2011) / Beetle (2017) / Golf [MX] (2018 >) / Golf Variant [MX] (2018 >) / Jetta [MX] (2018 >) / Taos [MX] (2021 >) / Taos [MX] (2021 >) / Tiguan [MX] (2022 >) / Jetta [MX] (2022 >)

16,19 € Details

Basic equipment, left-hand drive, From August 2002
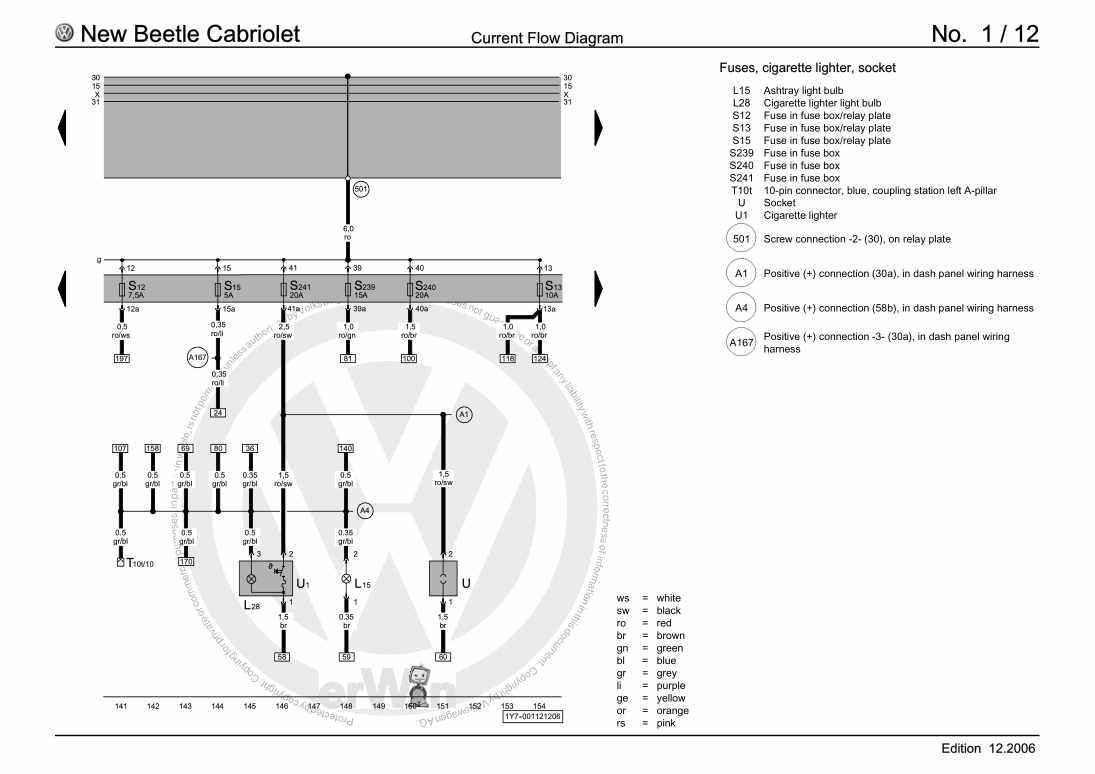
Beispielseite für Reparaturanleitung Basic equipment, left-hand drive, From August 2002

Für New Beetle Cabrio (2003 - 2010) / New Beetle Cabrio (2003 - 2010)

47,62 € Details

Electrical system

Beispielseite für Reparaturanleitung Electrical system

Für New Beetle Cabrio (2003 - 2010) / New Beetle / New Beetle (USA) (1998 - 2007) / New Beetle (Europe) (1999 - 2002)

21,21 € Details

Heating, air conditioner

Beispielseite für Reparaturanleitung Heating, air conditioner

Für New Beetle Cabrio (2003 - 2010) / New Beetle / New Beetle (USA) (1998 - 2007) / New Beetle (Europe) (1999 - 2002)

8,22 € Details

6-speed automatic gearbox 09G, BKF, From August 2002
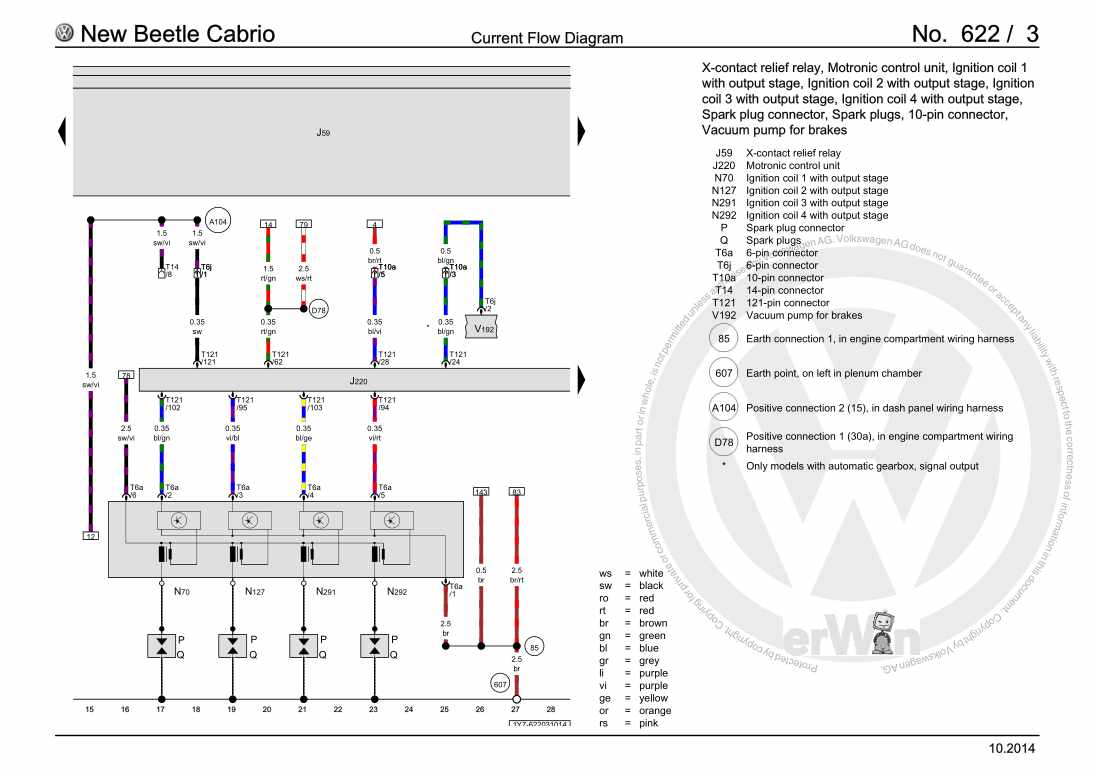
Beispielseite für Reparaturanleitung 6-speed automatic gearbox 09G, BKF, From August 2002

Für New Beetle Cabrio (2003 - 2010)

7,00 € Details

Wheels and Tyres Guide

Beispielseite für Reparaturanleitung Wheels and Tyres Guide

Für New Beetle Cabrio (2003 - 2010) / New Beetle / New Beetle (USA) (1998 - 2007) / Golf Plus (2005 - 2007) / Golf (2004 - 2007) / Polo (2002 - 2005) / Polo Variant (1997 - 2002) / Polo Classic (1996 - 2002) / Lupo 3L (1999 - 2006) / Lupo (1998 - 2006) / Vento (1992 - 1998) / Golf (1992 - 1998) / Golf (1998 - 2004) / Golf Cabriolet (1994 - 2002) / Touran (2003 - 2011) / Polo (1995 - 2000) / Passat (1994 - 1997) / Golf Variant (1999 - 2006) / Passat Variant (2006 - 2007) / Phaeton (2001 - 2007) / Touareg (2003 - 2010) / Passat (2005 - 2008) / Passat (1997 - 2001) / Golf Cabrio (1997 - 2002) / Bora (1999 - 2005) / Bora Variant (1999 - 2006) / New Beetle RSI (2001) / Golf Variant (1994 - 1999) / Sharan (1995 - 2001)

35,57 € Details

Communication

Beispielseite für Reparaturanleitung Communication

Für New Beetle Cabrio (2003 - 2010) / New Beetle / New Beetle (USA) (1998 - 2007)

8,41 € Details

Body Repairs

Beispielseite für Reparaturanleitung Body Repairs

Für New Beetle Cabrio (2003 - 2010)

11,32 € Details

Unsere Best Seller

Schon gewusst? Wir bieten auch originale Autoteile an.

Autoteil 2K5863328 Einlage

2K5863328

Einlage

6,02 €

Details
Autoteil 6Q0810221 Schlieteil

6Q0810221

Schlieteil

48,10 €

Details
Autoteil 070109153 Deckel

070109153

Deckel

38,73 €

Details
Autoteil N904162024PK Schraube

N904162024PK

Schraube

1,29 €

Details
Autoteil 06D103469N Zyl.Kopfha

06D103469N

Zyl.Kopfha

257,96 €

Details

Verteilergetriebe und Achsantriebe

Beispielseite für Reparaturanleitung Verteilergetriebe und Achsantriebe

Für Touareg (2003 - 2007)

12,83 € Details

Ratgeber Räder, Reifen

Beispielseite für Reparaturanleitung Ratgeber Räder, Reifen

Für Touran (2016 > )

5,52 € Details

Nr. 526: Die Dieselmotoren-Baureihe EA288 mit Abgasnorm EU6

Beispielseite für Reparaturanleitung Nr. 526: Die Dieselmotoren-Baureihe EA288 mit Abgasnorm EU6

5,89 € Details

image/svg+xml Über Clonck

Originale Reparaturanleitungen und Ersatzteile

Unsere Reparaturanleitungen sind Originale, kommen direkt von Volkswagen und erfüllen die höchsten Qualitätsstandards.

In unserem Originalteile-Shop verkaufen wir hochwertige Originalersatzteile der Fahrzeughersteller. Mithilfe der Suche gibst du die gewünschte Teilenummer (OE-Nummer) ein und bestellst schnell und einfach das benötigte Ersatzteil.

Höchste Qualitätsstandards

Bei Clonck wollen wir Autoschrauber und Kfz-Profis glücklich machen. Aus diesem Grund findest du bei Clonck ausschließlich professionelle und hochwertige Reparaturanleitungen, mit deren Hilfe du dein Fahrzeug fachgerecht reparieren kannst.

Unsere Partner

Autohaus Schmidt GmbH
Automag GmbH Filiale Laim
KFZ-VERLAG GmbH
Zimpel und Franke GmbH

Clonck: Der Autoreparatur-Shop - gibt's auch als App!

Clonck App Logo Play Store

Clonck: Passende Autoteile für deine Autoreparatur

4,5 90

Mit Clonck bestellst du die richtigen Originalersatzteile im Handumdrehen.

  • Fahrzeugmodell hinzufügen
  • Baugruppe auswählen
  • Fahrzeug-Identifizierungsnummer (FIN) eingeben
  • Über 5.000 originale Reparaturanleitungen einsehen
Jetzt App starten
Clonck App Preview Auto Mobiltelefon Autoteile