DER AUTOREPARATUR-SHOP
0
Home » Anleitungen » Body Repairs
  • Beispielseite für Reparaturanleitung Body Repairs
  • Beispielseite für Reparaturanleitung 2 Body Repairs
  • Beispielseite für Reparaturanleitung 3 Body Repairs
  • Beispielseite für Reparaturanleitung Body Repairs
  • Beispielseite für Reparaturanleitung 2 Body Repairs
  • Beispielseite für Reparaturanleitung 3 Body Repairs

Body Repairs

Für New Beetle Cabrio

Original VW-Reparaturanleitung


11,32 €inkl. 7% MwSt.

  • Deutsch
  • English

Sofort als Download verfügbar

Sprache: English

Digitale PDF Version

3.830 KB

127 Seiten

Detaillierte technische Daten

Sofort lesbar

Diese Reparaturanleitung umfasst: und Removing and installing engine bracket. Mehr anzeigen
Sichere Zahlung per PayPal, Kreditkarte, Lastschrift, Sofort-Überweisung oder Giropay
PayPal Logo SEPA Lastschrift Logo Giropay Logo Sofort Überweisung Logo

Reparaturanleitung New Beetle Cabrio Body Repairs pdf Download mit dem Inhalt:

Kapitelübersicht

  • Technical data
    1
  • 1 Vehicle identification data
    1
  • 1.1 Vehicle identification number
    1
  • 1.2 Identification plate
    1
  • 1.3 Vehicle data sticker
    1
  • 2 Safety instructions
    2
  • 3 Body foam insulation
    3
  • 4 Galvanized body parts
    4
  • 5 Strengthened steel sheet metal
    5
  • 6 Body panel gaps/shut lines
    6
  • 6.1 Body - front
    6
  • 6.2 Body - rear
    7
  • 7 Body dimensions
    10
  • 7.1 Body - front
    10
  • 7.2 Body - centre
    13
  • 7.3 Body - rear
    16
  • 7.4 Floor group - front
    18
  • 7.5 Floor group - centre
    19
  • 7.6 Floor group - rear
    20
  • 8 Alignment jig
    21
  • 8.1 Overview
    21
  • 8.2 Portal gauge
    32
  • 9 Convertible roof mounting gauge
    34
  • 9.1 Gauge for front convertible roof mounting points
    35
  • 9.2 Gauge for rear convertible roof mounting points
    37
  • Body - front
    39
  • 1 Removing and installing engine bracket
    39
  • 1.1 Removing
    39
  • 1.2 Installing
    40
  • 2 Removing and installing intermediate piece
    41
  • 2.1 Removing
    41
  • 2.2 Installing
    42
  • 3 Removing and installing wing connecting plate
    43
  • 3.1 Removing
    43
  • 3.2 Installing
    44
  • 4 Removing and installing headlight mounting
    45
  • 4.1 Removing
    45
  • 4.2 Installing
    46
  • 5 Removing and installing longitudinal member for upper wheel housing
    47
  • 5.1 Removing
    47
  • 5.2 Installing
    48
  • 6 Removing and installing front wheel housing
    49
  • 6.1 Removing
    49
  • 6.2 Installing
    50
  • 7 Removing and installing front wheel housing - part section
    51
  • 7.1 Removing
    51
  • 7.2 Installing
    52
  • 8 Removing and installing front longitudinal member
    53
  • 8.1 Removing
    53
  • 8.2 Installing
    54
  • 9 Removing and installing front longitudinal member - part section
    55
  • 9.1 Removing
    55
  • 9.2 Installing
    56
  • 10 Removing and installing front part of longitudinal member
    57
  • 10.1 Removing
    57
  • 10.2 Installing
    58
  • Body - centre
    60
  • 1 Removing and installing windscreen frame
    60
  • 1.1 Removing
    60
  • 1.2 Installing
    61
  • 2 Removing and installing convertible roof compartment
    62
  • 2.1 Removing
    62
  • 2.2 Installing
    64
  • 3 Removing and installing A-pillar
    66
  • 3.1 Removing
    66
  • 3.2 Installing
    68
  • 4 Removing and installing A-pillar reinforcement
    71
  • 4.1 Removing
    71
  • 4.2 Installing
    74
  • 5 Removing and installing B-pillar reinforcement
    76
  • 5.1 Removing
    76
  • 5.2 Installing
    78
  • 6 Removing and installing outer side member
    80
  • 6.1 Removing
    80
  • 6.2 Installing
    81
  • 7 Removing and installing middle side member
    83
  • 7.1 Removing
    83
  • 7.2 Installing
    84
  • 8 Removing and installing side member reinforcement - part section
    86
  • 8.1 Removing
    86
  • 8.2 Installing
    88
  • 9 Removing and installing floor panel - part section
    90
  • 9.1 Removing
    90
  • 9.2 Installing
    92
  • Body - rear
    94
  • 1 Removing and installing rear cross panel
    94
  • 1.1 Removing
    94
  • 1.2 Installing
    95
  • 2 Removing and installing corner reinforcement
    97
  • 2.1 Removing
    97
  • 2.2 Installing
    98
  • 3 Removing and installing cover plate
    100
  • 3.1 Removing
    100
  • 3.2 Installing
    101
  • 4 Removing and installing rear lock carrier
    103
  • 4.1 Removing
    103
  • 4.2 Installing
    104
  • 5 Removing and installing lower corner part
    105
  • 5.1 Removing
    105
  • 5.2 Installing
    106
  • 6 Removing and installing cover plate
    108
  • 6.1 Removing
    108
  • 6.2 Installing
    109
  • 7 Removing and installing rear longitudinal member - part section
    110
  • 7.1 Removing
    110
  • 7.2 Installing
    111
  • 8 Removing and installing side panel
    113
  • 8.1 Removing
    113
  • 8.2 Installing
    115
  • 9 Removing and installing spare wheel well
    117
  • 9.1 Removing
    117
  • 9.2 Installing
    118
  • 10 Removing and installing spare wheel well - part section
    120
  • 10.1 Removing
    120
  • 10.2 Installing
    121
Hersteller­bezeichnung Body Repairs
Hersteller Volkswagen
Passend für New Beetle Cabrio (2003 - 2010)
Passende Autotypen 1Y7
Kategorie Reparaturanleitung

Im Moment sind noch keine Bewertungen für dieses Produkt vorhanden.

Ähnliche Reparaturanleitungen

Electrical system, General information
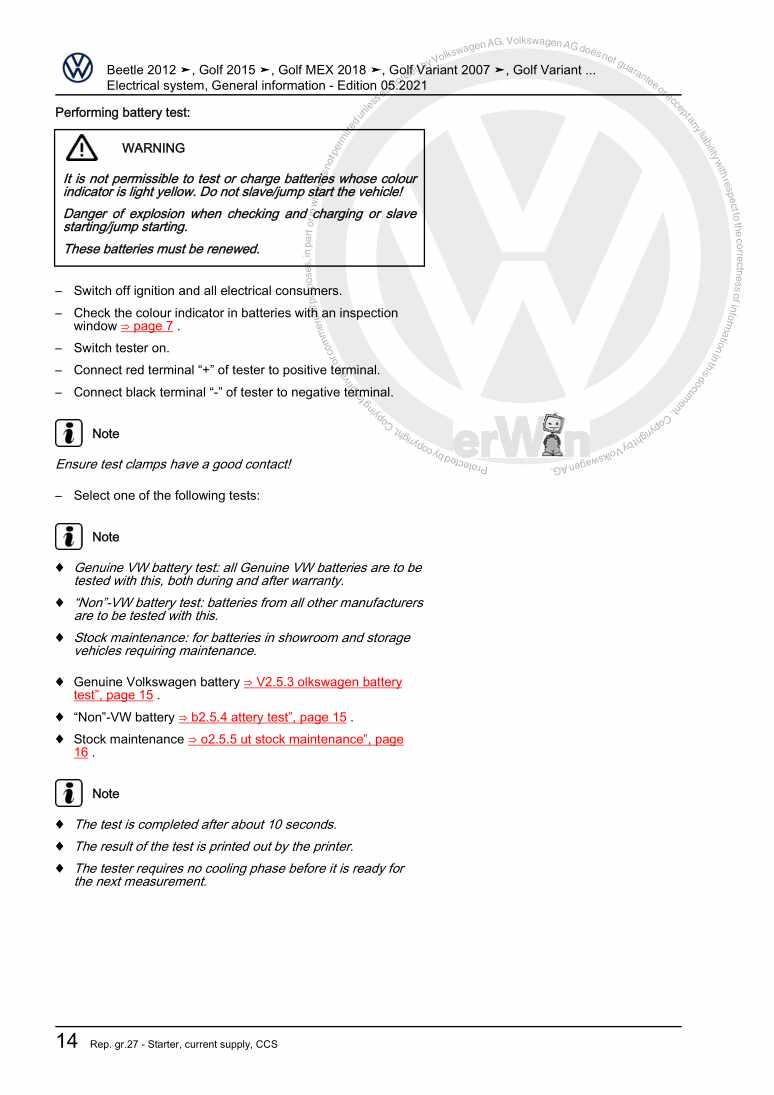
Beispielseite für Reparaturanleitung Electrical system, General information

Für New Beetle Cabrio (2003 - 2010) / New Beetle / New Beetle (USA) (1998 - 2007) / Golf Variant (2007) / Jetta (2005 - 2007) / Jetta 2-türig Rl (1980 - 1984) / Jetta 4-türig Ll (1980 - 1984) / New Beetle RSI (2001) / Golf VI Variant (2010) / Beetle (NBL) Limousine (2012) / Beetle (NBC) Cabrio (2012) / Jetta (Mexiko) (1998 - 2007) / Jetta (2014 >) / Golf (Mexiko) (2014 >) / Jetta (Malaysia) (2013 >) / Jetta GP (Russland) (2015) / Golf Variant (Mexiko) (2015 >) / Jetta GP (2015 >) / VW Beetle (2011) / Beetle (2017) / Golf [MX] (2018 >) / Golf Variant [MX] (2018 >) / Jetta [MX] (2018 >) / Taos [MX] (2021 >) / Taos [MX] (2021 >) / Tiguan [MX] (2022 >) / Jetta [MX] (2022 >)

16,19 € Details

Engine Mechanical, Fuel Injection and Ignition
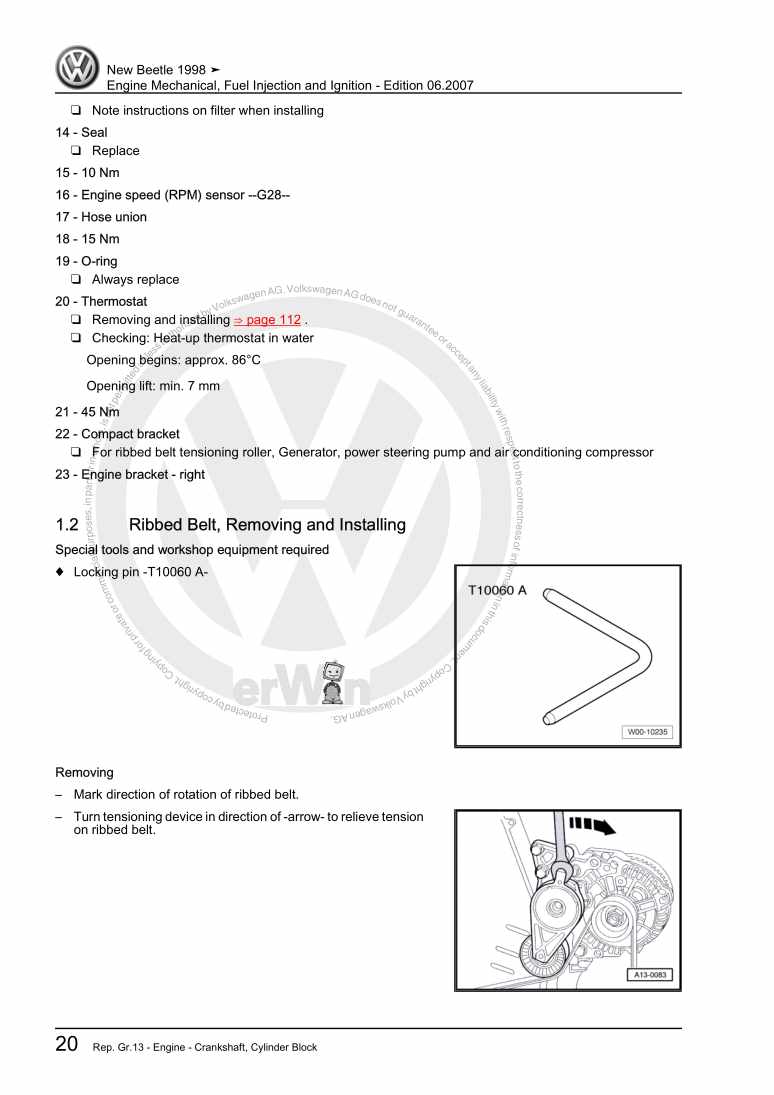
Beispielseite für Reparaturanleitung Engine Mechanical, Fuel Injection and Ignition

Für New Beetle Cabrio (2003 - 2010) / New Beetle / New Beetle (USA) (1998 - 2007) / New Beetle (Europe) (1999 - 2002)

16,84 € Details

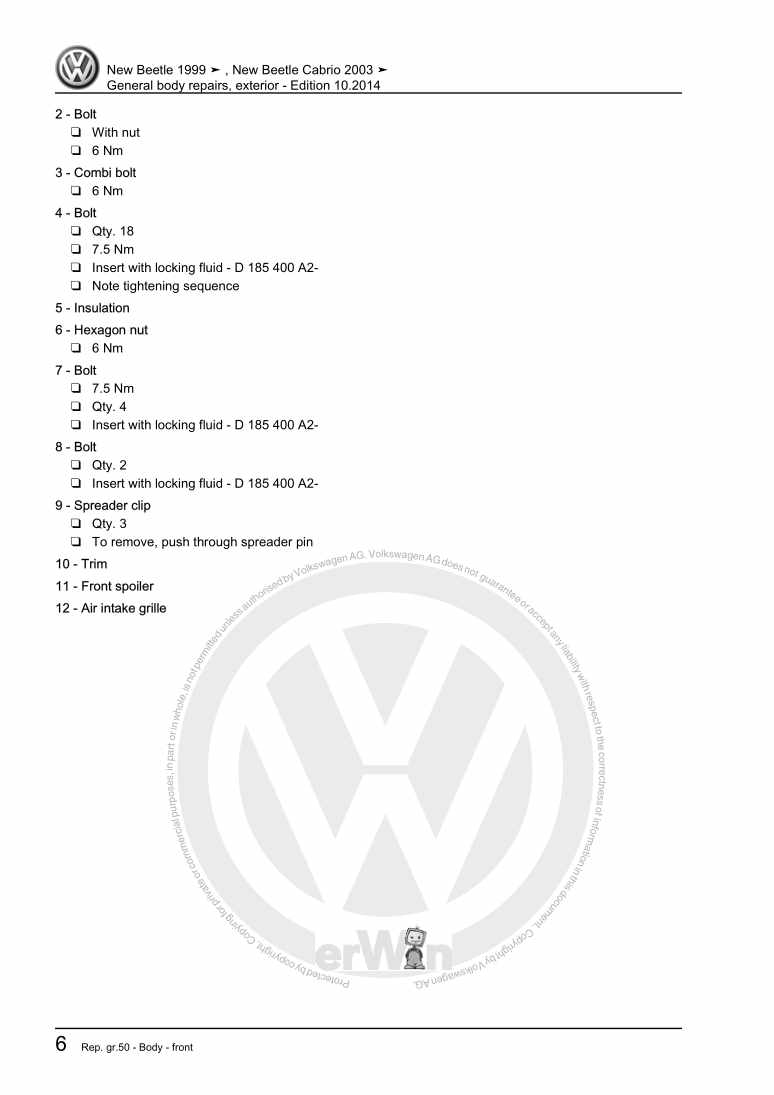
General body repairs, exterior

Beispielseite für Reparaturanleitung General body repairs, exterior

Für New Beetle Cabrio (2003 - 2010) / New Beetle / New Beetle (USA) (1998 - 2007) / New Beetle (Europe) (1999 - 2002)

20,58 € Details

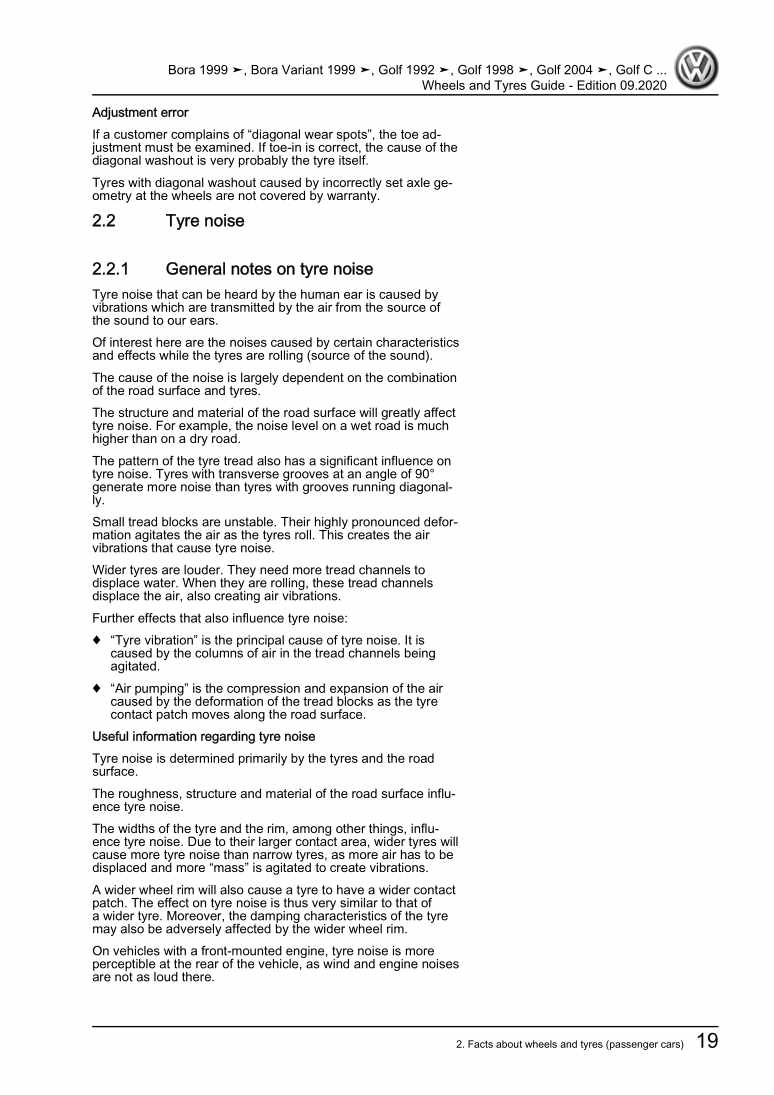
Wheels and Tyres Guide

Beispielseite für Reparaturanleitung Wheels and Tyres Guide

Für New Beetle Cabrio (2003 - 2010) / New Beetle / New Beetle (USA) (1998 - 2007) / Golf Plus (2005 - 2007) / Golf (2004 - 2007) / Polo (2002 - 2005) / Polo Variant (1997 - 2002) / Polo Classic (1996 - 2002) / Lupo 3L (1999 - 2006) / Lupo (1998 - 2006) / Vento (1992 - 1998) / Golf (1992 - 1998) / Golf (1998 - 2004) / Golf Cabriolet (1994 - 2002) / Touran (2003 - 2011) / Polo (1995 - 2000) / Passat (1994 - 1997) / Golf Variant (1999 - 2006) / Passat Variant (2006 - 2007) / Phaeton (2001 - 2007) / Touareg (2003 - 2010) / Passat (2005 - 2008) / Passat (1997 - 2001) / Golf Cabrio (1997 - 2002) / Bora (1999 - 2005) / Bora Variant (1999 - 2006) / New Beetle RSI (2001) / Golf Variant (1994 - 1999) / Sharan (1995 - 2001)

35,57 € Details

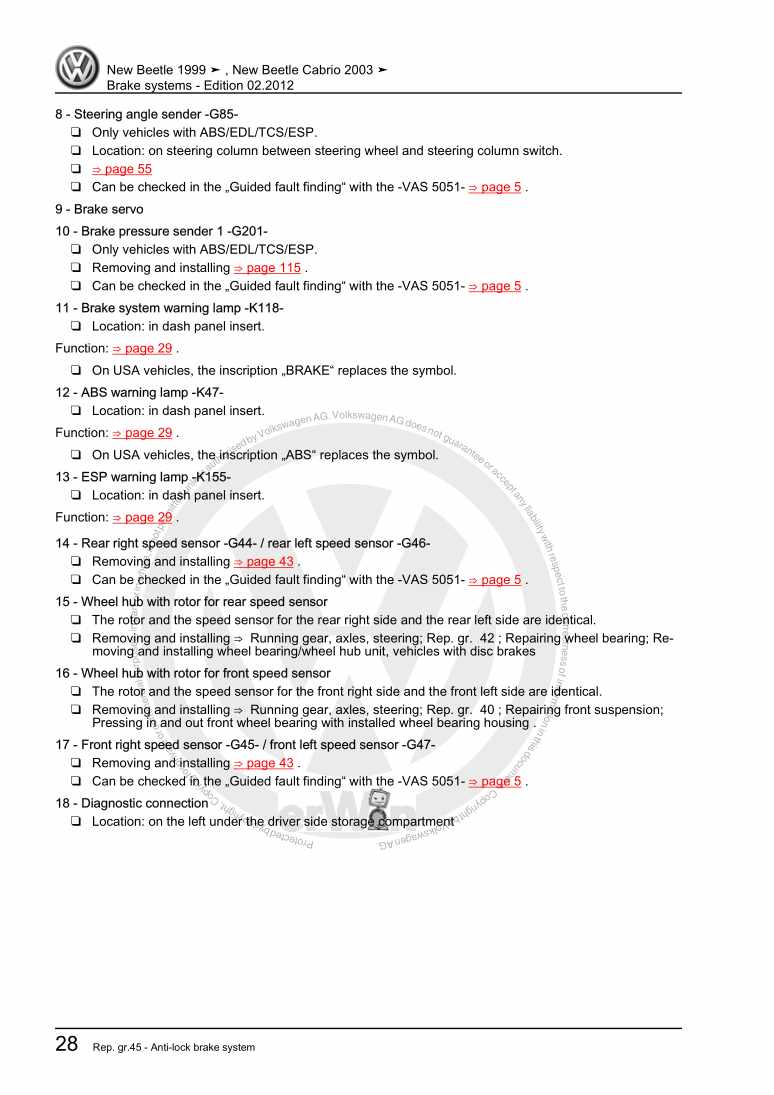
Brake systems

Beispielseite für Reparaturanleitung Brake systems

Für New Beetle Cabrio (2003 - 2010) / New Beetle / New Beetle (USA) (1998 - 2007) / New Beetle (Europe) (1999 - 2002)

12,61 € Details

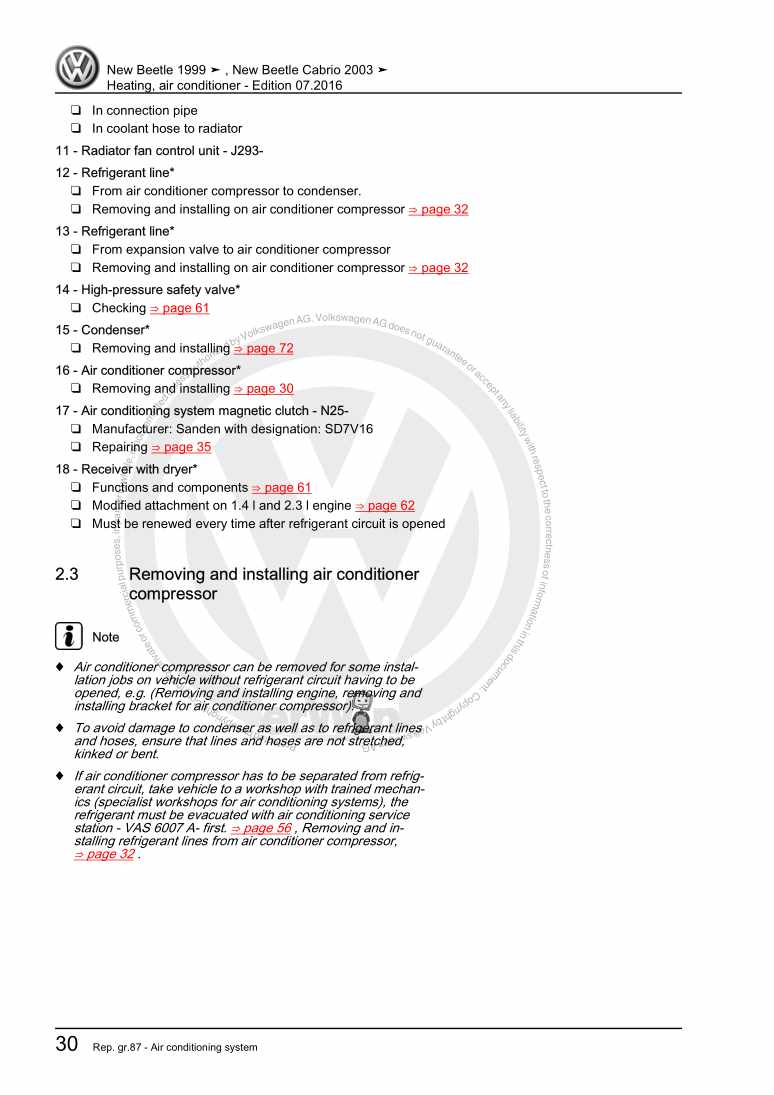
Heating, air conditioner

Beispielseite für Reparaturanleitung Heating, air conditioner

Für New Beetle Cabrio (2003 - 2010) / New Beetle / New Beetle (USA) (1998 - 2007) / New Beetle (Europe) (1999 - 2002)

8,22 € Details

General body repairs, interior

Beispielseite für Reparaturanleitung General body repairs, interior

Für New Beetle Cabrio (2003 - 2010) / New Beetle / New Beetle (USA) (1998 - 2007) / New Beetle (Europe) (1999 - 2002)

21,07 € Details

6-speed automatic gearbox 09G, BKF, From August 2002
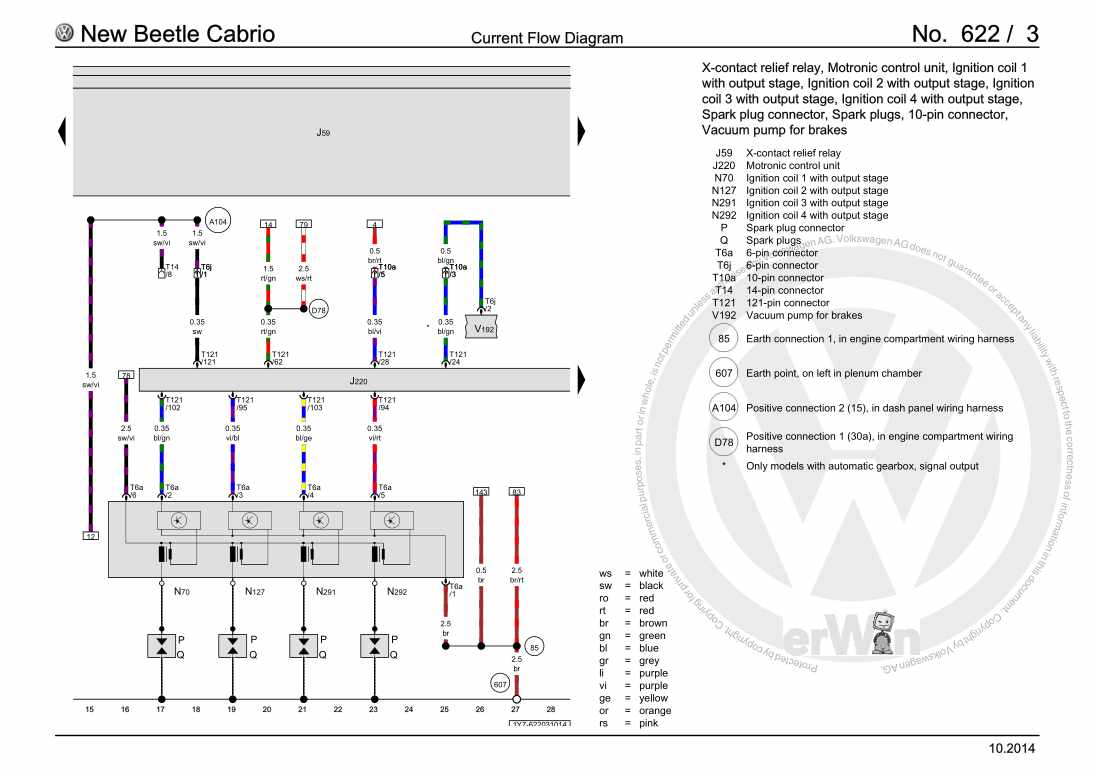
Beispielseite für Reparaturanleitung 6-speed automatic gearbox 09G, BKF, From August 2002

Für New Beetle Cabrio (2003 - 2010)

7,00 € Details

Maintenance

Beispielseite für Reparaturanleitung Maintenance

Für New Beetle Cabrio (2003 - 2010) / New Beetle / New Beetle (USA) (1998 - 2007) / New Beetle (Europe) (1999 - 2002)

15,53 € Details

Basic equipment, left-hand drive, From August 2002
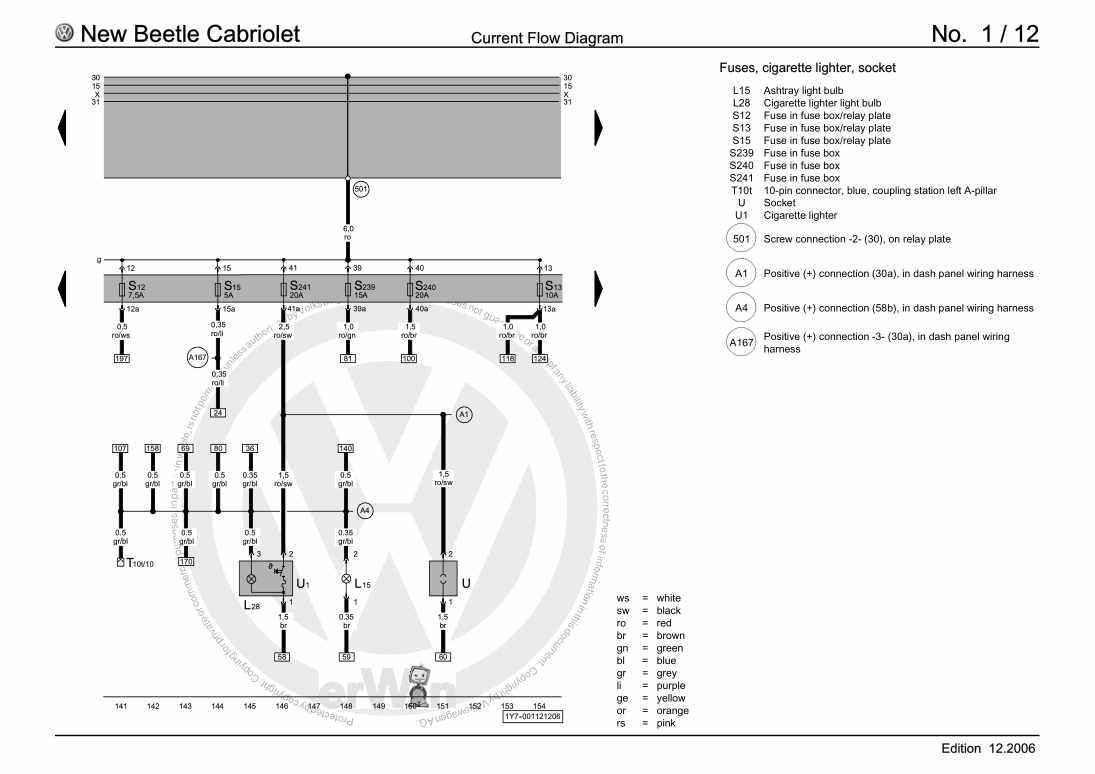
Beispielseite für Reparaturanleitung Basic equipment, left-hand drive, From August 2002

Für New Beetle Cabrio (2003 - 2010) / New Beetle Cabrio (2003 - 2010)

47,62 € Details

Unsere Best Seller

Schon gewusst? Wir bieten auch originale Autoteile an.

Autoteil 4KE998465C Rep.Satz

4KE998465C

Rep.Satz

30,45 €

Details
Autoteil 021133687A Halter

021133687A

Halter

10,26 €

Details
Autoteil 06F198107A Dichtringe

06F198107A

Dichtringe

48,99 €

Details
Autoteil 1J0971921K Kappe

1J0971921K

Kappe

1,44 €

Details
Autoteil 5N0941607 Kappe

5N0941607

Kappe

24,22 €

Details

Nr. 528: Der Erdgasantrieb im Golf/Golf Variant TGI BlueMotion

Beispielseite für Reparaturanleitung Nr. 528: Der Erdgasantrieb im Golf/Golf Variant TGI BlueMotion

5,26 € Details

Standheizung, Zusatzheizung

Beispielseite für Reparaturanleitung Standheizung, Zusatzheizung

Für Touareg (2011) / Touareg FL (2015 > )

6,64 € Details

Nr. 547: Der 2,0l-176kW-TDI-Biturbo-Motor der Dieselmotoren-Baureihe EA288

Beispielseite für Reparaturanleitung Nr. 547: Der 2,0l-176kW-TDI-Biturbo-Motor der Dieselmotoren-Baureihe EA288

5,89 € Details

image/svg+xml Über Clonck

Originale Reparaturanleitungen und Ersatzteile

Unsere Reparaturanleitungen sind Originale, kommen direkt von Volkswagen und erfüllen die höchsten Qualitätsstandards.

In unserem Originalteile-Shop verkaufen wir hochwertige Originalersatzteile der Fahrzeughersteller. Mithilfe der Suche gibst du die gewünschte Teilenummer (OE-Nummer) ein und bestellst schnell und einfach das benötigte Ersatzteil.

Höchste Qualitätsstandards

Bei Clonck wollen wir Autoschrauber und Kfz-Profis glücklich machen. Aus diesem Grund findest du bei Clonck ausschließlich professionelle und hochwertige Reparaturanleitungen, mit deren Hilfe du dein Fahrzeug fachgerecht reparieren kannst.

Unsere Partner

Autohaus Schmidt GmbH
Automag GmbH Filiale Laim
KFZ-VERLAG GmbH
Zimpel und Franke GmbH

Clonck: Der Autoreparatur-Shop - gibt's auch als App!

Clonck App Logo Play Store

Clonck: Passende Autoteile für deine Autoreparatur

4,5 90

Mit Clonck bestellst du die richtigen Originalersatzteile im Handumdrehen.

  • Fahrzeugmodell hinzufügen
  • Baugruppe auswählen
  • Fahrzeug-Identifizierungsnummer (FIN) eingeben
  • Über 5.000 originale Reparaturanleitungen einsehen
Jetzt App starten
Clonck App Preview Auto Mobiltelefon Autoteile