DER AUTOREPARATUR-SHOP
0
Home » Anleitungen » General body repairs, exterior
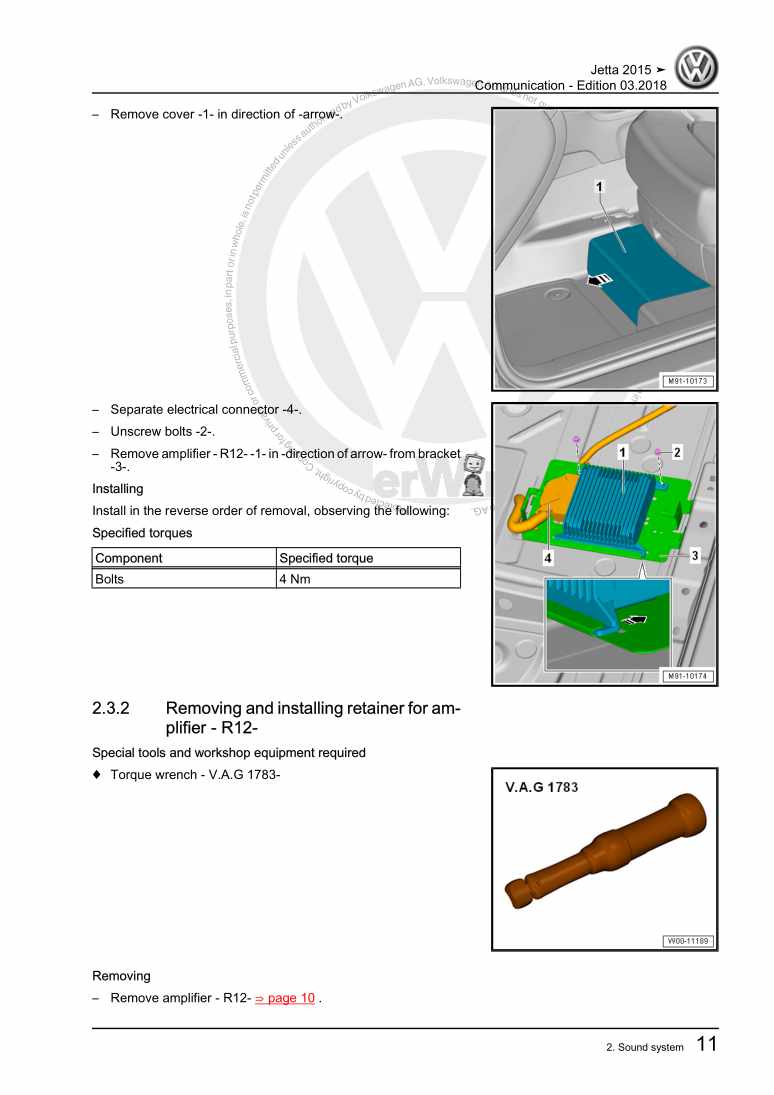
  • Beispielseite für Reparaturanleitung General body repairs, exterior
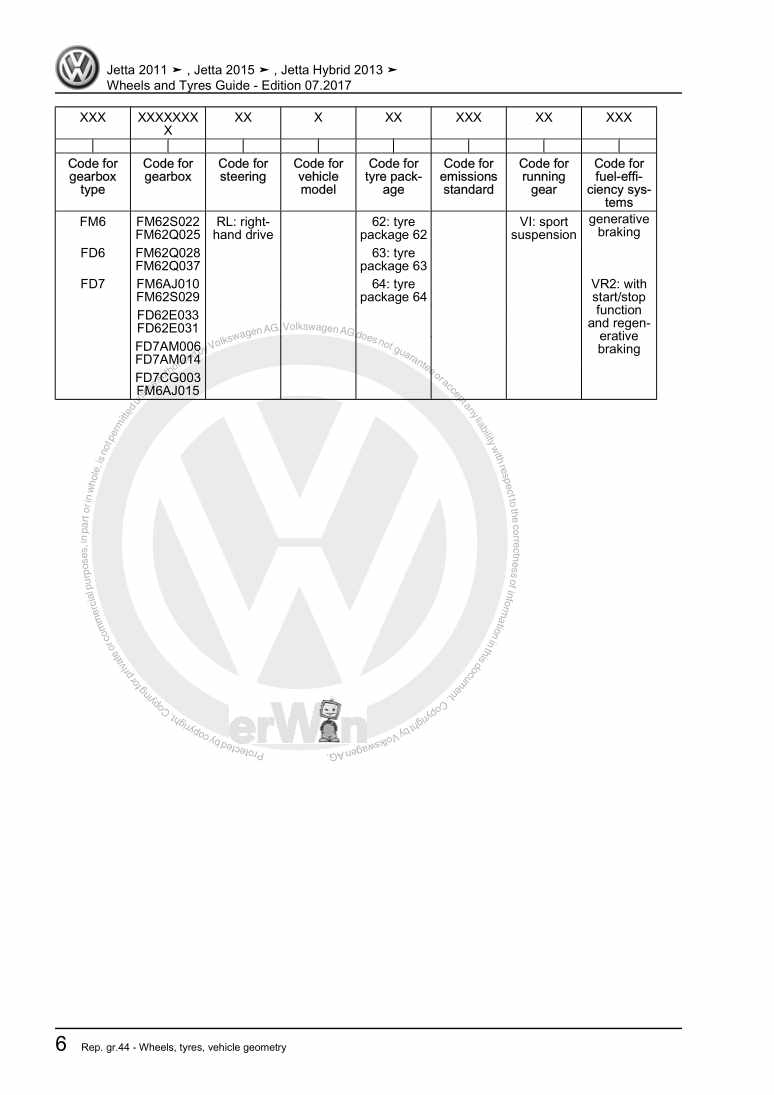
  • Beispielseite für Reparaturanleitung 2 General body repairs, exterior
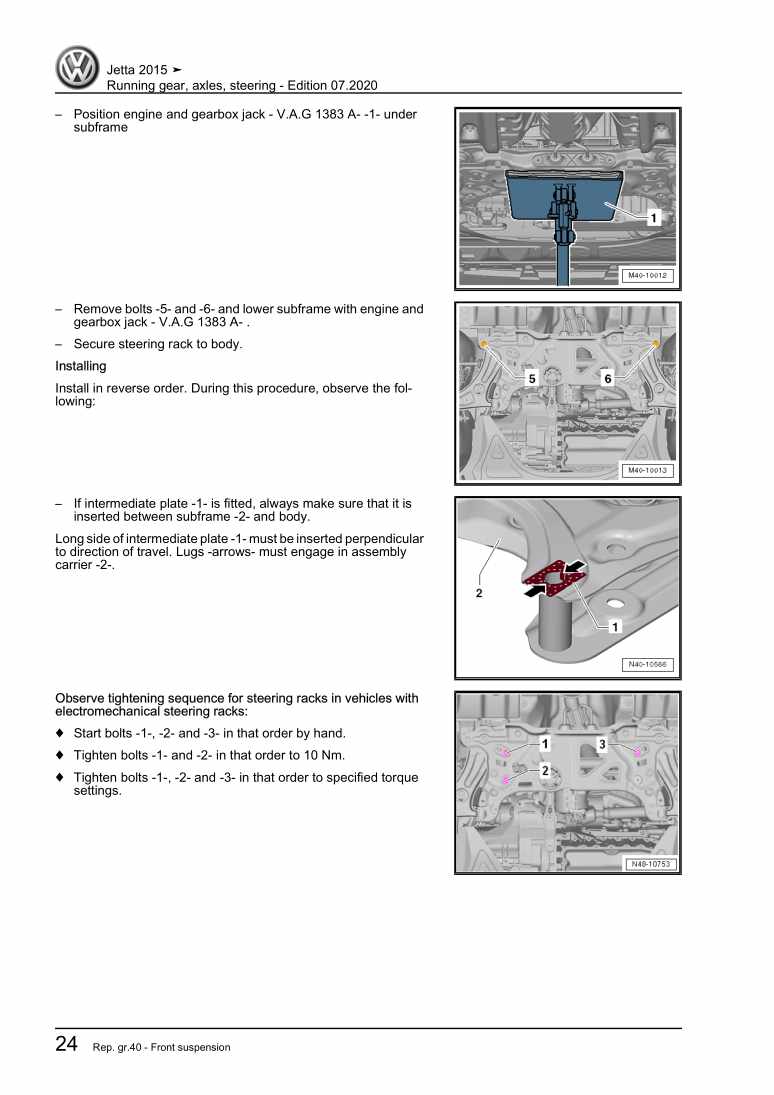
  • Beispielseite für Reparaturanleitung 3 General body repairs, exterior
  • Beispielseite für Reparaturanleitung General body repairs, exterior
  • Beispielseite für Reparaturanleitung 2 General body repairs, exterior
  • Beispielseite für Reparaturanleitung 3 General body repairs, exterior

General body repairs, exterior

Für Jetta 4-türig Ll / Jetta GP

Original VW-Reparaturanleitung


24,31 €inkl. 7% MwSt.

Sofort als Download verfügbar

Sprache: English

Digitale PDF Version

29.382 KB

309 Seiten

Detaillierte technische Daten

Sofort lesbar

Diese Reparaturanleitung umfasst: Lock carrier, Wings, Bulkhead, Bonnet, Tank flap unit, Door, Central locking, Rear windscreen, Mouldings, trims, extensions, Exterior mirror, Lettering and badges und Support tool. Mehr anzeigen
Sichere Zahlung per PayPal, Kreditkarte, Lastschrift, Sofort-Überweisung oder Giropay
PayPal Logo SEPA Lastschrift Logo Giropay Logo Sofort Überweisung Logo

Reparaturanleitung Jetta 4-türig Ll / Jetta GP General body repairs, exterior pdf Download mit dem Inhalt:

Kapitelübersicht

  • Body - front
    1
  • 1 Lock carrier
    1
  • 1.1 Assembly overview - lock carrier
    1
  • 1.2 Removing and installing lock carrier
    4
  • 1.3 Moving to and back from service position
    7
  • 2 Wings
    11
  • 2.1 Assembly overview - wing
    11
  • 2.2 Removing and installing wing
    13
  • 2.3 Removing and installing wing bracket
    15
  • 3 Bulkhead
    16
  • 3.1 Assembly overview - plenum chamber bulkhead
    16
  • 3.2 Assembly overview - plenum chamber cover
    17
  • 3.3 Removing and installing plenum chamber bulkhead
    18
  • 3.4 Removing and installing plenum chamber cover
    20
  • Bonnet, rear lid
    24
  • 1 Bonnet
    24
  • 1.1 Assembly overview - bonnet
    24
  • 1.2 Assembly overview - Bowden cable
    25
  • 1.3 Removing and installing bonnet
    26
  • 1.4 Adjusting bonnet
    27
  • 1.5 Removing and installing bonnet lock
    30
  • 1.6 Removing and installing bonnet release lever
    33
  • 1.7 Removing and installing striker pin
    34
  • 1.8 Removing and installing hinges
    35
  • 1.9 Removing and installing insulation
    36
  • 1.10 Removing and installing Bowden cable
    39
  • 1.11 Removing and installing support rod
    40
  • 2 Rear lid
    42
  • 2.1 Assembly overview - rear lid
    42
  • 2.2 Assembly overview - hinge
    43
  • 2.3 Assembly overview - gas strut
    44
  • 2.4 Assembly overview - number plate carrier
    44
  • 2.5 Removing and installing rear lid
    45
  • 2.6 Adjusting rear lid
    46
  • 2.7 Removing and installing bonnet lock
    49
  • 2.8 Removing and installing operating mechanism
    50
  • 2.9 Removing and installing hinges
    51
  • 2.10 Removing and installing striker pin
    54
  • 2.11 Removing and installing rear lid seal
    55
  • 2.12 Removing and installing gas strut
    56
  • 2.13 Releasing gas from gas strut
    57
  • 3 Tank flap unit
    58
  • 3.1 Assembly overview - tank flap unit
    58
  • 3.2 Removing and installing tank flap unit
    58
  • Front doors, door components, central locking
    64
  • 1 Door
    64
  • 1.1 Removing and installing inner door seal
    64
  • 1.2 Removing and installing outer door seal
    65
  • 1.3 Removing and installing door
    66
  • 1.4 Adjusting door
    68
  • 1.5 Adjusting striker pin
    70
  • 1.6 Removing and installing door hinge
    71
  • 1.7 Removing and installing door arrester
    72
  • 2 Door components
    75
  • 2.1 Assembly overview – door hinge
    75
  • 2.2 Assembly overview - door components
    77
  • 2.3 Assembly overview - door handle and door lock
    78
  • 2.4 Assembly overview - insulation
    79
  • 2.5 Removing and installing window regulator motor
    80
  • 2.6 Removing and installing window regulator
    84
  • 2.7 Removing and installing inner door cover
    86
  • 2.8 Removing and installing striker pin
    87
  • 2.9 Removing and installing door handle
    88
  • 2.10 Removing and installing door handle bracket
    90
  • 2.11 Removing and installing door lock
    92
  • 2.12 Removing and installing window channel
    95
  • 2.13 Removing and installing inner window slot seal
    97
  • 2.14 Removing and installing outer window slot seal
    99
  • 2.15 Removing and installing lock cylinder
    100
  • 2.16 Removing and installing cap on door handle
    103
  • 3 Central locking
    107
  • 3.1 Overview of fitting locations - central locking
    107
  • 3.2 Assembly overview - ignition key
    109
  • 3.3 Removing and installing ignition key battery
    111
  • 3.4 Removing and installing tank filler flap locking motor V155
    112
  • Rear doors, door components
    115
  • 1 Door
    115
  • 1.1 Assembly overview - door
    115
  • 1.2 Removing and installing door
    116
  • 1.3 Adjusting door
    118
  • 1.4 Adjusting striker pin
    120
  • 1.5 Removing and installing door hinges
    120
  • 1.6 Removing and installing door arrester
    122
  • 1.7 Removing and installing outer door seal
    124
  • 1.8 Removing and installing inner door seal
    125
  • 2 Door components
    127
  • 2.1 Assembly overview - door components
    127
  • 2.2 Assembly overview - door handle and door lock
    129
  • 2.3 Assembly overview - insulation
    130
  • 2.4 Removing and installing window regulator motor
    130
  • 2.5 Removing and installing window regulator
    134
  • 2.6 Removing and installing inner door cover
    136
  • 2.7 Removing and installing striker pin
    137
  • 2.8 Removing and installing door handle
    137
  • 2.9 Removing and installing door handle bracket
    139
  • 2.10 Removing and installing door lock
    141
  • 2.11 Removing and installing window channel
    144
  • 2.12 Removing and installing outer window slot seal
    146
  • 2.13 Removing and installing inner window slot seal
    147
  • 2.14 Removing and installing cap on door handle
    148
  • Sunroof
    152
  • 1 Sliding sunroof
    152
  • 1.1 Assembly overview - sliding sunroof
    152
  • 1.2 Removing and installing glass panel
    153
  • 1.3 Removing and installing wind deflector
    155
  • 1.4 Adjusting sunroof panel
    156
  • 1.5 Checking parallel running of glass panel
    158
  • 1.6 Adjusting parallel running of glass panel
    158
  • 1.7 Removing and installing sliding sunroof seals
    159
  • 1.8 Removing and installing sliding headliner
    159
  • 1.9 Removing and installing sliding sunroof adjustment control unit J245
    160
  • 1.10 Adapting sliding sunroof adjustment control unit J245
    161
  • 1.11 Removing and installing sliding sunroof frame
    161
  • 2 Water drain hoses
    164
  • 2.1 Cleaning water drainage hoses
    164
  • Bumpers
    166
  • 1 Bumper, front
    166
  • 1.1 Assembly overview - bumper cover
    166
  • 1.2 Assembly overview - impact bar
    170
  • 1.3 Removing and installing bumper cover
    170
  • 1.4 Installing front number plate carrier
    173
  • 1.5 Repairing bumper cover
    174
  • 1.6 Installing holder for parking aid sender
    174
  • 2 Bumper, rear
    180
  • 2.1 Assembly overview - bumper cover
    180
  • 2.2 Assembly overview - impact bar
    183
  • 2.3 Removing and installing bumper cover
    183
  • 2.4 Repairing bumper cover
    186
  • 2.5 Installing holder for parking aid sender
    186
  • Glazing
    191
  • 1 Repair notes
    191
  • 1.1 Minimum curing periods for bonded windows
    191
  • 1.2 Window repair
    191
  • 1.3 Installation instructions for bonded windows
    193
  • 1.4 Preparing old undamaged windows for fitting
    194
  • 1.5 Preparing new windows for installing
    194
  • 1.6 Preparing body flange for fitting
    195
  • 1.7 Cleaning off excess adhesive
    196
  • 2 Windscreen
    197
  • 2.1 Assembly overview - windscreen
    197
  • 2.2 Removing and installing windscreen
    198
  • 3 Rear windscreen
    202
  • 3.1 Assembly overview - rear window
    202
  • 3.2 Removing and installing rear window
    202
  • 4 Door windows
    206
  • 4.1 Assembly overview - front door window
    206
  • 4.2 Assembly overview - rear door window
    207
  • 4.3 Removing and installing front door window
    207
  • 4.4 Removing and installing rear door window
    211
  • 4.5 Removing and installing fixed rear door window
    215
  • Exterior equipment
    218
  • 1 Radiator grille and front trim
    218
  • 1.1 Assembly overview - radiator grille
    218
  • 1.2 Removing and installing radiator grille
    218
  • 2 Spoiler
    221
  • 2.1 Removing and installing spoiler
    221
  • 3 Mouldings, trims, extensions
    227
  • 3.1 Assembly overview - covers
    227
  • 3.2 Assembly overview - side member trim
    229
  • 3.3 Assembly overview - water deflector
    229
  • 3.4 Assembly overview - B-pillar trim
    231
  • 3.5 Removing and installing trim strip
    231
  • 3.6 Removing and installing cover
    233
  • 3.7 Removing and installing entry moulding
    234
  • 3.8 Removing and installing side member trim
    237
  • 3.9 Removing and installing water deflector
    246
  • 3.10 Removing and installing B-pillar trim
    250
  • 4 Noise insulation
    252
  • 4.1 Assembly overview - noise insulation
    252
  • 4.2 Removing and installing noise insulation
    254
  • 5 Underbody cladding
    258
  • 5.1 Overview of fitting locations - underbody cladding
    258
  • 5.2 Assembly overview - bracing on underbody
    261
  • 5.3 Removing and installing underbody cladding
    261
  • 5.4 Removing and installing tunnel cross-piece
    264
  • 6 Exterior mirror
    267
  • 6.1 Assembly overview - exterior mirror
    267
  • 6.2 Removing and installing exterior mirror
    270
  • 6.3 Removing and installing mirror glass
    275
  • 6.4 Removing and installing mirror adjustment unit
    277
  • 6.5 Removing and installing mirror cover
    279
  • 6.6 Removing and installing mirror trim
    282
  • 7 Wheel housing liner
    286
  • 7.1 Assembly overview - front wheel housing liner
    286
  • 7.2 Assembly overview - rear wheel housing liner
    287
  • 7.3 Removing and installing front wheel housing liner
    287
  • 7.4 Removing and installing rear wheel housing liner
    289
  • 8 Lettering and badges
    292
  • 8.1 Assembly overview - lettering and badges
    292
  • 8.2 Dimensions - lettering and badges on rear
    293
  • 8.3 Dimensions - lettering and badges on sides
    297
  • 8.4 Removing and installing badges at vehicle front
    298
  • 8.5 Removing and installing lettering
    299
  • 9 Support tool
    301
  • 9.1 Assembly overview - towing bracket
    301
  • 9.2 Removing and installing towing bracket
    301
Hersteller­bezeichnung General body repairs, exterior
Hersteller Volkswagen
Passend für Jetta 4-türig Ll (1980 - 1984) / Jetta GP (Russland) (2015) / Jetta GP (2015 >)
Passende Autotypen 163, AY3
Kategorie Reparaturanleitung

Im Moment sind noch keine Bewertungen für dieses Produkt vorhanden.

Ähnliche Reparaturanleitungen

Electrical system, General information
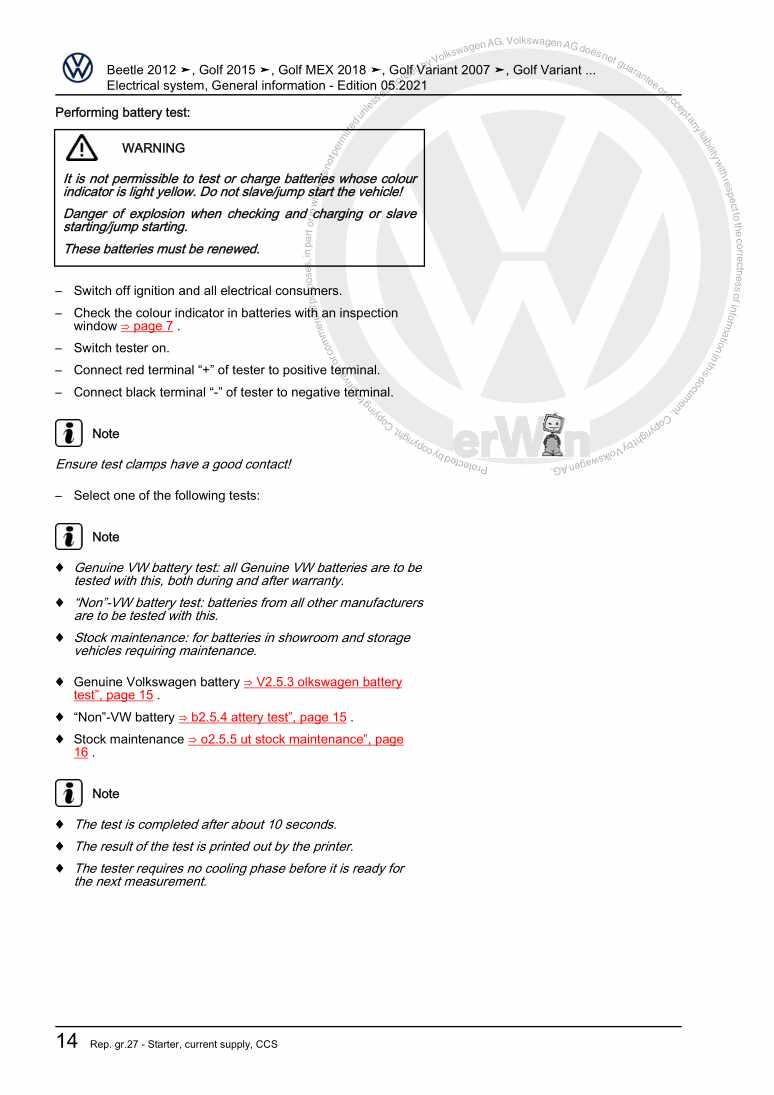
Beispielseite für Reparaturanleitung Electrical system, General information

Für New Beetle Cabrio (2003 - 2010) / New Beetle / New Beetle (USA) (1998 - 2007) / Golf Variant (2007) / Jetta (2005 - 2007) / Jetta 2-türig Rl (1980 - 1984) / Jetta 4-türig Ll (1980 - 1984) / New Beetle RSI (2001) / Golf VI Variant (2010) / Beetle (NBL) Limousine (2012) / Beetle (NBC) Cabrio (2012) / Jetta (Mexiko) (1998 - 2007) / Jetta (2014 >) / Golf (Mexiko) (2014 >) / Jetta (Malaysia) (2013 >) / Jetta GP (Russland) (2015) / Golf Variant (Mexiko) (2015 >) / Jetta GP (2015 >) / VW Beetle (2011) / Beetle (2017) / Golf [MX] (2018 >) / Golf Variant [MX] (2018 >) / Jetta [MX] (2018 >) / Taos [MX] (2021 >) / Taos [MX] (2021 >) / Tiguan [MX] (2022 >) / Jetta [MX] (2022 >)

16,19 € Details

4-cylinder injection engine (2.0 l engine)
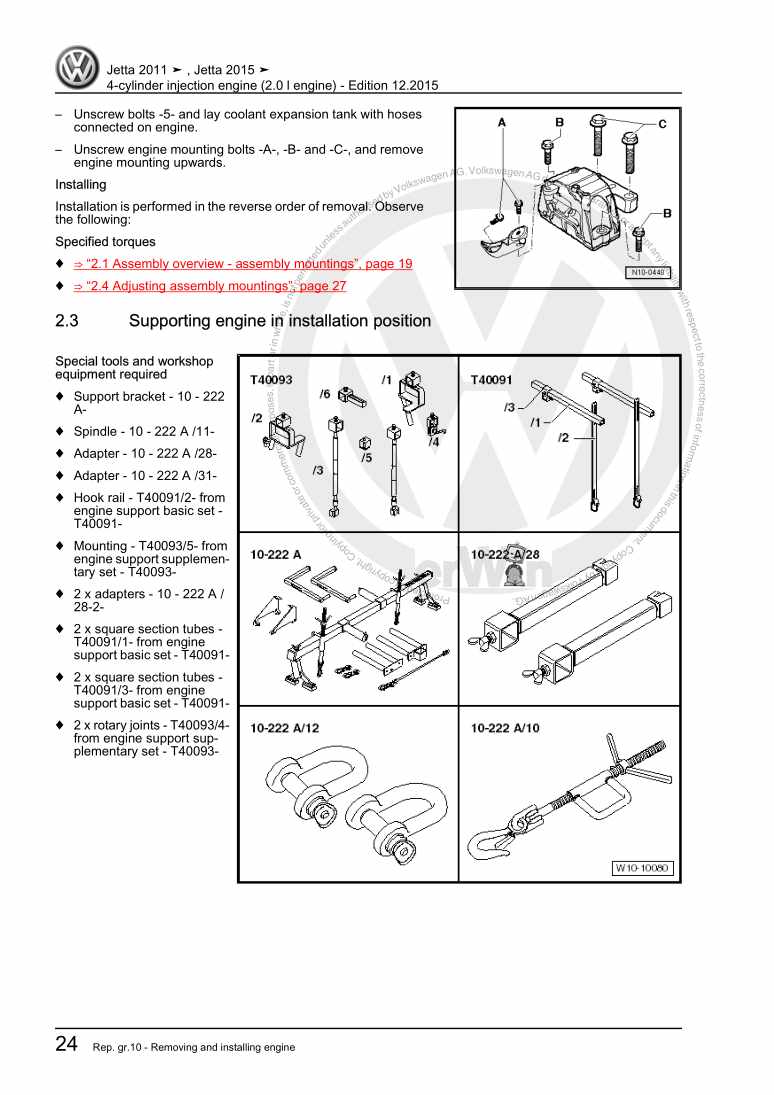
Beispielseite für Reparaturanleitung 4-cylinder injection engine (2.0 l engine)

Für Jetta 2-türig Rl (1980 - 1984) / Jetta 4-türig Ll (1980 - 1984)

13,05 € Details

Guide for using trailers up to market entry 2016
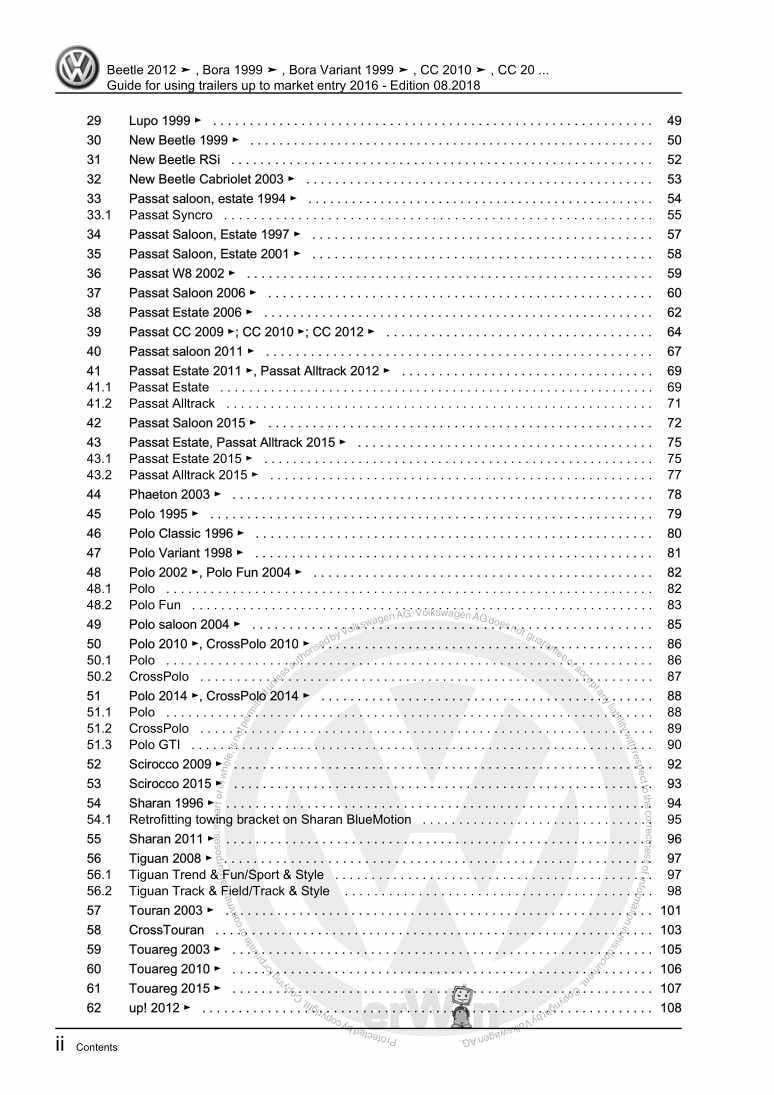
Beispielseite für Reparaturanleitung Guide for using trailers up to market entry 2016

Für Touareg (2003 - 2007) / Polo (1995 - 2002) / Phaeton (2001 - 2008) / Lupo (1998 - 2006) / Golf / Golf Variant / Vento (1992 - 1999) / Lupo 3L (1999 - 2006) / Bora / Bora Variant / Golf / Golf Variant (1998 - 2006) / New Beetle Cabrio (2003 - 2010) / New Beetle / New Beetle (USA) (1998 - 2007) / Passat / Passat Variant (1997 - 2005) / Touran (2003 - 2011) / Passat / Passat Variant (2005 - 2008) / Golf Plus (2005 - 2007) / Passat / Passat Variant (1994 - 1997) / Sharan (1995 - 2010) / Golf / Golf Variant / Jetta (2004 - 2007) / New Beetle RSI (2001) / Golf Cabriolet (1994 - 2002) / Polo / Polo Sedan (2002 - 2007) / Golf Cabrio (1997 - 2002) / EOS (2006) / Polo Classic / Polo Variant (1996 - 2002) / Jetta 2-türig Rl (1980 - 1984) / Jetta 4-türig Ll (1980 - 1984) / Tiguan (2008) / Passat CC (2009) / Scirocco (2008) / Golf (2009) / Golf Plus (2009) / Golf VI Variant (2010) / Touareg (2011) / Sharan (2011) / Polo A05 (2010) / Passat/Passat Variant (2011 >) / Passat/Passat Variant (2011 >) / Golf Cabriolet (2012) / Beetle (NBL) Limousine (2012) / Passat CC (2009) / Up! (2012) / Golf VII (2013) / Golf Variant (2014) / eUp! (ab 2014) / eGolf (ab 2014) / Polo (2014) / Golf Sportsvan (2014 >) / Scirocco GP (2015) / Passat Lim (2015 >) / Touareg FL (2015 > ) / Passat Var. (2015 >)

10,68 € Details

Communication

Beispielseite für Reparaturanleitung Communication

Für Jetta 4-türig Ll (1980 - 1984) / Jetta GP (Russland) (2015) / Jetta GP (2015 >)

13,56 € Details

5-cylinder injection engine (2.5 l engine, 4-valve)
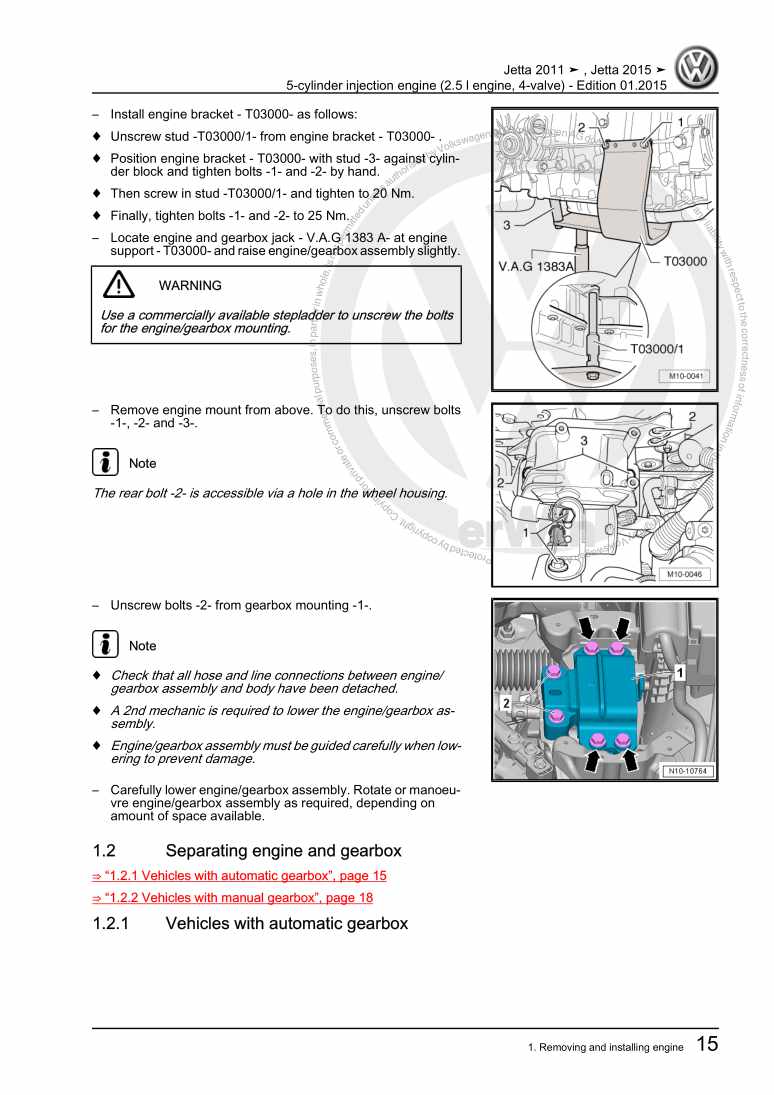
Beispielseite für Reparaturanleitung 5-cylinder injection engine (2.5 l engine, 4-valve)

Für Jetta 2-türig Rl (1980 - 1984) / Jetta 4-türig Ll (1980 - 1984)

18,36 € Details

Wheels and Tyres Guide

Beispielseite für Reparaturanleitung Wheels and Tyres Guide

Für Jetta (1980 - 1988) / Jetta 2-türig Rl (1980 - 1984) / Jetta 4-türig Ll (1980 - 1984) / Jetta (2014 >) / Jetta (Malaysia) (2013 >) / Jetta GP (Russland) (2015) / Jetta GP (2015 >)

7,44 € Details

4-cyl. injection engine (1.2 l engine, EA 111, turbocharger)
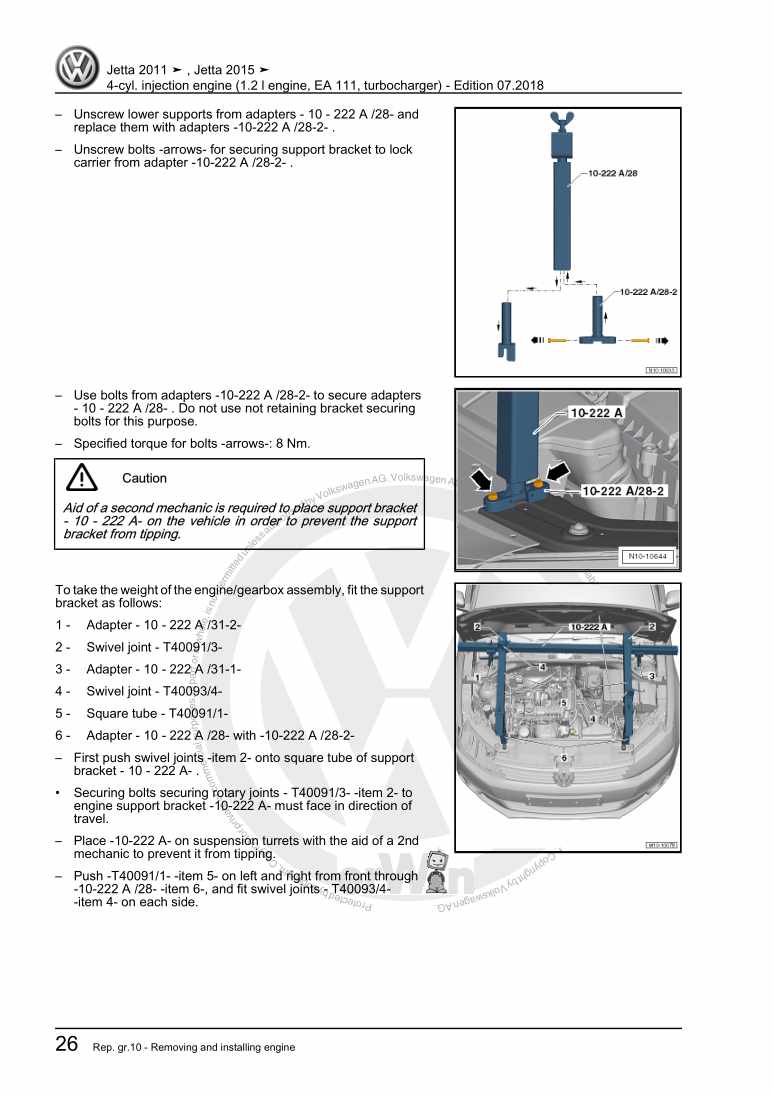
Beispielseite für Reparaturanleitung 4-cyl. injection engine (1.2 l engine, EA 111, turbocharger)

Für Jetta 2-türig Rl (1980 - 1984) / Jetta 4-türig Ll (1980 - 1984)

17,57 € Details

4-cylinder injection engine (1.8 l, 2.0 l TFSI engine, EA 888, generation III)
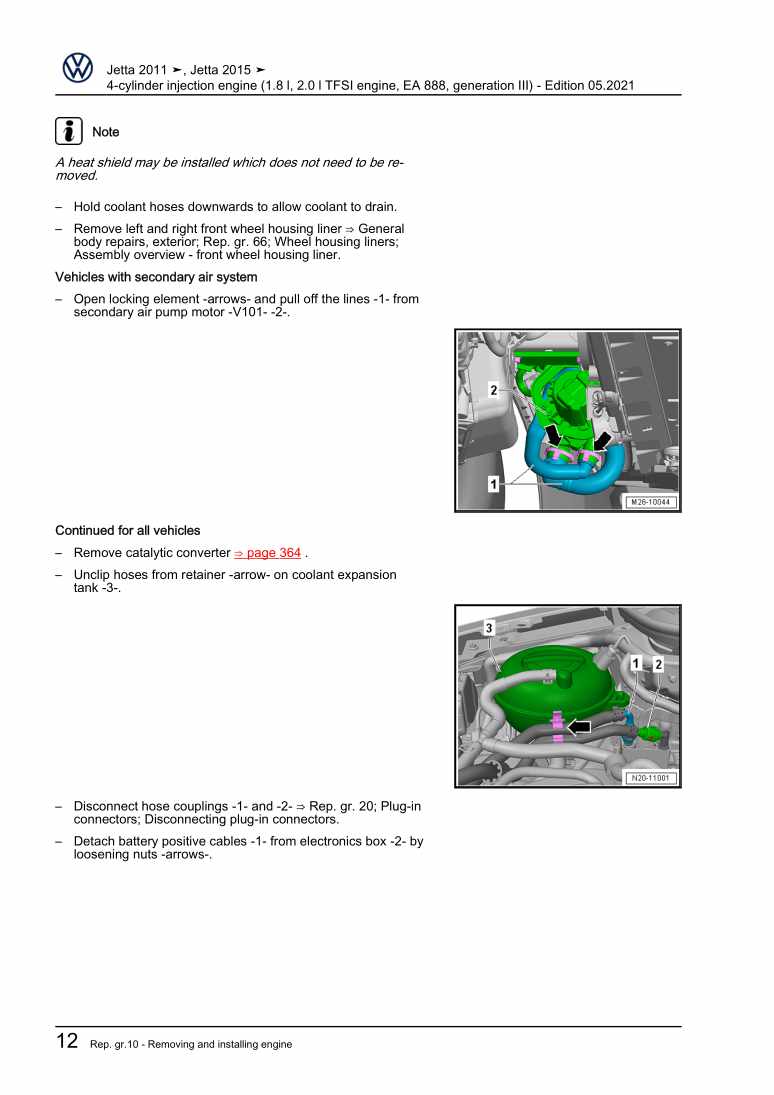
Beispielseite für Reparaturanleitung 4-cylinder injection engine (1.8 l, 2.0 l TFSI engine, EA 888, generation III)

Für Jetta 2-türig Rl (1980 - 1984) / Jetta 4-türig Ll (1980 - 1984)

29,21 € Details

Anti-lock brake system (ABS), (1AS),(1AT), From December 2017
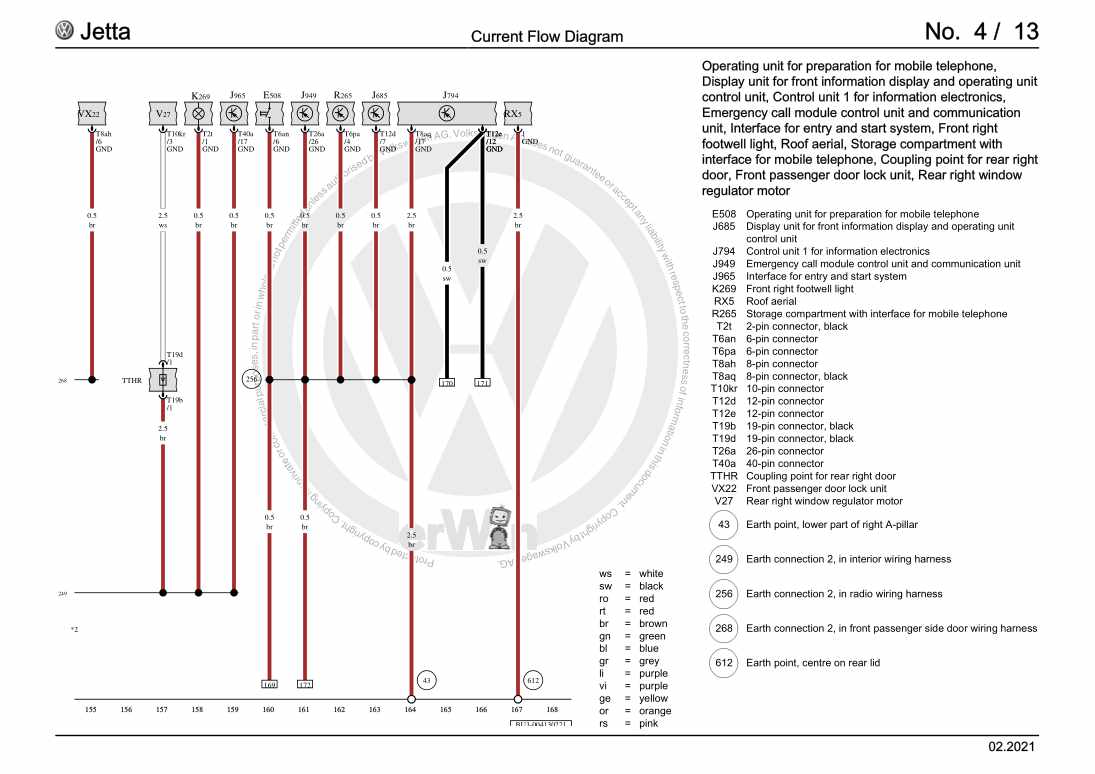
Beispielseite für Reparaturanleitung Anti-lock brake system (ABS), (1AS),(1AT), From December 2017

Für Jetta 4-türig Ll (1980 - 1984) / Golf (Mexiko) (2014 >) / Jetta GP (Russland) (2015) / Golf Variant (Mexiko) (2015 >) / Jetta GP (2015 >) / VW Beetle (2011) / Beetle (2017) / Tiguan [MX] (2017 >) / Golf [MX] (2018 >) / Golf Variant [MX] (2018 >) / Jetta [MX] (2018 >) / Passat (USA) (2019 >) / Atlas (2020 >) / Atlas (2020 >) / Taos [MX] (2021 >) / Taos [MX] (2021 >)

51,38 € Details

Running gear, axles, steering

Beispielseite für Reparaturanleitung Running gear, axles, steering

Für Jetta 4-türig Ll (1980 - 1984) / Jetta GP (Russland) (2015) / Jetta GP (2015 >)

26,17 € Details

Unsere Best Seller

Schon gewusst? Wir bieten auch originale Autoteile an.

Autoteil 8K0807681J01C Gitter

8K0807681J01C

Gitter

50,43 €

Details
Autoteil ASE44726700000 Bloecke

ASE44726700000

Bloecke

460,47 €

Details
Autoteil N10220404 Schraube

N10220404

Schraube

5,06 €

Details
Autoteil 055129723A Stuetze

055129723A

Stuetze

7,73 €

Details
Autoteil 5K0937087MZ4G Steuerg.

5K0937087MZ4G

Steuerg.

673,30 €

Details

Nr. 534: Der 1,4 l-3-Zylinder-TDI-Motor der Dieselmotoren-Baureihe EA288
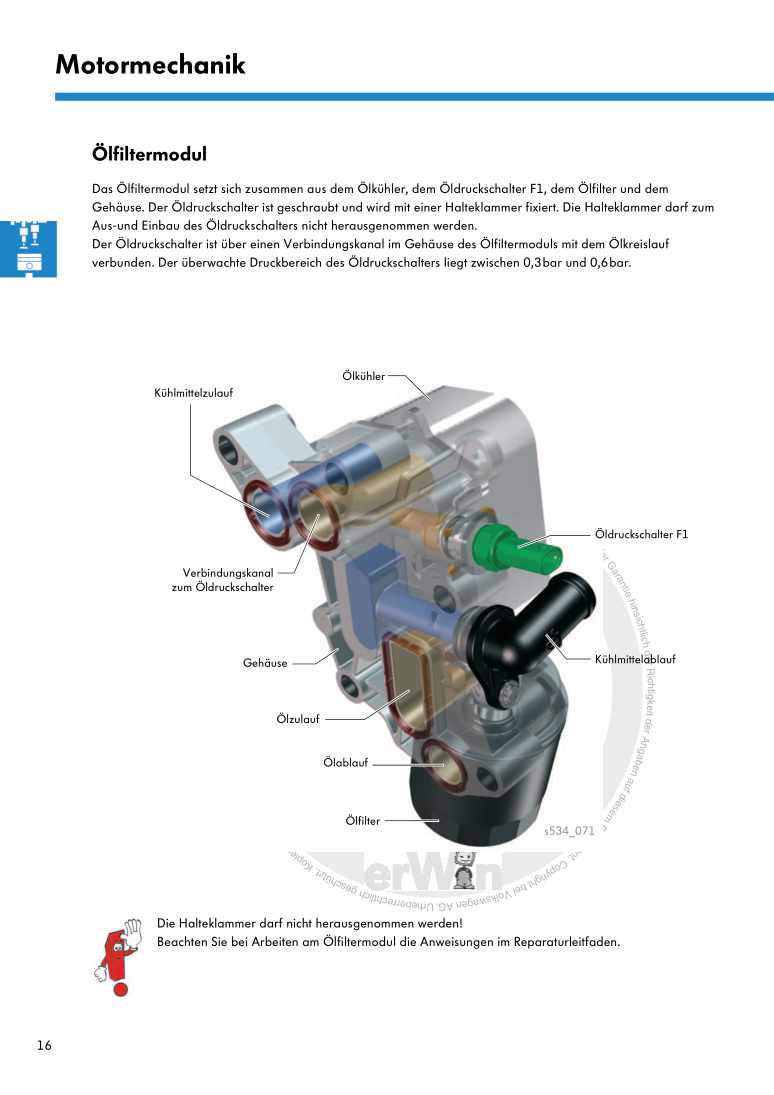
Beispielseite für Reparaturanleitung Nr. 534: Der 1,4 l-3-Zylinder-TDI-Motor der Dieselmotoren-Baureihe EA288

5,89 € Details

7 Gang-Doppelkupplungsgetriebe 0GC Volkswagen R GmbH
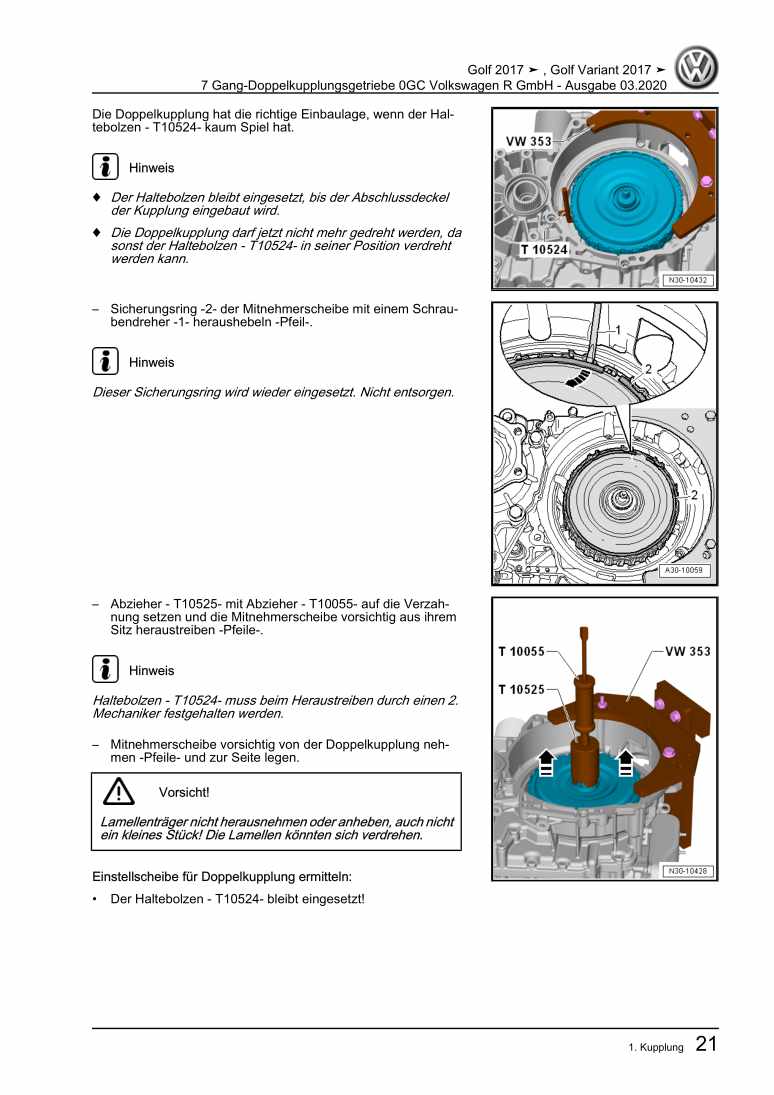
Beispielseite für Reparaturanleitung 7 Gang-Doppelkupplungsgetriebe 0GC Volkswagen R GmbH

Für Golf VII (2017) / Golf (2017)

10,54 € Details

Kommunikation

Beispielseite für Reparaturanleitung Kommunikation

Für New Beetle Cabrio (2003 - 2010) / New Beetle / New Beetle (USA) (1998 - 2007) / New Beetle (Europe) (1999 - 2002)

6,46 € Details

image/svg+xml Über Clonck

Originale Reparaturanleitungen und Ersatzteile

Unsere Reparaturanleitungen sind Originale, kommen direkt von Volkswagen und erfüllen die höchsten Qualitätsstandards.

In unserem Originalteile-Shop verkaufen wir hochwertige Originalersatzteile der Fahrzeughersteller. Mithilfe der Suche gibst du die gewünschte Teilenummer (OE-Nummer) ein und bestellst schnell und einfach das benötigte Ersatzteil.

Höchste Qualitätsstandards

Bei Clonck wollen wir Autoschrauber und Kfz-Profis glücklich machen. Aus diesem Grund findest du bei Clonck ausschließlich professionelle und hochwertige Reparaturanleitungen, mit deren Hilfe du dein Fahrzeug fachgerecht reparieren kannst.

Unsere Partner

Autohaus Schmidt GmbH
Automag GmbH Filiale Laim
KFZ-VERLAG GmbH
Zimpel und Franke GmbH

Clonck: Der Autoreparatur-Shop - gibt's auch als App!

Clonck App Logo Play Store

Clonck: Passende Autoteile für deine Autoreparatur

4,5 90

Mit Clonck bestellst du die richtigen Originalersatzteile im Handumdrehen.

  • Fahrzeugmodell hinzufügen
  • Baugruppe auswählen
  • Fahrzeug-Identifizierungsnummer (FIN) eingeben
  • Über 5.000 originale Reparaturanleitungen einsehen
Jetzt App starten
Clonck App Preview Auto Mobiltelefon Autoteile