DER AUTOREPARATUR-SHOP
0
Home » Anleitungen » Electrical system
  • Beispielseite für Reparaturanleitung Electrical system
  • Beispielseite für Reparaturanleitung 2 Electrical system
  • Beispielseite für Reparaturanleitung 3 Electrical system
  • Beispielseite für Reparaturanleitung Electrical system
  • Beispielseite für Reparaturanleitung 2 Electrical system
  • Beispielseite für Reparaturanleitung 3 Electrical system

Electrical system

Für VW UP / VW Up [BR]

Original VW-Reparaturanleitung


15,16 €inkl. 7% MwSt.

Sofort als Download verfügbar

Sprache: English

Digitale PDF Version

9.630 KB

180 Seiten

Detaillierte technische Daten

Sofort lesbar

Diese Reparaturanleitung umfasst: Battery, Speed regulator (GRA), Instrument cluster, Horns, Rear window wiper system, Main headlights, Turn signal repeater, Steering column switch module (SMLS), Control elements and lights on the dash board, Vehicle immobilizer, 12 Volt socket, Relay support, fuse supports, fuse boxes, Control units und Vehicle diagnostic, testing and information system. Mehr anzeigen
Sichere Zahlung per PayPal, Kreditkarte, Lastschrift, Sofort-Überweisung oder Giropay
PayPal Logo SEPA Lastschrift Logo Giropay Logo Sofort Überweisung Logo

Reparaturanleitung VW UP / VW Up [BR] Electrical system pdf Download mit dem Inhalt:

Kapitelübersicht

  • Technical data
    1
  • 1 Safety indications
    1
  • 1.1 Safety measures for test drives with testing and measuring equipment
    1
  • 2 Repair instructions
    2
  • 2.1 Contact corrosion
    2
  • 2.2 Connection installation and fastening
    2
  • Starter, current supply, CCS
    3
  • 1 Battery
    3
  • 1.1 Battery A - assembly overview
    3
  • 1.2 Battery - remove and install
    4
  • 1.3 Battery - disconnect and connect
    6
  • 1.4 Battery Console A - remove and install
    9
  • 1.5 Battery A - check
    11
  • 1.6 Battery A - charging
    11
  • 2 Alternator
    12
  • 2.1 Generator - assembly overview
    12
  • 2.2 Generator (Alternator) C - remove and install
    13
  • 2.3 Generator (Alternator) C - check
    15
  • 2.4 Poly-V belt pulley - remove and install
    16
  • 2.5 Voltage Regulator C1 - Disassembly and Assembly
    21
  • 3 Starter
    25
  • 3.1 StarterB - assembly overview
    25
  • 3.2 Starter B - remove and install
    26
  • 3.3 Starter B - check
    27
  • 4 Speed regulator (GRA)
    28
  • Gauges, instruments
    29
  • 1 Instrument cluster
    29
  • 1.1 Instrument cluster K - assembly overview
    29
  • 1.2 Instrument cluster K - remove and install
    31
  • 1.3 Combined instrument K - replace
    33
  • 1.4 Instrument cluster K - pin assignment
    34
  • 2 Horns
    35
  • 2.1 Treble tone horn H2 - assembly overview
    35
  • 2.2 Treble tone horn H2 - remove and install
    36
  • 2.3 Horn plate H
    37
  • Windscreen wash/wipe system
    38
  • 1 Windscreen wiper system
    38
  • 1.1 Wiper system - assembly overview
    39
  • 1.2 Windscreen wiper blade resting position - adjust
    40
  • 1.3 Windscreen wiper blade - remove and install
    42
  • 1.4 Windscreen wiper arms - remove and install
    43
  • 1.5 Windscreen wiper rubber - replace
    45
  • 1.6 Windscreen wiper mechanism - remove and install
    47
  • 1.7 Windscreen wiper motor V - disassemble and assemble
    49
  • 1.8 Rain and light sensor G397 - remove and install
    51
  • 1.9 Rain and light sensor - repair
    54
  • 2 Windscreen washer system
    57
  • 2.1 Windscreen washer system - assembly overview
    57
  • 2.2 Reservoir for the windscreen and rear window washer system - remove and install
    58
  • 2.4 Windscreen washer system spray nozzles - replace
    61
  • 2.5 Windscreen washer system spray nozzles - adjust
    62
  • 3 Rear window wiper system
    63
  • 3.1 Rear window wiper system - assembly overview
    63
  • 3.2 Rear window wiper blade - remove and install
    64
  • 3.3 Rear window wiper arm - remove and install
    65
  • 3.4 Rear window wiper arm - adjust
    66
  • 3.5 Rear window wiper motor - remove and install
    67
  • 4 Rear window washer system
    69
  • 4.1 Rear window washer system - assembly overview
    69
  • 4.2 Rear window washer system spray nozzle - replace
    70
  • Lights, bulbs, switches - exterior
    72
  • 1 Main headlights
    72
  • 1.1 Main headlights - assembly overview
    72
  • 1.2 Main Headlights - remove and install
    73
  • 1.3 Main headlights - Position adjustment
    75
  • 1.4 Front turn signal bulb M5 and/orM7 - replace
    77
  • 1.5 Headlights - Install housing repair kit
    79
  • 1.6 Main bean/dipped beam lamp (version 1) - replace
    82
  • 1.7 Main bean/dipped beam lamp (version 2) - replace
    83
  • 1.8 Front side light M1 and/orM3 - replace
    84
  • 2 Fog lights
    87
  • 2.1 Fog lights - Assembly overview
    87
  • 2.2 Fog lights - Assembly overview
    88
  • 2.3 Fog lights - remove and install
    89
  • 2.4 Fog lights - remove and install
    90
  • 2.5 Fog light lamp - replace
    91
  • 3 Headlights - check adjustment
    93
  • 3.2 Headlights - adjust
    96
  • 4 Turn signal repeater
    99
  • 4.1 Side indicator lights incorporated to external rear-view mirrors
    99
  • 5 Tail lights
    100
  • 5.1 Tail lights - Assembly overview
    100
  • 5.2 Tail light - remove and install
    101
  • 5.3 Bulb support - disassemble and assemble
    103
  • 5.4 Tail light bulb - replace
    104
  • 5.5 Fog light lamp - replace
    104
  • 5.6 Tail light and brake light bulb - replace
    105
  • 5.7 Reverse gear light bulb - replace
    105
  • 5.8 Turn signal bulb - replace
    106
  • 6 Auxiliary brake light
    107
  • 6.1 Brakelight bulb M25 - remove and install
    107
  • 7 License plate light
    110
  • 7.1 Number plate light - remove and install
    110
  • 7.2 License plate light X - replace the light bulb
    111
  • 8 Steering column switch module (SMLS)
    112
  • 8.3 Steering lock set - remove and install
    116
  • 8.4 Ignition switch (version 1) - remove and install
    118
  • 8.5 Ignition switch (version 2) - remove and install
    119
  • 8.6 Test the ignition and starter switches
    120
  • 8.7 Key cylinder - remove and install
    121
  • 9 Auxiliary parking system
    124
  • 9.1 Locating defects and indicating faults
    125
  • 9.2 Parking aid - assembly overview
    125
  • 9.3 Warning buzzer for rear parking aid H15 - remove and install
    126
  • 9.4 Adjust the volume and frequency of the rear parking aid warning buzzer
    126
  • 9.5 Rear parking aid sensor - remove and install
    126
  • 9.6 Control unit for parking aid - remove and install
    129
  • 9.7 Adjust the parking aid control unit
    130
  • Lights, bulbs, switches - interior
    131
  • 1 Control elements and lights on the dash board
    131
  • 1.1 Light switch - remove and install
    131
  • 1.2 Centre dash board switch module - remove and install
    132
  • 2 Control elements and lights on front doors
    134
  • 2.1 Switch elements in door lining
    134
  • 2.2 Front left window control switch E40 and/or E41 - remove and install
    136
  • 2.4 Switch for int. locking, driver side E150 - remove and install
    138
  • 3 Roof lining control elements and lights
    139
  • 3.1 Front interior light W1- remove and install
    139
  • 3.2 Front interior light W1 with reading light
    141
  • 4 Anti-theft alarm system
    145
  • 4.1 Anti-theft alarm system horn H8 - remove and install
    145
  • 5 Vehicle immobilizer
    146
  • 5.1 Immobilizer control unit J362 - remove and install
    146
  • 5.2 Reader coil - remove and install
    147
  • 6 12 Volt socket
    148
  • 6.1 12 volt socket U5 - assembly overview
    148
  • 6.2 12 volt socket U5 - remove and install
    148
  • 6.3 12 Volt socket U5 - replace
    151
  • Wiring
    154
  • 1 Relay support, fuse supports, fuse boxes
    154
  • 1.1 Fuse box - remove and install
    154
  • 1.2 Fuse holder and relay support in the fuse box - remove and install
    156
  • 2 Control units
    166
  • 2.1 Onboard supply control unit - remove and install
    166
  • 2.2 Data bus diagnostics interface - remove and install
    170
  • 3 Connectors
    171
  • 3.1 Connectors and electric cables harnesses - repair
    171
  • 4 Unlocking and disassembling the terminals
    172
  • 5 Aerial cable repairs
    173
  • 6 Vehicle diagnostic, testing and information system
    174
  • 6.1 Online system test
    174
Hersteller­bezeichnung Electrical system
Hersteller Volkswagen
Passend für VW UP (Brasilien ) (2014 >) / VW UP (Brasilien) (2014) / VW Up [BR] (2014 >)
Passende Autotypen 6A1, 6A6
Kategorie Reparaturanleitung

Im Moment sind noch keine Bewertungen für dieses Produkt vorhanden.

Ähnliche Reparaturanleitungen

3 - Cyl. injection engine
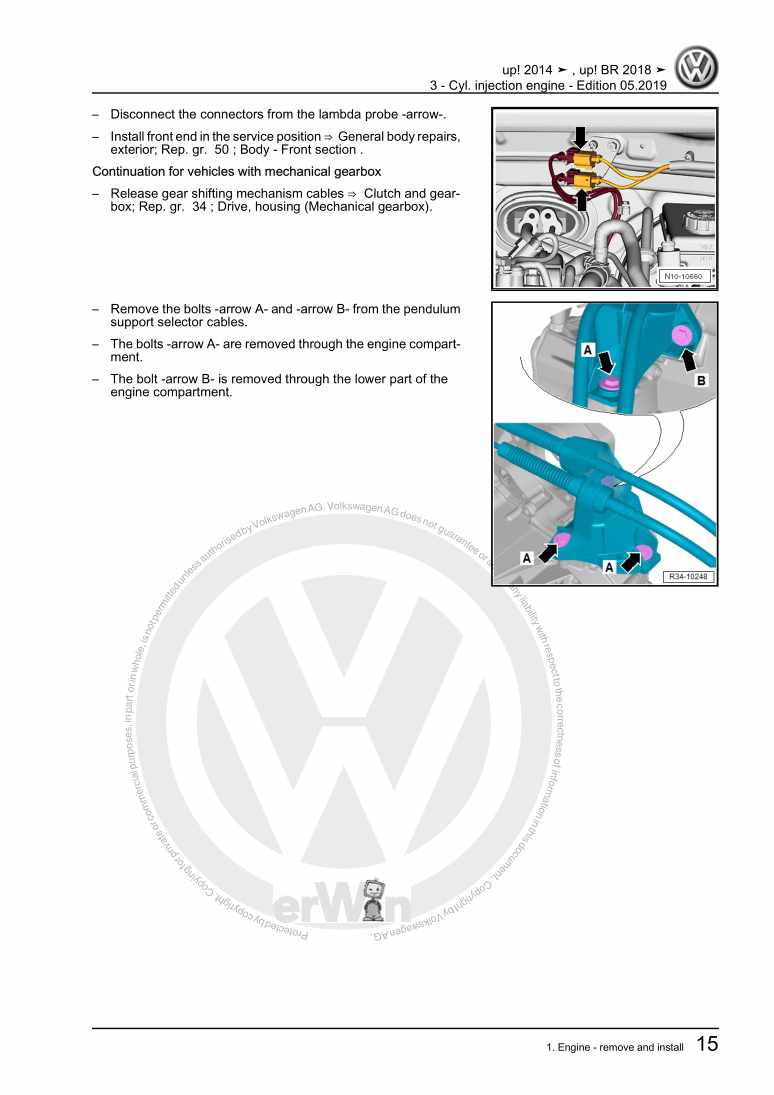
Beispielseite für Reparaturanleitung 3 - Cyl. injection engine

Für VW UP (Brasilien ) (2014 >) / VW UP (Brasilien) (2014) / VW Up [BR] (2014 >)

27,01 € Details

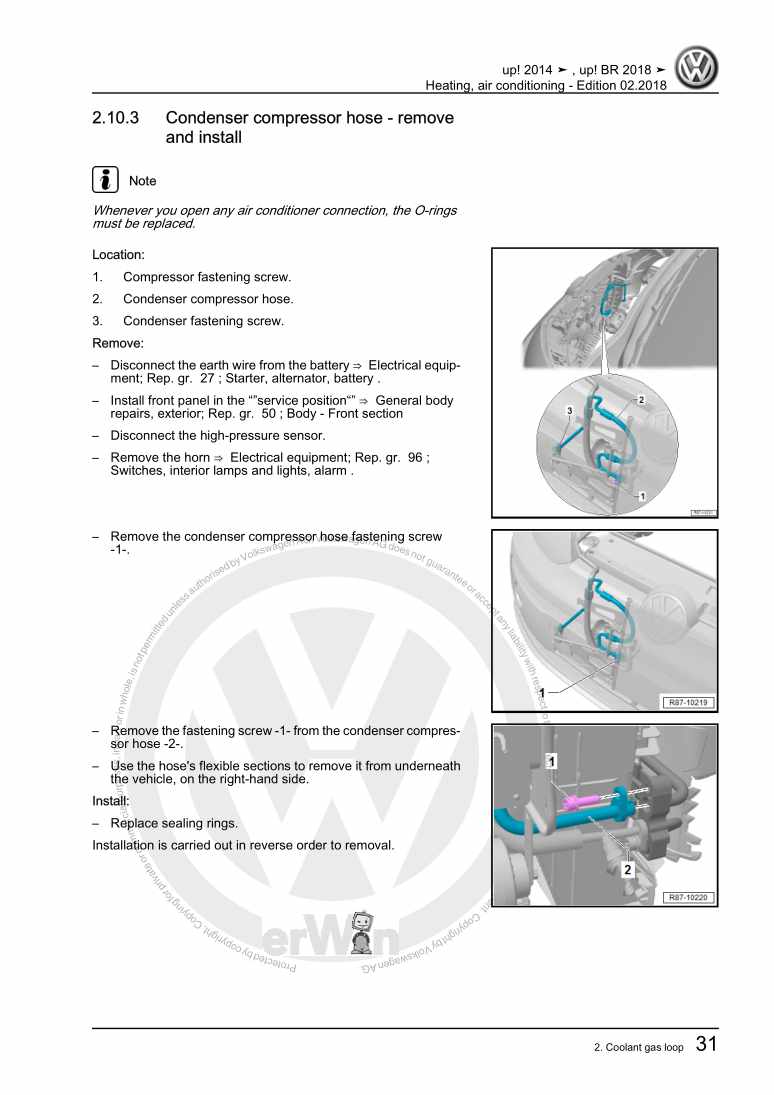
Heating, air conditioning

Beispielseite für Reparaturanleitung Heating, air conditioning

Für VW UP (Brasilien ) (2014 >) / VW UP (Brasilien) (2014) / VW Up [BR] (2014 >)

7,89 € Details

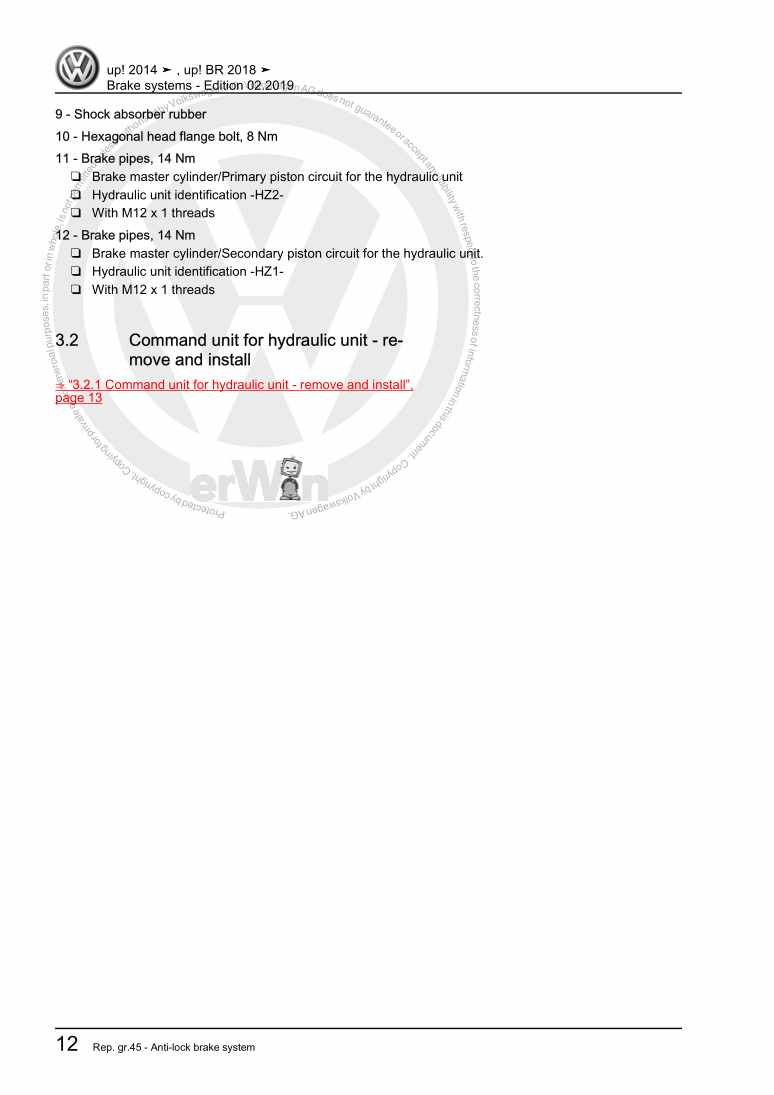
Brake systems

Beispielseite für Reparaturanleitung Brake systems

Für VW UP (Brasilien ) (2014 >) / VW UP (Brasilien) (2014) / VW Up [BR] (2014 >)

8,15 € Details

Wheels and Tyres - Specifications

Kein Bild vorhanden

Für VW UP (Brasilien ) (2014 >) / VW UP (Brasilien) (2014) / VW Up [BR] (2014 >)

4,36 € Details

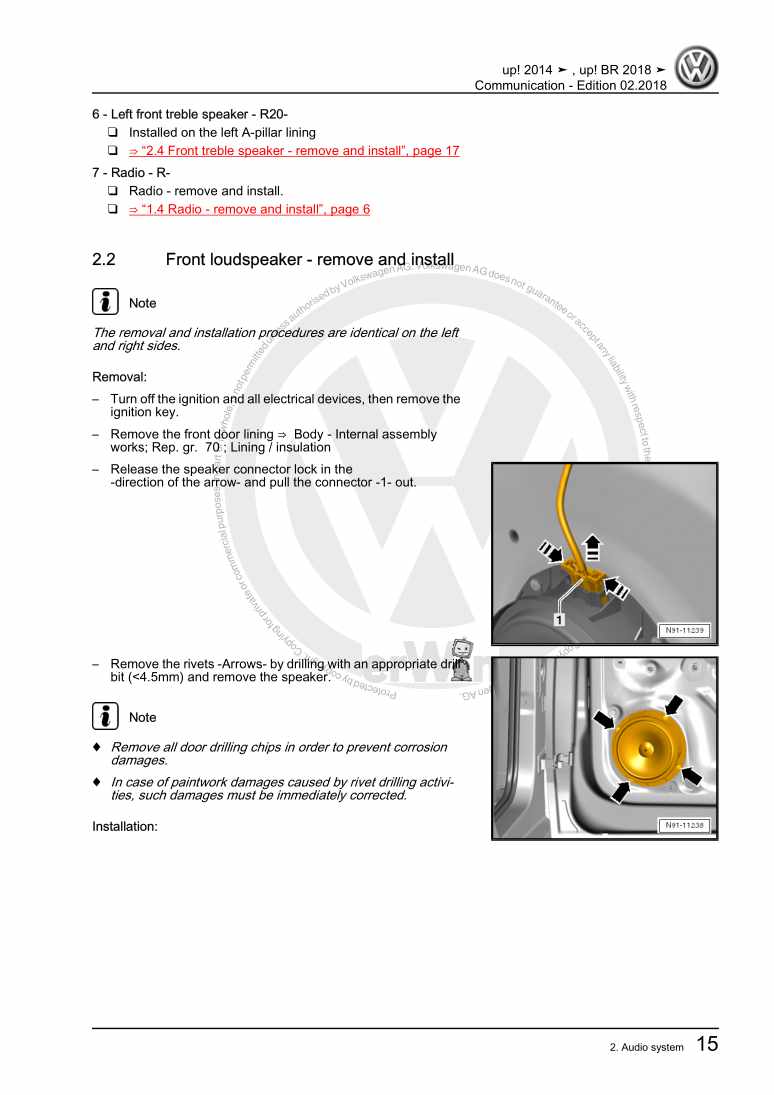
Communication

Beispielseite für Reparaturanleitung Communication

Für VW UP (Brasilien ) (2014 >) / VW UP (Brasilien) (2014) / VW Up [BR] (2014 >)

4,88 € Details

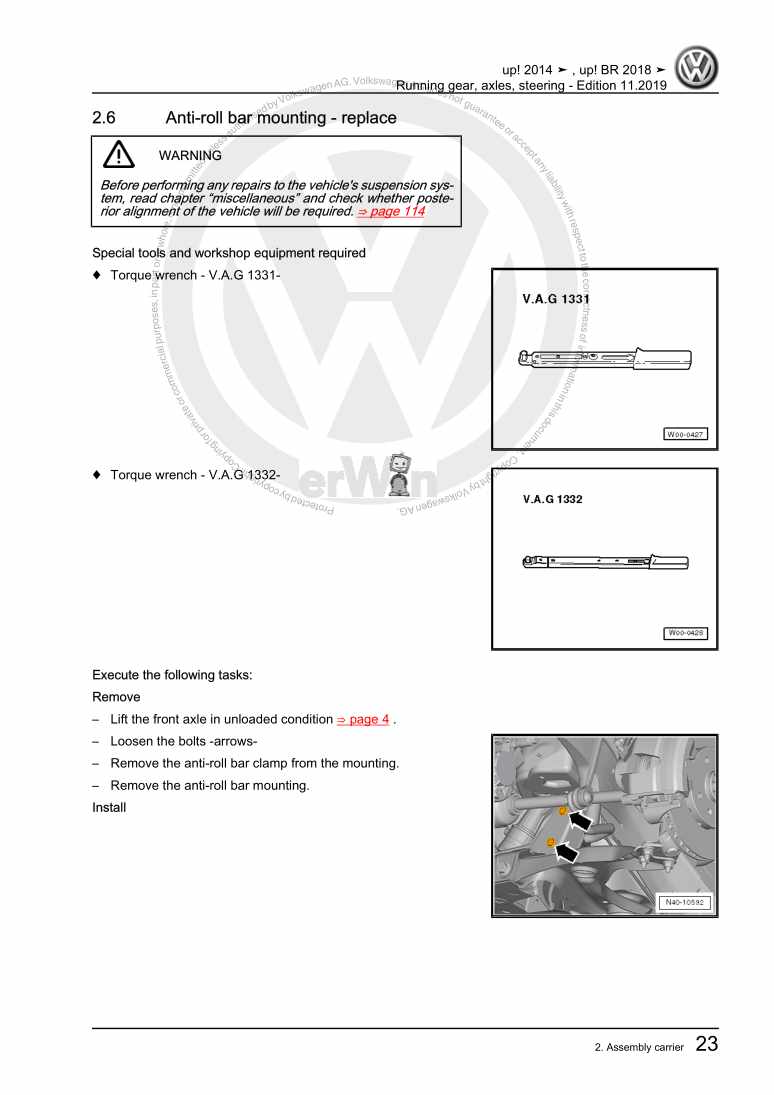
Running gear, axles, steering

Beispielseite für Reparaturanleitung Running gear, axles, steering

Für VW UP (Brasilien ) (2014 >) / VW UP (Brasilien) (2014) / VW Up [BR] (2014 >)

14,14 € Details

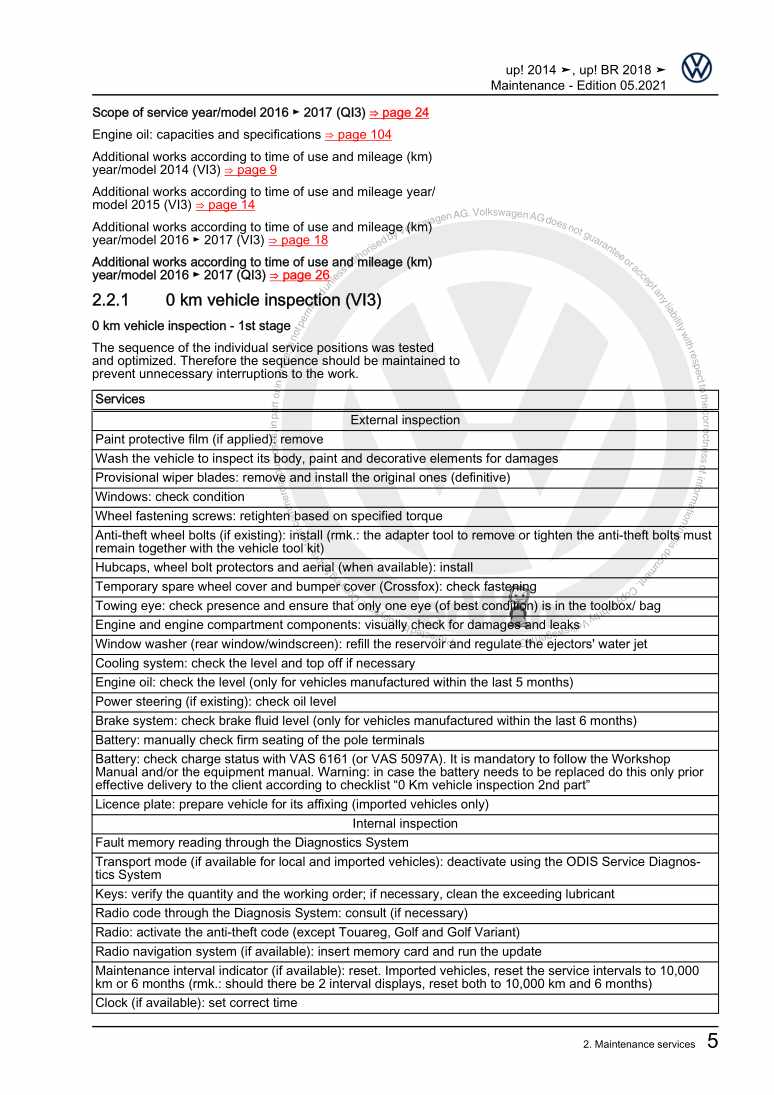
Maintenance

Beispielseite für Reparaturanleitung Maintenance

Für VW UP (Brasilien ) (2014 >) / VW UP (Brasilien) (2014) / VW Up [BR] (2014 >)

13,41 € Details

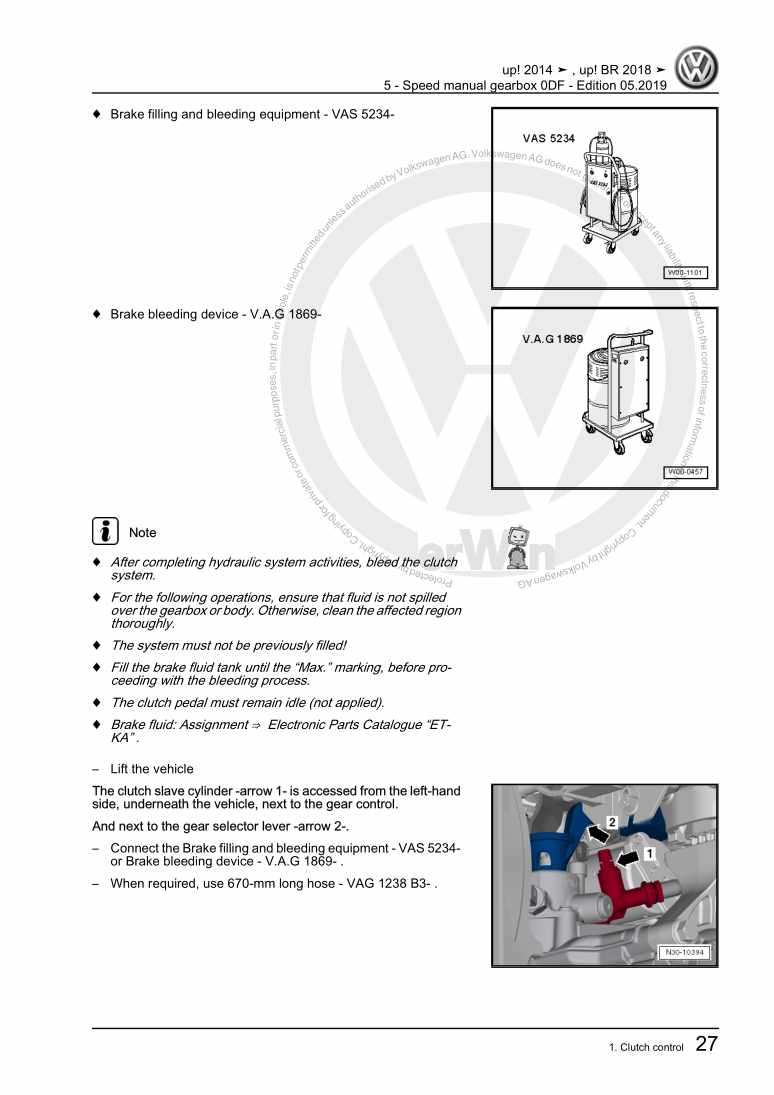
5 - Speed manual gearbox 0DF

Beispielseite für Reparaturanleitung 5 - Speed manual gearbox 0DF

Für VW UP (Brasilien ) (2014 >) / VW UP (Brasilien) (2014) / VW Up [BR] (2014 >)

12,40 € Details

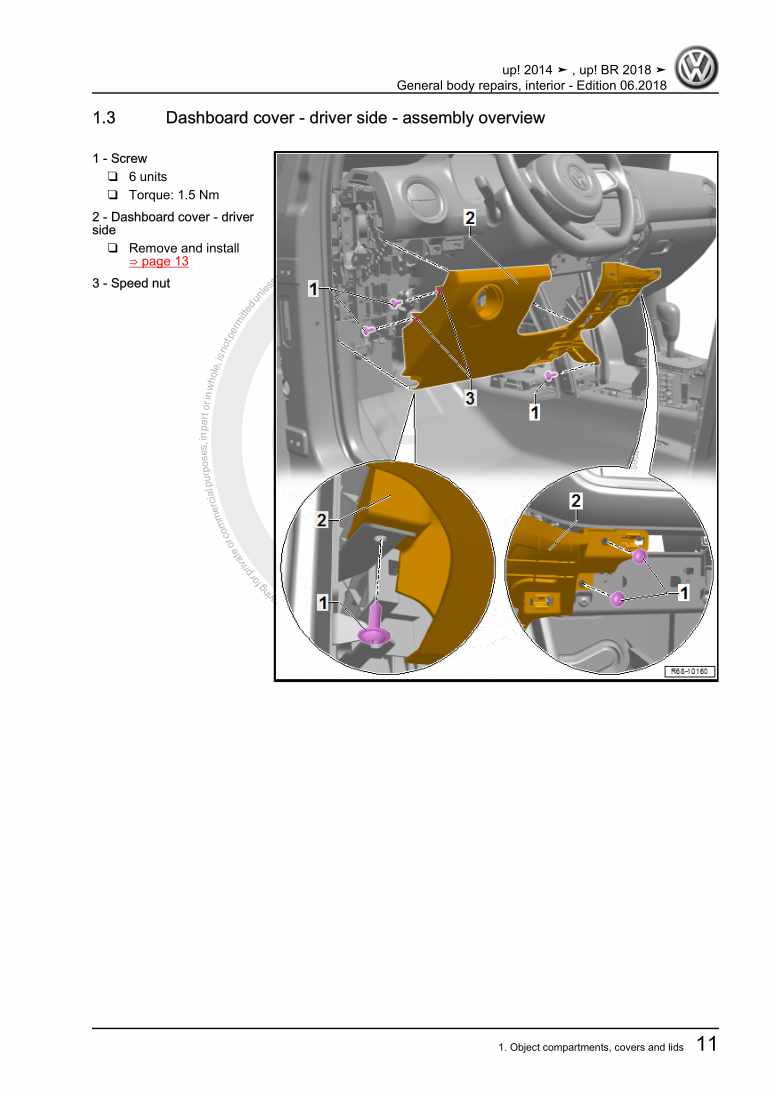
General body repairs, interior

Beispielseite für Reparaturanleitung General body repairs, interior

Für VW UP (Brasilien ) (2014 >) / VW UP (Brasilien) (2014) / VW Up [BR] (2014 >)

15,68 € Details

5 - Speed automated transmission 0CT

Beispielseite für Reparaturanleitung 5 - Speed automated transmission 0CT

Für VW UP (Brasilien ) (2014 >) / VW UP (Brasilien) (2014) / VW Up [BR] (2014 >)

12,18 € Details

Unsere Best Seller

Schon gewusst? Wir bieten auch originale Autoteile an.

Autoteil 8W0973737 Gehaeuse

8W0973737

Gehaeuse

6,57 €

Details
Autoteil 022133759 Antrieb

022133759

Antrieb

191,59 €

Details
Autoteil 5G0959855JWZU Schalter

5G0959855JWZU

Schalter

31,41 €

Details
Autoteil 5Q0825271A Abdeckung

5Q0825271A

Abdeckung

5,41 €

Details
Autoteil 5TA898619 Bef.Satz

5TA898619

Bef.Satz

40,99 €

Details

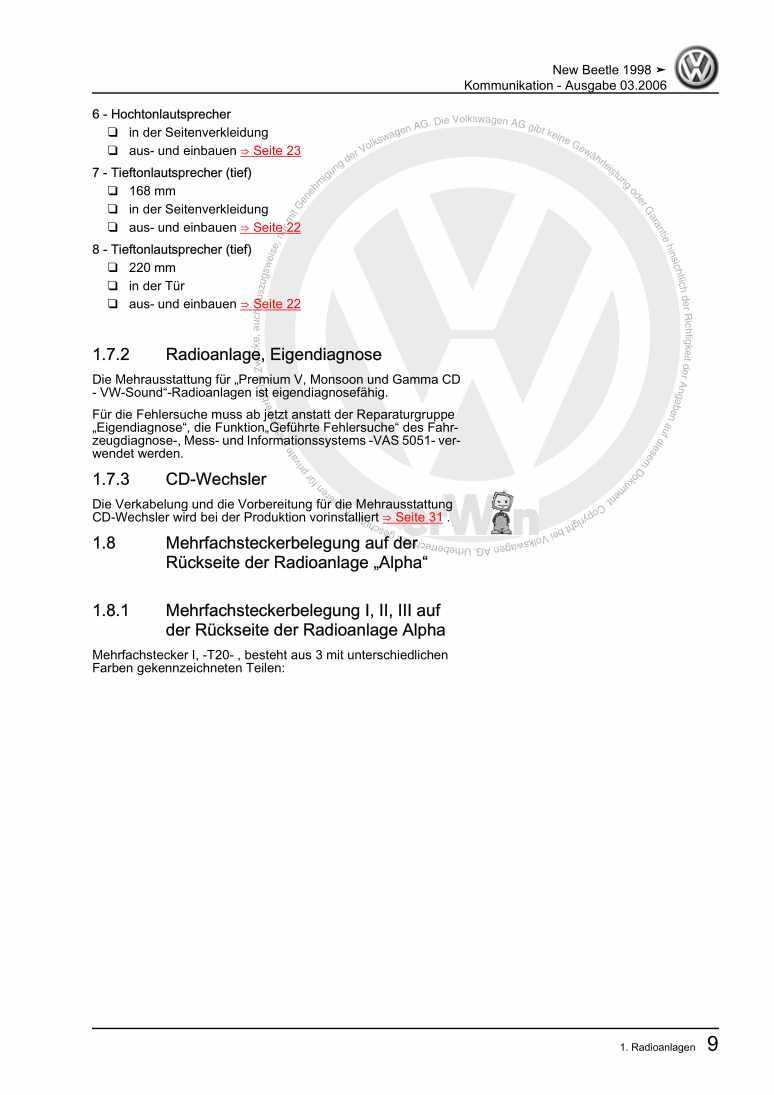
Kommunikation

Beispielseite für Reparaturanleitung Kommunikation

Für New Beetle Cabrio (2003 - 2010) / New Beetle / New Beetle (USA) (1998 - 2007) / New Beetle (Europe) (1999 - 2002)

6,46 € Details

Heizung, Klimaanlage

Beispielseite für Reparaturanleitung Heizung, Klimaanlage

Für Beetle (NBL) Limousine (2012) / Beetle (NBC) Cabrio (2012)

15,89 € Details

5 Gang-Schaltgetriebe 02G Allradantrieb
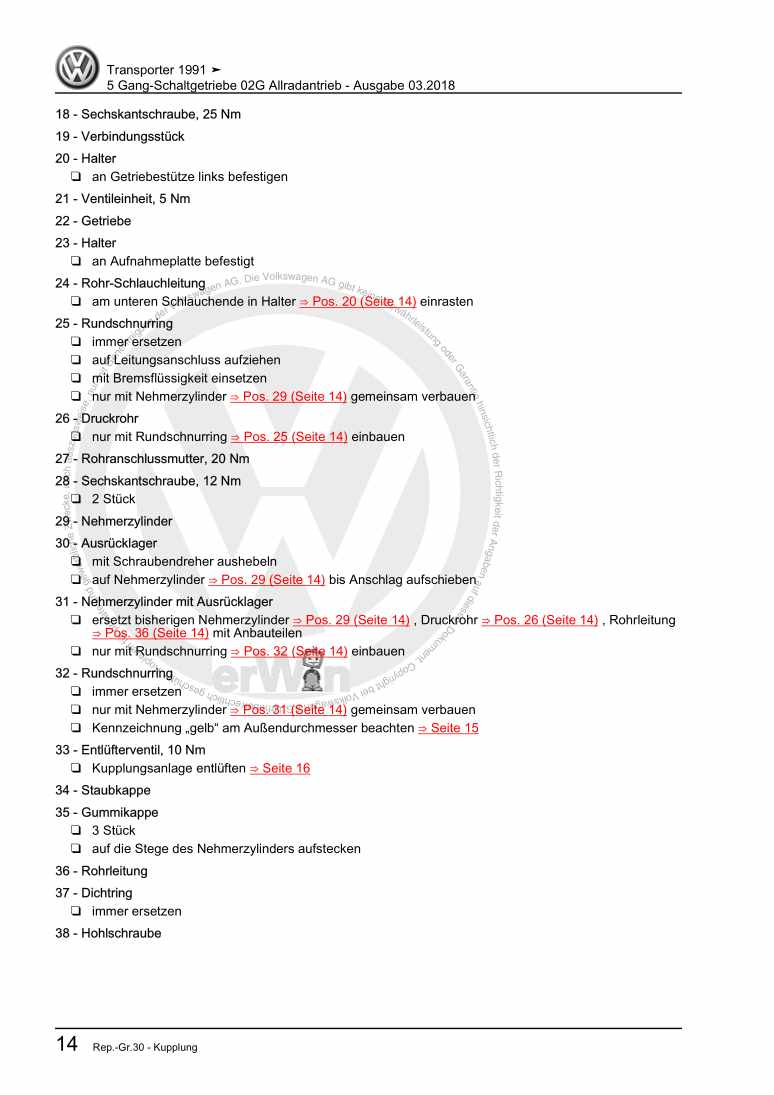
Beispielseite für Reparaturanleitung 5 Gang-Schaltgetriebe 02G Allradantrieb

Für Transporter Caravelle / Transporter Doppelkab / Transporter Kasten / Transporter Kombi/Cam / Transporter Pritsche (1991 - 1996)

23,09 € Details

image/svg+xml Über Clonck

Originale Reparaturanleitungen und Ersatzteile

Unsere Reparaturanleitungen sind Originale, kommen direkt von Volkswagen und erfüllen die höchsten Qualitätsstandards.

In unserem Originalteile-Shop verkaufen wir hochwertige Originalersatzteile der Fahrzeughersteller. Mithilfe der Suche gibst du die gewünschte Teilenummer (OE-Nummer) ein und bestellst schnell und einfach das benötigte Ersatzteil.

Höchste Qualitätsstandards

Bei Clonck wollen wir Autoschrauber und Kfz-Profis glücklich machen. Aus diesem Grund findest du bei Clonck ausschließlich professionelle und hochwertige Reparaturanleitungen, mit deren Hilfe du dein Fahrzeug fachgerecht reparieren kannst.

Unsere Partner

Autohaus Schmidt GmbH
Automag GmbH Filiale Laim
KFZ-VERLAG GmbH
Zimpel und Franke GmbH

Clonck: Der Autoreparatur-Shop - gibt's auch als App!

Clonck App Logo Play Store

Clonck: Passende Autoteile für deine Autoreparatur

4,5 90

Mit Clonck bestellst du die richtigen Originalersatzteile im Handumdrehen.

  • Fahrzeugmodell hinzufügen
  • Baugruppe auswählen
  • Fahrzeug-Identifizierungsnummer (FIN) eingeben
  • Über 5.000 originale Reparaturanleitungen einsehen
Jetzt App starten
Clonck App Preview Auto Mobiltelefon Autoteile