DER AUTOREPARATUR-SHOP
0
Home » Anleitungen » Electrical System
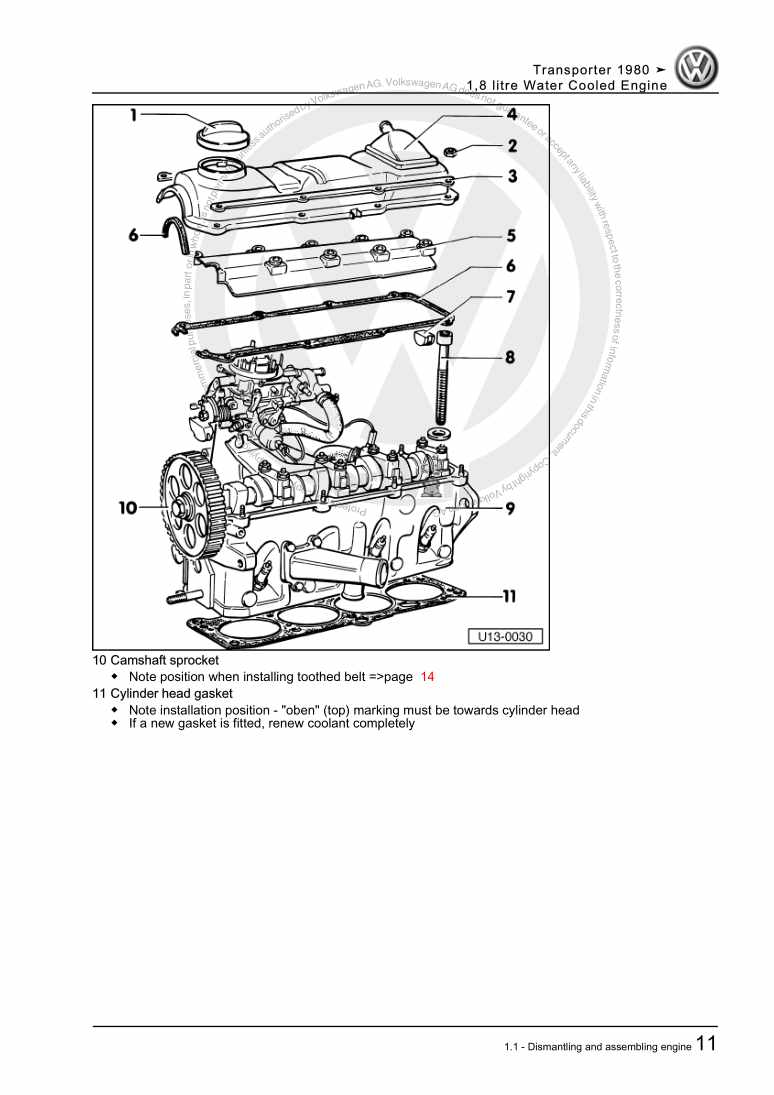
  • Beispielseite für Reparaturanleitung Electrical System
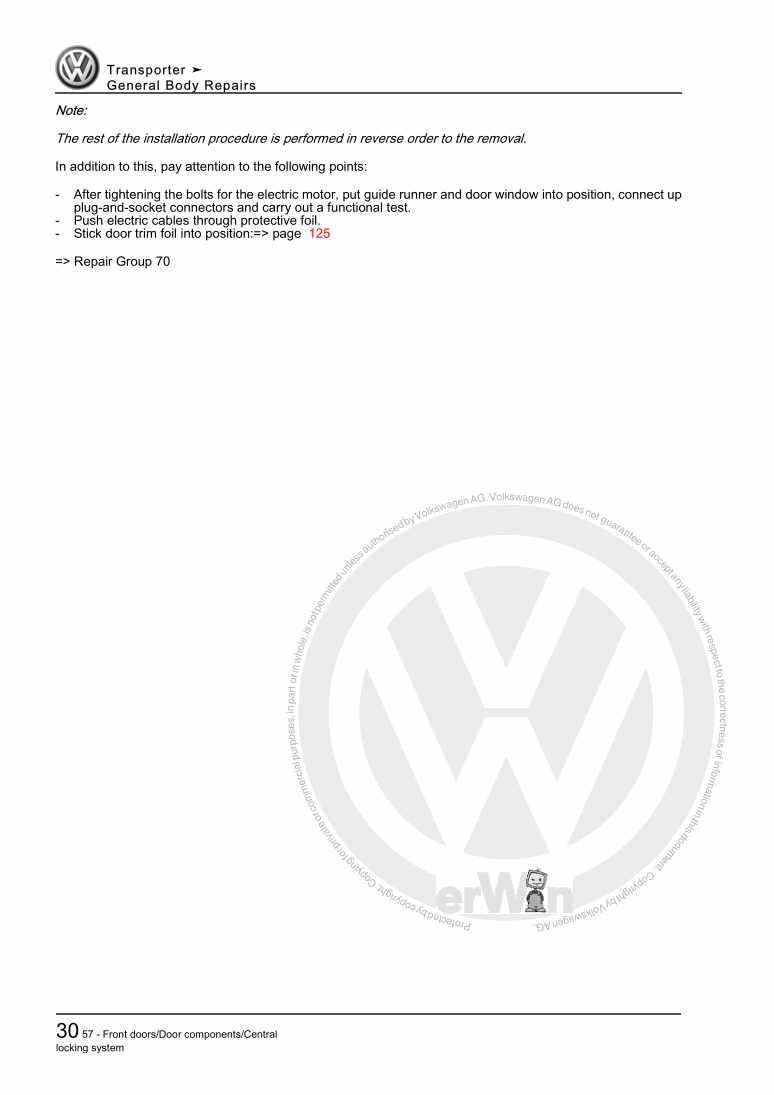
  • Beispielseite für Reparaturanleitung 2 Electrical System
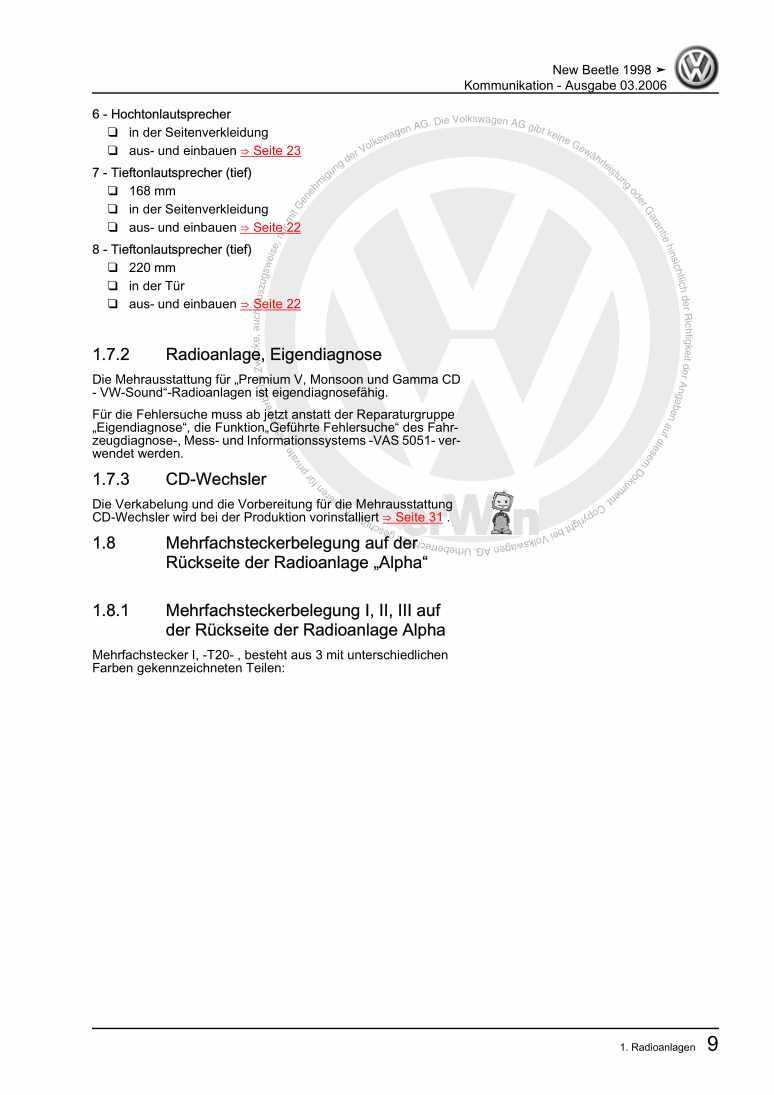
  • Beispielseite für Reparaturanleitung 3 Electrical System
  • Beispielseite für Reparaturanleitung Electrical System
  • Beispielseite für Reparaturanleitung 2 Electrical System
  • Beispielseite für Reparaturanleitung 3 Electrical System

Electrical System

Für MICROBUS / Typ 2 Bus/Caravelle / Typ 2 Kasten / Typ 2 Kombi/... / VAN

Original VW-Reparaturanleitung


11,39 €inkl. 7% MwSt.

Sofort als Download verfügbar

Sprache: English

Digitale PDF Version

3.409 KB

128 Seiten

Detaillierte technische Daten

Sofort lesbar

Diese Reparaturanleitung umfasst: Checking battery, Locations of first and second batteries, Dashboard insert repair, Repairing switch unit for optical and acoustic oil pressure warning, Fault finding, Repairing rear window wiper and washer system und Removing and installing electrically adjustable and heated mirror. Mehr anzeigen
Sichere Zahlung per PayPal, Kreditkarte, Lastschrift, Sofort-Überweisung oder Giropay
PayPal Logo SEPA Lastschrift Logo Giropay Logo Sofort Überweisung Logo

Reparaturanleitung Electrical System pdf Download mit dem Inhalt:

Kapitelübersicht

  • Starter, Current supply
    1
  • 1 Checking battery
    1
  • 1.1 Checking battery
    1
  • 2 Checking acid level
    2
  • 2.1 Checking acid level
    2
  • 2.2 Checking specific gravity
    2
  • 2.3 Charging battery
    3
  • 2.4 Quick charging/starting boost
    3
  • 3 Battery handling
    3
  • 3.1 Battery handling
    3
  • 3.2 Removing and installing battery
    4
  • 4 Locations of first and second batteries
    4
  • 4.1 Locations of first and second batteries
    4
  • 4.2 Fault finding
    5
  • 4.3 Repairing starter
    6
  • 4.4 Fault finding - Starter motor turns too slowly to start engine
    7
  • 4.5 Fault finding - Starter does not turn
    8
  • 4.6 Removing and installing starter
    9
  • 4.8 Fault finding - Alternator warning lamp does not go out when speed increases
    11
  • 4.10 Checking resistance for preexciter current circuit
    14
  • 4.11 Removal and installation of alternator (45 A and 65 A types)
    15
  • 4.12 V-belt replacement
    18
  • 4.13 Removing and installing 65 A alternator (Bosch version)
    19
  • 4.14 Removing and installing 90 A alternator (Bosch version)
    21
  • 4.15 Repairing 45 AMP. and 65 AMP. alternators (Bosch version)
    22
  • 4.16 Repairing alternator (90 A Bosch version)
    28
  • Gauges, Instruments
    33
  • 1 Dashboard insert repair
    33
  • 1.1 Dashboard insert repair
    33
  • 1.2 Dashboard insert repair with clock
    33
  • 1.3 Dashboard insert repair without clock
    36
  • 1.4 Dashboard insert repair with rev counter
    42
  • 1.5 Rework instructions
    48
  • 2 Repairing switch unit for optical and acoustic oil pressure warning
    49
  • 2.1 Repairing switch unit for optical and acoustic oil pressure warning
    49
  • 2.2 How the optical and acoustic oil pressure warning system should work
    51
  • 3 Fault finding
    51
  • 3.1 Fault finding
    51
  • 3.2 Led does not blink when ignition is switched on
    51
  • 3.4 Removing and installing tachograph
    56
  • 3.5 Removing and installing dash insert
    58
  • 3.6 Removing and installing speedometer cable
    59
  • 3.7 Removing and installing fuel gauge sender
    62
  • 3.8 Fault finding - Checking fuel gauge (vehicles without fuse box/relay plate)
    63
  • 3.9 Fault finding - Checking fuel gauge (vehicles with fuse box/relay plate)
    64
  • 3.10 Fault finding
    65
  • 3.11 Removing and installing aerial
    66
  • Windscreen wipe and wash system
    68
  • 1 Repairing rear window wiper and washer system
    68
  • 1.1 Repairing rear window wiper and washer system
    68
  • 1.2 Repairing rear window wiper and washer system
    71
  • 1.3 Removing and installing rear wiper
    74
  • 1.4 Removing and installing rear window washer
    74
  • 1.5 Removing and installing wiper rubbers
    75
  • 1.6 Windscreen wiper system repair
    76
  • 1.7 Windscreen washer system
    77
  • 1.8 Repairing headlight washer system
    78
  • Lights, Lamps, Switches - exterior
    80
  • 1 Steering column switch repair
    80
  • 1.1 Steering column switch repair
    80
  • 1.2 Removal and installation of headlights
    85
  • 1.3 Auxilliary driving lights
    88
  • 1.4 Removing and installing headlights (caravelle carat)
    90
  • 1.5 Repairing fog lights
    92
  • 1.6 Removing and installing tail light
    93
  • 1.7 Rework instructions
    95
  • Lights, Lamps, Switches - interior
    96
  • 1 Removing and installing electrically adjustable and heated mirror
    96
  • 1.1 Removing and installing electrically adjustable and heated mirror
    96
  • 1.2 Removing external mirror
    96
  • 1.3 Installing external mirror
    97
  • Wiring
    98
  • 1 Removing and installing fuse box
    98
  • 1.1 Removing and installing fuse box
    98
  • 1.2 Removing and installing fuse box with relay plate
    99
  • 1.3 Routing of starter wiring
    103
  • 1.4 Removal and installation of main wiring loom
    106
  • 1.5 Removal and installation of wiring loom for dashboard
    108
  • 1.6 Fitting procedure for earthing straps
    110
  • 1.7 Routing of wiring in vehicle (Caravelle Carat)
    112
  • 1.8 Wiring in engine compartiment (1.9 I Digijet engine, near coil)
    114
  • 1.9 Wiring in engine compartment (1.9 Litre digijet engine)
    115
  • 1.10 Wiring in engine compartment (1.9 litre carburetor engine)
    116
  • 1.11 Wiring in engine compartment (Diesel and turbo diesel engines)
    118
  • 1.12 Wiring in engine compartment (diesel and turbo diesel engines)
    119
  • 1.13 Securing of earth strap from body to automatic gearbox
    120
  • 1.14 Attachment of earth strap from body to manual gearbox
    121
  • 1.15 Wiring in passenger compartment (first and second batteries)
    122
  • 1.16 Wiring in passenger compartment (first battery)
    123
  • 1.17 Securing of socket for tdc sender (45 A, 65 A and 90 A alternators)
    124
Hersteller­bezeichnung Electrical System
Hersteller Volkswagen
Passend für MICROBUS / Typ 2 Bus/Caravelle / Typ 2 Kasten / Typ 2 Kombi/... / VAN (1980 - 1999)
Passende Autotypen 25
Kategorie Reparaturanleitung

Im Moment sind noch keine Bewertungen für dieses Produkt vorhanden.

Ähnliche Reparaturanleitungen

4-speed manual gearbox 091
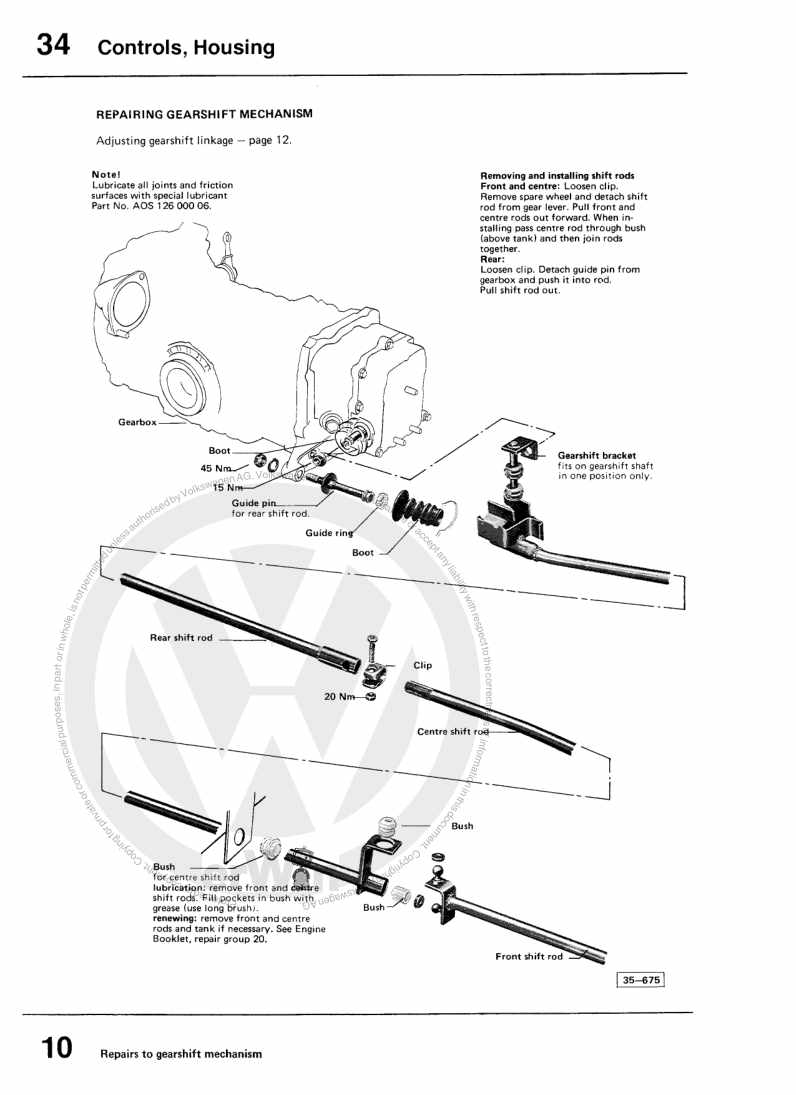
Beispielseite für Reparaturanleitung 4-speed manual gearbox 091

Für Typ 2 / Typ 2 7-9-Sitzer / Typ 2 Doppelkabine / Typ 2 Pritsche (1968 - 2007) / MICROBUS / Typ 2 Bus/Caravelle / Typ 2 Kasten / Typ 2 Kombi/... / VAN (1980 - 1999)

8,08 € Details

5-speed manual gearbox 094

Beispielseite für Reparaturanleitung 5-speed manual gearbox 094

Für Typ 2 / Typ 2 7-9-Sitzer / Typ 2 Doppelkabine / Typ 2 Pritsche (1968 - 2007) / MICROBUS / Typ 2 Bus/Caravelle / Typ 2 Kasten / Typ 2 Kombi/... / VAN (1980 - 1999)

9,84 € Details

5 Speed Manual Gearbox 094

Beispielseite für Reparaturanleitung 5 Speed Manual Gearbox 094

Für MICROBUS / Typ 2 Bus/Caravelle / Typ 2 Kasten / Typ 2 Kombi/... / VAN (1980 - 1999)

11,32 € Details

4 Speed Manual Gearbox 091/I

Beispielseite für Reparaturanleitung 4 Speed Manual Gearbox 091/I

Für MICROBUS / Typ 2 Bus/Caravelle / Typ 2 Kasten / Typ 2 Kombi/... / VAN (1980 - 1999)

10,12 € Details

4 cylinder diesel engine, mechanics CS,JX,KY
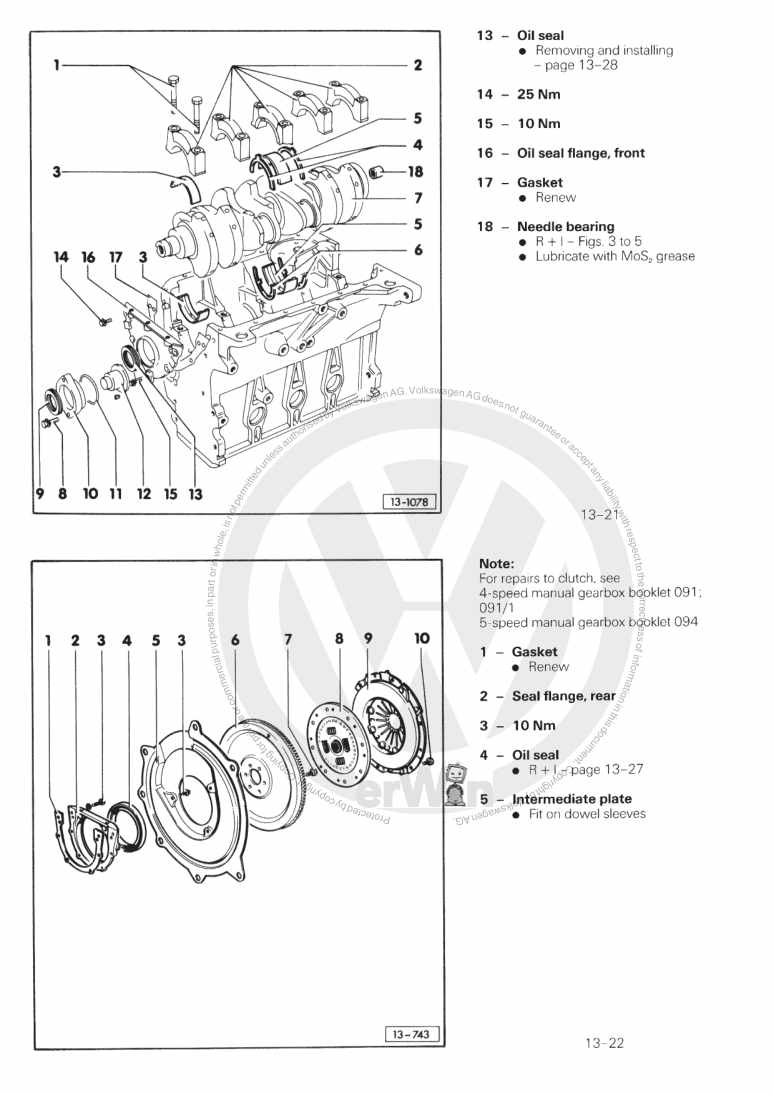
Beispielseite für Reparaturanleitung 4 cylinder diesel engine, mechanics CS,JX,KY

Für Typ 2 / Typ 2 7-9-Sitzer / Typ 2 Doppelkabine / Typ 2 Pritsche (1968 - 2007) / MICROBUS / Typ 2 Bus/Caravelle / Typ 2 Kasten / Typ 2 Kombi/... / VAN (1980 - 1999)

8,22 € Details

Volksiebus, 1.8L 70kw carburettor engine, 4 - speed manual gearbox, from VIN No: 25ZTU002010, from april 1996
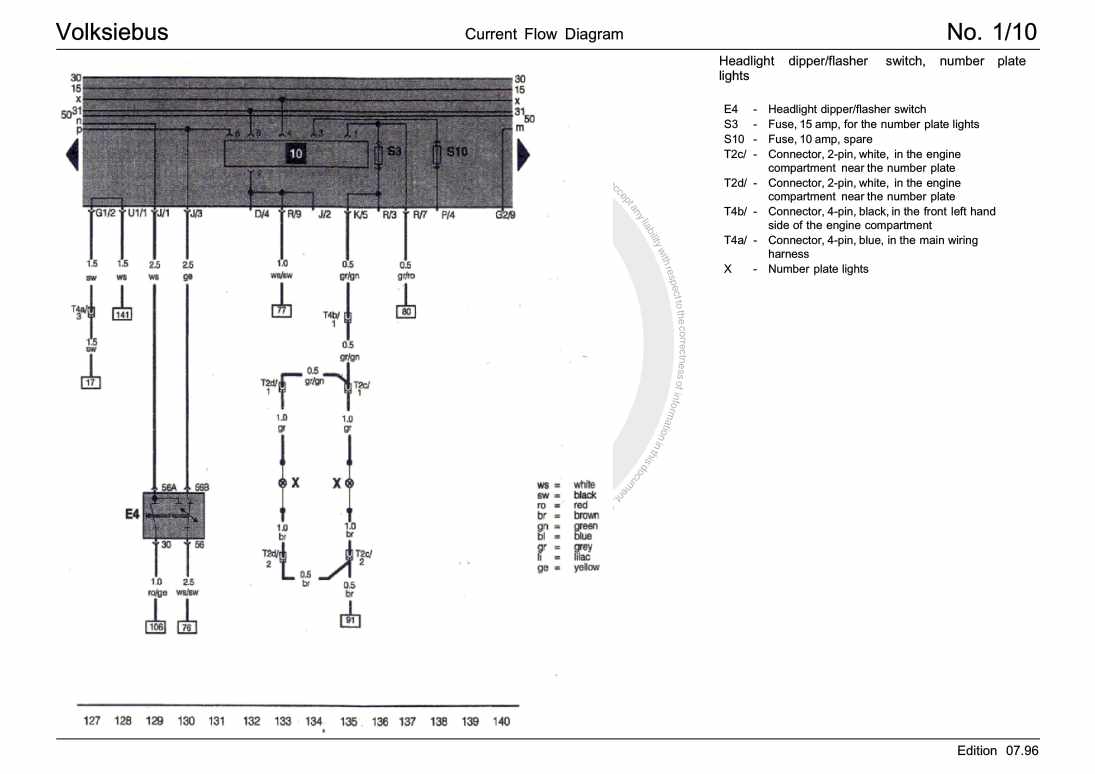
Beispielseite für Reparaturanleitung Volksiebus, 1.8L 70kw carburettor engine, 4 - speed manual gearbox, from VIN No: 25ZTU002010, from april 1996

Für MICROBUS / Typ 2 Bus/Caravelle / Typ 2 Kasten / Typ 2 Kombi/... / VAN (1980 - 1999)

7,82 € Details

2.0 ltr. L-jetronic engine CV

Beispielseite für Reparaturanleitung 2.0 ltr. L-jetronic engine CV

Für Typ 2 / Typ 2 7-9-Sitzer / Typ 2 Doppelkabine / Typ 2 Pritsche (1968 - 2007) / MICROBUS / Typ 2 Bus/Caravelle / Typ 2 Kasten / Typ 2 Kombi/... / VAN (1980 - 1999)

7,44 € Details

Heating, Air conditioning

Beispielseite für Reparaturanleitung Heating, Air conditioning

Für MICROBUS / Typ 2 Bus/Caravelle / Typ 2 Kasten / Typ 2 Kombi/... / VAN (1980 - 1999)

12,25 € Details

1,8 litre Water Cooled Engine

Beispielseite für Reparaturanleitung 1,8 litre Water Cooled Engine

Für MICROBUS / Typ 2 Bus/Caravelle / Typ 2 Kasten / Typ 2 Kombi/... / VAN (1980 - 1999)

10,47 € Details

General Body Repairs

Beispielseite für Reparaturanleitung General Body Repairs

Für MICROBUS / Typ 2 Bus/Caravelle / Typ 2 Kasten / Typ 2 Kombi/... / VAN (1980 - 1999)

12,40 € Details

Unsere Best Seller

Schon gewusst? Wir bieten auch originale Autoteile an.

Autoteil 8W0973737 Gehaeuse

8W0973737

Gehaeuse

6,57 €

Details
Autoteil 022133759 Antrieb

022133759

Antrieb

191,59 €

Details
Autoteil 5G0959855JWZU Schalter

5G0959855JWZU

Schalter

31,41 €

Details
Autoteil 5Q0825271A Abdeckung

5Q0825271A

Abdeckung

5,41 €

Details
Autoteil 5TA898619 Bef.Satz

5TA898619

Bef.Satz

40,99 €

Details

Kommunikation

Beispielseite für Reparaturanleitung Kommunikation

Für New Beetle Cabrio (2003 - 2010) / New Beetle / New Beetle (USA) (1998 - 2007) / New Beetle (Europe) (1999 - 2002)

6,46 € Details

Heizung, Klimaanlage

Beispielseite für Reparaturanleitung Heizung, Klimaanlage

Für Beetle (NBL) Limousine (2012) / Beetle (NBC) Cabrio (2012)

15,89 € Details

5 Gang-Schaltgetriebe 02G Allradantrieb
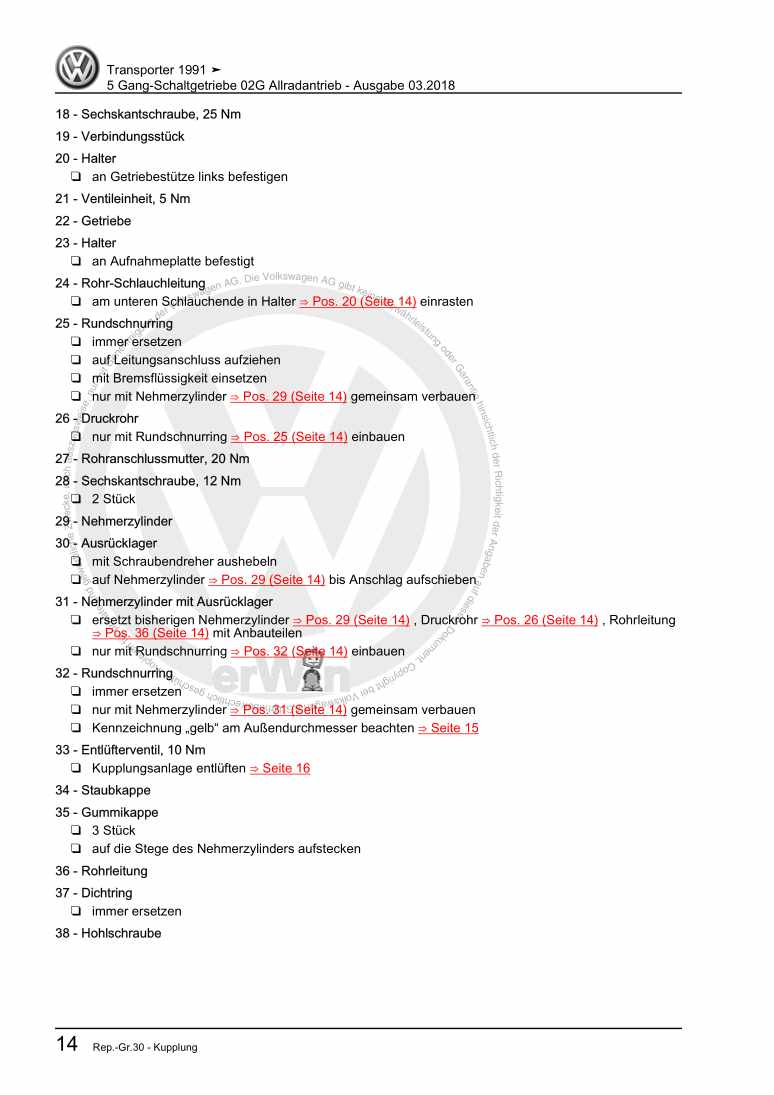
Beispielseite für Reparaturanleitung 5 Gang-Schaltgetriebe 02G Allradantrieb

Für Transporter Caravelle / Transporter Doppelkab / Transporter Kasten / Transporter Kombi/Cam / Transporter Pritsche (1991 - 1996)

23,09 € Details

image/svg+xml Über Clonck

Originale Reparaturanleitungen und Ersatzteile

Unsere Reparaturanleitungen sind Originale, kommen direkt von Volkswagen und erfüllen die höchsten Qualitätsstandards.

In unserem Originalteile-Shop verkaufen wir hochwertige Originalersatzteile der Fahrzeughersteller. Mithilfe der Suche gibst du die gewünschte Teilenummer (OE-Nummer) ein und bestellst schnell und einfach das benötigte Ersatzteil.

Höchste Qualitätsstandards

Bei Clonck wollen wir Autoschrauber und Kfz-Profis glücklich machen. Aus diesem Grund findest du bei Clonck ausschließlich professionelle und hochwertige Reparaturanleitungen, mit deren Hilfe du dein Fahrzeug fachgerecht reparieren kannst.

Unsere Partner

Autohaus Schmidt GmbH
Automag GmbH Filiale Laim
KFZ-VERLAG GmbH
Zimpel und Franke GmbH

Clonck: Der Autoreparatur-Shop - gibt's auch als App!

Clonck App Logo Play Store

Clonck: Passende Autoteile für deine Autoreparatur

4,5 90

Mit Clonck bestellst du die richtigen Originalersatzteile im Handumdrehen.

  • Fahrzeugmodell hinzufügen
  • Baugruppe auswählen
  • Fahrzeug-Identifizierungsnummer (FIN) eingeben
  • Über 5.000 originale Reparaturanleitungen einsehen
Jetzt App starten
Clonck App Preview Auto Mobiltelefon Autoteile