DER AUTOREPARATUR-SHOP
0
Home » Anleitungen » Brake system
  • Beispielseite für Reparaturanleitung Brake system
  • Beispielseite für Reparaturanleitung 2 Brake system
  • Beispielseite für Reparaturanleitung 3 Brake system
  • Beispielseite für Reparaturanleitung Brake system
  • Beispielseite für Reparaturanleitung 2 Brake system
  • Beispielseite für Reparaturanleitung 3 Brake system

Brake system

Für Caddy

Original VW-Reparaturanleitung


12,76 €inkl. 7% MwSt.

Sofort als Download verfügbar

Sprache: English

Digitale PDF Version

10.182 KB

147 Seiten

Detaillierte technische Daten

Sofort lesbar

Diese Reparaturanleitung umfasst: General information, Control unit and hydraulic unit, Sensors, Front brake, Brake servo and brake master cylinder und Vacuum system. Mehr anzeigen
Sichere Zahlung per PayPal, Kreditkarte, Lastschrift, Sofort-Überweisung oder Giropay
PayPal Logo SEPA Lastschrift Logo Giropay Logo Sofort Überweisung Logo

Reparaturanleitung Caddy Brake system pdf Download mit dem Inhalt:

Kapitelübersicht

  • Technical data
    1
  • 1 Safety information
    1
  • 1.1 Safety measures when working on vehicles with a start/stop system
    1
  • 2 Identification
    3
  • 2.1 Allocation of PR number - brakes
    3
  • 3 Repair instructions
    4
  • 3.1 Checking vacuum system
    4
  • 4 Technical data
    5
  • 4.1 Technical data for brakes
    5
  • 5 Brake test
    8
  • 5.1 General information
    8
  • 5.2 Checking vehicles with front-wheel drive
    8
  • 5.3 Checking vehicles with all-wheel drive
    8
  • 6 Hazard classification of high-voltage system
    10
  • Anti-lock brake system
    11
  • 1 General information
    11
  • 1.1 Repair instructions for repair work on ABS
    11
  • 2 Overview of fitting locations
    14
  • 2.1 Overview of fitting locations – ABS/ESP
    14
  • 3 Control unit and hydraulic unit
    17
  • 3.1 Assembly overview – control unit and hydraulic unit
    17
  • 3.2 Removing and installing ABS control unit J104 and ABS hydraulic unit N55
    19
  • 3.3 Separating control unit from hydraulic unit
    25
  • 3.4 Fitting control unit to hydraulic unit
    26
  • 3.5 Connecting brake lines to hydraulic unit
    28
  • 4 Sensors
    30
  • 4.1 Assembly overview – speed sensor on front axle
    30
  • 4.2 Assembly overview – speed sensors on rear axle
    30
  • 4.3 Removing and installing brake light switch
    32
  • 4.4 Removing and installing speed sensors on front axle G45/G47
    35
  • 4.5 Removing and installing speed sensors on rear axle G44/G46
    36
  • Brakes - mechanism
    37
  • 1 Front brake
    37
  • 1.1 Assembly overview – front brake
    37
  • 1.2 Removing and installing brake pads
    39
  • 1.3 Removing and installing brake caliper
    43
  • 1.4 Removing and installing brake carrier
    45
  • 1.5 Removing and installing brake disc
    47
  • 1.6 Removing and installing brake splash plate
    49
  • 2 Rear brake
    53
  • 2.1 Assembly overview - rear brakes
    53
  • 2.2 Removing and installing brake pads
    55
  • 2.3 Removing and installing brake caliper
    58
  • 2.4 Removing and installing brake carrier
    61
  • 2.5 Removing and installing brake disc
    64
  • 2.6 Removing and installing brake splash plate
    66
  • 3 Parking brake
    69
  • 3.1 Assembly overview – parking brake
    69
  • 3.2 Adjusting parking brake
    69
  • 3.3 Removing and installing rear brake cable
    71
  • 4 Brake pedal
    76
  • 4.1 Assembly overview – brake pedal
    76
  • 4.2 Removing and installing mounting bracket
    78
  • 4.3 Removing and installing brake light switch
    82
  • 4.4 Separating brake pedal from brake servo
    82
  • 4.5 Connecting brake pedal to brake servo
    83
  • Brakes - hydraulics
    85
  • 1 Front brake caliper
    85
  • 1.1 Assembly overview – front brake caliper
    85
  • 1.2 Removing and installing brake caliper piston
    86
  • 2 Rear brake caliper
    90
  • 2.1 Assembly overview – rear brake caliper
    90
  • 2.2 Removing and installing brake caliper piston
    92
  • 3 Brake servo and brake master cylinder
    95
  • 3.1 Assembly overview – brake servo/brake master cylinder
    95
  • 3.2 Removing and installing brake servo
    99
  • 3.3 Removing and installing brake master cylinder
    107
  • 3.4 Removing and installing brake fluid reservoir
    118
  • 4 Vacuum system
    124
  • 4.1 Assembly overview - electric vacuum pump
    124
  • 4.2 Assembly overview - vacuum pump
    125
  • 4.3 Checking non-return valve
    125
  • 4.4 Removing and installing non-return valve
    126
  • 4.5 Removing and installing brake servo pressure sensor
    127
  • 4.6 Checking vacuum system
    128
  • 5 Brake lines
    133
  • 5.1 Repairing brake lines
    133
  • 6 Hydraulic system
    140
  • 6.1 General notes on brake fluid
    140
  • 6.2 Pre-bleeding hydraulic system
    140
  • 6.3 Bleeding hydraulic system following standard procedure
    141
  • 6.4 Subsequent bleeding of hydraulic system
    142
  • 6.5 Testing for leaks
    143
Hersteller­bezeichnung Brake system
Hersteller Volkswagen
Passend für Caddy (2016)
Passende Autotypen SA
Kategorie Reparaturanleitung

Im Moment sind noch keine Bewertungen für dieses Produkt vorhanden.

Ähnliche Reparaturanleitungen

6-speed dual clutch gearbox 02E
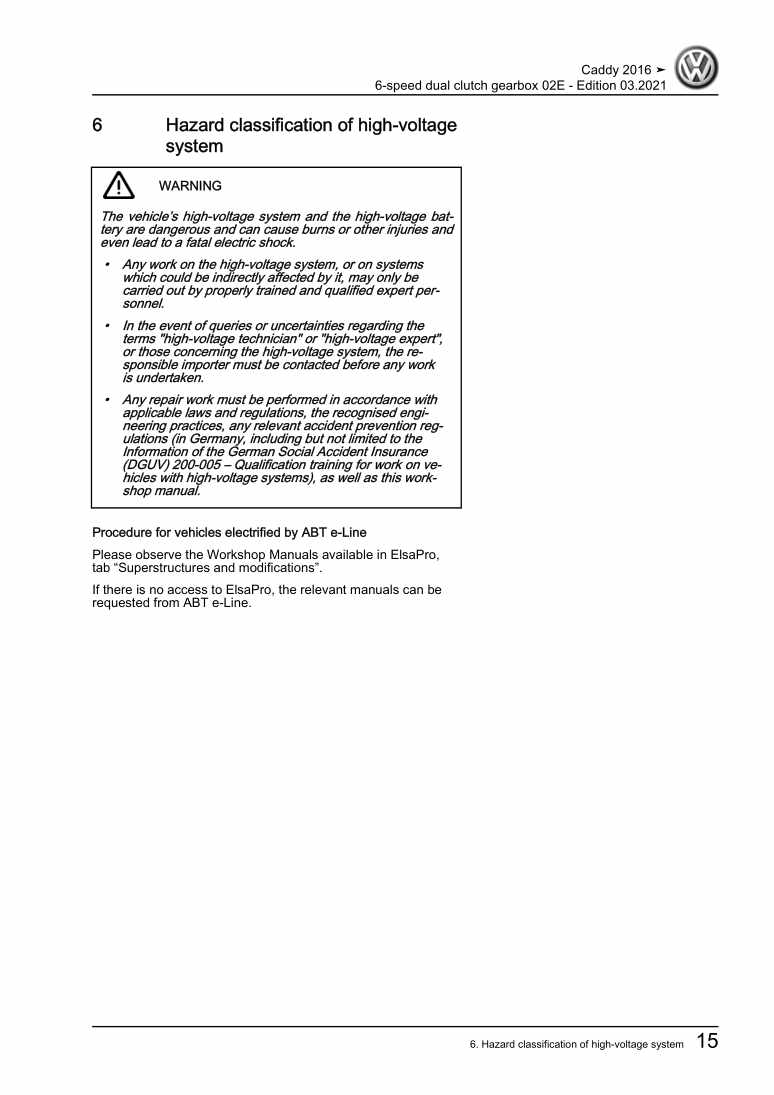
Beispielseite für Reparaturanleitung 6-speed dual clutch gearbox 02E

Für Caddy (2016)

19,30 € Details

General body repairs, interior

Beispielseite für Reparaturanleitung General body repairs, interior

Für Caddy (2016)

30,13 € Details

Communication

Beispielseite für Reparaturanleitung Communication

Für Caddy (2016)

9,91 € Details

Propshaft and rear final drive

Beispielseite für Reparaturanleitung Propshaft and rear final drive

Für Caddy (2016)

6,70 € Details

5-speed manual gearbox 0AH

Beispielseite für Reparaturanleitung 5-speed manual gearbox 0AH

Für Caddy (2016)

16,40 € Details

4-cylinder injection engine (1.4 l engine, natural gas)
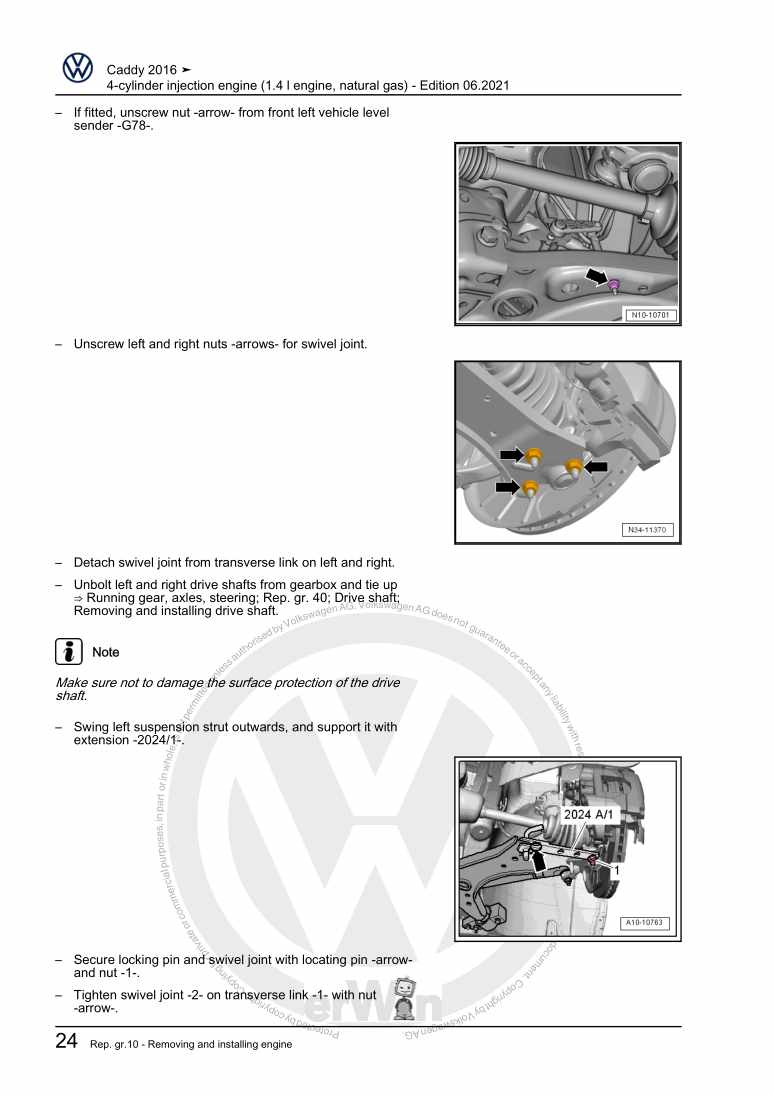
Beispielseite für Reparaturanleitung 4-cylinder injection engine (1.4 l engine, natural gas)

Für Caddy (2016)

28,53 € Details

4-cylinder diesel engine (1.6 l engine, common rail)
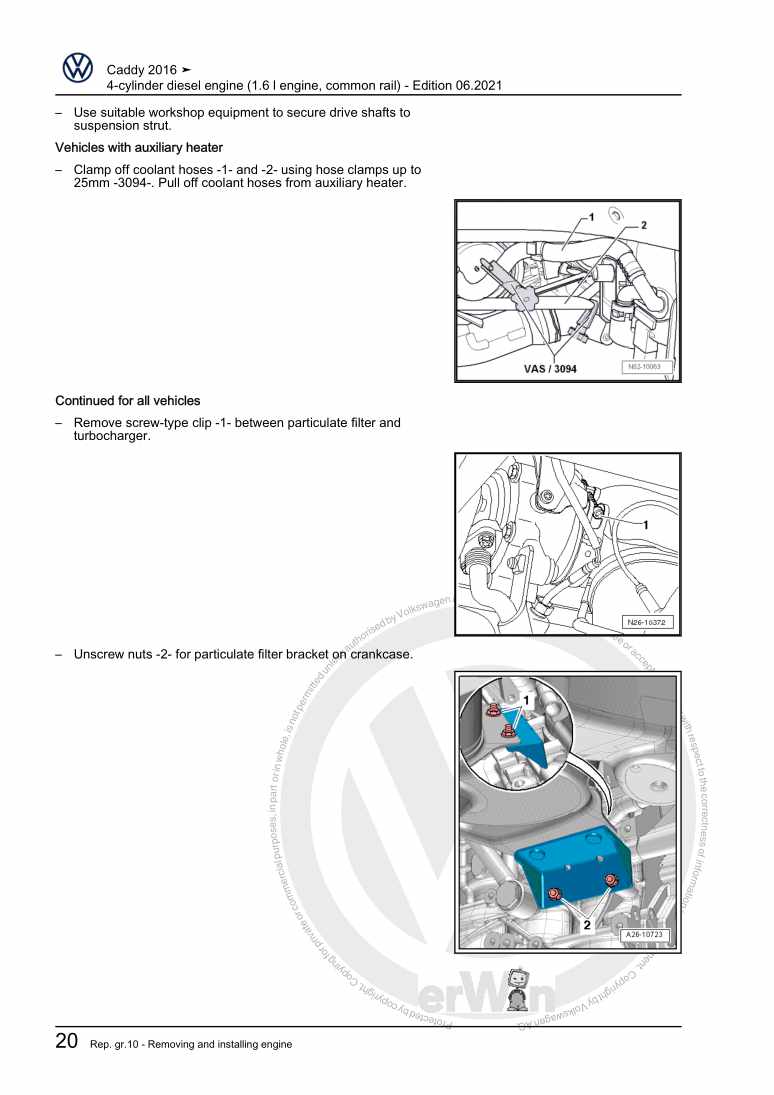
Beispielseite für Reparaturanleitung 4-cylinder diesel engine (1.6 l engine, common rail)

Für Caddy (2016)

31,50 € Details

-Fitting locations: special vehicles

Beispielseite für Reparaturanleitung -Fitting locations: special vehicles

Für Caddy (2016)

4,58 € Details

Running gear, axles, steering

Beispielseite für Reparaturanleitung Running gear, axles, steering

Für Caddy (2016)

25,77 € Details

Heating, air conditioner

Beispielseite für Reparaturanleitung Heating, air conditioner

Für Caddy (2016)

12,69 € Details

Unsere Best Seller

Schon gewusst? Wir bieten auch originale Autoteile an.

Autoteil N10638901 Schraube

N10638901

Schraube

2,94 €

Details
Autoteil 8W0807611A Schlieteil

8W0807611A

Schlieteil

66,85 €

Details
Autoteil 0B1409422D Lager

0B1409422D

Lager

76,64 €

Details
Autoteil 4G0919267H Aufnahme

4G0919267H

Aufnahme

21,35 €

Details
Autoteil N904162024PK Schraube

N904162024PK

Schraube

1,29 €

Details

Nr. 547: Der 2,0l-176kW-TDI-Biturbo-Motor der Dieselmotoren-Baureihe EA288
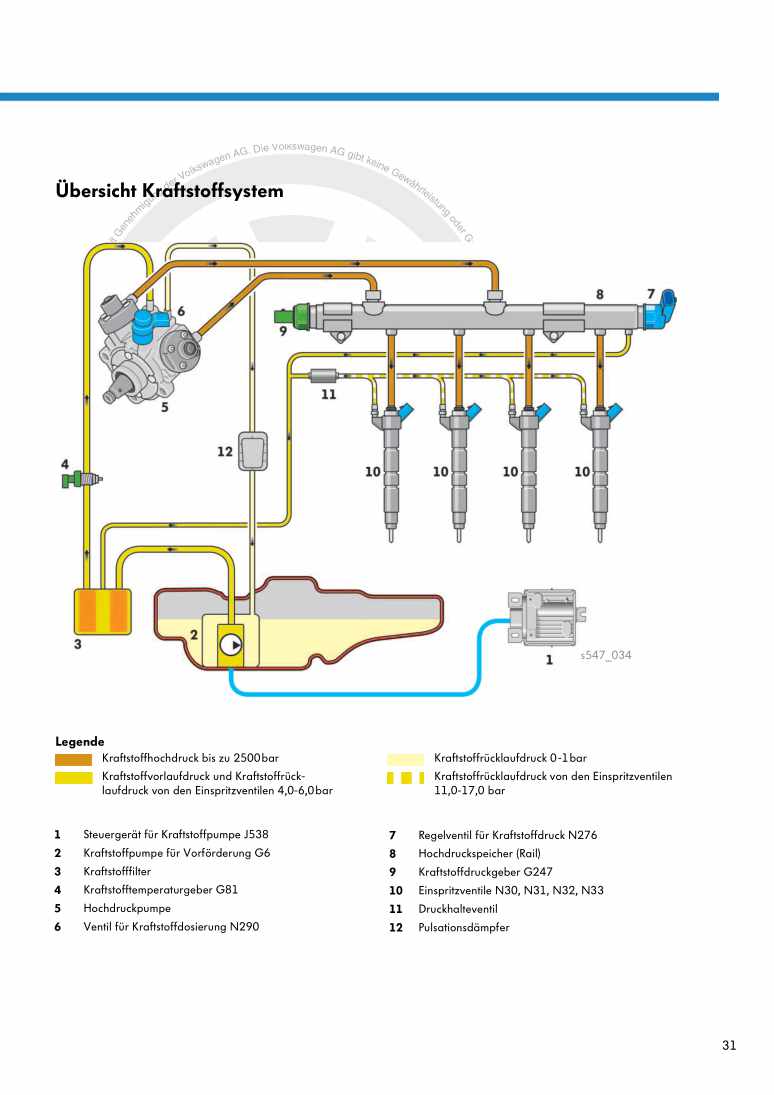
Beispielseite für Reparaturanleitung Nr. 547: Der 2,0l-176kW-TDI-Biturbo-Motor der Dieselmotoren-Baureihe EA288

5,89 € Details

Karosserie-Instandsetzung

Beispielseite für Reparaturanleitung Karosserie-Instandsetzung

Für New Beetle / New Beetle (USA) (1998 - 2007) / New Beetle (Europe) (1999 - 2002)

10,12 € Details

Nr. 540: Das Abgasnachbehandlungssystem Selective-Catalytic-Reduction
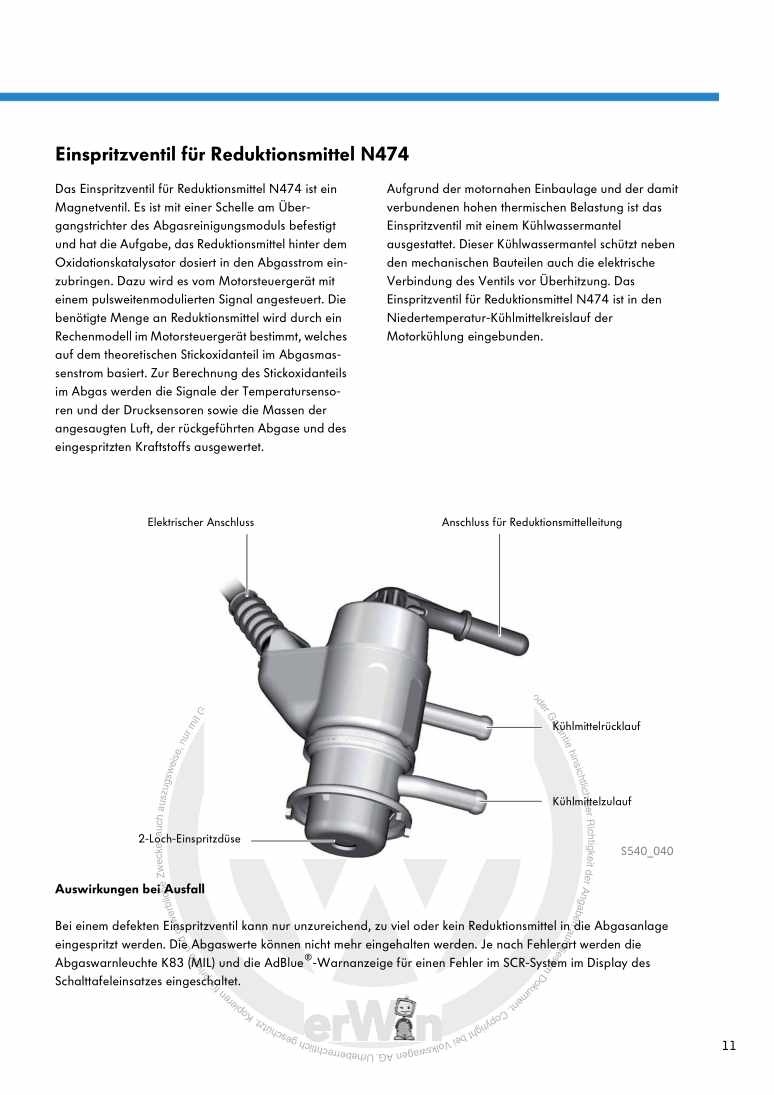
Beispielseite für Reparaturanleitung Nr. 540: Das Abgasnachbehandlungssystem Selective-Catalytic-Reduction

5,67 € Details

image/svg+xml Über Clonck

Originale Reparaturanleitungen und Ersatzteile

Unsere Reparaturanleitungen sind Originale, kommen direkt von Volkswagen und erfüllen die höchsten Qualitätsstandards.

In unserem Originalteile-Shop verkaufen wir hochwertige Originalersatzteile der Fahrzeughersteller. Mithilfe der Suche gibst du die gewünschte Teilenummer (OE-Nummer) ein und bestellst schnell und einfach das benötigte Ersatzteil.

Höchste Qualitätsstandards

Bei Clonck wollen wir Autoschrauber und Kfz-Profis glücklich machen. Aus diesem Grund findest du bei Clonck ausschließlich professionelle und hochwertige Reparaturanleitungen, mit deren Hilfe du dein Fahrzeug fachgerecht reparieren kannst.

Unsere Partner

Autohaus Schmidt GmbH
Automag GmbH Filiale Laim
KFZ-VERLAG GmbH
Zimpel und Franke GmbH

Clonck: Der Autoreparatur-Shop - gibt's auch als App!

Clonck App Logo Play Store

Clonck: Passende Autoteile für deine Autoreparatur

4,5 90

Mit Clonck bestellst du die richtigen Originalersatzteile im Handumdrehen.

  • Fahrzeugmodell hinzufügen
  • Baugruppe auswählen
  • Fahrzeug-Identifizierungsnummer (FIN) eingeben
  • Über 5.000 originale Reparaturanleitungen einsehen
Jetzt App starten
Clonck App Preview Auto Mobiltelefon Autoteile