DER AUTOREPARATUR-SHOP
0
Home » Anleitungen » Body Repairs
  • Beispielseite für Reparaturanleitung Body Repairs
  • Beispielseite für Reparaturanleitung 2 Body Repairs
  • Beispielseite für Reparaturanleitung 3 Body Repairs
  • Beispielseite für Reparaturanleitung Body Repairs
  • Beispielseite für Reparaturanleitung 2 Body Repairs
  • Beispielseite für Reparaturanleitung 3 Body Repairs

Body Repairs

Für Caddy

Original VW-Reparaturanleitung


28,90 €inkl. 7% MwSt.

Sofort als Download verfügbar

Sprache: English

Digitale PDF Version

24.445 KB

380 Seiten

Detaillierte technische Daten

Sofort lesbar

Diese Reparaturanleitung umfasst: Notice for vehicle electrified by ABT e-Line, Renewing suspension turret, Renewing upper wheel housing longitudinal member - part section, Repairing threads for securing subframe und Renewing roof »vehicles with ladder flap«. Mehr anzeigen
Sichere Zahlung per PayPal, Kreditkarte, Lastschrift, Sofort-Überweisung oder Giropay
PayPal Logo SEPA Lastschrift Logo Giropay Logo Sofort Überweisung Logo

Reparaturanleitung Caddy Body Repairs pdf Download mit dem Inhalt:

Kapitelübersicht

  • Technical data
    1
  • 1 Notice for vehicle converted by ABT e-Line GmbH
    1
  • 2 Basic instructions
    2
  • 2.1 Original joint
    2
  • 2.2 Used joining techniques
    2
  • 3 Key vehicle data
    3
  • 3.1 Vehicle identification number
    3
  • 3.2 Identification plate
    5
  • 3.3 Vehicle data sticker
    6
  • 4 Safety information
    8
  • 4.1 Safety precautions when working with moulded foam inserts
    8
  • 5 Moulded foam inserts
    9
  • 6 Galvanised body parts and high-/higher-strength body panels
    10
  • 7 Laser welding
    14
  • 8 Tools
    15
  • 9 Gaps/shut lines
    16
  • 9.1 Body - front
    16
  • 9.2 Body, rear
    17
  • 10 Body dimensions
    23
  • 10.1 Body - front
    23
  • 10.2 Body, centre
    24
  • 10.3 Body, rear
    29
  • 10.4 Floor panel, front
    32
  • 10.5 Floor panel, centre
    33
  • 10.6 Floor panel, rear
    35
  • 11 Straightening bracket set
    38
  • 11.1 Alignment bracket set, Caddy
    38
  • 11.2 Alignment jig Caddy »Maxi«
    39
  • 11.3 Portal gauges overview, 2-door vehicles
    40
  • 11.4 Portal gauges overview, 4-door vehicles
    41
  • 12 Classification of dangers of high-voltage system
    43
  • Body - front
    44
  • 1 Notice for vehicle electrified by ABT e-Line
    44
  • 2 Renewing suspension turret
    45
  • 2.1 Tools
    46
  • 2.2 Removing
    46
  • 2.3 Installing
    47
  • 3 Renewing engine/motor mounting bracket
    50
  • 3.1 Removing
    50
  • 3.2 Installing
    51
  • 4 Renewing gearbox mounting bracket
    55
  • 4.1 Removing
    55
  • 4.2 Installing
    57
  • 5 Renewing mounting bracket for subframe
    61
  • 5.1 Removing
    61
  • 5.2 Installing
    62
  • 6 Renewing upper outer longitudinal member
    65
  • 6.1 Removing
    65
  • 6.2 Installing
    67
  • 7 Renewing upper wheel housing longitudinal member
    72
  • 7.1 Removing
    72
  • 7.2 Installing
    76
  • 8 Renewing upper wheel housing longitudinal member - part section
    81
  • 8.1 Removing
    81
  • 8.2 Installing
    82
  • 9 Renewing front wheel housing
    85
  • 9.1 Tools
    86
  • 9.2 Removing
    86
  • 9.3 Installing
    87
  • 10 Repairing threads for securing subframe
    90
  • 10.1 Contents of thread repair kit
    91
  • 10.2 Repairing threads
    92
  • 11 Renewing front longitudinal member
    96
  • 11.1 Removing
    96
  • 11.2 Installing
    99
  • 12 Renewing front longitudinal member - part section
    107
  • 12.1 Removing
    107
  • 12.2 Installing
    110
  • 13 Renewing front bumper carrier
    115
  • 13.1 Removing
    115
  • 13.2 Installing
    116
  • Body - centre
    119
  • 1 Notice for vehicle electrified by ABT e-Line
    119
  • 2 Renewing roof
    120
  • 2.1 Removing
    120
  • 2.2 Installing
    125
  • 3 Renewing roof »vehicles with ladder flap«
    139
  • 3.1 Removing
    139
  • 3.2 Installing
    143
  • 4 Renewing roof »Caddy Maxi«
    156
  • 4.1 Removing
    156
  • 4.2 Installing
    159
  • 5 Renewing front cross member for roof
    164
  • 5.1 Removing
    164
  • 5.2 Installing
    165
  • 6 Renewing centre roof reinforcement
    169
  • 6.1 Removing
    169
  • 6.2 Installing
    170
  • 7 Renewing rear roof cross member
    174
  • 7.1 Tools
    174
  • 7.2 Removing
    174
  • 7.3 Installing
    177
  • 8 Renewing rear roof cross member (vehicles with ladder flap)
    179
  • 8.1 Tools
    179
  • 8.2 Removing
    179
  • 8.3 Installing
    181
  • 9 Renewing D-pillar reinforcement
    183
  • 9.1 Tools
    184
  • 9.2 Removing
    184
  • 9.3 Installing
    187
  • 10 Renewing side panel
    195
  • 10.1 Tools
    196
  • 10.2 Removing
    196
  • 10.3 Installing
    200
  • 11 Renewing side panel - part section
    205
  • 11.1 Tools
    206
  • 11.2 Removing
    206
  • 11.3 Installing
    208
  • 12 Renewing complete side panel
    212
  • 12.1 Tools
    213
  • 12.2 Removing
    213
  • 12.3 Installing
    216
  • 13 Renewing side panel beneath guide rail
    222
  • 13.1 Tools
    223
  • 13.2 Removing
    223
  • 13.3 Installing
    224
  • 14 Renewing rear side panel - part section, »Caddy Maxi«
    228
  • 14.1 Tools
    229
  • 14.2 Removing
    229
  • 14.3 Installing
    231
  • 15 Renewing side panel beneath guide rail »Caddy Maxi«
    236
  • 15.1 Tools
    237
  • 15.2 Removing
    237
  • 15.3 Installing
    239
  • 16 Renewing hinge pillar (A-pillar) - part section
    244
  • 16.1 Tools
    244
  • 16.2 Removing
    244
  • 16.3 Installing
    249
  • 17 Renewing roof side member reinforcement - part section
    253
  • 17.1 Tools
    254
  • 17.2 Removing
    254
  • 17.3 Installing
    256
  • 18 Renewing inner hinge pillar (A-pillar)
    261
  • 18.1 Tools
    262
  • 18.2 Removing
    262
  • 18.3 Installing
    265
  • 19 Renewing upper hinge pillar reinforcement
    270
  • 19.1 Tools
    271
  • 19.2 Removing
    271
  • 19.3 Installing
    272
  • 20 Renewing lower hinge pillar reinforcement - part section
    275
  • 20.1 Tools
    275
  • 20.2 Removing
    275
  • 20.3 Installing
    277
  • 21 Renewing middle pillar
    281
  • 21.1 Tools
    282
  • 21.2 Removing
    282
  • 21.3 Installing
    284
  • 22 Renewing centre pillar
    287
  • 22.1 Tools
    287
  • 22.2 Removing
    287
  • 22.3 Installing
    290
  • 23 Renewing side member (sliding door side)
    293
  • 23.1 Overview of parting cuts »Caddy«
    293
  • 23.2 Overview of parting cuts »Caddy Maxi«
    294
  • 23.3 Tools
    295
  • 23.4 Removing
    296
  • 23.5 Installing
    297
  • 24 Renewing side member reinforcement
    301
  • 24.1 Tools
    302
  • 24.2 Removing
    302
  • 24.3 Installing
    303
  • 25 Renewing inner side member reinforcement - part section
    307
  • 25.1 Tools
    307
  • 25.2 Removing
    307
  • 25.3 Installing
    308
  • 26 Renewing connecting piece for floor panel - part section
    310
  • 26.1 Tools
    310
  • 26.2 Removing
    311
  • 26.3 Installing
    312
  • Body - rear
    315
  • 1 Notice for vehicle electrified by ABT e-Line
    315
  • 2 Renewing rear cross panel
    316
  • 2.1 Tools
    316
  • 2.2 Removing
    316
  • 2.3 Installing
    318
  • 3 Renewing lock carrier
    321
  • 3.1 Tools
    322
  • 3.2 Removing
    322
  • 3.3 Installing
    323
  • 4 Renewing tail light mounting
    326
  • 4.1 Tools
    326
  • 4.2 Removing
    326
  • 4.3 Installing
    328
  • 5 Renewing rear cross member
    331
  • 5.1 Tools
    331
  • 5.2 Removing
    331
  • 5.3 Installing
    333
  • 6 Renewing luggage compartment floor - part section
    335
  • 6.1 Tools
    336
  • 6.2 Removing
    336
  • 6.3 Installing
    338
  • 7 Renewing D-pillar
    341
  • 7.1 Tools
    342
  • 7.2 Removing
    342
  • 7.3 Installing
    343
  • 8 Renewing bumper mounting
    346
  • 8.1 Tools
    347
  • 8.2 Removing
    347
  • 8.3 Installing
    348
  • 9 Renewing rear longitudinal member
    351
  • 9.1 Tools
    352
  • 9.2 Removing
    352
  • 9.3 Installing
    353
  • 10 Renewing leaf spring mounting bracket
    357
  • 10.1 Removing
    357
  • 10.2 Installing
    359
  • 11 Renewing wheel housing liner
    363
  • 11.1 Tools
    365
  • 11.2 Removing
    365
  • 11.3 Installing
    366
  • 12 Renewing cross member
    370
  • 12.1 Tools
    371
  • 12.2 Removing
    371
  • 12.3 Installing
    371
Hersteller­bezeichnung Body Repairs
Hersteller Volkswagen
Passend für Caddy (2016)
Passende Autotypen SA
Kategorie Reparaturanleitung

Im Moment sind noch keine Bewertungen für dieses Produkt vorhanden.

Ähnliche Reparaturanleitungen

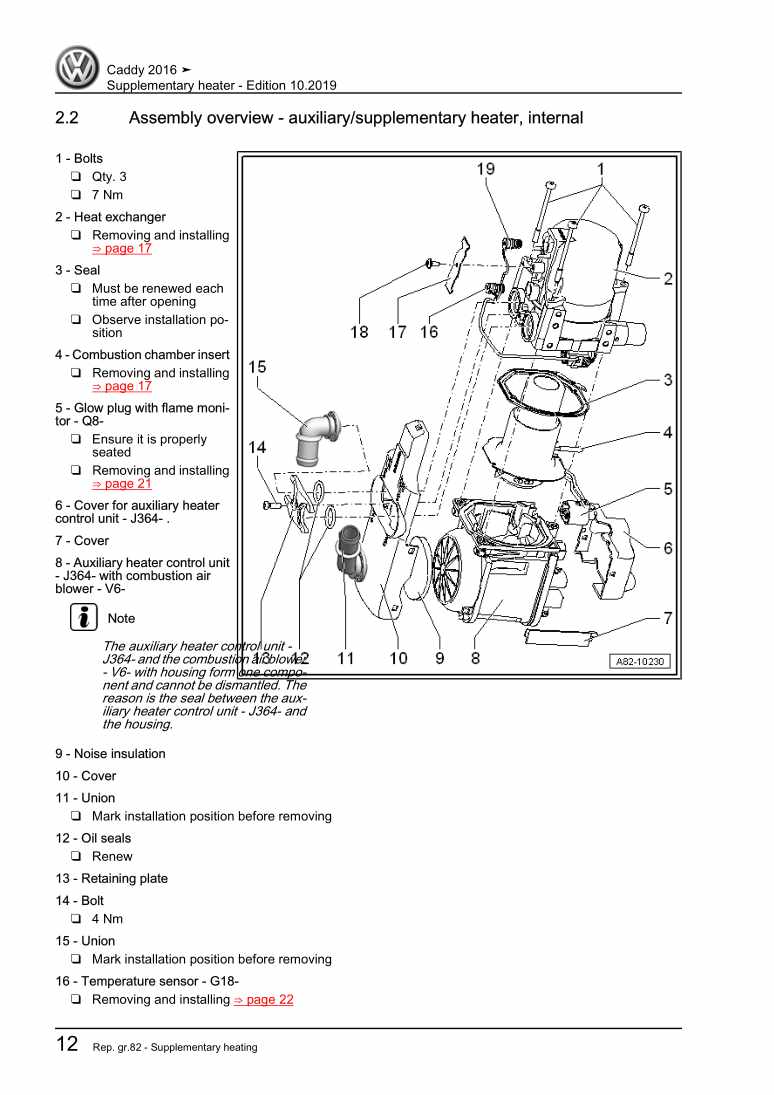
Supplementary heater

Beispielseite für Reparaturanleitung Supplementary heater

Für Caddy (2016)

6,12 € Details

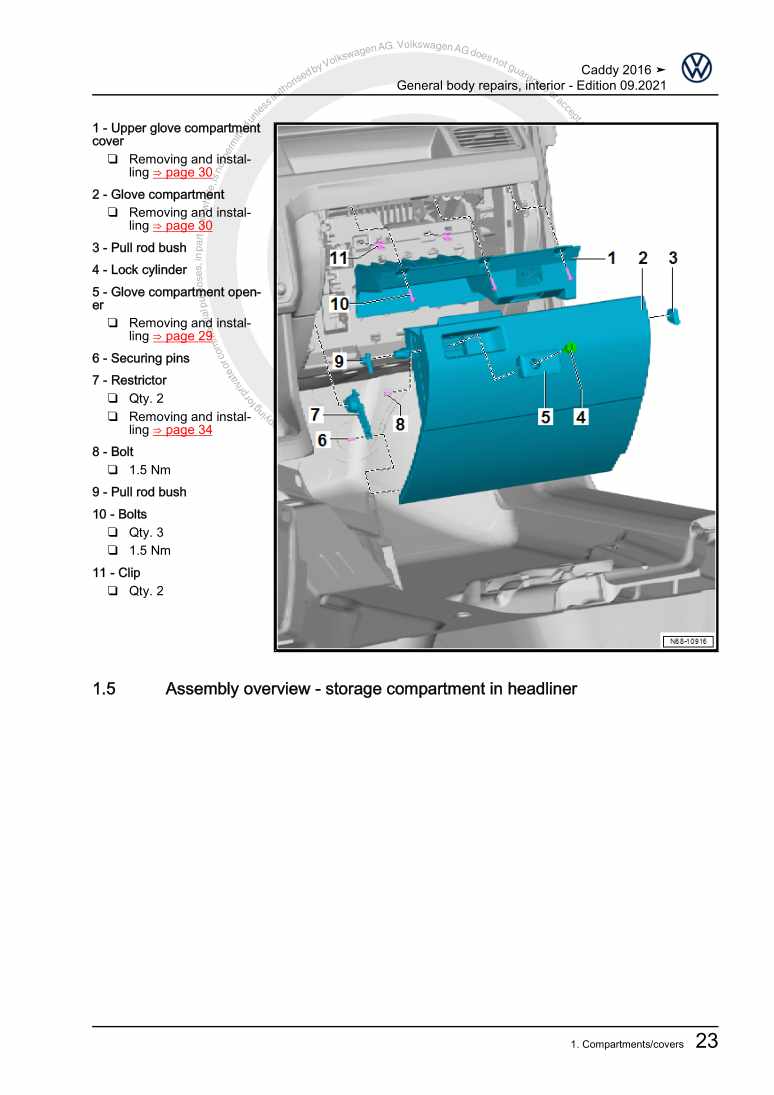
General body repairs, interior

Beispielseite für Reparaturanleitung General body repairs, interior

Für Caddy (2016)

30,13 € Details

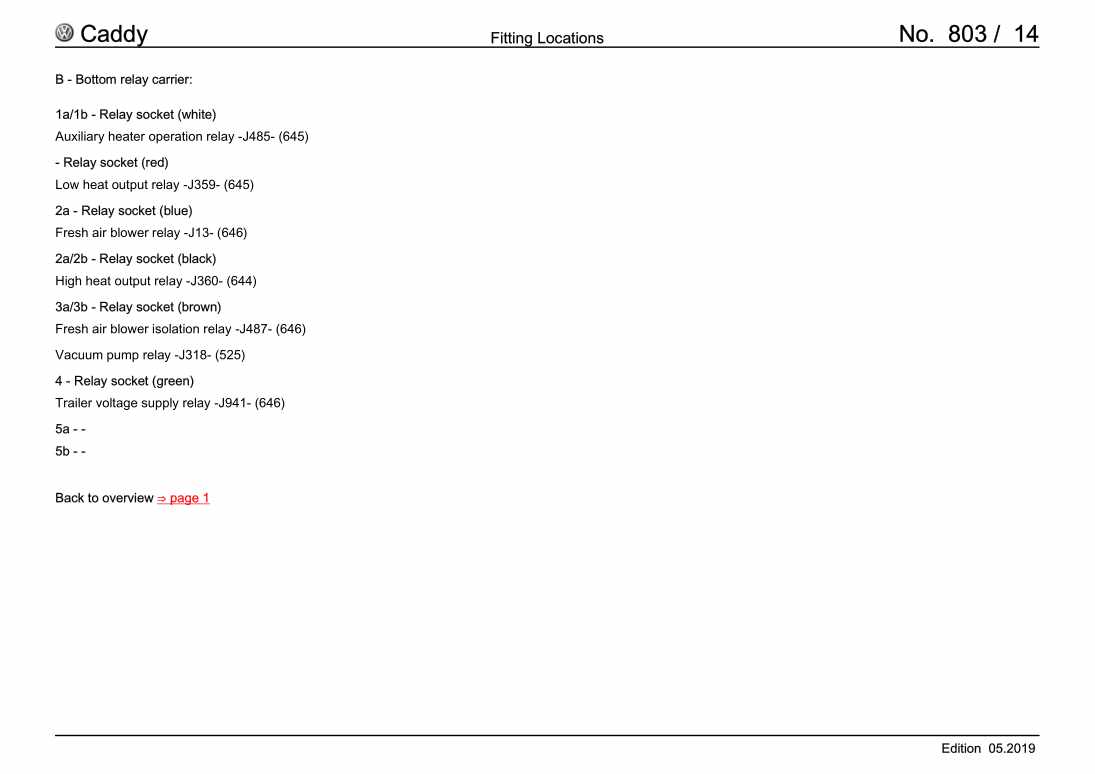
- Fitting locations: Relays

Beispielseite für Reparaturanleitung - Fitting locations: Relays

Für Caddy (2016)

4,47 € Details

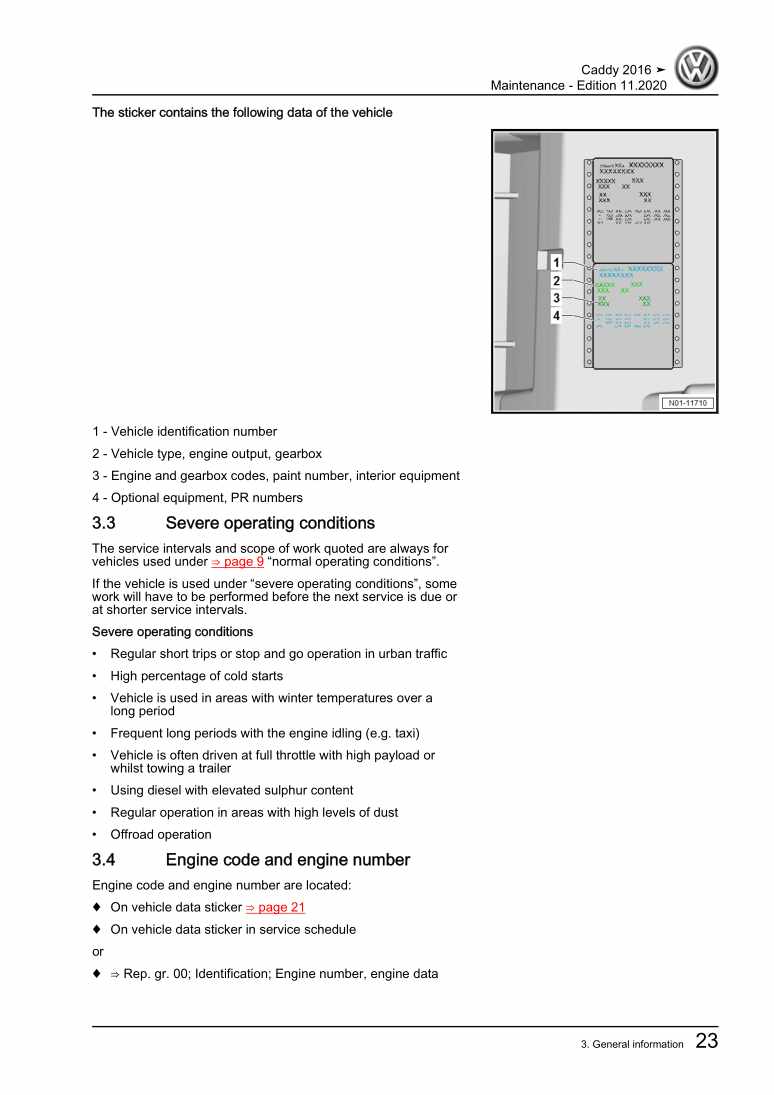
Maintenance

Beispielseite für Reparaturanleitung Maintenance

Für Caddy (2016)

16,70 € Details

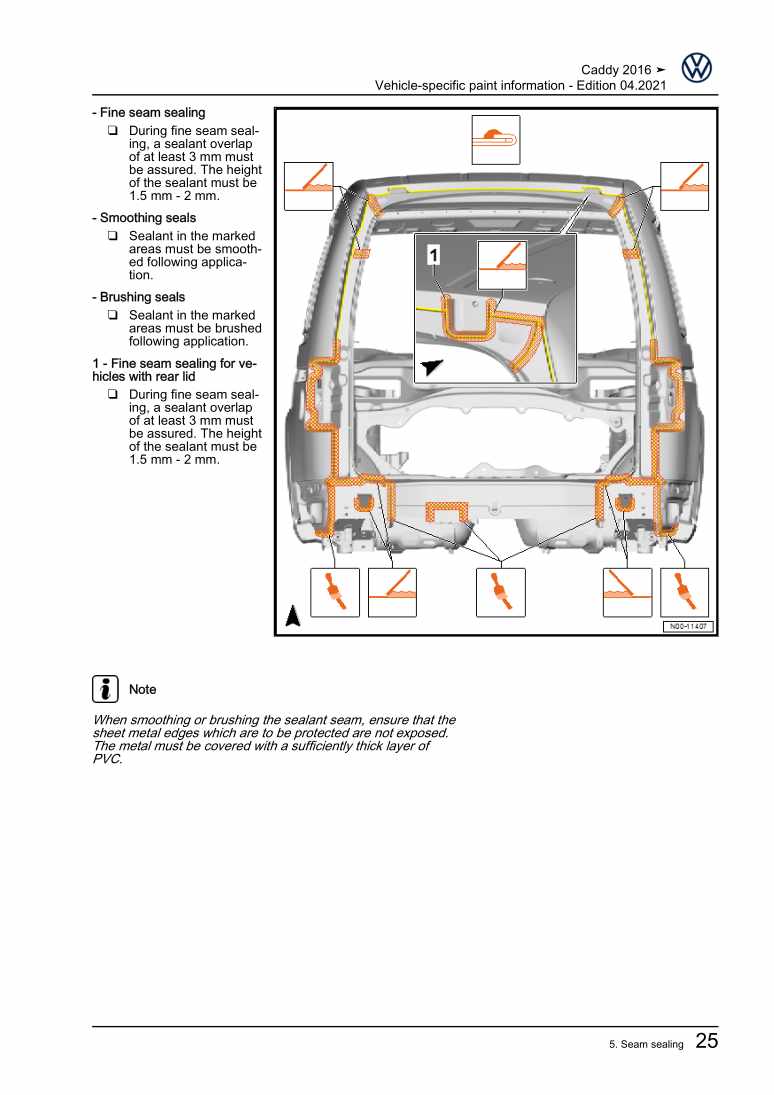
Vehicle-specific paint information

Beispielseite für Reparaturanleitung Vehicle-specific paint information

Für Caddy (2016)

5,41 € Details

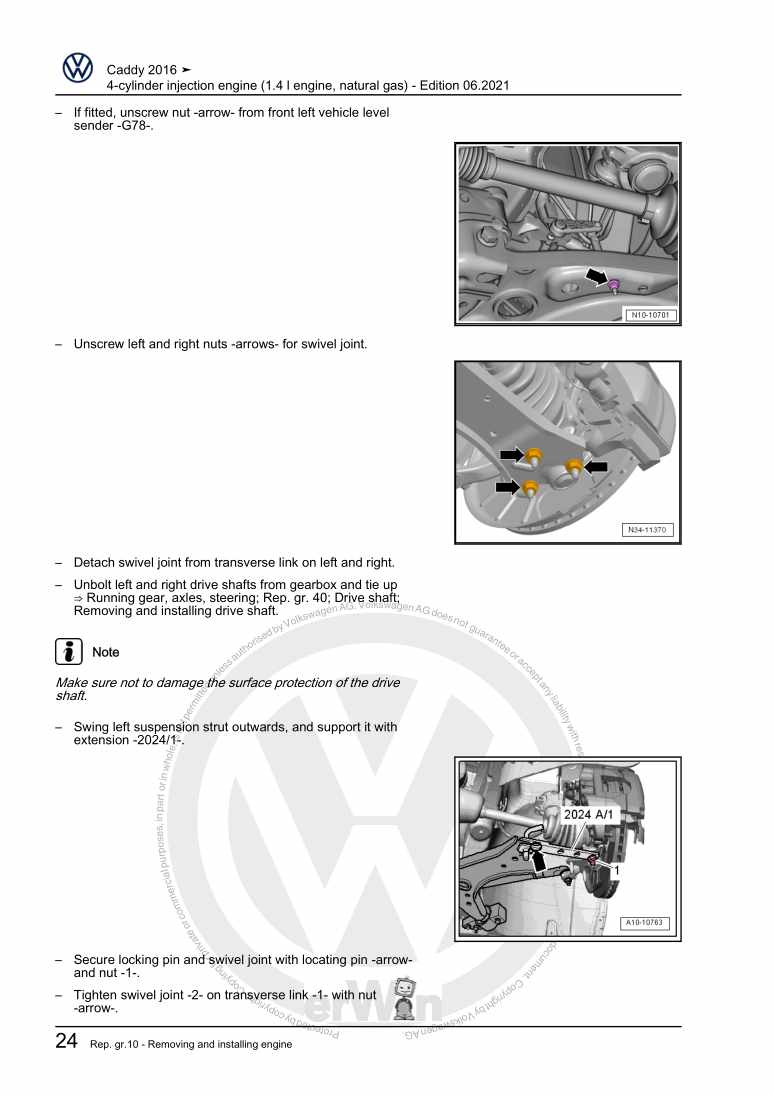
4-cylinder injection engine (1.4 l engine, natural gas)

Beispielseite für Reparaturanleitung 4-cylinder injection engine (1.4 l engine, natural gas)

Für Caddy (2016)

28,53 € Details

Brake system

Beispielseite für Reparaturanleitung Brake system

Für Caddy (2016)

12,76 € Details

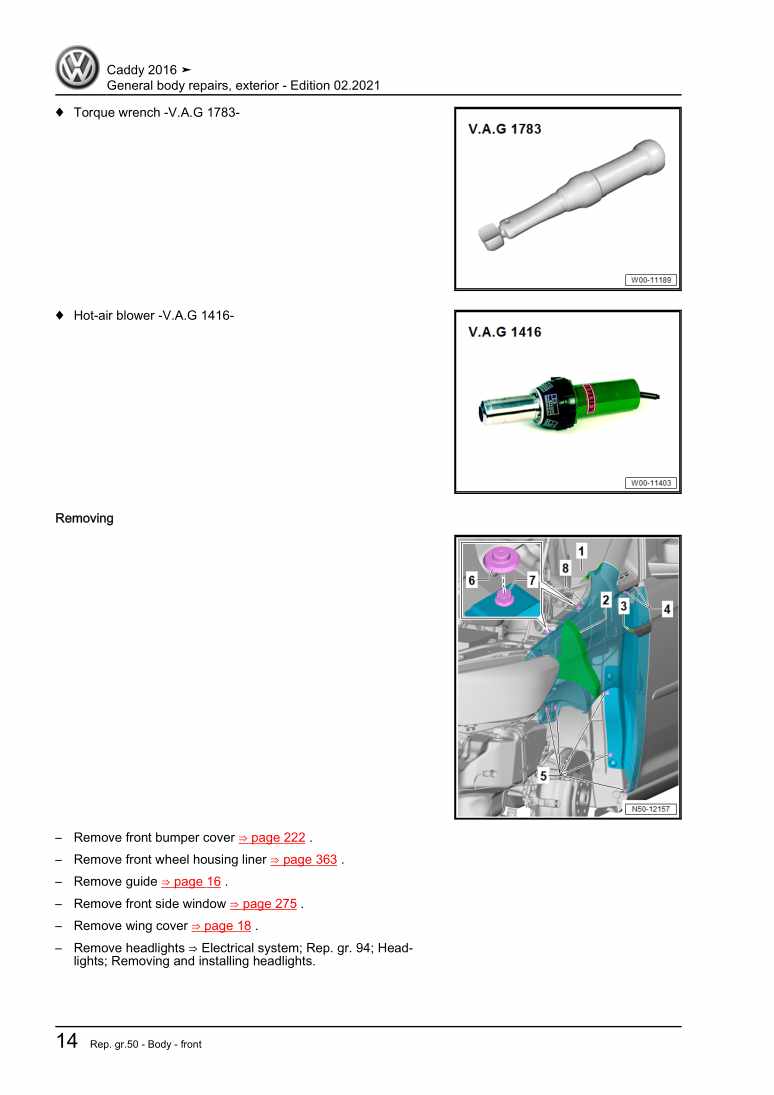
General body repairs, exterior

Beispielseite für Reparaturanleitung General body repairs, exterior

Für Caddy (2016)

30,43 € Details

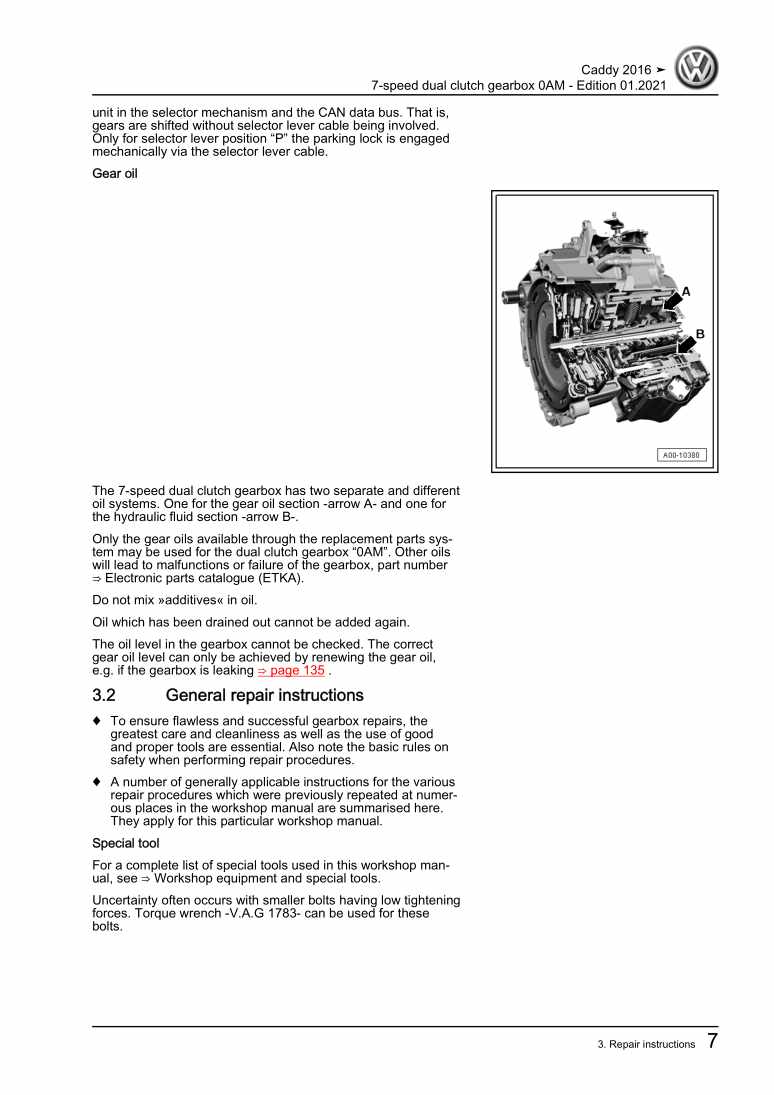
7-speed dual clutch gearbox 0AM

Beispielseite für Reparaturanleitung 7-speed dual clutch gearbox 0AM

Für Caddy (2016)

13,63 € Details

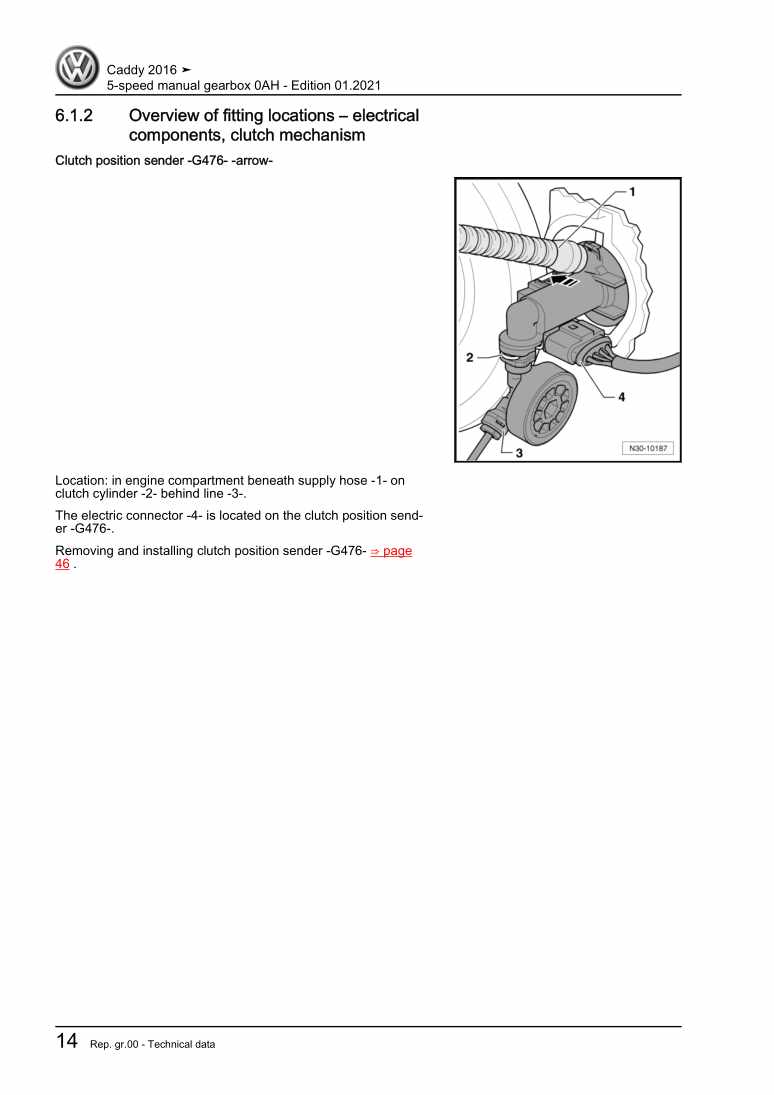
5-speed manual gearbox 0AH

Beispielseite für Reparaturanleitung 5-speed manual gearbox 0AH

Für Caddy (2016)

16,40 € Details

Unsere Best Seller

Schon gewusst? Wir bieten auch originale Autoteile an.

Autoteil N10638901 Schraube

N10638901

Schraube

3,01 €

Details
Autoteil 1K0927904BA Leitg.Satz

1K0927904BA

Leitg.Satz

72,80 €

Details
Autoteil 4N0010502EB Kennschild

4N0010502EB

Kennschild

11,50 €

Details
Autoteil N90328504 Schraube

N90328504

Schraube

2,60 €

Details
Autoteil 059121737AR Ventil

059121737AR

Ventil

118,24 €

Details

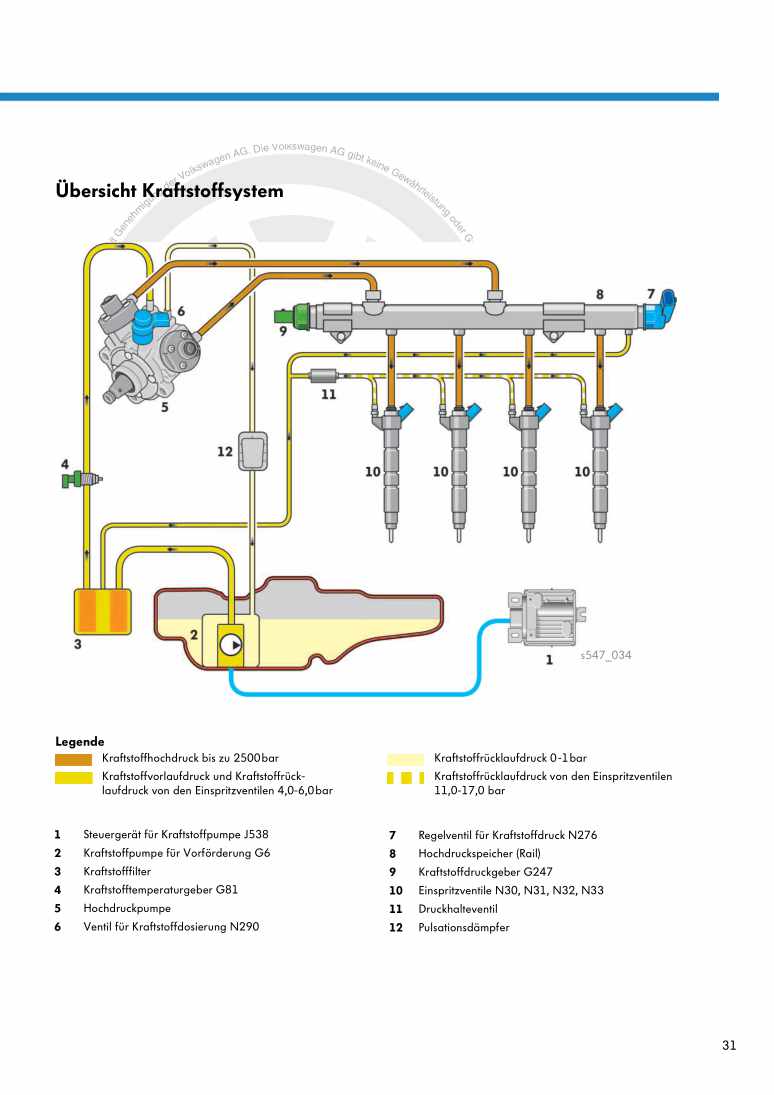
Nr. 547: Der 2,0l-176kW-TDI-Biturbo-Motor der Dieselmotoren-Baureihe EA288

Beispielseite für Reparaturanleitung Nr. 547: Der 2,0l-176kW-TDI-Biturbo-Motor der Dieselmotoren-Baureihe EA288

5,89 € Details

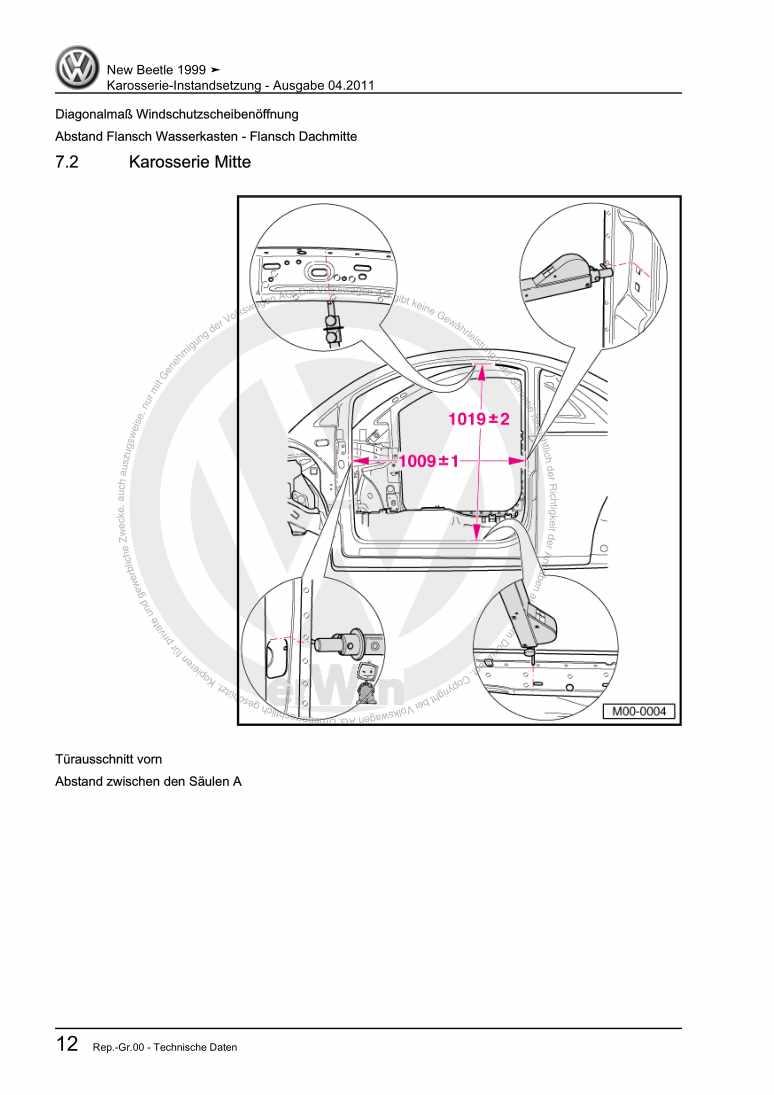
Karosserie-Instandsetzung

Beispielseite für Reparaturanleitung Karosserie-Instandsetzung

Für New Beetle / New Beetle (USA) (1998 - 2007) / New Beetle (Europe) (1999 - 2002)

10,12 € Details

Nr. 540: Das Abgasnachbehandlungssystem Selective-Catalytic-Reduction

Beispielseite für Reparaturanleitung Nr. 540: Das Abgasnachbehandlungssystem Selective-Catalytic-Reduction

5,67 € Details

image/svg+xml Über Clonck

Originale Reparaturanleitungen und Ersatzteile

Unsere Reparaturanleitungen sind Originale, kommen direkt von Volkswagen und erfüllen die höchsten Qualitätsstandards.

In unserem Originalteile-Shop verkaufen wir hochwertige Originalersatzteile der Fahrzeughersteller. Mithilfe der Suche gibst du die gewünschte Teilenummer (OE-Nummer) ein und bestellst schnell und einfach das benötigte Ersatzteil.

Höchste Qualitätsstandards

Bei Clonck wollen wir Autoschrauber und Kfz-Profis glücklich machen. Aus diesem Grund findest du bei Clonck ausschließlich professionelle und hochwertige Reparaturanleitungen, mit deren Hilfe du dein Fahrzeug fachgerecht reparieren kannst.

Unsere Partner

Autohaus Schmidt GmbH
Automag GmbH Filiale Laim
KFZ-VERLAG GmbH
Zimpel und Franke GmbH

Clonck: Der Autoreparatur-Shop - gibt's auch als App!

Clonck App Logo Play Store

Clonck: Passende Autoteile für deine Autoreparatur

4,5 90

Mit Clonck bestellst du die richtigen Originalersatzteile im Handumdrehen.

  • Fahrzeugmodell hinzufügen
  • Baugruppe auswählen
  • Fahrzeug-Identifizierungsnummer (FIN) eingeben
  • Über 5.000 originale Reparaturanleitungen einsehen
Jetzt App starten
Clonck App Preview Auto Mobiltelefon Autoteile