DER AUTOREPARATUR-SHOP
0
Home » Anleitungen » Body Repairs
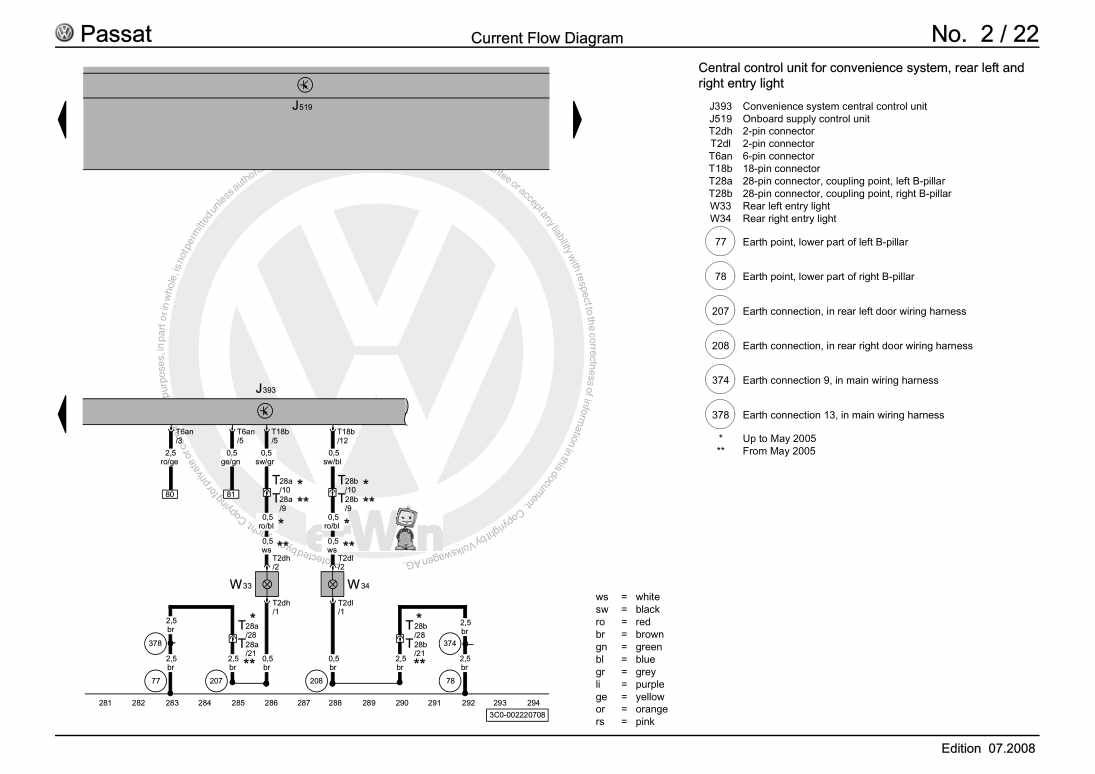
  • Beispielseite für Reparaturanleitung Body Repairs
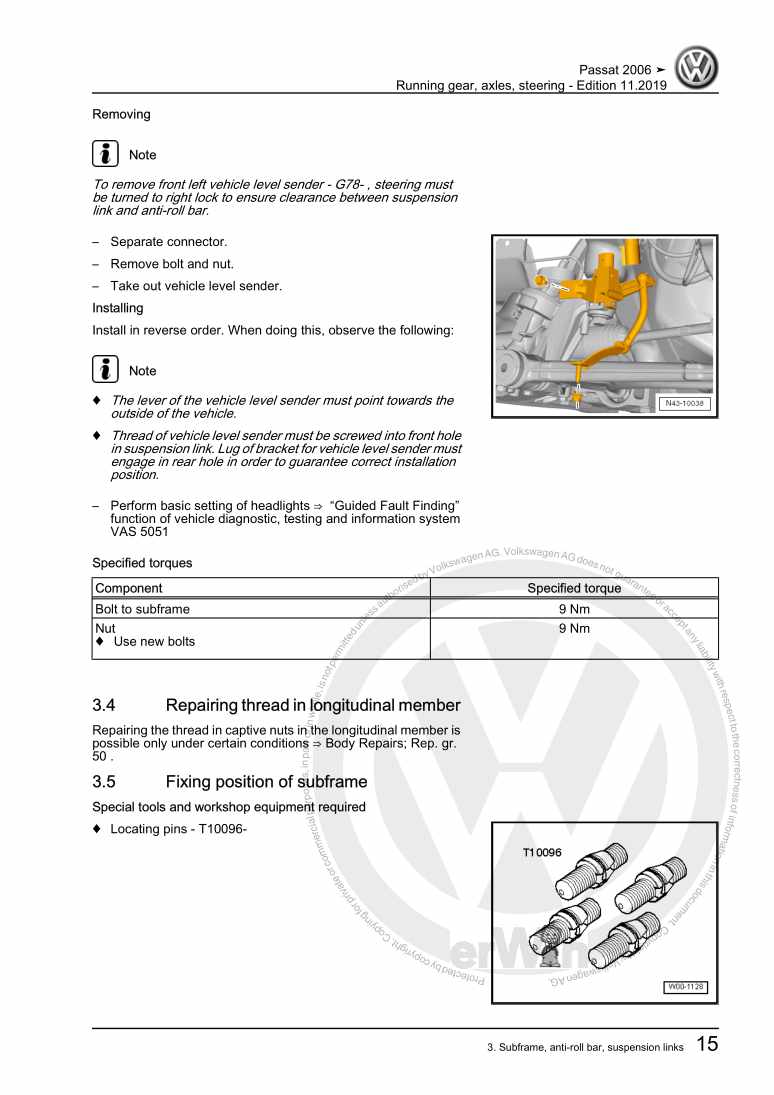
  • Beispielseite für Reparaturanleitung 2 Body Repairs
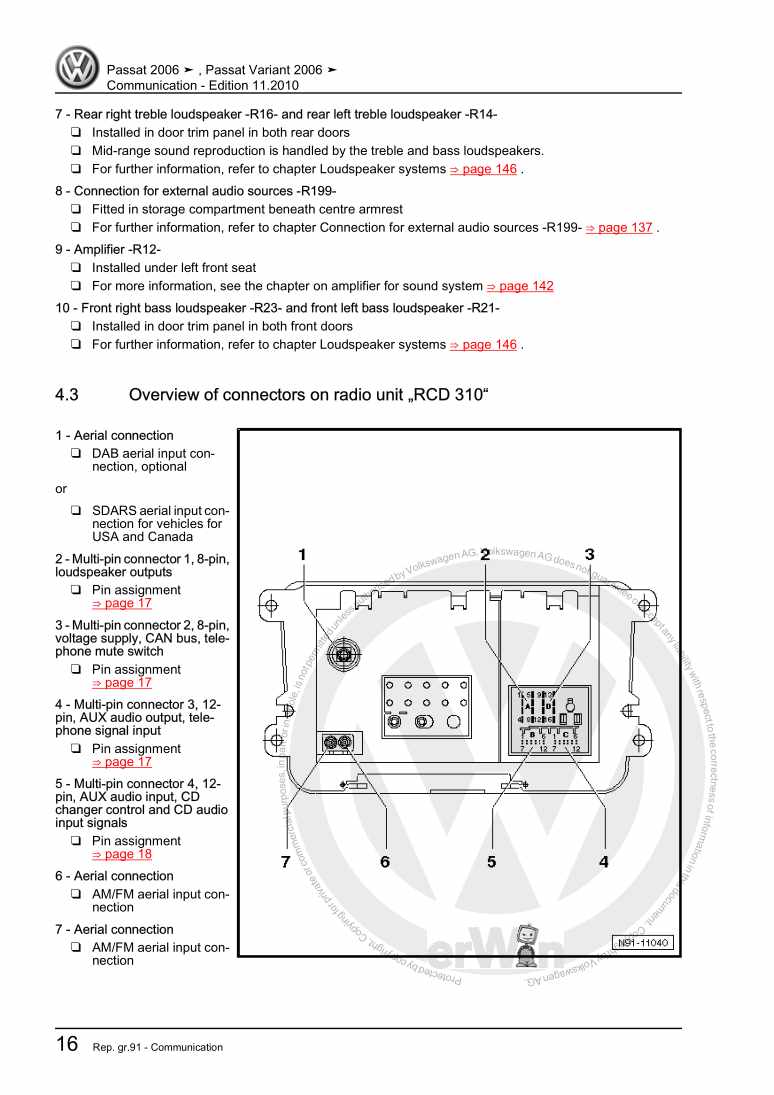
  • Beispielseite für Reparaturanleitung 3 Body Repairs
  • Beispielseite für Reparaturanleitung Body Repairs
  • Beispielseite für Reparaturanleitung 2 Body Repairs
  • Beispielseite für Reparaturanleitung 3 Body Repairs

Body Repairs

Für Passat / Passat Variant

Original VW-Reparaturanleitung


22,67 €inkl. 7% MwSt.

  • Deutsch
  • English

Sofort als Download verfügbar

Sprache: English

Digitale PDF Version

3.756 KB

285 Seiten

Detaillierte technische Daten

Sofort lesbar

Diese Reparaturanleitung umfasst: Renewing right bracket, Renewing upper wheel housing longitudinal member und Repairing threads for securing subframe (suspension subframe). Mehr anzeigen
Sichere Zahlung per PayPal, Kreditkarte, Lastschrift, Sofort-Überweisung oder Giropay
PayPal Logo SEPA Lastschrift Logo Giropay Logo Sofort Überweisung Logo

Reparaturanleitung Passat / Passat Variant Body Repairs pdf Download mit dem Inhalt:

Kapitelübersicht

  • Technical data
    1
  • 1 Vehicle identification data
    1
  • 1.1 Vehicle identification number
    1
  • 1.2 Type plate
    1
  • 1.3 Vehicle data sticker
    1
  • 2 Safety information
    2
  • 3 Gas vehicles
    3
  • 4 Moulded foam inserts
    4
  • 5 Galvanised body parts
    5
  • 5.1 Installing
    5
  • 5.2 Platform
    6
  • 6 Strengthened steel body panels
    7
  • 6.1 Installing
    7
  • 6.2 Platform
    8
  • 7 Laser welding
    11
  • 8 Body panel gaps/shut lines
    12
  • 8.1 Body - front
    12
  • 8.2 Body - rear
    15
  • 8.3 Body - rear (Variant)
    17
  • 9 Body dimensions
    19
  • 9.1 Body - front
    19
  • 9.2 Body - centre
    23
  • 9.3 Body - centre (Variant)
    29
  • 9.4 Body - rear
    32
  • 9.5 Body - rear (Variant)
    34
  • 9.6 Floor panel - front
    36
  • 9.7 Floor panel, centre
    38
  • 9.8 Floor panel - rear
    39
  • 10 Alignment bracket set
    41
  • 10.1 Overview
    41
  • 11 Portal gauge
    43
  • 11.1 Overview
    43
  • Body - front
    45
  • 1 Renewing right bracket
    45
  • 1.1 Tools
    45
  • 1.2 Removing
    45
  • 1.3 Installing
    47
  • 2 Renewing left bracket
    49
  • 2.1 Tools
    49
  • 2.2 Removing
    49
  • 2.3 Installing
    51
  • 3 Renewing retaining bracket (for subframe)
    53
  • 3.1 Removing
    53
  • 3.2 Installing
    54
  • 4 Renewing bumper bracket
    56
  • 4.1 Removing
    57
  • 4.2 Installing
    58
  • 5 Renewing upper wheel housing longitudinal member
    59
  • 5.1 Tools
    60
  • 5.2 Removing
    61
  • 5.3 Installing
    63
  • 6 Renewing front wheel housing
    66
  • 6.1 Tools
    66
  • 6.2 Removing
    67
  • 6.3 Installing
    68
  • 7 Renewing front longitudinal member
    75
  • 7.1 Tools
    75
  • 7.2 Removing
    76
  • 7.3 Installing
    78
  • 8 Renewing front longitudinal member - part section
    85
  • 8.1 Tools
    85
  • 8.2 Removing
    86
  • 8.3 Installing
    89
  • 9 Repairing threads for securing subframe (suspension subframe)
    91
  • 9.1 Tools
    91
  • 9.2 Contents of thread repair kit
    92
  • 9.3 Repairing thread
    92
  • Body - centre
    96
  • 1 Renewing roof
    96
  • 1.1 Tools
    96
  • 1.2 Removing
    98
  • 1.3 Installing
    99
  • 2 Renewing roof (Variant)
    109
  • 2.1 Tools
    109
  • 2.2 Removing
    111
  • 2.3 Installing
    112
  • 3 Renewing roof side member
    120
  • 3.1 Tools
    120
  • 3.2 Removing
    121
  • 3.3 Installing
    124
  • 3.4 Foam treating roof side member
    127
  • 4 Renewing front cross member for roof
    129
  • 4.1 Tools
    129
  • 4.2 Removing
    130
  • 4.3 Installing
    131
  • 5 Renewing roof reinforcement, vehicles with no sliding/tilting sunroof
    132
  • 5.1 Tools
    132
  • 5.2 Removing
    133
  • 5.3 Installing
    134
  • 6 Renewing rear roof cross member
    135
  • 6.1 Tools
    135
  • 6.2 Removing
    136
  • 6.3 Installing
    137
  • 7 Renewing rear roof cross member (Variant)
    138
  • 7.1 Tools
    138
  • 7.2 Removing
    139
  • 7.3 Installing
    140
  • 8 Renewing A-pillar
    143
  • 8.1 Tools
    143
  • 8.2 Removing
    144
  • 8.3 Installing
    145
  • 9 Renewing A-pillar reinforcement
    150
  • 9.1 Tools
    150
  • 9.2 Removing
    151
  • 9.3 Installing
    152
  • 10 Renewing B-pillar
    157
  • 10.1 Tools
    157
  • 10.2 Removing
    157
  • 10.3 Installing
    160
  • 11 Renewing inner B-pillar
    167
  • 11.1 Tools
    167
  • 11.2 Removing
    168
  • 11.3 Installing
    169
  • 12 Renewing B-pillar reinforcement
    171
  • 12.1 Tools
    172
  • 12.2 Removing
    172
  • 12.3 Installing
    175
  • 13 Renewing side member
    184
  • 13.1 Tools
    184
  • 13.2 Removing
    185
  • 13.3 Installing
    186
  • 14 Renewing front side member reinforcement
    193
  • 14.1 Tools
    193
  • 14.2 Removing
    194
  • 14.3 Installing
    195
  • 15 Renewing rear side member reinforcement
    200
  • 15.1 Tools
    200
  • 15.2 Removing
    201
  • 15.3 Installing
    202
  • Body - rear
    204
  • 1 Renewing cross panel
    204
  • 1.1 Tools
    205
  • 1.2 Removing
    206
  • 1.3 Installing
    207
  • 2 Renewing cross panel (Variant)
    211
  • 2.1 Tools
    211
  • 2.2 Removing
    212
  • 2.3 Installing
    214
  • 3 Renewing lock carrier
    218
  • 3.1 Tools
    218
  • 3.2 Removing
    218
  • 3.3 Installing
    219
  • 4 Renewing tail light mounting
    221
  • 4.1 Tools
    221
  • 4.2 Removing
    221
  • 4.3 Installing
    222
  • 5 Renewing tail light mounting (Variant)
    225
  • 5.1 Tools
    225
  • 5.2 Removing
    226
  • 5.3 Installing
    227
  • 6 Renewing C-pillar reinforcement (Variant)
    229
  • 6.1 Tools
    229
  • 6.2 Removing
    230
  • 6.3 Installing
    231
  • 7 Renewing D-pillar reinforcement - part section
    234
  • 7.1 Tools
    234
  • 7.2 Removing
    235
  • 7.3 Installing
    236
  • 8 Renewing inner D-pillar
    238
  • 8.1 Tools
    238
  • 8.2 Removing
    239
  • 8.3 Installing
    240
  • 9 Renewing rear longitudinal member - part section
    242
  • 9.1 Tools
    242
  • 9.2 Removing
    243
  • 9.3 Installing
    245
  • 10 Renewing side panel - part section
    248
  • 10.1 Tools
    248
  • 10.2 Removing
    249
  • 10.3 Installing
    251
  • 11 Renewing side panel - part section (Variant)
    256
  • 11.1 Tools
    256
  • 11.2 Removing
    257
  • 11.3 Installing
    259
  • 12 Renewing outer wheel housing liner
    264
  • 12.1 Tools
    264
  • 12.2 Removing
    265
  • 12.3 Installing
    266
  • 13 Renewing outer wheel housing liner (Variant)
    269
  • 13.1 Tools
    269
  • 13.2 Removing
    270
  • 13.3 Installing
    272
  • 14 Renewing spare wheel well
    275
  • 14.1 Removing
    276
  • 14.2 Installing
    277
Hersteller­bezeichnung Body Repairs
Hersteller Volkswagen
Passend für Passat / Passat Variant (2005 - 2008)
Passende Autotypen 3C
Kategorie Reparaturanleitung

Im Moment sind noch keine Bewertungen für dieses Produkt vorhanden.

Ähnliche Reparaturanleitungen

Fuel supply system - diesel engines
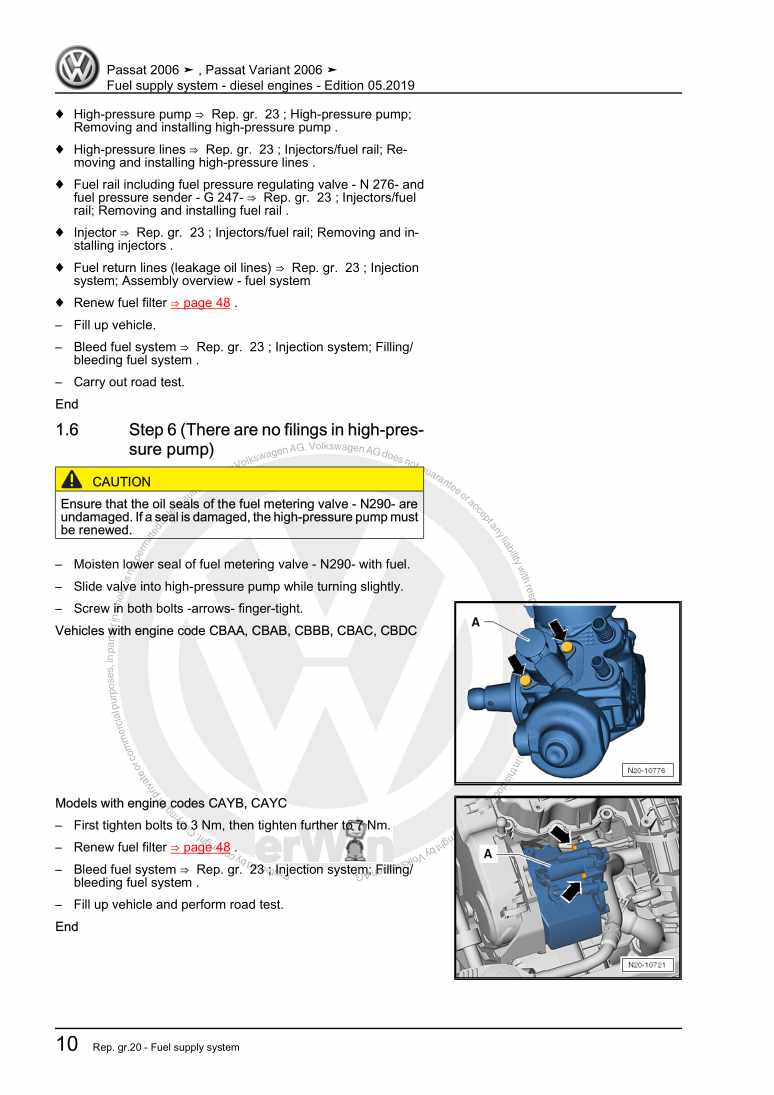
Beispielseite für Reparaturanleitung Fuel supply system - diesel engines

Für Passat / Passat Variant (2005 - 2008)

7,50 € Details

Climatronic, from November 2004

Beispielseite für Reparaturanleitung Climatronic, from November 2004

Für Passat / Passat Variant (2005 - 2008)

71,20 € Details

4-cylinder diesel engine (2.0 l engine, 4 valve)
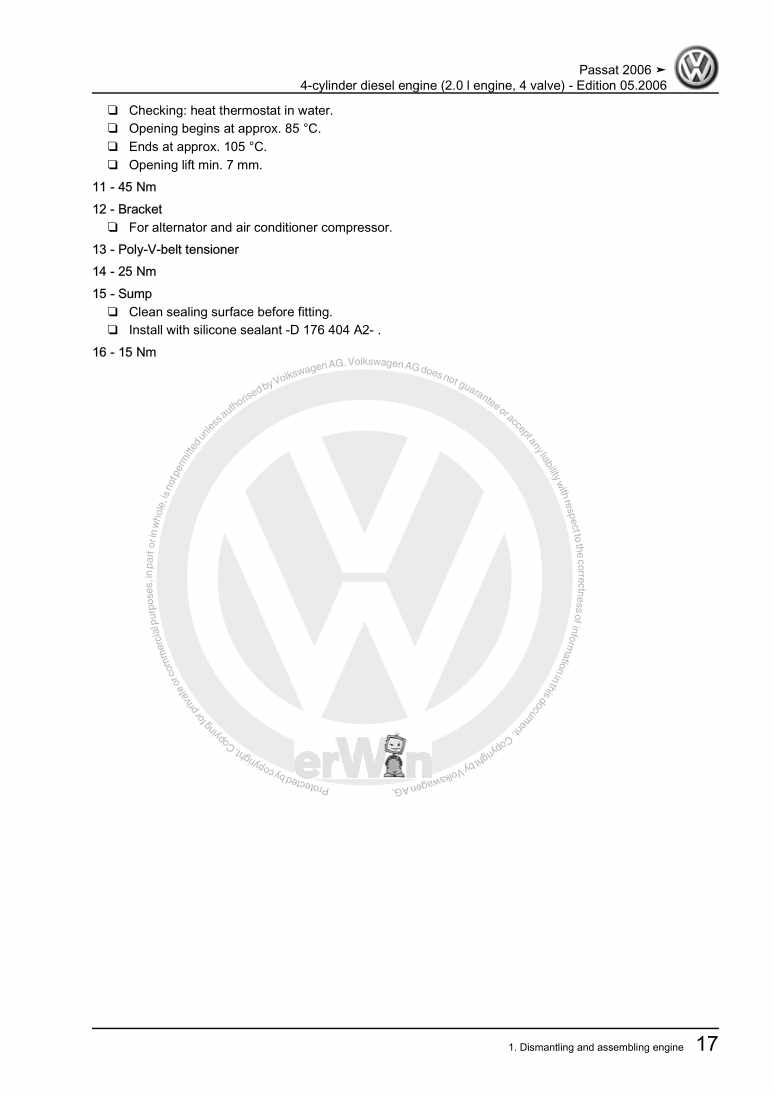
Beispielseite für Reparaturanleitung 4-cylinder diesel engine (2.0 l engine, 4 valve)

Für Passat / Passat Variant (2005 - 2008)

16,99 € Details

Running gear, axles, steering

Beispielseite für Reparaturanleitung Running gear, axles, steering

Für Passat / Passat Variant (2005 - 2008)

34,55 € Details

4-cylinder diesel engine (2.0 l engine, 2 valve)
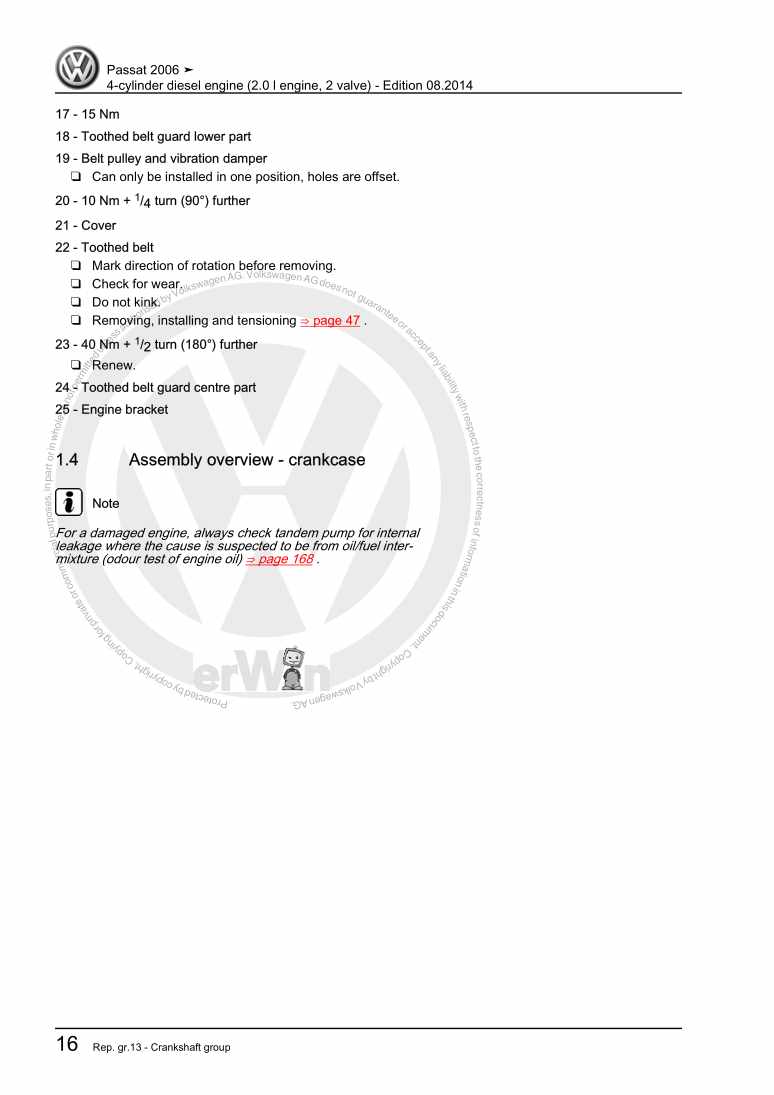
Beispielseite für Reparaturanleitung 4-cylinder diesel engine (2.0 l engine, 2 valve)

Für Passat / Passat Variant (2005 - 2008)

17,64 € Details

4-cylinder injection engine (2.0 l engine, turbocharger)
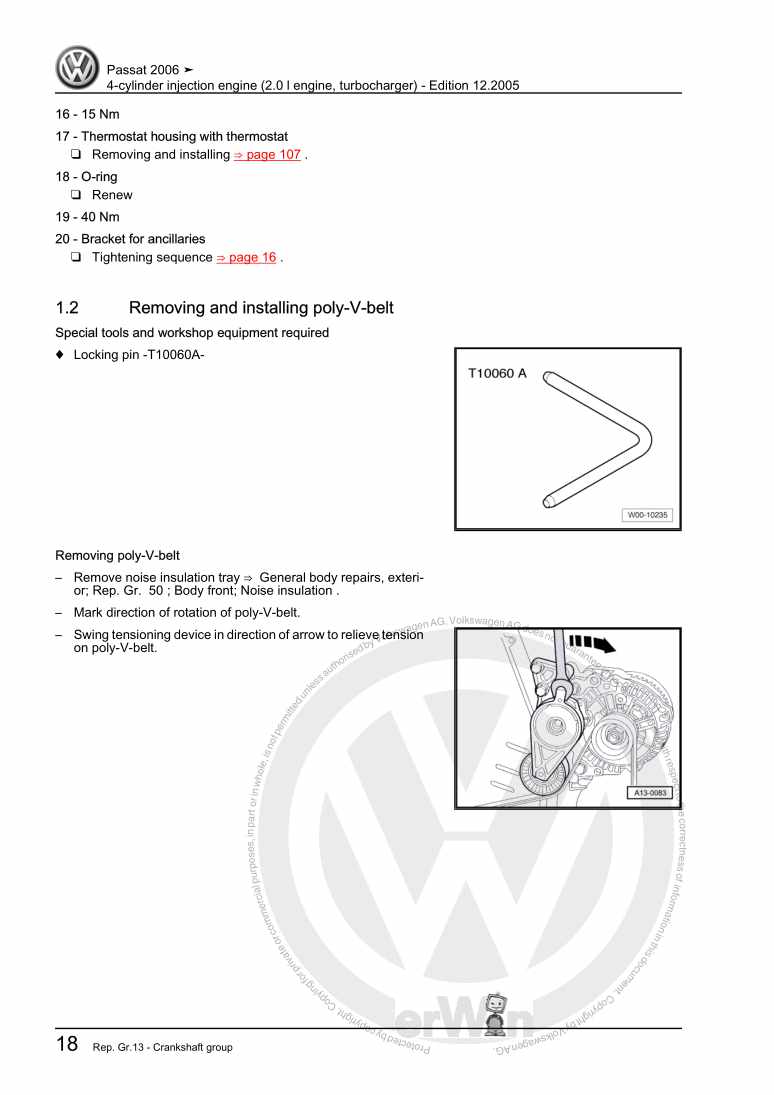
Beispielseite für Reparaturanleitung 4-cylinder injection engine (2.0 l engine, turbocharger)

Für Passat / Passat Variant (2005 - 2008)

17,13 € Details

4-cylinder diesel engine (1.9 l engine)
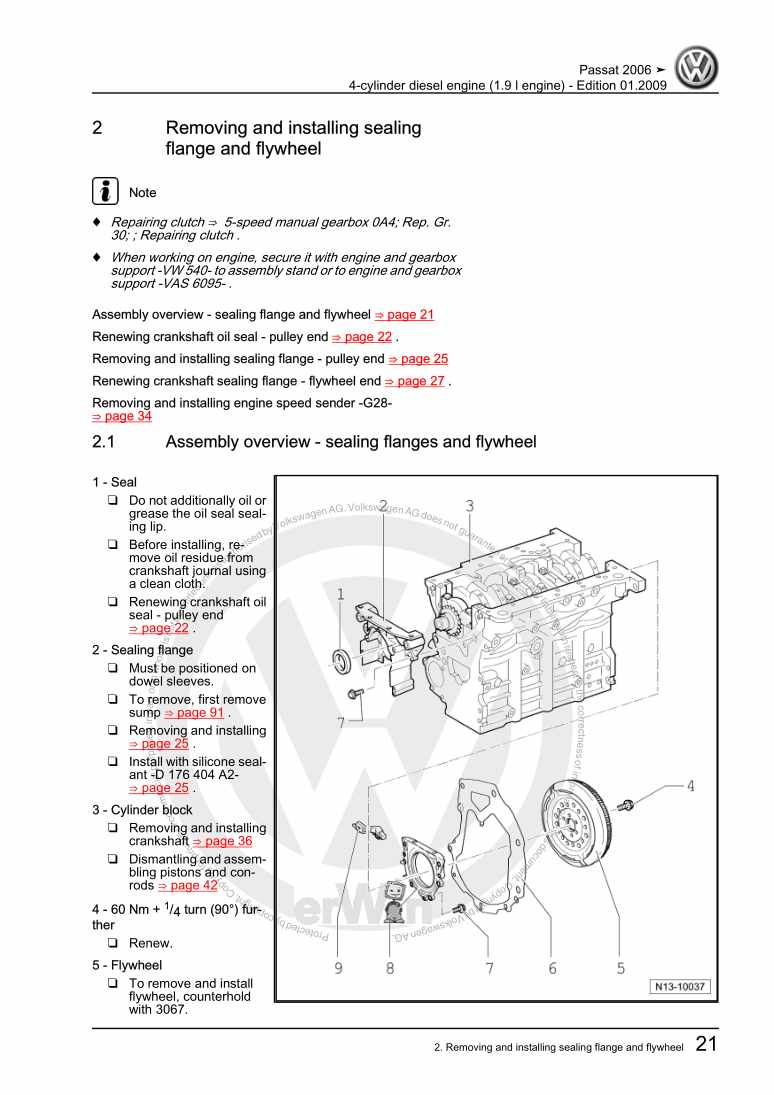
Beispielseite für Reparaturanleitung 4-cylinder diesel engine (1.9 l engine)

Für Passat / Passat Variant (2005 - 2008)

16,70 € Details

Communication

Beispielseite für Reparaturanleitung Communication

Für Passat / Passat Variant (2005 - 2008)

16,99 € Details

6-cylinder injection engine (direct injection)
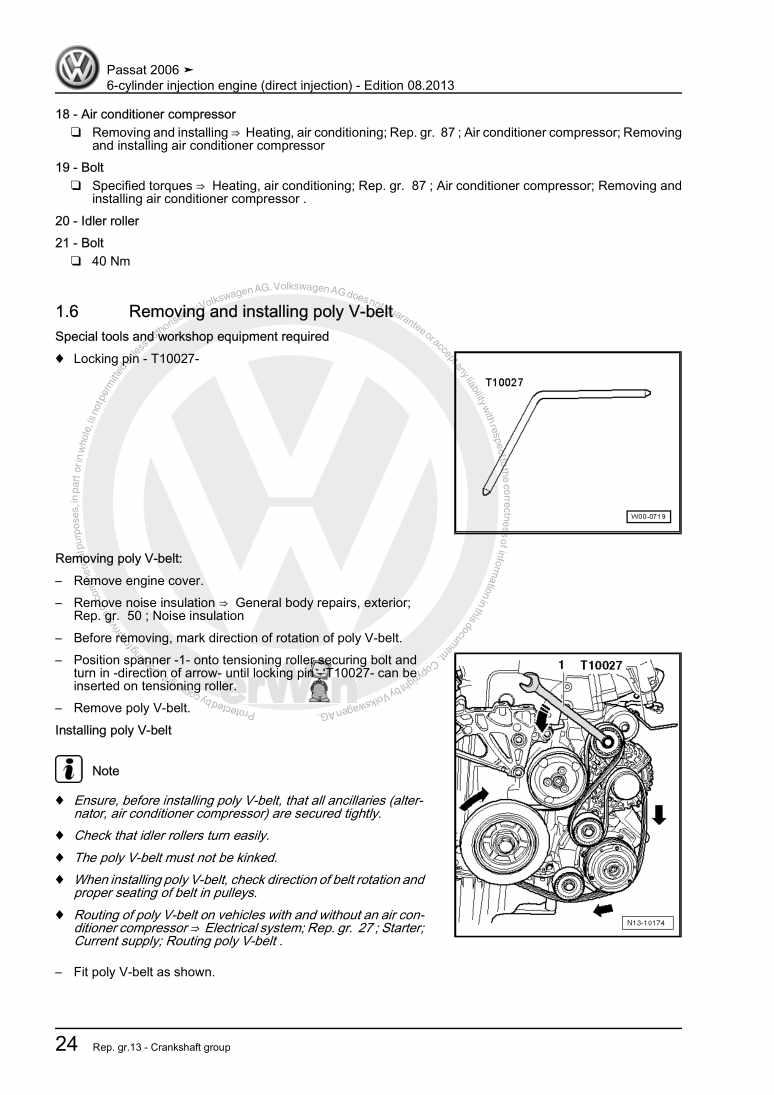
Beispielseite für Reparaturanleitung 6-cylinder injection engine (direct injection)

Für Passat / Passat Variant (2005 - 2008)

27,33 € Details

4-cylinder injection engine (1.6 l roller rocker finger)
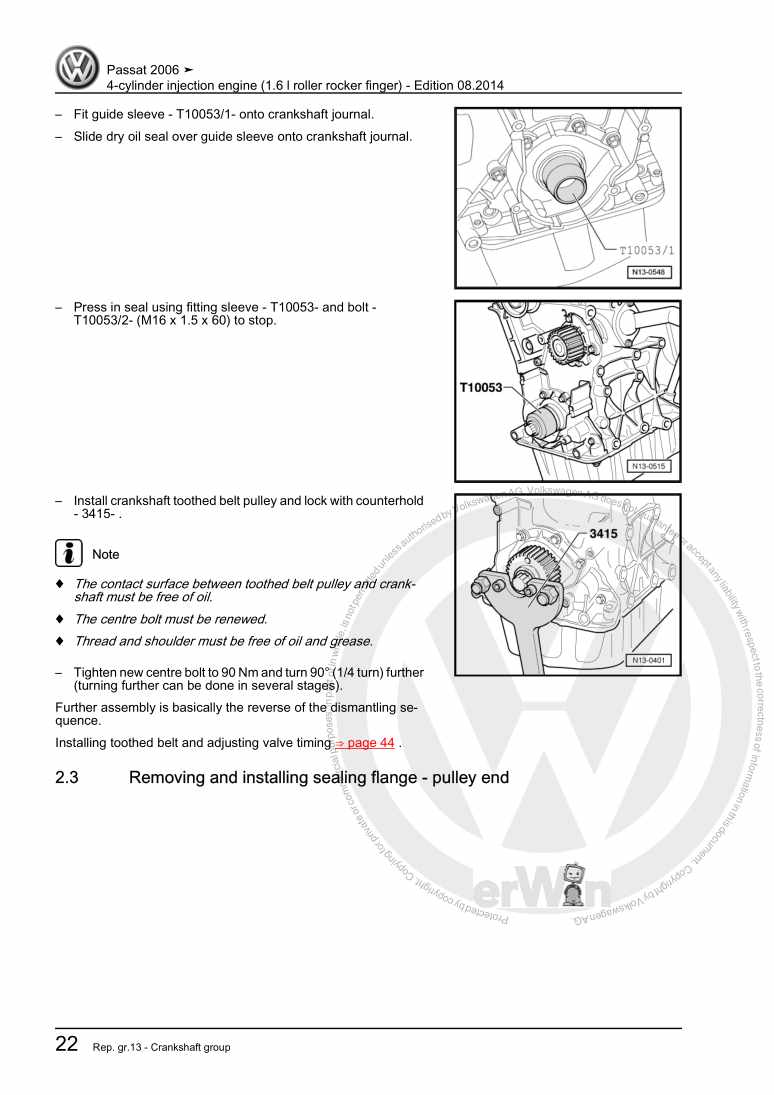
Beispielseite für Reparaturanleitung 4-cylinder injection engine (1.6 l roller rocker finger)

Für Passat / Passat Variant (2005 - 2008)

14,21 € Details

Unsere Best Seller

Schon gewusst? Wir bieten auch originale Autoteile an.

Autoteil 0AM301212A Deckel

0AM301212A

Deckel

8,35 €

Details
Autoteil 1J0972753 Gehaeuse

1J0972753

Gehaeuse

6,02 €

Details
Autoteil 4L0898671B Lager

4L0898671B

Lager

55,56 €

Details
Autoteil 2Q0971349LH Leitg.Satz

2Q0971349LH

Leitg.Satz

238,12 €

Details
Autoteil N90851401 Dichtring

N90851401

Dichtring

4,04 €

Details

Eigendiagnose für Automatisches Getriebe 09A - 5 Gang
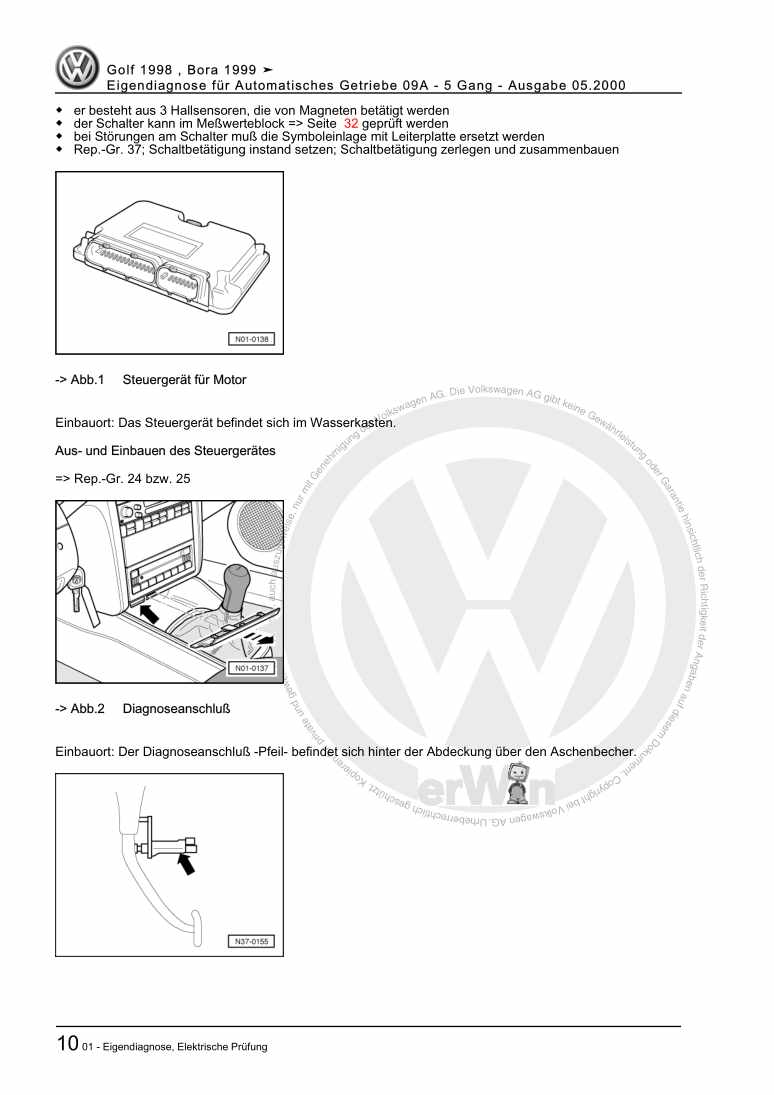
Beispielseite für Reparaturanleitung Eigendiagnose für Automatisches Getriebe 09A - 5 Gang

Für Bora / Bora Variant / Golf / Golf Variant (1998 - 2006)

6,00 € Details

Nr. 233: 2,0 l-Motor

Beispielseite für Reparaturanleitung Nr. 233: 2,0 l-Motor

5,73 € Details

4-Zyl. Einspritzmotor

Beispielseite für Reparaturanleitung 4-Zyl. Einspritzmotor

Für New Beetle Cabrio (2003 - 2010) / New Beetle / New Beetle (USA) (1998 - 2007) / New Beetle (Europe) (1999 - 2002)

21,00 € Details

image/svg+xml Über Clonck

Originale Reparaturanleitungen und Ersatzteile

Unsere Reparaturanleitungen sind Originale, kommen direkt von Volkswagen und erfüllen die höchsten Qualitätsstandards.

In unserem Originalteile-Shop verkaufen wir hochwertige Originalersatzteile der Fahrzeughersteller. Mithilfe der Suche gibst du die gewünschte Teilenummer (OE-Nummer) ein und bestellst schnell und einfach das benötigte Ersatzteil.

Höchste Qualitätsstandards

Bei Clonck wollen wir Autoschrauber und Kfz-Profis glücklich machen. Aus diesem Grund findest du bei Clonck ausschließlich professionelle und hochwertige Reparaturanleitungen, mit deren Hilfe du dein Fahrzeug fachgerecht reparieren kannst.

Unsere Partner

Autohaus Schmidt GmbH
Automag GmbH Filiale Laim
KFZ-VERLAG GmbH
Zimpel und Franke GmbH

Clonck: Der Autoreparatur-Shop - gibt's auch als App!

Clonck App Logo Play Store

Clonck: Passende Autoteile für deine Autoreparatur

4,5 90

Mit Clonck bestellst du die richtigen Originalersatzteile im Handumdrehen.

  • Fahrzeugmodell hinzufügen
  • Baugruppe auswählen
  • Fahrzeug-Identifizierungsnummer (FIN) eingeben
  • Über 5.000 originale Reparaturanleitungen einsehen
Jetzt App starten
Clonck App Preview Auto Mobiltelefon Autoteile