DER AUTOREPARATUR-SHOP
0
Home » Anleitungen » 4-cylinder diesel engine (2.0 l engine, 4 valve)
  • Beispielseite für Reparaturanleitung 4-cylinder diesel engine (2.0 l engine, 4 valve)
  • Beispielseite für Reparaturanleitung 2 4-cylinder diesel engine (2.0 l engine, 4 valve)
  • Beispielseite für Reparaturanleitung 3 4-cylinder diesel engine (2.0 l engine, 4 valve)
  • Beispielseite für Reparaturanleitung 4-cylinder diesel engine (2.0 l engine, 4 valve)
  • Beispielseite für Reparaturanleitung 2 4-cylinder diesel engine (2.0 l engine, 4 valve)
  • Beispielseite für Reparaturanleitung 3 4-cylinder diesel engine (2.0 l engine, 4 valve)

4-cylinder diesel engine (2.0 l engine, 4 valve)

Für Passat / Passat Variant

Original VW-Reparaturanleitung


16,99 €inkl. 7% MwSt.

  • Deutsch
  • English

Sofort als Download verfügbar

Sprache: English

Digitale PDF Version

5.712 KB

205 Seiten

Detaillierte technische Daten

Sofort lesbar

Diese Reparaturanleitung umfasst: Removing and installing engine, Sealing flange and flywheel, Crankshaft, Pistons and conrods, Cylinder head, Engine oil, Oil filter bracket, oil pressure, oil cooler and oil supply line, Fuel tank, vehicles with four-wheel drive, Parts of fuel system und Charge air system with turbocharger. Mehr anzeigen
Sichere Zahlung per PayPal, Kreditkarte, Lastschrift, Sofort-Überweisung oder Giropay
PayPal Logo SEPA Lastschrift Logo Giropay Logo Sofort Überweisung Logo

Reparaturanleitung Passat / Passat Variant 4-cylinder diesel engine pdf Download mit dem Inhalt:

Kapitelübersicht

  • Technical data
    1
  • 1 Technical data
    1
  • 1.1 Engine number
    1
  • 1.2 Engine data
    1
  • Removing and installing engine
    2
  • 1 Removing and installing engine
    2
  • 1.1 Removing engine
    4
  • 1.2 Securing engine to assembly stand
    8
  • 1.3 Notes on installing
    9
  • 1.4 Assembly mountings
    10
  • Crankshaft group
    11
  • 1 Dismantling and assembling engine
    11
  • 1.1 Assembly overview - poly-V-belt drive
    12
  • 1.2 Removing and installing poly-V-belt
    12
  • 1.3 Assembly overview - toothed belt drive
    15
  • 1.4 Assembly overview - cylinder block
    16
  • 2 Sealing flange and flywheel
    18
  • 2.1 Assembly overview - sealing flange and flywheel
    18
  • 2.2 Renewing crankshaft oil seal - belt pulley end
    19
  • 2.3 Removing and installing sealing flange - pulley end
    22
  • 2.4 Renewing crankshaft sealing flange - flywheel end
    24
  • 2.5 Removing and installing engine speed sender G28
    31
  • 3 Crankshaft
    32
  • 3.1 Assembly overview - crankshaft
    32
  • 3.2 Crankshaft dimensions
    33
  • 3.3 Pulling needle bearing out of and driving into crankshaft
    33
  • 4 Pistons and conrods
    35
  • 4.1 Assembly overview - pistons and conrods
    35
  • 4.2 Piston and cylinder dimensions
    37
  • 4.3 Checking piston projection at TDC
    38
  • Cylinder head, valve gear
    40
  • 1 Cylinder head
    40
  • 1.1 Assembly overview - cylinder head
    40
  • 1.2 Removing and installing cylinder head cover
    42
  • 1.3 Removing, installing and tensioning toothed belt
    43
  • 1.4 Removing and installing cylinder head
    51
  • 1.5 Checking compression
    56
  • 2 Valve gear
    57
  • 2.1 Assembly overview - valve gear
    57
  • 2.2 Removing and installing roller rocker fingers
    59
  • 2.3 Valve dimensions
    61
  • 2.4 Checking valve guides
    61
  • 2.5 Renewing valve stem oil seals
    62
  • 2.6 Removing and installing camshafts
    64
  • 2.7 Removing and installing camshaft oil seal
    68
  • Lubrication
    70
  • 1 Engine oil
    70
  • 1.1 Oil capacities
    70
  • 1.2 Checking engine oil level
    70
  • 2 Parts of lubrication system
    71
  • 2.1 Assembly overview - oil pump, sump, balancer shaft module with chain drive
    72
  • 2.2 Removing and installing oil pump (for balancer shaft module with chain drive)
    74
  • 2.3 Removing and installing balancer shaft module with chain drive
    77
  • 2.5 Removing and installing oil pump (for balancer shaft module with spur gear drive)
    83
  • 2.6 Removing balancer shaft module with spur gear drive
    83
  • 2.7 Installing balancer shaft module
    85
  • 2.8 Removing and installing sump
    89
  • 3 Oil filter bracket, oil pressure, oil cooler and oil supply line
    92
  • 3.1 Assembly overview - oil filter bracket and oil cooler
    92
  • 3.2 Assembly overview - oil supply line to turbocharger
    93
  • 3.3 Removing and installing oil supply line to turbocharger
    93
  • 3.4 Checking oil pressure and oil pressure switch
    96
  • Cooling
    98
  • 1 Removing and installing parts of cooling system
    98
  • 1.1 Assembly overview - parts of cooling system, body side
    99
  • 1.2 Assembly overview - parts of cooling system, engine side
    100
  • 1.3 Coolant hose schematic diagram
    101
  • 1.4 Draining and filling coolant
    104
  • 1.5 Removing and installing fan support with fans
    106
  • 1.6 Removing and installing radiator
    107
  • 1.7 Removing and installing coolant pump
    108
  • 1.8 Removing and installing thermostat
    110
  • 1.9 Checking cooling system for leaks
    112
  • 1.10 Checking oil cooler for leaks
    114
  • Fuel supply system
    116
  • 1 Fuel tank, vehicles with four-wheel drive
    116
  • 1.1 Assembly overview - fuel tank
    116
  • 1.2 Emptying fuel tank
    118
  • 1.3 Removing and installing fuel tank
    121
  • 1.4 Removing and installing fuel gauge sender 2 G169
    126
  • 1.5 Removing and installing suction-jet pump
    129
  • 2 Fuel tank, vehicles with front-wheel drive
    131
  • 2.1 Assembly overview - fuel tank
    131
  • 2.2 Emptying fuel tank
    133
  • 2.3 Removing and installing fuel tank
    135
  • 2.4 Removing and installing fuel delivery unit
    138
  • 2.5 Removing and installing fuel gauge sender
    140
  • 2.6 Checking fuel pump
    140
  • 3 Parts of fuel system
    143
  • 3.1 Safety precautions when working on fuel supply system
    143
  • 3.2 Rules for cleanliness
    144
  • 3.3 Assembly overview - fuel filter
    144
  • 3.4 Removing and installing fuel cooler
    145
  • 3.5 Assembly overview - accelerator module
    146
  • 3.6 Checking tandem pump
    147
  • 3.7 Removing and installing tandem pump
    151
  • Turbocharging/supercharging
    154
  • 1 Charge air system with turbocharger
    154
  • 1.1 Safety precautions
    154
  • 1.2 Rules for cleanliness
    154
  • 1.3 Hose connections
    155
  • 1.4 Assembly overview - turbocharger
    156
  • 1.5 Removing and installing turbocharger
    159
  • 1.6 Assembly overview - charge air cooling
    160
  • 1.7 Checking charge air system for leaks
    162
  • Mixture preparation - injection
    165
  • 1 Diesel direct injection system
    165
  • 1.1 Safety precautions
    165
  • 1.2 Rules for cleanliness
    166
  • 1.3 Assembly overview - pre-wired wiring harness for unit injectors and glow plugs
    167
  • 1.4 Removing and installing pre-wired wiring harness for unit injectors and glow plugs
    167
  • 1.5 Assembly overview - unit injector
    170
  • 1.6 Removing and installing unit injector
    172
  • 1.7 Removing and installing O-rings for unit injector
    175
  • 1.8 Assembly overview - intake manifold with intake manifold flap motor
    177
  • 1.9 Assembly overview - air filter
    179
  • 2 Engine control unit
    180
  • 2.1 Reading and erasing engine control unit fault memory
    180
  • 2.2 Removing and installing engine control unit
    181
  • 2.3 Removing and installing anti-theft engine control unit
    182
  • Exhaust system
    186
  • 1 Exhaust system
    186
  • 1.1 Assembly overview - front exhaust pipe with catalytic converter
    187
  • 1.2 Assembly overview - front exhaust pipe with particulate filter
    188
  • 1.3 Assembly overview - silencer, vehicle with front-wheel drive
    190
  • 1.4 Assembly overview - silencer, vehicle with four-wheel drive
    191
  • 1.5 Aligning exhaust system stress free
    191
  • 2 Exhaust gas recirculation system
    193
  • 2.1 Assembly overview - exhaust gas recirculation
    194
  • 2.2 Schematic diagram for vacuum hoses
    195
  • Glow plug system
    197
  • 1 Checking glow plug system
    197
  • 1.1 Characteristics of ceramic glow plugs
    197
  • 1.2 Removing, installing and checking ceramic glow plugs
    198
Hersteller­bezeichnung 4-cylinder diesel engine (2.0 l engine, 4 valve)
Hersteller Volkswagen
Passend für Passat / Passat Variant (2005 - 2008)
Passende Autotypen 3C
Motor­kennbuchstaben BUZ, BWV, BKP, BMA, BVE
Kategorie Reparaturanleitung

Im Moment sind noch keine Bewertungen für dieses Produkt vorhanden.

Ähnliche Reparaturanleitungen

Climatronic, from November 2004
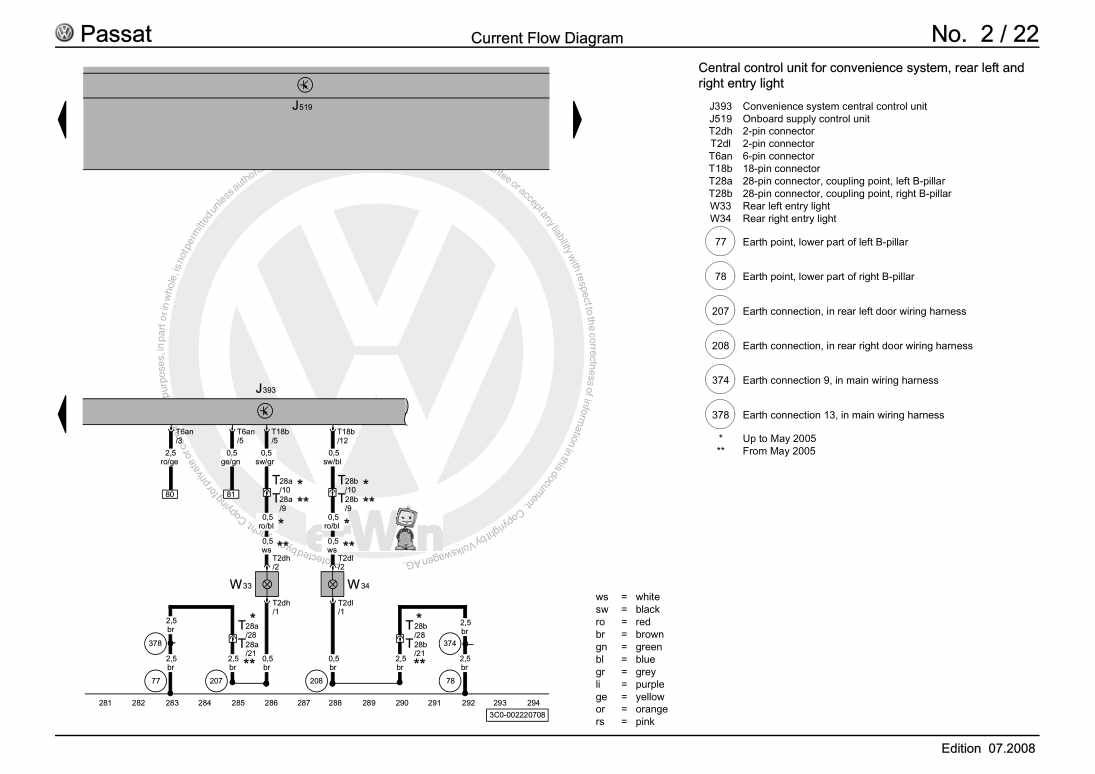
Beispielseite für Reparaturanleitung Climatronic, from November 2004

Für Passat / Passat Variant (2005 - 2008)

71,20 € Details

4-cylinder injection engine (1.6 l engine, direct injection)
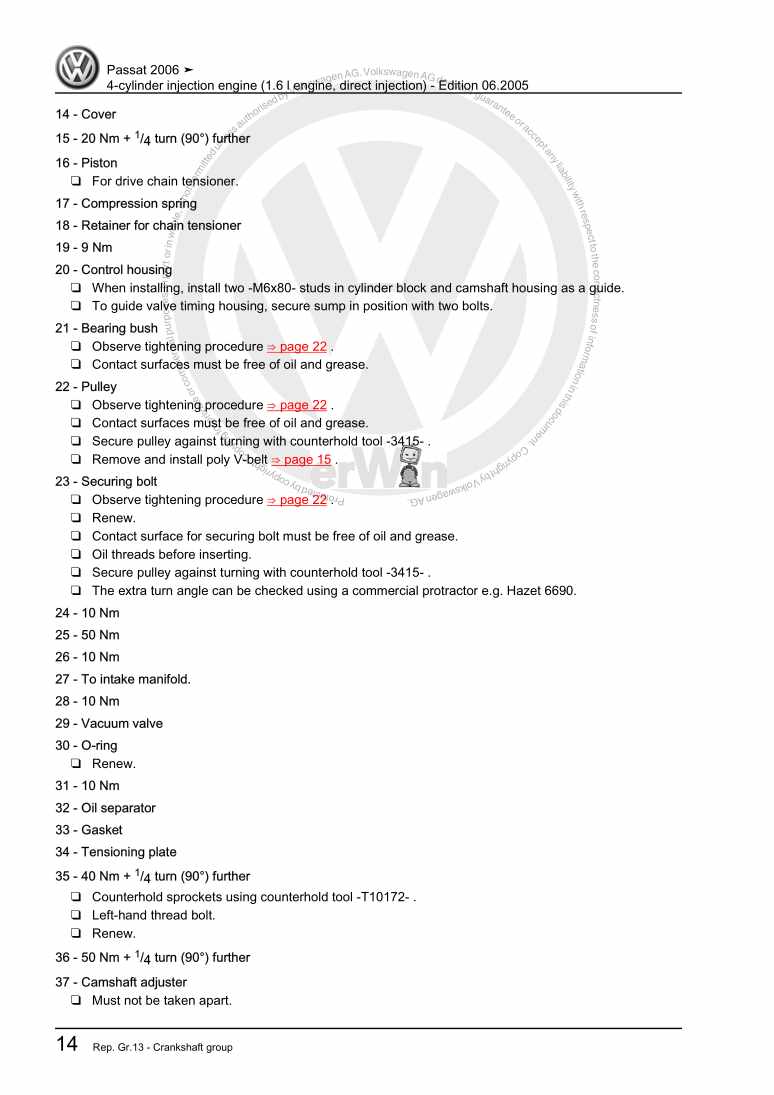
Beispielseite für Reparaturanleitung 4-cylinder injection engine (1.6 l engine, direct injection)

Für Passat / Passat Variant (2005 - 2008)

13,20 € Details

4-cylinder diesel engine (2.0 l engine, 2 valve)
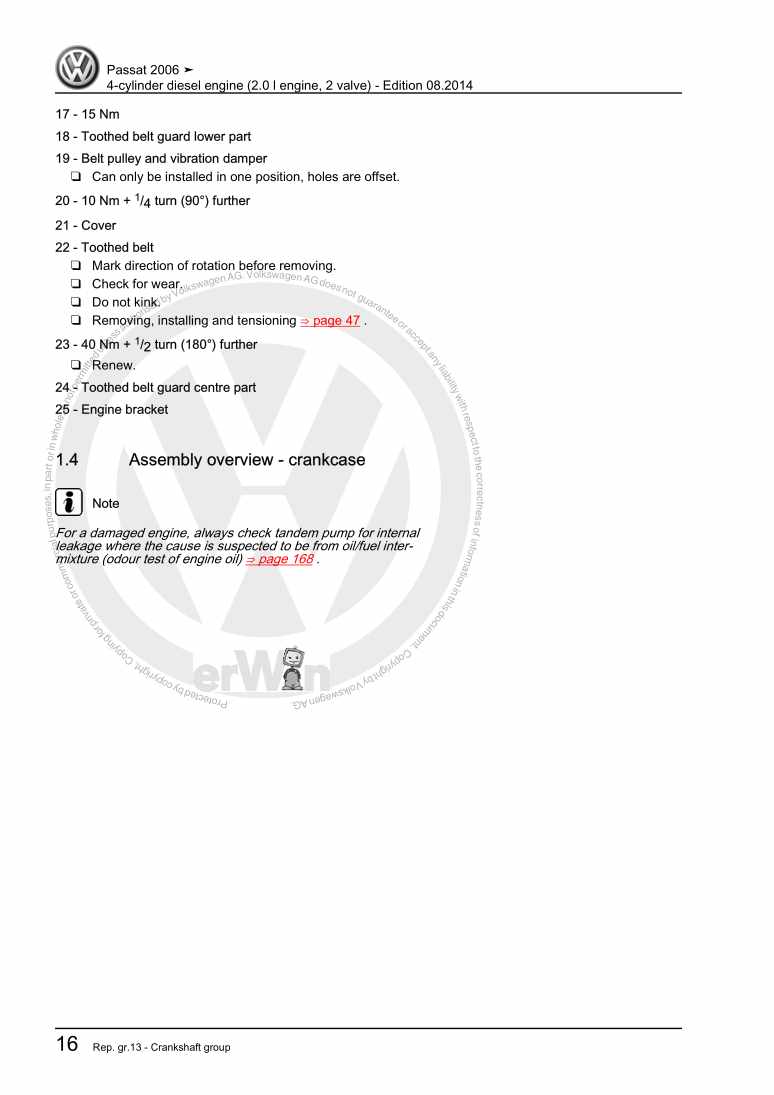
Beispielseite für Reparaturanleitung 4-cylinder diesel engine (2.0 l engine, 2 valve)

Für Passat / Passat Variant (2005 - 2008)

17,64 € Details

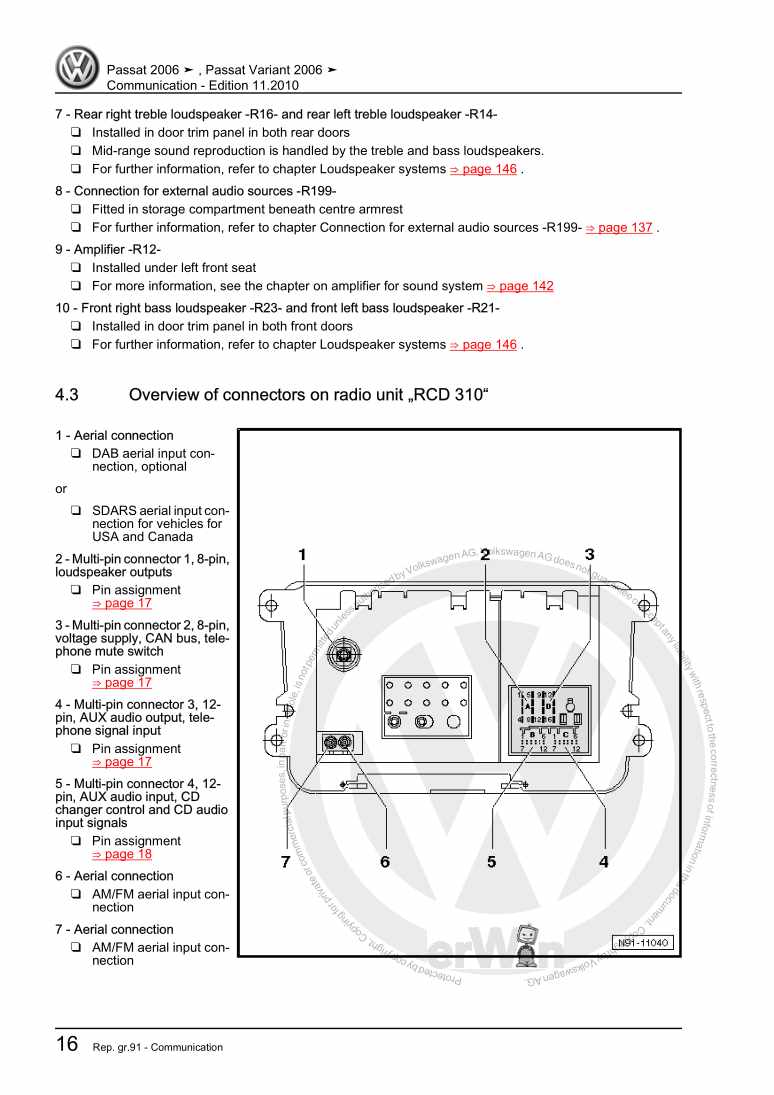
Communication

Beispielseite für Reparaturanleitung Communication

Für Passat / Passat Variant (2005 - 2008)

16,99 € Details

4-cylinder diesel engine (1.9 l engine)
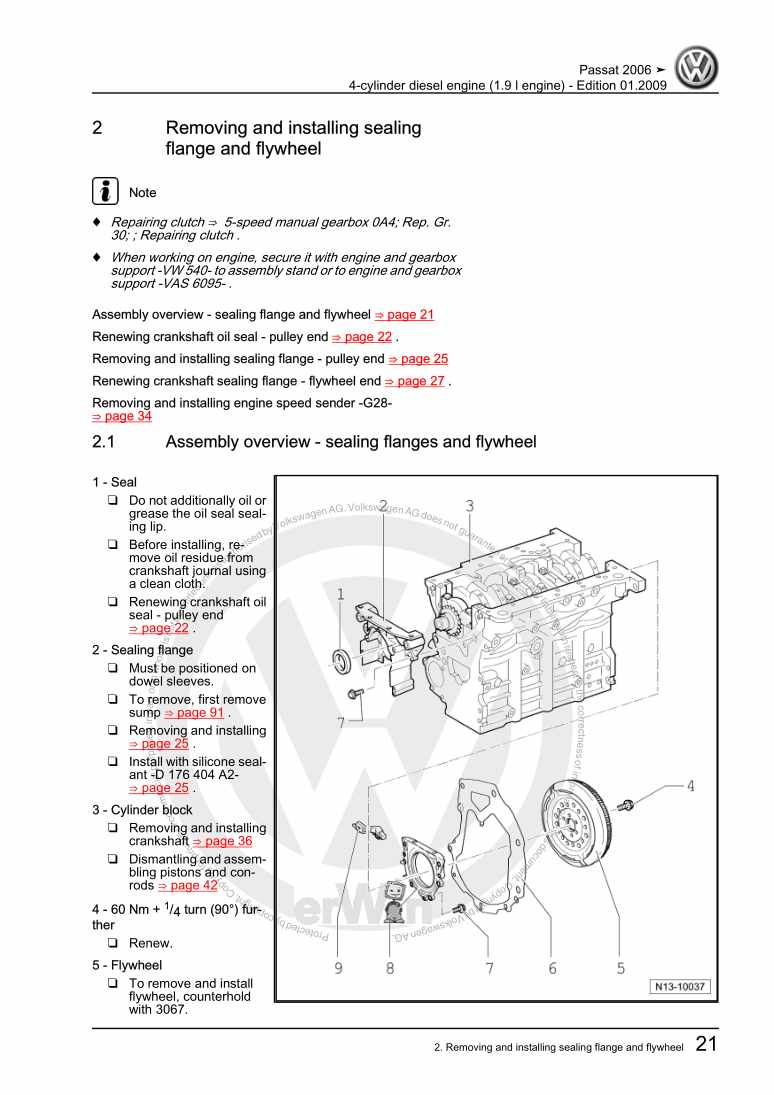
Beispielseite für Reparaturanleitung 4-cylinder diesel engine (1.9 l engine)

Für Passat / Passat Variant (2005 - 2008)

16,70 € Details

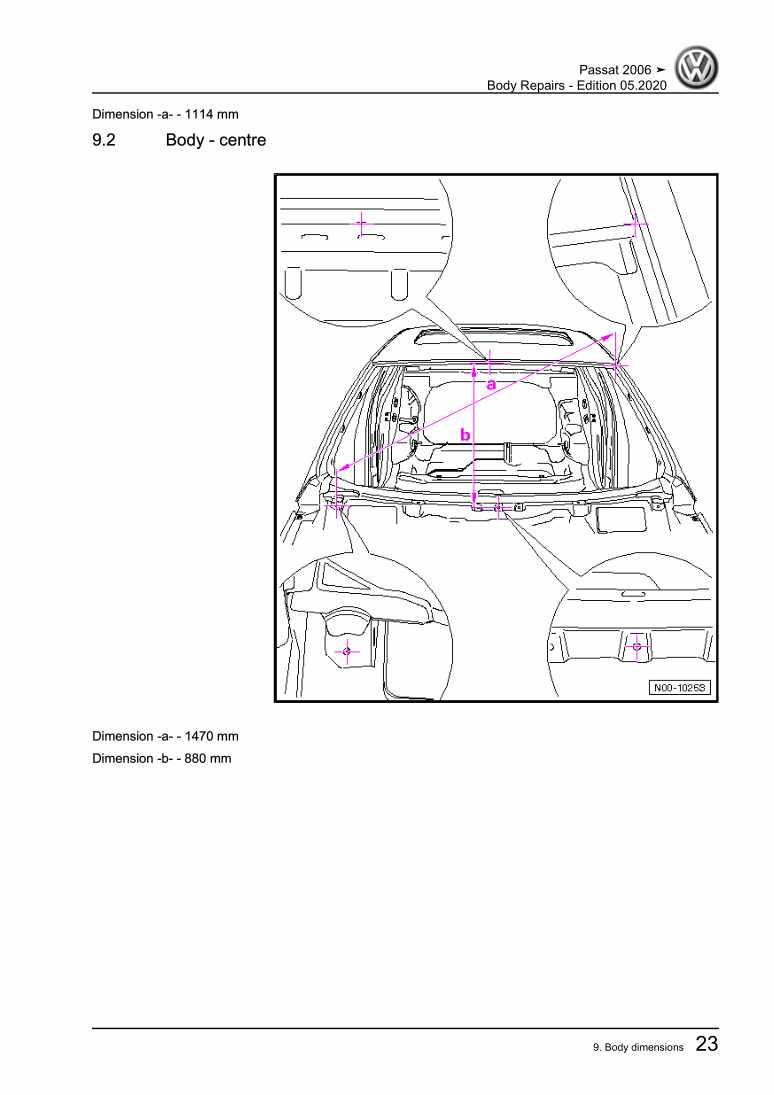
Body Repairs

Beispielseite für Reparaturanleitung Body Repairs

Für Passat / Passat Variant (2005 - 2008)

22,67 € Details

4-cylinder injection engine (2.0 l engine, turbocharger)
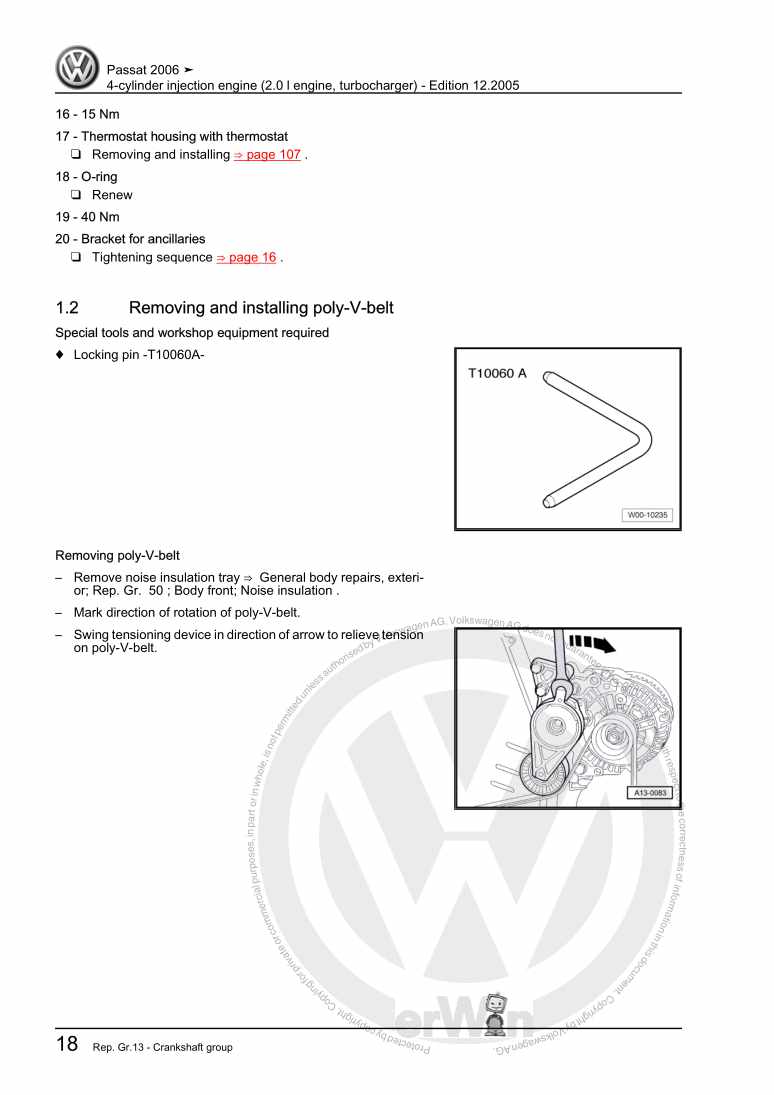
Beispielseite für Reparaturanleitung 4-cylinder injection engine (2.0 l engine, turbocharger)

Für Passat / Passat Variant (2005 - 2008)

17,13 € Details

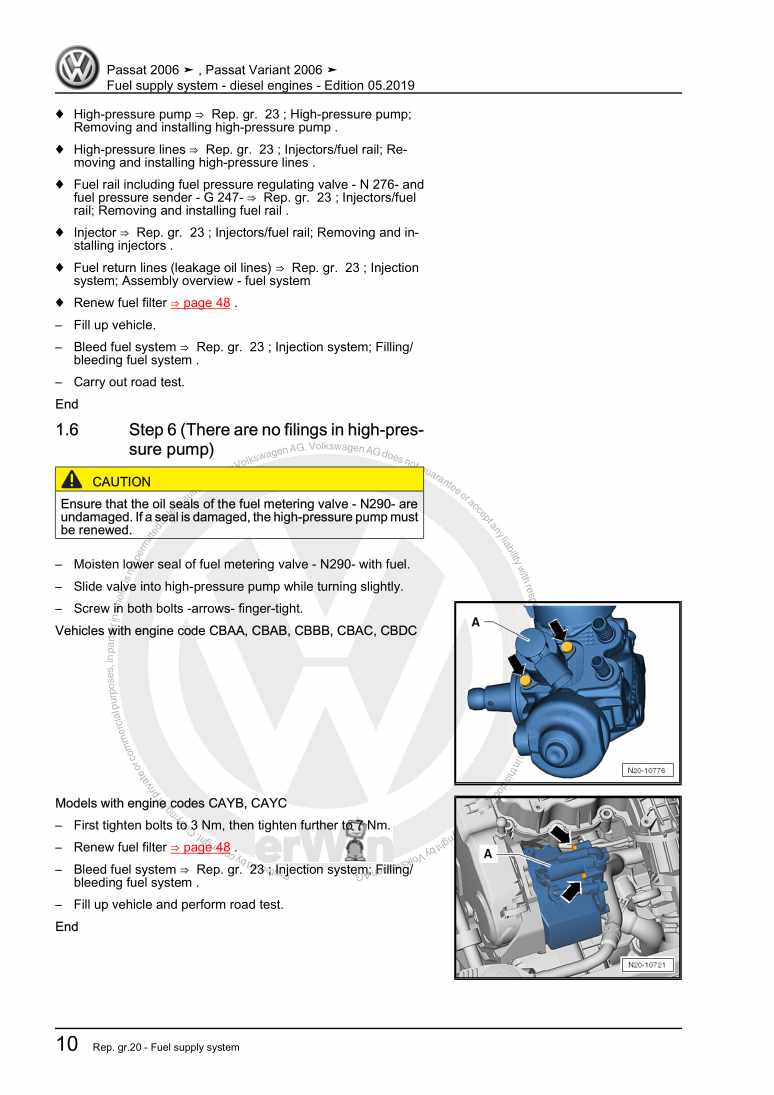
Fuel supply system - diesel engines

Beispielseite für Reparaturanleitung Fuel supply system - diesel engines

Für Passat / Passat Variant (2005 - 2008)

7,50 € Details

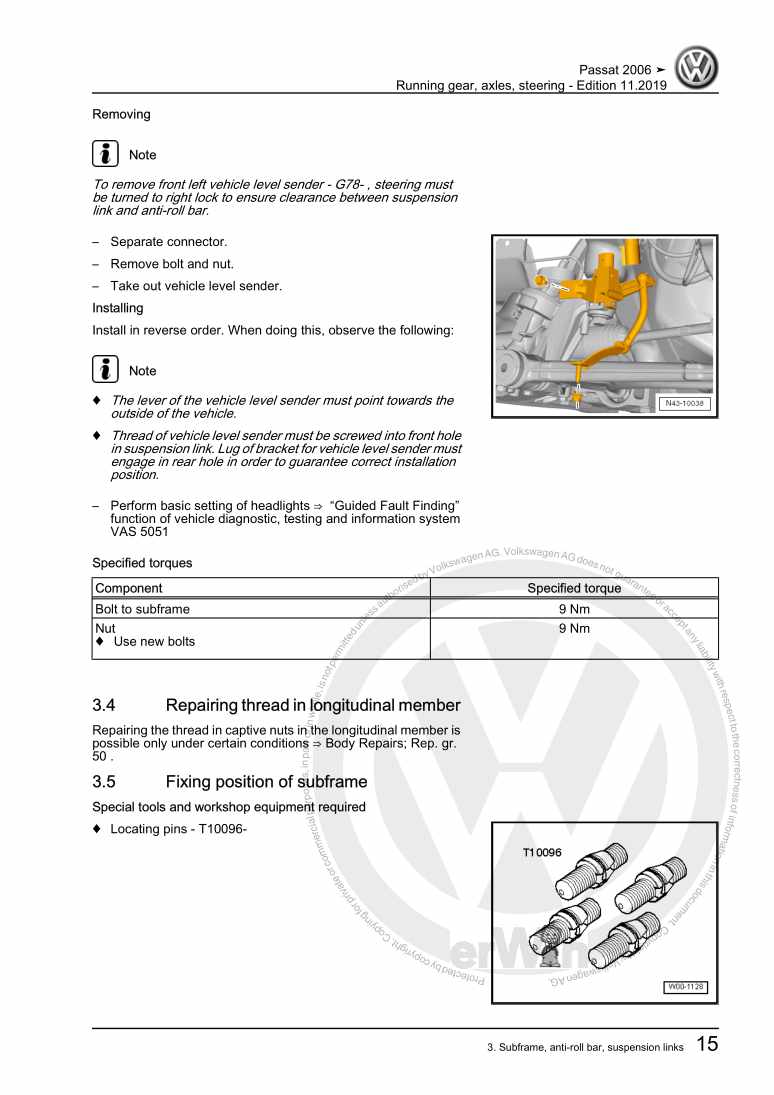
Running gear, axles, steering

Beispielseite für Reparaturanleitung Running gear, axles, steering

Für Passat / Passat Variant (2005 - 2008)

34,55 € Details

6-cylinder injection engine Volkswagen R GmbH
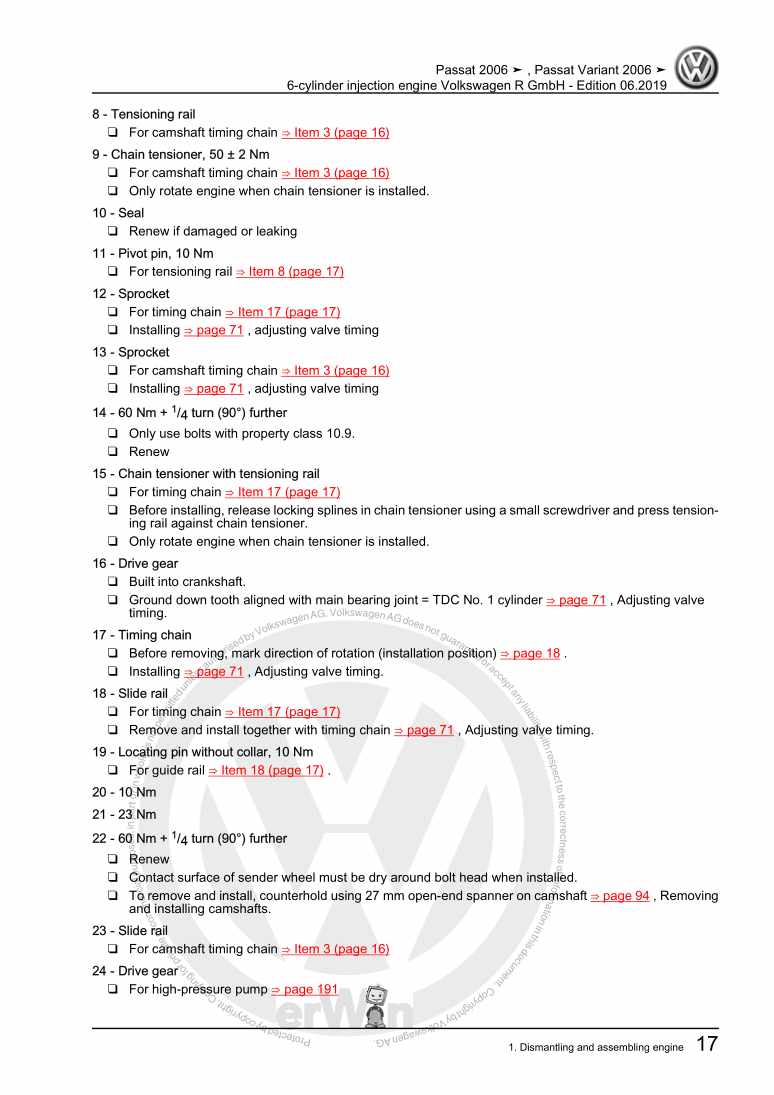
Beispielseite für Reparaturanleitung 6-cylinder injection engine Volkswagen R GmbH

Für Passat / Passat Variant (2005 - 2008)

19,87 € Details

Unsere Best Seller

Schon gewusst? Wir bieten auch originale Autoteile an.

Autoteil 5N0941607 Kappe

5N0941607

Kappe

24,22 €

Details
Autoteil 077103221AM Schlauch

077103221AM

Schlauch

68,01 €

Details
Autoteil 3G9877439 Dichtung

3G9877439

Dichtung

112,63 €

Details
Autoteil 8R0906961CA Cd Rom

8R0906961CA

Cd Rom

13,14 €

Details
Autoteil 3Q0253574 Leitung

3Q0253574

Leitung

36,27 €

Details

7 Gang-Doppelkupplungsgetriebe 0GC Volkswagen R GmbH
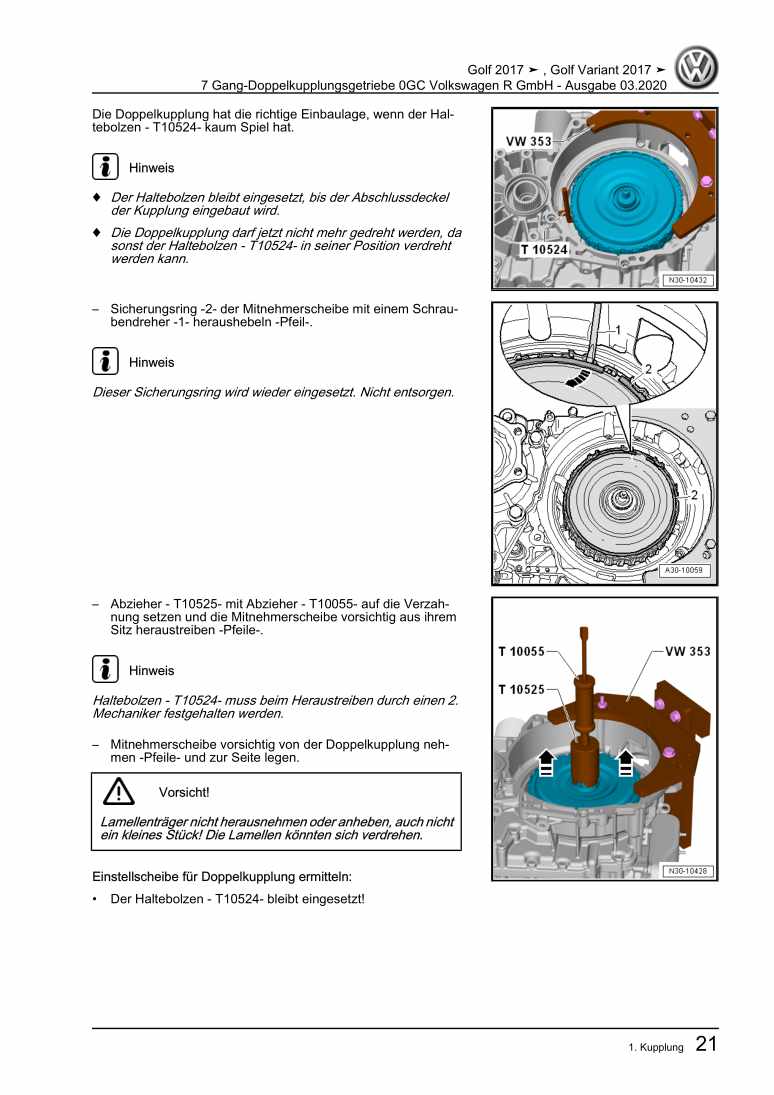
Beispielseite für Reparaturanleitung 7 Gang-Doppelkupplungsgetriebe 0GC Volkswagen R GmbH

Für Golf VII (2017) / Golf (2017)

10,54 € Details

4-Zylinder-Dieselmotor, Mechanik CS,JX,KY
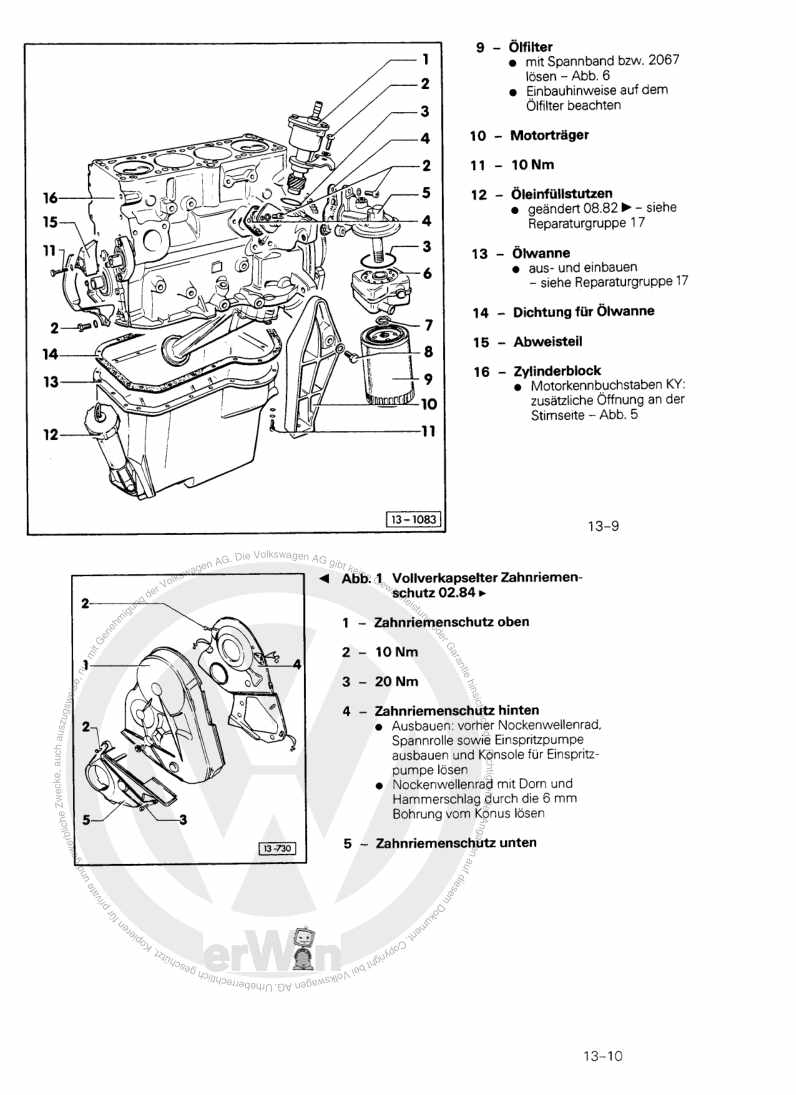
Beispielseite für Reparaturanleitung 4-Zylinder-Dieselmotor, Mechanik CS,JX,KY

Für Typ 2 / Typ 2 7-9-Sitzer / Typ 2 Doppelkabine / Typ 2 Pritsche (1968 - 2007) / MICROBUS / Typ 2 Bus/Caravelle / Typ 2 Kasten / Typ 2 Kombi/... / VAN (1980 - 1999)

8,15 € Details

Digijet-Einspritzanlage/ TSZ-H Zündanlage
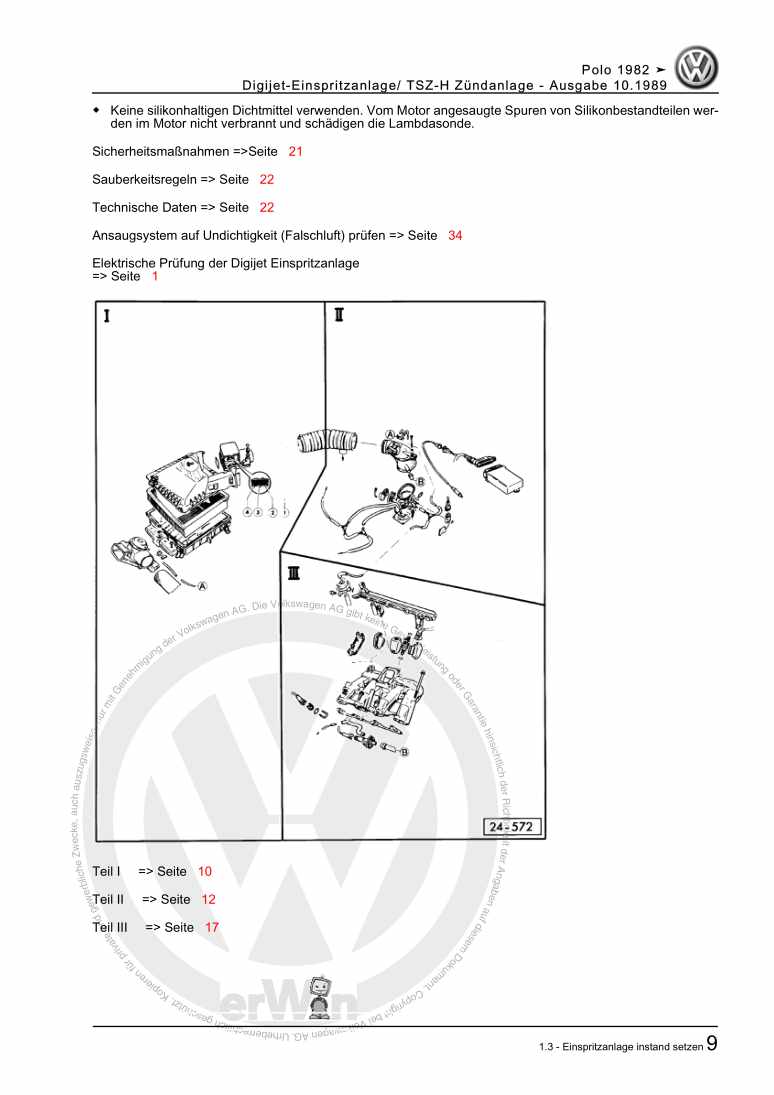
Beispielseite für Reparaturanleitung Digijet-Einspritzanlage/ TSZ-H Zündanlage

Für Polo / Polo Coupe / Polo Steilheck / Polo Stufenheck (1987 - 1994)

6,35 € Details

image/svg+xml Über Clonck

Originale Reparaturanleitungen und Ersatzteile

Unsere Reparaturanleitungen sind Originale, kommen direkt von Volkswagen und erfüllen die höchsten Qualitätsstandards.

In unserem Originalteile-Shop verkaufen wir hochwertige Originalersatzteile der Fahrzeughersteller. Mithilfe der Suche gibst du die gewünschte Teilenummer (OE-Nummer) ein und bestellst schnell und einfach das benötigte Ersatzteil.

Höchste Qualitätsstandards

Bei Clonck wollen wir Autoschrauber und Kfz-Profis glücklich machen. Aus diesem Grund findest du bei Clonck ausschließlich professionelle und hochwertige Reparaturanleitungen, mit deren Hilfe du dein Fahrzeug fachgerecht reparieren kannst.

Unsere Partner

Autohaus Schmidt GmbH
Automag GmbH Filiale Laim
KFZ-VERLAG GmbH
Zimpel und Franke GmbH

Clonck: Der Autoreparatur-Shop - gibt's auch als App!

Clonck App Logo Play Store

Clonck: Passende Autoteile für deine Autoreparatur

4,5 90

Mit Clonck bestellst du die richtigen Originalersatzteile im Handumdrehen.

  • Fahrzeugmodell hinzufügen
  • Baugruppe auswählen
  • Fahrzeug-Identifizierungsnummer (FIN) eingeben
  • Über 5.000 originale Reparaturanleitungen einsehen
Jetzt App starten
Clonck App Preview Auto Mobiltelefon Autoteile