DER AUTOREPARATUR-SHOP
0
Home » Anleitungen » Body Repairs
  • Beispielseite für Reparaturanleitung Body Repairs
  • Beispielseite für Reparaturanleitung 2 Body Repairs
  • Beispielseite für Reparaturanleitung 3 Body Repairs
  • Beispielseite für Reparaturanleitung Body Repairs
  • Beispielseite für Reparaturanleitung 2 Body Repairs
  • Beispielseite für Reparaturanleitung 3 Body Repairs

Body Repairs

Für Golf Variant

Original VW-Reparaturanleitung


22,95 €inkl. 7% MwSt.

  • Deutsch
  • English

Sofort als Download verfügbar

Sprache: English

Digitale PDF Version

11.419 KB

289 Seiten

Detaillierte technische Daten

Sofort lesbar

Diese Reparaturanleitung umfasst: Renewing right console und Replacing upper wheel housing longitudinal member. Mehr anzeigen
Sichere Zahlung per PayPal, Kreditkarte, Lastschrift, Sofort-Überweisung oder Giropay
PayPal Logo SEPA Lastschrift Logo Giropay Logo Sofort Überweisung Logo

Reparaturanleitung Golf Variant Body Repairs pdf Download mit dem Inhalt:

Kapitelübersicht

  • Technical data
    1
  • 1 Basic instructions
    1
  • 2 Vehicle identification data
    2
  • 2.1 Vehicle identification number
    2
  • 2.2 Identification plate
    3
  • 2.3 Vehicle data sticker
    3
  • 3 Safety instructions
    5
  • 4 Basic instructions
    6
  • 5 Moulded foam elements
    7
  • 6 Laser welding
    9
  • 7 Galvanized body parts
    10
  • 7.1 Body
    10
  • 7.2 Floor group
    11
  • 8 High strength body parts
    12
  • 8.1 Body
    12
  • 8.2 Floor group
    13
  • 9 Body panel gaps/shut lines
    15
  • 9.1 Body - front
    15
  • 9.2 Body - centre
    17
  • 9.3 Body - rear
    18
  • 10 Body dimensions
    19
  • 10.1 Body - front
    19
  • 10.2 Body - centre
    24
  • 10.3 Body - rear (Variant)
    29
  • 10.4 Floor group - front
    31
  • 10.5 Floor group - centre
    34
  • 10.6 Floor group - rear
    36
  • 11 Alignment jig
    39
  • 11.1 Overview
    40
  • 11.2 Front alignment bracket
    41
  • 11.3 Centre alignment bracket
    46
  • 11.4 Rear alignment bracket
    48
  • 12 Portal gauge
    50
  • 12.1 Overview
    50
  • Body - front
    52
  • 1 Renewing right console
    52
  • 1.1 Tools
    52
  • 1.2 Removing
    53
  • 1.3 Installing
    54
  • 2 Renewing left console
    56
  • 2.1 Tools
    57
  • 2.2 Removing
    57
  • 2.3 Installing
    58
  • 3 Renewing subframe
    60
  • 3.1 Tools
    60
  • 3.2 Removing
    61
  • 3.3 Installing
    62
  • 4 Renewing front bumper bracket
    64
  • 4.1 Tools
    64
  • 4.2 Removing
    65
  • 4.3 Installing
    66
  • 5 Replacing upper wheel housing longitudinal member
    68
  • 5.1 Tools
    69
  • 5.2 Removing
    69
  • 5.3 Installing
    70
  • 6 Renewing wheel housing upper longitudinal member - part section
    71
  • 6.1 Tools
    72
  • 6.2 Removing
    72
  • 6.3 Installing
    73
  • 7 Renewing front wheel housing
    75
  • 7.1 Tools
    76
  • 7.2 Removing
    76
  • 7.3 Installing
    78
  • 8 Repairing threads for securing subframe
    86
  • 8.1 Contents of thread repair kit
    88
  • 8.2 Repairing threads
    89
  • 9 Renewing front longitudinal member
    92
  • 9.1 Tools
    93
  • 9.2 Removing
    93
  • 9.3 Installing
    95
  • 10 Renewing front longitudinal member - part section
    101
  • 10.1 Tools
    102
  • 10.2 Removing
    103
  • 10.3 Installing
    104
  • Body - centre
    106
  • 1 Renewing roof
    106
  • 1.1 Tools
    107
  • 1.2 Removing
    109
  • 1.3 Installing
    111
  • 2 Renewing roof side member
    124
  • 2.1 Tools
    125
  • 2.2 Removing
    125
  • 2.3 Installing
    126
  • 3 Renewing front roof cross member
    132
  • 3.1 Tools
    132
  • 3.2 Removing
    132
  • 3.3 Installing
    133
  • 4 Renewing roof reinforcement
    135
  • 4.1 Tools
    135
  • 4.2 Removing
    135
  • 4.3 Installing
    136
  • 5 Renewing rear roof cross member
    138
  • 5.1 Tools
    139
  • 5.2 Removing
    139
  • 5.3 Installing
    140
  • 6 Renewing A-pillar - part section
    142
  • 6.1 Tools
    143
  • 6.2 Removing
    144
  • 6.3 Installing
    145
  • 7 Renewing A-pillar reinforcement
    149
  • 7.1 Tools
    150
  • 7.2 Removing
    151
  • 7.3 Installing
    152
  • 8 Renewing B-pillar
    156
  • 8.1 Tools
    158
  • 8.2 Removing
    159
  • 8.3 Installing
    161
  • 9 Renewing B-pillar reinforcement
    167
  • 9.1 Tools
    168
  • 9.2 Removing
    169
  • 9.3 Installing
    172
  • 10 Renewing side member
    181
  • 10.1 Tools
    182
  • 10.2 Removing
    183
  • 10.3 Installing
    184
  • 11 Renewing front side member reinforcement
    191
  • 11.1 Tools
    192
  • 11.2 Removing
    193
  • 11.3 Installing
    194
  • 12 Renewing rear side member reinforcement
    196
  • 12.1 Tools
    197
  • 12.2 Removing
    197
  • 12.3 Installing
    198
  • 13 Renewing outer mounting for seat cross member
    200
  • 13.1 Tools
    201
  • 13.2 Removing
    201
  • 13.3 Installing
    202
  • 14 Renewing inner mounting for seat cross member
    203
  • 14.1 Tools
    204
  • 14.2 Removing
    204
  • 14.3 Installing
    204
  • 15 Renewing seat middle cross member
    206
  • 15.1 Tools
    207
  • 15.2 Removing
    207
  • 15.3 Installing
    207
  • Body - rear
    209
  • 1 Renewing cross panel
    209
  • 1.1 Tools
    210
  • 1.2 Removing
    210
  • 1.3 Installing
    212
  • 2 Renewing lock carrier
    219
  • 2.1 Tools
    219
  • 2.2 Removing
    220
  • 2.3 Installing
    221
  • 3 Renewing tail light mounting
    222
  • 3.1 Tools
    223
  • 3.2 Removing
    223
  • 3.3 Installing
    223
  • 4 Replacing tail light connecting plate
    225
  • 4.1 Tools
    226
  • 4.2 Removing
    226
  • 4.3 Installing
    227
  • 5 Renewing luggage compartment floor
    230
  • 5.1 Tools
    231
  • 5.2 Removing
    231
  • 5.3 Installing
    233
  • 6 Renewing C-pillar reinforcement - part section
    237
  • 6.1 Tools
    238
  • 6.2 Removing
    239
  • 6.3 Installing
    240
  • 7 Renewing D-pillar reinforcement - part section
    242
  • 7.1 Tools
    243
  • 7.2 Removing
    243
  • 7.3 Installing
    245
  • 8 Renewing inner D-pillar
    249
  • 8.1 Tools
    250
  • 8.2 Removing
    250
  • 8.3 Installing
    251
  • 9 Renewing rear longitudinal member - part section
    254
  • 9.1 Tools
    255
  • 9.2 Removing
    255
  • 9.3 Installing
    256
  • 10 Renewing rear longitudinal member - subpart
    259
  • 10.1 Tools
    260
  • 10.2 Removing
    260
  • 10.3 Installing
    261
  • 11 Renewing side panel - part section
    263
  • 11.1 Tools
    264
  • 11.2 Removing
    264
  • 11.3 Installing
    266
  • 12 Renewing outer wheel housing liner
    272
  • 12.1 Tools
    273
  • 12.2 Removing
    273
  • 12.3 Installing
    274
  • 13 Renewing spare wheel well - part section
    279
  • 13.1 Tools
    279
  • 13.2 Removing
    280
  • 13.3 Installing
    281
Hersteller­bezeichnung Body Repairs
Hersteller Volkswagen
Passend für Golf Variant (2007)
Passende Autotypen 1K5
Kategorie Reparaturanleitung

Im Moment sind noch keine Bewertungen für dieses Produkt vorhanden.

Ähnliche Reparaturanleitungen

Electrical system

Beispielseite für Reparaturanleitung Electrical system

Für Golf Variant (2007) / Jetta (2005 - 2007) / Golf VI Variant (2010)

36,71 € Details

Brake systems

Beispielseite für Reparaturanleitung Brake systems

Für Golf Variant (2007) / Jetta (2005 - 2007)

14,00 € Details

Electrical system, General information

Beispielseite für Reparaturanleitung Electrical system, General information

Für New Beetle Cabrio (2003 - 2010) / New Beetle / New Beetle (USA) (1998 - 2007) / Golf Variant (2007) / Jetta (2005 - 2007) / Jetta 2-türig Rl (1980 - 1984) / Jetta 4-türig Ll (1980 - 1984) / New Beetle RSI (2001) / Golf VI Variant (2010) / Beetle (NBL) Limousine (2012) / Beetle (NBC) Cabrio (2012) / Jetta (Mexiko) (1998 - 2007) / Jetta (2014 >) / Golf (Mexiko) (2014 >) / Jetta (Malaysia) (2013 >) / Jetta GP (Russland) (2015) / Golf Variant (Mexiko) (2015 >) / Jetta GP (2015 >) / VW Beetle (2011) / Beetle (2017) / Golf [MX] (2018 >) / Golf Variant [MX] (2018 >) / Jetta [MX] (2018 >) / Taos [MX] (2021 >) / Taos [MX] (2021 >) / Tiguan [MX] (2022 >) / Jetta [MX] (2022 >)

16,19 € Details

4-cylinder diesel engine (2.0 l engine, 2-valve, TDI)

Beispielseite für Reparaturanleitung 4-cylinder diesel engine (2.0 l engine, 2-valve, TDI)

Für Golf Variant (2007) / Jetta (2005 - 2007)

15,60 € Details

General body repairs, exterior

Beispielseite für Reparaturanleitung General body repairs, exterior

Für Golf Variant (2007) / Jetta (2005 - 2007)

29,40 € Details

4-cylinder injection engine (1.6 l roller rocker finger)

Beispielseite für Reparaturanleitung 4-cylinder injection engine (1.6 l roller rocker finger)

Für Golf Variant (2007) / Jetta (2005 - 2007) / Golf VI Variant (2010)

17,64 € Details

5-speed manual gearbox 0A4

Beispielseite für Reparaturanleitung 5-speed manual gearbox 0A4

Für Golf Variant (2007) / Jetta (2005 - 2007) / Jetta 2-türig Rl (1980 - 1984) / Golf VI Variant (2010)

22,67 € Details

6-speed manual gearbox 0AJ

Beispielseite für Reparaturanleitung 6-speed manual gearbox 0AJ

Für Golf Variant (2007) / Jetta (2005 - 2007) / Jetta 2-türig Rl (1980 - 1984) / Golf VI Variant (2010)

20,44 € Details

1.4l petrol engine, CAXA, From May 2007

Beispielseite für Reparaturanleitung 1.4l petrol engine, CAXA, From May 2007

Für Golf Variant (2007)

63,58 € Details

6-speed manual gearbox 0AG

Beispielseite für Reparaturanleitung 6-speed manual gearbox 0AG

Für Golf Variant (2007) / Jetta (2005 - 2007)

12,47 € Details

Unsere Best Seller

Schon gewusst? Wir bieten auch originale Autoteile an.

Autoteil N90978403 Schraube

N90978403

Schraube

4,45 €

Details
Autoteil 4L0898671B Lager

4L0898671B

Lager

58,24 €

Details
Autoteil D177500A1 Glasprimer

D177500A1

Glasprimer

81,04 €

Details
Autoteil 8E0201263G Kuppl.Stck

8E0201263G

Kuppl.Stck

18,47 €

Details
Autoteil 059121113N Kuehlregle

059121113N

Kuehlregle

104,58 €

Details

Eigendiagnose für Automatisches Getriebe 09A - 5 Gang

Beispielseite für Reparaturanleitung Eigendiagnose für Automatisches Getriebe 09A - 5 Gang

Für Bora / Bora Variant / Golf / Golf Variant (1998 - 2006)

6,00 € Details

Nr. 233: 2,0 l-Motor

Beispielseite für Reparaturanleitung Nr. 233: 2,0 l-Motor

5,73 € Details

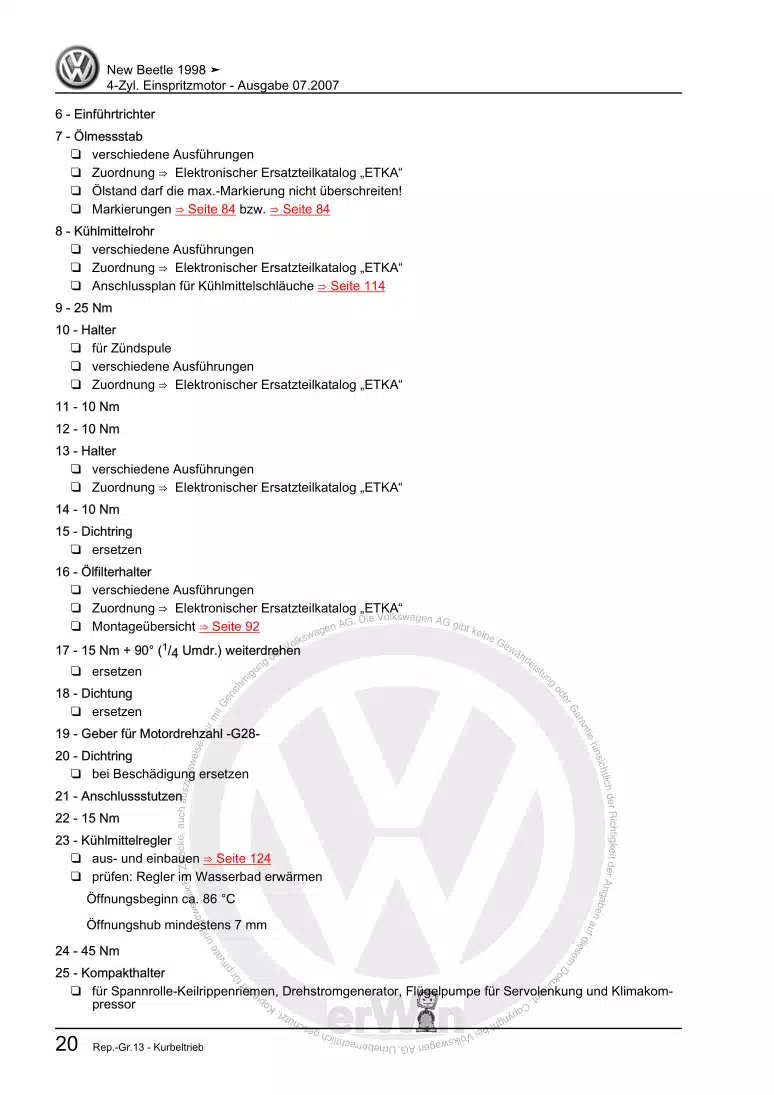
4-Zyl. Einspritzmotor

Beispielseite für Reparaturanleitung 4-Zyl. Einspritzmotor

Für New Beetle Cabrio (2003 - 2010) / New Beetle / New Beetle (USA) (1998 - 2007) / New Beetle (Europe) (1999 - 2002)

21,00 € Details

image/svg+xml Über Clonck

Originale Reparaturanleitungen und Ersatzteile

Unsere Reparaturanleitungen sind Originale, kommen direkt von Volkswagen und erfüllen die höchsten Qualitätsstandards.

In unserem Originalteile-Shop verkaufen wir hochwertige Originalersatzteile der Fahrzeughersteller. Mithilfe der Suche gibst du die gewünschte Teilenummer (OE-Nummer) ein und bestellst schnell und einfach das benötigte Ersatzteil.

Höchste Qualitätsstandards

Bei Clonck wollen wir Autoschrauber und Kfz-Profis glücklich machen. Aus diesem Grund findest du bei Clonck ausschließlich professionelle und hochwertige Reparaturanleitungen, mit deren Hilfe du dein Fahrzeug fachgerecht reparieren kannst.

Unsere Partner

Autohaus Schmidt GmbH
Automag GmbH Filiale Laim
KFZ-VERLAG GmbH
Zimpel und Franke GmbH

Clonck: Der Autoreparatur-Shop - gibt's auch als App!

Clonck App Logo Play Store

Clonck: Passende Autoteile für deine Autoreparatur

4,5 90

Mit Clonck bestellst du die richtigen Originalersatzteile im Handumdrehen.

  • Fahrzeugmodell hinzufügen
  • Baugruppe auswählen
  • Fahrzeug-Identifizierungsnummer (FIN) eingeben
  • Über 5.000 originale Reparaturanleitungen einsehen
Jetzt App starten
Clonck App Preview Auto Mobiltelefon Autoteile