DER AUTOREPARATUR-SHOP
0
Home » Anleitungen » 4-speed automatic gearbox 099, four-wheel drive
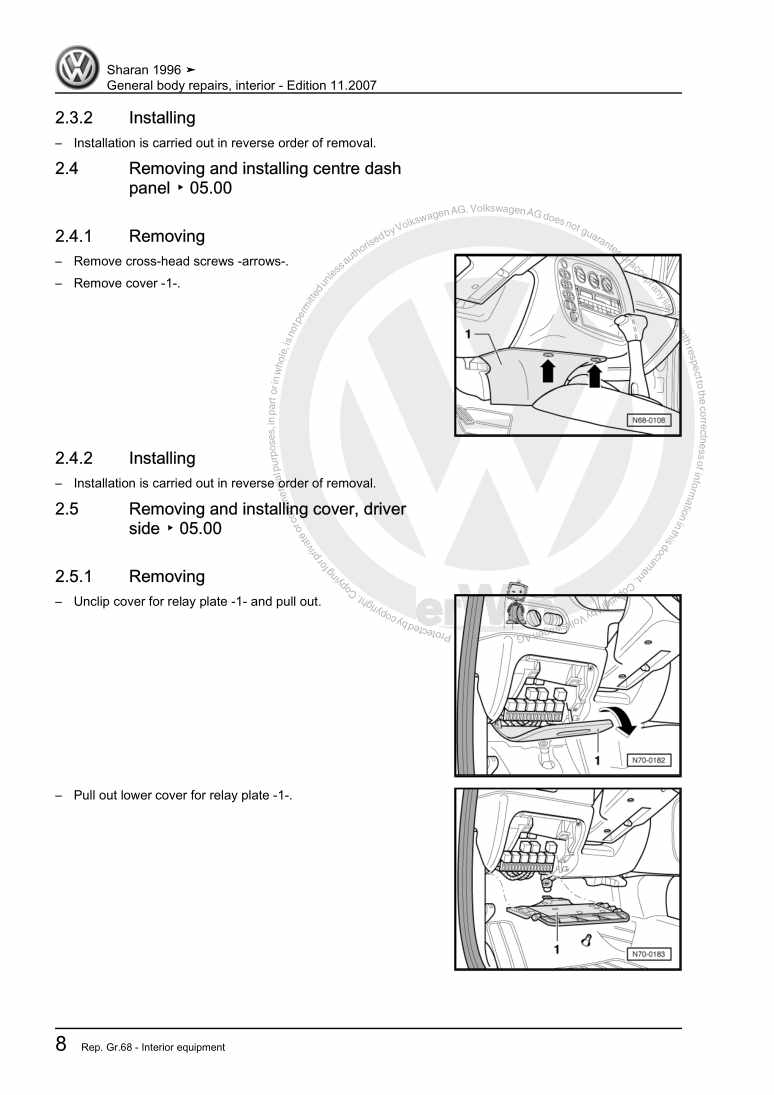
  • Beispielseite für Reparaturanleitung 4-speed automatic gearbox 099, four-wheel drive
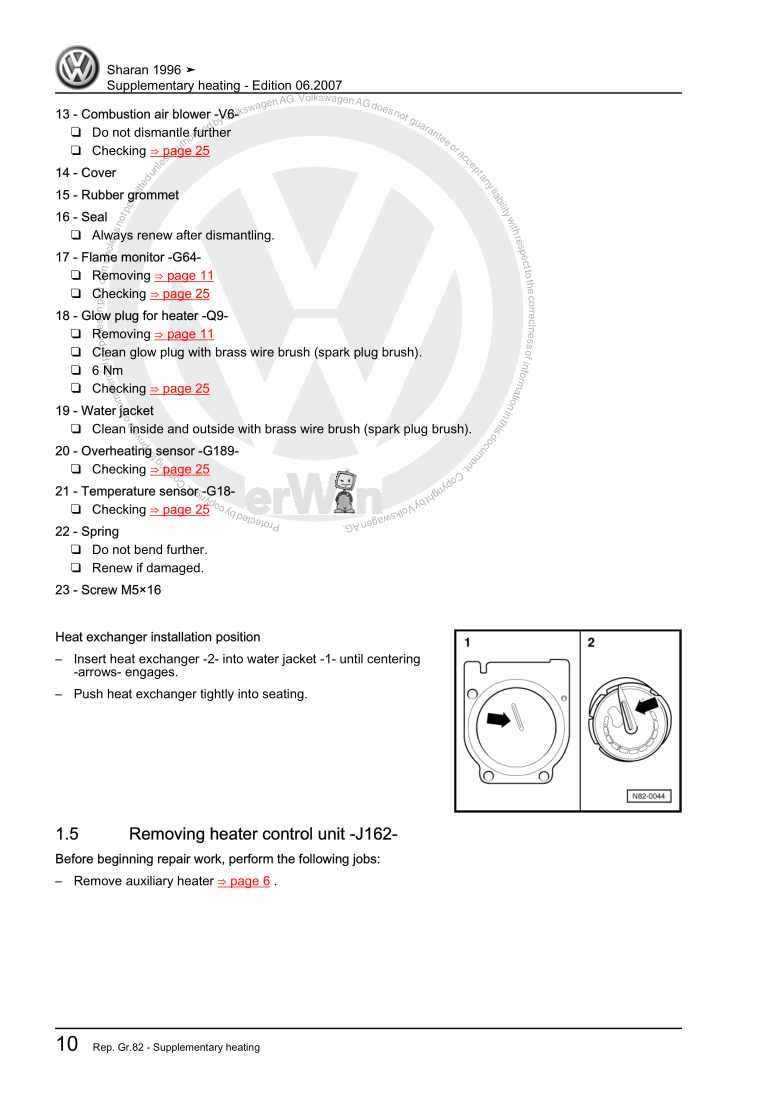
  • Beispielseite für Reparaturanleitung 2 4-speed automatic gearbox 099, four-wheel drive
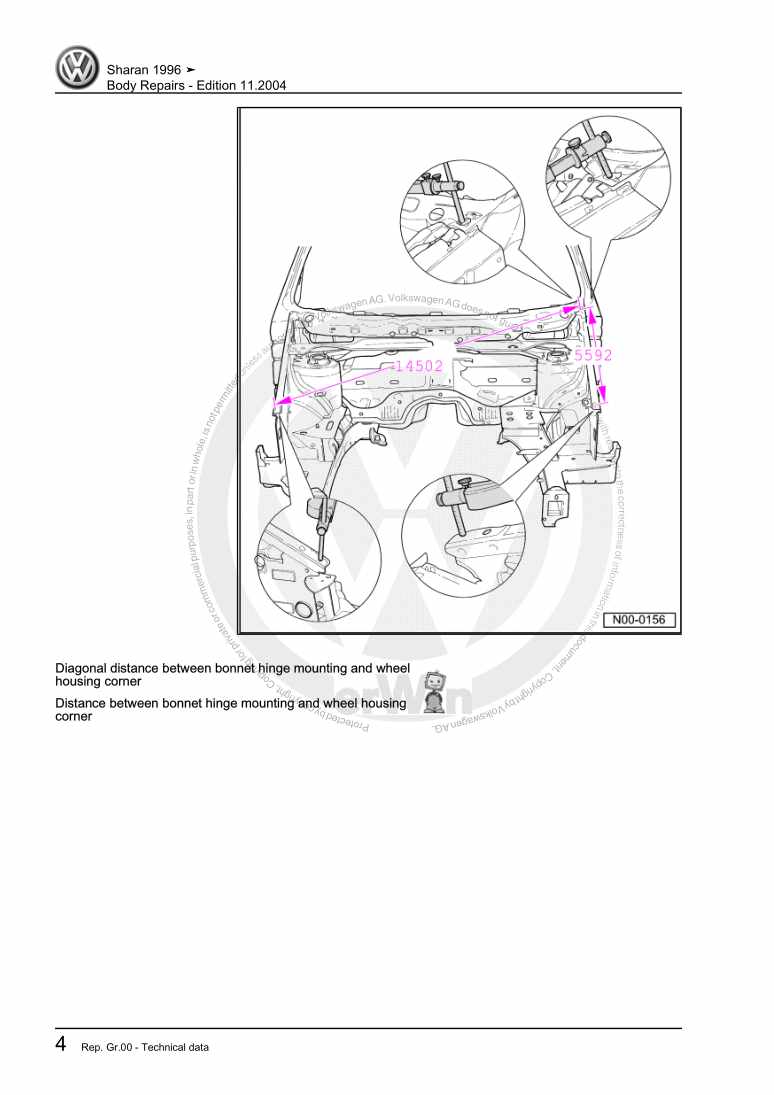
  • Beispielseite für Reparaturanleitung 3 4-speed automatic gearbox 099, four-wheel drive
  • Beispielseite für Reparaturanleitung 4-speed automatic gearbox 099, four-wheel drive
  • Beispielseite für Reparaturanleitung 2 4-speed automatic gearbox 099, four-wheel drive
  • Beispielseite für Reparaturanleitung 3 4-speed automatic gearbox 099, four-wheel drive

4-speed automatic gearbox 099, four-wheel drive

Für Sharan

Original VW-Reparaturanleitung


19,08 €inkl. 7% MwSt.

Sofort als Download verfügbar

Sprache: English

Digitale PDF Version

6.559 KB

234 Seiten

Detaillierte technische Daten

Sofort lesbar

Diese Reparaturanleitung umfasst: Torque converter, Repairing selector mechanism, Routing diagram of pipe and hose lines for freewheel lock, Checking gearbox, Dismantling and assembling ATF pump, Checking function of viscous coupling, Renewing viscous coupling oil seal in rear final drive (final drive installed) und Removing and installing front left flange shaft oil seal. Mehr anzeigen
Sichere Zahlung per PayPal, Kreditkarte, Lastschrift, Sofort-Überweisung oder Giropay
PayPal Logo SEPA Lastschrift Logo Giropay Logo Sofort Überweisung Logo

Reparaturanleitung Sharan 4-speed automatic gearbox 099, four-wheel drive pdf Download mit dem Inhalt:

Kapitelübersicht

  • Technical data
    1
  • 1 Gearbox identification
    1
  • 1.1 Location on gearbox
    1
  • 1.2 Code letters and date of manufacture of gearbox arrow 1
    1
  • 2 Code letters, engine allocation, ratios, equipment
    2
  • 3 Identifying rear final drive
    3
  • 4 Code letters, engine allocation, ratios, equipment
    4
  • 5 Capacities
    5
  • 5.1 Planetary gear
    5
  • 5.2 Front final drive
    5
  • 5.3 Rear final drive
    5
  • 6 Overview - power transmission
    6
  • 7 Notes on four-wheel drive automatic gearbox 099
    7
  • 7.1 Notes on four-wheel drive automatic gearbox 099
    7
  • 7.2 Notes on performance tests, brake tests and towing
    8
  • 8 Repair instructions
    9
  • 8.1 Repair instructions
    9
  • Torque converter
    11
  • 1 Torque converter
    11
  • 1.1 Identification of torque converter
    11
  • 1.2 Allocation of torque converter
    11
  • 1.3 Removing and installing torque converter oil seal
    14
  • 1.4 Draining torque converter
    14
  • Controls, housing
    16
  • 1 Repairing selector mechanism
    16
  • 1.1 Checking selector mechanism
    16
  • 1.2 Checking and adjusting selector lever cable
    16
  • 1.3 Dismantling and assembling selector mechanism
    17
  • 1.4 Removing and installing selector lever cable
    19
  • 1.5 Dismantling and assembling selector lever
    23
  • 1.6 Adjusting starter inhibitor switch in right-hand drive vehicles
    24
  • 2 Routing diagram of pipe and hose lines for freewheel lock
    25
  • 2.1 For vehicles up to chassis number 7MZWV004352
    25
  • 2.2 For vehicles from chassis number 7MZWV004353 onwards
    26
  • 2.3 Removing and installing control element for freewheel lock
    26
  • 3 Checking gearbox
    28
  • 3.1 Checking shift points
    28
  • 3.2 Checking stall speed
    28
  • 3.3 Measuring main pressure
    28
  • 3.4 Fault finding table for “4-speed automatic gearbox”
    28
  • 4 Removing and installing gearbox
    29
  • 4.1 Removing and installing gearbox together with bevel box
    29
  • 4.2 Removing and installing bevel box
    37
  • 4.3 Removing and installing starter bush
    38
  • 5 Checking ATF level and topping up
    41
  • 5.1 Checking ATF level
    41
  • 5.2 Topping up ATF
    43
  • 5.3 Renewing ATF
    43
  • 6 Gearbox with selector elements
    45
  • 7 Dismantling and assembling gearbox
    48
  • 7.1 Removing and installing ATF cooler and ATF filler pipe
    48
  • 7.2 Dismantling and assembling planetary gearbox -Overview-
    48
  • 7.3 I - Removing and installing ATF pump to supporting tube
    49
  • 7.4 II - Removing and installing reverse clutch -K2- to large sun gear
    51
  • 7.5 III - Removing and installing freewheel and reverse gear brake -B1-
    52
  • 7.6 IV - Planet carrier and gearbox housing with input gear and cover
    53
  • 7.7 Dismantling and assembling planetary gearbox
    54
  • 7.8 Overview of all planetary gearbox adjustments
    67
  • 7.9 Adjusting planet carrier
    68
  • 7.10 Adjusting reverse gear brake -B1-
    72
  • 7.11 Adjusting clutch play between -K1- and -K2-
    76
  • 7.12 Adjusting 2nd and 4th gear brake -B2-
    79
  • Gears, control
    88
  • 1 Dismantling and assembling ATF pump
    88
  • 2 Dismantling and assembling freewheel with -B1- piston
    90
  • 3 Dismantling and assembling 1st to 3rd gear clutch -K1-
    92
  • 4 Dismantling and assembling reverse gear clutch -K2-
    95
  • 5 Dismantling and assembling 3rd and 4th gear clutch -K3- with turbine shaft
    98
  • 6 Removing and installing valve body
    101
  • 7 Dismantling and assembling parking lock
    106
  • Final drive - rear differential
    110
  • 1 Removing and installing propshaft
    110
  • 1.1 Measuring and adjusting distance between propshaft and steering box
    112
  • 2 Repairing propshaft
    113
  • 3 Checking function of viscous coupling
    119
  • 4 Removing and installing viscous coupling
    120
  • 4.1 Removing viscous coupling
    120
  • 4.2 Installing viscous coupling
    121
  • 5 Renewing viscous coupling oil seal in rear final drive (final drive installed)
    123
  • 6 Renewing flange shaft or drive flange oil seals (final drive installed)
    124
  • 6.1 Renewing oil seal for right flange shaft
    124
  • 6.2 Renewing left drive flange oil seal
    125
  • 7 Checking oil in rear final drive
    127
  • 8 Checking function of freewheel
    128
  • 9 Checking function of freewheel lock
    129
  • 10 Removing and installing rear final drive
    130
  • 10.1 Removing rear final drive
    130
  • 10.2 Installing rear final drive
    131
  • 11 Dismantling and assembling rear final drive
    133
  • 11.1 Removing and installing viscous coupling and pinion housing
    134
  • 11.2 Removing and installing differential and freewheel lock
    135
  • 11.4 Dismantling and assembling procedure
    138
  • 11.5 Modifying gearbox support VW 353
    144
  • 12 Dismantling and assembling differential and freewheel
    145
  • 12.1 Assembly overview
    145
  • 12.2 Dismantling and assembling differential (procedure)
    146
  • 12.3 Removing and installing freewheel (procedure)
    149
  • 12.4 Dismantling and assembling freewheel (procedure)
    150
  • 13 Repairing shaft bevel gear bearing
    152
  • 13.1 Assembly overview
    152
  • 13.2 Dismantling and assembling procedure
    153
  • 14 Repairing bearing for bevel gear with stub shaft
    158
  • 14.1 Assembly overview
    158
  • 14.2 Dismantling and assembling procedure
    159
  • 15.1 General notes
    166
  • 15.2 Adjustment and marking of final drive gear sets
    166
  • 15.3 Position of shims
    167
  • 15.4 Adjustment overview - rear final drive
    167
  • 15.5 Determining fitting position of shaft bevel gear (actual values)
    168
  • 15.6 Recommended sequence for new adjustment of final drive gear set
    168
  • 15.7 Adjusting shaft bevel gear
    169
  • 15.8 Adjusting bevel gear
    173
  • Final drive - front differential
    178
  • 1 Checking oil in front final drive
    178
  • 2 Removing and installing front left flange shaft oil seal
    179
  • 4 Renewing bevel box output flange oil seal (bevel box removed)
    185
  • 5 Dismantling and assembling final drive
    187
  • 5.1 Repair overview of final drive
    187
  • 5.2 Unbolting and bolting on front bevel box
    188
  • 5.3 Removing and installing differential
    190
  • 5.4 Removing and installing input gear
    193
  • 5.5 Removing and installing drive shaft
    197
  • 5.6 Dismantling and assembling differential
    206
  • 6 Adjusting front final drive
    214
  • 6.1 Overview
    214
  • 6.2 Adjusting work when renewing individual components of the front final drive
    218
  • 6.3 Adjusting drive shaft
    219
  • 6.4 Adjusting input gear
    221
  • 6.5 Adjusting differential
    222
Hersteller­bezeichnung 4-speed automatic gearbox 099, four-wheel drive
Hersteller Volkswagen
Passend für Sharan (1995 - 2010)
Passende Autotypen 7M
Getriebe­bezeichnungen 099A
Getriebetypen CYC, EQK, DNJ, CNF, CYD, DNK
Kategorie Reparaturanleitung

Im Moment sind noch keine Bewertungen für dieses Produkt vorhanden.

Ähnliche Reparaturanleitungen

4-cyl. injection engine (2 valve without intermediate shaft), Mechanics

Beispielseite für Reparaturanleitung 4-cyl. injection engine (2 valve without intermediate shaft), Mechanics

Für Sharan (1995 - 2010)

14,14 € Details

Running gear, axles, steering - front and four-wheel drive
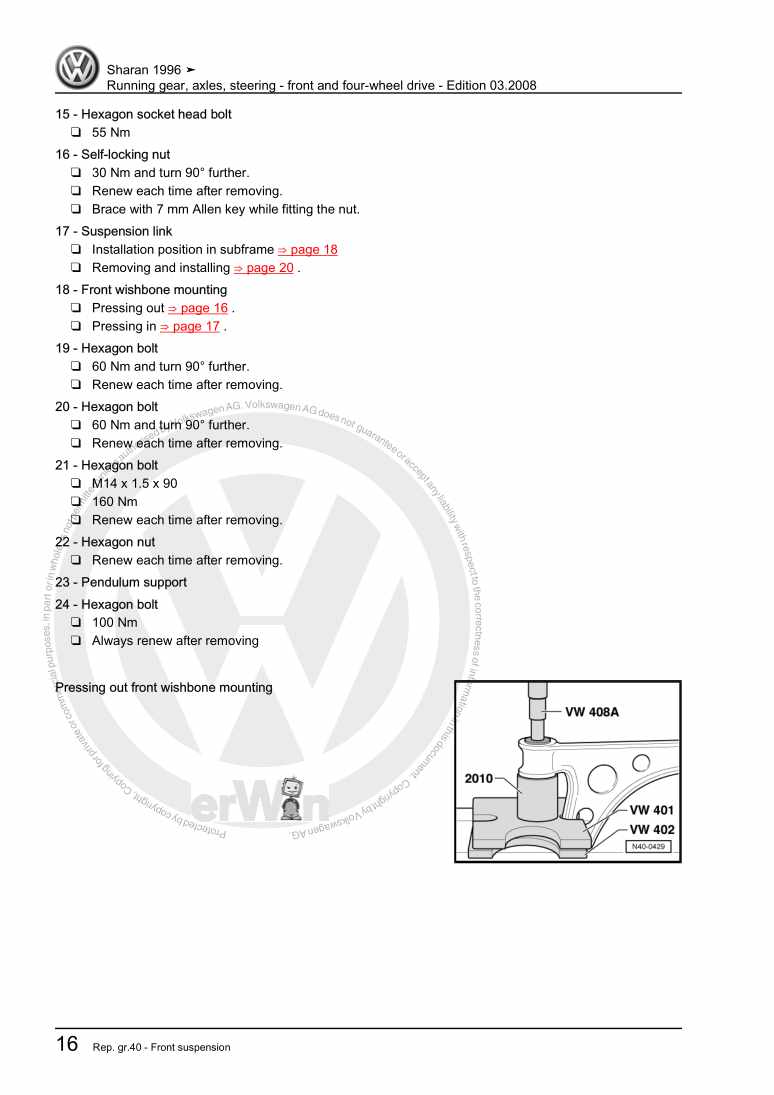
Beispielseite für Reparaturanleitung Running gear, axles, steering - front and four-wheel drive

Für Sharan (1995 - 2010)

16,91 € Details

General body repairs, interior

Beispielseite für Reparaturanleitung General body repairs, interior

Für Sharan (1995 - 2010)

15,97 € Details

4-Cyl. diesel engine with unit injector, Mechanics
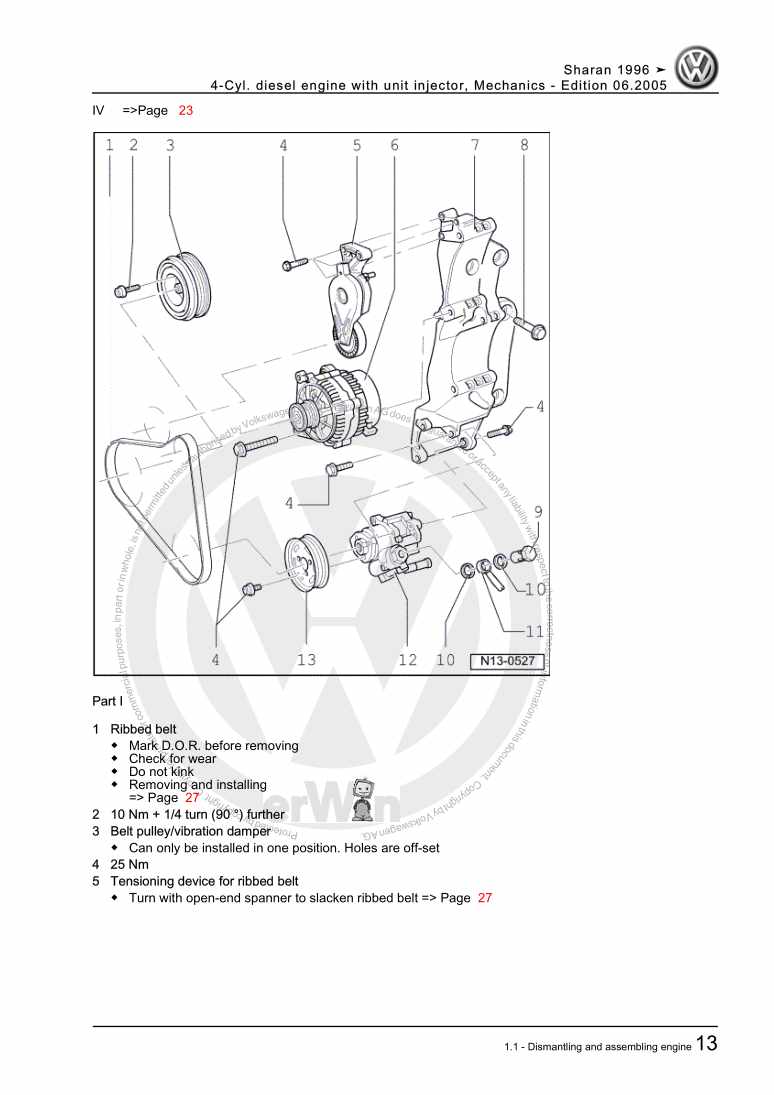
Beispielseite für Reparaturanleitung 4-Cyl. diesel engine with unit injector, Mechanics

Für Sharan (1995 - 2010)

16,04 € Details

Motronic injection and ignition system
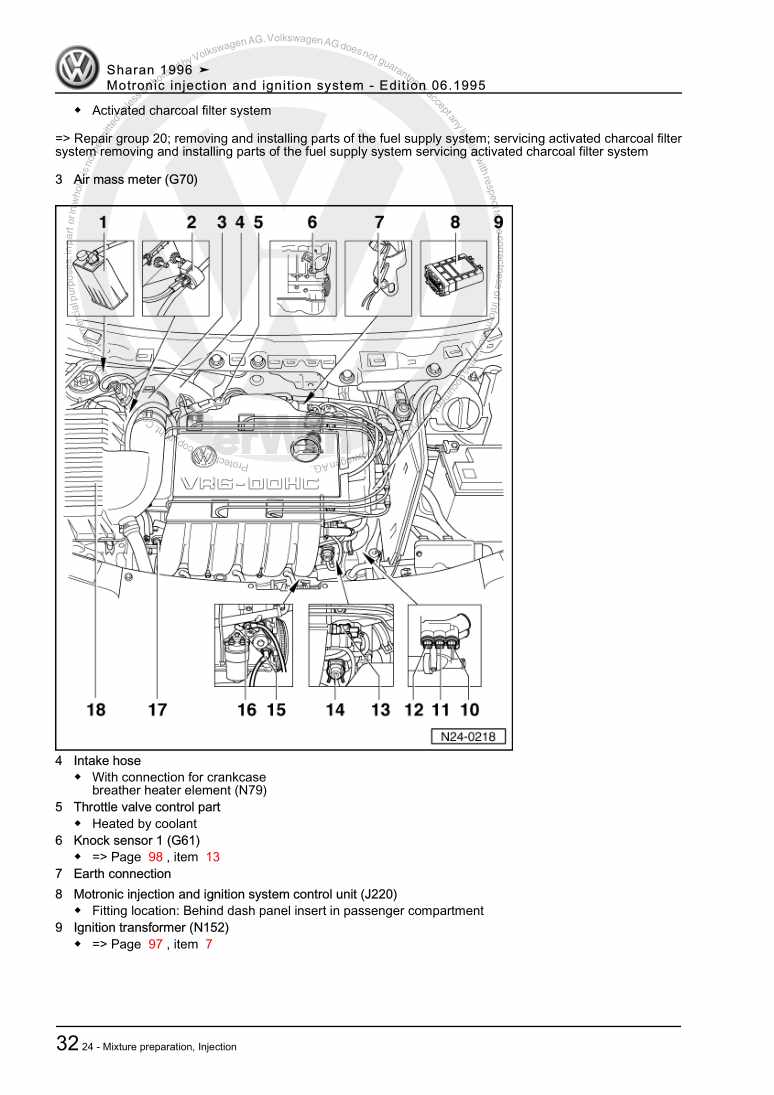
Beispielseite für Reparaturanleitung Motronic injection and ignition system

Für Sharan (1995 - 2010)

10,26 € Details

Self-diagnosis for 5-speed automatic gearbox 09B
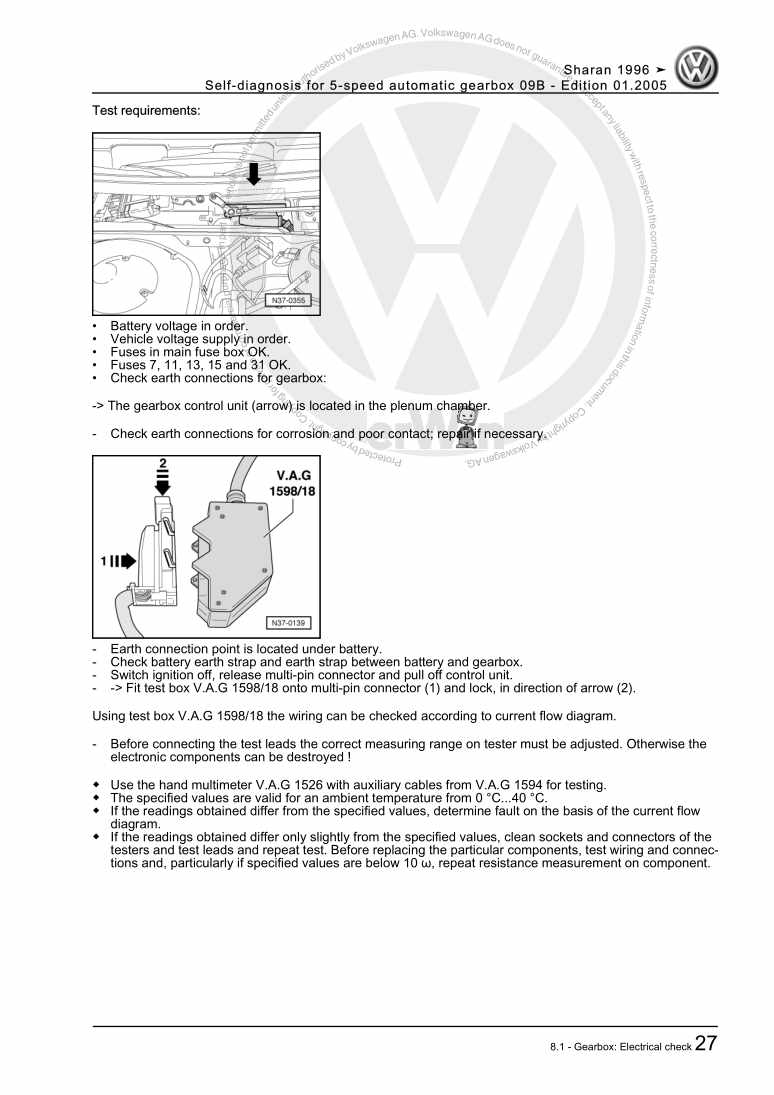
Beispielseite für Reparaturanleitung Self-diagnosis for 5-speed automatic gearbox 09B

Für Sharan (1995 - 2010)

5,62 € Details

Supplementary heating

Beispielseite für Reparaturanleitung Supplementary heating

Für Sharan (1995 - 2010)

9,70 € Details

4-cylinder diesel engine (1.9 l engine)
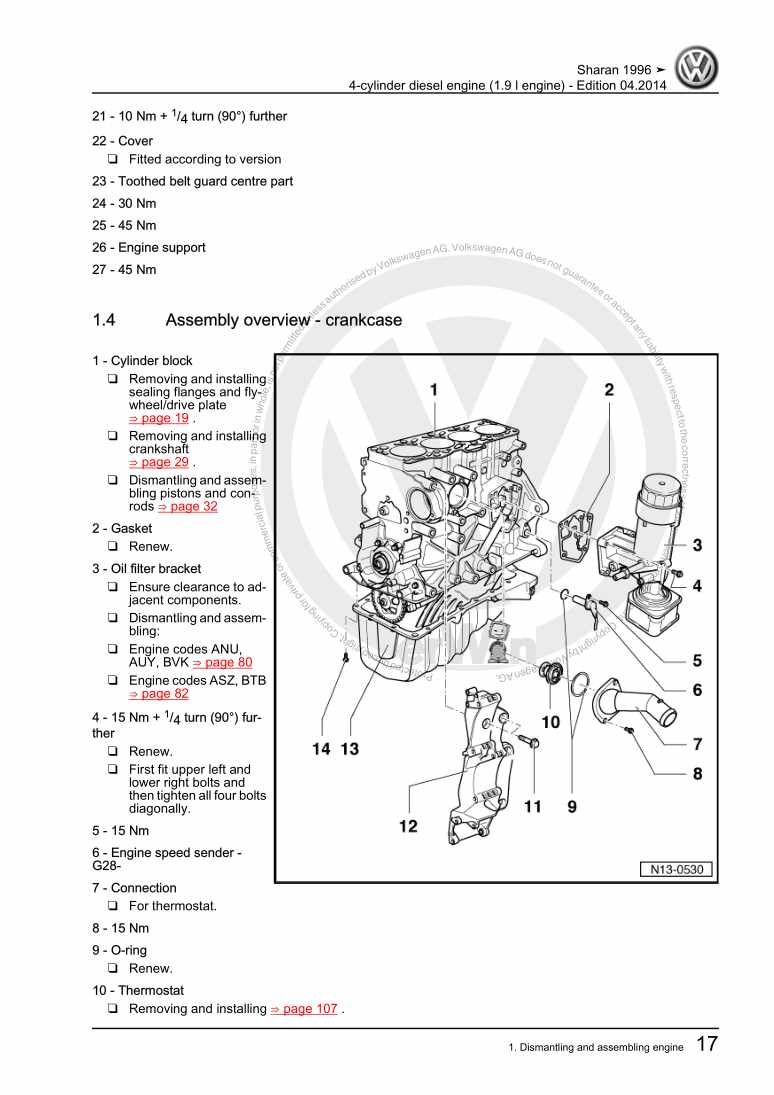
Beispielseite für Reparaturanleitung 4-cylinder diesel engine (1.9 l engine)

Für Sharan (1995 - 2010)

15,46 € Details

Body Repairs

Beispielseite für Reparaturanleitung Body Repairs

Für Sharan (1995 - 2010)

10,82 € Details

Running gear self-diagnosis for ABS

Kein Bild vorhanden

Für Sharan (1995 - 2010)

4,18 € Details

Unsere Best Seller

Schon gewusst? Wir bieten auch originale Autoteile an.

Autoteil 2K588331882V Verkleid.

2K588331882V

Verkleid.

29,08 €

Details
Autoteil 4G8805607 Aufnahme

4G8805607

Aufnahme

34,69 €

Details
Autoteil 3Q0253574 Leitung

3Q0253574

Leitung

36,27 €

Details
Autoteil 5Q1815101D Wasserrohr

5Q1815101D

Wasserrohr

64,80 €

Details
Autoteil 8D0253115C Dichtung

8D0253115C

Dichtung

15,74 €

Details

7 Gang-Doppelkupplungsgetriebe 0GC Volkswagen R GmbH
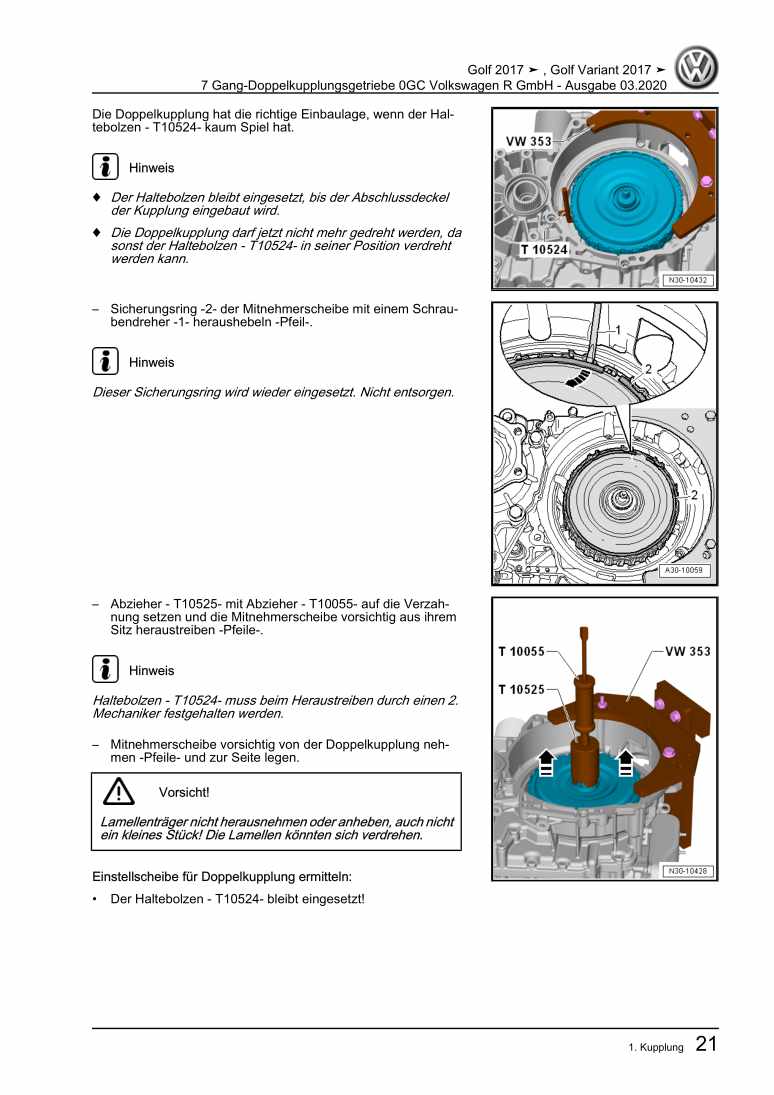
Beispielseite für Reparaturanleitung 7 Gang-Doppelkupplungsgetriebe 0GC Volkswagen R GmbH

Für Golf VII (2017) / Golf (2017)

10,54 € Details

4-Zylinder-Dieselmotor (1,9 l-Motor) 028.B / ADE / ADG

Beispielseite für Reparaturanleitung 4-Zylinder-Dieselmotor (1,9 l-Motor) 028.B / ADE / ADG

Für Industriemotoren - Industrial Engines ()

7,57 € Details

Eigendiagnose für Automatisches Getriebe 09A - 5 Gang
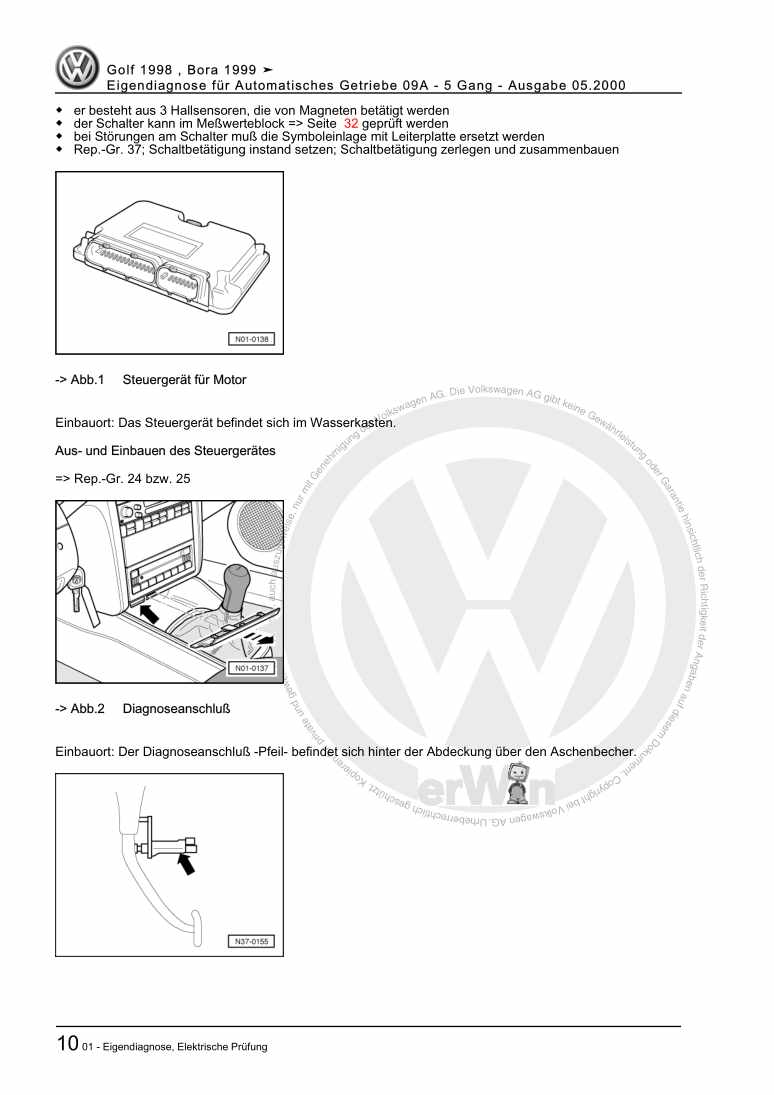
Beispielseite für Reparaturanleitung Eigendiagnose für Automatisches Getriebe 09A - 5 Gang

Für Bora / Bora Variant / Golf / Golf Variant (1998 - 2006)

6,00 € Details

image/svg+xml Über Clonck

Originale Reparaturanleitungen und Ersatzteile

Unsere Reparaturanleitungen sind Originale, kommen direkt von Volkswagen und erfüllen die höchsten Qualitätsstandards.

In unserem Originalteile-Shop verkaufen wir hochwertige Originalersatzteile der Fahrzeughersteller. Mithilfe der Suche gibst du die gewünschte Teilenummer (OE-Nummer) ein und bestellst schnell und einfach das benötigte Ersatzteil.

Höchste Qualitätsstandards

Bei Clonck wollen wir Autoschrauber und Kfz-Profis glücklich machen. Aus diesem Grund findest du bei Clonck ausschließlich professionelle und hochwertige Reparaturanleitungen, mit deren Hilfe du dein Fahrzeug fachgerecht reparieren kannst.

Unsere Partner

Autohaus Schmidt GmbH
Automag GmbH Filiale Laim
KFZ-VERLAG GmbH
Zimpel und Franke GmbH

Clonck: Der Autoreparatur-Shop - gibt's auch als App!

Clonck App Logo Play Store

Clonck: Passende Autoteile für deine Autoreparatur

4,5 90

Mit Clonck bestellst du die richtigen Originalersatzteile im Handumdrehen.

  • Fahrzeugmodell hinzufügen
  • Baugruppe auswählen
  • Fahrzeug-Identifizierungsnummer (FIN) eingeben
  • Über 5.000 originale Reparaturanleitungen einsehen
Jetzt App starten
Clonck App Preview Auto Mobiltelefon Autoteile