DER AUTOREPARATUR-SHOP
0
Home » Anleitungen » 4-cyl. injection engine (1.6 l)
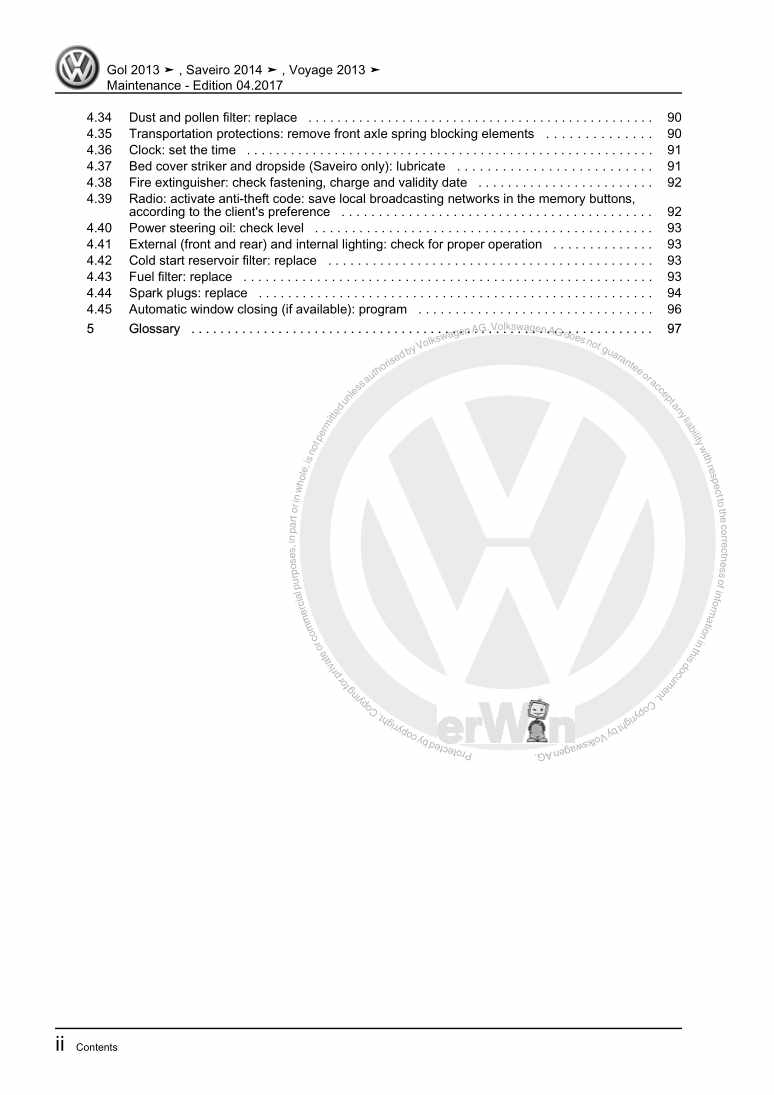
  • Beispielseite für Reparaturanleitung 4-cyl. injection engine (1.6 l)
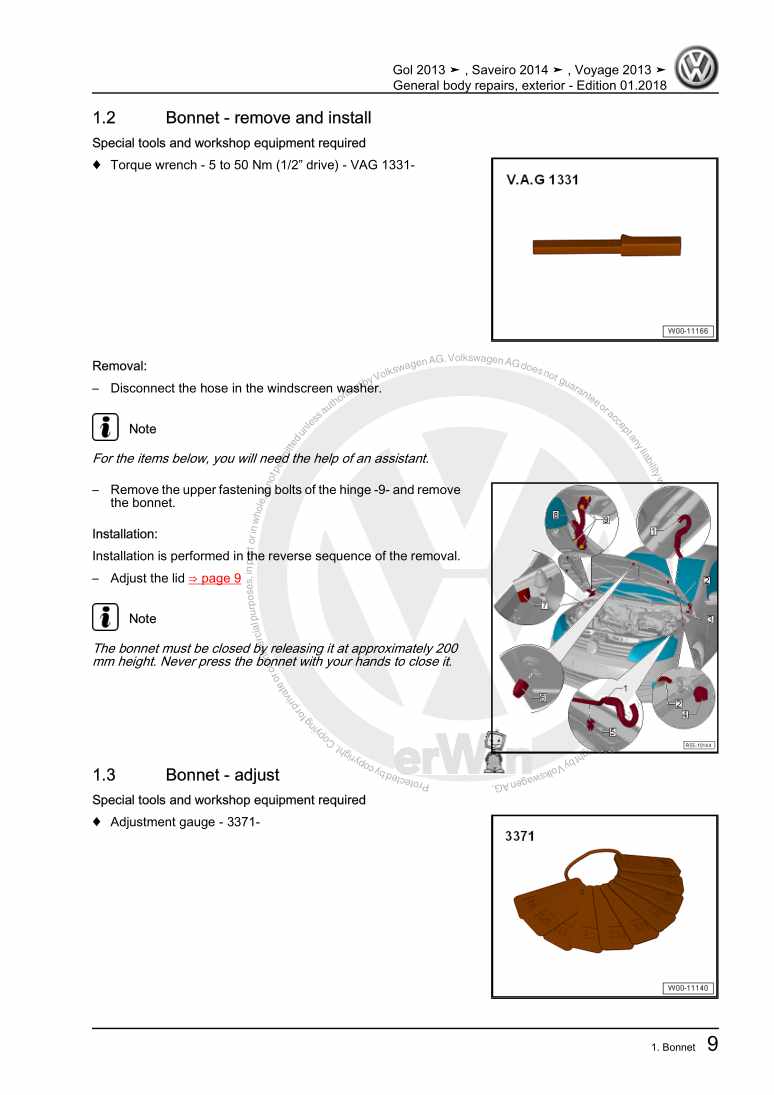
  • Beispielseite für Reparaturanleitung 2 4-cyl. injection engine (1.6 l)
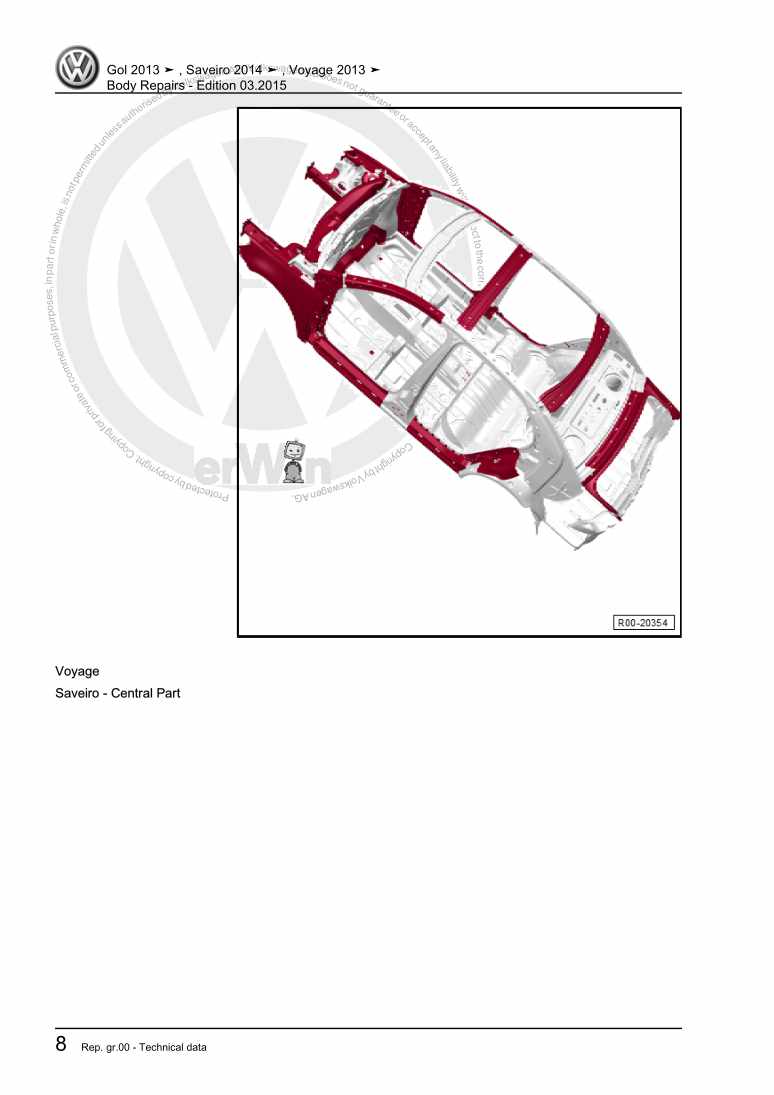
  • Beispielseite für Reparaturanleitung 3 4-cyl. injection engine (1.6 l)
  • Beispielseite für Reparaturanleitung 4-cyl. injection engine (1.6 l)
  • Beispielseite für Reparaturanleitung 2 4-cyl. injection engine (1.6 l)
  • Beispielseite für Reparaturanleitung 3 4-cyl. injection engine (1.6 l)

4-cyl. injection engine (1.6 l)

Für Gol / Saveiro / Saveiro Cab. Dupla

Original VW-Reparaturanleitung


15,97 €inkl. 7% MwSt.

Sofort als Download verfügbar

Sprache: English

Digitale PDF Version

5.424 KB

191 Seiten

Detaillierte technische Daten

Sofort lesbar

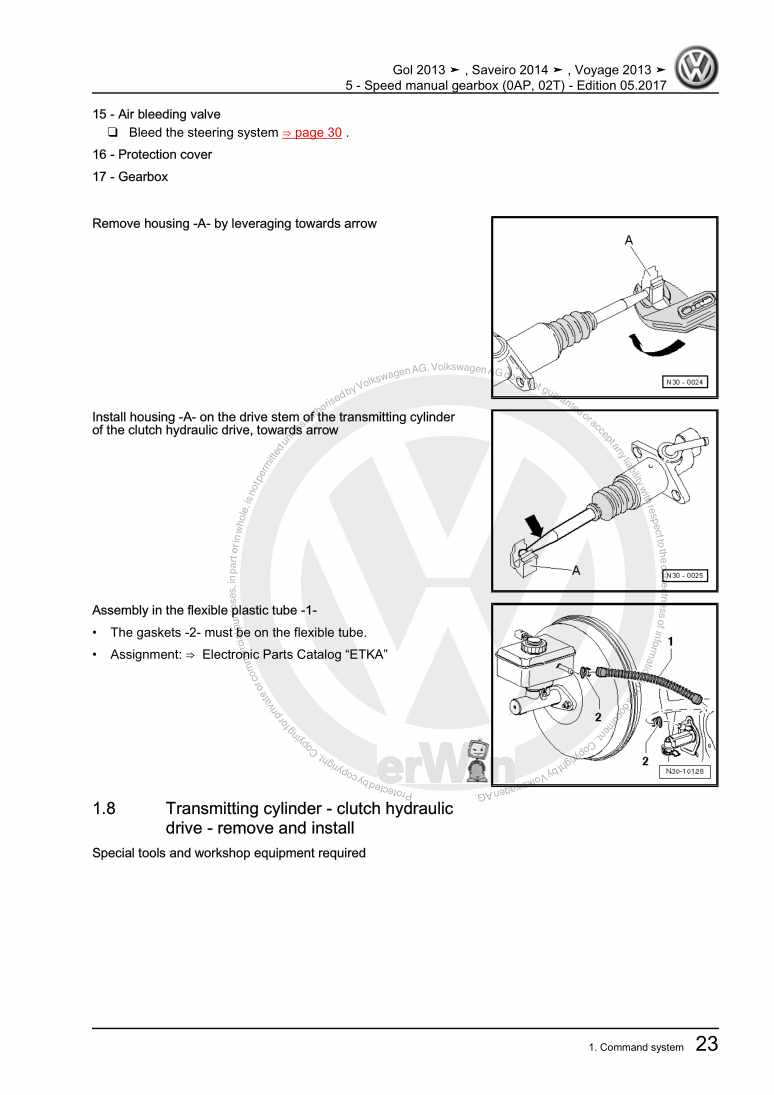
Diese Reparaturanleitung umfasst: Engine - remove and install, Camshaft - repair, Lubrication system components, Engine power electronic adjustment (electronic accelerator) - check, Activated charcoal filter system und READINESS code. Mehr anzeigen
Sichere Zahlung per PayPal, Kreditkarte, Lastschrift, Sofort-Überweisung oder Giropay
PayPal Logo SEPA Lastschrift Logo Giropay Logo Sofort Überweisung Logo

Reparaturanleitung Gol / Saveiro / Saveiro Cab. Dupla 4-cyl. injection engine pdf Download mit dem Inhalt:

Kapitelübersicht

  • Technical data
    1
  • 1 \--- Change history ---
    1
  • 2 Technical Data
    2
  • 2.1 Engine number
    2
  • 2.2 Engine characteristics
    2
  • Removing and installing engine
    3
  • 1 Engine - remove and install
    3
  • 1.1 Removal - recommendations
    6
  • 1.2 Engine - fasten to assembly stand
    11
  • 1.3 Installation notes
    11
  • 1.4 Tightening torques
    12
  • 1.5 Engine and gearbox support set - align
    13
  • 1.6 Power-drive unit supports
    14
  • 1.7 Additional notes and installation works in vehicles with air conditioning
    16
  • Crankshaft group
    18
  • 1 Engine - assembly and disassembly
    18
  • 1.1 Seal lid - replace
    23
  • 1.2 Poly-V belt (elastic) - remove and install
    23
  • 2 Crankshaft and flywheel flanges - remove and install
    27
  • 2.1 Flywheel - remove and install
    28
  • 2.2 Crankshaft seal (pulley side) - replace
    29
  • 2.3 Crankshaft flange (flywheel side) with Engine speed sensor G28 rotor - replace
    32
  • 3 Crankshaft - remove and install
    41
  • 3.1 Identifying engine bearing shells
    42
  • 3.2 Colour codes
    43
  • 3.3 Crankshaft - dimensions
    43
  • 4 Pistons and connecting rods - removal and installation
    44
  • 4.1 Piston and cylinder - dimensions
    47
  • Cylinder head, valve gear
    49
  • 1 Cylinder head - assembly and disassembly
    49
  • 1.1 Toothed belt semi-automatic tensioning pulley - check
    52
  • 1.2 Toothed belt - remove and install, adjust
    53
  • 1.3 Cylinder head - remove and install
    58
  • 1.4 Compression - check
    62
  • 2 Camshaft - repair
    66
  • 2.1 Camshaft - check axial clearance
    69
  • 2.2 Valve seat - trim
    70
  • 2.3 Camshaft seal - replace
    72
  • 2.4 Camshaft and cylinder head cover - removal and installation
    75
  • 2.5 Valve guides - check
    79
  • 2.6 Valve stem sealant - replace
    80
  • Lubrication
    84
  • 1 Lubrication system components
    84
  • 1.1 Lubricating system components - assembly overview
    84
  • 1.2 Engine oil
    87
  • 1.3 Crankcase - remove and install
    87
  • 1.4 Oil filter - replace
    90
  • 1.5 Oil pump - remove and install
    92
  • 1.6 Oil pressure switch F1 - remove and install
    96
  • 1.7 Oil pressure and Oil pressure switch F1 - check
    97
  • Cooling
    99
  • 1 Cooling system components
    99
  • 1.1 Cooling system components, body side
    99
  • 1.2 Cooling system components, engine side
    101
  • 1.3 Hose connection diagram for cooling system
    104
  • 1.4 Cooling system - drainage and replenishment
    104
  • 1.5 Cooling system - check air-tightness
    111
  • 1.6 Coolant tank flap - check safety valve
    113
  • 1.7 Radiator - remove and install
    114
  • 1.8 Water pump - remove and install
    117
  • Fuel supply system
    120
  • 1 Fuel supply system components
    120
  • 1.1 Fuel tank components with accessories and fuel filter - removal and installation
    120
  • 1.2 Safety measures regarding work on the fuel supply
    124
  • 1.3 Cleaning rules
    125
  • 1.4 Cold start system components - remove and install
    125
  • 1.5 Fuel pump (pre-supply pump) G6 - remove and install
    127
  • 1.6 Fuel gauge sensor G - remove and install
    129
  • 1.7 Fuel reservoir - remove and install
    130
  • 1.8 Fuel reservoir (EU5) - remove and install
    131
  • 1.9 Fuel pump (pre-supply pump) G6 - check
    135
  • 2 Engine power electronic adjustment (electronic accelerator) - check
    146
  • 2.1 Electronic accelerator system operation
    146
  • 3 Activated charcoal filter system
    148
  • 3.1 Operation
    148
  • 3.2 Activated charcoal filter system components - repair
    148
  • 3.3 Fuel tank ventilation - check
    149
  • Mixture preparation - injection
    151
  • 1 Injection system - repair
    151
  • 1.1 General instructions regarding the injection system
    151
  • 1.2 Component location
    151
  • 1.3 Injection components - remove and install
    154
  • 1.4 Intake manifold - remove and install
    157
  • 1.5 Fuel distributor with injectors - removal and installation
    158
  • 1.6 Air filter set - assemble and disassemble
    159
  • 1.7 Air filter - remove and install
    160
  • 1.8 Safety measures
    160
  • 1.9 Cleaning rules
    162
  • 1.10 Technical Data
    162
  • 2 Component checks
    163
  • 2.1 Injection valves - check
    163
  • 2.2 Supply system pressure, fuel pressure gauge and residual pressure - check
    165
  • 3 READINESS code
    172
  • 3.1 Creating and Interpreting the READINESS code
    172
  • 4 Engine control unit J623
    173
  • 4.1 Engine control unit J623 - remove and install
    173
  • 4.2 Adjust components
    173
  • 4.3 Check the event memory in the Engine control unit J623 and delete it
    174
  • Exhaust system
    177
  • 1 Exhaust system components
    177
  • 1.2 Rear muffler with supports
    180
  • Glow plug system
    182
  • 1 Ignition system
    182
  • 1.1 General instructions regarding the ignition system
    182
  • 1.2 Ignition system components - remove and install
    182
  • 1.3 Safety measures
    184
  • 1.4 Spark plugs Q - test data
    184
Hersteller­bezeichnung 4-cyl. injection engine (1.6 l)
Hersteller Volkswagen
Passend für Gol (2013) / Gol (2013 >) / Saveiro (2014) / Saveiro Cab. Dupla (2015 >)
Passende Autotypen 5U3, 5UA, 5UC, 5UB
Motor­kennbuchstaben CFZA
Kategorie Reparaturanleitung

Im Moment sind noch keine Bewertungen für dieses Produkt vorhanden.

Ähnliche Reparaturanleitungen

Wheels and Tyres - Specifications
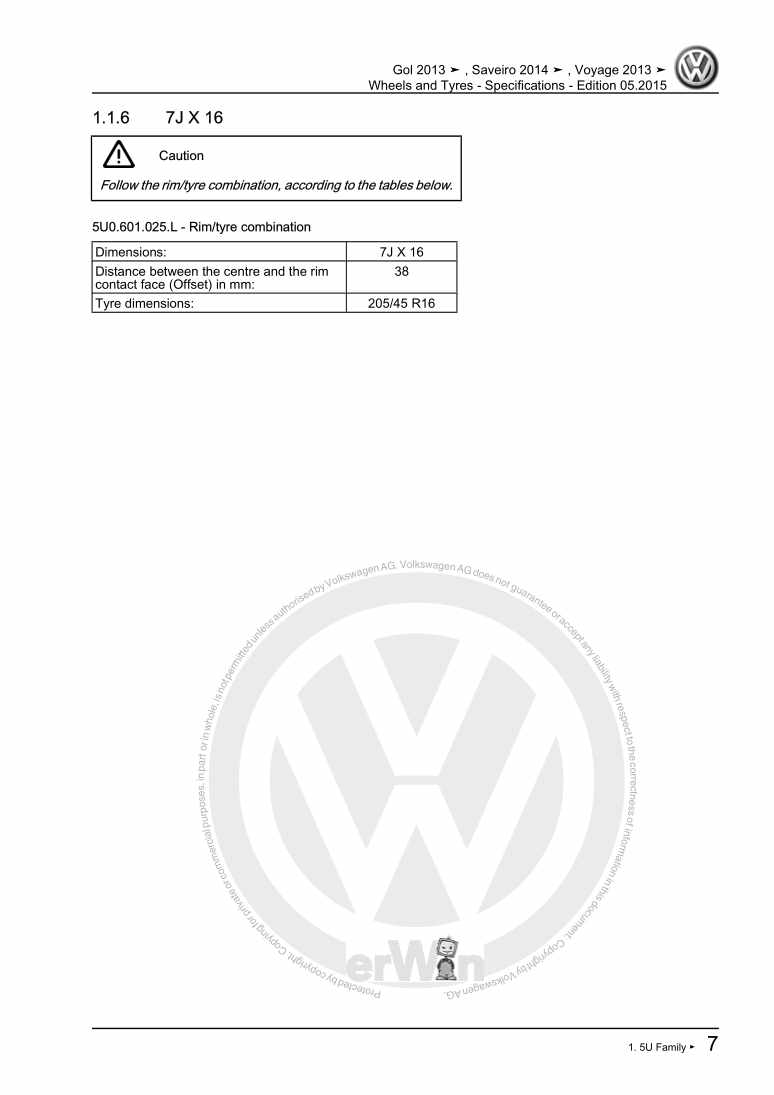
Beispielseite für Reparaturanleitung Wheels and Tyres - Specifications

Für Gol (2013) / Gol (2013 >) / Saveiro (2014) / Saveiro (2014) / Saveiro Cab. Dupla (2015 >)

4,36 € Details

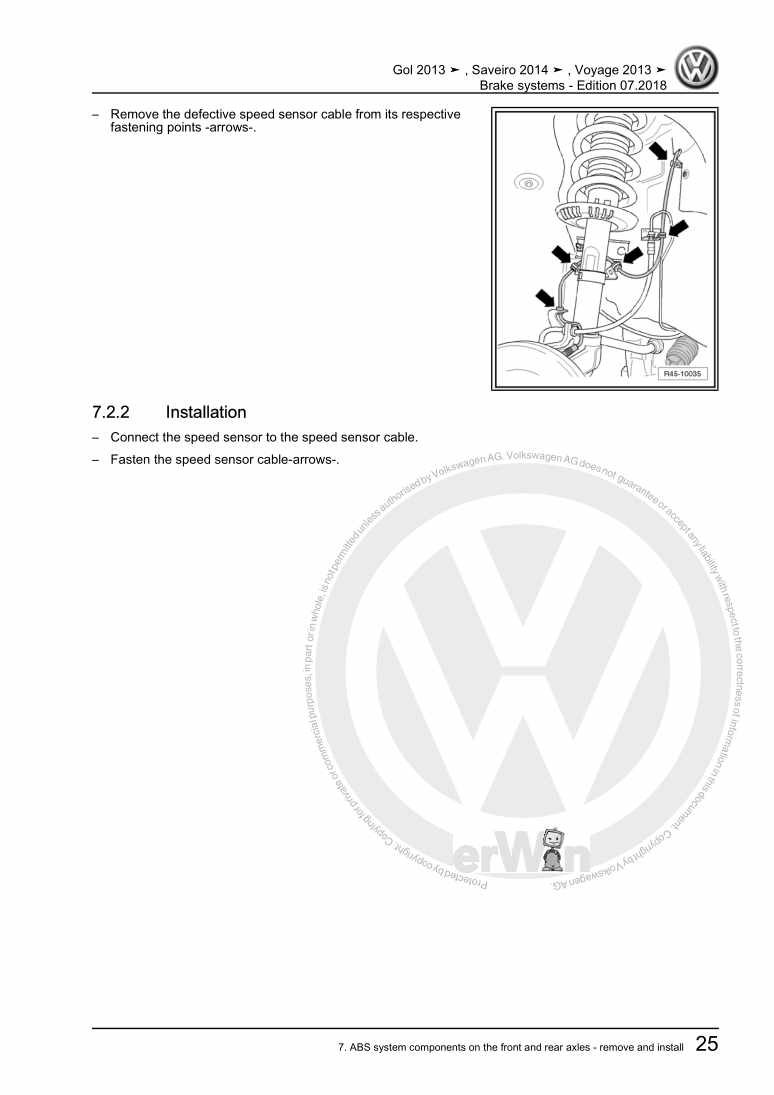
Brake systems

Beispielseite für Reparaturanleitung Brake systems

Für Gol (2013) / Gol (2013 >) / Saveiro (2014) / Saveiro (2014) / Saveiro Cab. Dupla (2015 >)

9,63 € Details

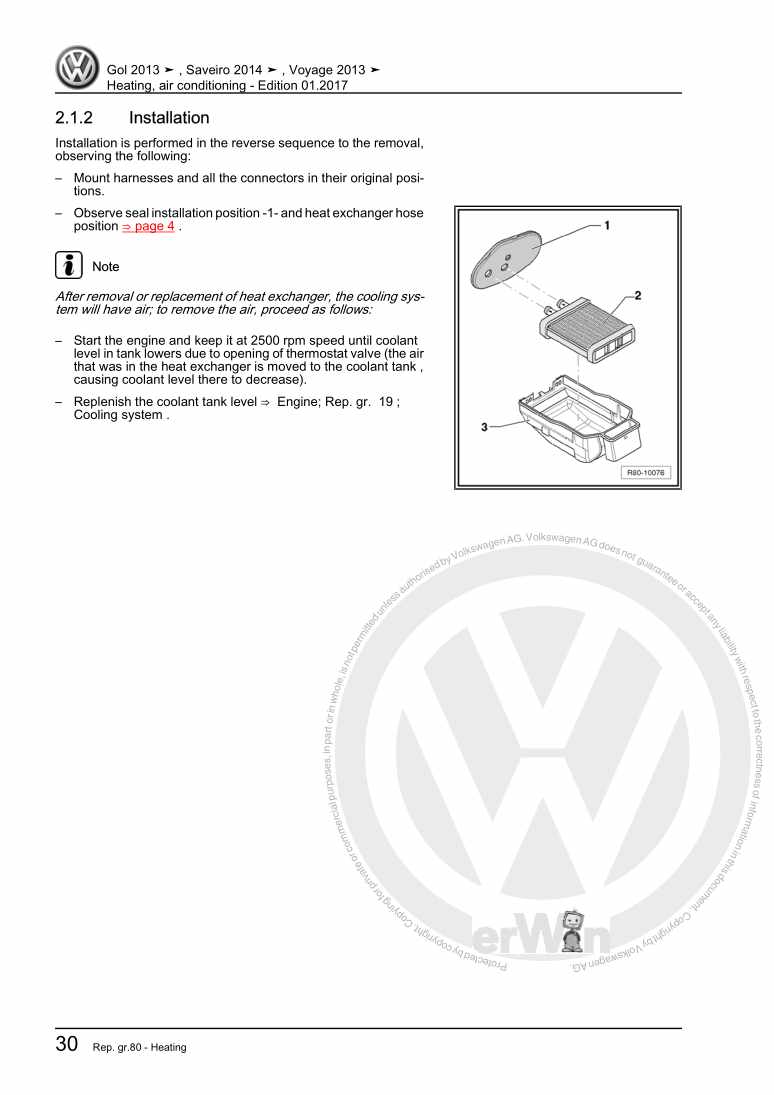
Heating, air conditioning

Beispielseite für Reparaturanleitung Heating, air conditioning

Für Gol (2013) / Gol (2013 >) / Saveiro (2014) / Saveiro (2014) / Saveiro Cab. Dupla (2015 >)

12,11 € Details

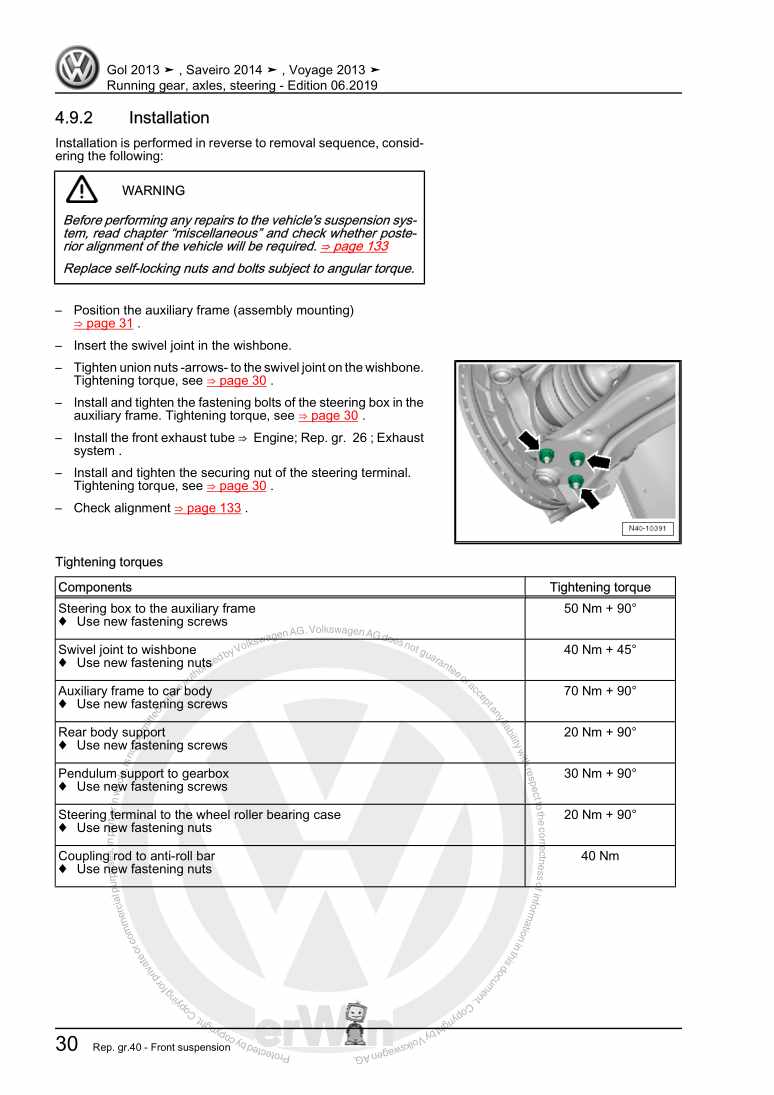
Running gear, axles, steering

Beispielseite für Reparaturanleitung Running gear, axles, steering

Für Gol (2013) / Gol (2013 >) / Saveiro (2014) / Saveiro (2014) / Saveiro Cab. Dupla (2015 >)

17,93 € Details

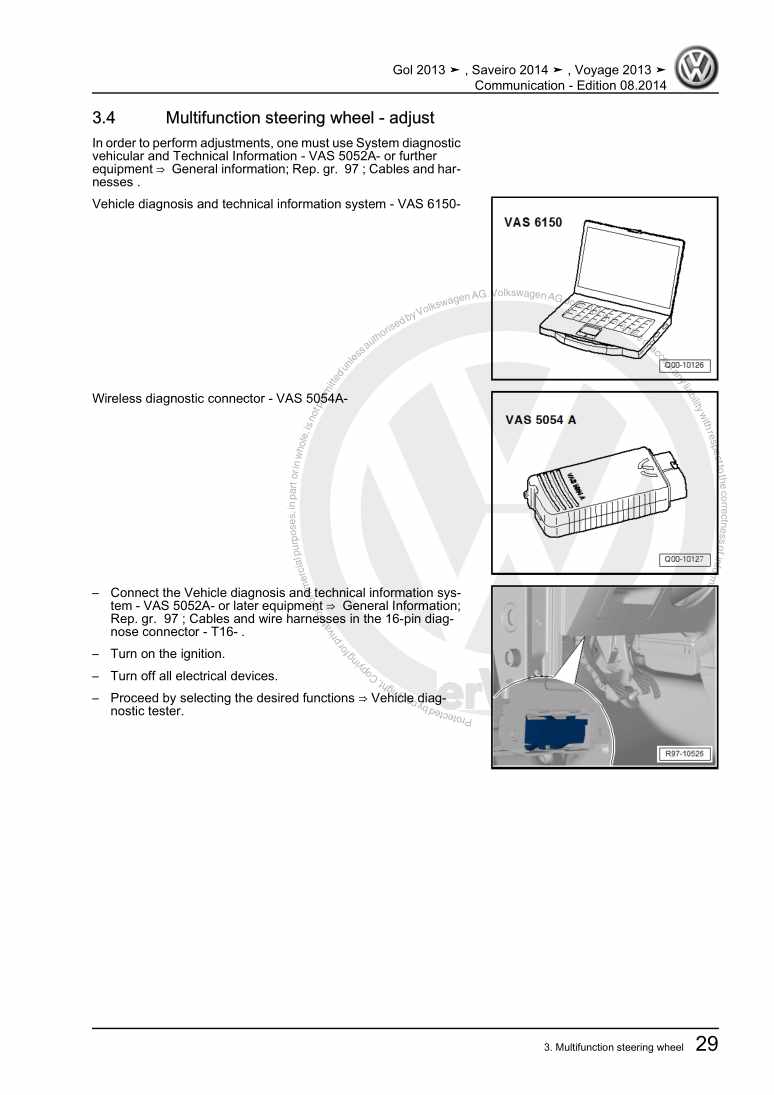
Communication

Beispielseite für Reparaturanleitung Communication

Für Gol (2013) / Gol (2013 >) / Saveiro (2014) / Saveiro (2014) / Saveiro Cab. Dupla (2015 >)

5,78 € Details

Maintenance

Beispielseite für Reparaturanleitung Maintenance

Für Gol (2013) / Gol (2013 >) / Saveiro (2014) / Saveiro (2014) / Saveiro Cab. Dupla (2015 >)

9,56 € Details

General body repairs, exterior

Beispielseite für Reparaturanleitung General body repairs, exterior

Für Gol (2013) / Gol (2013 >) / Saveiro (2014) / Saveiro (2014) / Saveiro Cab. Dupla (2015 >)

30,43 € Details

Body Repairs

Beispielseite für Reparaturanleitung Body Repairs

Für Gol (2013) / Gol (2013 >) / Saveiro (2014) / Saveiro (2014) / Saveiro Cab. Dupla (2015 >)

27,20 € Details

Electrical system

Beispielseite für Reparaturanleitung Electrical system

Für Gol (2013) / Gol (2013 >) / Saveiro (2014) / Saveiro (2014) / Saveiro Cab. Dupla (2015 >)

16,55 € Details

5 - Speed manual gearbox (0AP, 02T)

Beispielseite für Reparaturanleitung 5 - Speed manual gearbox (0AP, 02T)

Für Gol (2013) / Gol (2013 >) / Saveiro (2014) / Saveiro (2014) / Saveiro Cab. Dupla (2015 >)

13,56 € Details

Unsere Best Seller

Schon gewusst? Wir bieten auch originale Autoteile an.

Autoteil G052141A2 Paste

G052141A2

Paste

39,14 €

Details
Autoteil 1J0881671G4PK Knopf

1J0881671G4PK

Knopf

5,27 €

Details
Autoteil N90328504 Schraube

N90328504

Schraube

2,53 €

Details
Autoteil N91005902 Schraube

N91005902

Schraube

3,08 €

Details
Autoteil 5N0971148AA Leitg.Satz

5N0971148AA

Leitg.Satz

155,32 €

Details

5 Gang-Schaltgetriebe 02G Allradantrieb
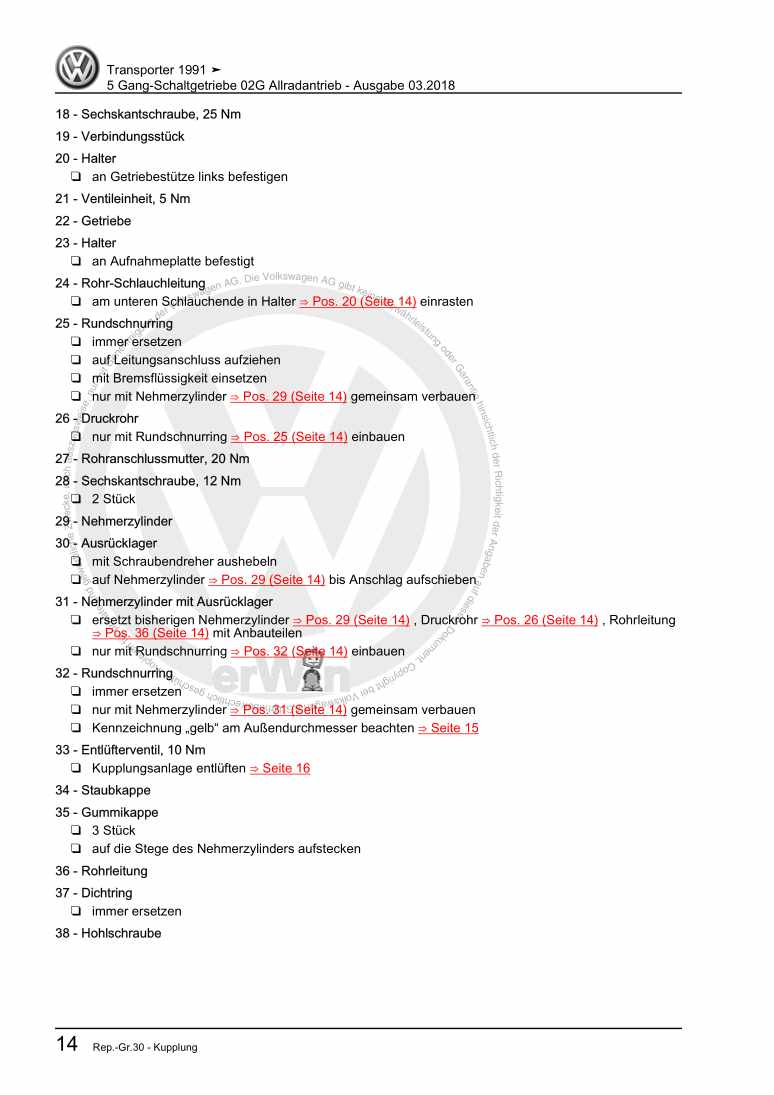
Beispielseite für Reparaturanleitung 5 Gang-Schaltgetriebe 02G Allradantrieb

Für Transporter Caravelle / Transporter Doppelkab / Transporter Kasten / Transporter Kombi/Cam / Transporter Pritsche (1991 - 1996)

23,09 € Details

Kardanwelle und Achsantrieb hinten

Beispielseite für Reparaturanleitung Kardanwelle und Achsantrieb hinten

Für Passat / Passat Variant (2005 - 2008) / Golf (2004 - 2007) / Tiguan (2008) / Passat CC (2009) / Golf (2009) / Sharan (2011)

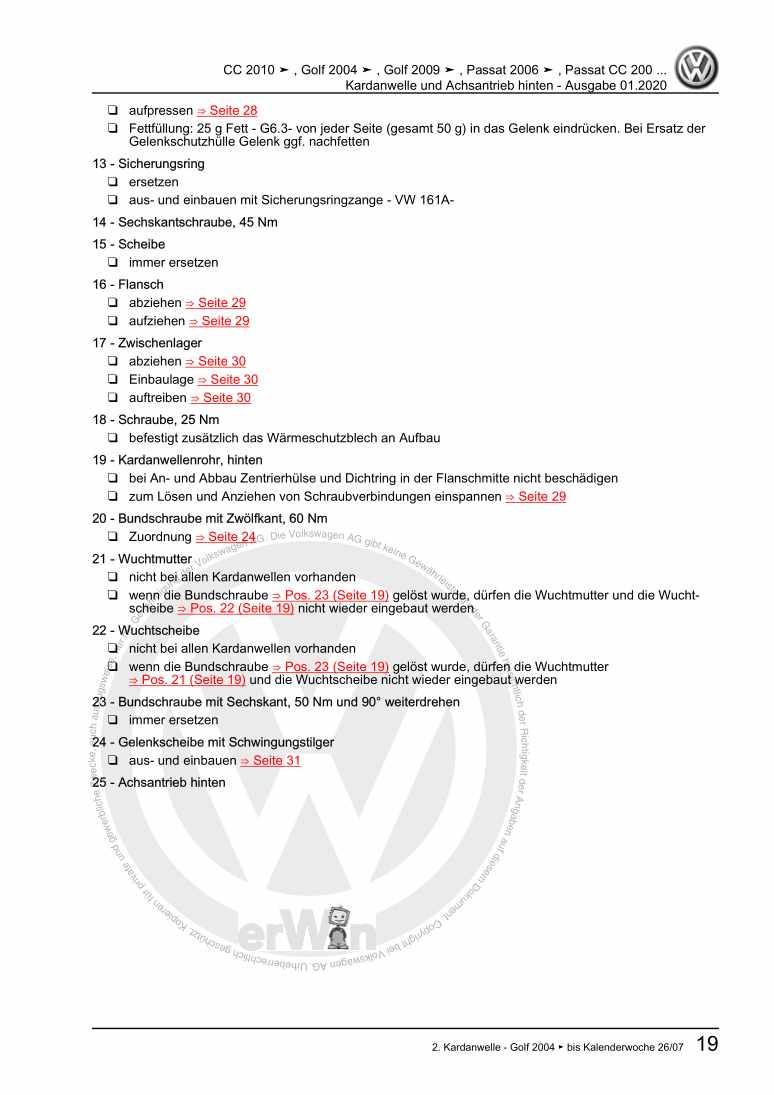
20,15 € Details

Automatisiertes Schaltgetriebe Shiftmatic 0B8
Beispielseite für Reparaturanleitung Automatisiertes Schaltgetriebe Shiftmatic 0B8

Für CRAFTER (2006 - 2007) / LT 2006> (2006 - 2007)

8,22 € Details

image/svg+xml Über Clonck

Originale Reparaturanleitungen und Ersatzteile

Unsere Reparaturanleitungen sind Originale, kommen direkt von Volkswagen und erfüllen die höchsten Qualitätsstandards.

In unserem Originalteile-Shop verkaufen wir hochwertige Originalersatzteile der Fahrzeughersteller. Mithilfe der Suche gibst du die gewünschte Teilenummer (OE-Nummer) ein und bestellst schnell und einfach das benötigte Ersatzteil.

Höchste Qualitätsstandards

Bei Clonck wollen wir Autoschrauber und Kfz-Profis glücklich machen. Aus diesem Grund findest du bei Clonck ausschließlich professionelle und hochwertige Reparaturanleitungen, mit deren Hilfe du dein Fahrzeug fachgerecht reparieren kannst.

Unsere Partner

Autohaus Schmidt GmbH
Automag GmbH Filiale Laim
KFZ-VERLAG GmbH
Zimpel und Franke GmbH

Clonck: Der Autoreparatur-Shop - gibt's auch als App!

Clonck App Logo Play Store

Clonck: Passende Autoteile für deine Autoreparatur

4,5 90

Mit Clonck bestellst du die richtigen Originalersatzteile im Handumdrehen.

  • Fahrzeugmodell hinzufügen
  • Baugruppe auswählen
  • Fahrzeug-Identifizierungsnummer (FIN) eingeben
  • Über 5.000 originale Reparaturanleitungen einsehen
Jetzt App starten
Clonck App Preview Auto Mobiltelefon Autoteile