THE CAR REPAIR SHOP
0
Home » Manuals » Electrical system
  • Examplepage for repair manual Electrical system
  • Examplepage for repair manual 2 Electrical system
  • Examplepage for repair manual 3 Electrical system
  • Examplepage for repair manual Electrical system
  • Examplepage for repair manual 2 Electrical system
  • Examplepage for repair manual 3 Electrical system

Electrical system

For LT 35 Kombi 4025 / LT 28-35 Fahrgest. / LT 28-35 Kombi 3000 / LT 28-35 Kombi 3550 / LT 28-46 Kasten 3550 / LT 35-46 Kasten 4025 / LT 28-35 Kasten 2500 / ...

Original Volkswagen repair manual


16,40 €7% VAT incl.

  • Deutsch
  • English

Immediately available for download

Language: English

Digital PDF file

3.444 KB

197 Sites

Detailed technical data

Immediately readable

This repair manual contains: Vehicle diagnosis, testing and information systems, Immobiliser self-diagnosis, Guided functions for immobiliser, Dash panel insert adaptation, Battery, Removing and installing battery, Cruise control system (CCS), Tachograph instrument cowling with tachograph, Headlight washer system, Hose repair, Front turn signals, Additional brake light, Steering column switch, Relay plate, Wiring harness and connector repairs, Renewal of aerial wiring and Crimping pliers V.A.S 1978/9. Show more
Secure Payment via PayPal, credit card, direct debit and more
PayPal Logo SEPA Lastschrift Logo Giropay Logo Sofort Überweisung Logo

Repair manual Electrical system PDF download has the following content:

Chapter overview

  • Self-diagnosis
    1
  • 1 Vehicle diagnosis, testing and information systems
    1
  • 1.1 Connecting vehicle diagnosis, testing and information system VAS 5051B
    2
  • 2 Immobiliser self-diagnosis
    4
  • 2.1 Performing immobiliser self-diagnosis
    5
  • 2.2 Fault table
    9
  • 2.3 Reading data block
    10
  • 2.4 Coding immobiliser control unit J362
    12
  • 3 Guided functions for immobiliser
    13
  • 3.2 Online system test
    14
  • 3.3 Adaptation of ignition keys
    14
  • 3.4 Adaptation (matching) after changing engine control unit
    15
  • 3.5 Adapting immobiliser
    15
  • 4 Dash panel insert adaptation
    16
  • 4.1 Adapting the dash panel insert
    17
  • 4.2 Vehicle speed display adaptation
    21
  • 4.3 Adapting distance travelled display
    24
  • 4.4 Adaptation of distance travelled display unit
    26
  • 4.5 Engine speed signal adaptation
    27
  • 4.6 Adaptation of ambient temperature display unit
    28
  • 4.7 Adapting selector lever position display (automatic gearbox)
    29
  • 4.8 Adaptation of dash panel insert identification
    31
  • 5 Tachograph self-diagnosis
    33
  • 5.1 Carrying out tachograph self-diagnosis
    33
  • 5.2 Fault table
    37
  • 5.3 Reading data block
    37
  • Starter, current supply, CCS
    41
  • 1 Battery
    41
  • 1.1 Fundamentals for batteries
    41
  • 1.2 Types of battery
    41
  • 1.3 Warning notices and safety regulations
    42
  • 1.4 Battery terminal connection
    44
  • 2 Checking battery
    45
  • 2.1 Procedure when checking a battery
    45
  • 2.2 Visual check
    45
  • 2.3 Checking battery with magic eye
    46
  • 2.4 Checking low maintenance battery
    47
  • 2.5 Checking "no load" voltage of battery
    50
  • 2.6 Battery tester with printer VAS 5097 A
    51
  • 2.7 Evaluating test result
    54
  • 3 Charging battery
    55
  • 3.1 Battery charger VAS 5095 A
    55
  • 3.2 Battery charger VAS 5900
    59
  • 3.3 Totally discharged batteries
    67
  • 4 Disconnecting and reconnecting battery
    69
  • 4.1 Disconnecting battery
    69
  • 4.2 Reconnecting battery
    69
  • 5 Removing and installing battery
    71
  • 5.1 Removing battery
    71
  • 5.2 Installing battery
    71
  • 5.3 Batteries with central gas venting
    72
  • 6 Specified torques: battery
    74
  • 7 Starter
    75
  • 7.1 Removing and installing starter
    75
  • 8 Removing and installing alternator
    78
  • 8.1 4-cylinder petrol engine
    78
  • 8.2 5-cylinder diesel engine
    79
  • 8.3 4-cylinder diesel engine
    80
  • 8.4 Checking V-belt and poly V-belt
    82
  • 8.5 Removing and installing poly V-belt
    82
  • 8.6 Securing B+ and D+ wires to alternator
    85
  • 8.7 Alternator carbon brushes
    86
  • 8.8 Removing and installing poly V-belt pulley on alternator
    86
  • 9 Cruise control system (CCS)
    87
  • 9.1 Cruise control system for vehicles with direct-injection diesel engine
    87
  • 9.2 Assembly overview - cruise control system
    87
  • 9.3 Removing and installing cruise control system switch E45
    88
  • Gauges, instruments
    90
  • 1 Dash panel insert
    90
  • 1.1 Removing and installing dash panel insert
    90
  • 1.2 Pin assignment of multi-pin connectors at dash panel insert
    94
  • 1.3 Installation position of bulbs for illumination and warning lamps
    97
  • 1.4 Dash panel insert warning lamp symbols
    99
  • 2 Tachograph instrument cowling with tachograph
    101
  • 2.1 Pin assignment of multi-pin connectors at tachograph instrument cowling and tachograph
    101
  • 2.2 Installation position of bulbs for illumination and warning lamps
    105
  • 2.3 Tachograph instrument cowling warning lamp symbols
    107
  • Communication
    108
  • 1 Radio systems
    108
  • 1.1 Radio systems with 2 loudspeakers
    108
  • 1.2 Radio systems with 4 loudspeakers
    109
  • 1.3 Removing and installing radio
    109
  • 1.4 Activating anti-theft coding on radio
    111
  • 1.5 Removing and installing front loudspeaker
    112
  • 1.6 Removing and installing rear loudspeakers
    113
  • 2 Aerial system
    114
  • 2.1 Removing and installing roof aerial
    114
  • Windscreen wash/wipe system
    116
  • 1 Windscreen wiper system
    116
  • 1.1 Assembly overview - windscreen wiper system
    116
  • 1.2 Setting park position
    117
  • 1.3 Adjusting wiper blade park position
    117
  • 1.4 Removing and installing wiper rubber
    117
  • 2 Headlight washer system
    118
  • 2.1 Assembly overview - headlight washer system
    118
  • 2.2 Adjusting spray jets
    118
  • 3 Window washer system
    119
  • 3.1 Assembly overview - windscreen washer system
    119
  • 3.2 Removing washer jet
    119
  • 3.3 Adjusting spray jet
    120
  • 3.4 Removing reservoir
    120
  • 4 Hose repair
    121
  • 4.1 General description
    121
  • 4.2 Repairing smooth pipe
    121
  • 4.3 Repairing corrugated pipe
    121
  • Lights, bulbs, switches - exterior
    123
  • 1 Headlights and fog lights
    123
  • 1.1 Assembly overview - headlight unit
    123
  • 1.2 Removing and installing headlight insert
    125
  • 1.3 Removing and installing headlight bulbs
    126
  • 1.4 Removing and installing lens
    127
  • 1.5 Adjusting headlights
    127
  • 2 Front turn signals
    129
  • 2.1 Removing and installing turn signal indicator housing
    129
  • 2.2 Removing and installing front turn signal bulb
    130
  • 2.3 Removing and installing side-mounted turn signals
    131
  • 3 Additional brake light
    132
  • 3.1 Removing and installing additional brake light
    132
  • 4 Number plate light
    133
  • 4.1 Removing and installing number plate light on panel van
    133
  • 5 Steering column switch
    134
  • 5.1 Assembly overview - steering column switch
    134
  • 5.2 Pin assignment on steering column switch
    138
  • 5.3 Removing and installing steering lock housing
    138
  • 6 Pneumatic headlight range control
    140
  • 6.1 Vacuum system (block diagram)
    140
  • 6.2 Checking adjustment range
    140
  • 6.3 Checking vacuum values
    141
  • 7 Removing and installing tail lights
    142
  • 7.1 Removing and installing van tail light
    142
  • 7.2 Removing and installing drop-side tail light
    144
  • 8 Removing and installing side marker lights
    145
  • 8.1 Removing and installing front side marker light
    145
  • 8.2 Removing and installing centre side marker light
    146
  • 8.3 Removing and installing rear side marker light
    147
  • 9 Ignition/starter switch and lock cylinder
    148
  • 9.1 Removing and installing ignition/starter switch
    148
  • 9.2 Pin assignment of multi-pin connector at ignition/starter switch
    150
  • 9.3 Removing and installing lock cylinder
    150
  • Lights, bulbs, switches - interior
    153
  • 1 Immobiliser
    153
  • 1.1 Removing and installing immobiliser
    153
  • 1.2 Removing and installing immobiliser reader coil D2
    153
  • 1.3 Transponder
    154
  • 2 Removing and installing switches in dash panel
    155
  • 2.1 Removing switches from dash panel insert trim
    155
  • 2.2 Removing front interior light with reading light
    157
  • 2.3 Removing rear interior light/load compartment
    158
  • Wiring
    159
  • 1 Relay plate
    159
  • 1.1 Removing relay plate with fuse carrier
    159
  • 1.2 Auxiliary relay carrier under driver seat
    161
  • 2 Wiring harness and connector repairs
    162
  • 2.1 Notes on safety
    162
  • 2.2 General notes concerning repairs to vehicle electrical system
    162
  • 2.3 Instructions concerning wiring harness and connector repairs
    162
  • 2.4 Supplementary notes on repair of CAN bus wiring
    163
  • 2.5 Wiring harness repair set V.A.S 1978
    163
  • 2.6 Release tool set VAS 1978/35 for primary and secondary locking elements
    164
  • 3 Repairing wiring harness sections
    166
  • 3.1 Assembly overview - front end wiring harness section
    166
  • 3.2 Front end wiring harness section connections
    167
  • 3.3 Wiring assignment at separating point for front end wiring harness section
    173
  • 3.4 Front wiring harness repair procedure
    174
  • 3.5 Assembly overview - rear end wiring harness section
    177
  • 3.6 Rear end wiring harness section connections
    178
  • 3.7 Wiring assignment at separating point for rear end wiring harness section
    180
  • 3.8 Rear wiring harness repair procedure
    181
  • 4 Renewal of aerial wiring
    185
  • 4.1 General description
    185
  • 4.2 Assembly overview - aerial wire
    185
  • 4.3 Installing a new aerial wire
    185
  • 5 Crimping pliers V.A.S 1978/9
    187
  • 5.1 Fitting tool head
    187
  • 5.2 Stripping
    188
  • 5.3 Crimping
    189
  • 6 Optical fibre lines (OFL)
    190
  • 7 Airbag and belt tensioner wiring harness
    191
Manufacturer's designation Electrical system
Manufacturer Volkswagen
Suitable for LT 28-35 Kombi 3000 (1996 - 2006) / LT 28-46 Kasten 3550 (1996 - 2006) / LT 28-46 Fahrgest 355 (1996 - 2006) / LT 35-46 Fahrgest 402 (1996 - 2006) / LT 35-46 Kasten 4025 (1996 - 2006) / LT 28-35 Kasten 2500 (1996 - 2006) / LT 28-35 Fahrgest 300 / LT 28-35 Fahrgest. (1996 - 2006) / LT 35 Kombi 4025 / LT 35-46 Doppelkab 40 / LT 28-35 Kombi 3550 (1996 - 2006) / LT 28-46 Doppelkab 35 (1996 - 2006) / LT 35-46 Doppelkab 40 (1996 - 2006)
Suitable car types 2DB, 2DF, 2DL, 2DH, 2DA, 2DC, 2DK, 2DE, 2DG, 2DM
Category Reparaturanleitung

There are no reviews for this product at the moment.

Similar repair manuals

Guide for using trailers
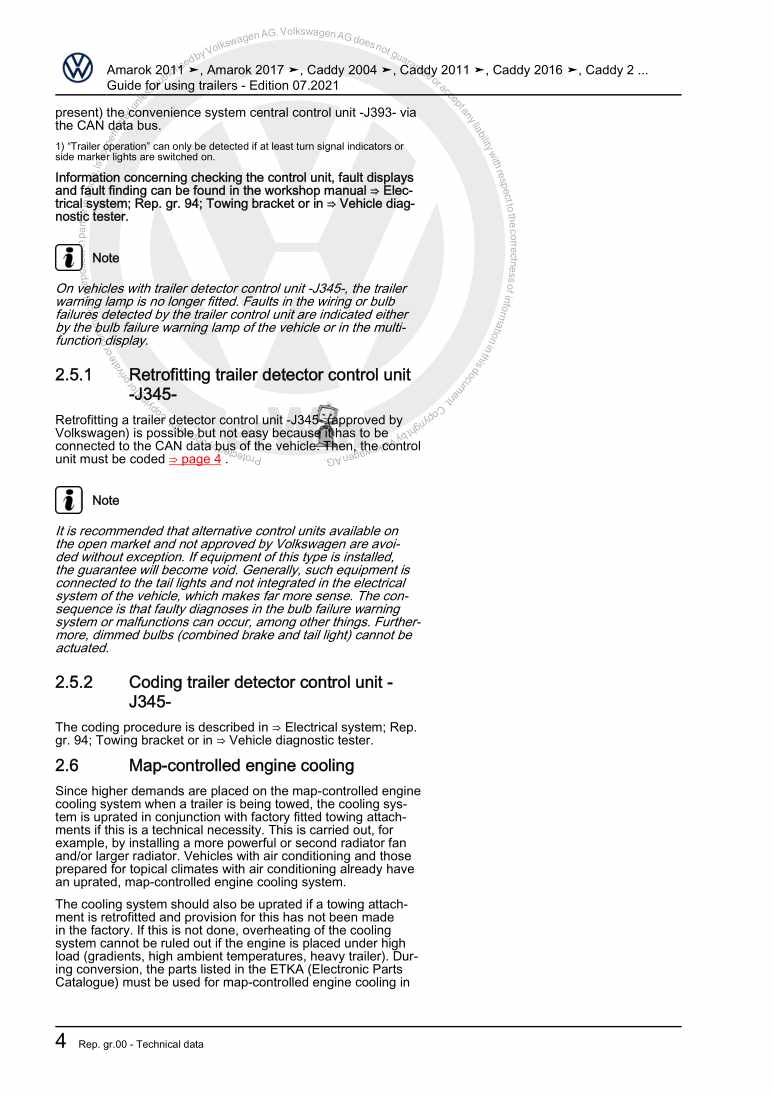
Examplepage for repair manual Guide for using trailers

For Caddy Pickup (1997 - 2002) / Caddy Kasten/Kombi (1996 - 2003) / Transporter Kasten (1996 - 2003) / CRAFTER (2006 - 2007) / Transporter (2003 - 2007) / LT 2006> (2006 - 2007) / LT 28-35 Kasten 2500 (1996 - 2006) / Transporter Kasten (1991 - 1996) / Transporter (2003 - 2007) / Amarok (2011) / Caddy (2004 - 2010) / Caddy KA (2011) / Transporter T5 (2010) / Transporter T5 (2010) / Amarok (2013) / Caddy (2016) / Transporter (2016) / Transporter (2016) / Amarok (2017 >) / Amarok (2017) / Crafter () / Crafter () / TGE (2017 > ) / TGE (2017 > ) / Transporter (2020 >) / Transporter (2020 >) / Crafter () / Crafter () / Caddy (2021 >)

28,22 € Details

Guide for increasing and decreasing load ratings

Examplepage for repair manual Guide for increasing and decreasing load ratings

For Caddy Pickup (1997 - 2002) / Caddy Kasten/Kombi (1996 - 2003) / Transporter Doppelkab (1996 - 2003) / LT 28-35 Kombi 3000 (1996 - 2006) / Transporter (2004 - 2007) / CRAFTER (2006 - 2007) / Transporter Bus/Campe (1996 - 2003) / Transporter Pritsche (1996 - 2003) / CRAFTER (2006 - 2007) / LT 28-46 Kasten 3550 (1996 - 2006) / Transporter Kasten (1996 - 2003) / LT 2006> (2006 - 2007) / LT 28-46 Fahrgest 355 (1996 - 2006) / CRAFTER (2006 - 2007) / Transporter (2003 - 2007) / Transporter Kombi/Cam (1996 - 2003) / Transporter Pritsche (1991 - 1996) / Transporter Kombi/Cam (1991 - 1996) / LT 35-46 Fahrgest 402 (1996 - 2006) / Transporter Caravelle (1991 - 1996) / LT 2006> (2006 - 2007) / Transporter (2003 - 2007) / Transporter Kasten (1991 - 1996) / LT 35-46 Kasten 4025 (1996 - 2006) / LT 2006> (2006 - 2007) / LT 2006> (2006 - 2007) / CRAFTER (2006 - 2007) / CRAFTER (2006 - 2007) / LT 28-35 Kasten 2500 (1996 - 2006) / Transporter Pritsche (1996 - 2003) / Transporter Kombi (1996 - 2003) / LT 28-35 Fahrgest 300 / LT 28-35 Fahrgest. (1996 - 2006) / Transporter Kasten (1991 - 1996) / Transporter Kombi (1996 - 2003) / CRAFTER (2006 - 2007) / Transporter Pritsche (1991 - 1996) / Transporter (2004 - 2007) / LT 2006> (2006 - 2007) / LT 35 Kombi 4025 / LT 35-46 Doppelkab 40 / LT 35-46 Kasten 4025 (1996 - 2006) / Transporter Doppelkab (1991 - 1996) / Transporter/Kombi LR (2004 - 2007) / LT 2006> (2006 - 2007) / Transporter Kombi/Cam (1991 - 1996) / LT 28-35 Kombi 3550 (1996 - 2006) / Transporter Caravelle (1991 - 1996) / LT 2006> (2006 - 2007) / Transporter Kasten (1996 - 2003) / LT 28-46 Doppelkab 35 (1996 - 2006) / LT 35-46 Doppelkab 40 (1996 - 2006) / Transporter (2003 - 2007) / Amarok (2011) / Caddy (2004 - 2010) / Caddy KA (2011) / Transporter T5 (2010) / Transporter T5 (2010) / Amarok (2013) / Caddy (2016) / Transporter (2016) / Transporter (2016) / Amarok (2017 >) / Amarok (2017) / Crafter () / Crafter () / Transporter (2020 >) / Transporter (2020 >) / Crafter () / Caddy (2021 >)

8,22 € Details

Wheels and Tyres Guide – General Information
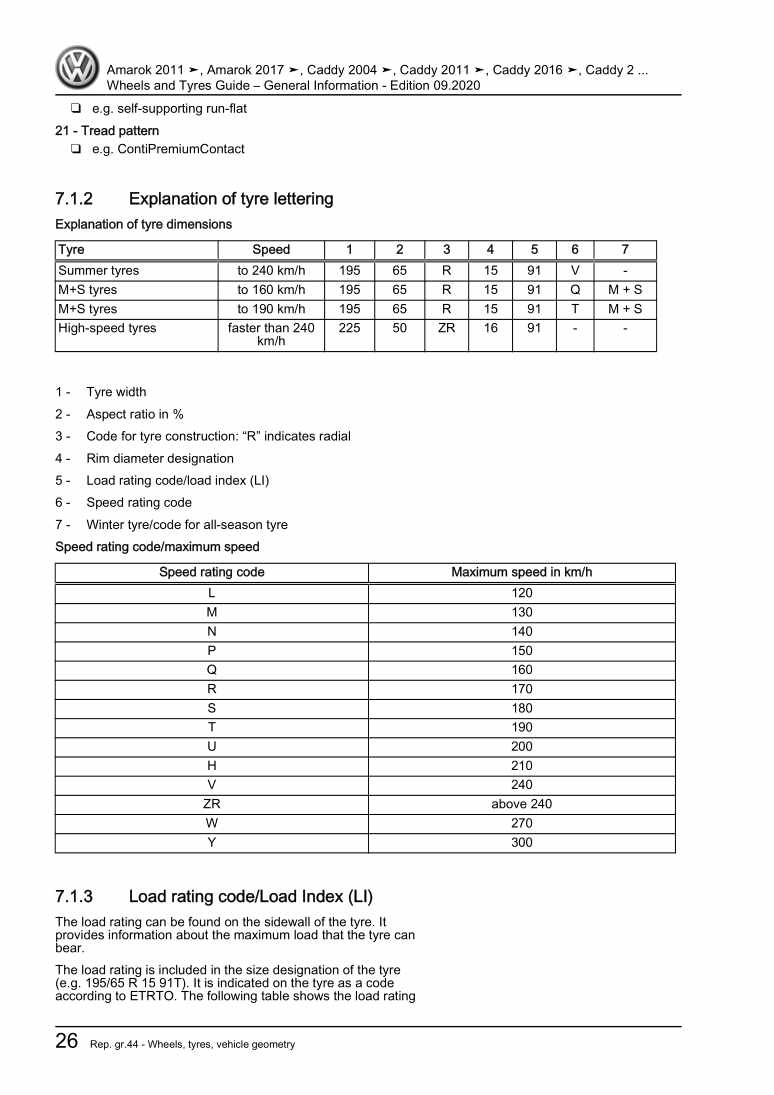
Examplepage for repair manual Wheels and Tyres Guide – General Information

For Caddy Pickup (1997 - 2002) / Caddy Kasten/Kombi (1996 - 2003) / Transporter Kasten (1996 - 2003) / CRAFTER (2006 - 2007) / Transporter (2003 - 2007) / LT 2006> (2006 - 2007) / LT 28-35 Kasten 2500 (1996 - 2006) / Transporter Kasten (1991 - 1996) / Transporter (2003 - 2007) / Amarok (2011) / Caddy (2004 - 2010) / Caddy KA (2011) / Transporter T5 (2010) / Transporter T5 (2010) / Transporter T5 (2010) / Transporter T5 (2010) / Transporter T5 (2010) / Transporter T5 (2010) / Transporter T5 (2010) / Transporter T5 (2010) / Transporter T5 (2010) / Transporter T5 (2010) / Amarok (2013) / Caddy (2016) / Transporter (2016) / Transporter T5 (2010) / Transporter (2016) / Amarok (2017 >) / Amarok (2017) / Crafter () / Crafter () / TGE (2017 > ) / TGE (2017 > ) / eTGE (2018 >) / Crafter (2019 >) / Transporter (2020 >) / Transporter (2020 >) / Crafter () / Caddy (2021 >)

8,88 € Details

Our Best Sellers

Did you know? We also offer original spare parts.

car part 5N0941607 Kappe

5N0941607

Kappe

24,22 €

Details
car part 077103221AM Schlauch

077103221AM

Schlauch

68,01 €

Details
car part 3G9877439 Dichtung

3G9877439

Dichtung

112,63 €

Details
car part 8R0906961CA Cd Rom

8R0906961CA

Cd Rom

13,14 €

Details
car part 3Q0253574 Leitung

3Q0253574

Leitung

36,27 €

Details

7 Gang-Doppelkupplungsgetriebe 0GC Volkswagen R GmbH
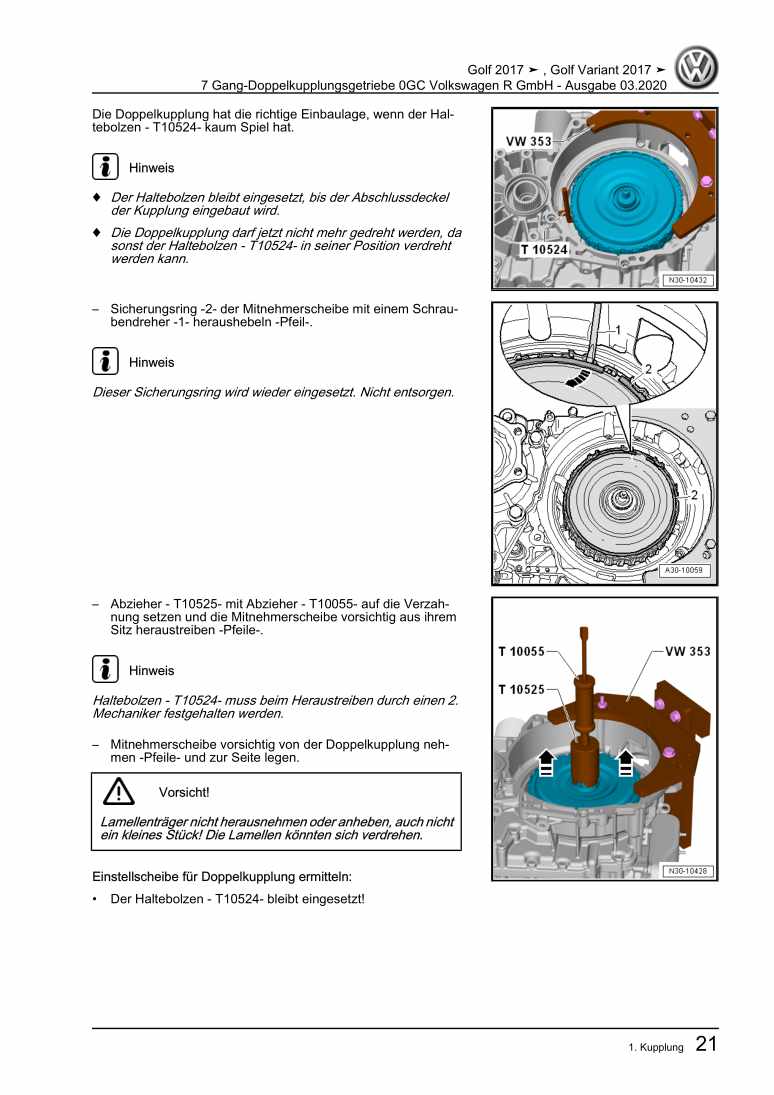
Examplepage for repair manual 7 Gang-Doppelkupplungsgetriebe 0GC Volkswagen R GmbH

For Golf VII (2017) / Golf (2017)

10,54 € Details

4-Zylinder-Dieselmotor, Mechanik CS,JX,KY
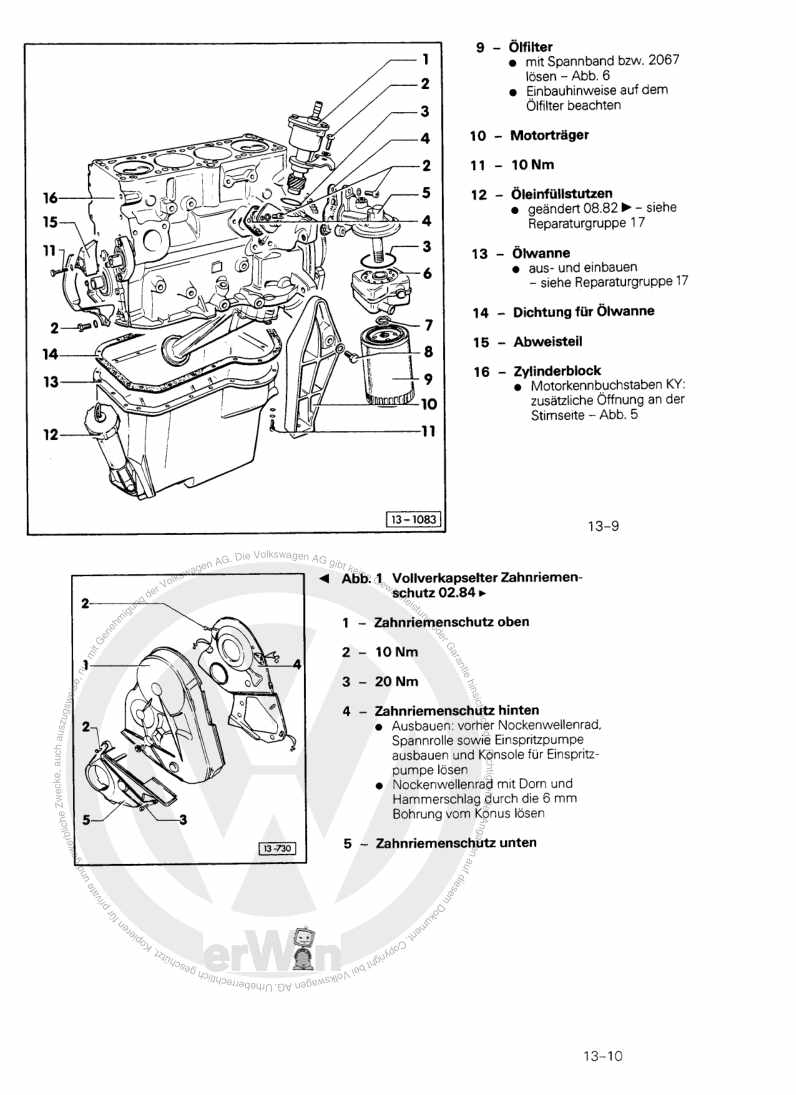
Examplepage for repair manual 4-Zylinder-Dieselmotor, Mechanik CS,JX,KY

For Typ 2 / Typ 2 7-9-Sitzer / Typ 2 Doppelkabine / Typ 2 Pritsche (1968 - 2007) / MICROBUS / Typ 2 Bus/Caravelle / Typ 2 Kasten / Typ 2 Kombi/... / VAN (1980 - 1999)

8,15 € Details

Digijet-Einspritzanlage/ TSZ-H Zündanlage
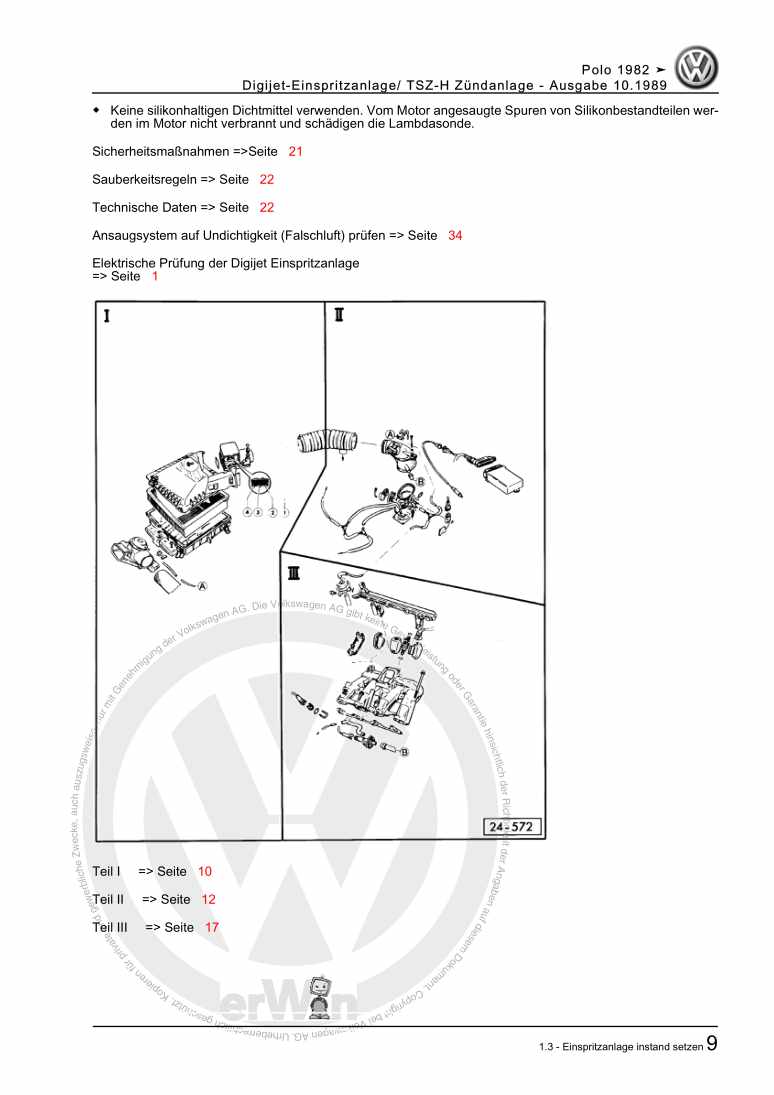
Examplepage for repair manual Digijet-Einspritzanlage/ TSZ-H Zündanlage

For Polo / Polo Coupe / Polo Steilheck / Polo Stufenheck (1987 - 1994)

6,35 € Details

image/svg+xml About Clonck

Original repair manuals und spare parts

Our repair manuals are original, come directly from Volkswagen and meet the highest quality standards.

In our original parts shop we sell high-quality original spare parts from car manufacturers. Use the search function to enter the desired part number (OE number) and order the required spare part quickly and easily.

Highest quality standards

At Clonck, we want to make car mechanics and car professionals happy. That's why you will only find professional and high-quality repair manuals at Clonck that will help you to repair your vehicle professionally.

Our partners

Autohaus Schmidt GmbH
Automag GmbH Filiale Laim
KFZ-VERLAG GmbH
Zimpel und Franke GmbH

Clonck: The car repair shop - also as app!

Clonck App Logo Play Store

Clonck: Fitting car parts for your car repair

4,5 90

With Clonck you can order the right original spare parts in no time.

  • Add your car model
  • Select assembly group
  • Enter vehicle identification number (VIN)
  • Access to over 5,000 original repair manuals
Start app now
Clonck App Preview Car Mobilephone Carparts