THE CAR REPAIR SHOP
0
Home » Manuals » 5-Zyl. Einspritzmotor (2,5 l-Motor, 4-Ventiler)
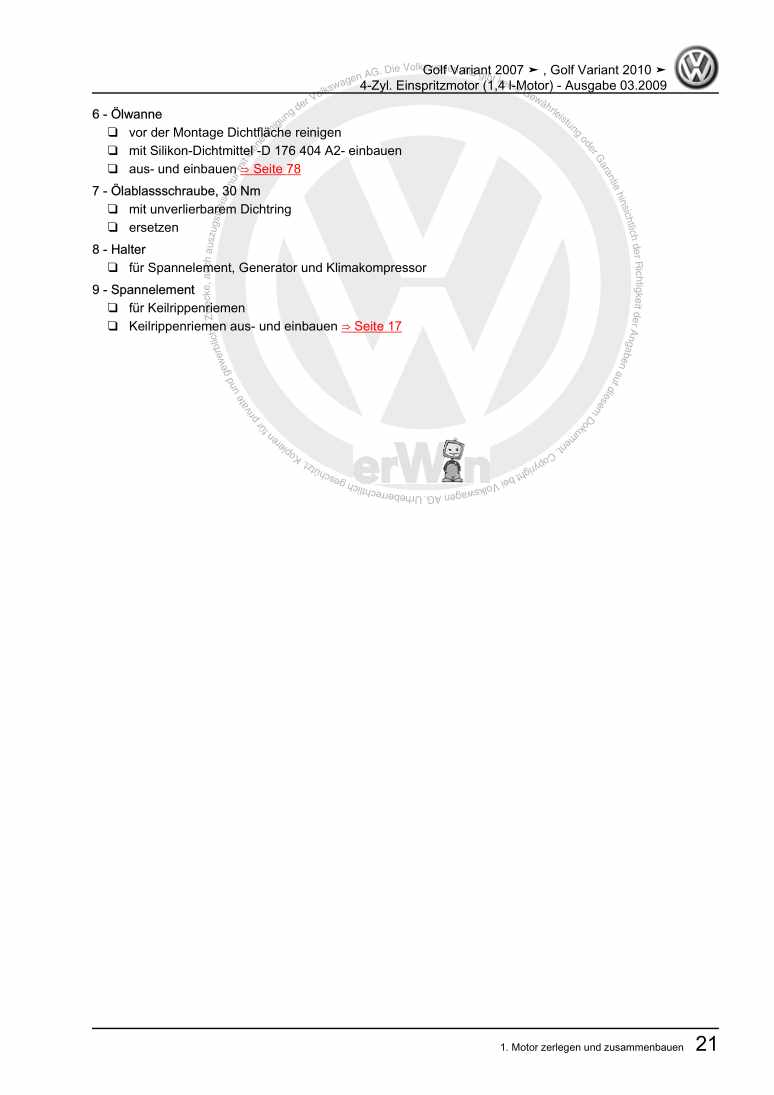
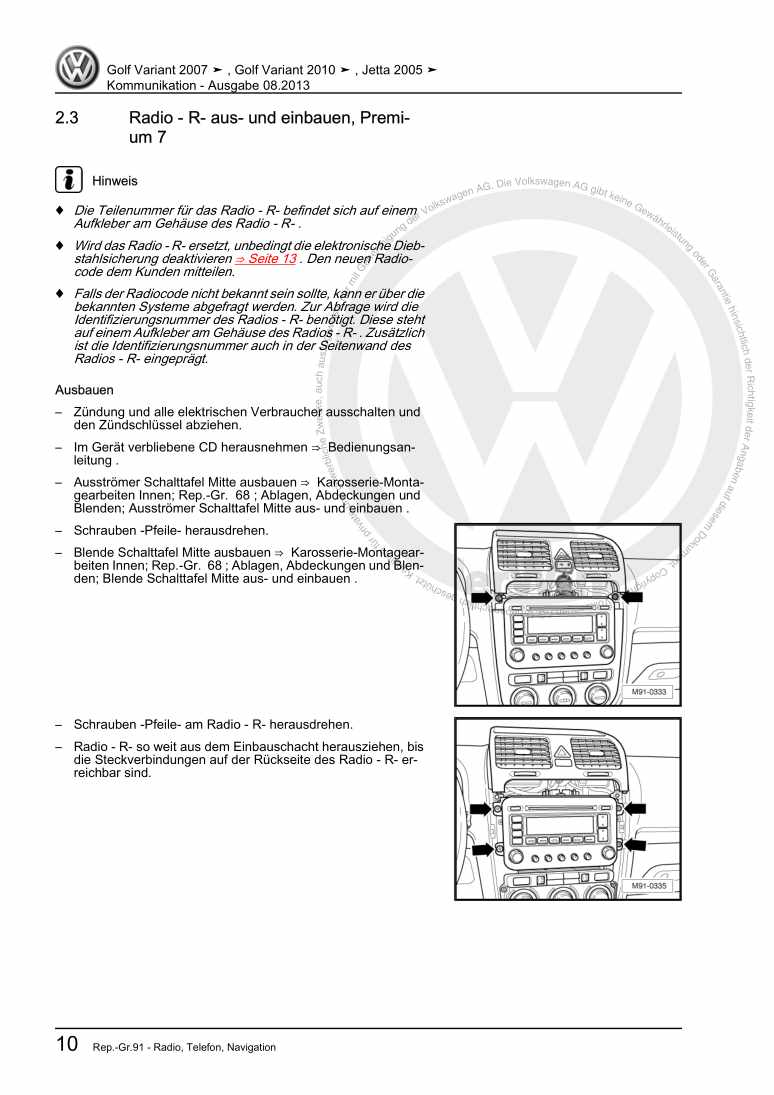
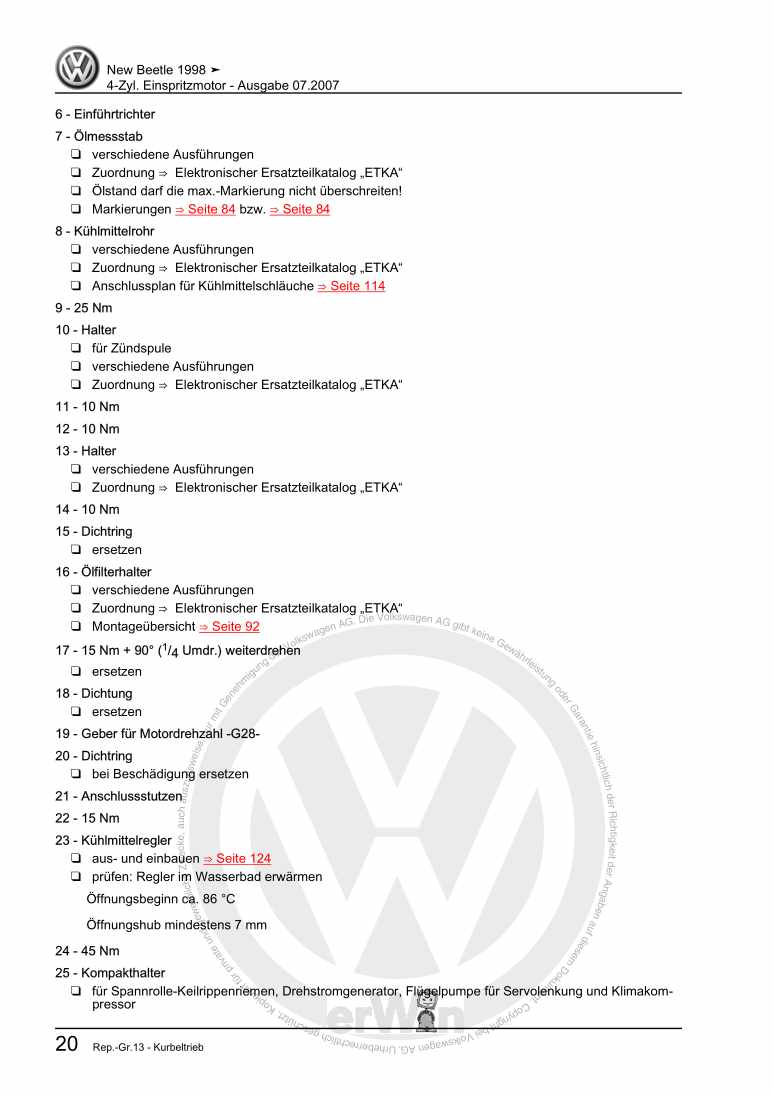
  • Examplepage for repair manual 5-Zyl. Einspritzmotor (2,5 l-Motor, 4-Ventiler)
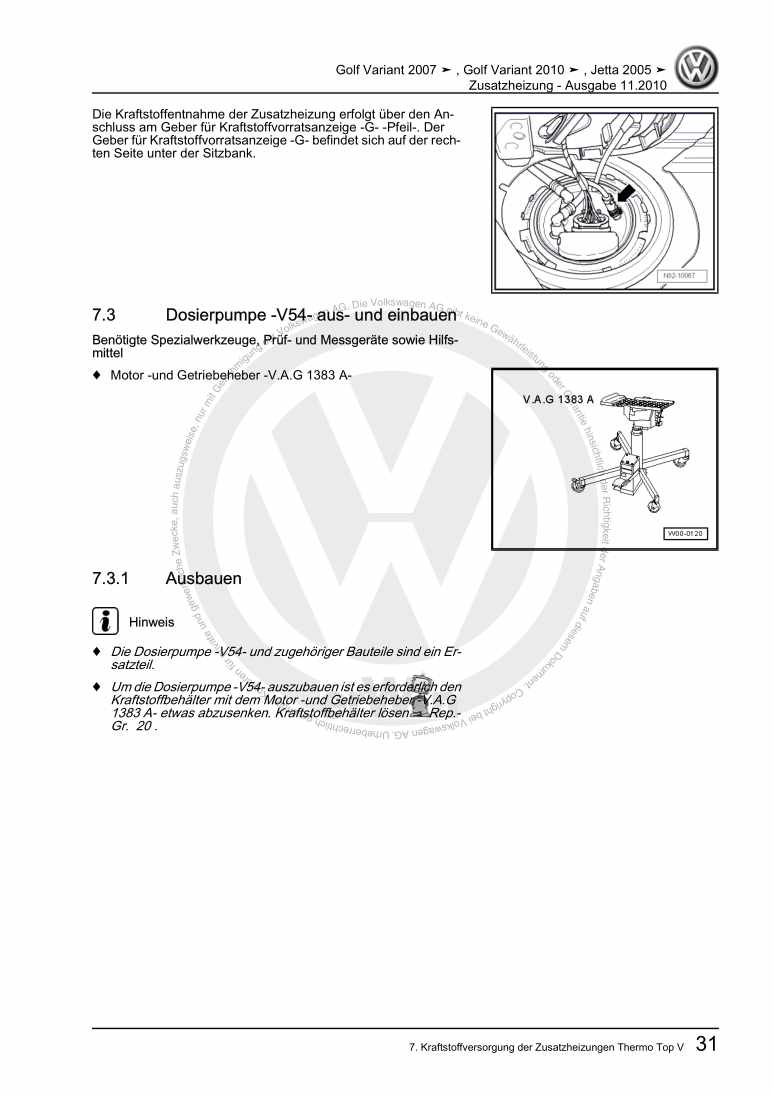
  • Examplepage for repair manual 2 5-Zyl. Einspritzmotor (2,5 l-Motor, 4-Ventiler)
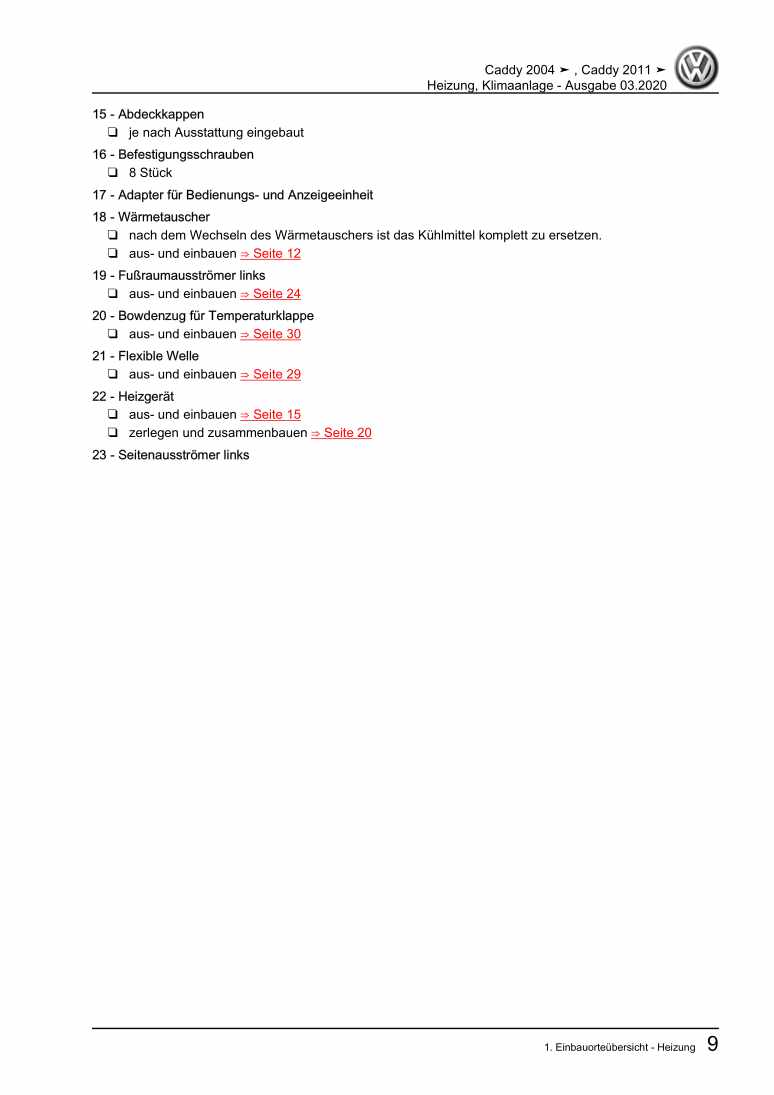
  • Examplepage for repair manual 3 5-Zyl. Einspritzmotor (2,5 l-Motor, 4-Ventiler)
  • Examplepage for repair manual 5-Zyl. Einspritzmotor (2,5 l-Motor, 4-Ventiler)
  • Examplepage for repair manual 2 5-Zyl. Einspritzmotor (2,5 l-Motor, 4-Ventiler)
  • Examplepage for repair manual 3 5-Zyl. Einspritzmotor (2,5 l-Motor, 4-Ventiler)

5-Zyl. Einspritzmotor (2,5 l-Motor, 4-Ventiler)

For Golf Variant / Jetta / Golf VI Variant

Original Volkswagen repair manual


20,15 €7% VAT incl.

  • Deutsch
  • English

Immediately available for download

Language: German

Digital PDF file

7.963 KB

249 Sites

Detailed technical data

Immediately readable

This repair manual contains: Motor aus- und einbauen, Aggregatelagerung, Dichtflansche und Schwungrad/Mitnehmerscheibe, Kurbelwelle, Zylinderkopf, Ventiltrieb, Teile des Kühlsystems, Elektronische Motorleistungsregelung (E-Gas), Aktivkohlebehälteranlage Motorkennbuchstaben BGP, BGQ, CBTA, CBUA and Zündanlage. Show more
Secure Payment via PayPal, credit card, direct debit and more
PayPal Logo SEPA Lastschrift Logo Giropay Logo Sofort Überweisung Logo

Repair manual Golf Variant / Jetta / Golf VI Variant 5-Zyl. Einspritzmotor PDF download has the following content:

Chapter overview

  • Technische Daten
    1
  • 1 Sicherheitshinweise
    1
  • 1.1 Sicherheitsmaßnahmen bei Arbeiten an der Kraftstoffversorgung
    1
  • 1.2 Sicherheitsmaßnahmen bei Probefahrt mit Prüf- und Messgeräten
    2
  • 1.3 Sicherheitsmaßnahmen bei Arbeiten am Kühlsystem
    2
  • 1.4 Sicherheitsmaßnahmen bei Arbeiten an der Zündanlage
    3
  • 2 Kennzeichnung
    4
  • 2.1 Motornummer/Motormerkmale
    4
  • 3 Reparaturhinweise
    6
  • 3.1 Sauberkeitsregeln
    6
  • 3.2 Fremdkörper im Motor
    6
  • Motor aus- und einbauen
    7
  • 1 Motor aus- und einbauen
    7
  • 1.1 Motor ausbauen
    7
  • 1.2 Motor am Montagebock befestigen
    13
  • 1.3 Motor einbauen
    16
  • 2 Aggregatelagerung
    18
  • 2.1 Montageübersicht - Aggregatelagerung
    18
  • Kurbeltrieb
    19
  • 1 Motor zerlegen und zusammenbauen
    19
  • 1.1 Anbauteile - Montageübersicht
    19
  • 1.2 Kettentrieb - Montageübersicht
    27
  • 1.3 Keilrippenriemen aus- und einbauen
    31
  • 1.4 Vakuumpumpe für Bremskraftverstärker aus- und einbauen
    32
  • 2 Dichtflansche und Schwungrad/Mitnehmerscheibe
    35
  • 2.1 Montageübersicht
    35
  • 2.2 Dichtflansch für Kurbelwelle -Riemenscheibenseite- ersetzen
    36
  • 2.3 Steuergehäusedeckel aus- und einbauen
    39
  • 2.4 Dichtring -Getriebeseite- aus- und einbauen
    43
  • 2.5 Mitnehmerscheibe aus- und einbauen
    45
  • 3 Kurbelwelle
    46
  • 3.1 Kurbelwelle - Montageübersicht
    46
  • 3.2 Kurbelwellenmaße
    47
  • 3.3 Kurbelwelle arretieren
    47
  • 4 Kolben und Pleuelstange
    51
  • 4.1 Kolben und Pleuelstange - Montageübersicht
    51
  • 4.2 Neues Pleuel trennen
    52
  • 4.3 Kolben, Kolbenringe und Zylinderbohrung prüfen
    53
  • 4.4 Kolben- und Zylindermaße
    55
  • Zylinderkopf, Ventiltrieb
    56
  • 1 Zylinderkopf
    56
  • 1.1 Montageübersicht
    56
  • 1.2 Zylinderkopfhaube aus- und einbauen
    58
  • 1.3 Kettenkastendeckel aus- und einbauen
    59
  • 1.4 Dichtring für Kettenkastendeckel ersetzen
    63
  • 1.5 Steuerzeiten prüfen
    65
  • 1.6 Steuerzeiten einstellen
    66
  • 1.7 Zylinderkopf aus- und einbauen
    70
  • 1.8 Kompressionsdruck prüfen
    75
  • 2 Ventiltrieb
    77
  • 2.1 Ventiltrieb - Montageübersicht
    77
  • 2.2 Ventilmaße
    79
  • 2.3 Ventilführungen prüfen
    79
  • 2.4 Ventilschaftabdichtungen ersetzen
    80
  • 2.5 Nockenwellen aus- und einbauen
    84
  • Schmierung
    89
  • 1 Teile des Schmiersystems
    89
  • 1.1 Motoröl
    89
  • 1.2 Teile des Schmiersystems - Montageübersicht
    90
  • 1.3 Ölfilterhalter mit Anbauteilen - Montageübersicht
    92
  • 1.4 Ölfiltergehäuse entleeren
    93
  • 1.5 Ölwannen-Unterteil aus- und einbauen
    94
  • 1.6 Ölwannen-Oberteil aus- und einbauen
    96
  • 1.7 Ölpumpe aus- und einbauen, Motorkennbuchstaben BGP, BGQ, BTK
    99
  • 1.8 Ölpumpe aus- und einbauen, Motorkennbuchstaben CBTA, CBUA, CCCA
    102
  • 1.9 Öldruck und Öldruckschalter prüfen
    106
  • Kühlung
    108
  • 1 Teile des Kühlsystems
    108
  • 1.1 Teile des Kühlsystems, motorseitig - Montageübersicht
    109
  • 1.2 Teile des Kühlsystems, aufbauseitig - Montageübersicht
    112
  • 1.3 Anschlussplan für Kühlmittelschläuche
    113
  • 1.4 Kühlmittel ablassen und auffüllen
    115
  • 1.5 Kühlmittelpumpe aus- und einbauen
    118
  • 1.6 Kühlmittelregler aus- und einbauen
    122
  • 1.7 Lüfter für Kühlmittel V7 und Lüfter 2 für Kühlmittel V177 aus- und einbauen
    124
  • 1.8 Kühler aus- und einbauen
    125
  • 1.9 Kühlsystem auf Dichtheit prüfen
    127
  • Kraftstoffversorgung
    130
  • 1 Teile der Kraftstoffversorgung
    130
  • 1.1 Sicherheitsmaßnahmen bei Arbeiten an der Kraftstoffversorgung
    130
  • 1.2 Sauberkeitsregeln
    131
  • 1.3 Kraftstoffbehälter - Montageübersicht, Motorkennbuchstaben BGP, BGQ, CBTA, CBUA
    131
  • 1.4 Kraftstoffbehälter - Montageübersicht, Motorkennbuchstabe BTK, CCCA
    134
  • 1.5 Kraftstoffbehälter entleeren
    136
  • 1.6 Kraftstoff-Fördereinheit aus- und einbauen
    141
  • 1.7 Geber für Kraftstoffvorratsanzeige G aus- und einbauen
    144
  • 1.8 Kraftstoffbehälter aus- und einbauen
    145
  • 1.9 Kraftstofffilter mit Anbauteilen - Montageübersicht
    148
  • 1.10 Kraftstofffilter aus- und einbauen
    150
  • 1.11 Kraftstoffpumpe prüfen
    150
  • 1.12 Kraftstoffsystem entlüften
    159
  • 2 Elektronische Motorleistungsregelung (E-Gas)
    163
  • 2.1 Funktion des E-Gas Systems
    163
  • 2.2 Gaspedalmodul - Montageübersicht
    163
  • 2.3 Gaspedalmodul aus- und einbauen
    164
  • 3 Aktivkohlebehälteranlage Motorkennbuchstaben BGP, BGQ, CBTA, CBUA
    168
  • 3.1 Funktion
    168
  • 3.2 Übersichtsplan der Aktivkohlebehälteranlage - Fahrzeuge bis MJ 2009
    168
  • 3.3 Übersichtsplan der Aktivkohlebehälteranlage - Fahrzeuge ab MJ 2010
    170
  • 3.4 Aktivkohlebehälteranlage: Montageübersicht
    171
  • 3.5 Aktivkohlebehälter aus- und einbauen
    172
  • 3.6 Diagnosepumpe für Kraftstoffsystem V144 aus- und einbauen
    173
  • 3.7 Kraftstoffsystem auf Dichtheit prüfen
    173
  • 4 Aktivkohlebehälteranlage, Motorkennbuchstaben BTK, CCCA
    183
  • 4.1 Funktion
    183
  • 4.2 Aktivkohlebehälteranlage - Montageübersicht
    183
  • 4.3 Kraftstoffbehälter-Entlüftung prüfen
    184
  • Kraftstoffaufbereitung, Einspritzung
    187
  • 1 Einspritzanlage
    187
  • 1.1 Allgemeine Hinweise zur Einspritzung
    187
  • 1.2 Sicherheitsmaßnahmen
    188
  • 1.3 Sauberkeitsregeln
    189
  • 1.4 Technische Daten
    190
  • 1.5 Einbauorte - Übersicht
    190
  • 1.7 Saugrohr mit Anbauteilen - Montageübersicht, Motorkennbuchstaben CBTA und CBUA
    194
  • 1.9 Kraftstoffverteiler mit Einspritzventilen - Montageübersicht
    196
  • 1.10 Luftfilter - Montageübersicht
    196
  • 1.11 Motorabdeckung mit Luftfilter aus- und einbauen
    198
  • 1.12 Drosselklappensteuereinheit J338 aus- und einbauen
    198
  • 1.13 Saugrohr aus- und einbauen
    200
  • 1.14 Einspritzventile aus- und einbauen
    204
  • 2 Bauteile prüfen
    207
  • 2.1 Dichtheit und Einspritzmenge der Einspritzventile prüfen
    207
  • 2.2 Kraftstoff-Druckregler und Haltedruck prüfen
    210
  • 3 Motorsteuergerät
    214
  • 3.1 Fehlerspeicher des Motorsteuergerätes abfragen und löschen
    214
  • 3.2 Motorsteuergerät aus- und einbauen - bis 10.2008
    215
  • 3.3 Motorsteuergerät aus- und einbauen - ab 11.2008
    219
  • Abgasanlage
    224
  • 1 Teile der Abgasanlage
    224
  • 1.1 Abgaskrümmer mit Anbauteilen - Montageübersicht
    226
  • 1.4 Schalldämpfer mit Aufhängungen - Montageübersicht
    231
  • 1.5 Abgasvorrohr mit Katalysator aus- und einbauen
    231
  • 1.6 Mittel- und Nachschalldämpfer trennen und verbinden
    233
  • 1.7 Abgasanlage spannungsfrei einrichten
    234
  • 2 Sekundärluft-System
    236
  • 2.1 Funktion
    236
  • 2.2 Sekundärluft-System - Montageübersicht
    236
  • 2.3 Motor für Sekundärluftpumpe V101 aus- und einbauen
    238
  • 2.4 Sekundärlufteinblasventil N112 prüfen
    238
  • Zündanlage
    240
  • 1 Zündanlage
    240
  • 1.1 Allgemeine Hinweise zur Zündanlage
    240
  • 1.2 Sicherheitsmaßnahmen
    240
  • 1.3 Zündanlage - Montageübersicht
    240
  • 1.4 Zündspulen mit Leistungsendstufen aus- und einbauen
    242
  • 1.5 Prüfdaten, Zündkerzen
    243
Manufacturer's designation 5-Zyl. Einspritzmotor (2,5 l-Motor, 4-Ventiler)
Manufacturer Volkswagen
Suitable for Golf Variant (2007) / Jetta (2005 - 2007) / Golf VI Variant (2010)
Suitable car types 1K5, AJ5
Engine code CBUA, CCCA, BTK, BGP, BGQ
Category Reparaturanleitung

There are no reviews for this product at the moment.

Similar repair manuals

Elektrische Anlage
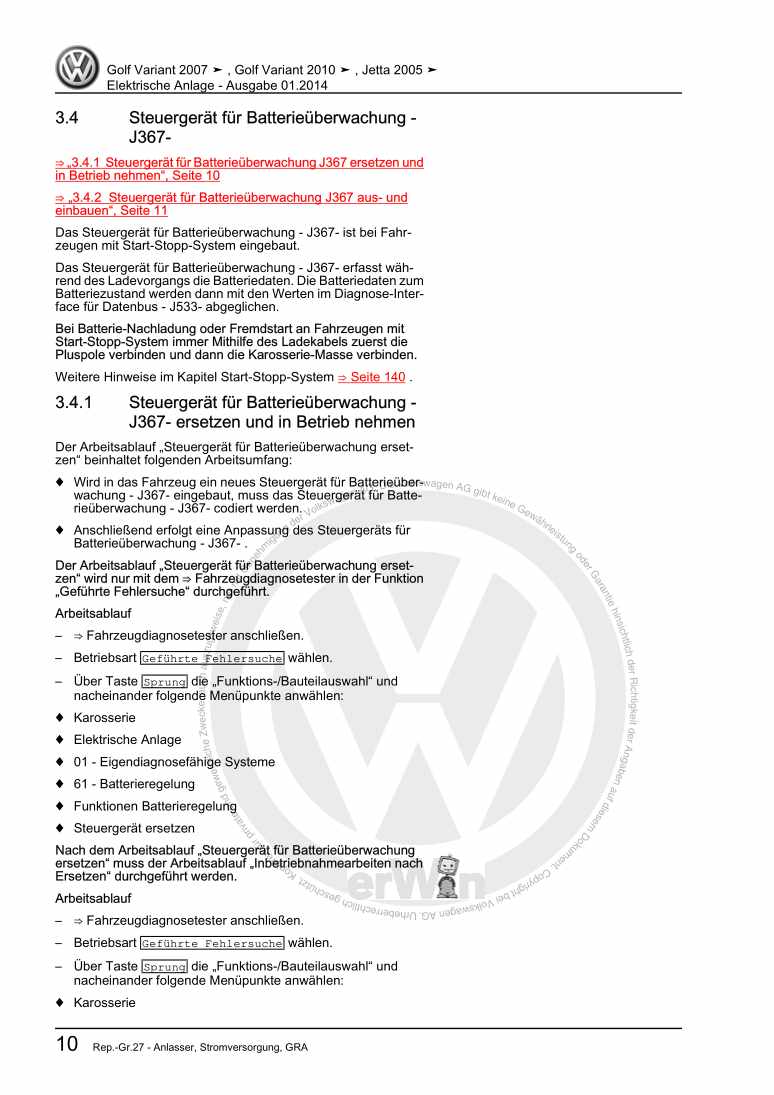
Examplepage for repair manual Elektrische Anlage

For Golf Variant (2007) / Jetta (2005 - 2007) / Golf VI Variant (2010)

37,42 € Details

4-Zyl. Einspritzmotor (1,4 l-Motor)

Examplepage for repair manual 4-Zyl. Einspritzmotor (1,4 l-Motor)

For Golf Variant (2007) / Golf VI Variant (2010)

15,75 € Details

Kardanwelle und Achsantrieb hinten

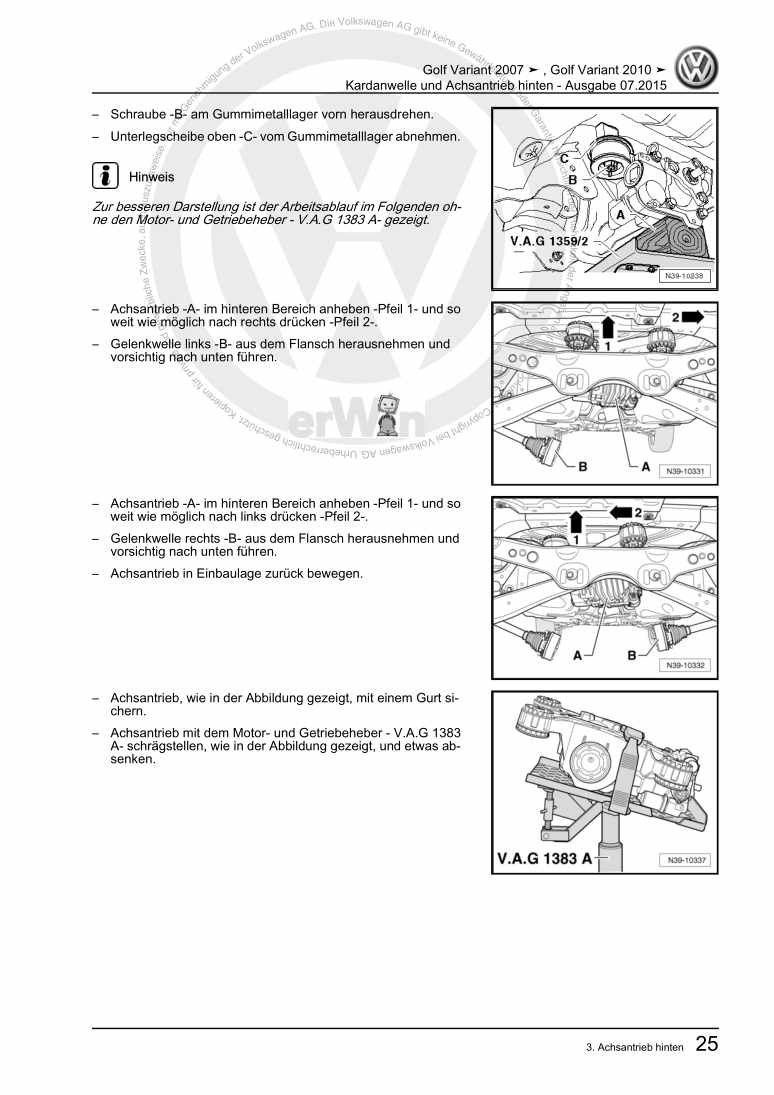
Examplepage for repair manual Kardanwelle und Achsantrieb hinten

For Golf Variant (2007) / Golf VI Variant (2010)

9,08 € Details

4-Zyl. Einspritzmotor (2,0 l-Motor, Kettenantrieb)
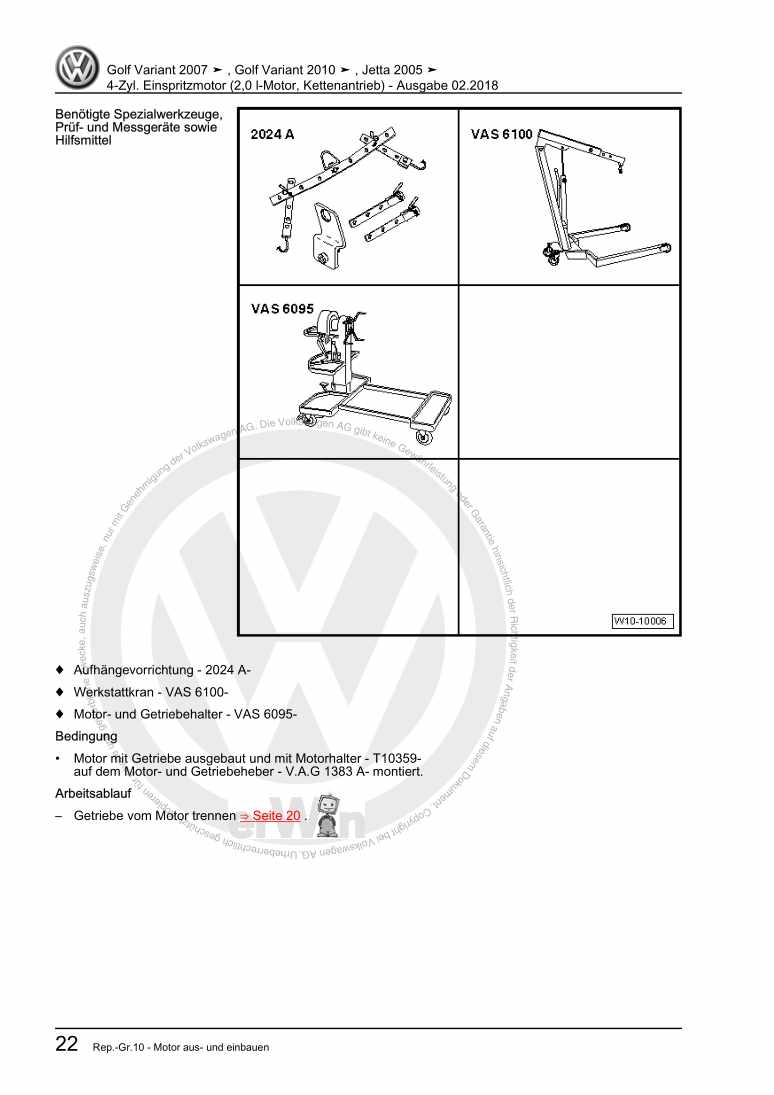
Examplepage for repair manual 4-Zyl. Einspritzmotor (2,0 l-Motor, Kettenantrieb)

For Golf Variant (2007) / Jetta (2005 - 2007) / Golf VI Variant (2010)

29,03 € Details

Karosserie-Montagearbeiten Innen

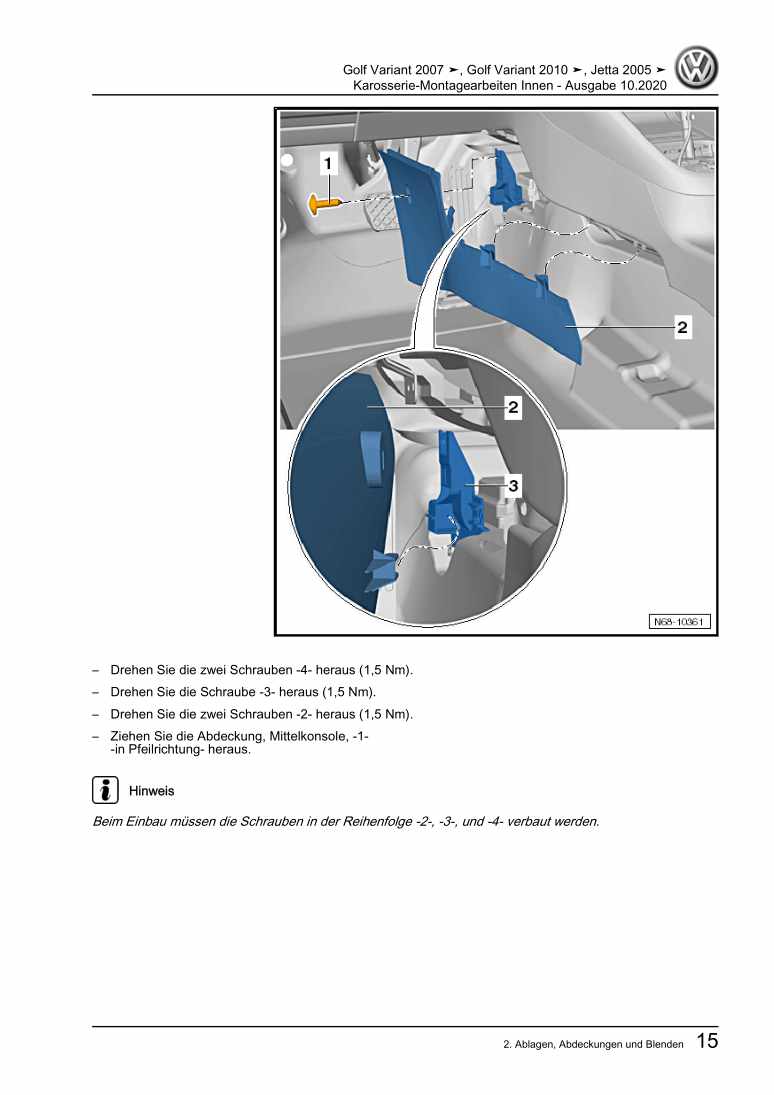
Examplepage for repair manual Karosserie-Montagearbeiten Innen

For Golf Variant (2007) / Jetta (2005 - 2007) / Golf VI Variant (2010)

27,07 € Details

Heizung, Klimaanlage

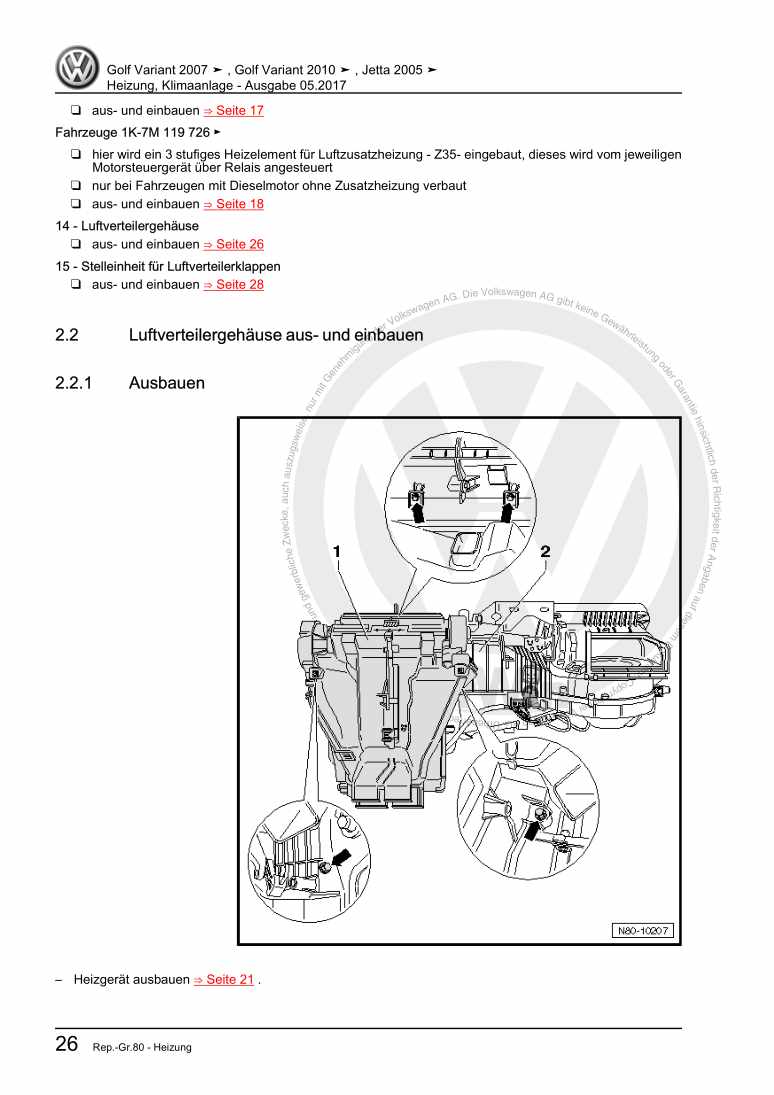
Examplepage for repair manual Heizung, Klimaanlage

For Golf Variant (2007) / Jetta (2005 - 2007) / Golf VI Variant (2010)

10,19 € Details

4-Zyl. Einspritzmotor (1,4 l-Motor Direkteinspritzer, Turbolader)
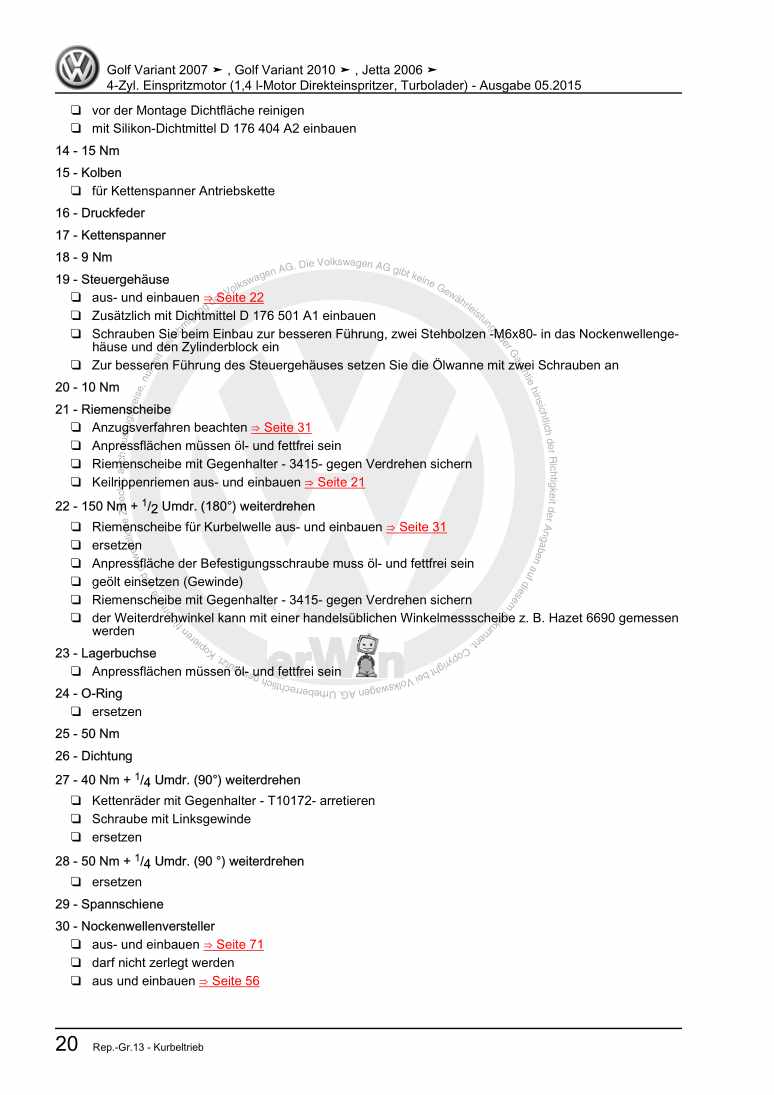
Examplepage for repair manual 4-Zyl. Einspritzmotor (1,4 l-Motor Direkteinspritzer, Turbolader)

For Golf Variant (2007) / Jetta (2005 - 2007) / Golf VI Variant (2010)

19,58 € Details

Kommunikation

Examplepage for repair manual Kommunikation

For Golf Variant (2007) / Jetta (2005 - 2007) / Golf VI Variant (2010)

21,00 € Details

4-Zyl. Einspritzmotor (1,4 l-Motor Direkteinspritzer, EA 111, Turbolader und Kompressor)
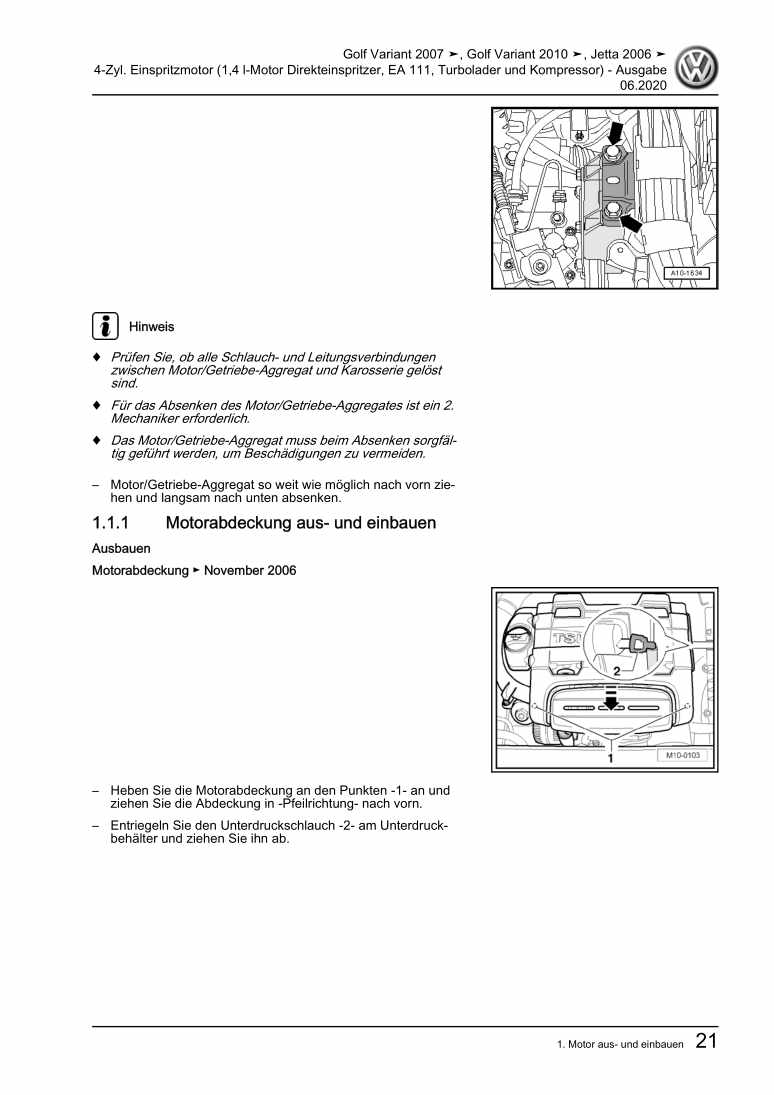
Examplepage for repair manual 4-Zyl. Einspritzmotor (1,4 l-Motor Direkteinspritzer, EA 111, Turbolader und Kompressor)

For Golf Variant (2007) / Jetta (2005 - 2007) / Golf VI Variant (2010)

29,52 € Details

Zusatzheizung

Examplepage for repair manual Zusatzheizung

For Golf Variant (2007) / Jetta (2005 - 2007) / Golf VI Variant (2010)

6,29 € Details

Our Best Sellers

Did you know? We also offer original spare parts.

car part 80B265340S Schlauch

80B265340S

Schlauch

138,22 €

Details
car part 80A820035C Ventil

80A820035C

Ventil

158,75 €

Details
car part 06H103495AJ Abscheider

06H103495AJ

Abscheider

124,53 €

Details
car part 1K0971813B9B9 Abdeckung

1K0971813B9B9

Abdeckung

11,77 €

Details
car part ASE44726700000 Bloecke

ASE44726700000

Bloecke

460,47 €

Details

Heizung, Klimaanlage

Examplepage for repair manual Heizung, Klimaanlage

For Caddy (2004 - 2010) / Caddy KA / Caddy Maxi (2011)

12,76 € Details

Standheizung, Zusatzheizung

Examplepage for repair manual Standheizung, Zusatzheizung

For Touareg (2011) / Touareg FL (2015 > )

6,64 € Details

4-Zyl. Einspritzmotor

Examplepage for repair manual 4-Zyl. Einspritzmotor

For New Beetle Cabrio (2003 - 2010) / New Beetle / New Beetle (USA) (1998 - 2007) / New Beetle (Europe) (1999 - 2002)

21,00 € Details

image/svg+xml About Clonck

Original repair manuals und spare parts

Our repair manuals are original, come directly from Volkswagen and meet the highest quality standards.

In our original parts shop we sell high-quality original spare parts from car manufacturers. Use the search function to enter the desired part number (OE number) and order the required spare part quickly and easily.

Highest quality standards

At Clonck, we want to make car mechanics and car professionals happy. That's why you will only find professional and high-quality repair manuals at Clonck that will help you to repair your vehicle professionally.

Our partners

Autohaus Schmidt GmbH
Automag GmbH Filiale Laim
KFZ-VERLAG GmbH
Zimpel und Franke GmbH

Clonck: The car repair shop - also as app!

Clonck App Logo Play Store

Clonck: Fitting car parts for your car repair

4,5 90

With Clonck you can order the right original spare parts in no time.

  • Add your car model
  • Select assembly group
  • Enter vehicle identification number (VIN)
  • Access to over 5,000 original repair manuals
Start app now
Clonck App Preview Car Mobilephone Carparts