DER AUTOREPARATUR-SHOP
0
Home » Anleitungen » Running gear, axles, steering
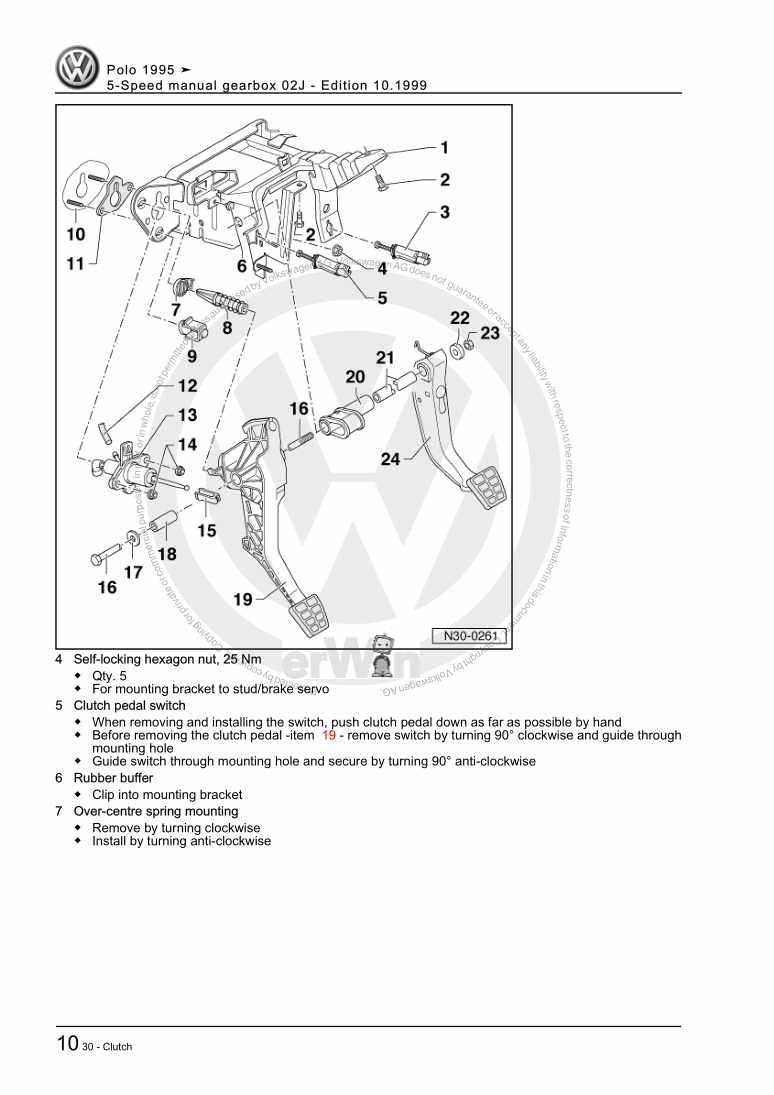
  • Beispielseite für Reparaturanleitung Running gear, axles, steering
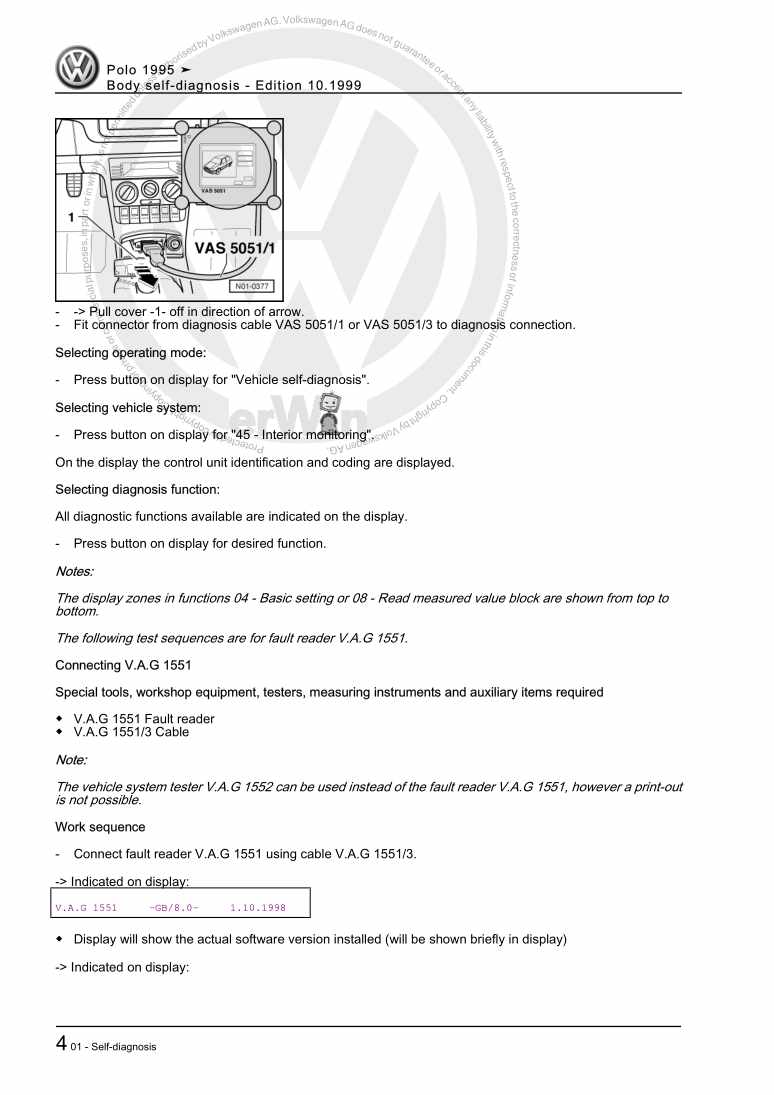
  • Beispielseite für Reparaturanleitung 2 Running gear, axles, steering
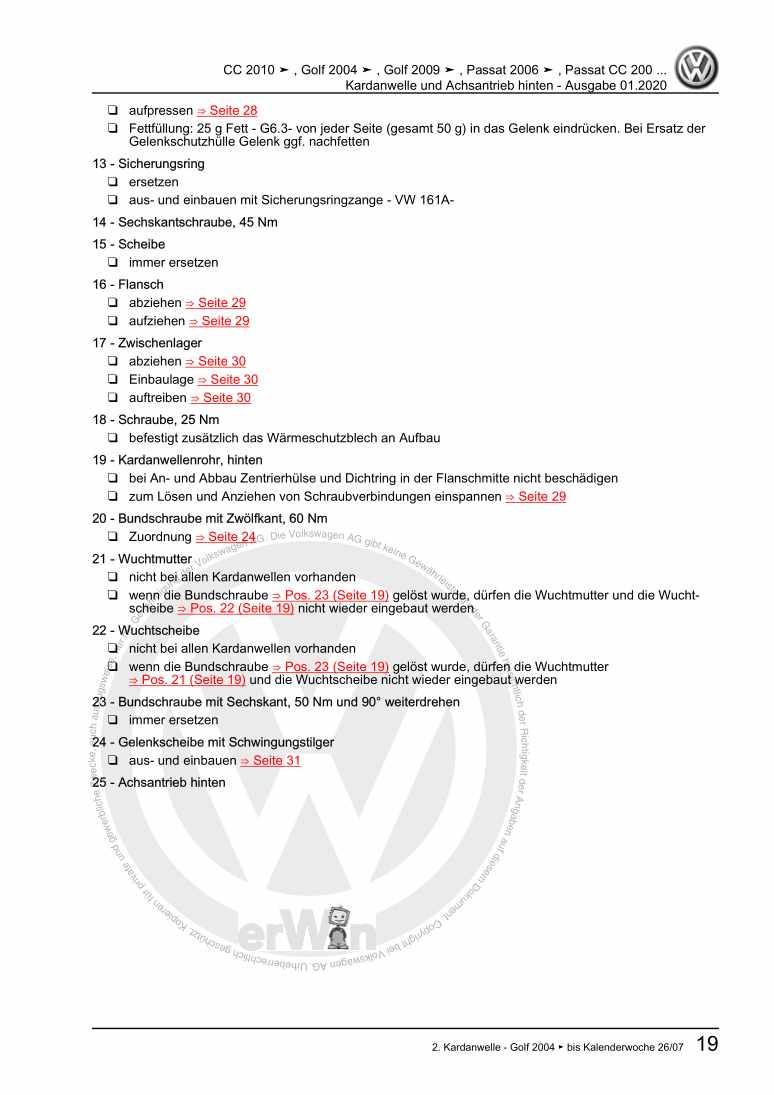
  • Beispielseite für Reparaturanleitung 3 Running gear, axles, steering
  • Beispielseite für Reparaturanleitung Running gear, axles, steering
  • Beispielseite für Reparaturanleitung 2 Running gear, axles, steering
  • Beispielseite für Reparaturanleitung 3 Running gear, axles, steering

Running gear, axles, steering

Für Polo

Original VW-Reparaturanleitung


16,40 €inkl. 7% MwSt.

  • Deutsch
  • English

Sofort als Download verfügbar

Sprache: English

Digitale PDF Version

4.624 KB

197 Seiten

Detaillierte technische Daten

Sofort lesbar

Diese Reparaturanleitung umfasst: Servicing front suspension, Servicing drive shaft, Servicing rear axle, Servicing wheel bearings, Vehicle alignment, Airbag, steering wheel, steering column, Servicing mechanical steering box, Servicing power assisted steering und Assembly overview vane pump, reservoir, hydraulic pipes. Mehr anzeigen
Sichere Zahlung per PayPal, Kreditkarte, Lastschrift, Sofort-Überweisung oder Giropay
PayPal Logo SEPA Lastschrift Logo Giropay Logo Sofort Überweisung Logo

Reparaturanleitung Polo Running gear, axles, steering pdf Download mit dem Inhalt:

Kapitelübersicht

  • Technical data
    1
  • 1 Technical data
    1
  • 1.1 Technical data
    1
  • 1.2 Running gear >09.99
    1
  • 1.3 Running gear 10.99 >
    1
  • 1.4 Steering
    1
  • 1.5 Wheels, tyres
    2
  • Front suspension
    3
  • 1 Servicing front suspension
    3
  • 1.1 Servicing front suspension
    3
  • 1.2 I - Assembly overview sub-frame, anti-roll bar, wishbone
    6
  • 1.3 Allocating anti-roll bar >09.99
    13
  • 1.4 Allocating anti-roll bar 10.99 >
    13
  • 1.5 Ball joint installation position; 13" running gear
    13
  • 1.6 Ball joint installation position; 14" running gear
    14
  • 1.7 Checking swivel joint
    15
  • 1.8 Removing and installing ball joint
    16
  • 1.9 Removing and installing sub-frame >09.99
    19
  • 1.10 Removing and installing sub-frame 10.99 >
    21
  • 1.11 II - Assembly overview wheel bearing, suspension strut
    24
  • 1.13 Removing and installing drive shafts
    39
  • 1.14 Servicing front suspension strut>09.99
    42
  • 1.15 Servicing front suspension strut 10.99>
    46
  • 2 Servicing drive shaft
    50
  • 2.1 Servicing drive shaft
    50
  • 2.2 Servicing drive shaft with constant velocity joint
    50
  • 2.3 Assembly overview drive shaft with constant velocity joint
    51
  • 2.4 Checking outer constant velocity joint
    58
  • 2.5 Checking inner constant velocity joint
    60
  • 2.6 Assembly overview drive shaft with triple roller joint
    65
  • 2.7 Servicing drive shaft with triple roller joint
    68
  • Rear suspension
    73
  • 1 Servicing rear axle
    73
  • 1.1 Servicing rear axle
    73
  • 1.2 Removing and installing rear axle
    73
  • 1.3 Assembly overview, rear axle beam >09.99
    75
  • 1.4 Removing and installing bonded rubber mounting >09.99
    79
  • 1.5 Assembly overview, rear axle beam 10.99 >
    83
  • 1.6 Removing and installing bonded rubber mounting/hydraulic bonded rubber mounting 10.99>
    87
  • 1.7 Assembly overview suspension strut
    88
  • 2 Servicing wheel bearings
    91
  • 2.1 Servicing wheel bearings
    91
  • 2.2 Assembly overview wheel bearings, drum brakes>09.99
    92
  • 2.3 Assembly overview wheel bearings, disc brakes>09.99
    99
  • 2.4 Assembly overview wheel bearings 10.99>
    107
  • 2.6 Removing and installing wheel bearing/wheel hub on vehicles with disc brakes
    112
  • Wheels, Tyres, Wheel alignment
    114
  • 1 Vehicle alignment
    114
  • 1.1 Vehicle alignment
    114
  • 1.2 Test prerequisites:
    114
  • 1.3 Vehicle alignment specifications
    115
  • 1.4 Adjusting front wheel camber
    115
  • 1.5 Checking left and right-hand wheel lock
    116
  • 1.6 Calculating the direction of travel:
    117
  • Steering
    118
  • 1 Airbag, steering wheel, steering column
    118
  • 1.1 Airbag, steering wheel, steering column
    118
  • 1.2 Assembly overview driver's airbag, steering wheel>09.99
    118
  • 1.3 Removing and installing airbag unit>09.99
    120
  • 1.4 Removing and installing steering wheel>09.99
    120
  • 1.5 Removing and installing coil connector with slip ring>09.99
    121
  • 1.6 Assembly overview driver's airbag, steering wheel 10.99>
    123
  • 1.7 Removing and installing driver's airbag unit 10.99 >
    124
  • 1.8 Removing and installing steering wheel 10.99>
    127
  • 1.9 Removing and installing coil connector with slip ring 10.99>
    128
  • 1.11 Removing and installing column tube with steering column
    130
  • 1.12 Assembly overview steering column, column tube; >Vehicle identification No. 6N V 300 000
    134
  • 1.13 Dismantling and assembling column tube and steering column
    138
  • 1.14 Assembly overview steering column, column tube; Vehicle identification No. 6N W 000 001>
    143
  • 1.15 Dismantling and assembling column tube and steering column
    148
  • 2 Servicing mechanical steering box
    155
  • 2.1 Servicing mechanical steering box
    155
  • 2.2 Removing and installing mechanical steering box
    155
  • 2.3 Assembly overview mechanical steering box
    160
  • 2.4 Checking play, security and boots on tie rod ends
    163
  • 2.5 Checking left-hand track rod length and if necessary adjusting
    164
  • 2.6 Assembling track rod
    164
  • 2.7 Adjusting steering box
    165
  • 3 Servicing power assisted steering
    167
  • 3.1 Servicing power assisted steering
    167
  • 3.2 Checking pump delivery pressure
    168
  • 3.3 Removing and installing power assisted steering box
    170
  • 3.4 Assembly overview power assisted steering box
    174
  • 3.5 Assembly overview hydraulic pipes, power assisted steering box; RHD vehicles
    179
  • 3.6 Removing and installing track rod
    180
  • 3.7 Modified track rod ball joints
    181
  • 3.8 Modified track rods
    182
  • 3.9 Checking left-hand track rod length and if necessary adjusting
    183
  • 3.10 Checking play, security and boots on tie rod ends
    185
  • 4 Assembly overview vane pump, reservoir, hydraulic pipes
    185
  • 4.1 Assembly overview vane pump, reservoir, hydraulic pipes
    185
  • 4.2 Removing and installing power-assisted steering vane pump
    189
  • 4.3 Removing and installing ribbed belt
    192
Hersteller­bezeichnung Running gear, axles, steering
Hersteller Volkswagen
Passend für Polo (1995 - 2002)
Passende Autotypen 6N
Kategorie Reparaturanleitung

Im Moment sind noch keine Bewertungen für dieses Produkt vorhanden.

Ähnliche Reparaturanleitungen

4LV injection and ignition system
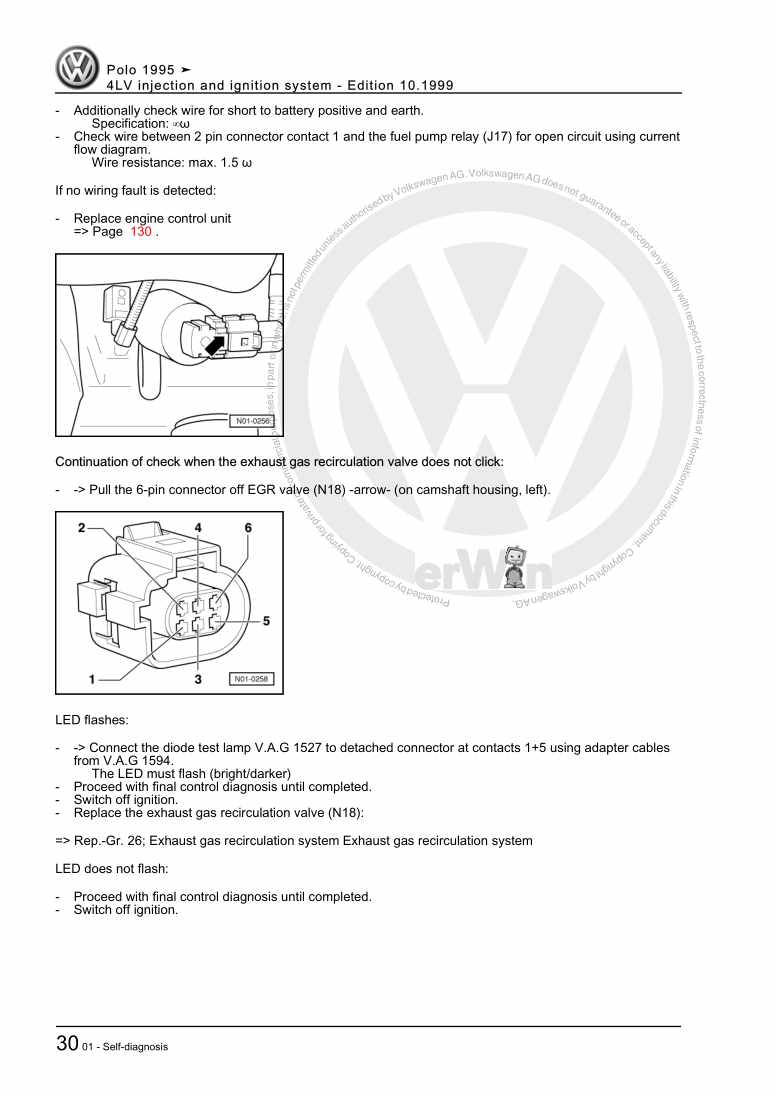
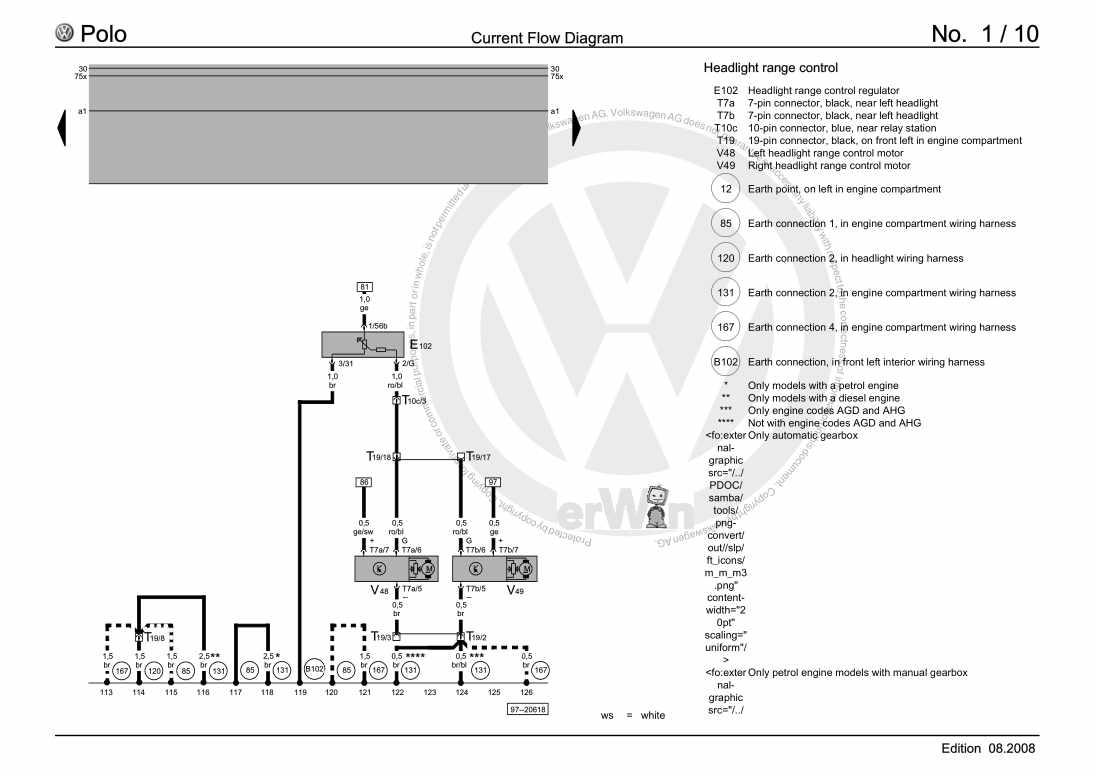
Beispielseite für Reparaturanleitung 4LV injection and ignition system

Für Polo (1995 - 2002)

13,78 € Details

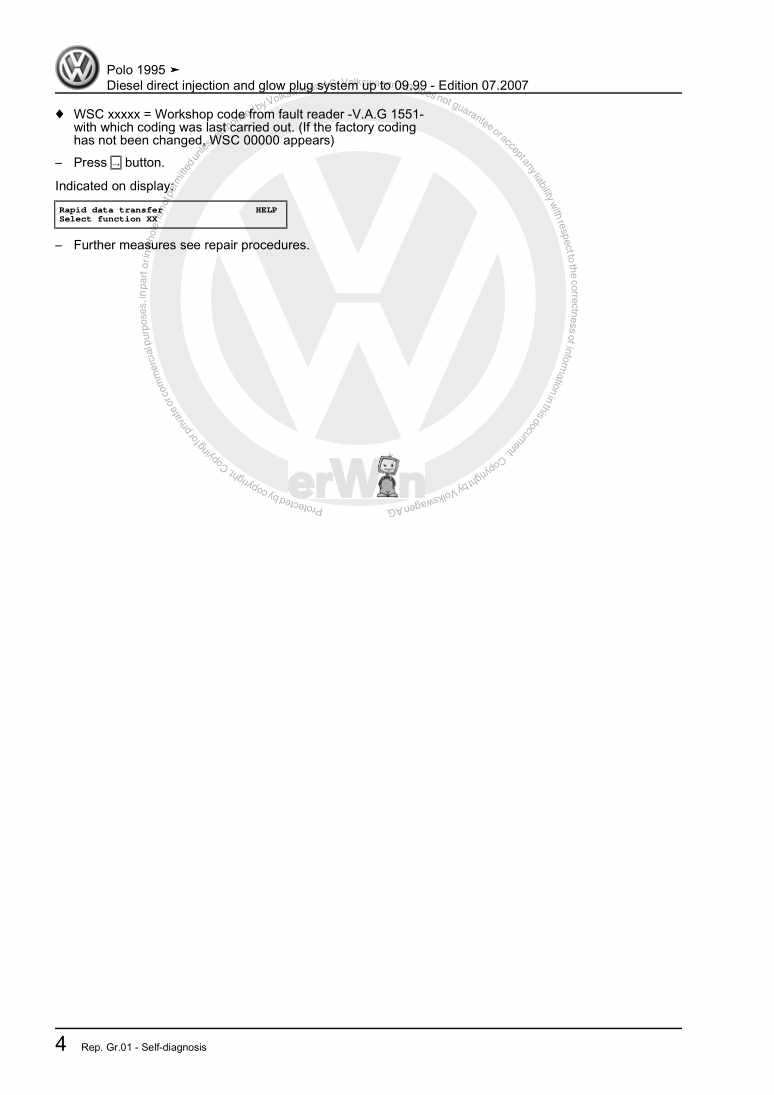
Diesel direct injection and glow plug system up to 09.99
Beispielseite für Reparaturanleitung Diesel direct injection and glow plug system up to 09.99

Für Polo (1995 - 2002)

9,70 € Details

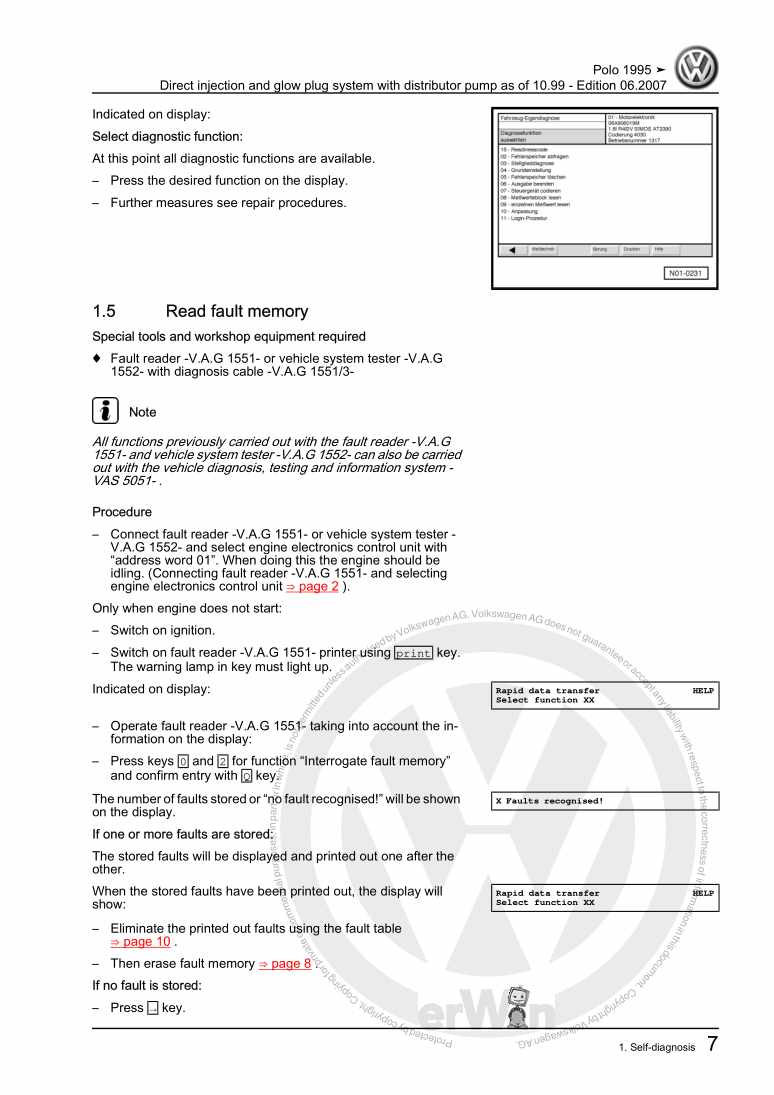
Direct injection and glow plug system with distributor pump as of 10.99
Beispielseite für Reparaturanleitung Direct injection and glow plug system with distributor pump as of 10.99

Für Polo (1995 - 2002)

9,63 € Details

Basic equipment, from May 1997

Beispielseite für Reparaturanleitung Basic equipment, from May 1997

Für Polo (1995 - 2002)

36,87 € Details

5-speed manual gearbox 085

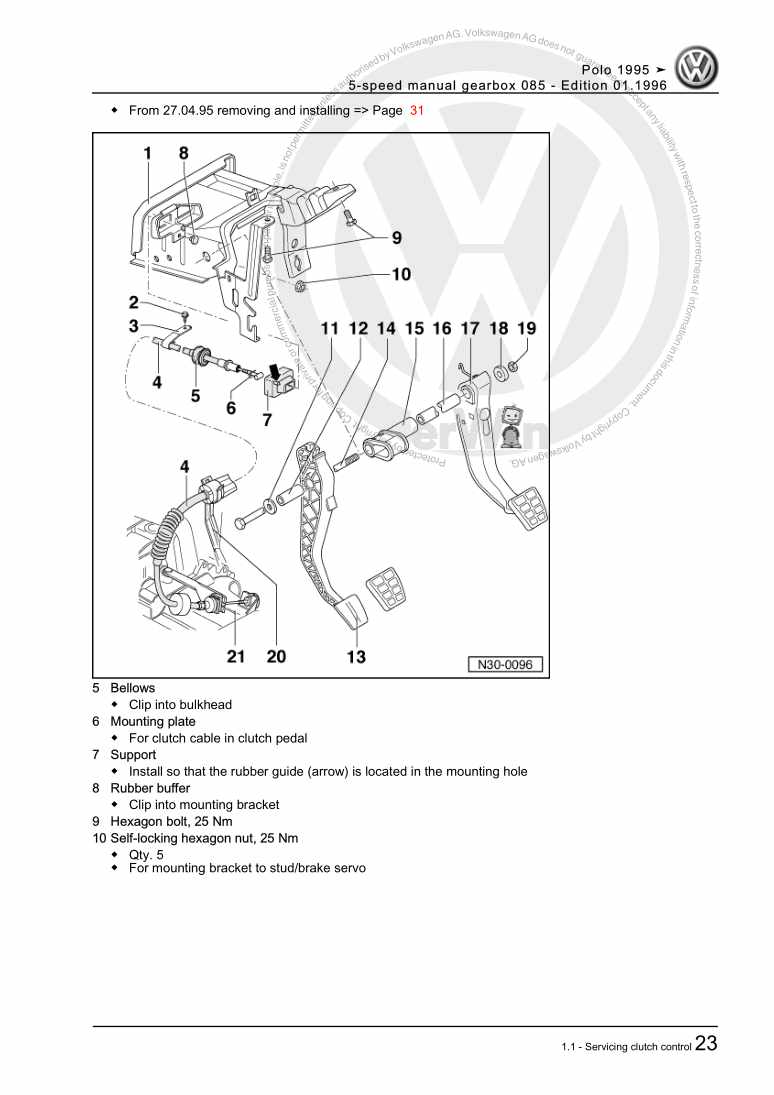
Beispielseite für Reparaturanleitung 5-speed manual gearbox 085

Für Polo (1995 - 2002)

15,68 € Details

Heating, air conditioning

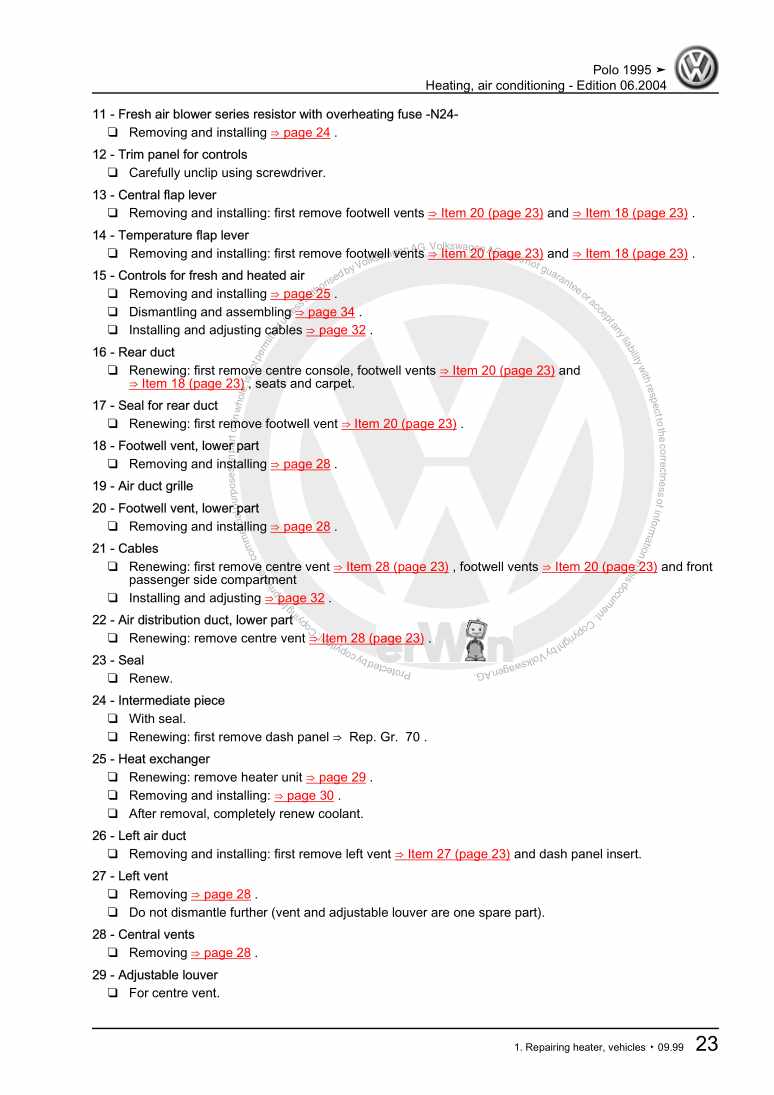
Beispielseite für Reparaturanleitung Heating, air conditioning

Für Polo (1995 - 2002)

13,05 € Details

3-cylinder diesel engine

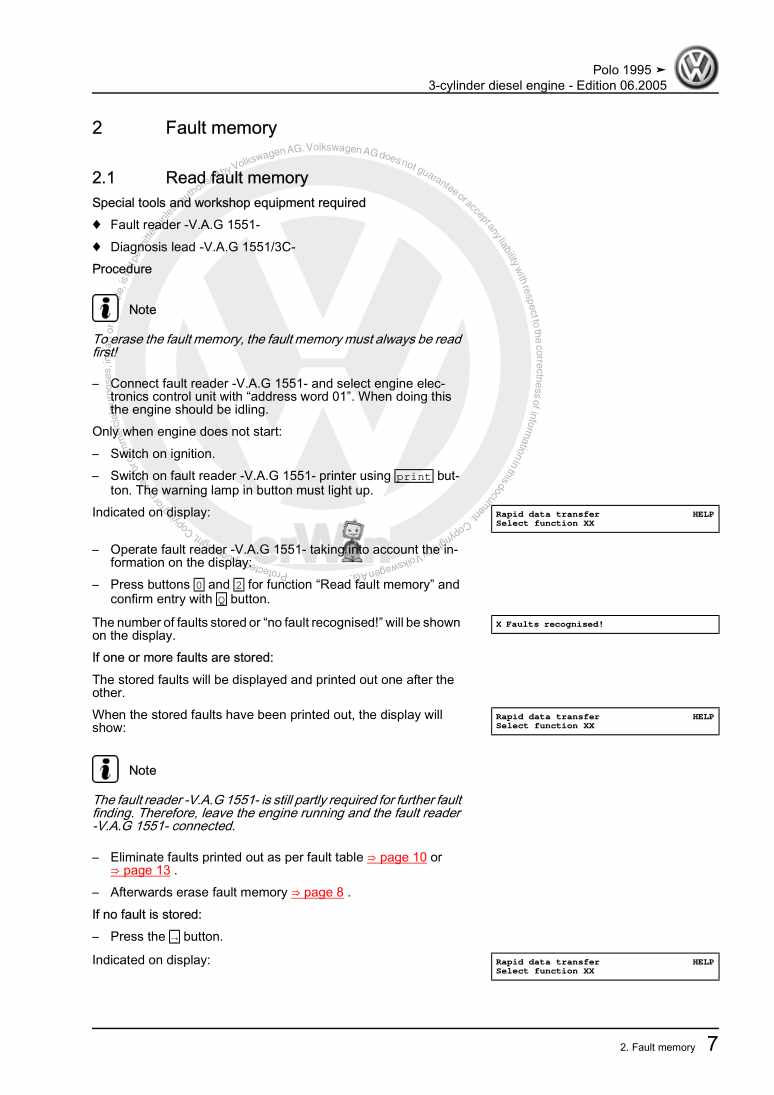
Beispielseite für Reparaturanleitung 3-cylinder diesel engine

Für Polo (1995 - 2002)

17,35 € Details

5-Speed manual gearbox 02J

Beispielseite für Reparaturanleitung 5-Speed manual gearbox 02J

Für Polo (1995 - 2002)

16,77 € Details

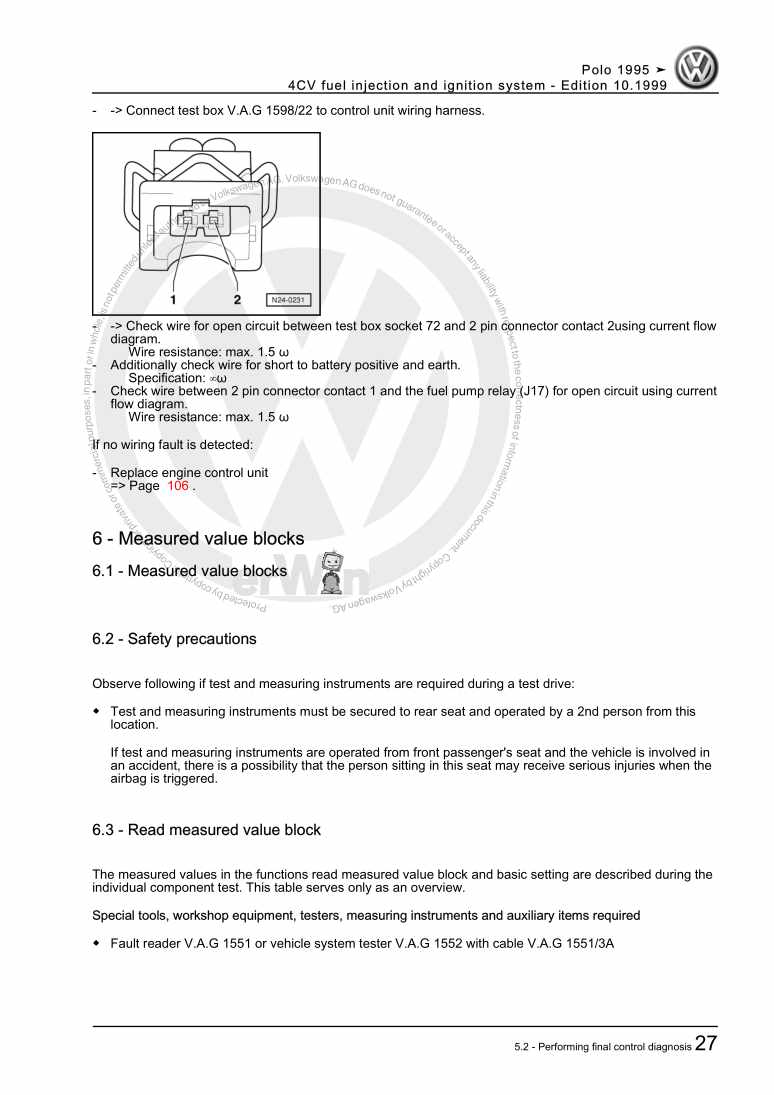
4CV fuel injection and ignition system
Beispielseite für Reparaturanleitung 4CV fuel injection and ignition system

Für Polo (1995 - 2002)

11,89 € Details

Body self-diagnosis

Beispielseite für Reparaturanleitung Body self-diagnosis

Für Polo (1995 - 2002)

7,82 € Details

Unsere Best Seller

Schon gewusst? Wir bieten auch originale Autoteile an.

Autoteil G052141A2 Paste

G052141A2

Paste

39,14 €

Details
Autoteil 1J0881671G4PK Knopf

1J0881671G4PK

Knopf

5,27 €

Details
Autoteil N90328504 Schraube

N90328504

Schraube

2,53 €

Details
Autoteil N91005902 Schraube

N91005902

Schraube

3,08 €

Details
Autoteil 5N0971148AA Leitg.Satz

5N0971148AA

Leitg.Satz

155,32 €

Details

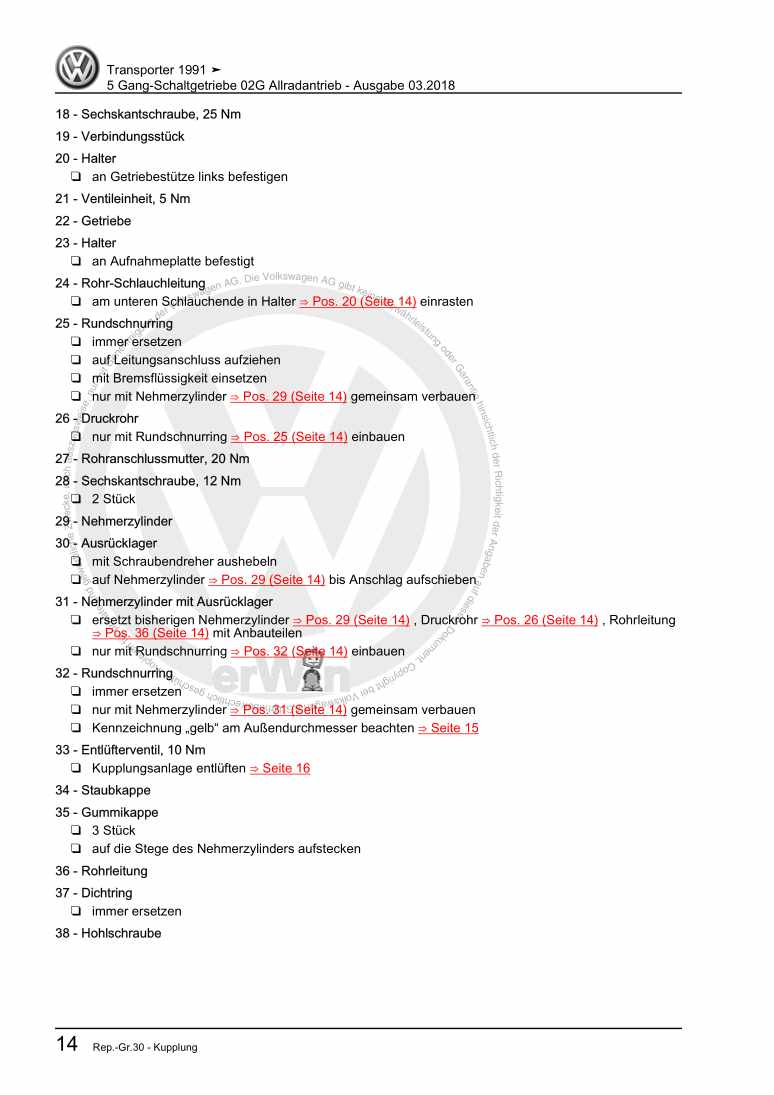
5 Gang-Schaltgetriebe 02G Allradantrieb
Beispielseite für Reparaturanleitung 5 Gang-Schaltgetriebe 02G Allradantrieb

Für Transporter Caravelle / Transporter Doppelkab / Transporter Kasten / Transporter Kombi/Cam / Transporter Pritsche (1991 - 1996)

23,09 € Details

Kardanwelle und Achsantrieb hinten

Beispielseite für Reparaturanleitung Kardanwelle und Achsantrieb hinten

Für Passat / Passat Variant (2005 - 2008) / Golf (2004 - 2007) / Tiguan (2008) / Passat CC (2009) / Golf (2009) / Sharan (2011)

20,15 € Details

Automatisiertes Schaltgetriebe Shiftmatic 0B8
Beispielseite für Reparaturanleitung Automatisiertes Schaltgetriebe Shiftmatic 0B8

Für CRAFTER (2006 - 2007) / LT 2006> (2006 - 2007)

8,22 € Details

image/svg+xml Über Clonck

Originale Reparaturanleitungen und Ersatzteile

Unsere Reparaturanleitungen sind Originale, kommen direkt von Volkswagen und erfüllen die höchsten Qualitätsstandards.

In unserem Originalteile-Shop verkaufen wir hochwertige Originalersatzteile der Fahrzeughersteller. Mithilfe der Suche gibst du die gewünschte Teilenummer (OE-Nummer) ein und bestellst schnell und einfach das benötigte Ersatzteil.

Höchste Qualitätsstandards

Bei Clonck wollen wir Autoschrauber und Kfz-Profis glücklich machen. Aus diesem Grund findest du bei Clonck ausschließlich professionelle und hochwertige Reparaturanleitungen, mit deren Hilfe du dein Fahrzeug fachgerecht reparieren kannst.

Unsere Partner

Autohaus Schmidt GmbH
Automag GmbH Filiale Laim
KFZ-VERLAG GmbH
Zimpel und Franke GmbH

Clonck: Der Autoreparatur-Shop - gibt's auch als App!

Clonck App Logo Play Store

Clonck: Passende Autoteile für deine Autoreparatur

4,5 90

Mit Clonck bestellst du die richtigen Originalersatzteile im Handumdrehen.

  • Fahrzeugmodell hinzufügen
  • Baugruppe auswählen
  • Fahrzeug-Identifizierungsnummer (FIN) eingeben
  • Über 5.000 originale Reparaturanleitungen einsehen
Jetzt App starten
Clonck App Preview Auto Mobiltelefon Autoteile