DER AUTOREPARATUR-SHOP
0
Home » Anleitungen » Bodywork, 2006▸
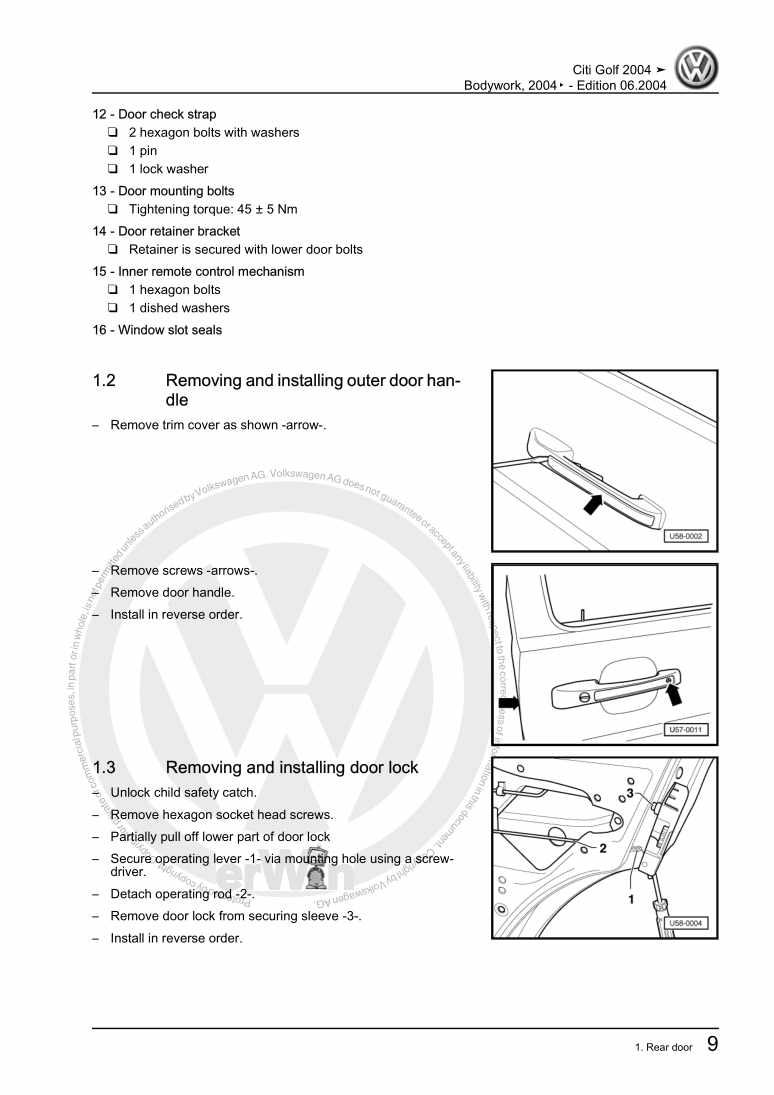
  • Beispielseite für Reparaturanleitung Bodywork, 2006▸
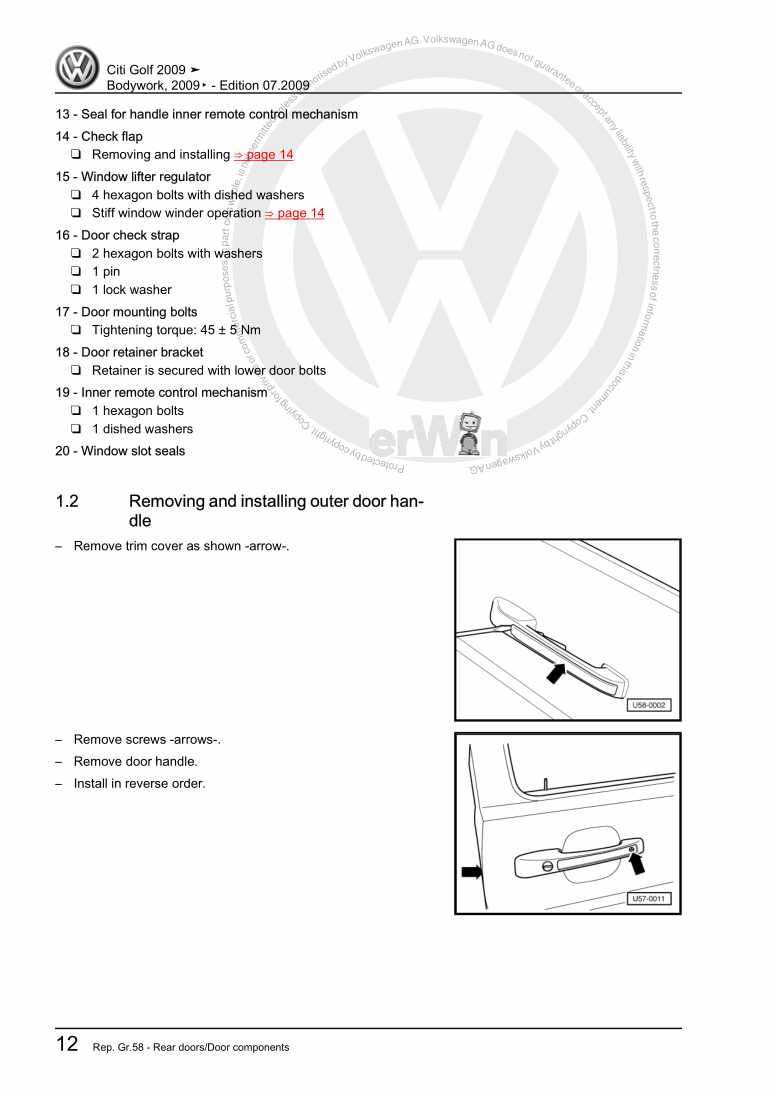
  • Beispielseite für Reparaturanleitung 2 Bodywork, 2006▸
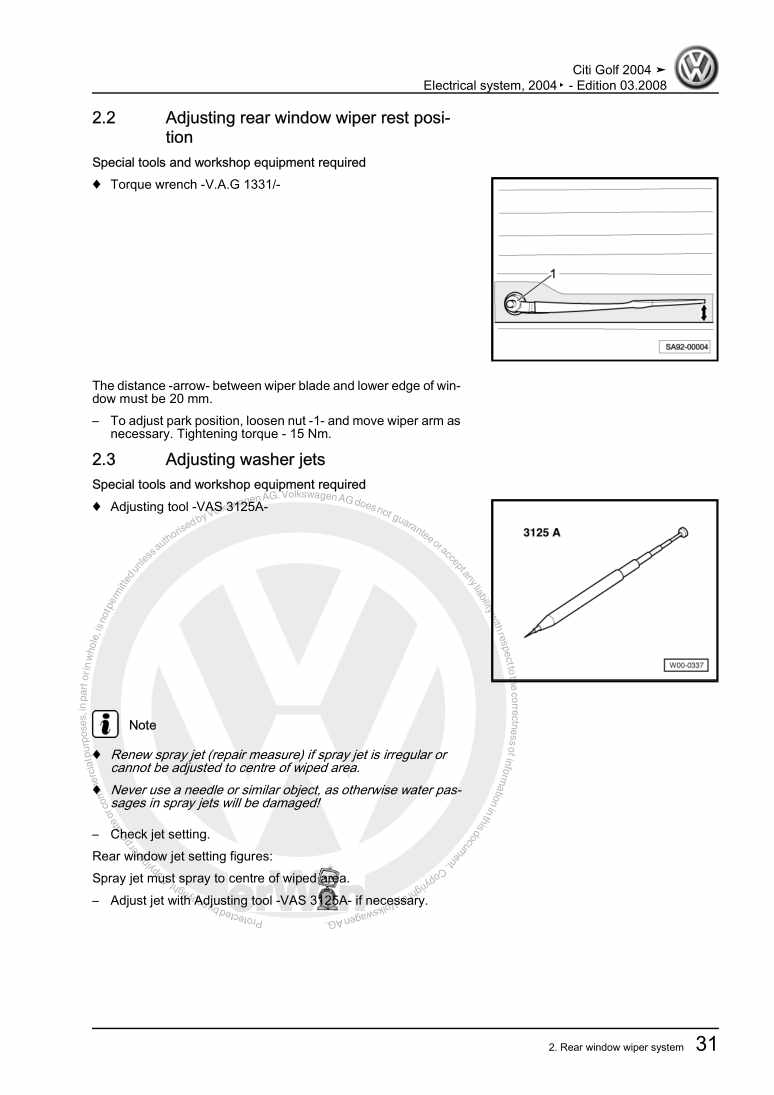
  • Beispielseite für Reparaturanleitung 3 Bodywork, 2006▸
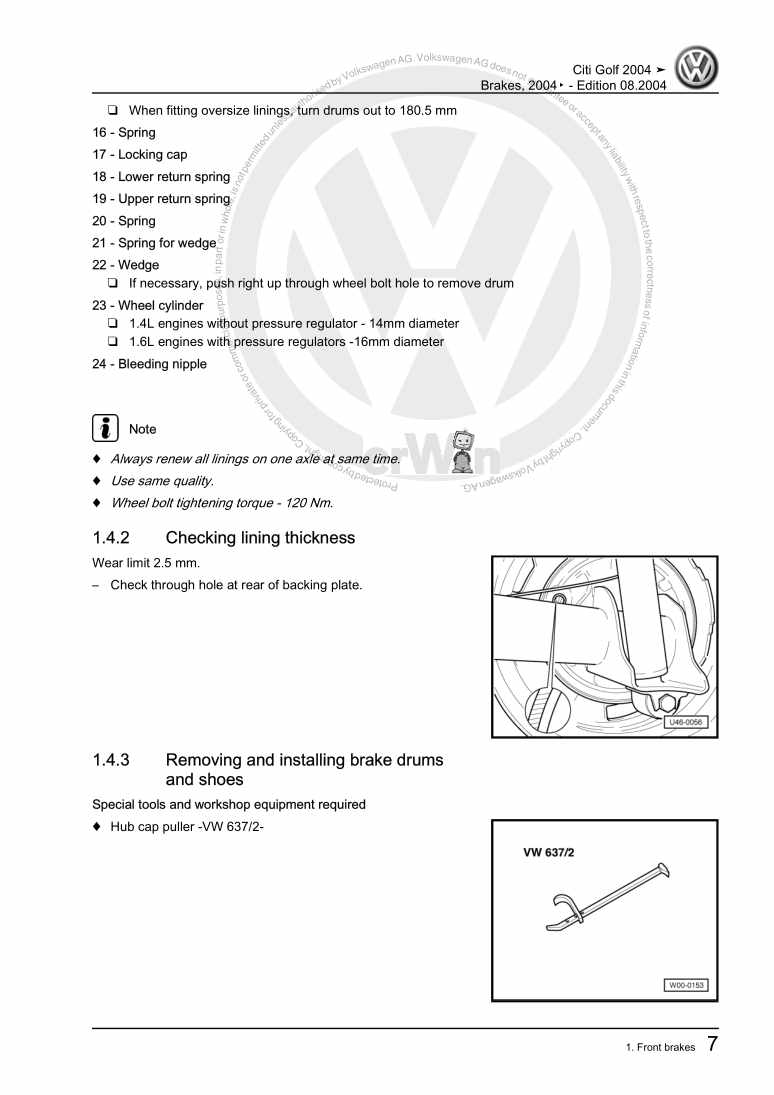
  • Beispielseite für Reparaturanleitung Bodywork, 2006▸
  • Beispielseite für Reparaturanleitung 2 Bodywork, 2006▸
  • Beispielseite für Reparaturanleitung 3 Bodywork, 2006▸

Bodywork, 2006▸

Für Caddy Club / Golf 4-türig Rl

Original VW-Reparaturanleitung


6,23 €inkl. 7% MwSt.

Sofort als Download verfügbar

Sprache: English

Digitale PDF Version

1.537 KB

50 Seiten

Detaillierte technische Daten

Sofort lesbar

Diese Reparaturanleitung umfasst: Bonnet, Tailgate, Rear door, Front bumper, Painting of Citi Golf polypropylene bumpers, Exterior equipment, Sill panel trims, Compartments, covers and trim und Inspecting seat belts. Mehr anzeigen
Sichere Zahlung per PayPal, Kreditkarte, Lastschrift, Sofort-Überweisung oder Giropay
PayPal Logo SEPA Lastschrift Logo Giropay Logo Sofort Überweisung Logo

Reparaturanleitung Caddy Club / Golf 4-türig Rl Bodywork, 2006▸ pdf Download mit dem Inhalt:

Kapitelübersicht

  • Bonnet, Tailgate
    1
  • 1 Bonnet
    1
  • 2 Tailgate
    2
  • 2.1 Tailgate - exploded view
    2
  • 2.2 Removing and installing gas-strut
    2
  • 2.3 Removing gas from gas-strut
    3
  • 2.4 Adjusting tailgate striker pin
    3
  • Front doors/Door components/Central locking system
    4
  • 1 Front door
    4
  • 1.1 Front door - exploded view
    4
  • 1.2 Removing and installing door
    5
  • 1.3 Removing and installing door check strap
    5
  • 1.4 Removing and installing door lock
    6
  • 1.5 Removing and installing window lifter and door window
    6
  • 1.6 Installing expanding nuts and clip for armrest
    7
  • 1.7 Removing and installing outer door handle
    8
  • 1.8 Removing and installing central locking pump
    8
  • 2.1 Coding of the remote controls
    9
  • 2.2 Selectable options
    9
  • 3.1 Procedure to put alarm in an unarmed state
    11
  • 3.2 Coding procedure for remote control transmitters
    11
  • 3.3 Selectable options
    12
  • Rear doors/Door components
    14
  • 1 Rear door
    14
  • 1.1 Rear door - exploded view
    14
  • 1.2 Removing and installing outer door handle
    15
  • 1.3 Removing and installing door lock
    16
  • 1.4 Removing and installing central locking pump
    16
  • 1.5 Removing and installing guide rail
    16
  • 1.6 Removing and installing check flap
    17
  • 1.7 Removing and installing door
    17
  • 1.8 Stiff window winder operation
    17
  • Bumpers
    19
  • 1 Front bumper
    19
  • 1.1 Front bumper- exploded view
    19
  • 1.2 Removing and installing front bumper
    20
  • 2 Rear bumper
    21
  • 2.1 Rear bumper- exploded view
    21
  • 2.2 Removing and installing rear bumper
    21
  • 3 Painting of Citi Golf polypropylene bumpers
    22
  • 3.1 Facilities and equipment
    22
  • 3.2 Process materials
    22
  • 3.3 Process sequence
    22
  • Exterior equipment
    23
  • 1 Exterior equipment
    23
  • 1.1 Removing and installing radiator grille
    23
  • 1.2 Removing and installing door mirror
    23
  • Interior equipment
    24
  • 1 Interior mirror
    24
  • 1.1 Removing and installing interior mirror
    24
  • 1.2 Bonding retaining plate for interior mirror
    24
  • 2 Sill panel trims
    26
  • 2.1 Removing and installing sill panel trim
    26
  • 3 Compartments, covers and trim
    27
  • 3.1 Removing and installing centre console, handbrake lever grip and trim
    27
  • 3.2 Removing and installing driver's side compartment
    28
  • 3.3 Removing and installing glove box
    28
  • 3.4 Removing and installing cupholder
    28
  • 3.5 Removing and installing side dash cover
    29
  • 3.6 Removing and installing sunvisor
    29
  • Passenger protection
    30
  • 1 Front seat belts
    30
  • 1.1 Front seat belt - exploded view
    30
  • 1.2 Removing and installing front seat belts
    30
  • 1.3 Removing front belt latch
    31
  • 2 Rear seat belts
    32
  • 2.1 Removing and installing rear seat belts
    32
  • 3 Inspecting seat belts
    33
  • 3.1 Checking webbing strap
    33
  • 3.2 Checking inertia reel (locking effect)
    34
  • 3.3 Belt latch - Functional check
    34
  • 3.4 Checking securing parts and anchorage points
    35
  • Trim/Insulation
    36
  • 1 Trim
    36
  • 1.1 Removing and installing dash panel
    36
  • 1.2 Removing and installing front door trim panel
    38
  • 1.3 Removing and installing rear door trim panel
    39
  • Seat frames
    40
  • 1 Front seat
    40
  • 1.1 Front seat base - exploded view
    40
  • 1.2 Front seat backrest - exploded view
    41
  • 1.3 Front seat headrest - exploded view
    42
  • 1.4 Removing and installing front seat
    42
  • 1.5 Removing and installing front seat backrest
    43
  • 2 Rear seat
    44
  • 2.1 Rear seat base - exploded view
    44
  • 2.2 Rear seat backrest - exploded view
    45
  • 2.3 Removing and installing rear seat
    45
  • 2.4 Removing and installing rear seat backrest
    46
Hersteller­bezeichnung Bodywork, 2006▸
Hersteller Volkswagen
Passend für Caddy Club / Golf 4-türig Rl (1974 - 2007)
Passende Autotypen 174
Kategorie Reparaturanleitung

Im Moment sind noch keine Bewertungen für dieses Produkt vorhanden.

Ähnliche Reparaturanleitungen

Electrical system, 2007▸
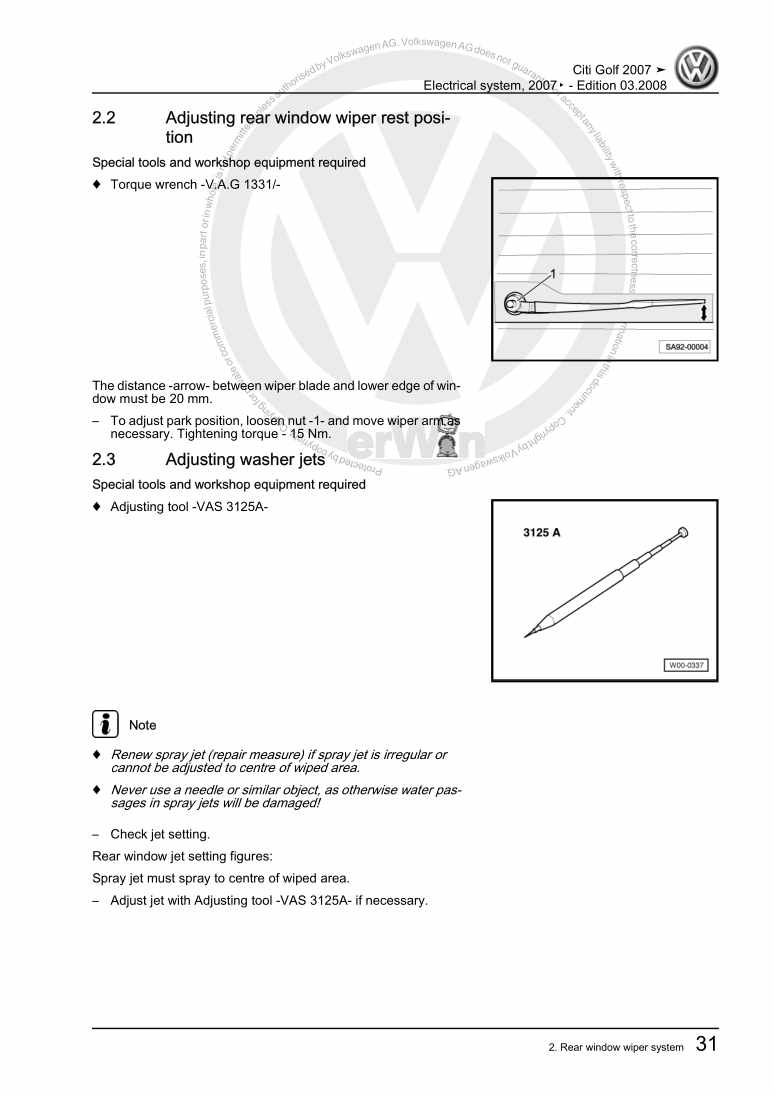
Beispielseite für Reparaturanleitung Electrical system, 2007▸

Für Caddy Club / Golf 4-türig Rl (1974 - 2007)

7,00 € Details

Bodywork, 2004▸

Beispielseite für Reparaturanleitung Bodywork, 2004▸

Für Caddy Club / Golf 4-türig Rl (1974 - 2007)

5,84 € Details

4 Cylinder Fuel injection Engine Mechanics (1.6L & 1.4L), 2008▸
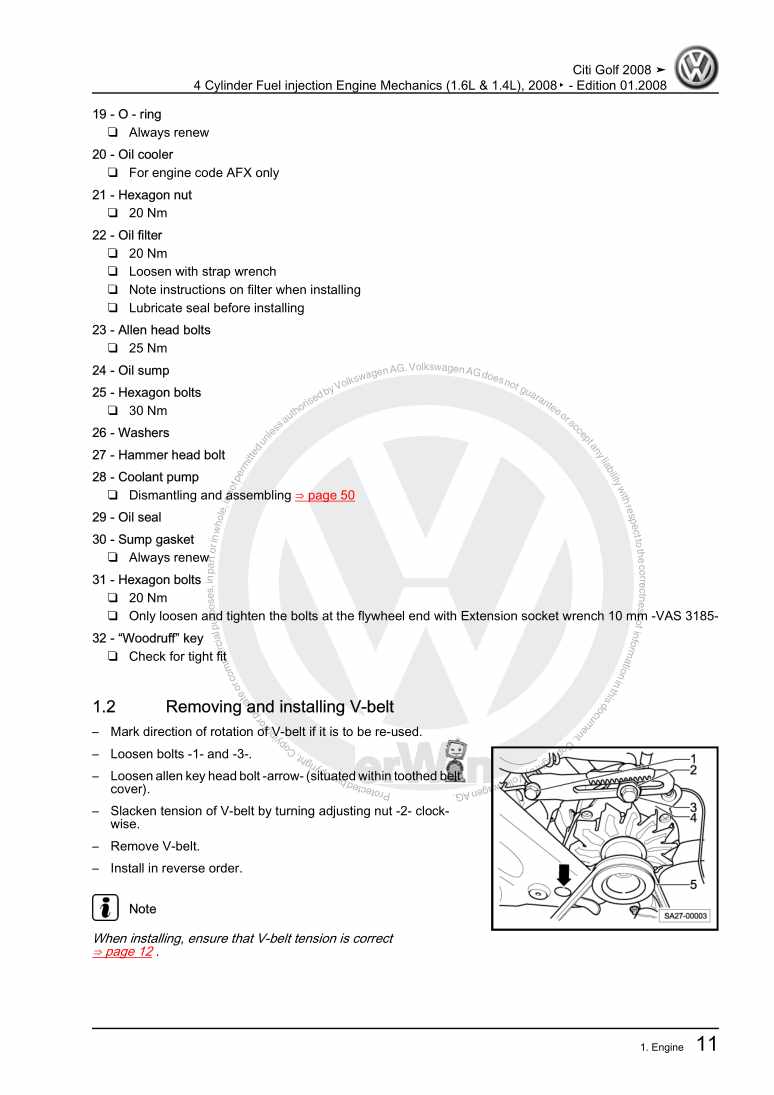
Beispielseite für Reparaturanleitung 4 Cylinder Fuel injection Engine Mechanics (1.6L & 1.4L), 2008▸

Für Caddy Club / Golf 4-türig Rl (1974 - 2007)

9,08 € Details

Bodywork, 2009▸

Beispielseite für Reparaturanleitung Bodywork, 2009▸

Für Caddy Club / Golf 4-türig Rl (1974 - 2007)

6,58 € Details

Electrical system, 2004▸

Beispielseite für Reparaturanleitung Electrical system, 2004▸

Für Caddy Club / Golf 4-türig Rl (1974 - 2007)

7,07 € Details

Basic equipment, (EU2), From January 2008
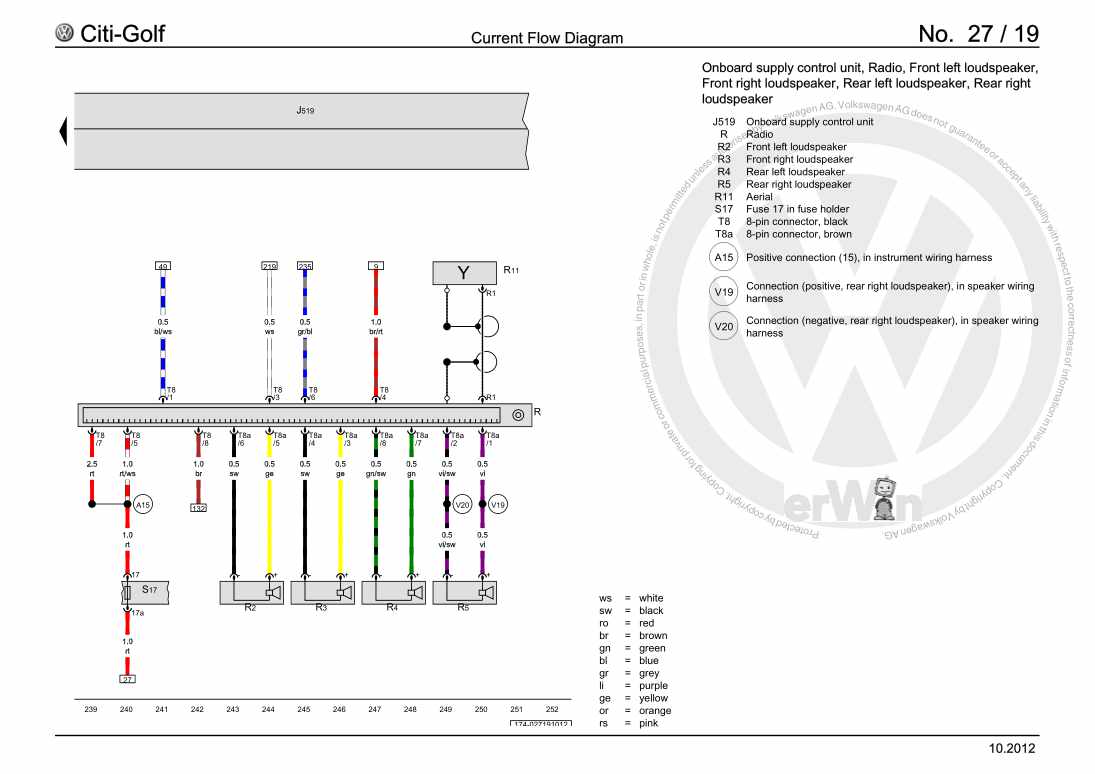
Beispielseite für Reparaturanleitung Basic equipment, (EU2), From January 2008

Für Caddy Club / Golf 4-türig Rl (1974 - 2007)

10,12 € Details

4 Cylinder Carburettor Engine Mechanics (1.4L), 2007▸
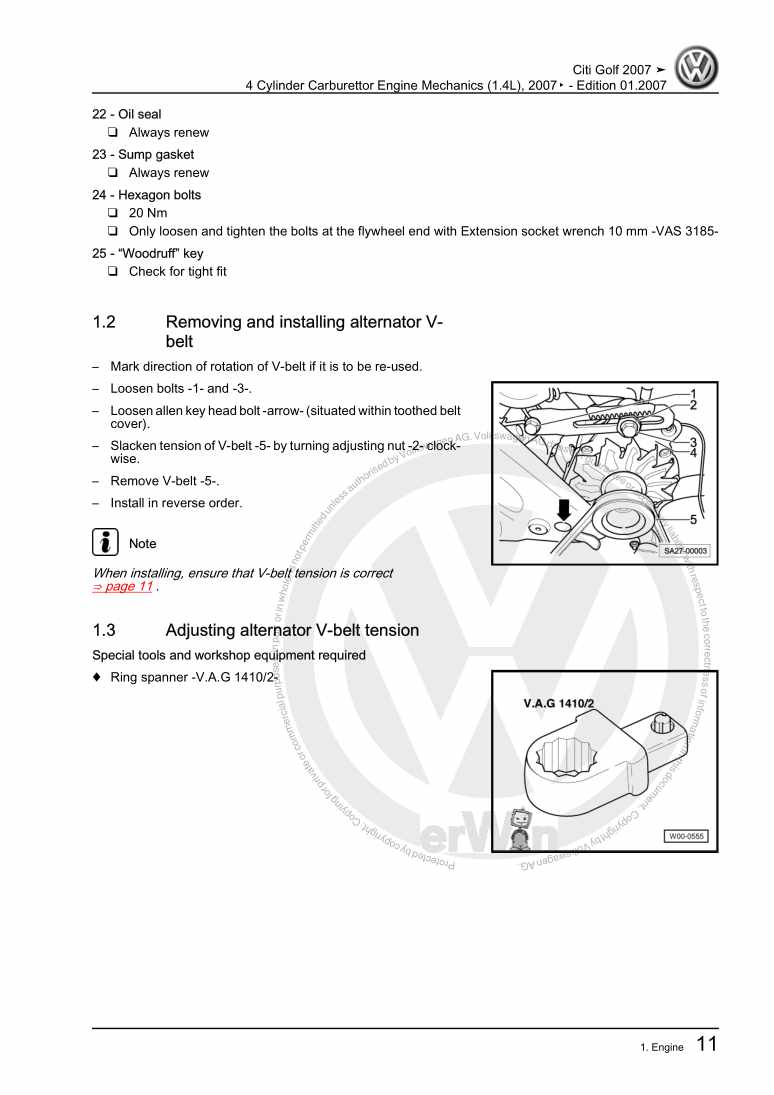
Beispielseite für Reparaturanleitung 4 Cylinder Carburettor Engine Mechanics (1.4L), 2007▸

Für Caddy Club / Golf 4-türig Rl (1974 - 2007)

8,48 € Details

4 Cylinder Fuel injection Engine Mechanics (1.6L & 1.4L), 2004▸
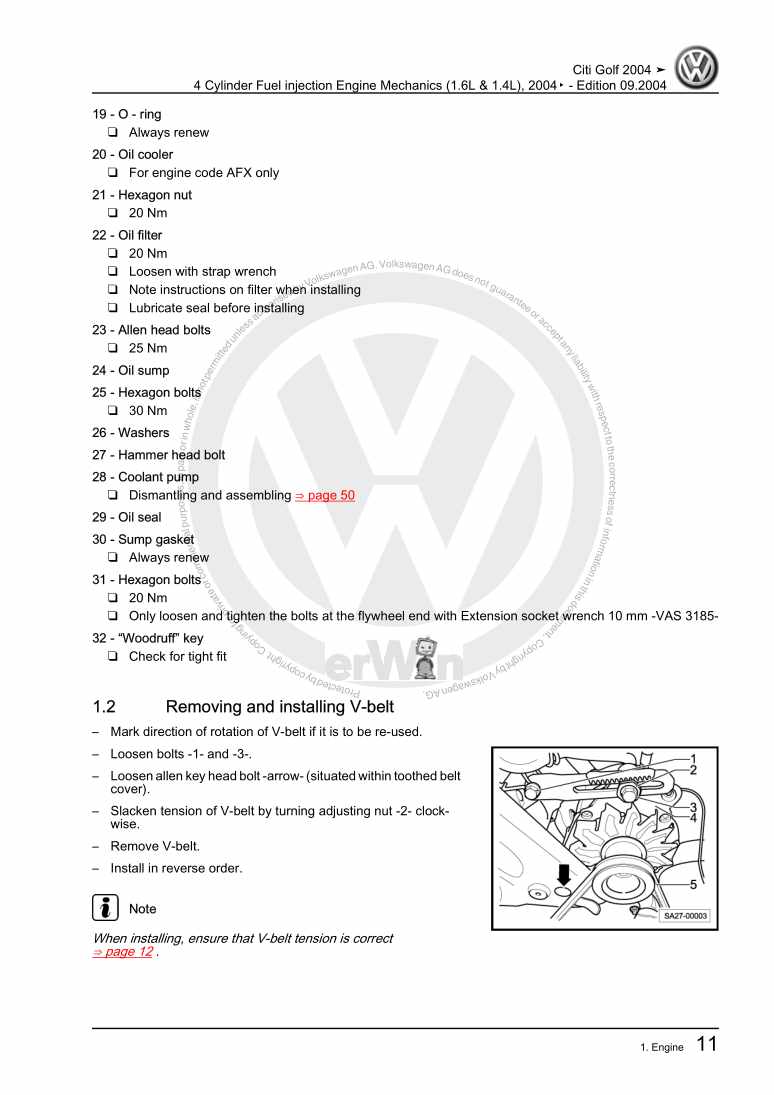
Beispielseite für Reparaturanleitung 4 Cylinder Fuel injection Engine Mechanics (1.6L & 1.4L), 2004▸

Für Caddy Club / Golf 4-türig Rl (1974 - 2007)

8,75 € Details

Brakes, 2004▸

Beispielseite für Reparaturanleitung Brakes, 2004▸

Für Caddy Club / Golf 4-türig Rl (1974 - 2007)

5,16 € Details

Heating, 2006▸

Beispielseite für Reparaturanleitung Heating, 2006▸

Für Caddy Club / Golf 4-türig Rl (1974 - 2007)

4,51 € Details

Unsere Best Seller

Schon gewusst? Wir bieten auch originale Autoteile an.

Autoteil D177500A1 Glasprimer

D177500A1

Glasprimer

73,63 €

Details
Autoteil N10220404 Schraube

N10220404

Schraube

5,06 €

Details
Autoteil 4G8805607 Aufnahme

4G8805607

Aufnahme

34,69 €

Details
Autoteil 171823395 Gummilager

171823395

Gummilager

4,52 €

Details
Autoteil N10700001 Schraube

N10700001

Schraube

3,63 €

Details

Verteilergetriebe und Achsantriebe

Beispielseite für Reparaturanleitung Verteilergetriebe und Achsantriebe

Für Touareg (2003 - 2007)

12,83 € Details

Heizung, Klimaanlage

Beispielseite für Reparaturanleitung Heizung, Klimaanlage

Für Caddy (2004 - 2010) / Caddy KA / Caddy Maxi (2011)

12,76 € Details

Eigendiagnose für Automatisches Getriebe 09A - 5 Gang

Beispielseite für Reparaturanleitung Eigendiagnose für Automatisches Getriebe 09A - 5 Gang

Für Bora / Bora Variant / Golf / Golf Variant (1998 - 2006)

6,00 € Details

image/svg+xml Über Clonck

Originale Reparaturanleitungen und Ersatzteile

Unsere Reparaturanleitungen sind Originale, kommen direkt von Volkswagen und erfüllen die höchsten Qualitätsstandards.

In unserem Originalteile-Shop verkaufen wir hochwertige Originalersatzteile der Fahrzeughersteller. Mithilfe der Suche gibst du die gewünschte Teilenummer (OE-Nummer) ein und bestellst schnell und einfach das benötigte Ersatzteil.

Höchste Qualitätsstandards

Bei Clonck wollen wir Autoschrauber und Kfz-Profis glücklich machen. Aus diesem Grund findest du bei Clonck ausschließlich professionelle und hochwertige Reparaturanleitungen, mit deren Hilfe du dein Fahrzeug fachgerecht reparieren kannst.

Unsere Partner

Autohaus Schmidt GmbH
Automag GmbH Filiale Laim
KFZ-VERLAG GmbH
Zimpel und Franke GmbH

Clonck: Der Autoreparatur-Shop - gibt's auch als App!

Clonck App Logo Play Store

Clonck: Passende Autoteile für deine Autoreparatur

4,5 90

Mit Clonck bestellst du die richtigen Originalersatzteile im Handumdrehen.

  • Fahrzeugmodell hinzufügen
  • Baugruppe auswählen
  • Fahrzeug-Identifizierungsnummer (FIN) eingeben
  • Über 5.000 originale Reparaturanleitungen einsehen
Jetzt App starten
Clonck App Preview Auto Mobiltelefon Autoteile