DER AUTOREPARATUR-SHOP
0
Home » Anleitungen » Body Repairs
  • Beispielseite für Reparaturanleitung Body Repairs
  • Beispielseite für Reparaturanleitung 2 Body Repairs
  • Beispielseite für Reparaturanleitung 3 Body Repairs
  • Beispielseite für Reparaturanleitung Body Repairs
  • Beispielseite für Reparaturanleitung 2 Body Repairs
  • Beispielseite für Reparaturanleitung 3 Body Repairs

Body Repairs

Für Scirocco

Original VW-Reparaturanleitung


22,54 €inkl. 7% MwSt.

  • Deutsch
  • English

Sofort als Download verfügbar

Sprache: English

Digitale PDF Version

25.051 KB

283 Seiten

Detaillierte technische Daten

Sofort lesbar

Diese Reparaturanleitung umfasst: Renewing right bracket, Renewing upper wheel housing longitudinal member und Renewing front roof cross member - models with panorama tilting sunroof. Mehr anzeigen
Sichere Zahlung per PayPal, Kreditkarte, Lastschrift, Sofort-Überweisung oder Giropay
PayPal Logo SEPA Lastschrift Logo Giropay Logo Sofort Überweisung Logo

Reparaturanleitung Scirocco Body Repairs pdf Download mit dem Inhalt:

Kapitelübersicht

  • Technical data
    1
  • 1 Vehicle identification data
    1
  • 1.1 Vehicle identification number
    1
  • 1.2 Identification plate
    2
  • 1.3 Vehicle data sticker
    2
  • 2 Safety instructions
    3
  • 3 Moulded foam elements
    4
  • 5 Laser welding
    10
  • 6 Gaps/shut lines
    11
  • 6.1 Body - front
    11
  • 6.2 Body - rear
    13
  • 7 Body dimensions
    14
  • 7.1 Body - front
    14
  • 7.2 Body - centre
    17
  • 7.3 Body - rear
    21
  • 7.4 Floor group - front
    24
  • 7.5 Floor group - centre
    26
  • 7.6 Floor group - rear
    27
  • 8 Alignment bracket set
    30
  • 8.1 Overview
    30
  • 9 Portal gauge
    31
  • 9.1 Overview - portal gauge
    31
  • Body - front
    32
  • 1 Renewing right bracket
    32
  • 1.1 Tools
    32
  • 1.2 Removing
    32
  • 1.3 Installing
    34
  • 2 Renewing left console
    36
  • 2.1 Tools
    36
  • 2.2 Removing
    36
  • 2.3 Installing
    39
  • 3 Renewing retaining bracket for subframe
    42
  • 3.1 Tools
    42
  • 3.2 Removing
    42
  • 3.3 Installing
    43
  • 4 Renewing bumper bracket
    46
  • 4.1 Tools
    46
  • 4.2 Removing
    46
  • 4.3 Installing
    48
  • 5 Renewing upper wheel housing longitudinal member
    50
  • 5.1 Tools
    51
  • 5.2 Removing
    51
  • 5.3 Installing
    53
  • 6 Renewing front wheel housing
    58
  • 6.1 Tools
    59
  • 6.2 Removing
    59
  • 6.3 Installing
    61
  • 7 Renewing front longitudinal member
    69
  • 7.1 Tools
    70
  • 7.2 Removing
    70
  • 7.3 Installing
    72
  • 8 Renewing front longitudinal member - part section
    77
  • 8.1 Tools
    77
  • 8.2 Removing
    77
  • 8.3 Installing
    79
  • 9 Repairing threads for securing subframe
    81
  • 9.1 Tools
    82
  • 9.2 Contents of thread repair kit
    82
  • 9.3 Repairing threads
    83
  • Body - centre
    86
  • 1 Renewing roof - vehicles with no panorama tilting sunroof
    86
  • 1.1 Tools
    87
  • 1.2 Removing
    88
  • 1.3 Installing
    90
  • 2 Renewing roof - vehicles with panorama tilting sunroof
    102
  • 2.1 Tools
    103
  • 2.2 Removing
    104
  • 2.3 Installing
    106
  • 3 Renewing roof side member
    118
  • 3.1 Tools
    119
  • 3.2 Removing
    119
  • 3.3 Installing
    121
  • 4.1 Tools
    127
  • 4.2 Removing
    127
  • 4.3 Installing
    128
  • 5 Renewing front roof cross member - models with panorama tilting sunroof
    130
  • 5.1 Tools
    131
  • 5.2 Removing
    131
  • 5.3 Installing
    132
  • 6 Renewing roof reinforcing - vehicles with panorama tilting sunroof
    134
  • 6.1 Tools
    135
  • 6.2 Removing
    135
  • 6.3 Installing
    136
  • 7 Renewing rear roof cross member
    138
  • 7.1 Tools
    139
  • 7.2 Removing
    139
  • 7.3 Installing
    140
  • 8 Renewing A-pillar
    142
  • 8.1 Tools
    143
  • 8.2 Removing
    143
  • 8.3 Installing
    146
  • 9 Renewing A-pillar reinforcement
    153
  • 9.1 Tools
    154
  • 9.2 Removing
    154
  • 9.3 Installing
    155
  • 10 Renewing inner B-pillar
    161
  • 10.1 Tools
    162
  • 10.2 Removing
    162
  • 10.3 Installing
    163
  • 11 Renewing B-pillar reinforcement
    166
  • 11.1 Tools
    167
  • 11.2 Removing
    168
  • 11.3 Installing
    169
  • 12 Renewing outer side member
    177
  • 12.1 Tools
    178
  • 12.2 Removing
    178
  • 12.3 Installing
    179
  • 13 Renewing outer mounting for seat outer cross member
    184
  • 13.1 Tools
    185
  • 13.2 Removing
    186
  • 13.3 Installing
    187
  • 14 Renewing inner mounting for seat inner cross member
    190
  • 14.1 Tools
    191
  • 14.2 Removing
    192
  • 14.3 Installing
    193
  • 15 Renewing front side member reinforcement
    196
  • 15.1 Tools
    197
  • 15.2 Removing
    197
  • 15.3 Installing
    198
  • 16 Renewing rear side member reinforcement
    202
  • 16.1 Tools
    203
  • 16.2 Removing
    203
  • 16.3 Installing
    204
  • 17 Renewing seat middle cross member
    208
  • 17.1 Tools
    209
  • 17.2 Removing
    209
  • 17.3 Installing
    210
  • Body - rear
    213
  • 1 Renewing rear cross panel
    213
  • 1.1 Tools
    214
  • 1.2 Removing
    214
  • 1.3 Installing
    216
  • 2 Renewing tail light mounting
    219
  • 2.1 Tools
    220
  • 2.2 Removing
    220
  • 2.3 Installing
    221
  • 3 Renewing lower corner part
    224
  • 3.1 Tools
    225
  • 3.2 Removing
    225
  • 3.3 Installing
    226
  • 4 Renewing sealing channel - part section
    229
  • 4.1 Tools
    230
  • 4.2 Removing
    230
  • 4.3 Installing
    231
  • 5 Renewing cross panel member
    234
  • 5.1 Tools
    235
  • 5.2 Removing
    235
  • 5.3 Installing
    236
  • 6 Renewing lower C-pillar reinforcement
    239
  • 6.1 Tools
    240
  • 6.2 Removing
    241
  • 6.3 Installing
    242
  • 7 Renewing rear longitudinal member - part section
    245
  • 7.1 Tools
    246
  • 7.2 Removing
    247
  • 7.3 Installing
    248
  • 8 Renewing side panel - part section
    251
  • 8.1 Tools
    252
  • 8.2 Removing
    252
  • 8.3 Renewing sealing plate for side panel
    255
  • 8.4 Installing
    259
  • 9 Renewing outer wheel housing
    265
  • 9.1 Tools
    266
  • 9.2 Removing
    266
  • 9.3 Installing
    267
  • 10 Renewing rear part of luggage compartment floor
    272
  • 10.1 Tools
    273
  • 10.2 Removing
    273
  • 10.3 Installing
    274
Hersteller­bezeichnung Body Repairs
Hersteller Volkswagen
Passend für Scirocco (2008)
Passende Autotypen 137
Kategorie Reparaturanleitung

Im Moment sind noch keine Bewertungen für dieses Produkt vorhanden.

Ähnliche Reparaturanleitungen

General body repairs, exterior

Beispielseite für Reparaturanleitung General body repairs, exterior

Für Scirocco (2008)

21,07 € Details

Running gear, axles, steering

Beispielseite für Reparaturanleitung Running gear, axles, steering

Für Scirocco (2008)

24,51 € Details

Brake systems

Beispielseite für Reparaturanleitung Brake systems

Für Scirocco (2008)

11,75 € Details

General body repairs, interior

Beispielseite für Reparaturanleitung General body repairs, interior

Für Scirocco (2008)

19,87 € Details

Electrical system

Beispielseite für Reparaturanleitung Electrical system

Für Scirocco (2008)

24,31 € Details

Fuel supply system - diesel engines

Beispielseite für Reparaturanleitung Fuel supply system - diesel engines

Für Scirocco (2008)

6,76 € Details

Communication

Beispielseite für Reparaturanleitung Communication

Für Scirocco (2008)

9,56 € Details

Wheels and Tyres Guide

Beispielseite für Reparaturanleitung Wheels and Tyres Guide

Für Scirocco (2008)

5,16 € Details

Fuel supply system, petrol engines

Beispielseite für Reparaturanleitung Fuel supply system, petrol engines

Für Scirocco (2008)

7,00 € Details

Heating, air conditioning

Beispielseite für Reparaturanleitung Heating, air conditioning

Für Scirocco (2008)

9,43 € Details

Unsere Best Seller

Schon gewusst? Wir bieten auch originale Autoteile an.

Autoteil N90978403 Schraube

N90978403

Schraube

4,45 €

Details
Autoteil 4L0898671B Lager

4L0898671B

Lager

58,24 €

Details
Autoteil D177500A1 Glasprimer

D177500A1

Glasprimer

81,04 €

Details
Autoteil 8E0201263G Kuppl.Stck

8E0201263G

Kuppl.Stck

18,47 €

Details
Autoteil 059121113N Kuehlregle

059121113N

Kuehlregle

104,58 €

Details

Eigendiagnose für Automatisches Getriebe 09A - 5 Gang

Beispielseite für Reparaturanleitung Eigendiagnose für Automatisches Getriebe 09A - 5 Gang

Für Bora / Bora Variant / Golf / Golf Variant (1998 - 2006)

6,00 € Details

Nr. 233: 2,0 l-Motor

Beispielseite für Reparaturanleitung Nr. 233: 2,0 l-Motor

5,73 € Details

4-Zyl. Einspritzmotor

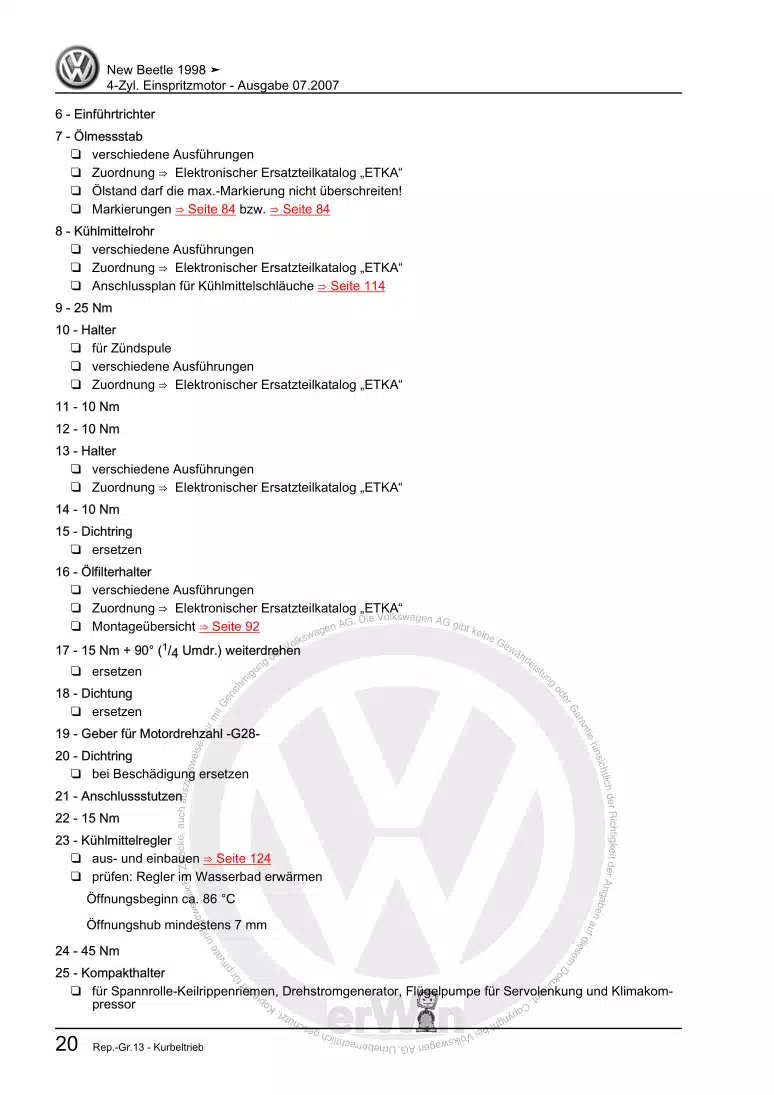
Beispielseite für Reparaturanleitung 4-Zyl. Einspritzmotor

Für New Beetle Cabrio (2003 - 2010) / New Beetle / New Beetle (USA) (1998 - 2007) / New Beetle (Europe) (1999 - 2002)

21,00 € Details

image/svg+xml Über Clonck

Originale Reparaturanleitungen und Ersatzteile

Unsere Reparaturanleitungen sind Originale, kommen direkt von Volkswagen und erfüllen die höchsten Qualitätsstandards.

In unserem Originalteile-Shop verkaufen wir hochwertige Originalersatzteile der Fahrzeughersteller. Mithilfe der Suche gibst du die gewünschte Teilenummer (OE-Nummer) ein und bestellst schnell und einfach das benötigte Ersatzteil.

Höchste Qualitätsstandards

Bei Clonck wollen wir Autoschrauber und Kfz-Profis glücklich machen. Aus diesem Grund findest du bei Clonck ausschließlich professionelle und hochwertige Reparaturanleitungen, mit deren Hilfe du dein Fahrzeug fachgerecht reparieren kannst.

Unsere Partner

Autohaus Schmidt GmbH
Automag GmbH Filiale Laim
KFZ-VERLAG GmbH
Zimpel und Franke GmbH

Clonck: Der Autoreparatur-Shop - gibt's auch als App!

Clonck App Logo Play Store

Clonck: Passende Autoteile für deine Autoreparatur

4,5 90

Mit Clonck bestellst du die richtigen Originalersatzteile im Handumdrehen.

  • Fahrzeugmodell hinzufügen
  • Baugruppe auswählen
  • Fahrzeug-Identifizierungsnummer (FIN) eingeben
  • Über 5.000 originale Reparaturanleitungen einsehen
Jetzt App starten
Clonck App Preview Auto Mobiltelefon Autoteile