DER AUTOREPARATUR-SHOP
0
Home » Anleitungen » 4-cylinder injection engine (2-valve, roller rocker finger)
  • Beispielseite für Reparaturanleitung 4-cylinder injection engine (2-valve, roller rocker finger)
  • Beispielseite für Reparaturanleitung 2 4-cylinder injection engine (2-valve, roller rocker finger)
  • Beispielseite für Reparaturanleitung 3 4-cylinder injection engine (2-valve, roller rocker finger)
  • Beispielseite für Reparaturanleitung 4-cylinder injection engine (2-valve, roller rocker finger)
  • Beispielseite für Reparaturanleitung 2 4-cylinder injection engine (2-valve, roller rocker finger)
  • Beispielseite für Reparaturanleitung 3 4-cylinder injection engine (2-valve, roller rocker finger)

4-cylinder injection engine (2-valve, roller rocker finger)

Für Lupo

Original VW-Reparaturanleitung


11,68 €inkl. 7% MwSt.

  • Deutsch
  • English

Sofort als Download verfügbar

Sprache: English

Digitale PDF Version

2.581 KB

132 Seiten

Detaillierte technische Daten

Sofort lesbar

Diese Reparaturanleitung umfasst: Removing and installing engine, Electronic power control (EPC), Activated charcoal filter system und Checking components. Mehr anzeigen
Sichere Zahlung per PayPal, Kreditkarte, Lastschrift, Sofort-Überweisung oder Giropay
PayPal Logo SEPA Lastschrift Logo Giropay Logo Sofort Überweisung Logo

Reparaturanleitung Lupo 4-cylinder injection engine pdf Download mit dem Inhalt:

Kapitelübersicht

  • Technical data
    1
  • 1 Technical data
    1
  • 1.1 Engine number
    1
  • 1.2 Engine data
    1
  • Removing and installing engine
    2
  • 1 Removing and installing engine
    2
  • 1.1 Notes on removing
    3
  • 1.2 Securing engine to assembly stand
    5
  • 1.3 Notes on installing
    5
  • 1.4 Specified torques
    7
  • 1.5 Assembly mountings
    7
  • 1.6 Additional information and assembly work for vehicles with air conditioner
    8
  • Crankshaft group
    9
  • 1 Dismantling and assembling engine
    9
  • 1.1 Part I: assembly overview - toothed belt drive
    10
  • 1.2 Part II: assembly overview - cylinder block
    11
  • 1.3 Removing and installing poly V-belt
    12
  • 2 Removing and installing cylinder block, sealing flange and flywheel
    15
  • 2.1 Assembly overview - aluminium cylinder block
    15
  • 2.2 Renewing crankshaft oil seal - belt pulley end
    17
  • 2.3 Renewing crankshaft sealing flange - flywheel end
    18
  • 2.4 Crankshaft dimensions
    26
  • 3 Dismantling and assembling pistons and conrods
    28
  • 3.1 Assembly overview
    28
  • 3.2 Piston and cylinder dimensions
    31
  • Cylinder head, valve gear
    32
  • 1 Dismantling and assembling cylinder head
    32
  • 1.1 Assembly overview
    32
  • 1.2 Removing, installing and tensioning toothed belt
    35
  • 1.3 Checking semi-automatic toothed belt tensioning roller
    37
  • 1.4 Removing and installing cylinder head
    39
  • 1.5 Checking compression
    44
  • 2 Repairing valve gear
    47
  • 2.1 Assembly overview
    47
  • 2.2 Reworking valve seats
    49
  • 2.3 Renewing camshaft oil seal
    51
  • 2.4 Removing and installing cylinder head cover and camshaft
    52
  • 2.5 Checking valve guides
    55
  • 2.6 Renewing valve stem seals
    56
  • Lubrication
    59
  • 1 Removing and installing parts of lubrication system
    59
  • 1.1 Engine oil
    59
  • 1.2 Assembly overview
    59
  • 1.3 Removing and installing oil sump
    61
  • 1.4 Removing and installing oil pump
    63
  • 1.5 Checking oil pressure and oil pressure switch
    66
  • Cooling
    69
  • 1 Removing and installing parts of cooling system
    69
  • 1.1 Assembly overview - parts of cooling system, body side
    69
  • 1.2 Assembly overview - parts of cooling system, engine side
    71
  • 1.3 Coolant hose schematic diagram
    73
  • 1.4 Draining and filling coolant
    74
  • 1.5 Removing and installing radiator
    76
  • 1.6 Checking cooling system for leaks
    77
  • Fuel supply system
    79
  • 1 Removing and installing parts of fuel supply system
    79
  • 1.2 Safety precautions when working on fuel supply system
    81
  • 1.3 Rules for cleanliness
    82
  • 1.4 Crash fuel shut-off
    82
  • 1.5 Removing and installing fuel delivery unit
    82
  • 1.6 Removing and installing fuel tank
    84
  • 1.7 Checking fuel pump
    85
  • 2 Electronic power control (EPC)
    92
  • 2.1 Assembly overview
    92
  • 2.2 Function of EPC system
    92
  • 3 Activated charcoal filter system
    94
  • 3.1 Function
    94
  • 3.2 Assembly overview - repairing activated charcoal filter system components
    94
  • 3.3 Checking fuel tank breather
    95
  • Mixture preparation - injection
    98
  • 1 Repairing injection system
    98
  • 1.1 General notes on injection
    98
  • 1.2 Safety precautions
    98
  • 1.3 Rules for cleanliness
    99
  • 1.4 Technical data
    100
  • 1.5 Assembly overview - dismantling and assembling intake manifold
    100
  • 1.6 Assembly overview - dismantling and assembling fuel rail with injectors
    102
  • 1.7 Assembly overview - dismantling and assembling air filter housing
    102
  • 1.8 Cleaning throttle valve module J338
    104
  • 2 Checking components
    106
  • 2.1 Checking intake air preheating
    106
  • 2.2 Check injectors for spray pattern and leakage
    106
  • 2.3 Checking injection rate of injectors
    109
  • 2.4 Checking fuel pressure regulator and holding pressure
    112
  • 2.5 Checking vacuum valve
    115
  • 3 Engine control unit
    117
  • 3.1 Removing and installing engine control unit
    117
  • 3.2 Adapting function and components
    117
  • 3.3 Reading and erasing engine control unit fault memory
    118
  • Exhaust system
    120
  • 1 Removing and installing parts of exhaust system
    120
  • 1.2 Assembly overview - silencer with mountings
    122
  • 2 Exhaust gas recirculation system
    123
  • 2.1 Assembly overview - repairing parts of exhaust gas recirculation system
    123
  • Ignition system
    124
  • 1 Repairing ignition system
    124
  • 1.1 General notes on ignition system
    124
  • 1.2 Assembly overview - ignition system components
    124
  • 1.3 Safety precautions
    125
  • 1.4 Test data, spark plugs
    126
Hersteller­bezeichnung 4-cylinder injection engine (2-valve, roller rocker finger)
Hersteller Volkswagen
Passend für Lupo (1998 - 2006)
Passende Autotypen 6X
Motor­kennbuchstaben ANV, AUC, AUD
Kategorie Reparaturanleitung

Im Moment sind noch keine Bewertungen für dieses Produkt vorhanden.

Ähnliche Reparaturanleitungen

3-cylinder diesel engine (cast-iron cylinder block)

Beispielseite für Reparaturanleitung 3-cylinder diesel engine (cast-iron cylinder block)

Für Lupo (1998 - 2006)

15,09 € Details

Motronic injection and ignition system (bucket tappets)

Beispielseite für Reparaturanleitung Motronic injection and ignition system (bucket tappets)

Für Lupo (1998 - 2006)

10,12 € Details

4-cyl. fuel injection engine (bucket tappets), Mechanics

Beispielseite für Reparaturanleitung 4-cyl. fuel injection engine (bucket tappets), Mechanics

Für Lupo (1998 - 2006)

10,61 € Details

5-speed manual gearbox 085

Beispielseite für Reparaturanleitung 5-speed manual gearbox 085

Für Lupo (1998 - 2006)

14,80 € Details

4-cyl. fuel injection engine (bucket tappets), Mechanics

Beispielseite für Reparaturanleitung 4-cyl. fuel injection engine (bucket tappets), Mechanics

Für Lupo (1998 - 2006)

10,12 € Details

Brake systems

Beispielseite für Reparaturanleitung Brake systems

Für Lupo (1998 - 2006)

9,22 € Details

5-speed manual gearbox 002

Beispielseite für Reparaturanleitung 5-speed manual gearbox 002

Für Lupo (1998 - 2006)

11,75 € Details

Automatic gearbox 001

Beispielseite für Reparaturanleitung Automatic gearbox 001

Für Lupo (1998 - 2006)

18,44 € Details

4-cyl. diesel engine Mechanics

Beispielseite für Reparaturanleitung 4-cyl. diesel engine Mechanics

Für Lupo (1998 - 2006)

11,89 € Details

Automatic gearbox 001 self-diagnosis

Beispielseite für Reparaturanleitung Automatic gearbox 001 self-diagnosis

Für Lupo (1998 - 2006)

6,00 € Details

Unsere Best Seller

Schon gewusst? Wir bieten auch originale Autoteile an.

Autoteil ASE44726700000 Bloecke

ASE44726700000

Bloecke

483,76 €

Details
Autoteil 5NB857189GHZG Blende

5NB857189GHZG

Blende

327,15 €

Details
Autoteil 5N0941607 Kappe

5N0941607

Kappe

25,40 €

Details
Autoteil 5GM819728DDAR Ausstroem.

5GM819728DDAR

Ausstroem.

190,89 €

Details
Autoteil 8E0972112A Gehaeuse

8E0972112A

Gehaeuse

10,21 €

Details

4-Zyl. Einspritzmotor

Beispielseite für Reparaturanleitung 4-Zyl. Einspritzmotor

Für New Beetle Cabrio (2003 - 2010) / New Beetle / New Beetle (USA) (1998 - 2007) / New Beetle (Europe) (1999 - 2002)

21,00 € Details

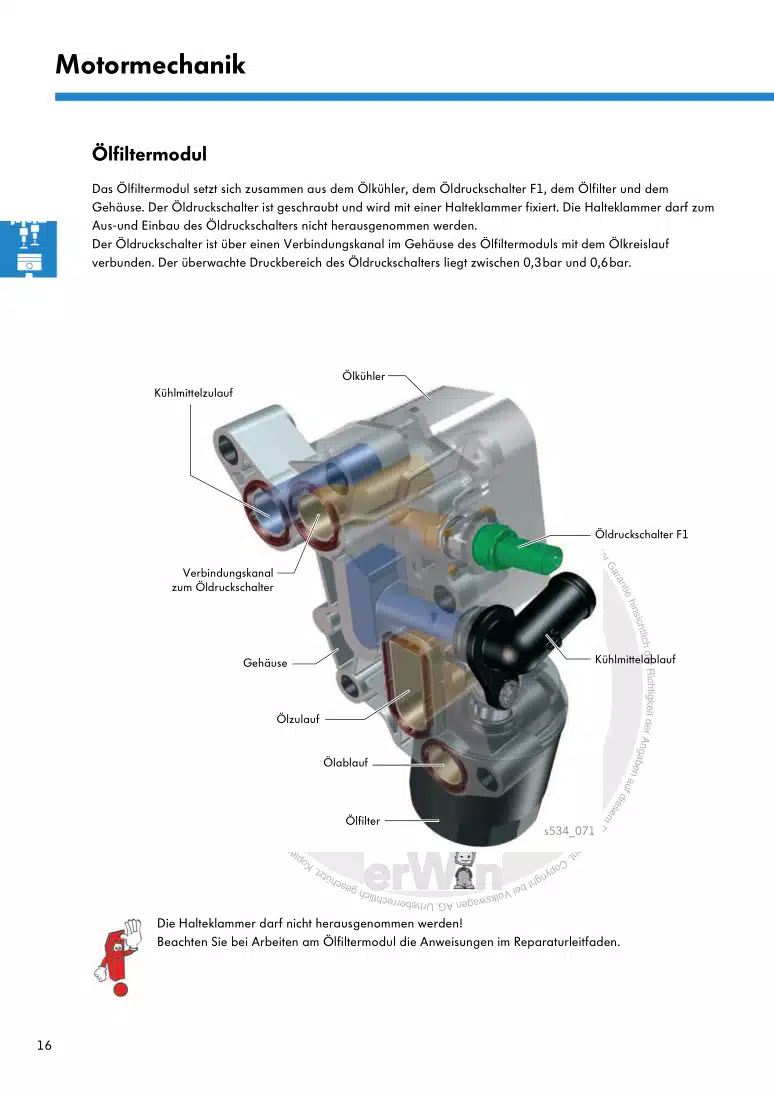
Nr. 534: Der 1,4 l-3-Zylinder-TDI-Motor der Dieselmotoren-Baureihe EA288
Beispielseite für Reparaturanleitung Nr. 534: Der 1,4 l-3-Zylinder-TDI-Motor der Dieselmotoren-Baureihe EA288

5,89 € Details

4-Zyl.-Dieselmotor (1,5- und 1,6 l-Motor) 068.2 / 068.5 / 068.A / ADK

Beispielseite für Reparaturanleitung 4-Zyl.-Dieselmotor (1,5- und 1,6 l-Motor) 068.2 / 068.5 / 068.A / ADK

Für Industriemotoren - Industrial Engines ()

8,15 € Details

image/svg+xml Über Clonck

Originale Reparaturanleitungen und Ersatzteile

Unsere Reparaturanleitungen sind Originale, kommen direkt von Volkswagen und erfüllen die höchsten Qualitätsstandards.

In unserem Originalteile-Shop verkaufen wir hochwertige Originalersatzteile der Fahrzeughersteller. Mithilfe der Suche gibst du die gewünschte Teilenummer (OE-Nummer) ein und bestellst schnell und einfach das benötigte Ersatzteil.

Höchste Qualitätsstandards

Bei Clonck wollen wir Autoschrauber und Kfz-Profis glücklich machen. Aus diesem Grund findest du bei Clonck ausschließlich professionelle und hochwertige Reparaturanleitungen, mit deren Hilfe du dein Fahrzeug fachgerecht reparieren kannst.

Unsere Partner

Autohaus Schmidt GmbH
Automag GmbH Filiale Laim
KFZ-VERLAG GmbH
Zimpel und Franke GmbH

Clonck: Der Autoreparatur-Shop - gibt's auch als App!

Clonck App Logo Play Store

Clonck: Passende Autoteile für deine Autoreparatur

4,5 90

Mit Clonck bestellst du die richtigen Originalersatzteile im Handumdrehen.

  • Fahrzeugmodell hinzufügen
  • Baugruppe auswählen
  • Fahrzeug-Identifizierungsnummer (FIN) eingeben
  • Über 5.000 originale Reparaturanleitungen einsehen
Jetzt App starten
Clonck App Preview Auto Mobiltelefon Autoteile