DER AUTOREPARATUR-SHOP
0
Home » Anleitungen » 4-cylinder direct injection engine (1.2 l engine, 2V, EA 111, turbocharger)
  • Beispielseite für Reparaturanleitung 4-cylinder direct injection engine (1.2 l engine, 2V, EA 111, turbocharger)
  • Beispielseite für Reparaturanleitung 2 4-cylinder direct injection engine (1.2 l engine, 2V, EA 111, turbocharger)
  • Beispielseite für Reparaturanleitung 3 4-cylinder direct injection engine (1.2 l engine, 2V, EA 111, turbocharger)

4-cylinder direct injection engine (1.2 l engine, 2V, EA 111, turbocharger)

Für Touran / Golf / Golf Plus / Polo A05 / Golf Cabriolet

Original VW-Reparaturanleitung


21,98 €inkl. 7% MwSt.

  • Deutsch
  • English

Sofort als Download verfügbar

Sprache: English

Digitale PDF Version

23.900 KB

275 Seiten

Detaillierte technische Daten

Sofort lesbar

Diese Reparaturanleitung umfasst: Removing and installing engine, Assembly mountings, Cylinder block (pulley end), Crankshaft, Pistons and conrods, Valve gear, Cover for timing chain, Chain drive, Sump, oil pump, Oil filter, oil pressure switch, Engine oil cooler, Coolant pump, regulation of cooling system, Radiator, radiator fan und Exhaust turbocharger. Mehr anzeigen
Sichere Zahlung per PayPal, Kreditkarte, Lastschrift, Sofort-Überweisung oder Giropay
PayPal Logo SEPA Lastschrift Logo Giropay Logo Sofort Überweisung Logo

Reparaturanleitung 4-cylinder direct injection engine pdf Download mit dem Inhalt:

Kapitelübersicht

  • Technical data
    1
  • 1 Engine number/engine data
    1
  • 2 Safety precautions
    5
  • 2.1 Safety regulations for working on fuel supply
    5
  • 2.2 Releasing high pressure in fuel system
    6
  • 2.4 Safety precautions when working on the cooling system
    7
  • 2.5 Safety precautions when working on ignition system
    8
  • 3 General repair instructions
    9
  • 3.1 Rules for cleanliness
    9
  • 3.2 Foreign objects in engine
    9
  • 3.3 Contact corrosion
    9
  • 3.4 Routing and attachment of lines
    9
  • 3.5 Fitting radiator and condensers
    10
  • Removing and installing engine
    11
  • 1 Removing and installing engine
    11
  • 1.1 Removing engine
    11
  • 1.2 Installing engine
    34
  • 2 Assembly mountings
    42
  • 2.1 Assembly overview - assembly mountings
    42
  • Crankshaft group
    45
  • 1 Cylinder block (pulley end)
    45
  • 1.1 Assembly overview - poly V-belt drive
    45
  • 1.2 Removing and installing poly-V belt
    47
  • 1.3 Removing and installing crankshaft pulley
    48
  • 1.4 Renewing crankshaft oil seal - belt pulley end
    52
  • 2 Cylinder block, gearbox end
    55
  • 2.1 Assembly overview - cylinder block, gearbox end
    55
  • 2.2 Removing and installing flywheel
    57
  • 2.3 Removing and installing crankshaft sealing flange on gearbox side
    58
  • 2.4 Removing and installing bracket for ancillaries
    65
  • 3 Crankshaft
    70
  • 3.1 Renewing needle bearing in crankshaft
    70
  • 3.2 Measuring axial clearance of crankshaft
    72
  • 3.3 Crankshaft dimensions
    73
  • 4 Pistons and conrods
    74
  • 4.1 Assembly overview - pistons and conrods
    74
  • 4.2 Checking pistons and cylinder bores
    75
  • 4.3 Removing and installing oil spray jets
    76
  • 4.4 Separating new conrod
    77
  • Cylinder head, valve gear
    79
  • 1 Cylinder head
    79
  • 1.1 Assembly overview - cylinder head
    79
  • 1.2 Removing and installing cylinder head cover and camshaft
    82
  • 1.3 Removing and installing cylinder head
    96
  • 1.4 Checking compression
    102
  • 2 Valve gear
    104
  • 2.1 Assembly overview - valve gear
    104
  • 2.2 Measuring axial play of camshaft
    106
  • 2.3 Removing and installing valve stem seals
    107
  • 3 Inlet and exhaust valves
    109
  • 3.1 Checking valve guides
    109
  • 3.2 Checking valves
    109
  • 3.3 Valve dimensions
    111
  • 3.4 Reworking valve seats
    111
  • 4 Cover for timing chain
    112
  • 4.1 Removing and installing top valve timing housing
    112
  • 4.2 Removing and installing bottom valve timing housing
    115
  • 5 Chain drive
    120
  • 5.1 Assembly overview - timing chain
    120
  • 5.2 Checking valve timing
    125
  • 5.3 Adjusting valve timing
    127
  • 5.4 Removing and installing timing chain
    136
  • 5.5 Removing and installing timing chain and chain drive for oil pump
    145
  • Lubrication
    149
  • 1 Sump, oil pump
    149
  • 1.1 Assembly overview - sump/oil pump
    149
  • 1.2 Engine oil:
    153
  • 1.3 Removing and installing sump
    153
  • 1.4 Removing and installing oil pump
    158
  • 2 Oil filter, oil pressure switch
    160
  • 2.1 Assembly overview - oil filter
    160
  • 2.2 Checking oil pressure and oil pressure switch
    161
  • 2.3 Removing and installing non-return valve
    162
  • 3 Engine oil cooler
    164
  • 3.1 Removing and installing engine oil cooler
    164
  • 4 Crankcase ventilation
    165
  • 4.1 Assembly overview - crankcase breather system
    165
  • 4.2 Removing and installing oil separator
    166
  • Cooling
    169
  • 1 Cooling system/coolant
    169
  • 1.1 Coolant hose connection diagram
    169
  • 1.2 Draining and adding coolant
    171
  • 1.3 Checking cooling system for leaks
    175
  • 2 Coolant pump, regulation of cooling system
    178
  • 2.1 Assembly overview - thermostat
    178
  • 2.2 Removing and installing coolant pump
    179
  • 2.3 Removing and installing coolant circulation pump V50
    180
  • 3 Radiator, radiator fan
    183
  • 3.1 Assembly overview - radiator/radiator fan
    183
  • 3.2 Removing and installing radiator
    187
  • 3.3 Removing and installing radiator fan V7
    194
  • Turbocharging/supercharging
    197
  • 1 Exhaust turbocharger
    197
  • 1.1 Assembly overview - turbocharger
    197
  • 1.2 Removing and installing turbocharger
    199
  • 1.3 Removing and installing charge pressure positioner V465
    205
  • 2 Charge air system
    208
  • 2.1 Assembly overview - charge air system
    208
  • 2.2 Removing and installing charge air cooler (intake manifold)
    212
  • Mixture preparation - injection
    214
  • 1 Injection system
    214
  • 2 Air filter
    215
  • 2.1 Assembly overview - air filter
    215
  • 2.2 Removing and installing air filter housing
    217
  • 3 Intake manifold
    219
  • 3.1 Assembly overview - intake manifold
    219
  • 3.2 Removing and installing intake manifold
    223
  • 3.3 Removing and installing throttle valve module J338
    224
  • 3.4 Cleaning throttle valve module J338
    226
  • 4 Injectors
    228
  • 4.1 Removing and installing injectors
    228
  • 4.2 Renewing seals on injectors
    230
  • 4.3 Cleaning injectors
    234
  • 5 High-pressure pump
    236
  • 5.1 Assembly overview - high-pressure pump
    236
  • 5.2 Removing and installing high-pressure pump
    237
  • 6 Senders and sensors
    241
  • 6.1 Checking fuel pressure sender G247
    241
  • 7 Engine control unit J623
    245
  • 7.1 Removing and installing engine (motor) control unit J623
    245
  • Exhaust system
    255
  • 1 Exhaust pipes and silencers
    255
  • 1.1 Assembly overview - silencers
    255
  • 1.2 Separating exhaust pipes from silencers
    257
  • 1.3 Installation position of clamp
    259
  • 2 Exhaust gas cleaning
    261
  • 2.1 Assembly overview - emission control
    261
  • 2.2 Removing and installing catalytic converter (Polo)
    265
  • Ignition system
    267
  • 1 Ignition system
    267
  • 1.1 Assembly overview - ignition system
    267
  • 1.2 Removing and installing engine speed sender G28
    269
  • 1.3 Test data, spark plugs
    269
Hersteller­bezeichnung 4-cylinder direct injection engine (1.2 l engine, 2V, EA 111, turbocharger)
Hersteller Volkswagen
Passend für Touran (2003 - 2011) / Golf (2009) / Golf Plus (2009) / Polo A05 (2010) / Golf Cabriolet (2012)
Passende Autotypen 1T, 521, 6R1, 517
Motor­kennbuchstaben CBZA, CBZC
Kategorie Reparaturanleitung

Im Moment sind noch keine Bewertungen für dieses Produkt vorhanden.

Ähnliche Reparaturanleitungen

4-cylinder injection engine (natural gas)
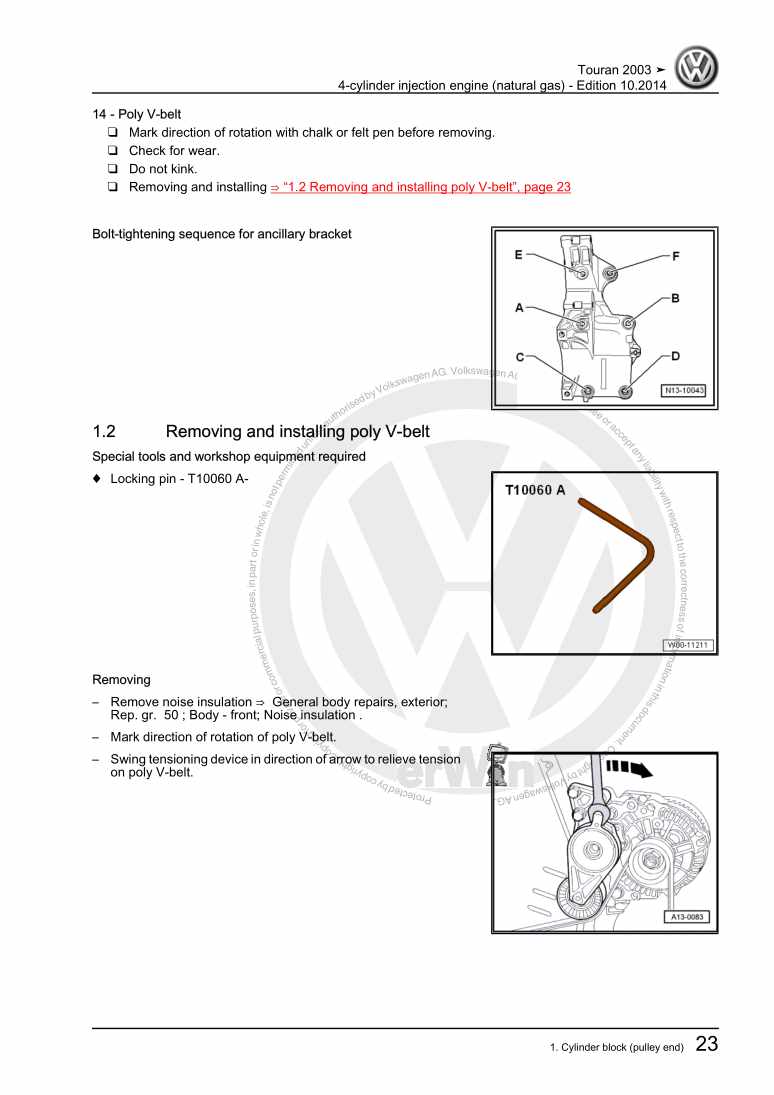
Beispielseite für Reparaturanleitung 4-cylinder injection engine (natural gas)

Für Touran (2003 - 2011)

14,43 € Details

4-cylinder injection engine (1.4 l direct injection engine, turbocharger)
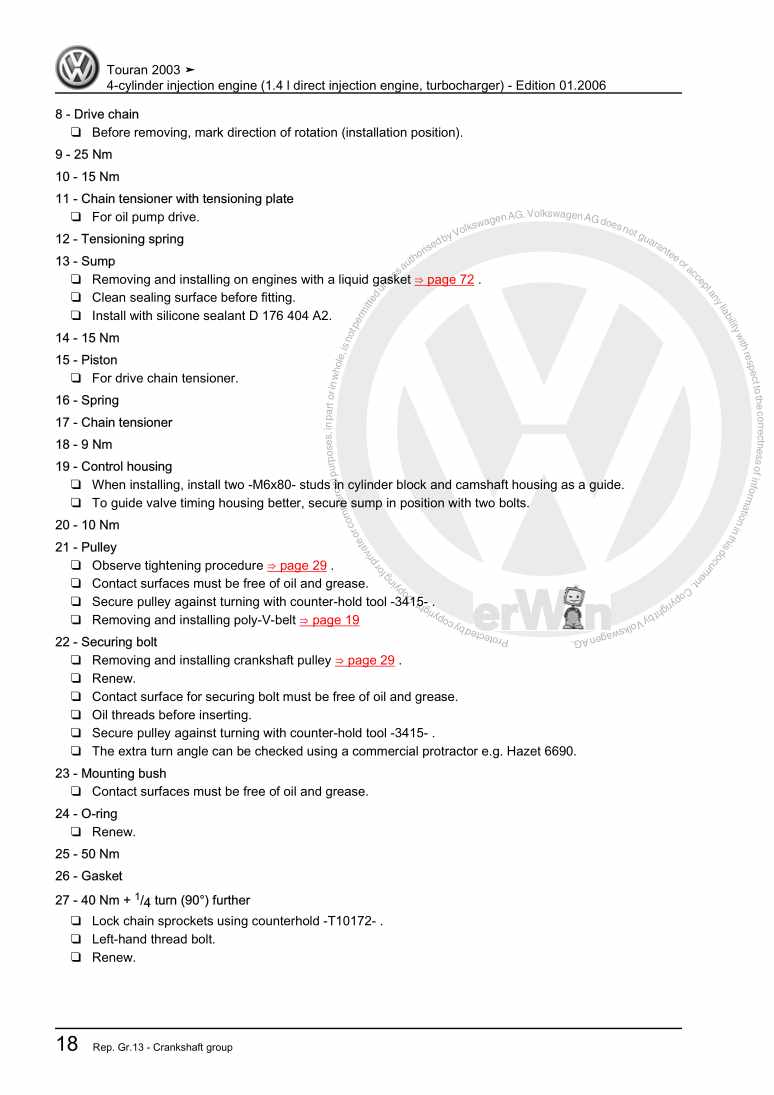
Beispielseite für Reparaturanleitung 4-cylinder injection engine (1.4 l direct injection engine, turbocharger)

Für Touran (2003 - 2011)

15,31 € Details

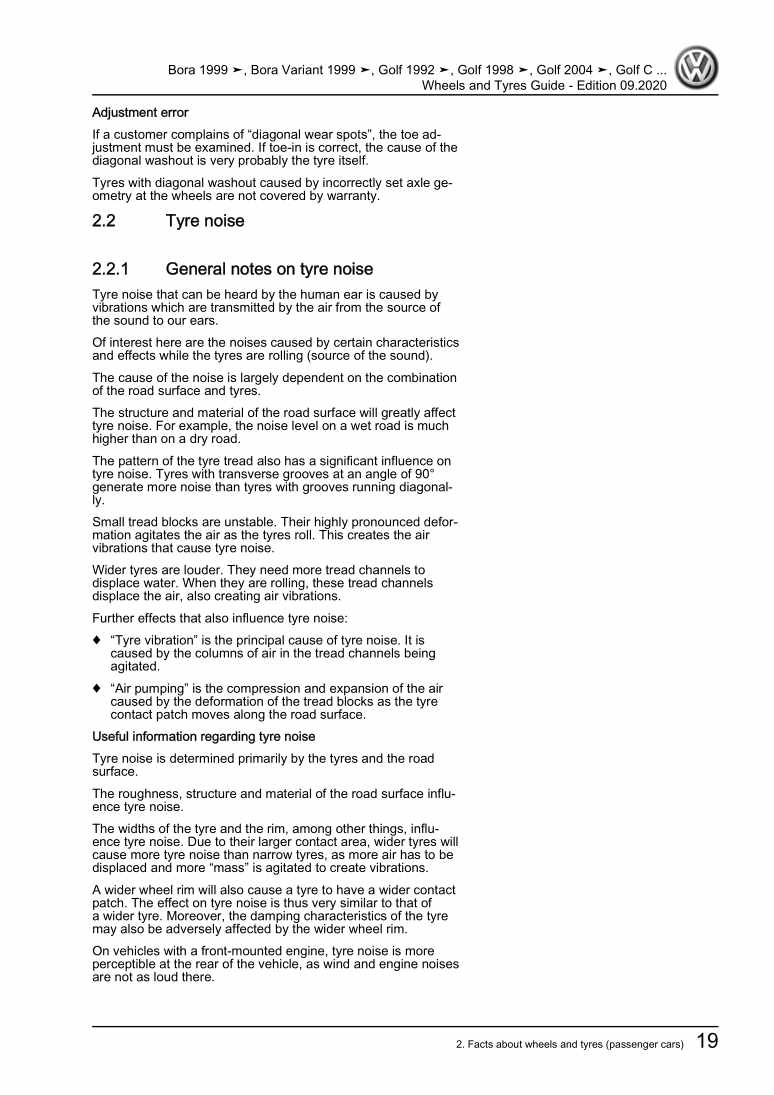
Wheels and Tyres Guide

Beispielseite für Reparaturanleitung Wheels and Tyres Guide

Für New Beetle Cabrio (2003 - 2010) / New Beetle / New Beetle (USA) (1998 - 2007) / Golf Plus (2005 - 2007) / Golf (2004 - 2007) / Polo (2002 - 2005) / Polo Variant (1997 - 2002) / Polo Classic (1996 - 2002) / Lupo 3L (1999 - 2006) / Lupo (1998 - 2006) / Vento (1992 - 1998) / Golf (1992 - 1998) / Golf (1998 - 2004) / Golf Cabriolet (1994 - 2002) / Touran (2003 - 2011) / Polo (1995 - 2000) / Passat (1994 - 1997) / Golf Variant (1999 - 2006) / Passat Variant (2006 - 2007) / Phaeton (2001 - 2007) / Touareg (2003 - 2010) / Passat (2005 - 2008) / Passat (1997 - 2001) / Golf Cabrio (1997 - 2002) / Bora (1999 - 2005) / Bora Variant (1999 - 2006) / New Beetle RSI (2001) / Golf Variant (1994 - 1999) / Sharan (1995 - 2001)

35,57 € Details

4-cylinder diesel engine (2.0 l engine, 2-valve, TDI)
Beispielseite für Reparaturanleitung 4-cylinder diesel engine (2.0 l engine, 2-valve, TDI)

Für Touran (2003 - 2011)

14,14 € Details

Fuel supply system - natural gas engines
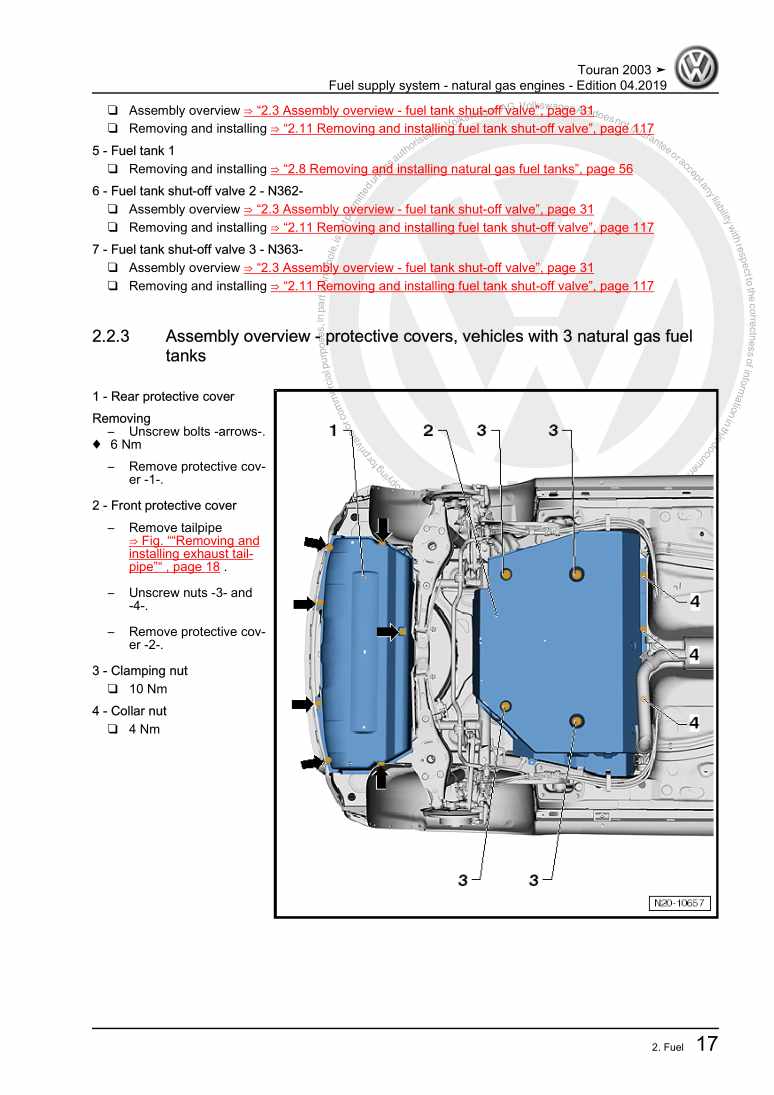
Beispielseite für Reparaturanleitung Fuel supply system - natural gas engines

Für Touran (2003 - 2011)

16,19 € Details

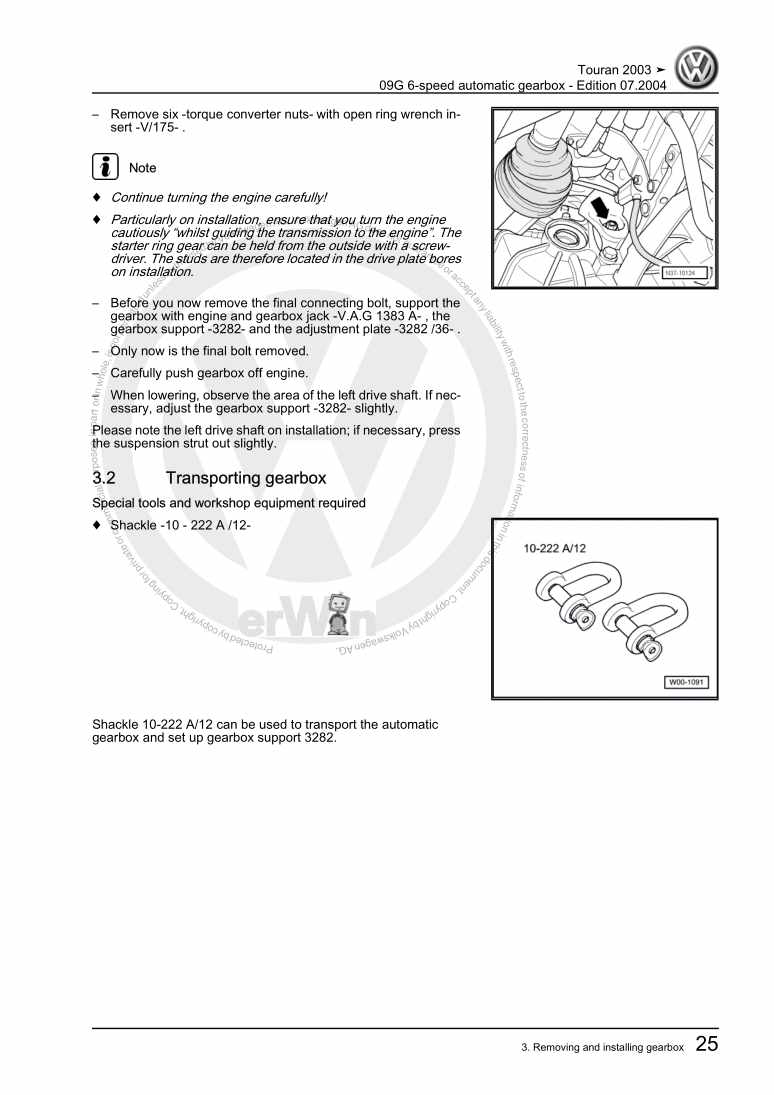
09G 6-speed automatic gearbox

Beispielseite für Reparaturanleitung 09G 6-speed automatic gearbox

Für Touran (2003 - 2011)

7,38 € Details

Basic equipment, fog lights, static headlight range control, from February 2003
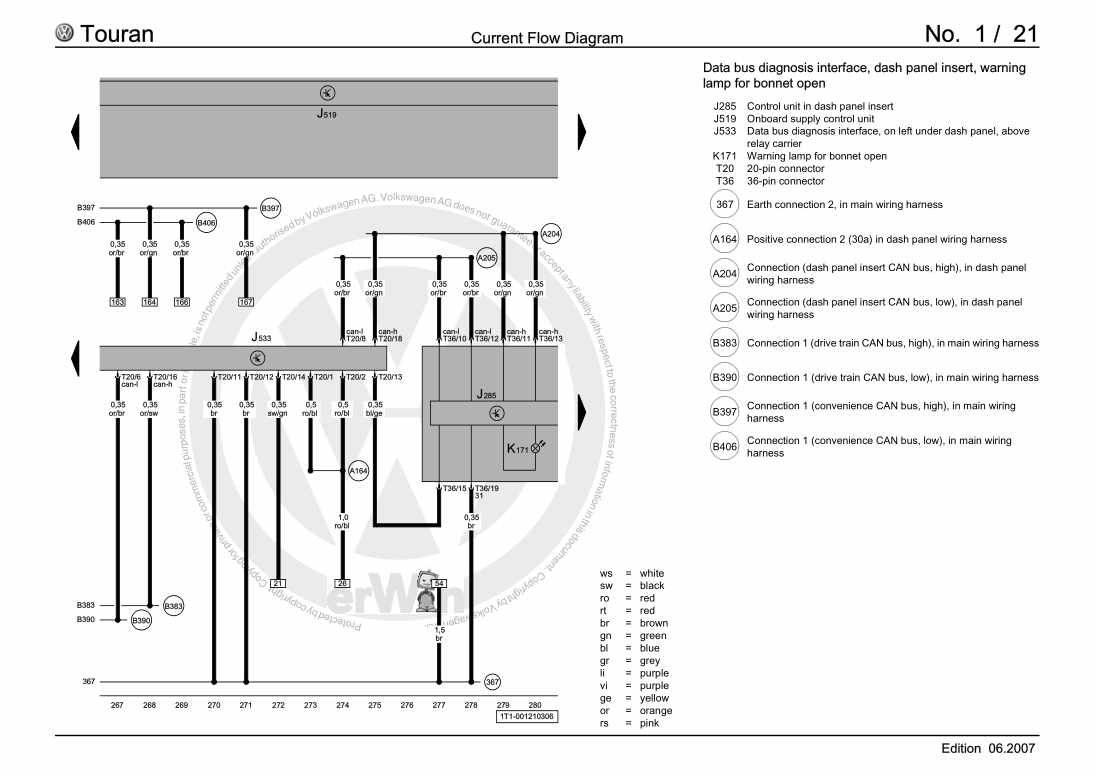
Beispielseite für Reparaturanleitung Basic equipment, fog lights, static headlight range control, from February 2003

Für Touran (2003 - 2011)

73,80 € Details

4-cylinder injection engine (1.6 l direct injection)
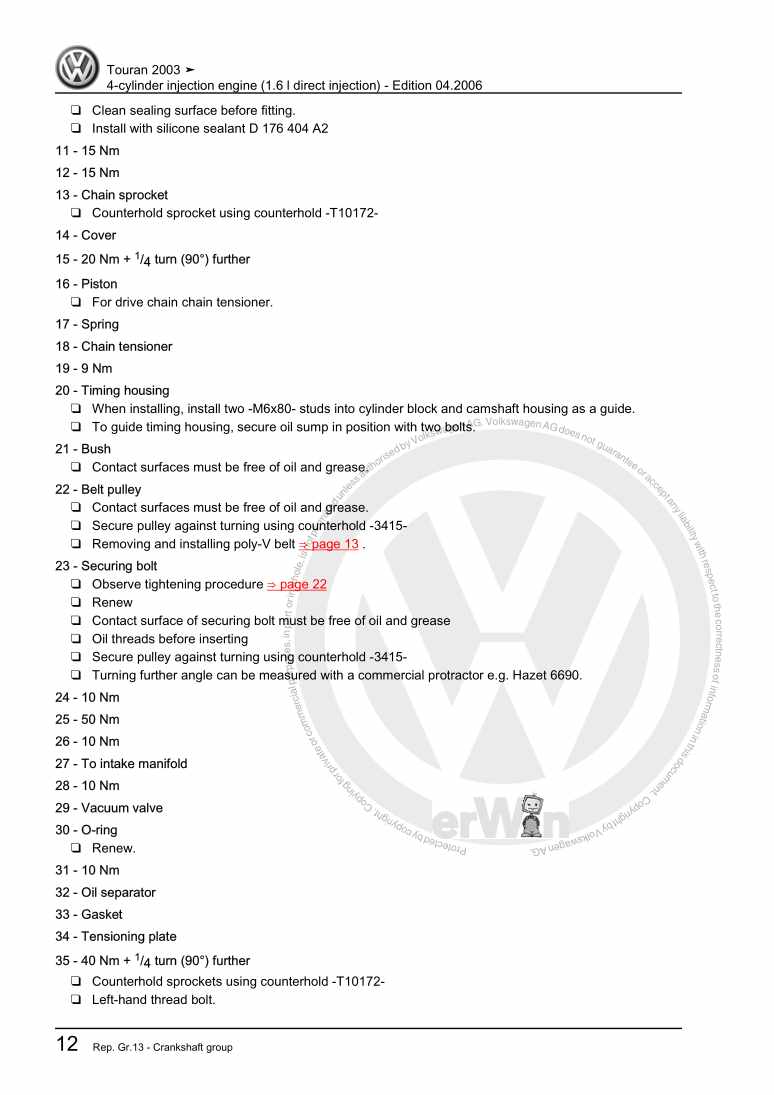
Beispielseite für Reparaturanleitung 4-cylinder injection engine (1.6 l direct injection)

Für Touran (2003 - 2011)

13,49 € Details

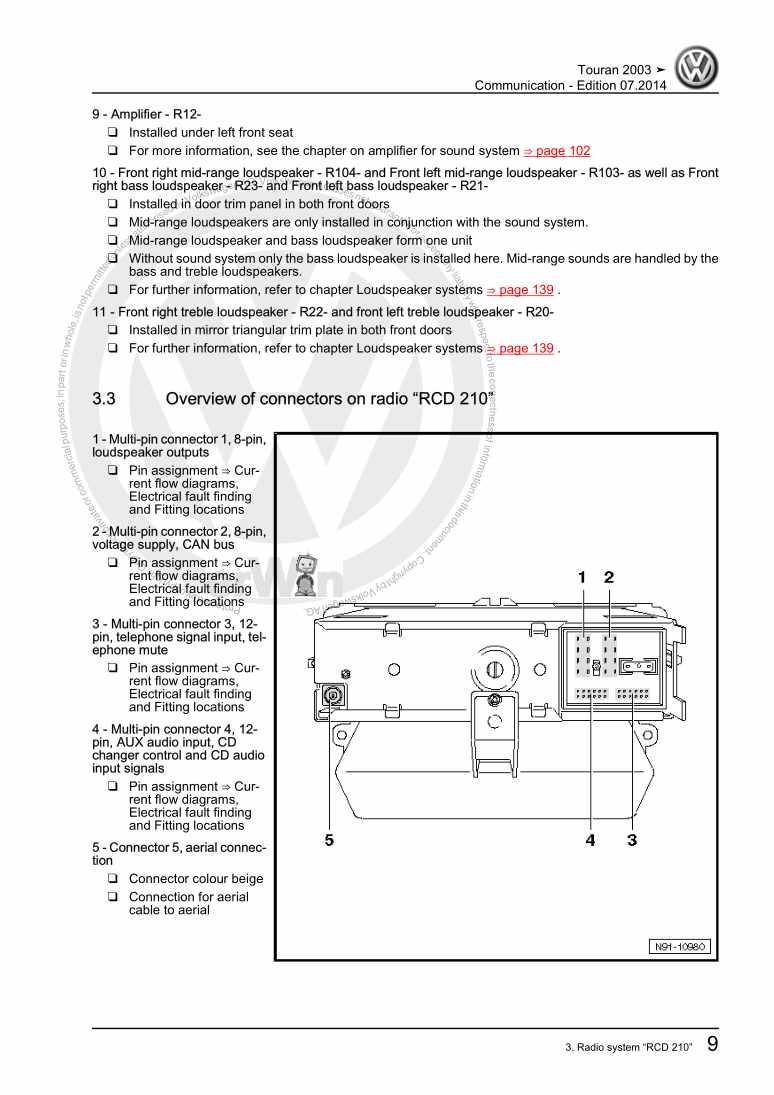
Communication

Beispielseite für Reparaturanleitung Communication

Für Touran (2003 - 2011)

15,16 € Details

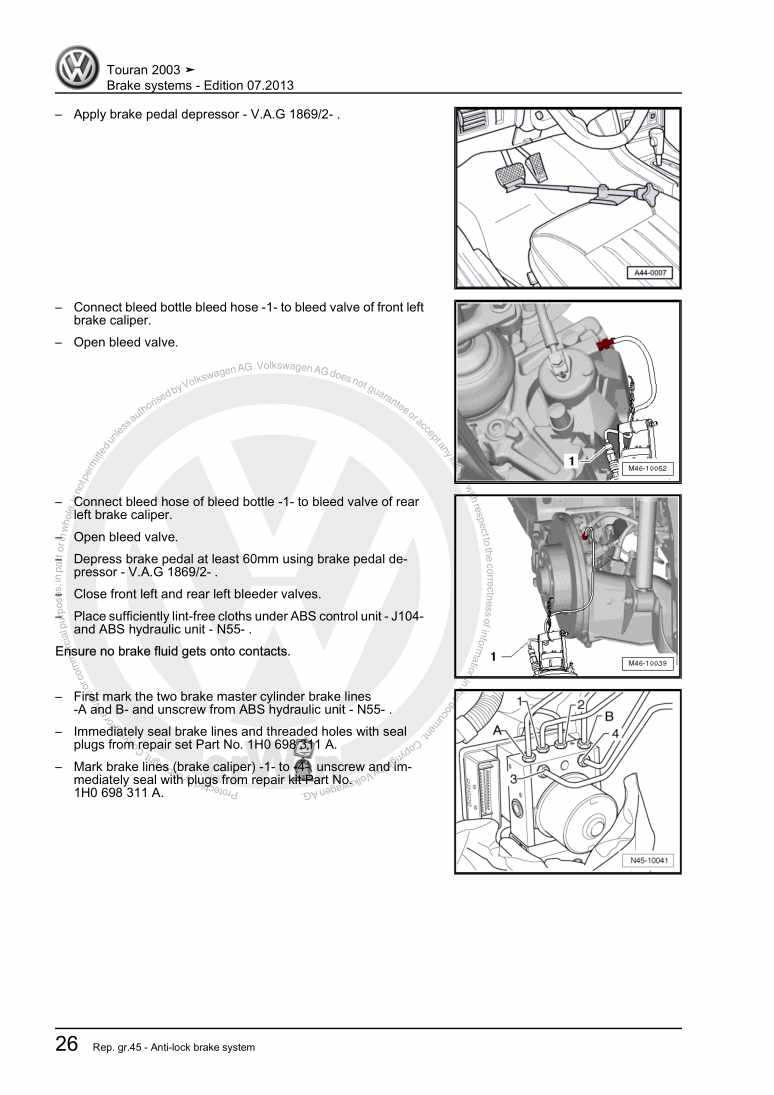
Brake systems

Beispielseite für Reparaturanleitung Brake systems

Für Touran (2003 - 2011)

14,29 € Details

Unsere Best Seller

Schon gewusst? Wir bieten auch originale Autoteile an.

Autoteil 2K5863328 Einlage

2K5863328

Einlage

6,02 €

Details
Autoteil 6Q0810221 Schlieteil

6Q0810221

Schlieteil

48,10 €

Details
Autoteil 070109153 Deckel

070109153

Deckel

38,73 €

Details
Autoteil N904162024PK Schraube

N904162024PK

Schraube

1,29 €

Details
Autoteil 06D103469N Zyl.Kopfha

06D103469N

Zyl.Kopfha

257,96 €

Details

Verteilergetriebe und Achsantriebe

Beispielseite für Reparaturanleitung Verteilergetriebe und Achsantriebe

Für Touareg (2003 - 2007)

12,83 € Details

Ratgeber Räder, Reifen

Beispielseite für Reparaturanleitung Ratgeber Räder, Reifen

Für Touran (2016 > )

5,52 € Details

Nr. 526: Die Dieselmotoren-Baureihe EA288 mit Abgasnorm EU6

Beispielseite für Reparaturanleitung Nr. 526: Die Dieselmotoren-Baureihe EA288 mit Abgasnorm EU6

5,89 € Details

image/svg+xml Über Clonck

Originale Reparaturanleitungen und Ersatzteile

Unsere Reparaturanleitungen sind Originale, kommen direkt von Volkswagen und erfüllen die höchsten Qualitätsstandards.

In unserem Originalteile-Shop verkaufen wir hochwertige Originalersatzteile der Fahrzeughersteller. Mithilfe der Suche gibst du die gewünschte Teilenummer (OE-Nummer) ein und bestellst schnell und einfach das benötigte Ersatzteil.

Höchste Qualitätsstandards

Bei Clonck wollen wir Autoschrauber und Kfz-Profis glücklich machen. Aus diesem Grund findest du bei Clonck ausschließlich professionelle und hochwertige Reparaturanleitungen, mit deren Hilfe du dein Fahrzeug fachgerecht reparieren kannst.

Unsere Partner

Autohaus Schmidt GmbH
Automag GmbH Filiale Laim
KFZ-VERLAG GmbH
Zimpel und Franke GmbH

Clonck: Der Autoreparatur-Shop - gibt's auch als App!

Clonck App Logo Play Store

Clonck: Passende Autoteile für deine Autoreparatur

4,5 90

Mit Clonck bestellst du die richtigen Originalersatzteile im Handumdrehen.

  • Fahrzeugmodell hinzufügen
  • Baugruppe auswählen
  • Fahrzeug-Identifizierungsnummer (FIN) eingeben
  • Über 5.000 originale Reparaturanleitungen einsehen
Jetzt App starten
Clonck App Preview Auto Mobiltelefon Autoteile