DER AUTOREPARATUR-SHOP
0
Home » Anleitungen » Body Repairs
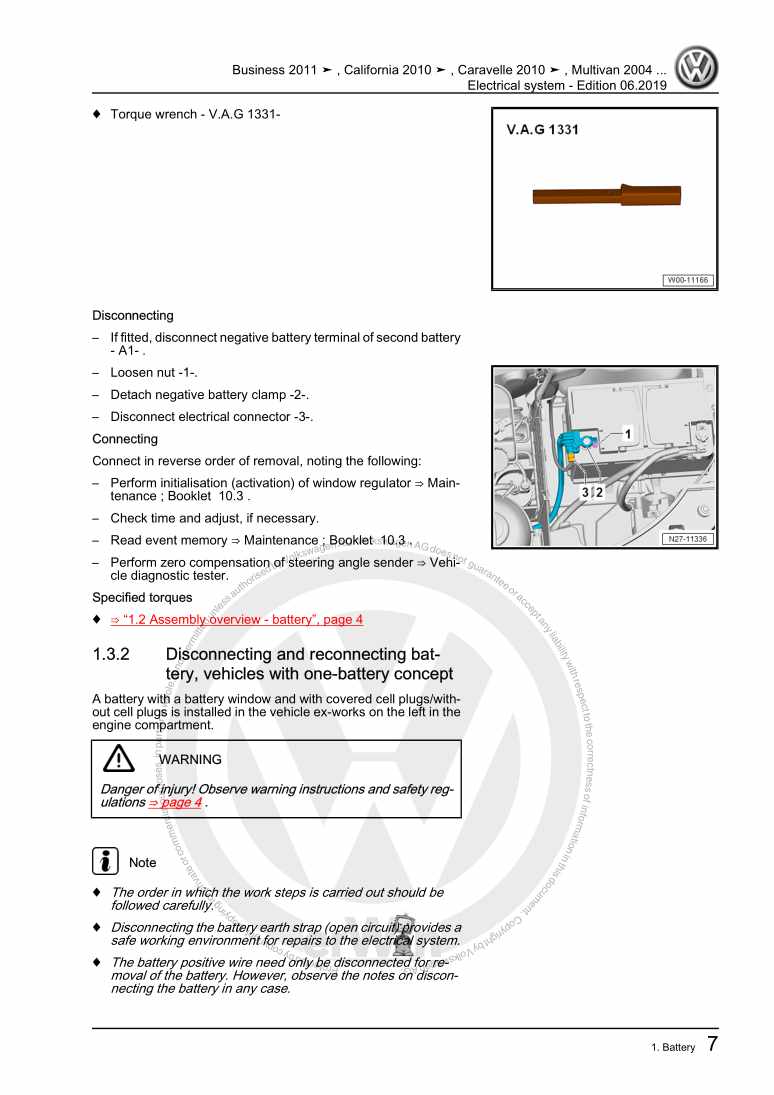
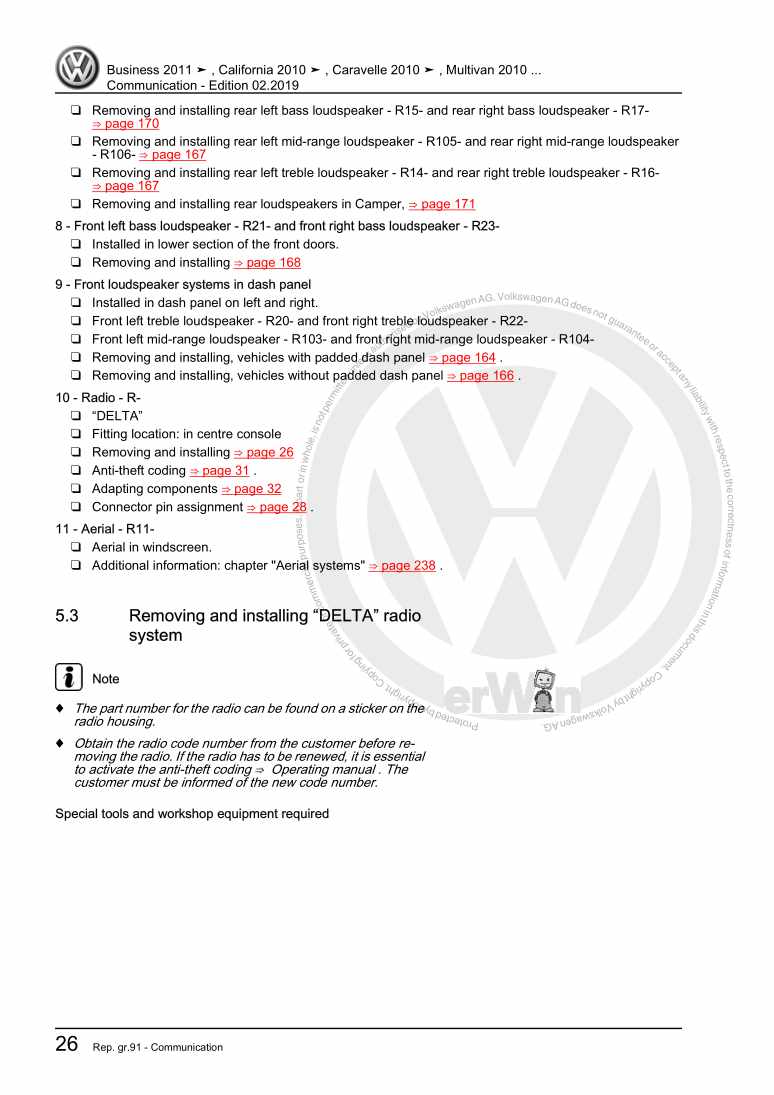
  • Beispielseite für Reparaturanleitung Body Repairs
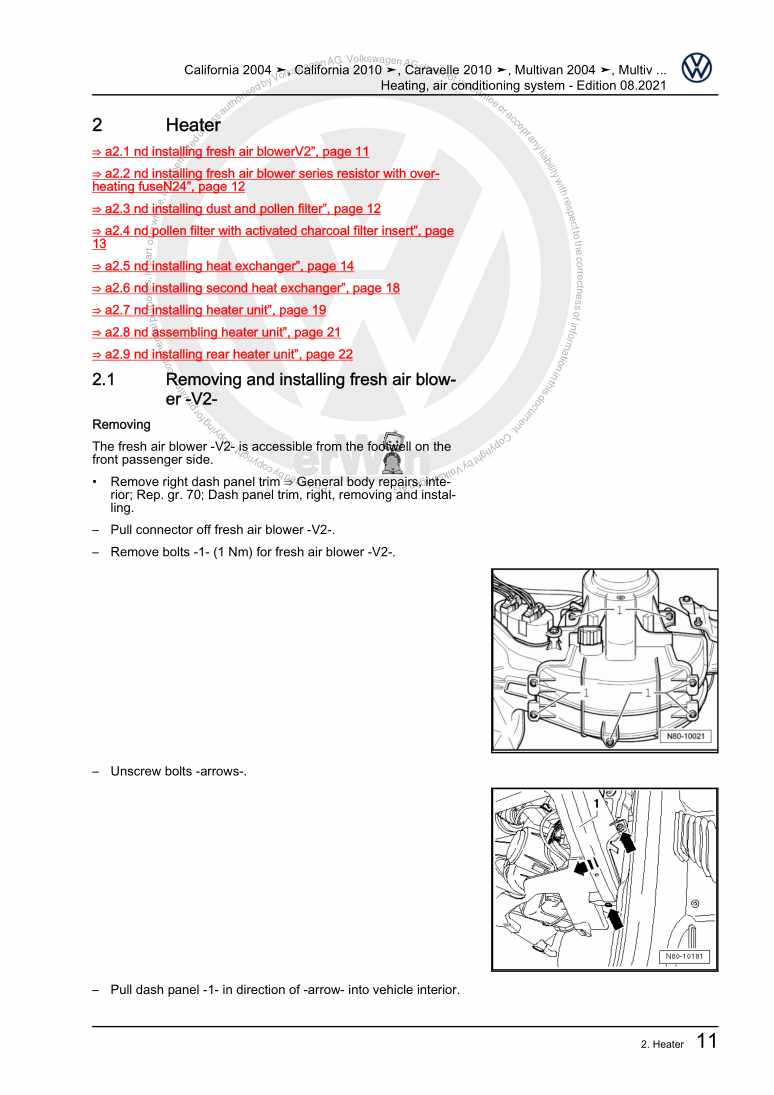
  • Beispielseite für Reparaturanleitung 2 Body Repairs
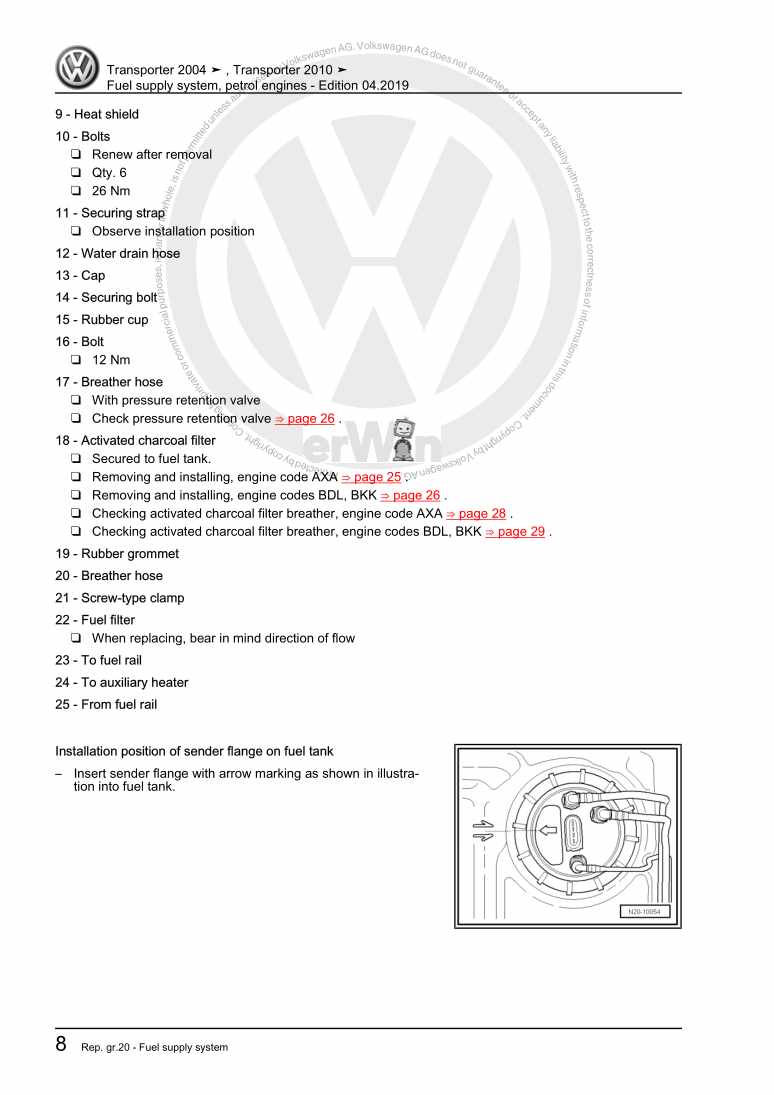
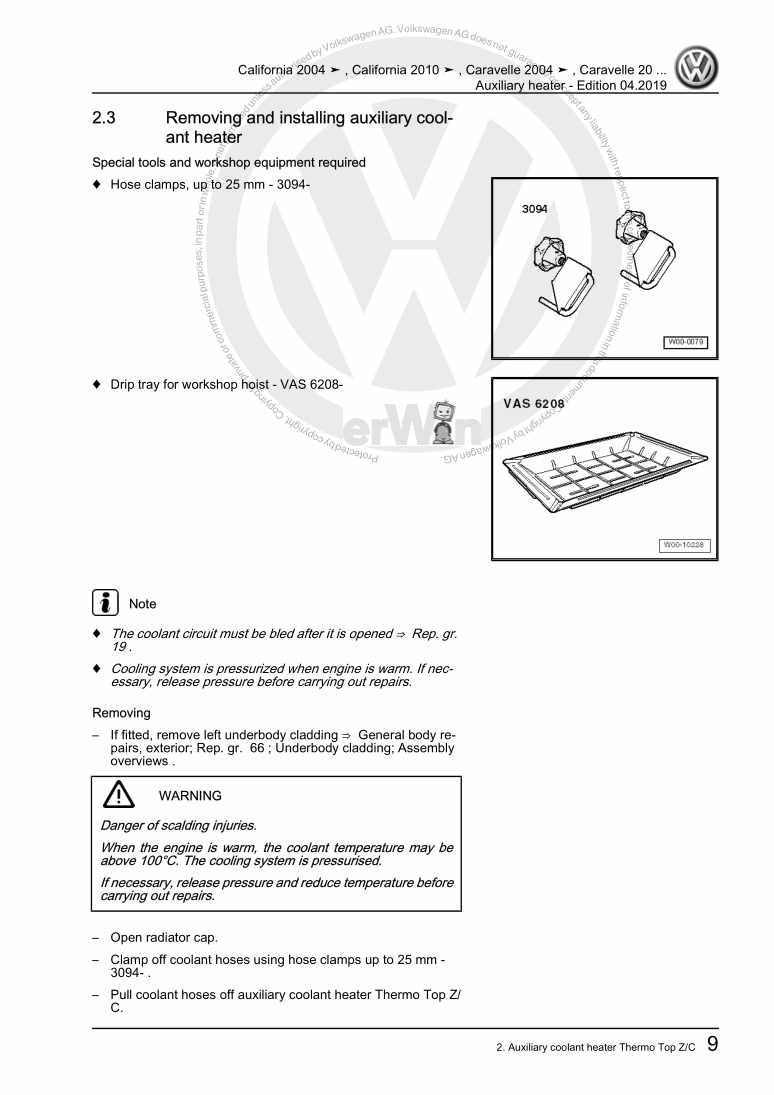
  • Beispielseite für Reparaturanleitung 3 Body Repairs
  • Beispielseite für Reparaturanleitung Body Repairs
  • Beispielseite für Reparaturanleitung 2 Body Repairs
  • Beispielseite für Reparaturanleitung 3 Body Repairs

Body Repairs

Für California / Multivan / Transporter / Transporter/Kombi LR

Original VW-Reparaturanleitung


31,14 €inkl. 7% MwSt.

  • Deutsch
  • English

Sofort als Download verfügbar

Sprache: English

Digitale PDF Version

17.421 KB

417 Seiten

Detaillierte technische Daten

Sofort lesbar

Diese Reparaturanleitung umfasst: Renewing suspension turret, Replacing intermediate piece/end plate for front wheel housing, Renewing front part of longitudinal member (part section) und Renewing reinforcing for hinge pillar. Mehr anzeigen
Sichere Zahlung per PayPal, Kreditkarte, Lastschrift, Sofort-Überweisung oder Giropay
PayPal Logo SEPA Lastschrift Logo Giropay Logo Sofort Überweisung Logo

Reparaturanleitung Body Repairs pdf Download mit dem Inhalt:

Kapitelübersicht

  • Technical data
    1
  • 1 Key vehicle data
    1
  • 1.1 Vehicle identification number
    1
  • 1.2 Vehicle identification number
    2
  • 1.3 Type plate
    3
  • 1.4 Vehicle data sticker
    4
  • 2 Safety information
    5
  • 3 Moulded foam inserts
    6
  • 4 Galvanised body parts
    8
  • 5 Strengthened steel body panels
    9
  • 5.1 Floor group
    9
  • 5.2 Installing
    10
  • 6 Laser welding
    11
  • 7 Gaps/shut lines
    12
  • 7.1 Body - front
    12
  • 7.2 Body - centre and rear
    13
  • 7.3 Rear body with rear wing doors
    14
  • 8 Body dimensions
    15
  • 8.1 Body dimensions, front
    15
  • 8.2 Body dimensions - centre
    23
  • 8.3 Body - rear
    24
  • 8.4 Body dimensions of the floor group
    26
  • 9 Alignment jig
    30
  • 9.1 Overview
    30
  • 9.2 Portal gauge
    42
  • Body - front
    46
  • 1 Renewing suspension turret
    46
  • 1.1 Tools
    47
  • 1.2 Removing
    47
  • 1.3 Installing
    50
  • 2 Renewing battery carrier
    55
  • 2.1 Tools
    55
  • 2.2 Removing
    55
  • 2.3 Installing
    57
  • 3 Renewing towing eye mounting
    60
  • 3.1 Tools
    60
  • 3.2 Removing
    60
  • 3.3 Installing
    63
  • 4 Replacing intermediate piece/end plate for front wheel housing
    69
  • 4.1 Tools
    69
  • 4.2 Removing
    69
  • 4.3 Installing
    70
  • 5 Renewing bumper bracket
    72
  • 5.1 Tools
    72
  • 5.2 Removing
    72
  • 5.3 Installing
    73
  • 6 Renewing reinforcement for front wheel housing - partial renewal
    75
  • 6.1 Tools
    75
  • 6.2 Removing
    75
  • 6.3 Installing
    77
  • 7 Renewing front wheel housing
    78
  • 7.1 Tools
    78
  • 7.2 Removing
    78
  • 7.3 Installing
    81
  • 8 Repairing threads for securing subframe
    84
  • 8.1 Contents of thread repair kit
    85
  • 8.2 Repairing threads
    86
  • 9 Renewing front part of longitudinal member (part section)
    89
  • 9.1 Tools
    89
  • 9.2 Removing
    89
  • 9.3 Installing
    91
  • 10 Renewing bracket at front
    94
  • 10.1 Tools
    94
  • 10.2 Removing
    94
  • 10.3 Installing
    95
  • Body - centre
    98
  • 1 Renewing high roof
    98
  • 1.1 Removing
    98
  • 1.2 Installing
    107
  • 2 Renewing roof
    112
  • 2.1 Tools
    112
  • 2.2 Removing
    112
  • 2.3 Installing
    116
  • 3 Renewing roof (double cab)
    121
  • 3.1 Tools
    121
  • 3.2 Removing
    121
  • 3.3 Installing
    124
  • 4 Renewing front cross member for roof
    128
  • 4.1 Tools
    128
  • 4.2 Removing
    128
  • 4.3 Installing
    129
  • 5 Renewing roof reinforcement
    131
  • 5.1 Tools
    131
  • 5.2 Removing
    131
  • 5.3 Installing
    132
  • 6 Renewing rear roof cross member (double cab, dropside)
    134
  • 6.1 Tools
    134
  • 6.2 Removing
    134
  • 6.3 Installing
    136
  • 7 Renewing rear roof cross member
    137
  • 7.1 Tools
    138
  • 7.2 Removing
    138
  • 7.3 Installing
    140
  • 8 Renewing rear window frame (single and double cab)
    142
  • 8.1 Tools
    143
  • 8.2 Removing
    143
  • 8.3 Installing
    145
  • 9 Renewal of cross member (single and double cab)
    149
  • 9.1 Tools
    149
  • 9.2 Removing
    149
  • 9.3 Installing
    151
  • 10 Renewing front outer side panel
    153
  • 10.1 Tools
    154
  • 10.2 Removing
    154
  • 10.3 Installing
    157
  • 11 Renewing rear outer side panel (double cab)
    162
  • 11.1 Tools
    163
  • 11.2 Removing
    163
  • 11.3 Installing
    166
  • 12 Renewing outer side panel completely (panel van)
    171
  • 12.1 Tools
    172
  • 12.2 Removing
    172
  • 12.3 Installing
    176
  • 13 Renewing outer side panel (window aperture of Kombi)
    181
  • 13.1 Tools
    182
  • 13.2 Removing
    182
  • 13.3 Installing
    186
  • 14 Renewing outer side panel (vertical window section of Kombi)
    191
  • 14.1 Tools
    192
  • 14.2 Removing
    192
  • 14.3 Installing
    195
  • 15 Renewing outer side panel (part section, panel van and Kombi)
    200
  • 15.1 Tools
    200
  • 15.2 Removing
    200
  • 15.3 Installing
    202
  • 16 Renewing outer side panel on sliding door side (window section of Kombi)
    204
  • 16.1 Tools
    205
  • 16.2 Removing
    205
  • 16.3 Installing
    207
  • 17 Renewing outer side panel on sliding door side (part section, panel van)
    211
  • 17.1 Tools
    212
  • 17.2 Removing
    212
  • 17.3 Installing
    215
  • 18.1 Tools
    224
  • 18.2 Removing
    224
  • 18.3 Installing
    228
  • 19 Renewing hinge pillar (part section)
    232
  • 19.1 Tools
    233
  • 19.2 Removing
    233
  • 19.3 Installing
    234
  • 20 Renewing reinforcing for hinge pillar
    237
  • 20.1 Tools
    238
  • 20.2 Removing
    238
  • 20.3 Installing
    240
  • 21 Renewing lock column, single cab
    243
  • 21.1 Tools
    244
  • 21.2 Removing
    244
  • 21.3 Installing
    247
  • 22 Renewing C-pillar (double cab)
    252
  • 22.1 Tools
    253
  • 22.2 Removing
    253
  • 22.3 Installing
    254
  • 23 Renewing front step
    257
  • 23.1 Tools
    258
  • 23.2 Removing
    258
  • 23.3 Installing
    260
  • 24 Renewing rear step
    264
  • 24.1 Tools
    265
  • 24.2 Removing
    265
  • 24.3 Installing
    268
  • 25 Renewing rear step (double cab)
    273
  • 25.1 Tools
    273
  • 25.2 Removing
    273
  • 25.3 Installing
    276
  • 26 Renewing middle pillar (part section)
    279
  • 26.1 Tools
    280
  • 26.2 Removing
    280
  • 26.3 Installing
    283
  • 27 Renewing reinforcing for middle pillar
    285
  • 27.1 Tools
    286
  • 27.2 Removing
    286
  • 27.3 Installing
    287
  • 28 Renewing lower guide rail for sliding door
    290
  • 28.1 Tools
    290
  • 28.2 Removing
    290
  • 28.3 Installing
    291
  • 29 Renewing outer side member
    294
  • 29.1 Tools
    295
  • 29.2 Removing
    295
  • 29.3 Installing
    296
  • 30 Renewing centre section of side member (part section, double cab)
    298
  • 30.1 Tools
    298
  • 30.2 Removing
    298
  • 30.3 Installing
    299
  • 31 Renewing front inner side member
    302
  • 31.1 Tools
    303
  • 31.2 Removing
    303
  • 31.3 Installing
    304
  • 32 Renewing gusset plate for roof side member
    307
  • 32.1 Tools
    307
  • 32.2 Removing
    307
  • 32.3 Installing
    309
  • 33 Renewing C-pillar reinforcement (double cab, part section)
    312
  • 33.1 Tools
    313
  • 33.2 Removing
    313
  • 33.3 Installing
    314
  • 34 Renewing C-pillar reinforcement (part section)
    317
  • 34.1 Tools
    318
  • 34.2 Removing
    318
  • 34.3 Installing
    320
  • 35 Renewing floor panel (double cab)
    323
  • 35.1 Tools
    324
  • 35.2 Removing
    324
  • 35.3 Installing
    325
  • 36 Renewing threaded nut for fastening ring
    328
  • 36.1 Tools
    329
  • 36.2 Removing
    329
  • 36.3 Installing
    330
  • 37 Renewing centre floor panel
    333
  • 37.1 Tools
    334
  • 37.2 Removing
    334
  • 37.3 Installing
    335
  • 38 Renewing fastening ring for loadbed
    338
  • 38.1 Tools
    339
  • 38.2 Removing
    339
  • 38.3 Installing
    340
  • Body - rear
    343
  • 1 Renewing lower corner reinforcement
    343
  • 1.1 Tools
    343
  • 1.2 Removing
    343
  • 1.3 Installing
    344
  • 2 Renewing inner lock carrier
    347
  • 2.1 Tools
    347
  • 2.2 Removing
    347
  • 2.3 Installing
    349
  • 3 Renewing tail light mounting
    351
  • 3.1 Tools
    351
  • 3.2 Removing
    351
  • 3.3 Installing
    353
  • 4 Renewing cross panel member
    354
  • 4.1 Tools
    354
  • 4.2 Removing
    354
  • 4.3 Installing
    355
  • 5 Renewing rear part of luggage compartment floor
    358
  • 5.1 Tools
    359
  • 5.2 Removing
    359
  • 5.3 Installing
    361
  • 6 Renewing D-pillar reinforcement (part section)
    364
  • 6.1 Tools
    365
  • 6.2 Removing
    365
  • 6.3 Installing
    366
  • 7 Renewing D-pillar reinforcement
    369
  • 7.1 Tools
    370
  • 7.2 Removing
    370
  • 7.3 Installing
    372
  • 8 Renewal of rear cross panel member (single and double cab)
    377
  • 8.1 Tools
    377
  • 8.2 Removing
    377
  • 8.3 Installing
    379
  • 9 Renewing rear longitudinal member (part section, panel van and Kombi)
    381
  • 9.1 Tools
    381
  • 9.2 Removing
    381
  • 9.3 Installing
    385
  • 10 Renewal of rear longitudinal member (single and double cab)
    393
  • 10.1 Tools
    393
  • 10.2 Removing
    393
  • 10.3 Installing
    396
  • 11 Renewing outer wheel housing liner
    401
  • 11.1 Tools
    402
  • 11.2 Removing
    402
  • 11.3 Installing
    403
  • 12 Renewing cross member
    406
  • 12.1 Tools
    407
  • 12.2 Removing
    407
  • 12.3 Installing
    408
Hersteller­bezeichnung Body Repairs
Hersteller Volkswagen
Passend für California / Multivan / Transporter / Transporter/Kombi LR (2003 - 2007) / Transporter (2003 - 2007) / Transporter (2010)
Passende Autotypen 7H, 7F, 7E
Kategorie Reparaturanleitung

Im Moment sind noch keine Bewertungen für dieses Produkt vorhanden.

Ähnliche Reparaturanleitungen

4-cylinder injection engine (2.0 l engine)
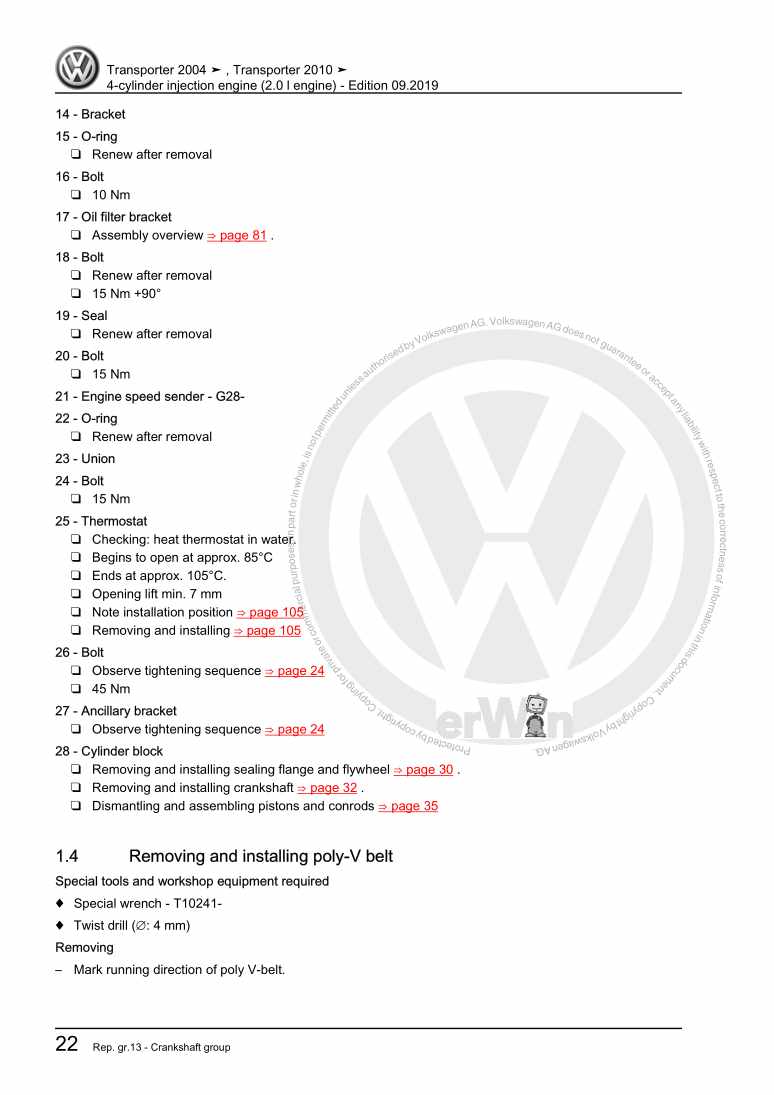
Beispielseite für Reparaturanleitung 4-cylinder injection engine (2.0 l engine)

Für California / Multivan / Transporter / Transporter/Kombi LR (2003 - 2007) / Transporter (2003 - 2007) / Transporter (2010) / Transporter (2010)

12,61 € Details

Electrical system

Beispielseite für Reparaturanleitung Electrical system

Für California / Multivan / Transporter / Transporter/Kombi LR (2003 - 2007) / Transporter (2003 - 2007) / Transporter (2010) / Transporter (2010)

32,19 € Details

Heating, air conditioner

Beispielseite für Reparaturanleitung Heating, air conditioner

Für California / Multivan / Transporter / Transporter/Kombi LR (2003 - 2007) / Transporter (2003 - 2007) / Transporter (2010) / Transporter (2010)

15,31 € Details

Fuel supply system, petrol engines

Beispielseite für Reparaturanleitung Fuel supply system, petrol engines

Für California / Multivan / Transporter / Transporter/Kombi LR (2003 - 2007) / Transporter (2003 - 2007) / Transporter (2010) / Transporter (2010)

6,29 € Details

Communication

Beispielseite für Reparaturanleitung Communication

Für California / Multivan / Transporter / Transporter/Kombi LR (2003 - 2007) / Transporter (2003 - 2007) / Transporter (2010) / Transporter (2010)

23,43 € Details

Auxiliary heater

Beispielseite für Reparaturanleitung Auxiliary heater

Für California / Multivan / Transporter / Transporter/Kombi LR (2003 - 2007) / Transporter (2003 - 2007) / Transporter (2010) / Transporter (2010)

8,61 € Details

Fuel supply system - Diesel engines

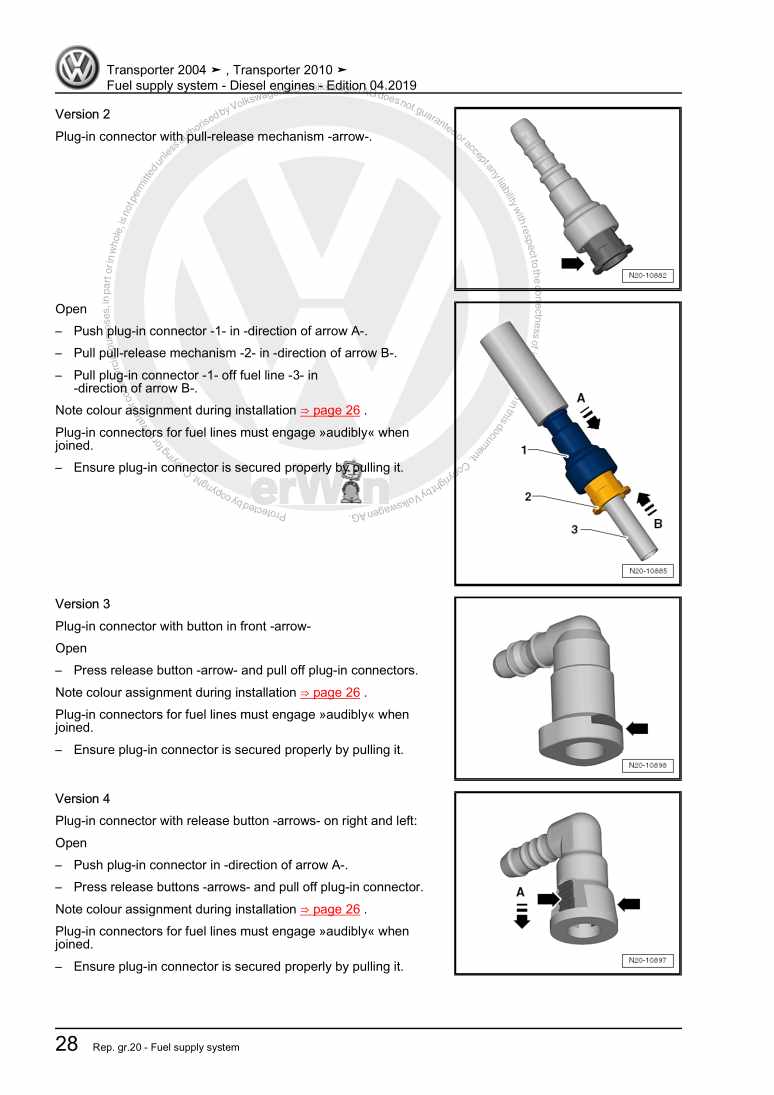
Beispielseite für Reparaturanleitung Fuel supply system - Diesel engines

Für California / Multivan / Transporter / Transporter/Kombi LR (2003 - 2007) / Transporter (2003 - 2007) / Transporter (2010) / Transporter (2010)

7,76 € Details

5-speed manual gearbox 02Z

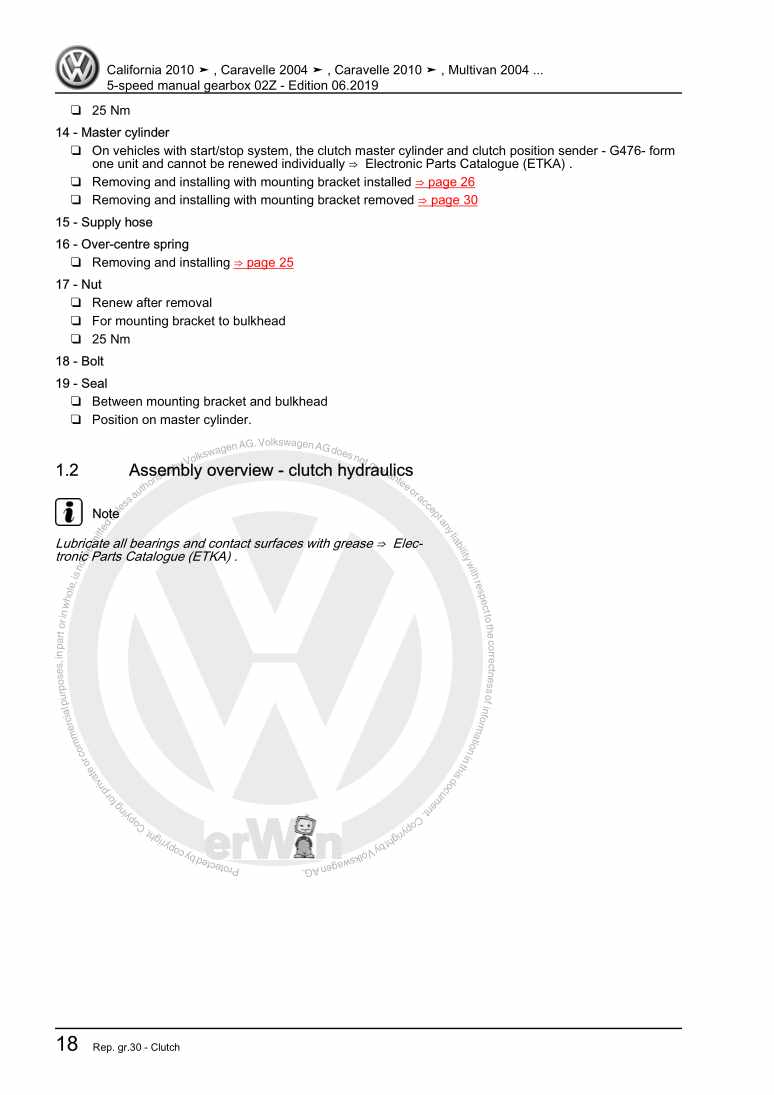
Beispielseite für Reparaturanleitung 5-speed manual gearbox 02Z

Für California / Multivan / Transporter / Transporter/Kombi LR (2003 - 2007) / Transporter (2003 - 2007) / Transporter (2010) / Transporter (2010)

16,19 € Details

General body repairs, interior

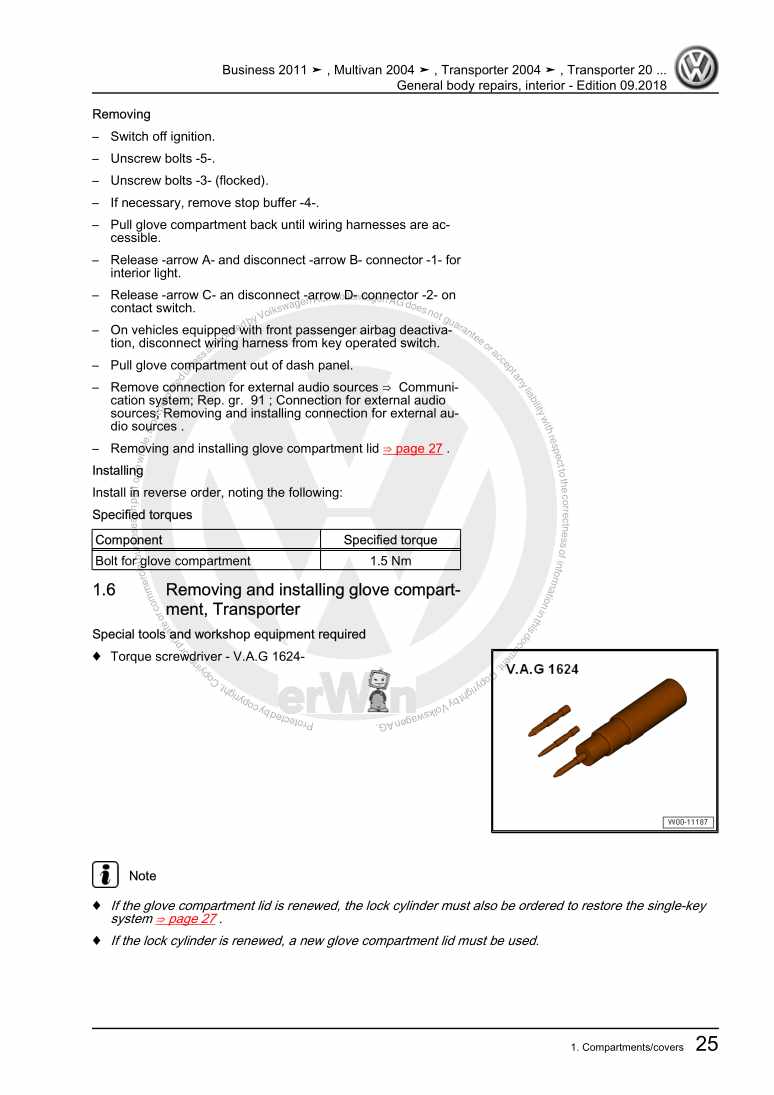
Beispielseite für Reparaturanleitung General body repairs, interior

Für California / Multivan / Transporter / Transporter/Kombi LR (2003 - 2007) / Transporter (2003 - 2007) / Transporter (2010) / Transporter (2010)

40,95 € Details

Brake systems

Beispielseite für Reparaturanleitung Brake systems

Für California / Multivan / Transporter / Transporter/Kombi LR (2003 - 2007) / Transporter (2003 - 2007) / Transporter (2010) / Transporter (2010)

12,40 € Details

Unsere Best Seller

Schon gewusst? Wir bieten auch originale Autoteile an.

Autoteil N10286110 Bundmutter

N10286110

Bundmutter

2,26 €

Details
Autoteil 4N0010502EB Kennschild

4N0010502EB

Kennschild

11,50 €

Details
Autoteil D177500A1 Glasprimer

D177500A1

Glasprimer

75,95 €

Details
Autoteil 80B265340S Schlauch

80B265340S

Schlauch

147,11 €

Details
Autoteil N10624701 Schraube

N10624701

Schraube

3,01 €

Details

4-Zyl.-Dieselmotor (1,5- und 1,6 l-Motor) 068.2 / 068.5 / 068.A / ADK
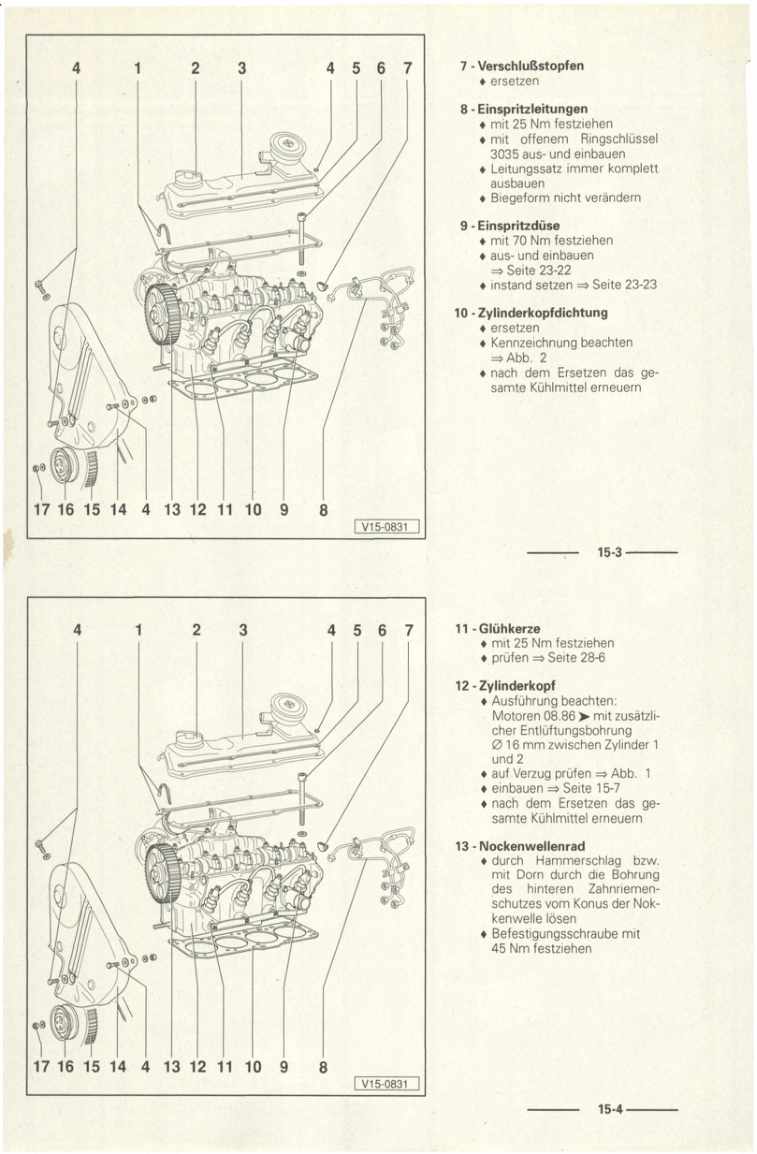
Beispielseite für Reparaturanleitung 4-Zyl.-Dieselmotor (1,5- und 1,6 l-Motor) 068.2 / 068.5 / 068.A / ADK

Für Industriemotoren - Industrial Engines ()

8,15 € Details

4-Zylinder-Dieselmotor, Mechanik CS,JX,KY
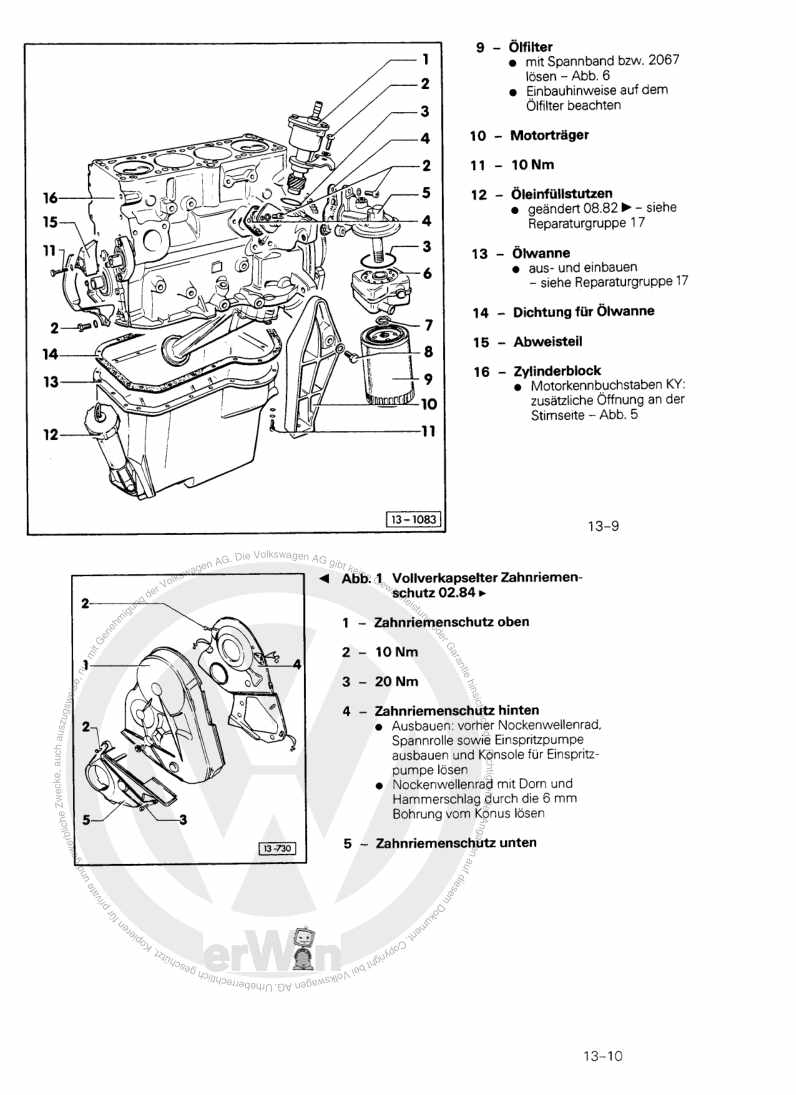
Beispielseite für Reparaturanleitung 4-Zylinder-Dieselmotor, Mechanik CS,JX,KY

Für Typ 2 / Typ 2 7-9-Sitzer / Typ 2 Doppelkabine / Typ 2 Pritsche (1968 - 2007) / MICROBUS / Typ 2 Bus/Caravelle / Typ 2 Kasten / Typ 2 Kombi/... / VAN (1980 - 1999)

8,15 € Details

Kommunikation

Beispielseite für Reparaturanleitung Kommunikation

Für New Beetle Cabrio (2003 - 2010) / New Beetle / New Beetle (USA) (1998 - 2007) / New Beetle (Europe) (1999 - 2002)

6,46 € Details

image/svg+xml Über Clonck

Originale Reparaturanleitungen und Ersatzteile

Unsere Reparaturanleitungen sind Originale, kommen direkt von Volkswagen und erfüllen die höchsten Qualitätsstandards.

In unserem Originalteile-Shop verkaufen wir hochwertige Originalersatzteile der Fahrzeughersteller. Mithilfe der Suche gibst du die gewünschte Teilenummer (OE-Nummer) ein und bestellst schnell und einfach das benötigte Ersatzteil.

Höchste Qualitätsstandards

Bei Clonck wollen wir Autoschrauber und Kfz-Profis glücklich machen. Aus diesem Grund findest du bei Clonck ausschließlich professionelle und hochwertige Reparaturanleitungen, mit deren Hilfe du dein Fahrzeug fachgerecht reparieren kannst.

Unsere Partner

Autohaus Schmidt GmbH
Automag GmbH Filiale Laim
KFZ-VERLAG GmbH
Zimpel und Franke GmbH

Clonck: Der Autoreparatur-Shop - gibt's auch als App!

Clonck App Logo Play Store

Clonck: Passende Autoteile für deine Autoreparatur

4,5 90

Mit Clonck bestellst du die richtigen Originalersatzteile im Handumdrehen.

  • Fahrzeugmodell hinzufügen
  • Baugruppe auswählen
  • Fahrzeug-Identifizierungsnummer (FIN) eingeben
  • Über 5.000 originale Reparaturanleitungen einsehen
Jetzt App starten
Clonck App Preview Auto Mobiltelefon Autoteile