DER AUTOREPARATUR-SHOP
0
Home » Anleitungen » 6-speed manual gearboxes 02Q and 0BB
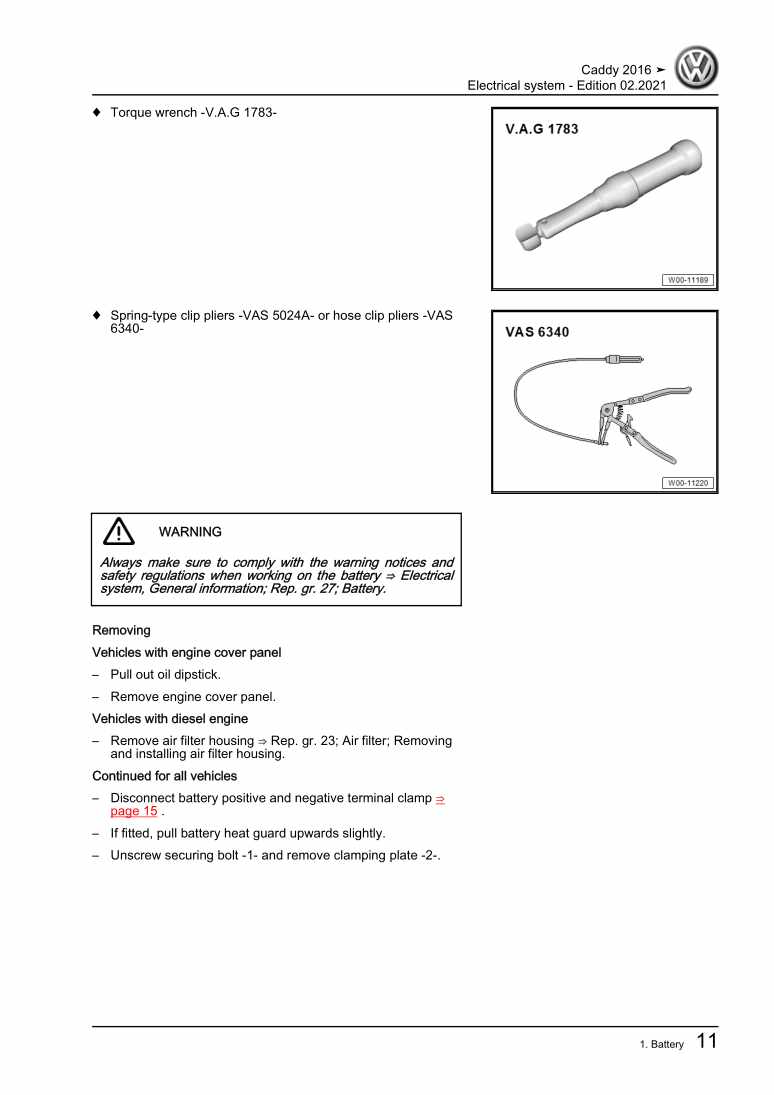
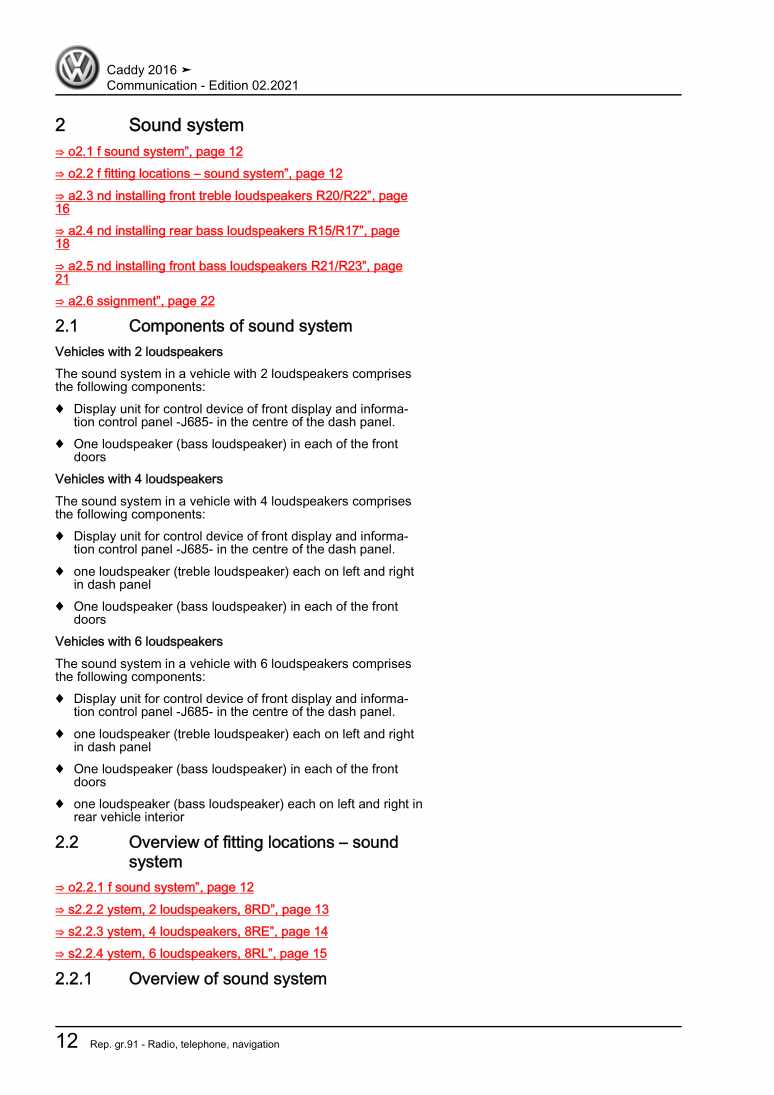
  • Beispielseite für Reparaturanleitung 6-speed manual gearboxes 02Q and 0BB
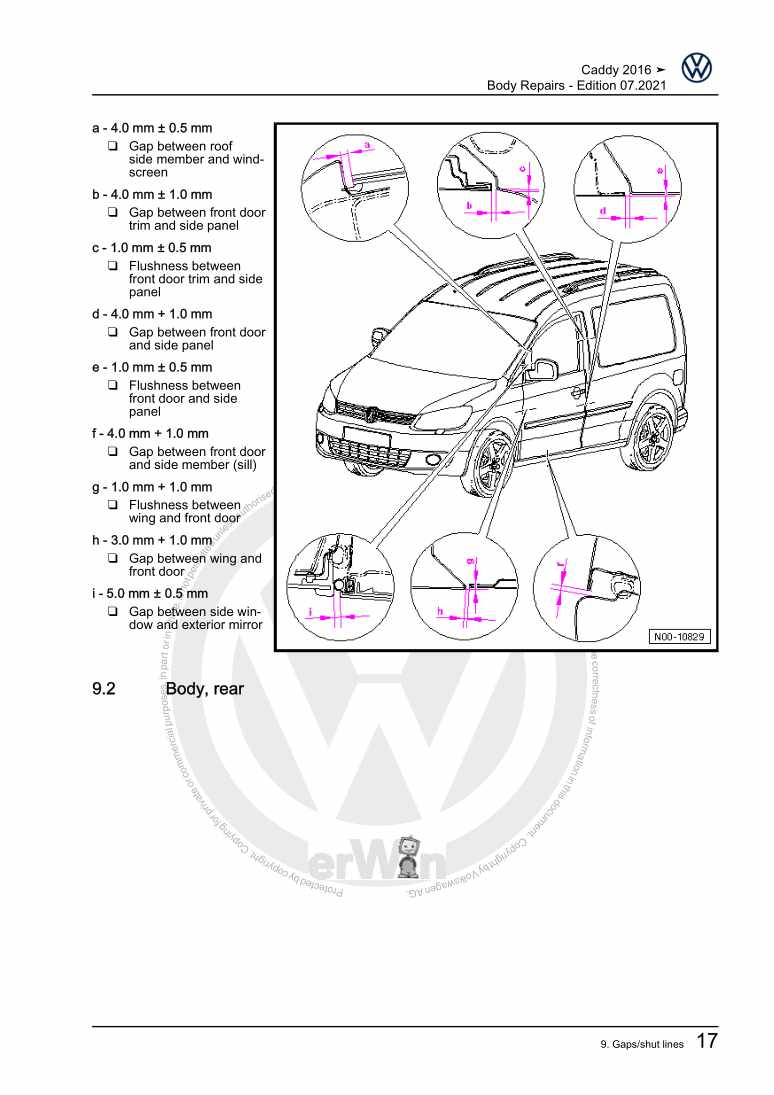
  • Beispielseite für Reparaturanleitung 2 6-speed manual gearboxes 02Q and 0BB
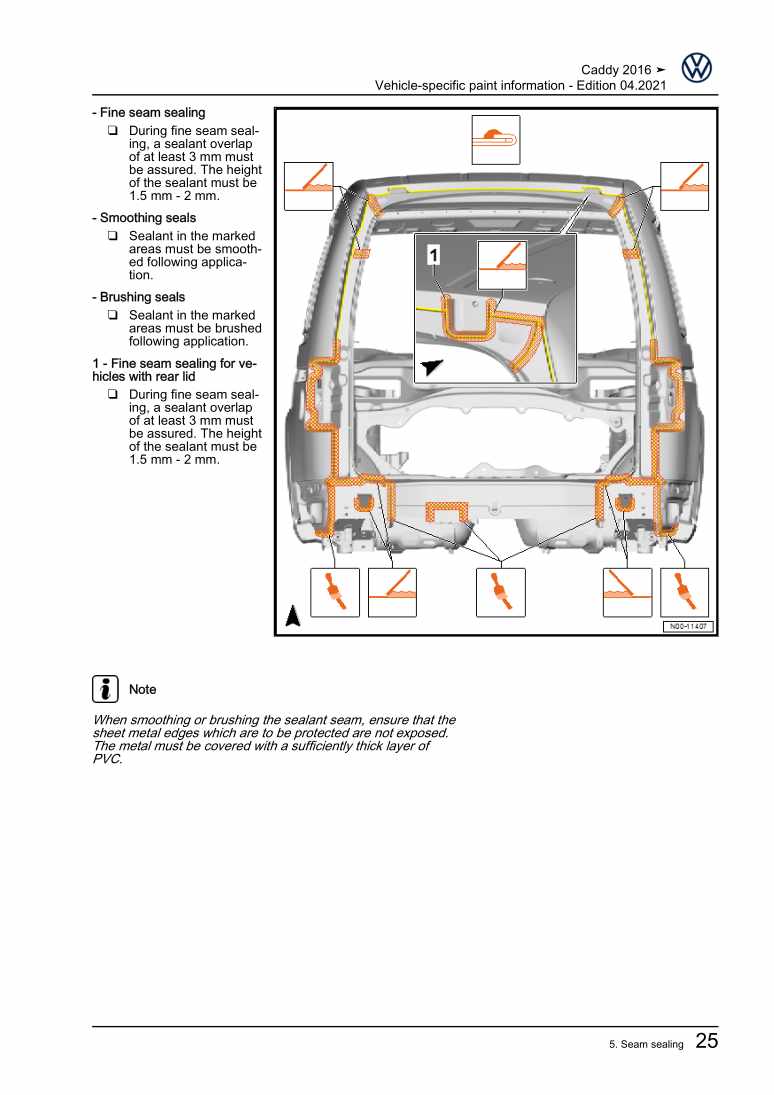
  • Beispielseite für Reparaturanleitung 3 6-speed manual gearboxes 02Q and 0BB
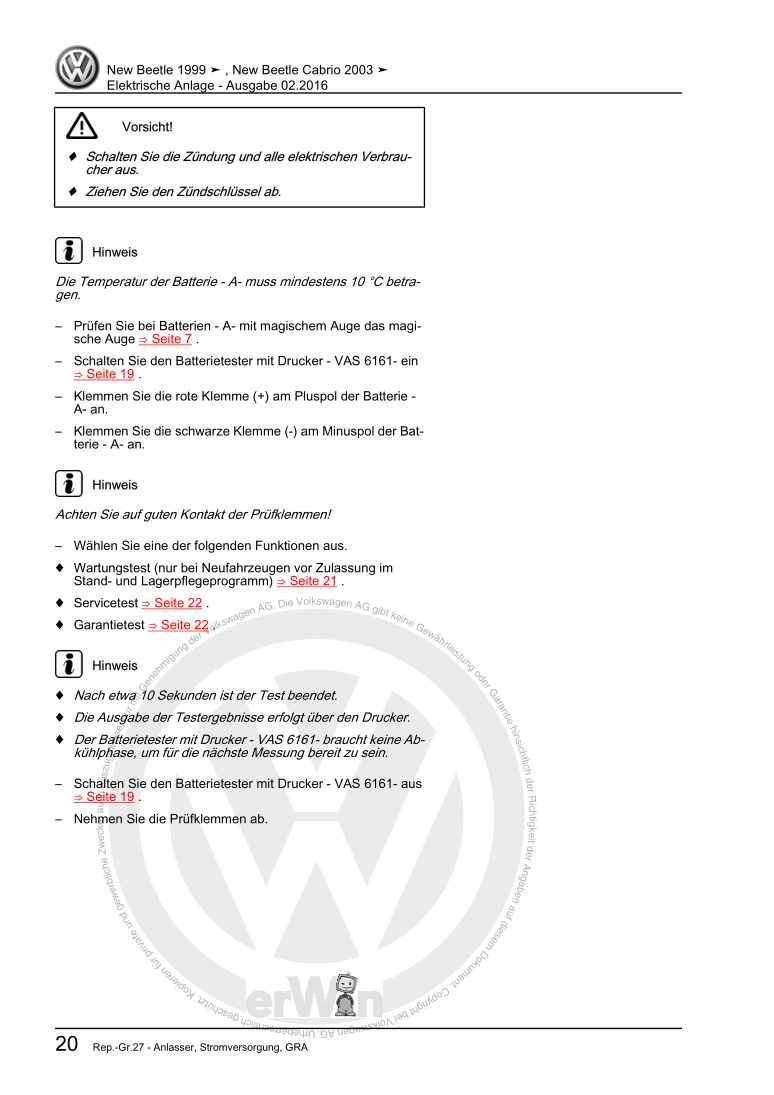
  • Beispielseite für Reparaturanleitung 6-speed manual gearboxes 02Q and 0BB
  • Beispielseite für Reparaturanleitung 2 6-speed manual gearboxes 02Q and 0BB
  • Beispielseite für Reparaturanleitung 3 6-speed manual gearboxes 02Q and 0BB

6-speed manual gearboxes 02Q and 0BB

Für Caddy

Original VW-Reparaturanleitung


28,90 €inkl. 7% MwSt.

  • Deutsch
  • English

Sofort als Download verfügbar

Sprache: English

Digitale PDF Version

14.593 KB

380 Seiten

Detaillierte technische Daten

Sofort lesbar

Diese Reparaturanleitung umfasst: Clutch mechanism, Bevel box, Removing and installing gearbox, Assembly mountings, Gearbox housing, clutch housing, Output shaft, Differential und Adjustment overview. Mehr anzeigen
Sichere Zahlung per PayPal, Kreditkarte, Lastschrift, Sofort-Überweisung oder Giropay
PayPal Logo SEPA Lastschrift Logo Giropay Logo Sofort Überweisung Logo

Reparaturanleitung Caddy 6-speed manual gearboxes 02Q and 0BB pdf Download mit dem Inhalt:

Kapitelübersicht

  • Technical data
    1
  • 1 Safety information
    1
  • 1.2 Safety measures when working on vehicles with a start/stop system
    1
  • 1.3 Safety precautions when tow-starting or towing
    2
  • 1.4 All-wheel drive - notes on performance test
    2
  • 2 Identification
    3
  • 2.1 Gearbox identification
    3
  • 3 Repair instructions
    6
  • 3.1 Contact corrosion
    6
  • 3.2 General repair instructions
    6
  • 4 Technical data
    11
  • 4.1 Allocation gearbox - engine
    11
  • 4.2 Capacities
    13
  • 4.3 Calculation of gear ratios
    13
  • 5 Overview - power transmission
    14
  • 5.1 Overview - power transmission - front-wheel drive
    14
  • 5.2 Overview - power transmission - all-wheel drive
    15
  • 6 Electrical components
    18
  • 6.1 Overview of fitting locations - electrical components
    18
  • Clutch
    20
  • 1 Clutch mechanism
    20
  • 1.1 Assembly overview - pedal cluster
    20
  • 1.2 Assembly overview - clutch hydraulics
    22
  • 1.3 Assembly overview - clutch release mechanism
    25
  • 1.4 Removing and installing clutch pedal
    27
  • 1.5 Removing and installing over-centre spring
    32
  • 1.6 Removing and installing mounting bracket
    39
  • 1.7 Removing and installing clutch master cylinder
    47
  • 1.8 Removing and installing clutch slave cylinder together with release bearing
    50
  • 1.9 Removing and installing lines for clutch mechanism
    53
  • 1.10 Removing and installing bleeder
    55
  • 1.11 Bleeding clutch mechanism
    56
  • 1.12 Checking clutch master cylinder and clutch slave cylinder
    58
  • 1.13 Removing and installing clutch position sender G476
    58
  • 2 Clutch
    62
  • 2.1 Assembly overview - clutch
    62
  • 2.2 Removing and installing clutch
    63
  • Controls, housing
    76
  • 1 Bevel box
    76
  • 1.1 Assembly overview - bevel box
    76
  • 1.2 Removing bevel box
    79
  • 1.3 Installing bevel box
    88
  • 2 Selector mechanism
    94
  • 2.1 Installation position - selector mechanism
    94
  • 2.2 Assembly overview – gear knob and cover
    95
  • 2.3 Assembly overview - Gear lever and selector housing
    96
  • 2.4 Assembly overview – selector cables
    98
  • 2.5 Removing and installing gear knob
    101
  • 2.6 Removing and installing selector mechanism
    102
  • 2.7 Adjusting selector mechanism
    111
  • 2.8 Checking selector mechanism
    115
  • 2.9 Removing and installing gear selector cable
    115
  • 2.10 Renewing selector shaft seal
    118
  • 2.11 Dismantling and assembling selector mechanism
    121
  • 2.12 Removing and installing selector unit
    128
  • 3 Removing and installing gearbox
    133
  • 3.1 Specified torques for gearbox
    133
  • 3.2 Removing gearbox
    133
  • 3.3 Installing gearbox
    162
  • 4 Assembly mountings
    182
  • 4.1 Assembly overview - assembly mountings
    182
  • 5 Transporting gearbox
    186
  • 6 Dismantling and assembling gearbox
    187
  • 6.1 Schematic overview - gearbox
    187
  • 6.2 Assembly overview - gearbox
    188
  • 6.3 Assembly overview - gearbox housing and selector mechanism
    190
  • 6.4 Assembly overview - selector unit
    192
  • 6.5 Assembly overview - input shaft, output shafts, differential, selector rods
    193
  • 6.6 Assembly overview - selector forks
    197
  • 6.7 Dismantling and assembling gearbox
    198
  • 7 Gearbox housing, clutch housing
    220
  • 7.1 Assembly overview - gearbox housing
    220
  • 7.2 Assembly overview - clutch housing
    222
  • 7.3 Repairing gearbox housing
    224
  • 7.4 Repairing clutch housing
    233
  • 8 Securing to engine and gearbox support
    237
  • 8.1 Securing to engine and gearbox support
    237
  • 8.2 Installing bevel box to engine and gearbox support
    238
  • 9 Gear oil
    240
  • 9.1 Checking gear oil level
    240
  • 9.2 Draining and filling gear oil
    242
  • Gears, shafts
    246
  • 1 Input shaft
    246
  • 1.1 Assembly overview - input shaft
    246
  • 1.2 Dismantling and assembling input shaft
    247
  • 1.3 Renewing input shaft seal
    253
  • 2 Output shaft
    255
  • 2.1 Assembly overview - output shaft
    255
  • 2.2 Dismantling and assembling output shaft
    260
  • 2.3 Adjusting output shaft
    290
  • Final drive - differential
    302
  • 1 Gear oil
    302
  • 1.1 Checking gear oil level
    302
  • 1.2 Draining and filling gear oil
    304
  • 2 Oil seals
    310
  • 2.1 Overview of fitting locations - oil seals
    310
  • 2.2 Renewing left seal
    311
  • 2.3 Renewing right seal
    316
  • 3 Differential
    326
  • 3.1 Assembly overview - differential
    326
  • 3.2 Dismantling and assembling differential
    331
  • 3.3 Adjusting differential
    345
  • 4 Adjustment overview
    350
  • 5 Components of bevel box
    351
  • 5.1 Assembly overview - components of bevel box
    351
  • 5.2 Renewing bevel box seals
    353
  • 5.3 Renewing output flange and redetermining thickness of shim
    366
  • 5.4 Removing and installing right flange shaft
    367
Hersteller­bezeichnung 6-speed manual gearboxes 02Q and 0BB
Hersteller Volkswagen
Passend für Caddy (2016)
Passende Autotypen SA
Getriebe­bezeichnungen 02Q, 0BB
Getriebetypen HVS, GVT, HDU, HDV, GXC, GRF, GNE, KDM, KDN, KDQ, KDS, KDU, KNR, KNS, KNU, KNY, KPA, KNX, KDR, KXW, KXX, KXZ, KZS, KZW, LHD, FUR, JLU, JMA, KRM, KXD, LNP, LNZ, LPA, KZU, LWN, MHA, NEH, LMN, MAX, MAY, MDL, NFL, NFN, NFP, NFU, NGB, NGC, NGD, HJH, JLW, JLZ, JLT, JQN, JRC, JRD, JRF, JRK, JBS, LHB, LRR, LMT, LQU, LXM, LZV, MJS, NFZ
Kategorie Reparaturanleitung

Im Moment sind noch keine Bewertungen für dieses Produkt vorhanden.

Ähnliche Reparaturanleitungen

Fuel supply system, petrol engines
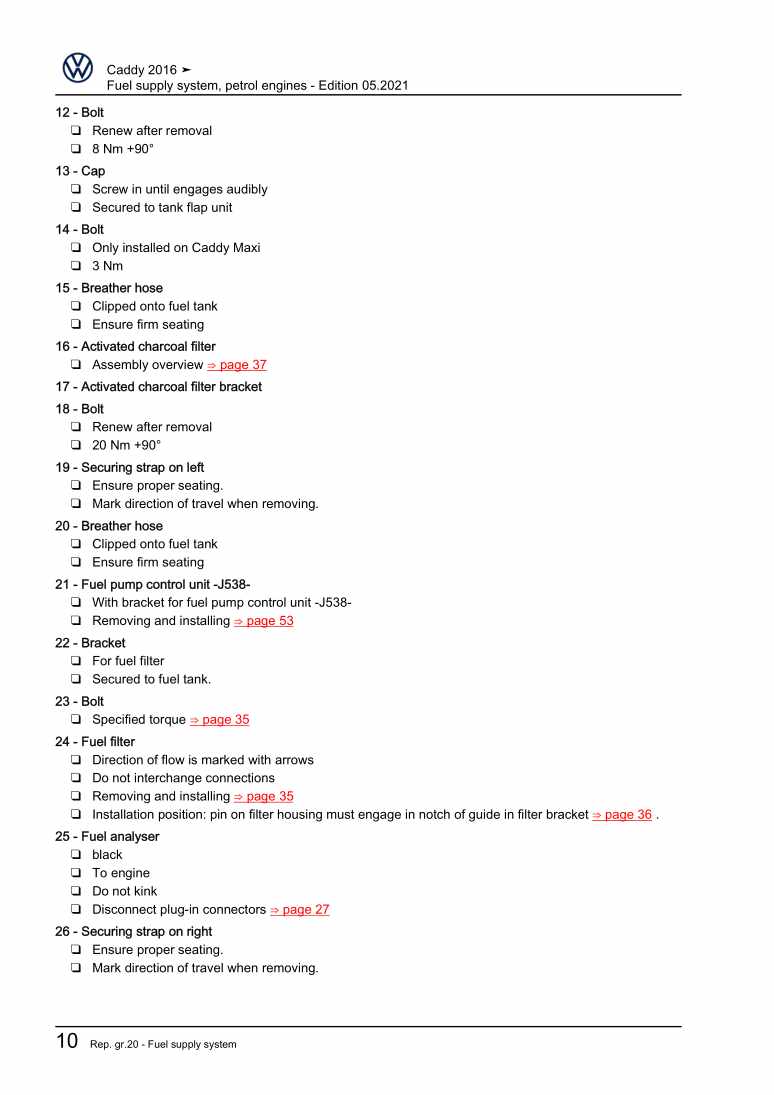
Beispielseite für Reparaturanleitung Fuel supply system, petrol engines

Für Caddy (2016)

6,64 € Details

4-cylinder injection engine (1.4 l direct injection engine, turbocharger)
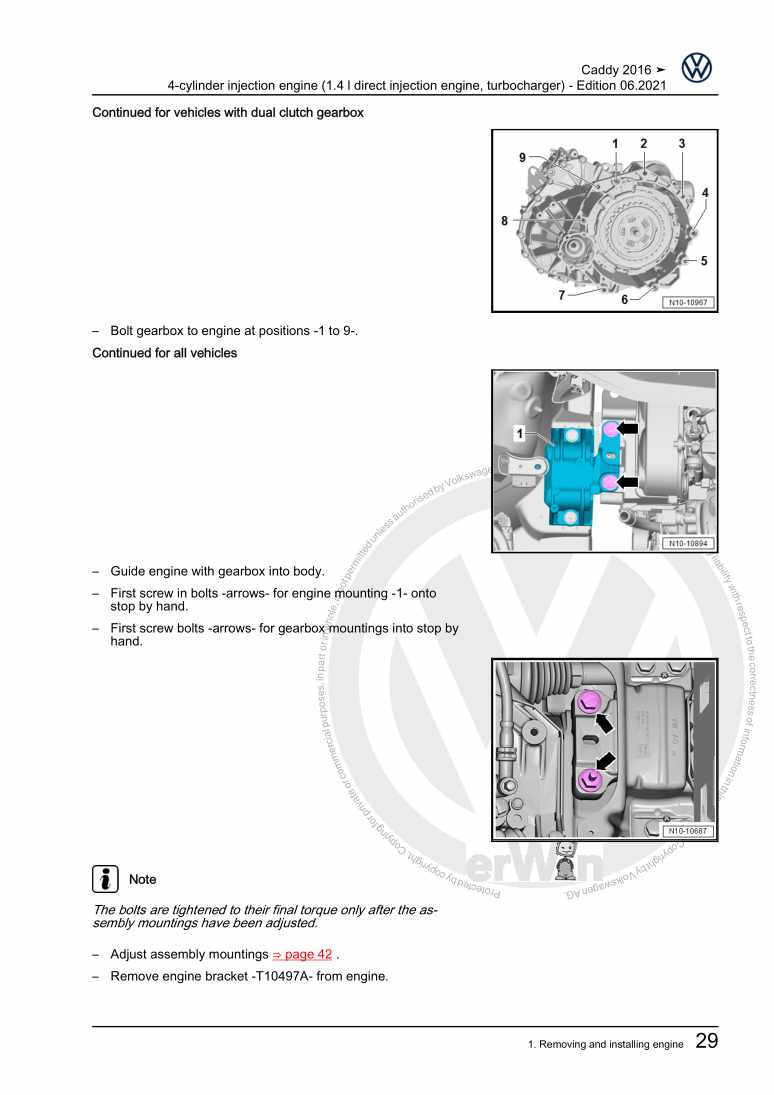
Beispielseite für Reparaturanleitung 4-cylinder injection engine (1.4 l direct injection engine, turbocharger)

Für Caddy (2016)

27,52 € Details

Electrical system

Beispielseite für Reparaturanleitung Electrical system

Für Caddy (2016)

28,09 € Details

Body Repairs

Beispielseite für Reparaturanleitung Body Repairs

Für Caddy (2016)

28,90 € Details

3-cylinder direct-injection engine (1.0 l engine, 4V, EA 211)
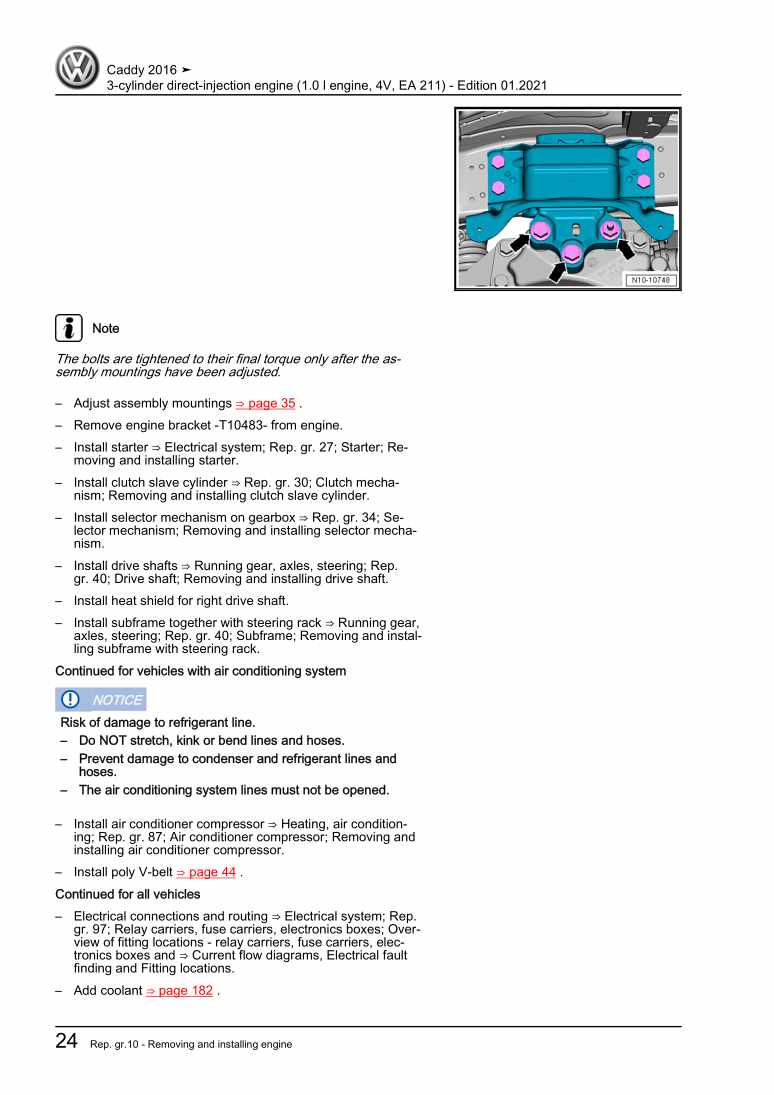
Beispielseite für Reparaturanleitung 3-cylinder direct-injection engine (1.0 l engine, 4V, EA 211)

Für Caddy (2016)

25,05 € Details

Vehicle-specific paint information

Beispielseite für Reparaturanleitung Vehicle-specific paint information

Für Caddy (2016)

5,41 € Details

-Fitting locations: special vehicles

Beispielseite für Reparaturanleitung -Fitting locations: special vehicles

Für Caddy (2016)

4,58 € Details

Propshaft and rear final drive

Beispielseite für Reparaturanleitung Propshaft and rear final drive

Für Caddy (2016)

6,70 € Details

Communication

Beispielseite für Reparaturanleitung Communication

Für Caddy (2016)

9,91 € Details

Fuel supply system - natural gas engines
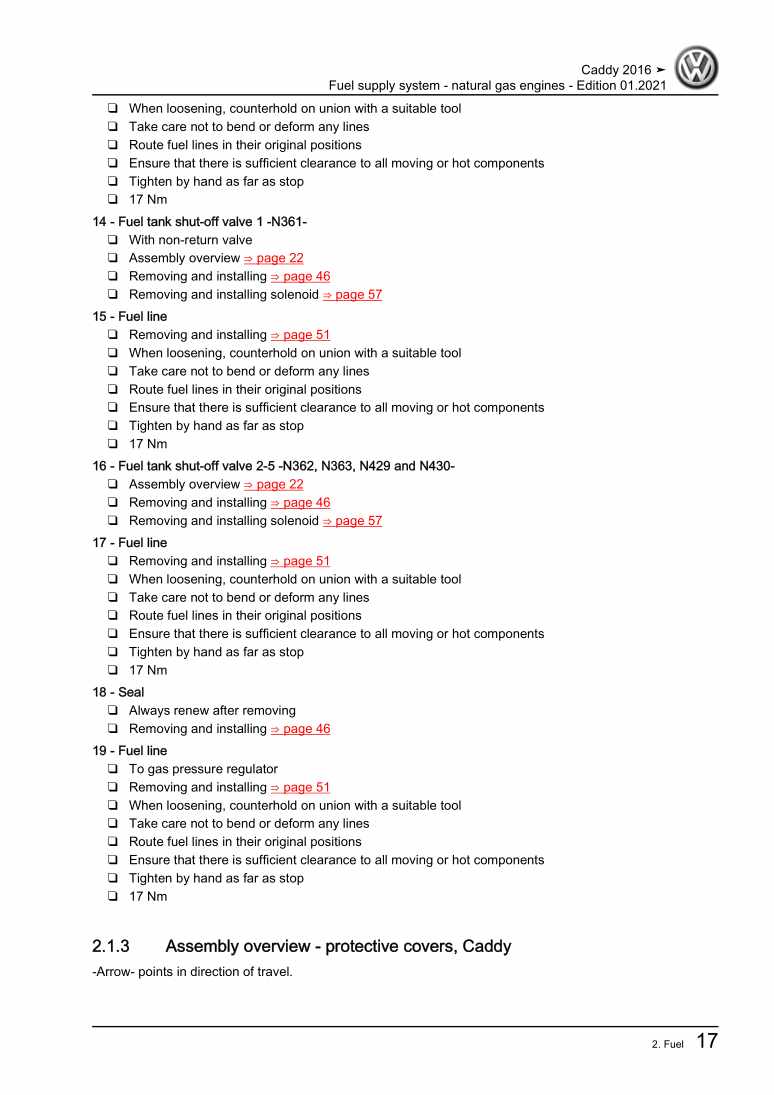
Beispielseite für Reparaturanleitung Fuel supply system - natural gas engines

Für Caddy (2016)

11,46 € Details

Unsere Best Seller

Schon gewusst? Wir bieten auch originale Autoteile an.

Autoteil 5N0971148AA Leitg.Satz

5N0971148AA

Leitg.Satz

173,80 €

Details
Autoteil 8E0972112A Gehaeuse

8E0972112A

Gehaeuse

9,03 €

Details
Autoteil 1Y0035411M Tieftoener

1Y0035411M

Tieftoener

67,06 €

Details
Autoteil N90851401 Dichtring

N90851401

Dichtring

4,11 €

Details
Autoteil 2E1864611 Abdeckung

2E1864611

Abdeckung

72,53 €

Details

Nr. 534: Der 1,4 l-3-Zylinder-TDI-Motor der Dieselmotoren-Baureihe EA288
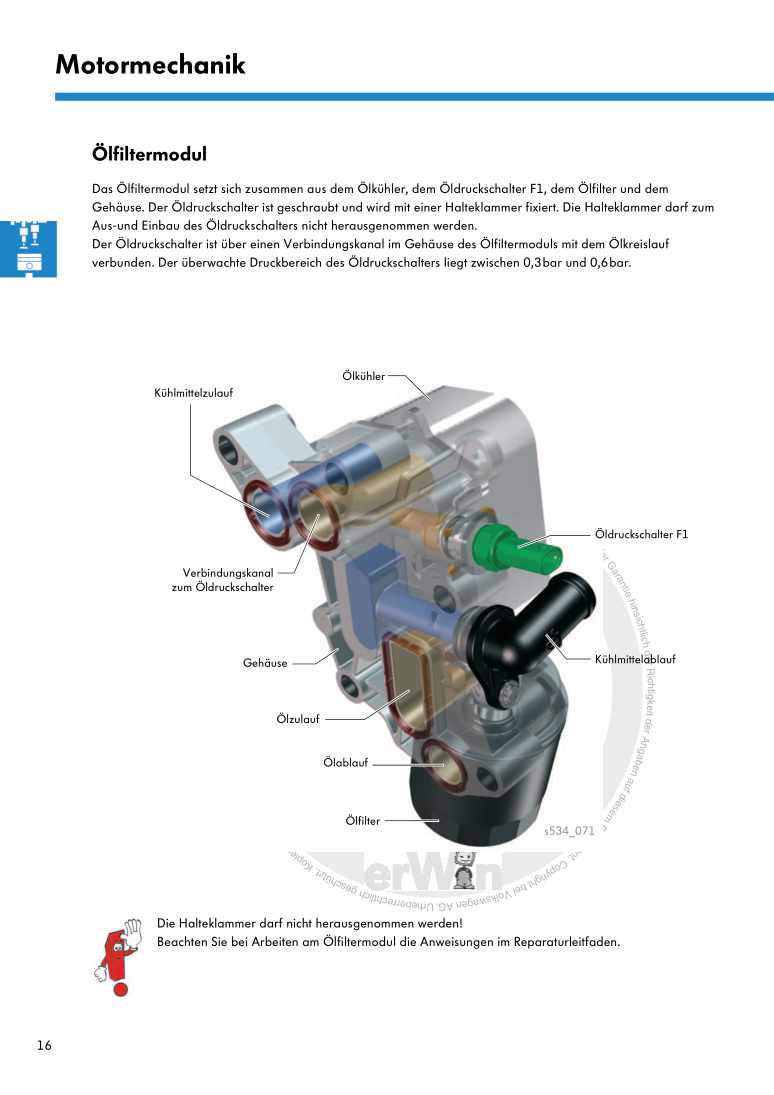
Beispielseite für Reparaturanleitung Nr. 534: Der 1,4 l-3-Zylinder-TDI-Motor der Dieselmotoren-Baureihe EA288

5,89 € Details

Elektrische Anlage

Beispielseite für Reparaturanleitung Elektrische Anlage

Für New Beetle Cabrio (2003 - 2010) / New Beetle / New Beetle (USA) (1998 - 2007) / New Beetle (Europe) (1999 - 2002)

21,63 € Details

4-Zyl. Common Rail (1,6- und 2,0 l, 4V, Turbolader, EA 288)
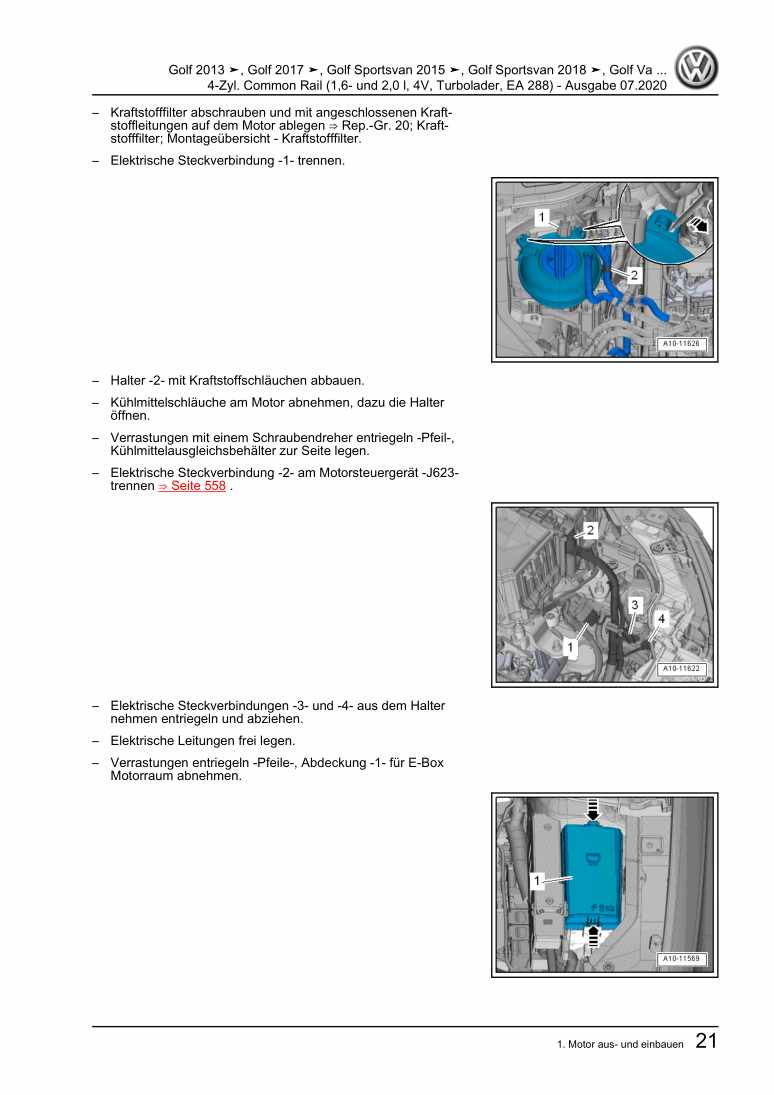
Beispielseite für Reparaturanleitung 4-Zyl. Common Rail (1,6- und 2,0 l, 4V, Turbolader, EA 288)

Für Golf VII (2013) / Golf Variant (2014) / Golf Sportsvan (2014 >) / Touran (2016 > ) / Golf VII (2017) / Golf (2017) / Golf Sportsvan (2018 >)

47,69 € Details

image/svg+xml Über Clonck

Originale Reparaturanleitungen und Ersatzteile

Unsere Reparaturanleitungen sind Originale, kommen direkt von Volkswagen und erfüllen die höchsten Qualitätsstandards.

In unserem Originalteile-Shop verkaufen wir hochwertige Originalersatzteile der Fahrzeughersteller. Mithilfe der Suche gibst du die gewünschte Teilenummer (OE-Nummer) ein und bestellst schnell und einfach das benötigte Ersatzteil.

Höchste Qualitätsstandards

Bei Clonck wollen wir Autoschrauber und Kfz-Profis glücklich machen. Aus diesem Grund findest du bei Clonck ausschließlich professionelle und hochwertige Reparaturanleitungen, mit deren Hilfe du dein Fahrzeug fachgerecht reparieren kannst.

Unsere Partner

Autohaus Schmidt GmbH
Automag GmbH Filiale Laim
KFZ-VERLAG GmbH
Zimpel und Franke GmbH

Clonck: Der Autoreparatur-Shop - gibt's auch als App!

Clonck App Logo Play Store

Clonck: Passende Autoteile für deine Autoreparatur

4,5 90

Mit Clonck bestellst du die richtigen Originalersatzteile im Handumdrehen.

  • Fahrzeugmodell hinzufügen
  • Baugruppe auswählen
  • Fahrzeug-Identifizierungsnummer (FIN) eingeben
  • Über 5.000 originale Reparaturanleitungen einsehen
Jetzt App starten
Clonck App Preview Auto Mobiltelefon Autoteile