THE CAR REPAIR SHOP
0
Home » Manuals » Running gear, axles, steering
  • Examplepage for repair manual Running gear, axles, steering
  • Examplepage for repair manual 2 Running gear, axles, steering
  • Examplepage for repair manual 3 Running gear, axles, steering
  • Examplepage for repair manual Running gear, axles, steering
  • Examplepage for repair manual 2 Running gear, axles, steering
  • Examplepage for repair manual 3 Running gear, axles, steering

Running gear, axles, steering

For ID.4

Original Volkswagen repair manual


20,86 €7% VAT incl.

Immediately available for download

Language: English

Digital PDF file

24.217 KB

259 Sites

Detailed technical data

Immediately readable

This repair manual contains: Safety information and repair notes, Front axle, Subframe, Suspension strut, upper suspension link, Wheel bearing, Drive shaft, Electronically controlled damping and Vehicle level sender. Show more
Secure Payment via PayPal, credit card, direct debit and more
PayPal Logo SEPA Lastschrift Logo Giropay Logo Sofort Überweisung Logo

Repair manual ID.4 Running gear, axles, steering PDF download has the following content:

Chapter overview

  • Front suspension
    1
  • 1 Safety information and repair notes
    1
  • 1.1 Safety information
    1
  • 1.2 Repair notes
    1
  • 2 Front axle
    2
  • 2.1 Overview of fitting locations – front axle
    2
  • 3 Subframe
    3
  • 3.1 Removing and installing subframe with steering rack
    3
  • 3.2 Repairing thread in longitudinal member
    10
  • 3.3 Fixing subframe in position
    10
  • 3.4 Taking up weight of subframe using scissor-type assembly platform
    13
  • 3.5 Preparing scissor-type assembly platform
    14
  • 3.6 Supporting components in vehicle front end in installation position
    16
  • 3.7 Removing and installing subframe with electric motor
    19
  • 3.8 Assembly overview – subframe
    28
  • 3.9 Renewing front motor mounting
    30
  • 3.10 Lowering subframe
    31
  • 4 Suspension strut, upper suspension link
    32
  • 4.1 Assembly overview – suspension strut
    32
  • 4.2 Removing and installing suspension strut
    34
  • 4.3 Removing and installing spring
    40
  • 5 Lower suspension link, swivel joint
    45
  • 5.1 Assembly overview – suspension link, swivel joint
    45
  • 5.2 Removing and installing suspension link
    47
  • 5.3 Checking swivel joint
    48
  • 5.4 Removing and installing swivel joint
    49
  • 5.5 Removing and installing stone deflector for suspension link
    51
  • 5.6 Renewing suspension link mounting, rear
    52
  • 5.7 Renewing front suspension link mounting
    54
  • 6 Wheel bearing
    58
  • 6.1 Assembly overview – wheel bearing assembly
    58
  • 6.2 Removing and installing wheel bearing housing
    59
  • 6.3 Removing and installing wheel bearing unit
    64
  • 6.4 Loosening and tightening threaded connections of wheel bearings
    66
  • 7 Drive shaft
    69
  • 7.1 Assembly overview – drive shaft
    69
  • 7.2 Removing and installing drive shaft
    70
  • 7.3 Tensioning clamp for boot
    74
  • 7.4 Loosening and tightening threaded connections of drive shaft
    76
  • 7.5 Dismantling and assembling drive shaft
    78
  • 8 Anti-roll bar
    85
  • 8.1 Assembly overview – anti-roll bar
    85
  • 8.2 Removing and installing anti-roll bar
    85
  • 8.3 Removing and installing coupling rod
    87
  • Rear suspension
    88
  • 1 Safety information and repair notes
    88
  • 1.1 Safety information
    88
  • 1.2 Repair notes
    88
  • 2 Rear axle
    89
  • 2.1 Overview of fitting locations – rear axle
    89
  • 2.2 Removing and installing rear axle
    91
  • 2.3 Lowering rear axle
    96
  • 2.4 Securing vehicle to support arms of lifting platform
    100
  • 3 Subframe
    103
  • 3.1 Fixing subframe in position
    103
  • 3.2 Assembly overview – subframe mountings
    104
  • 3.3 Assembly overview – subframe
    105
  • 3.4 Preparing scissor-type assembly platform
    105
  • 3.5 Taking up weight of subframe using scissor-type assembly platform
    108
  • 3.6 Renewing gearbox mounting
    109
  • 3.7 Renewing motor mountings
    116
  • 3.8 Renewing front subframe mountings
    125
  • 3.9 Renewing rear subframe mountings
    132
  • 4 Anti-roll bar
    141
  • 4.1 Assembly overview – anti-roll bar
    141
  • 4.2 Removing and installing anti-roll bar
    143
  • 4.3 Removing and installing coupling rod
    143
  • 5 Suspension link, track rod
    146
  • 5.1 Assembly overview – suspension link
    146
  • 5.2 Removing and installing track rod
    147
  • 5.3 Assembly overview – track rod
    149
  • 5.4 Removing and installing stone deflector for spring control arm
    150
  • 5.5 Assembly overview – spring control arm
    151
  • 5.6 Removing and installing spring control arm
    152
  • 5.7 Removing and installing lower suspension link
    154
  • 5.8 Removing and installing upper rear suspension link
    156
  • 5.9 Removing and installing upper front suspension link
    158
  • 6 Suspension strut, shock absorber, spring
    161
  • 6.1 Removing and installing shock absorber
    161
  • 6.2 Renewing shock absorber
    163
  • 6.3 Assembly overview – spring
    166
  • 6.4 Assembly overview – shock absorber
    167
  • 6.5 Removing and installing spring
    168
  • 7 Wheel bearing assembly, trailing arm
    173
  • 7.1 Assembly overview – wheel bearing assembly
    173
  • 7.2 Removing and installing wheel bearing housing
    173
  • 7.3 Removing and installing wheel bearing unit
    176
  • 7.4 Raising wheel bearing assembly to unladen position
    178
  • 8 Drive shaft
    182
  • 8.1 Assembly overview – drive shaft
    182
  • 8.2 Removing and installing drive shaft
    184
  • 8.3 Loosening and tightening threaded connections of drive shaft
    190
  • 8.4 Checking outer constant velocity joint
    191
  • 8.5 Dismantling and assembling drive shaft
    192
  • 8.6 Tensioning clamp for boot
    199
  • Self-levelling suspension
    202
  • 1 Safety information and repair notes
    202
  • 1.1 Safety information
    202
  • 1.2 Repair notes
    202
  • 2 Electronically controlled damping
    203
  • 2.1 Overview of fitting locations – electronically controlled damping
    203
  • 2.2 Assembly overview – electronically controlled damping control unit [J250]
    205
  • 2.3 Removing and installing electronically controlled damping control unit [J250]
    205
  • 2.4 Removing and installing front body acceleration senders [G341]/[G342]
    206
  • 2.5 Removing and installing rear body acceleration sender [G343]
    207
  • 2.6 Assembly overview - electronically controlled damping
    208
  • 3 Vehicle level sender
    210
  • 3.1 Assembly overview – front vehicle level senders
    210
  • 3.2 Assembly overview – rear vehicle level senders
    210
  • 3.3 Removing and installing front vehicle level senders [G78]/[G289]
    211
  • 3.4 Removing and installing rear vehicle level senders [G76]/[G77]
    213
  • Wheels, tyres, vehicle geometry
    215
  • 1 Safety information and repair notes
    215
  • 1.1 Safety information
    215
  • 1.2 Repair notes
    215
  • 2 Wheel alignment
    216
  • 2.1 Notes for wheel alignment
    216
  • 2.2 Prerequisites for wheel alignment
    216
  • 2.3 Specifications for wheel alignment
    216
  • 2.4 Setting vehicle to initial position for wheel alignment
    218
  • 2.5 Necessity of wheel alignment
    218
  • 2.6 Adjusting camber at front wheels
    219
  • 2.7 Adjusting camber on rear axle
    220
  • 2.8 Adjusting toe at rear axle
    221
  • 2.9 Adjusting front axle toe
    222
  • 2.10 Checking maximum steering wheel angle
    222
  • 2.11 Test preparations
    223
  • 3 Wheels, tyres
    224
  • 3.1 Removing wheel
    224
  • 3.2 Install wheel
    224
  • Steering
    226
  • 1 Safety information and repair notes
    226
  • 1.1 Safety information
    226
  • 1.2 Repair notes
    226
  • 2 Steering wheel
    227
  • 2.1 Assembly overview – steering wheel
    227
  • 2.2 Removing and installing steering wheel
    227
  • 3 Steering column
    229
  • 3.1 Assembly overview – steering column
    229
  • 3.2 Checking steering column for damage
    231
  • 3.3 Handling and transporting steering column
    231
  • 3.4 Removing and installing steering column
    232
  • 3.5 Removing and installing intermediate steering shaft
    235
  • 3.6 Removing and installing control unit for electronic steering column lock [J764]
    237
  • 4 Steering rack
    241
  • 4.1 Assembly overview – steering rack
    241
  • 4.2 Removing and installing steering rack
    242
  • 4.3 Removing and installing boot
    245
  • 4.4 Removing and installing track rod
    247
  • 4.5 Removing and installing track rod ball joint
    249
  • 4.6 Assembly overview – track rods
    251
  • 4.7 Repairing steering rack
    252
Manufacturer's designation Running gear, axles, steering
Manufacturer Volkswagen
Suitable for ID.4 (2020 >)
Suitable car types E2
Category Reparaturanleitung

There are no reviews for this product at the moment.

Similar repair manuals

Wheels and Tyres Guide

Examplepage for repair manual Wheels and Tyres Guide

For Golf VII (2017) / e-Golf (2017)

10,05 € Details

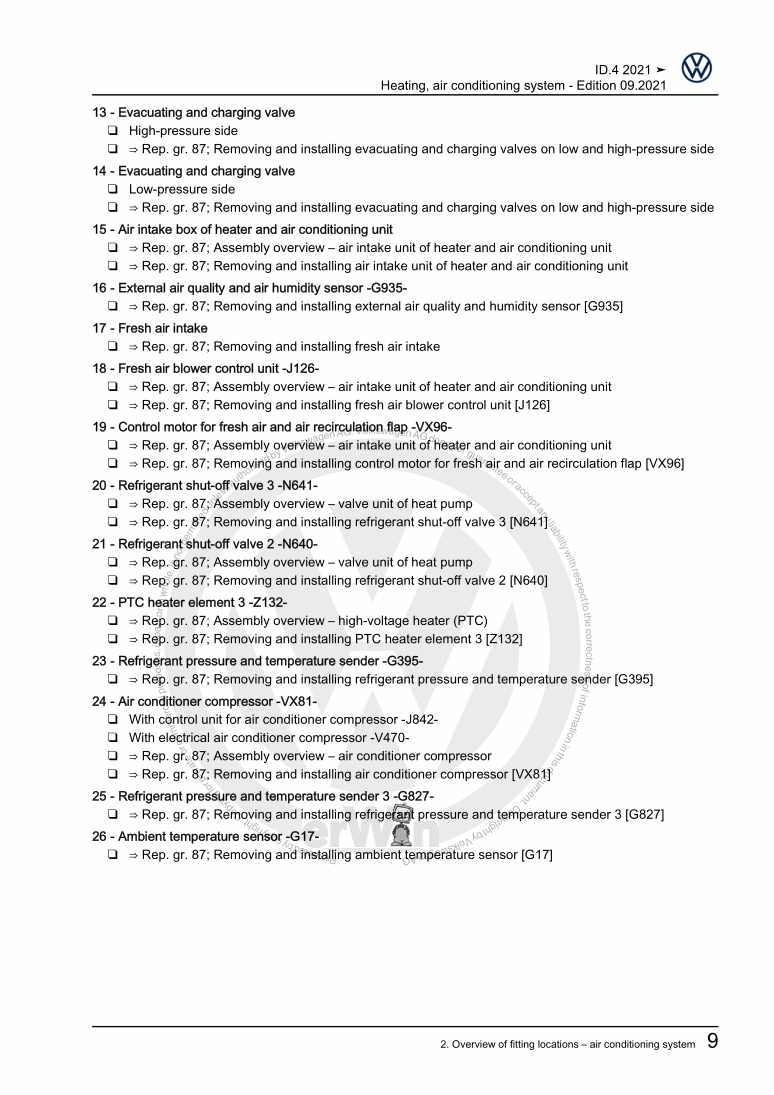
Heating, air conditioning system

Examplepage for repair manual Heating, air conditioning system

For ID.4 (2020 >)

15,75 € Details

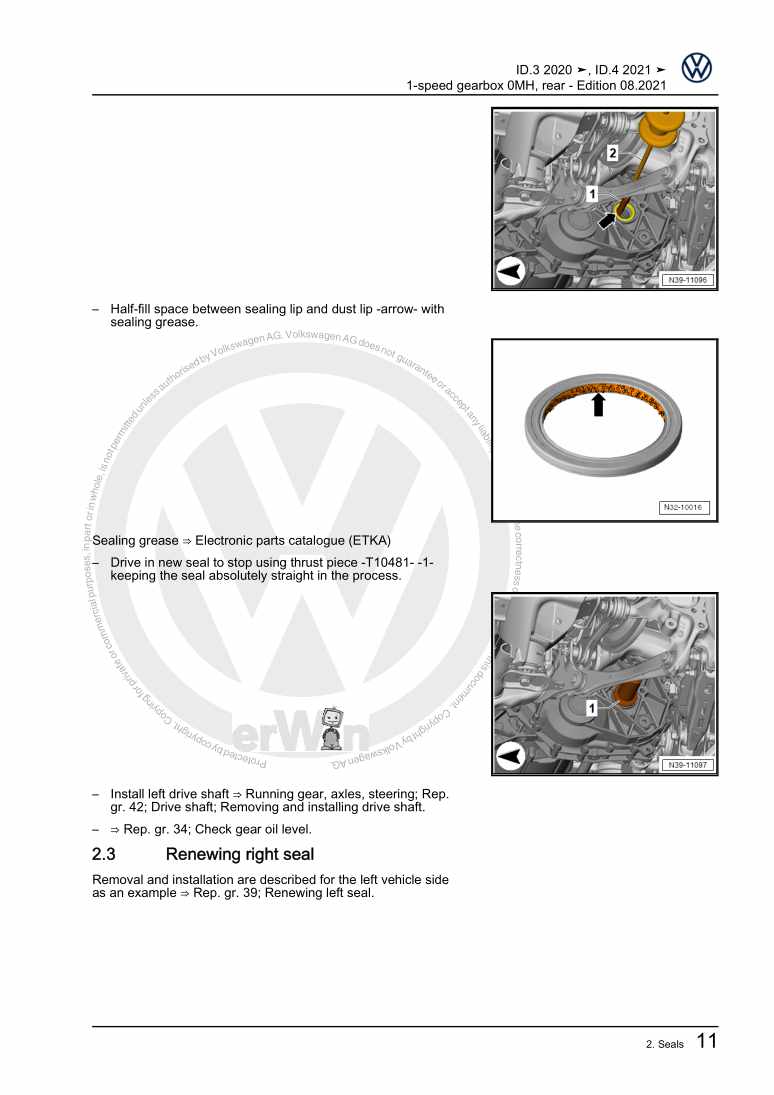
1-speed gearbox 0MH, rear

Examplepage for repair manual 1-speed gearbox 0MH, rear

For ID.3 (2020 >) / ID.4 (2020 >)

4,51 € Details

Driver assist systems

Examplepage for repair manual Driver assist systems

For ID.4 (2020 >)

5,78 € Details

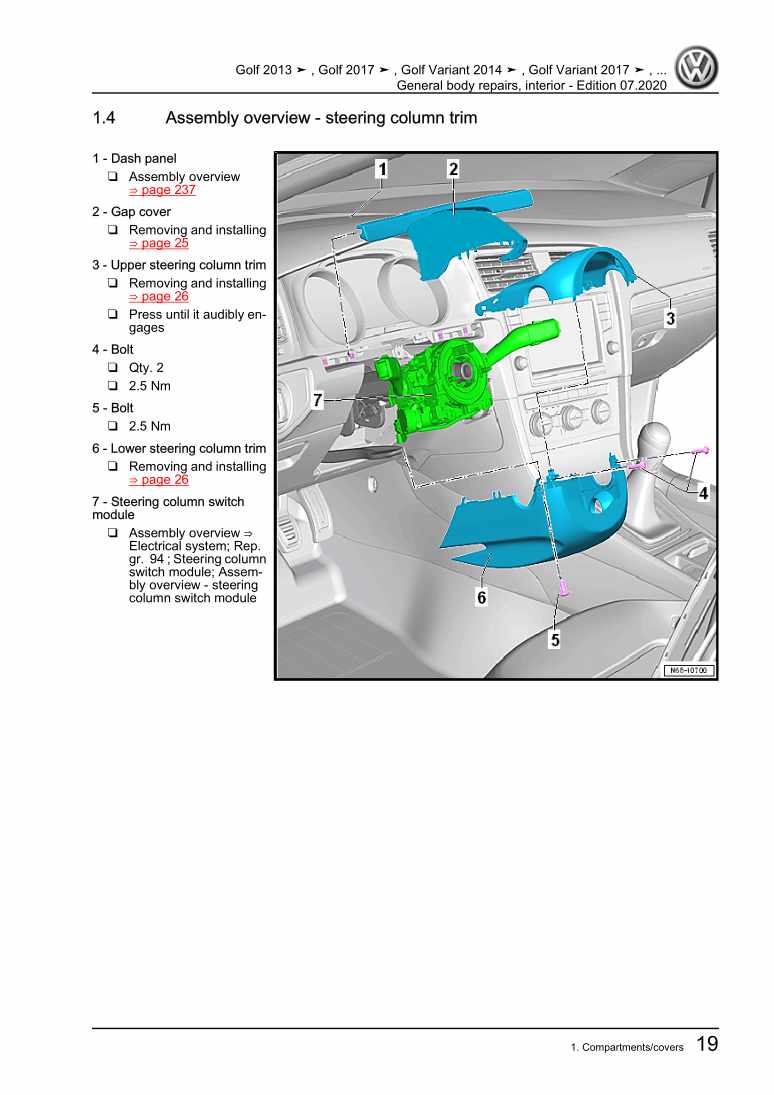
General body repairs, interior

Examplepage for repair manual General body repairs, interior

For Golf VII (2013) / Golf Variant (2014) / eGolf (ab 2014) / Golf VII (2017) / Golf (2017) / e-Golf (2017)

36,82 € Details

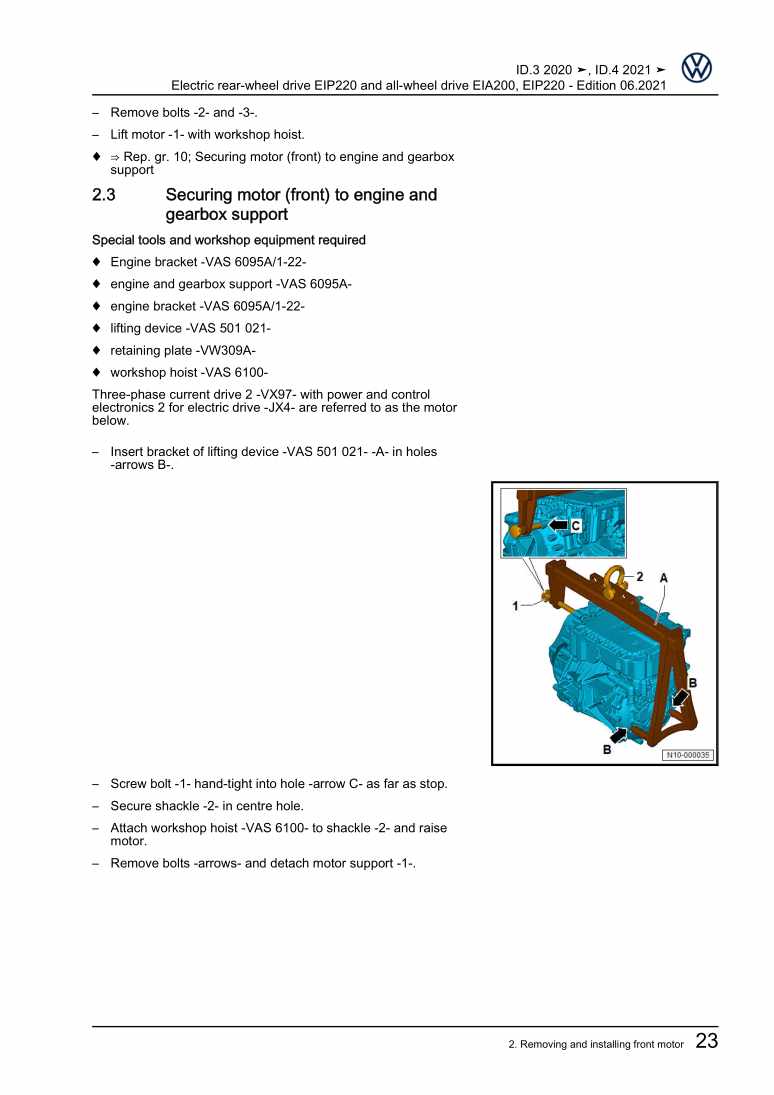
Electric rear-wheel drive EIP220 and all-wheel drive EIA200, EIP220

Examplepage for repair manual Electric rear-wheel drive EIP220 and all-wheel drive EIA200, EIP220

For ID.3 (2020 >) / ID.4 (2020 >)

22,40 € Details

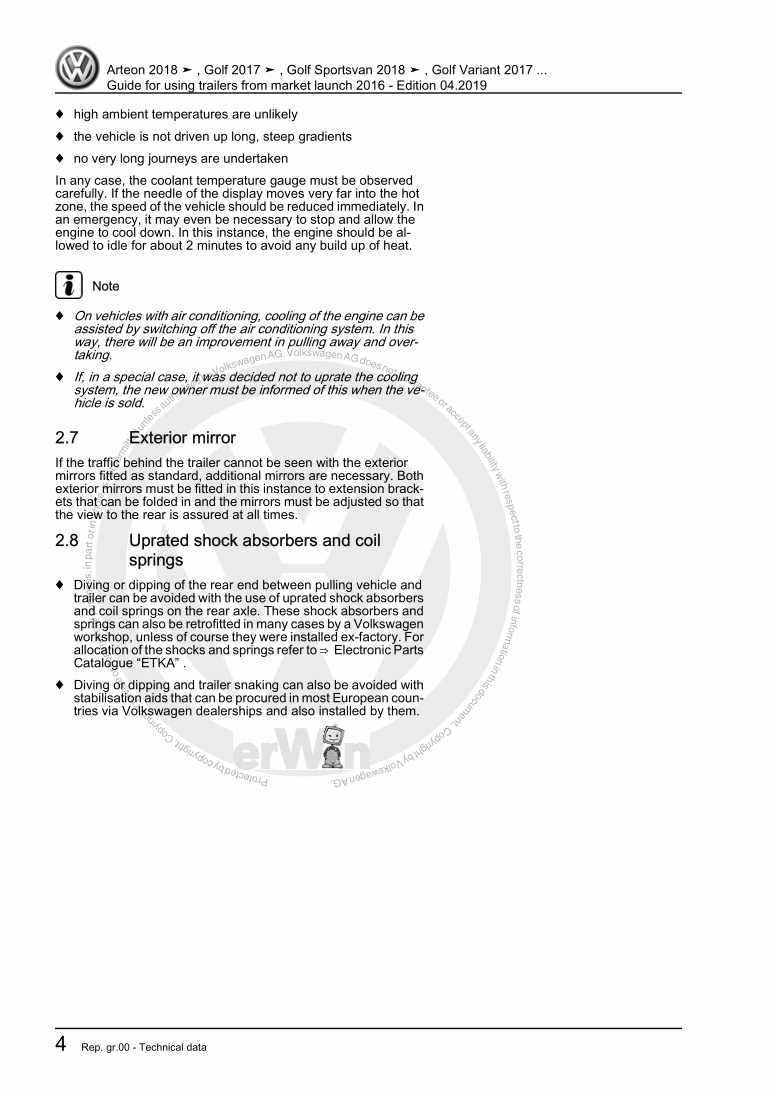
Guide for using trailers from market launch 2016

Examplepage for repair manual Guide for using trailers from market launch 2016

For Sharan (2016 > ) / Touran (2016 > ) / Tiguan (2016) / VW eUP (2012) / Golf VII (2017) / Arteon () / Tiguan RUS (2017) / Golf (2017) / e-Golf (2017) / e-UP! (2017) / Tiguan [MX] (2017 >) / Polo (2018) / T-Roc (2018 >) / Golf Sportsvan (2018 >) / Touareg (2018 >) / T-Cross (2019 >)

5,41 € Details

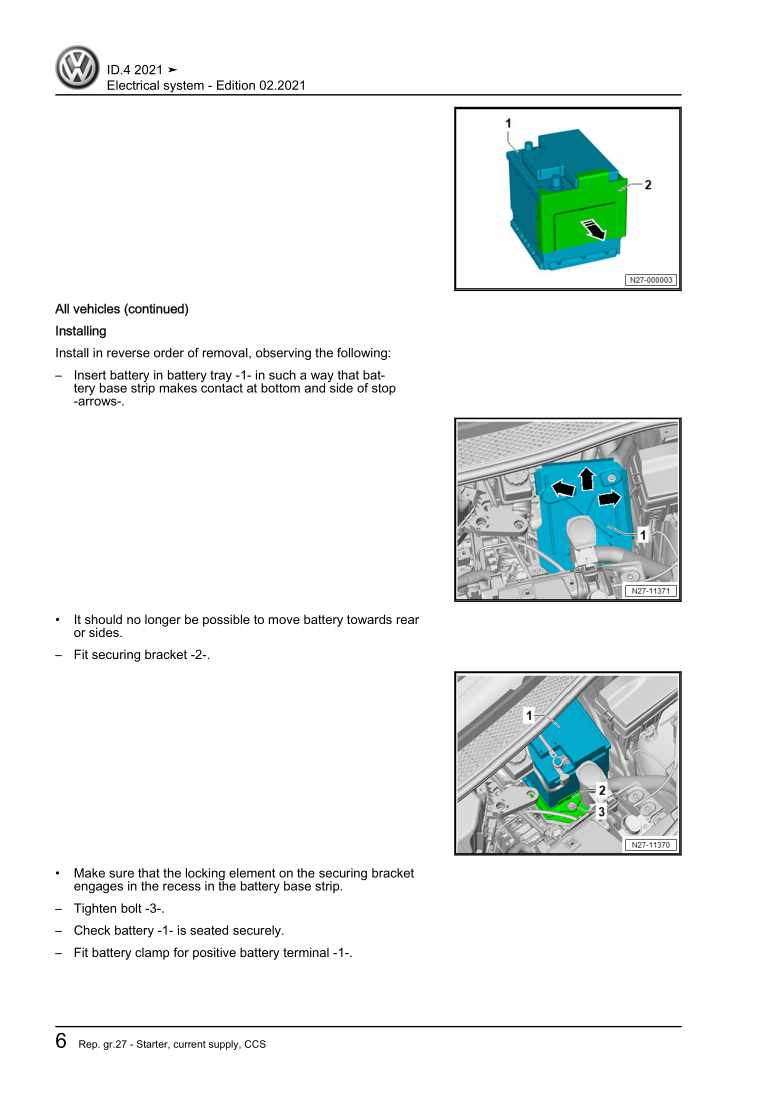
Electrical system

Examplepage for repair manual Electrical system

For ID.4 (2020 >)

16,62 € Details

Wheels and Tyres Guide

Examplepage for repair manual Wheels and Tyres Guide

For ID.4 (2020 >)

4,79 € Details

General body repairs, exterior

Examplepage for repair manual General body repairs, exterior

For ID.4 (2020 >)

22,26 € Details

Our Best Sellers

Did you know? We also offer original spare parts.

car part 070109153 Deckel

070109153

Deckel

38,73 €

Details
car part 035103245G Ventil

035103245G

Ventil

22,92 €

Details
car part 80B265340S Schlauch

80B265340S

Schlauch

138,22 €

Details
car part 028103531B Schraube

028103531B

Schraube

8,90 €

Details
car part 3C8010731D Kennschild

3C8010731D

Kennschild

5,13 €

Details

1AV Einspritz- und Zündanlage

Examplepage for repair manual 1AV Einspritz- und Zündanlage

For Golf / Golf Variant / Vento (1992 - 1999)

8,28 € Details

Digijet-Einspritzanlage/ TSZ-H Zündanlage

Examplepage for repair manual Digijet-Einspritzanlage/ TSZ-H Zündanlage

For Polo / Polo Coupe / Polo Steilheck / Polo Stufenheck (1987 - 1994)

6,35 € Details

Nr. 540: Das Abgasnachbehandlungssystem Selective-Catalytic-Reduction

Examplepage for repair manual Nr. 540: Das Abgasnachbehandlungssystem Selective-Catalytic-Reduction

5,67 € Details

image/svg+xml About Clonck

Original repair manuals und spare parts

Our repair manuals are original, come directly from Volkswagen and meet the highest quality standards.

In our original parts shop we sell high-quality original spare parts from car manufacturers. Use the search function to enter the desired part number (OE number) and order the required spare part quickly and easily.

Highest quality standards

At Clonck, we want to make car mechanics and car professionals happy. That's why you will only find professional and high-quality repair manuals at Clonck that will help you to repair your vehicle professionally.

Our partners

Autohaus Schmidt GmbH
Automag GmbH Filiale Laim
KFZ-VERLAG GmbH
Zimpel und Franke GmbH

Clonck: The car repair shop - also as app!

Clonck App Logo Play Store

Clonck: Fitting car parts for your car repair

4,5 90

With Clonck you can order the right original spare parts in no time.

  • Add your car model
  • Select assembly group
  • Enter vehicle identification number (VIN)
  • Access to over 5,000 original repair manuals
Start app now
Clonck App Preview Car Mobilephone Carparts