THE CAR REPAIR SHOP
0
Home » Manuals » Heating, air conditioning system
  • Examplepage for repair manual Heating, air conditioning system
  • Examplepage for repair manual 2 Heating, air conditioning system
  • Examplepage for repair manual 3 Heating, air conditioning system
  • Examplepage for repair manual Heating, air conditioning system
  • Examplepage for repair manual 2 Heating, air conditioning system
  • Examplepage for repair manual 3 Heating, air conditioning system

Heating, air conditioning system

For ID.3

Original Volkswagen repair manual


15,24 €7% VAT incl.

Immediately available for download

Language: English

Digital PDF file

13.486 KB

181 Sites

Detailed technical data

Immediately readable

This repair manual contains: Safety information and repair notes, Refrigerant circuit, Valve unit of heat pump, Control motors, Front heater and air conditioning unit and Air duct. Show more
Secure Payment via PayPal, credit card, direct debit and more
PayPal Logo SEPA Lastschrift Logo Giropay Logo Sofort Überweisung Logo

Repair manual ID.3 Heating, air conditioning system PDF download has the following content:

Chapter overview

  • Technical data
    1
  • 1 General information
    1
  • 1.1 Type plates, R1234yf
    1
  • 1.2 Type plates, R744
    1
  • 2 Technical data
    2
  • 2.1 Refrigerant capacities, R1234yf
    2
  • 2.2 Refrigerant capacities, R744
    2
  • 2.3 Refrigerant oil capacities, R1234yf
    2
  • 2.4 Refrigerant oil capacities, R744
    2
  • 2.5 Oil distribution
    2
  • 3 Electrical components
    4
  • 3.1 Access to diagnoses
    4
  • Air conditioning system
    6
  • 1 Safety information and repair notes
    6
  • 1.1 Safety information
    6
  • 1.2 Repair notes
    6
  • 2 Overview of fitting locations – air conditioning system
    7
  • 3 Refrigerant circuit
    15
  • 3.1 System overview – refrigerant circuit, without heat pump
    15
  • 3.2 System overview – refrigerant circuit, with heat pump
    17
  • 3.3 Assembly overview – refrigerant lines, R1234yf
    19
  • 3.4 Assembly overview – refrigerant lines, R744
    21
  • 3.5 Assembly overview – heat exchanger for high-voltage battery, R1234yf
    23
  • 3.6 Assembly overview – condenser, R1234yf
    24
  • 3.9 Removing and installing pressure sender for refrigerant circuit [G805], R1234yf
    28
  • 3.10 Removing and installing expansion valve
    29
  • 3.11 Removing/installing refrigerant line from/to expansion valve, R1234yf
    30
  • 3.12 Removing and installing condenser/gas cooler, R1234yf
    31
  • 3.13 Removing and installing condenser/gas cooler, R744
    32
  • 3.14 Removing and installing desiccant bag/dryer, R1234yf
    32
  • 3.15 Removing and installing desiccant bag/dryer, R744
    34
  • 3.18 Removing and installing refrigerant pressure and temperature sender 2 [G826]
    38
  • 3.19 Removing and installing refrigerant pressure and temperature sender 3 [G827]
    40
  • 3.20 Removing and installing refrigerant pressure and temperature sender 4 [G828]
    42
  • 3.21 Removing and installing refrigerant pressure and temperature sender 5 [G829]
    43
  • 3.22 Removing and installing pressure relief valve, R744
    45
  • 3.23 Removing and installing heat exchanger for high-voltage battery, R1234yf
    46
  • 3.24 Removing and installing heat exchanger for high-voltage battery, R744
    48
  • 3.25 Removing and installing heat condenser, R744
    50
  • 3.26 Removing and installing refrigerant shut-off valve for heater and air conditioner unit [N541]
    50
  • 3.27 Removing and installing refrigerant line, R1234yf
    54
  • 3.28 Removing and installing refrigerant line, R744
    62
  • 3.29 Disconnecting/connecting refrigerant lines from/to condenser/gas cooler, R1234yf
    73
  • 3.30 Disconnecting/connecting refrigerant lines from/to condenser/gas cooler, R744
    75
  • 3.31 Cleaning refrigerant circuit, refrigerant R744
    76
  • 3.32 Cleaning refrigerant circuit, refrigerant R1234yf
    79
  • 4 Valve unit of heat pump
    82
  • 4.1 Exploded view - heat pump valve unit
    82
  • 4.2 Removing and installing valve unit of heat pump
    86
  • 4.3 Removing and installing refrigerant expansion valve 1 [N636]
    90
  • 4.4 Removing and installing refrigerant expansion valve 2 N637
    91
  • 4.5 Removing and installing refrigerant expansion valve 3 N638
    92
  • 4.6 Removing and installing refrigerant shut-off valve 1 N696
    92
  • 4.7 Removing and installing refrigerant shut-off valve 2 N640
    92
  • 4.8 Removing and installing refrigerant shut-off valve 3 N641
    94
  • 4.9 Removing and installing refrigerant shut-off valve 4 N642
    94
  • 4.10 Removing and installing refrigerant shut-off valve 5 N643
    96
  • 5 Air conditioner compressor
    97
  • 5.1 Exploded view - air conditioner compressor
    97
  • 5.3 Detaching/attaching refrigerant lines from/to air conditioner compressor, R744
    99
  • 5.4 Removing and installing air conditioner compressor [VX81], R1234yf
    100
  • 5.5 Removing and installing air conditioner compressor [VX81], R744
    104
  • 5.6 Detaching and attaching air conditioner compressor at bracket
    106
  • 6 Control motors
    108
  • 6.1 Overview of fitting locations – control motors at front
    108
  • 6.2 Exploded view - control motors (front)
    109
  • 6.3 Removing and installing control motor for front left temperature flap [VX34]
    111
  • 6.4 Removing and installing control motor for front right temperature flap [VX35]
    114
  • 6.5 Removing and installing control motor for defroster flap [VX47]
    116
  • 6.6 Removing and installing control motor for front left air distribution flap [VX93]
    117
  • 6.7 Removing and installing control motor for front right air distribution flap [VX94]
    120
  • 6.8 Removing and installing control motor for fresh air and air recirculation flap [VX96]
    122
  • 6.9 Removing and installing left air distribution flap actuator
    123
  • 6.10 Removing and installing right air distribution flap actuator
    124
  • 7 Front heater and air conditioning unit
    126
  • 7.1 Exploded view - heater and air conditioning unit
    126
  • 7.2 Assembly overview – evaporator housing, R1234yf
    126
  • 7.3 Assembly overview – evaporator housing, R744
    127
  • 7.4 Exploded view - air intake box of heater and air conditioning unit
    128
  • 7.5 Removing and installing heater and air conditioning unit, R1234yf
    130
  • 7.6 Removing and installing heater and air conditioning unit, R744
    133
  • 7.7 Removing and installing evaporator, R1234yf
    137
  • 7.8 Removing and installing evaporator, R744
    138
  • 7.9 Dismantling and assembling heater and air conditioning unit, R1234yf
    138
  • 7.10 Dismantling and assembling heater and air conditioning unit, R744
    139
  • 7.11 Removing and installing dust and pollen filter
    139
  • 7.12 Removing and installing fresh air blower control unit J126
    140
  • 7.13 Removing and installing evaporator temperature sensor [G308]
    141
  • 7.14 Removing and installing condensation drain
    142
  • 7.15 Checking condensation drain
    143
  • 7.16 Removing and installing air intake unit of heater and air conditioning unit
    143
  • 7.17 Removing and installing air intake cowling
    146
  • 7.18 Removing and installing high voltage heater (PTC) [ZX17]
    148
  • 8 Air duct
    155
  • 8.1 Assembly overview – air duct and air distribution in passenger compartment
    155
  • 8.2 Removing and installing driver side footwell vents
    158
  • 8.3 Removing and installing front passenger side footwell vents
    159
  • 8.4 Removing and installing rear footwell vent
    160
  • 8.5 Removing and installing fresh air intake
    161
  • 8.6 Removing and installing air duct for defroster vent
    161
  • 8.7 Removing and installing air duct for centre dash panel vent
    162
  • 8.8 Removing and installing air duct for rear centre console vent
    162
  • 8.9 Removing and installing front air duct for dash panel
    163
  • 9 Coolant circuit
    165
  • 9.1 Exploded view - high-voltage heater (PTC)
    165
  • 9.2 Removing and installing PTC heater element 3 [Z132]
    165
  • 10 Operating and display unit
    168
  • 10.1 Overview of fitting locations – operating and display unit
    168
  • 11 Other controlling and regulating components
    169
  • 11.1 Removing and installing external air quality and air humidity sensor G935
    169
  • 11.2 Removing and installing ambient temperature sensor [G17]
    169
  • 11.3 Removing and installing humidity sender for air conditioning system [G260]
    170
  • 11.4 Removing and installing left vent temperature sender [G150[
    170
  • 11.5 Removing and installing right vent temperature sender [G151]
    171
  • 11.6 Removing and installing left footwell vent temperature sender [G261]
    172
  • 11.7 Removing and installing right footwell vent temperature sender [G262]
    173
  • 11.8 Removing and installing sensor for interior carbon dioxide concentration [G929]
    174
  • 11.9 Removing and installing heater and air conditioning system control unit J979
    174
  • 11.10 Removing and installing vehicle interior temperature sensor [G1090]
    175
Manufacturer's designation Heating, air conditioning system
Manufacturer Volkswagen
Suitable for ID.3 (2020 >)
Suitable car types E1
Category Reparaturanleitung

There are no reviews for this product at the moment.

Similar repair manuals

Running gear, axles, steering
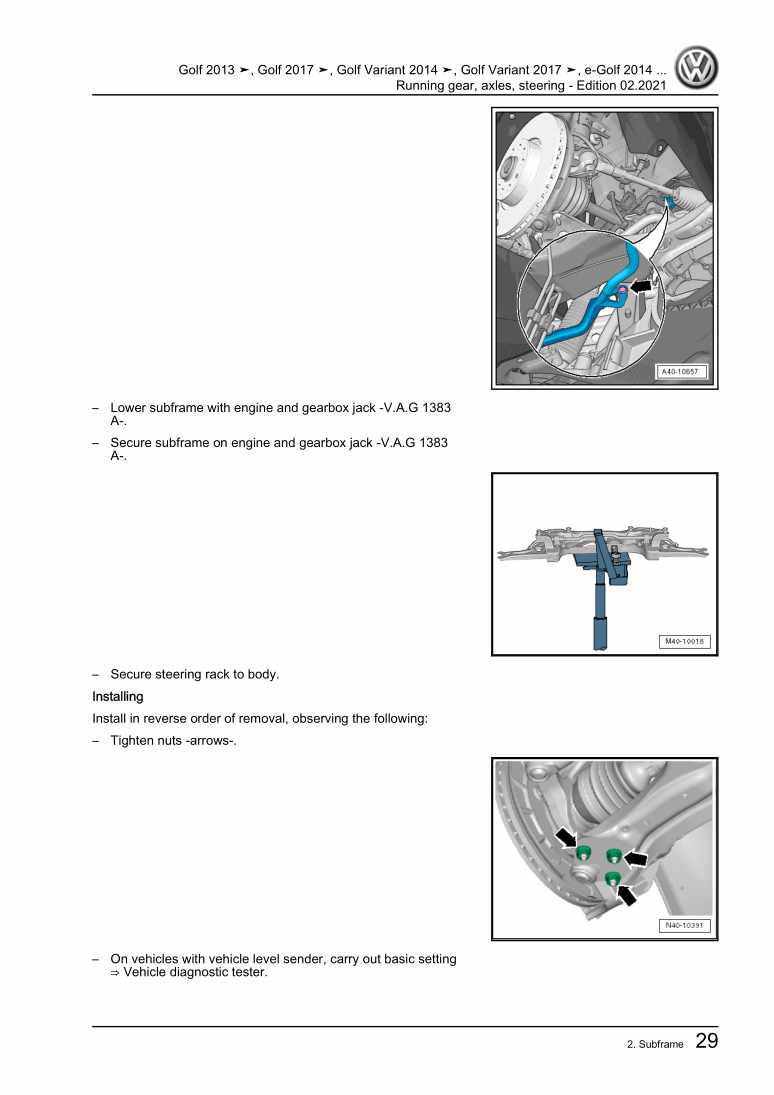
Examplepage for repair manual Running gear, axles, steering

For Golf VII (2013) / Golf Variant (2014) / eGolf (ab 2014) / Golf VII (2017) / Golf (2017) / e-Golf (2017)

39,28 € Details

Guide for using trailers up to market entry 2016
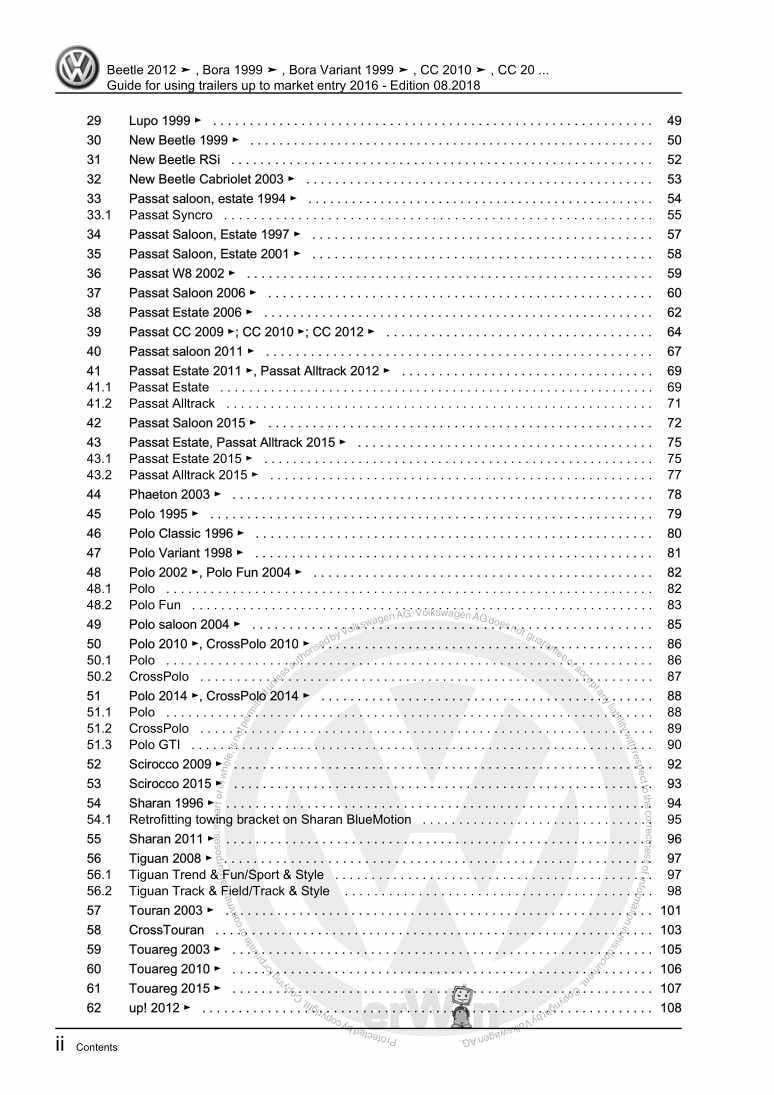
Examplepage for repair manual Guide for using trailers up to market entry 2016

For Touareg (2003 - 2007) / Polo (1995 - 2002) / Phaeton (2001 - 2008) / Lupo (1998 - 2006) / Golf / Golf Variant / Vento (1992 - 1999) / Lupo 3L (1999 - 2006) / Bora / Bora Variant / Golf / Golf Variant (1998 - 2006) / New Beetle Cabrio (2003 - 2010) / New Beetle / New Beetle (USA) (1998 - 2007) / Passat / Passat Variant (1997 - 2005) / Touran (2003 - 2011) / Passat / Passat Variant (2005 - 2008) / Golf Plus (2005 - 2007) / Passat / Passat Variant (1994 - 1997) / Sharan (1995 - 2010) / Golf / Golf Variant / Jetta (2004 - 2007) / New Beetle RSI (2001) / Golf Cabriolet (1994 - 2002) / Polo / Polo Sedan (2002 - 2007) / Golf Cabrio (1997 - 2002) / EOS (2006) / Polo Classic / Polo Variant (1996 - 2002) / Jetta 2-türig Rl (1980 - 1984) / Jetta 4-türig Ll (1980 - 1984) / Tiguan (2008) / Passat CC (2009) / Scirocco (2008) / Golf (2009) / Golf Plus (2009) / Golf VI Variant (2010) / Touareg (2011) / Sharan (2011) / Polo A05 (2010) / Passat/Passat Variant (2011 >) / Passat/Passat Variant (2011 >) / Golf Cabriolet (2012) / Beetle (NBL) Limousine (2012) / Passat CC (2009) / Up! (2012) / Golf VII (2013) / Golf Variant (2014) / eUp! (ab 2014) / eGolf (ab 2014) / Polo (2014) / Golf Sportsvan (2014 >) / Scirocco GP (2015) / Passat Lim (2015 >) / Touareg FL (2015 > ) / Passat Var. (2015 >)

10,68 € Details

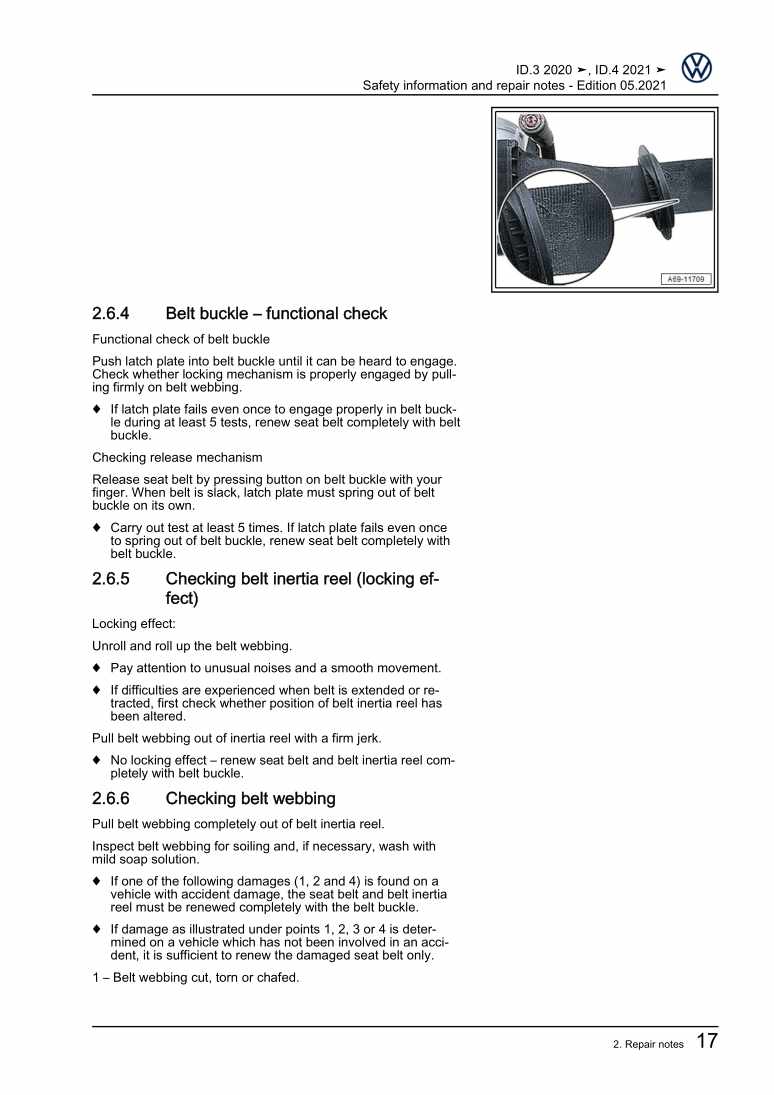
Safety information and repair notes

Examplepage for repair manual Safety information and repair notes

For ID.3 (2020 >) / ID.4 (2020 >)

4,88 € Details

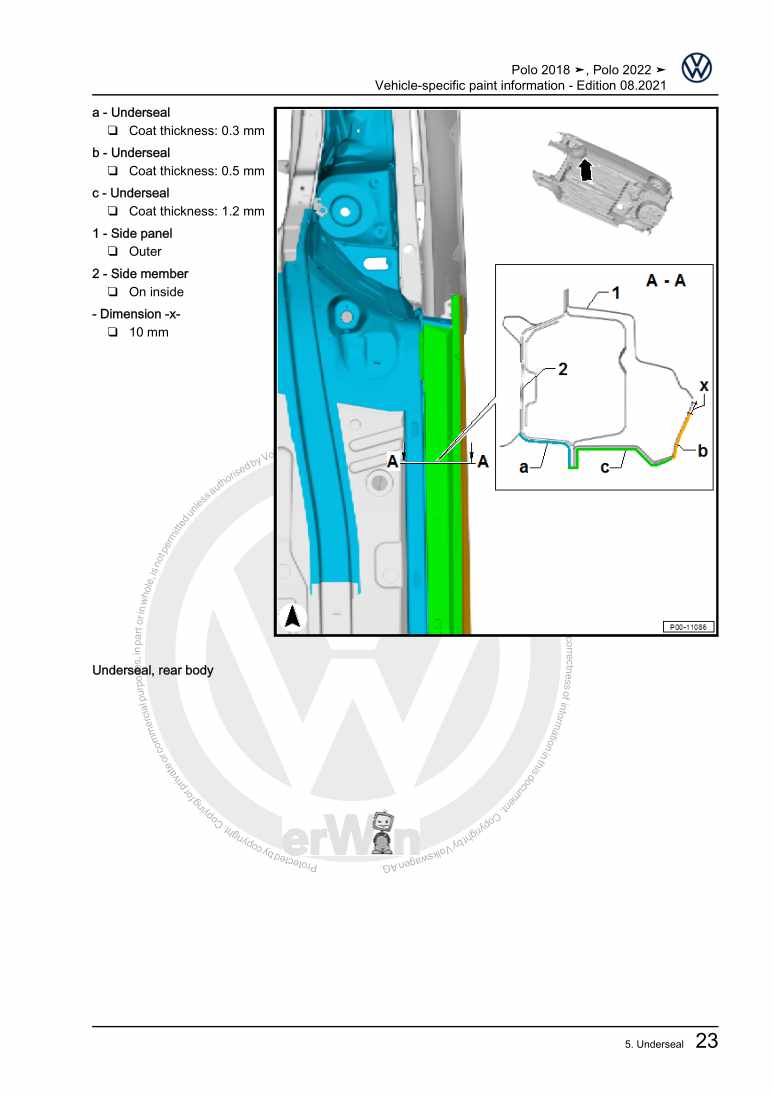
Vehicle-specific paint information

Examplepage for repair manual Vehicle-specific paint information

For Polo (2018) / Polo (2022)

5,26 € Details

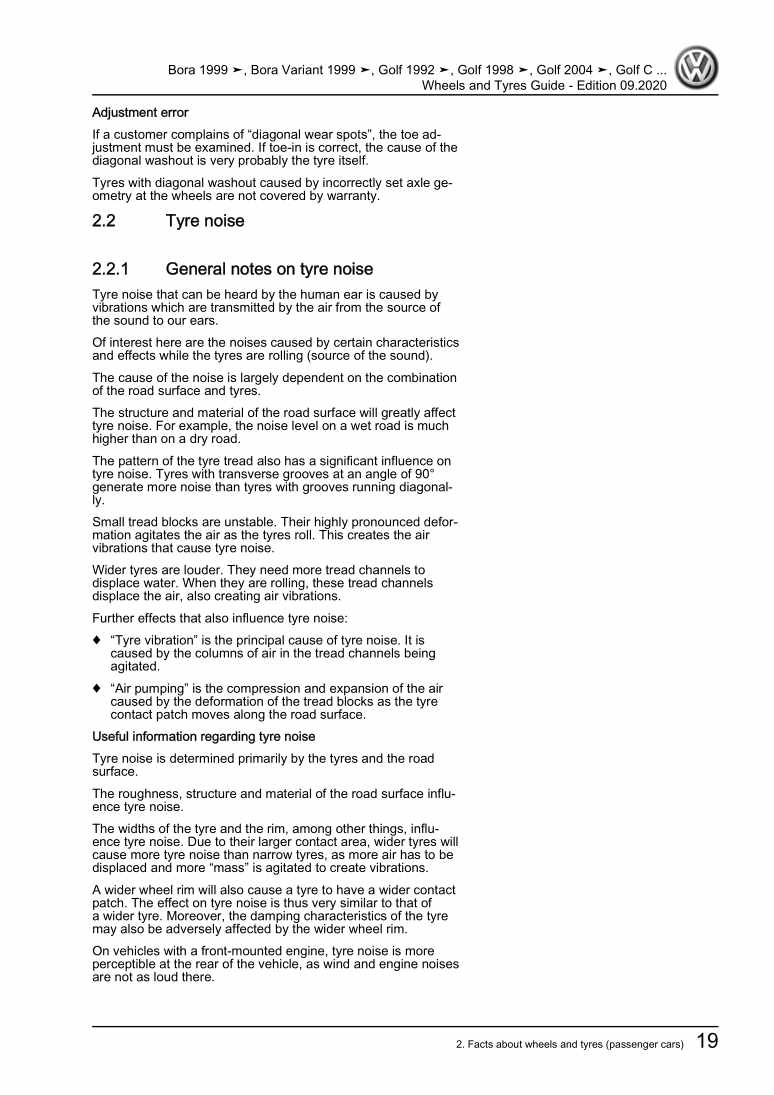
Wheels and Tyres Guide – General Information
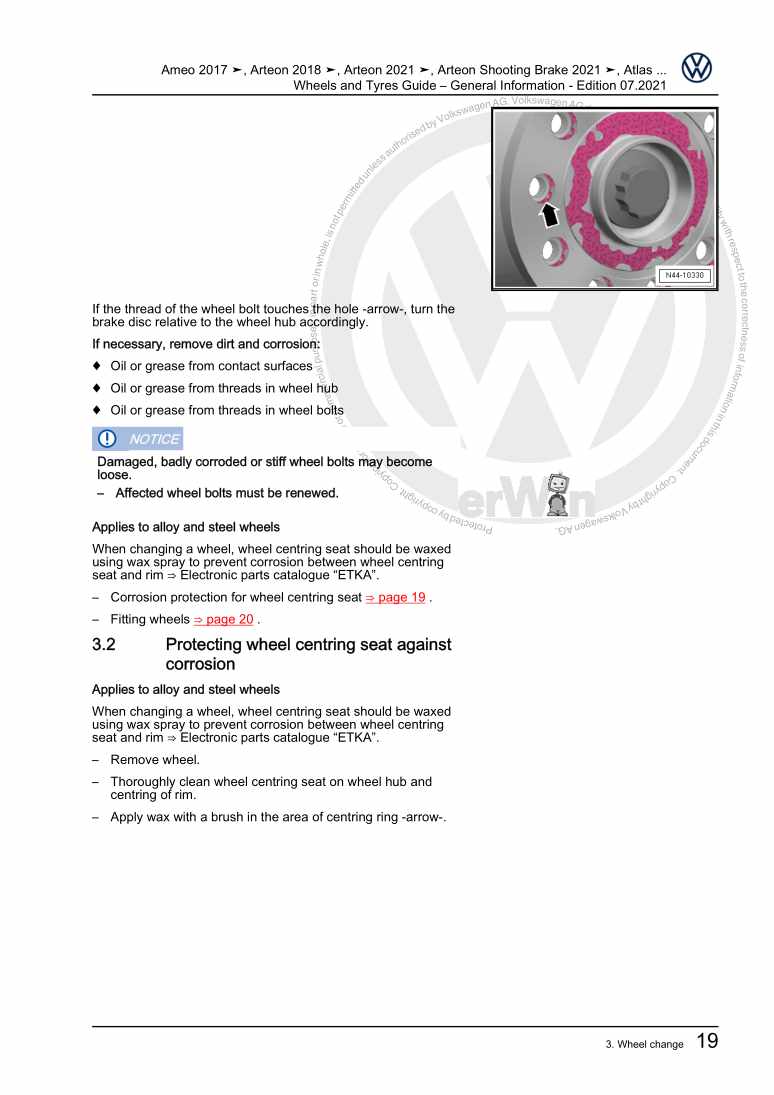
Examplepage for repair manual Wheels and Tyres Guide – General Information

For Phaeton (2001 - 2008) / Touran (2003 - 2011) / EOS (2006) / Jetta 2-türig Rl (1980 - 1984) / Jetta 4-türig Ll (1980 - 1984) / Tiguan (2008) / Passat CC (2009) / Golf (2009) / Scirocco (2008) / Golf Plus (2009) / Golf VI Variant (2010) / Polo (India) (2010) / Touareg (2011) / Polo (India) (2010) / Sharan (2011) / Polo A05 (2010) / Passat/Passat Variant (2011 >) / Passat/Passat Variant (2011 >) / Golf Cabriolet (2012) / Beetle (NBL) Limousine (2012) / Passat (NMS - US) (2012) / Passat CC (2009) / Beetle (NBC) Cabrio (2012) / Up! (2012) / Golf VII (2013) / Golf Variant (2014) / Polo MY (KH) (2014) / Polo MY (LIM) (2014) / eUp! (ab 2014) / eGolf (ab 2014) / Polo (2014) / Golf Sportsvan (2014 >) / Scirocco GP (2015) / Polo (Malaysia) (2015 >) / Passat Lim (2015 >) / Polo G (Indien) (2015) / Touareg FL (2015 > ) / Passat Var. (2015 >) / Sharan (2016 > ) / Polo G (Indien) (2015) / Polo Malaysia (2016) / Touran (2016 > ) / Passat (2016) / Tiguan (2016) / VW eUP (2012) / VW Beetle (2011) / Golf VII (2017) / Arteon () / Beetle (2017) / e-Golf (2017) / e-UP! (2017) / Golf [MX] (2018 >) / Polo (2018) / Polo [IN] (2016 >) / T-Roc (2018 >) / Golf Sportsvan (2018 >) / Passat (USA) (2019 >) / e-Up! (2020 >) / Up! (2020 >) / T-Roc Cabriolet (2020 >) / Tiguan (2021 >) / Arteon (2021 >) / Arteon Shooting Brake (2021 >) / Tiguan [MX] (2022 >) / Polo (2022)

13,78 € Details

Electric drive system, motor control unit, EBJD, From March 2020
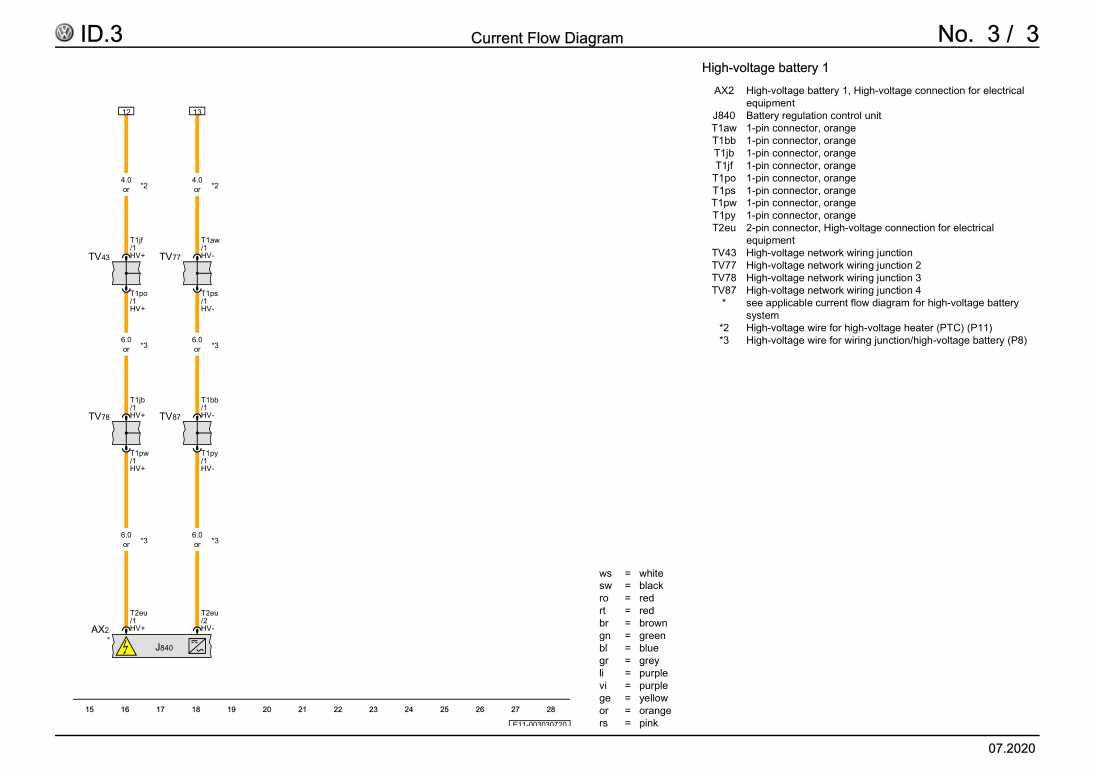
Examplepage for repair manual Electric drive system, motor control unit, EBJD, From March 2020

For ID.3 (2020 >)

49,15 € Details

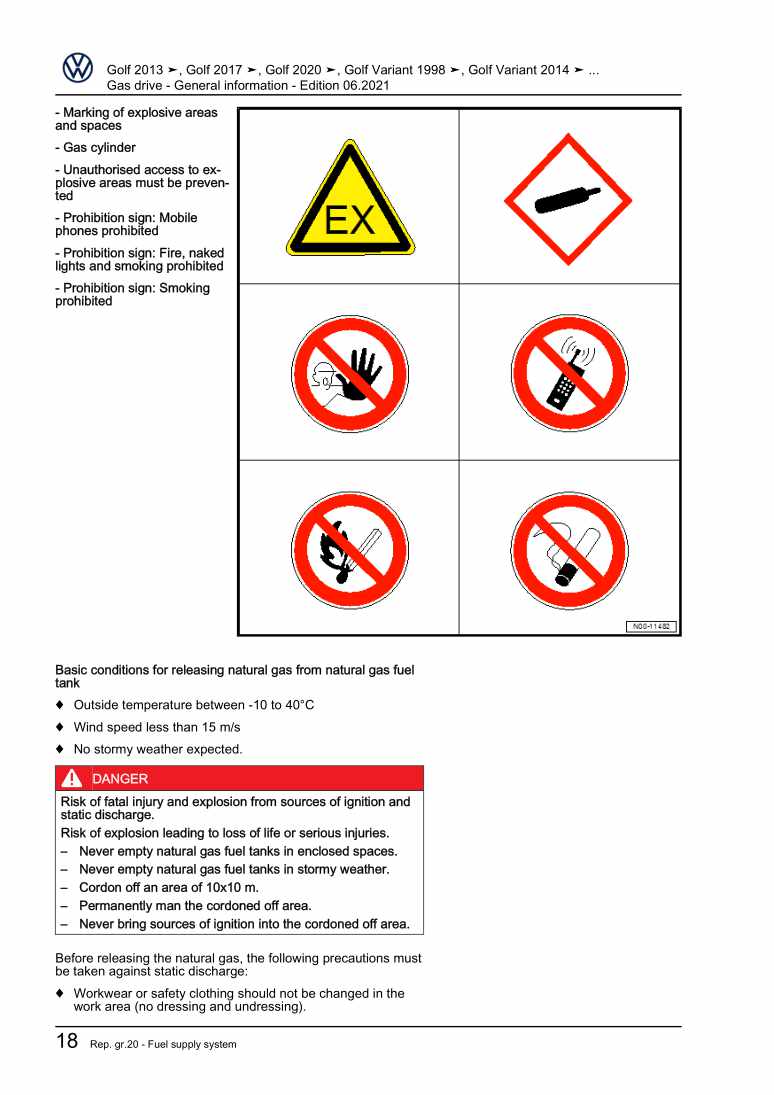
Gas drive - General information

Examplepage for repair manual Gas drive - General information

For Bora / Bora Variant / Golf / Golf Variant (1998 - 2006) / Touran (2003 - 2011) / Passat / Passat Variant (2005 - 2008) / Passat/Passat Variant (2011 >) / Passat/Passat Variant (2011 >) / Up! (2012) / Golf VII (2013) / Golf Variant (2014) / VW eUP (2012) / Golf VII (2017) / Golf (2017) / Polo (2018) / Golf (2020 >) / Up! (2020 >) / Golf Variant (2021 >) / Polo (2022)

6,58 € Details

Wheels and Tyres Guide

Examplepage for repair manual Wheels and Tyres Guide

For New Beetle Cabrio (2003 - 2010) / New Beetle / New Beetle (USA) (1998 - 2007) / Golf Plus (2005 - 2007) / Golf (2004 - 2007) / Polo (2002 - 2005) / Polo Variant (1997 - 2002) / Polo Classic (1996 - 2002) / Lupo 3L (1999 - 2006) / Lupo (1998 - 2006) / Vento (1992 - 1998) / Golf (1992 - 1998) / Golf (1998 - 2004) / Golf Cabriolet (1994 - 2002) / Touran (2003 - 2011) / Polo (1995 - 2000) / Passat (1994 - 1997) / Golf Variant (1999 - 2006) / Passat Variant (2006 - 2007) / Phaeton (2001 - 2007) / Touareg (2003 - 2010) / Passat (2005 - 2008) / Passat (1997 - 2001) / Golf Cabrio (1997 - 2002) / Bora (1999 - 2005) / Bora Variant (1999 - 2006) / New Beetle RSI (2001) / Golf Variant (1994 - 1999) / Sharan (1995 - 2001)

35,57 € Details

Communication

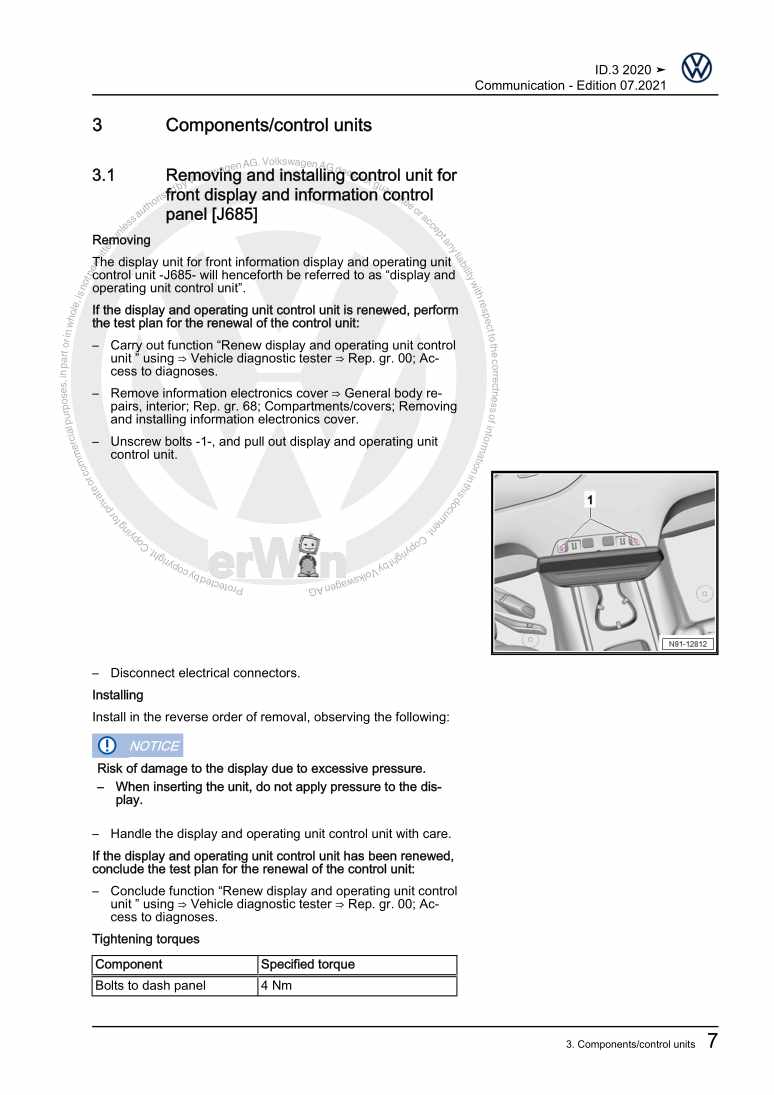
Examplepage for repair manual Communication

For ID.3 (2020 >)

5,36 € Details

1.0l petrol engine, CHYC, From June 2017
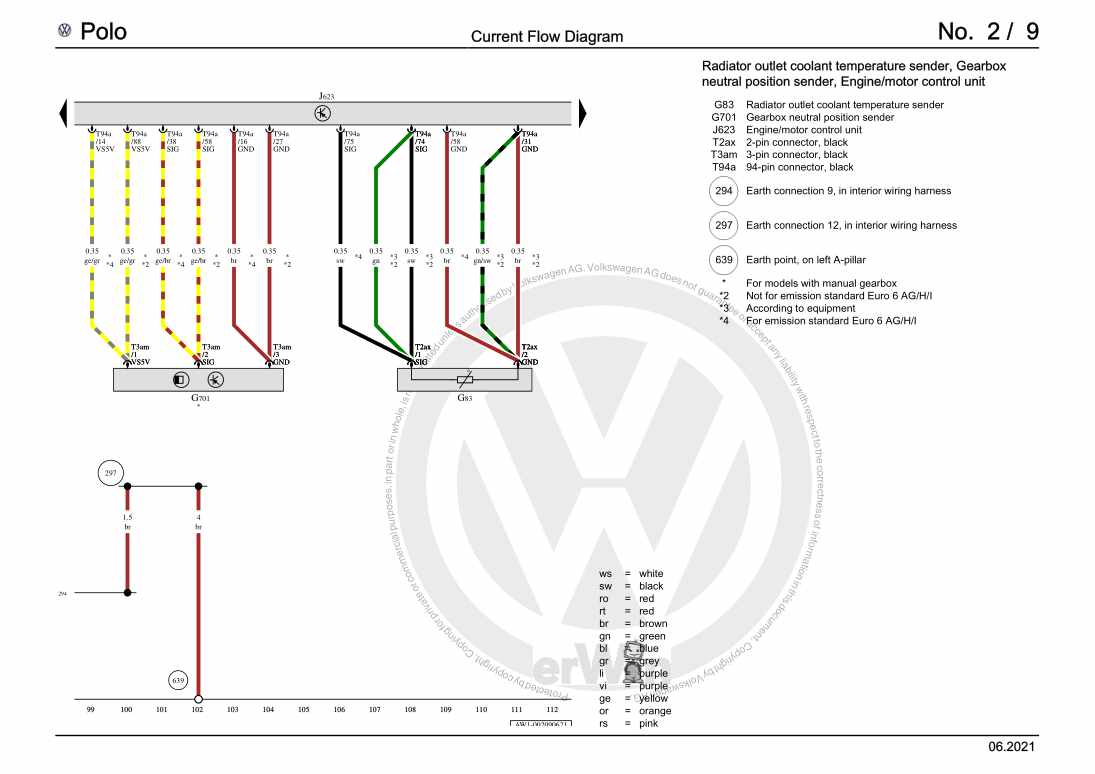
Examplepage for repair manual 1.0l petrol engine, CHYC, From June 2017

For Polo (2018) / Polo (2022)

65,08 € Details

Our Best Sellers

Did you know? We also offer original spare parts.

car part 1Y0035411M Tieftoener

1Y0035411M

Tieftoener

55,49 €

Details
car part 7N0122101P Schlauch

7N0122101P

Schlauch

79,92 €

Details
car part 8S0827990 Adapter

8S0827990

Adapter

67,54 €

Details
car part 059121113N Kuehlregle

059121113N

Kuehlregle

61,17 €

Details
car part 06D103469N Zyl.Kopfha

06D103469N

Zyl.Kopfha

257,96 €

Details

4-Zyl.-Dieselmotor (1,5- und 1,6 l-Motor) 068.2 / 068.5 / 068.A / ADK
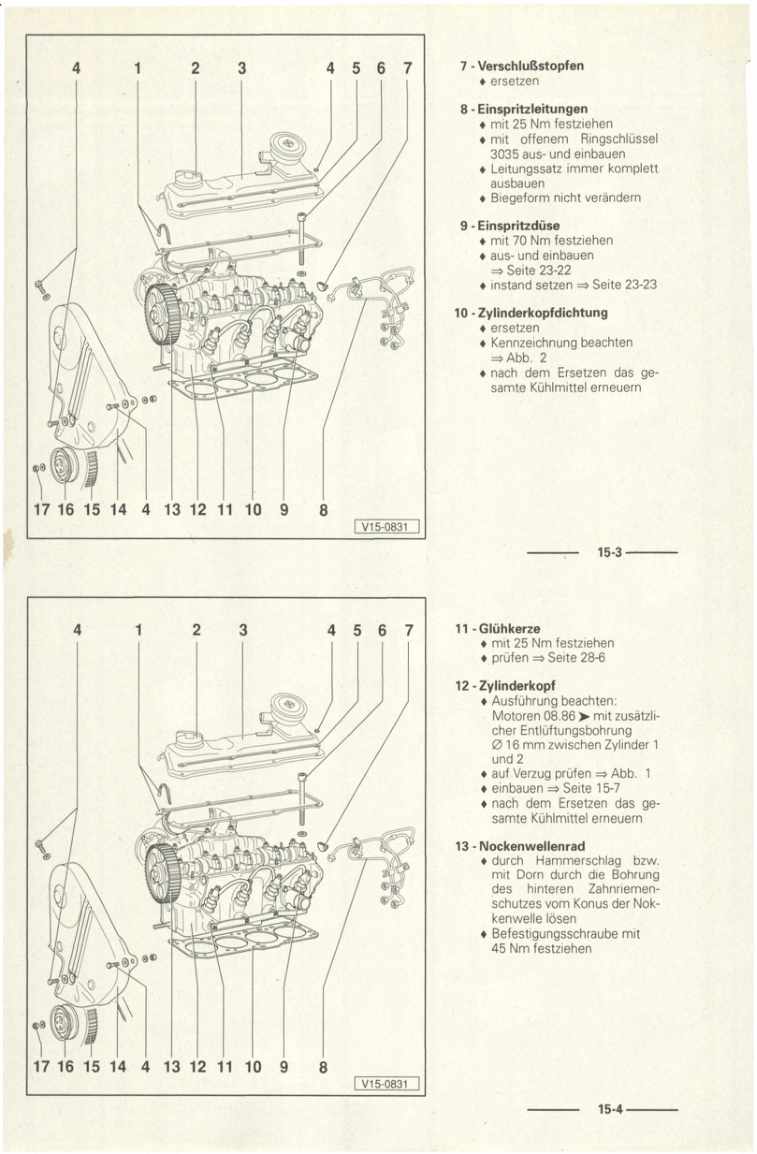
Examplepage for repair manual 4-Zyl.-Dieselmotor (1,5- und 1,6 l-Motor) 068.2 / 068.5 / 068.A / ADK

For Industriemotoren - Industrial Engines ()

8,15 € Details

Nr. 547: Der 2,0l-176kW-TDI-Biturbo-Motor der Dieselmotoren-Baureihe EA288
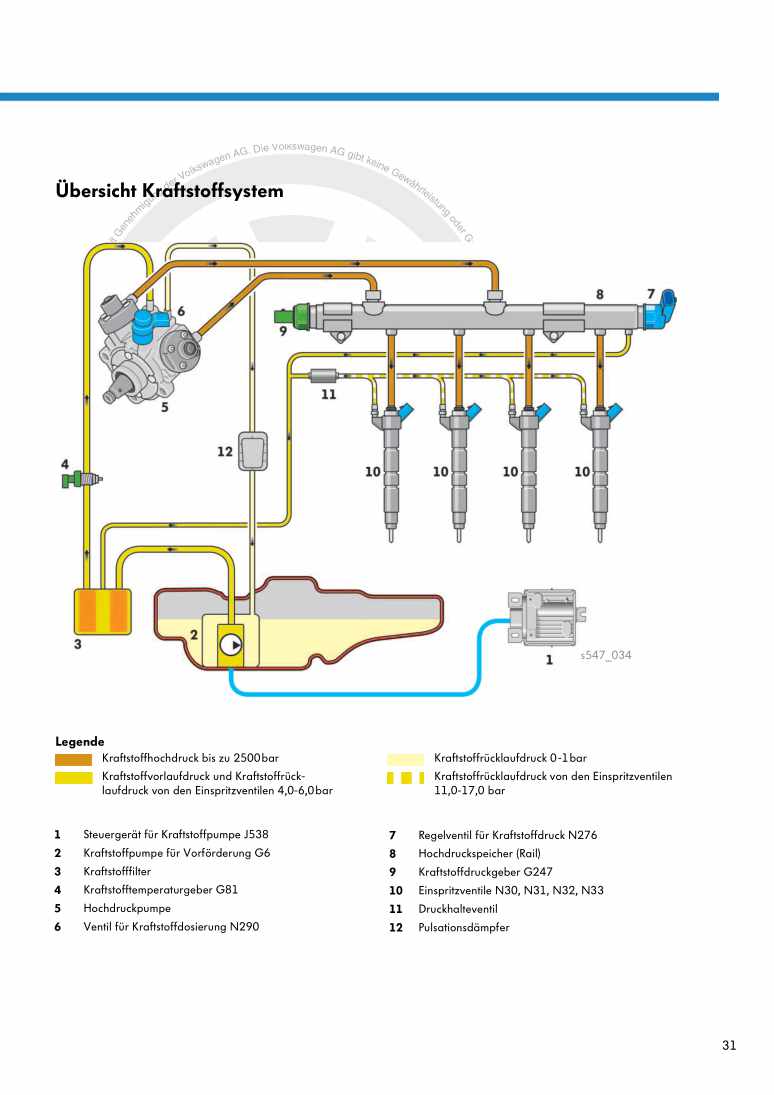
Examplepage for repair manual Nr. 547: Der 2,0l-176kW-TDI-Biturbo-Motor der Dieselmotoren-Baureihe EA288

5,89 € Details

1AV Einspritz- und Zündanlage

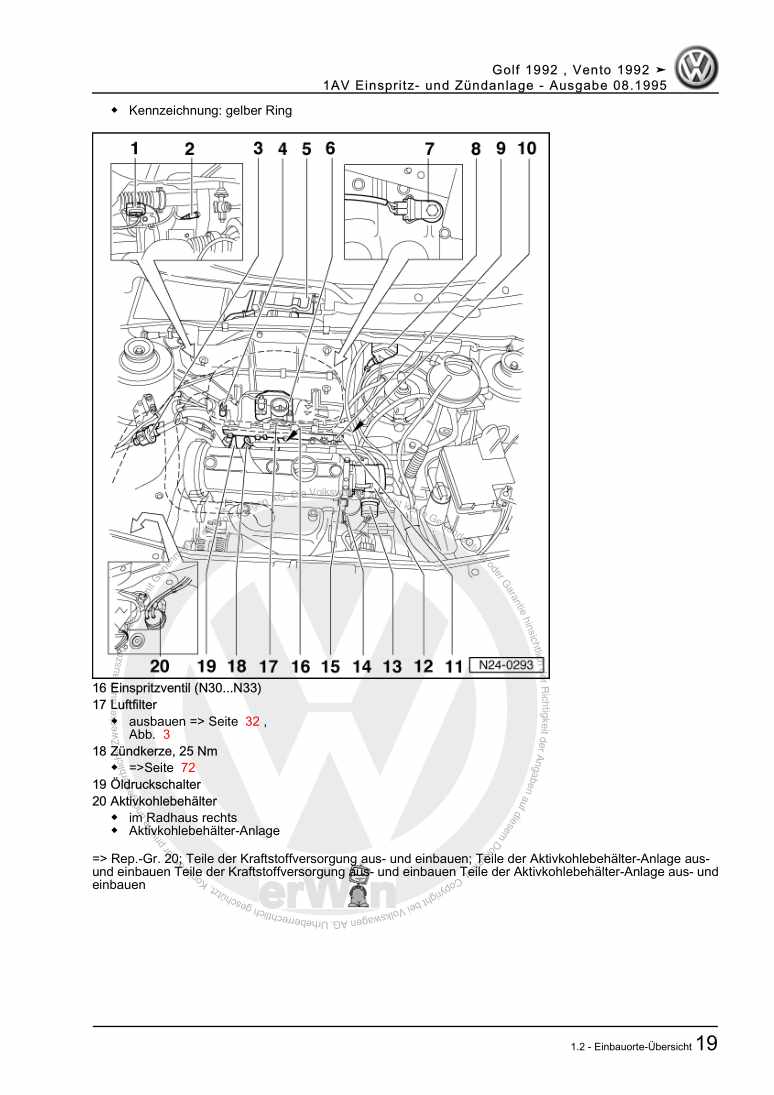
Examplepage for repair manual 1AV Einspritz- und Zündanlage

For Golf / Golf Variant / Vento (1992 - 1999)

8,28 € Details

image/svg+xml About Clonck

Original repair manuals und spare parts

Our repair manuals are original, come directly from Volkswagen and meet the highest quality standards.

In our original parts shop we sell high-quality original spare parts from car manufacturers. Use the search function to enter the desired part number (OE number) and order the required spare part quickly and easily.

Highest quality standards

At Clonck, we want to make car mechanics and car professionals happy. That's why you will only find professional and high-quality repair manuals at Clonck that will help you to repair your vehicle professionally.

Our partners

Autohaus Schmidt GmbH
Automag GmbH Filiale Laim
KFZ-VERLAG GmbH
Zimpel und Franke GmbH

Clonck: The car repair shop - also as app!

Clonck App Logo Play Store

Clonck: Fitting car parts for your car repair

4,5 90

With Clonck you can order the right original spare parts in no time.

  • Add your car model
  • Select assembly group
  • Enter vehicle identification number (VIN)
  • Access to over 5,000 original repair manuals
Start app now
Clonck App Preview Car Mobilephone Carparts