THE CAR REPAIR SHOP
0
Home » Manuals » General body repairs, exterior
  • Examplepage for repair manual General body repairs, exterior
  • Examplepage for repair manual 2 General body repairs, exterior
  • Examplepage for repair manual 3 General body repairs, exterior
  • Examplepage for repair manual General body repairs, exterior
  • Examplepage for repair manual 2 General body repairs, exterior
  • Examplepage for repair manual 3 General body repairs, exterior

General body repairs, exterior

For ID.4

Original Volkswagen repair manual


22,26 €7% VAT incl.

Immediately available for download

Language: English

Digital PDF file

13.131 KB

279 Sites

Detailed technical data

Immediately readable

This repair manual contains: Safety information and repair notes, Lock carrier, Wings, Bulkhead, Bonnet, Charging flap unit, Door, Central locking, Rear windscreen, Mouldings, trims, extensions, Trim film and protective film and Exterior mirror. Show more
Secure Payment via PayPal, credit card, direct debit and more
PayPal Logo SEPA Lastschrift Logo Giropay Logo Sofort Überweisung Logo

Repair manual ID.4 General body repairs, exterior PDF download has the following content:

Chapter overview

  • Body - front
    1
  • 1 Safety information and repair notes
    1
  • 1.1 Safety information
    1
  • 1.2 Repair notes
    1
  • 2 Lock carrier
    2
  • 2.1 Assembly overview – lock carrier
    2
  • 2.2 Removing and installing lock carrier
    2
  • 2.3 Removing and installing anti-vibration brace
    4
  • 2.4 Removing and installing support for lock carrier
    4
  • 3 Wings
    6
  • 3.1 Assembly overview – wing
    6
  • 3.2 Removing and installing wing
    6
  • 3.3 Removing and installing end plate
    8
  • 3.4 Removing and installing wing bracket
    9
  • 3.5 Removing and installing wing bracket
    10
  • 4 Bulkhead
    12
  • 4.1 Assembly overview – plenum chamber bulkhead
    12
  • 4.2 Assembly overview – plenum chamber cover
    12
  • 4.3 Removing and installing bulkhead
    13
  • 4.4 Removing and installing plenum chamber cover
    14
  • Bonnet, rear lid
    16
  • 1 Safety information and repair notes
    16
  • 1.1 Safety information
    16
  • 1.2 Repair notes
    16
  • 2 Bonnet
    17
  • 2.1 Assembly overview – bonnet
    17
  • 2.2 Assembly overview – Bowden cable
    19
  • 2.3 Removing and installing bonnet
    19
  • 2.4 Adjusting bonnet
    20
  • 2.5 Adjusting hinges
    21
  • 2.6 Adjusting striker pin
    22
  • 2.7 Adjusting adjusting buffer
    23
  • 2.8 Adjusting bonnet lock
    24
  • 2.9 Removing and installing bonnet lock
    24
  • 2.10 Removing and installing bonnet lock operating lever
    25
  • 2.11 Removing and installing striker pin
    26
  • 2.12 Removing and installing hinges
    26
  • 2.13 Removing and installing Bowden cable
    27
  • 2.14 Removing and installing bonnet stay
    30
  • 3 Rear lid
    31
  • 3.1 Assembly overview – rear lid
    31
  • 3.2 Assembly overview – electrically operated rear lid
    33
  • 3.3 Removing and installing rear lid
    35
  • 3.4 Adjusting rear lid
    36
  • 3.5 Removing and installing rear lid lock
    40
  • 3.6 Removing and installing rear lid lock with power latching system
    42
  • 3.7 Removing and installing operating mechanism
    43
  • 3.8 Removing and installing hinges
    44
  • 3.9 Removing and installing striker pin
    45
  • 3.10 Removing and installing rear lid seal
    46
  • 3.11 Removing and installing gas strut
    47
  • 3.12 Preparing gas strut for disposal
    49
  • 3.13 Removing and installing rear lid drive unit [VX69]
    49
  • 3.14 Removing and installing rear lid control unit [J605]
    51
  • 3.15 Removing and installing bracket for rear lid control unit [J605]
    51
  • 3.16 Removing and installing power latching for rear lid [VX16]
    52
  • 3.17 Removing and installing adapter for rear lid handle
    53
  • 3.18 Removing and installing Bowden cable for power latching system
    54
  • 4 Charging flap unit
    56
  • 4.1 Assembly overview – charging flap unit
    56
  • 4.2 Removing and installing charging flap unit
    56
  • 4.3 Removing and installing charging flap
    58
  • Front doors, door components, central locking
    60
  • 1 Safety information and repair notes
    60
  • 1.1 Safety information
    60
  • 1.2 Repair notes
    60
  • 2 Door
    61
  • 2.1 Assembly overview – door
    61
  • 2.2 Removing and installing inner door seal
    63
  • 2.3 Removing and installing outer door seal
    64
  • 2.4 Removing and installing door
    68
  • 2.5 Adjusting door
    70
  • 2.6 Adjusting striker pin
    72
  • 2.7 Removing and installing door hinge
    72
  • 2.8 Removing and installing door arrester
    74
  • 3 Door components
    76
  • 3.1 Assembly overview – door components
    76
  • 3.2 Assembly overview – assembly carrier
    76
  • 3.3 Assembly overview – door handle and door lock
    77
  • 3.4 Removing and installing window regulator motor
    78
  • 3.5 Removing and installing striker pin
    79
  • 3.6 Removing and installing door handle
    80
  • 3.7 Removing and installing door handle trim
    82
  • 3.8 Removing and installing mounting bracket
    82
  • 3.9 Removing and installing door lock
    83
  • 3.10 Removing and installing assembly carrier
    85
  • 3.11 Removing and installing window channel
    87
  • 3.12 Removing and installing inner window slot seal
    89
  • 3.13 Removing and installing outer window slot seal
    90
  • 3.14 Removing and installing lock cylinder
    91
  • 3.15 Removing and installing cap on door handle
    92
  • 4 Central locking
    94
  • 4.1 Overview of fitting locations – central locking system
    94
  • 4.4 Removing and installing ignition key battery
    98
  • 4.5 Removing and installing actuator for high-voltage charging flap lock 1 [F498]
    98
  • Rear doors, door components
    100
  • 1 Safety information and repair notes
    100
  • 1.1 Safety information
    100
  • 1.2 Repair notes
    100
  • 2 Door
    101
  • 2.1 Assembly overview – door
    101
  • 2.2 Removing and installing door
    103
  • 2.3 Adjusting door
    105
  • 2.4 Adjusting striker pin
    107
  • 2.5 Removing and installing door hinges
    108
  • 2.6 Removing and installing door arrester
    109
  • 2.7 Removing and installing outer door seal
    110
  • 2.8 Removing and installing inner door seal
    113
  • 3 Door components
    115
  • 3.1 Assembly overview – door components
    115
  • 3.2 Assembly overview – door subframe
    115
  • 3.3 Assembly overview – door handle and door lock
    116
  • 3.4 Removing and installing window regulator motor
    117
  • 3.5 Removing and installing striker pin
    118
  • 3.6 Removing and installing door handle
    119
  • 3.7 Removing and installing door handle trim
    121
  • 3.8 Removing and installing mounting bracket
    121
  • 3.9 Removing and installing door lock
    122
  • 3.10 Removing and installing assembly carrier
    123
  • 3.11 Removing and installing window channel
    125
  • 3.12 Removing and installing outer window slot seal
    126
  • 3.13 Removing and installing inner window slot seal
    127
  • Sunroof
    129
  • 1 Safety information and repair notes
    129
  • 1.1 Safety information
    129
  • 1.2 Repair notes
    129
  • 2 Sliding sunroof
    130
  • 2.1 Minimum drying time for adhesives
    130
  • 2.2 Assembly overview – glass panel
    130
  • 2.3 Assembly overview – sunroof roller blind
    131
  • 2.4 Removing and installing glass panel
    133
  • 2.5 Removing and installing slotted guide
    139
  • 2.6 Removing and installing sliding sunroof adjustment control unit [J245]
    139
  • 2.7 Removing and installing sunroof roller blind
    140
  • 2.8 Adapting sliding sunroof adjustment control unit [J245]
    142
  • 2.9 Removing and installing sunroof roller blind motor [V260]
    142
  • 2.10 Removing and installing sunroof roller blind cables
    143
  • 2.11 Manual operation
    144
  • 3 Water drain hoses
    145
  • 3.1 Assembly overview – water drain hoses
    145
  • 3.2 Cleaning water drain hoses
    145
  • 3.3 Removing and installing water drain hoses
    146
  • Bumpers
    148
  • 1 Safety information and repair notes
    148
  • 1.1 Safety information
    148
  • 1.2 Repair notes
    148
  • 2 Bumper, front
    149
  • 2.1 Assembly overview – bumper cover
    149
  • 2.2 Assembly overview – bumper carrier
    149
  • 2.3 Assembly overview – add-on parts
    150
  • 2.4 Removing and installing bumper cover
    151
  • 2.5 Moving bumper carrier to and back from service position
    153
  • 2.6 Removing and installing bumper carrier
    154
  • 2.7 Removing and installing radar sensor cover
    155
  • 2.8 Removing and installing centre air intake grille
    157
  • 2.9 Removing and installing trim for side air intake grille
    158
  • 2.10 Removing and installing air duct
    158
  • 2.11 Removing and installing closure section of bumper cover
    159
  • 2.12 Removing and installing lower closure section of bumper cover
    159
  • 2.13 Removing and installing reinforcement of bumper cover
    160
  • 2.14 Removing and installing spoiler of bumper cover
    160
  • 2.15 Removing and installing cover section for bumper cover
    161
  • 2.16 Removing and installing trim
    161
  • 2.17 Removing and installing trim strips
    161
  • 2.18 Repairing bumper cover
    162
  • 2.19 Installing brackets for park assist steering senders
    162
  • 2.20 Removing and installing number plate carrier
    165
  • 2.21 Removing and installing towing eye cover
    165
  • 3 Bumper, rear
    166
  • 3.1 Assembly overview – bumper cover
    166
  • 3.2 Assembly overview – bumper carrier
    166
  • 3.3 Removing and installing bumper cover
    167
  • 3.4 Removing and installing bumper carrier
    169
  • 3.5 Removing and installing base plate for bumper cover
    170
  • 3.6 Removing and installing top section of bumper cover
    170
  • 3.7 Removing and installing bottom section of bumper cover
    170
  • 3.8 Removing and installing trim for bumper cover
    171
  • 3.9 Removing and installing towing eye cover
    171
  • 3.10 Repairing bumper cover
    171
  • 3.11 Installing brackets for park assist steering senders
    172
  • 3.12 Removing and installing forced ventilation vent for passenger compartment
    174
  • 3.13 Checking forced ventilation vent for passenger compartment
    175
  • Glazing
    176
  • 1 Safety information and repair notes
    176
  • 1.1 Safety information
    176
  • 1.2 Repair notes
    176
  • 2 Repair notes
    177
  • 2.1 Minimum drying times for bonded windows
    177
  • 2.2 Window repair
    177
  • 2.3 Installation instructions for bonded windows
    177
  • 2.4 Preparing old undamaged windows for installing
    179
  • 2.5 Preparing new windows for installing
    180
  • 2.6 Preparing body flange for installing
    180
  • 2.7 Cleaning off excess adhesive
    182
  • 3 Windscreen
    183
  • 3.1 Assembly overview – windscreen
    183
  • 3.2 Removing and installing windscreen
    183
  • 4 Rear windscreen
    189
  • 4.1 Assembly overview – rear window
    189
  • 4.2 Removing and installing rear window
    189
  • 5 Side windows
    194
  • 5.1 Assembly overview – rear side windows
    194
  • 5.2 Removing and installing rear side window
    194
  • 6 Door windows
    197
  • 6.1 Assembly overview – front door window
    197
  • 6.2 Assembly overview – rear door window
    198
  • 6.3 Removing and installing front door window
    200
  • 6.4 Removing and installing rear door window
    203
  • 6.5 Removing and installing fixed front door window
    204
  • 6.6 Removing and installing fixed rear door window
    206
  • Exterior equipment
    209
  • 1 Safety information and repair notes
    209
  • 1.1 Safety information
    209
  • 1.2 Repair notes
    209
  • 2 Spoiler
    210
  • 2.1 Assembly overview – spoiler
    210
  • 2.2 Removing and installing side spoiler
    210
  • 2.3 Removing and installing spoiler trim
    212
  • 2.4 Removing and installing spoiler trim carrier
    213
  • 3 Mouldings, trims, extensions
    216
  • 3.1 Assembly overview – covers
    216
  • 3.2 Assembly overview – step moulding
    216
  • 3.3 Assembly overview – side member trim
    217
  • 3.4 Assembly overview – water deflector
    218
  • 3.5 Assembly overview – C-pillar trim
    219
  • 3.6 Assembly overview – wheel arch covers
    220
  • 3.7 Removing and installing step moulding
    221
  • 3.8 Removing and installing side member trim
    223
  • 3.9 Removing and installing water deflector
    225
  • 3.10 Removing and installing A-pillar trim
    226
  • 3.11 Removing and installing B-pillar trim on door
    227
  • 3.12 Removing and installing C-pillar trim
    230
  • 3.13 Removing and installing wheel arch covers
    231
  • 3.14 Removing and installing front door cover
    233
  • 3.15 Removing and installing rear door cover
    235
  • 3.16 Removing and installing A-pillar cover
    236
  • 4 Underbody cladding
    238
  • 4.1 Assembly overview – underbody cladding
    238
  • 4.2 Removing and installing front underbody cladding
    240
  • 4.3 Removing and installing side underbody cladding
    240
  • 4.4 Removing and installing centre underbody cladding
    241
  • 4.5 Removing and installing rear centre underbody cladding
    242
  • 4.6 Removing and installing rear underbody cladding
    242
  • 4.7 Removing and installing skid plate
    243
  • 5 Trim film and protective film
    245
  • 5.1 Assembly overview – protective films
    245
  • 5.2 Renewing protective films
    245
  • 6 Roof moulding and roof railing
    247
  • 6.1 Assembly overview – roof railing
    247
  • 6.2 Assembly overview – roof trim strip
    247
  • 6.3 Removing and installing roof railing
    248
  • 6.4 Removing and installing roof trim strip
    249
  • 7 Exterior mirror
    251
  • 7.1 Assembly overview – exterior mirror
    251
  • 7.2 Removing and installing exterior mirror
    253
  • 7.3 Removing and installing mirror glass
    254
  • 7.4 Removing and installing mirror adjustment unit
    255
  • 7.5 Removing and installing mirror cover
    256
  • 7.6 Removing and installing mirror frame
    257
  • 8 Wheel housing liner
    259
  • 8.1 Assembly overview – front wheel housing liner
    259
  • 8.2 Assembly overview – rear wheel housing liner
    259
  • 8.3 Removing and installing front wheel housing liner
    260
  • 8.4 Removing and installing rear wheel housing liner
    262
  • 9 Lettering and emblems
    264
  • 9.1 Assembly overview – lettering and emblems
    264
  • 9.2 Removing and installing badges at front
    264
  • 9.3 Renewing badge at rear
    265
  • 9.4 Renewing lettering at rear
    266
  • 9.5 Renewing lettering and badges on sides
    267
  • 10 Towing bracket
    269
  • 10.1 Assembly overview – towing bracket
    269
  • 10.2 Removing and installing towing bracket
    269
  • 10.3 Removing and installing hinged tow attachment ball head motor
    270
  • 10.4 Removing and installing wiring harness
    271
Manufacturer's designation General body repairs, exterior
Manufacturer Volkswagen
Suitable for ID.4 (2020 >)
Suitable car types E2
Category Reparaturanleitung

There are no reviews for this product at the moment.

Similar repair manuals

Wheels and Tyres Guide – General Information
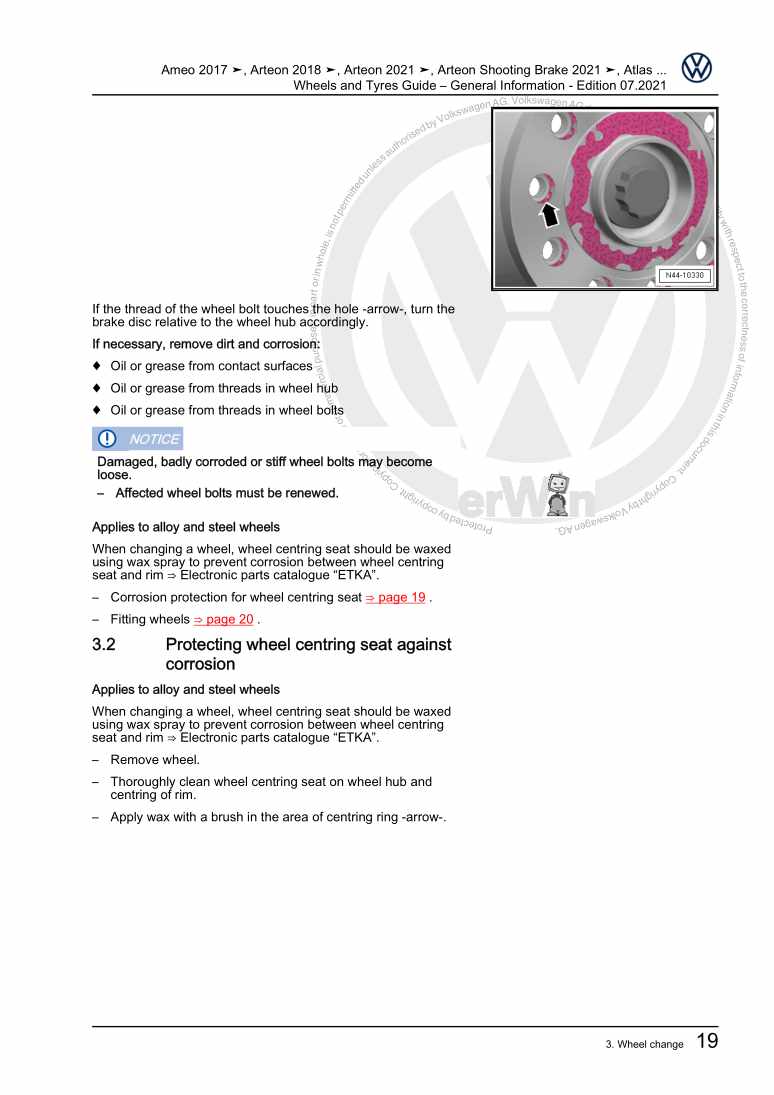
Examplepage for repair manual Wheels and Tyres Guide – General Information

For Phaeton (2001 - 2008) / Touran (2003 - 2011) / EOS (2006) / Jetta 2-türig Rl (1980 - 1984) / Jetta 4-türig Ll (1980 - 1984) / Tiguan (2008) / Passat CC (2009) / Golf (2009) / Scirocco (2008) / Golf Plus (2009) / Golf VI Variant (2010) / Polo (India) (2010) / Touareg (2011) / Polo (India) (2010) / Sharan (2011) / Polo A05 (2010) / Passat/Passat Variant (2011 >) / Passat/Passat Variant (2011 >) / Golf Cabriolet (2012) / Beetle (NBL) Limousine (2012) / Passat (NMS - US) (2012) / Passat CC (2009) / Beetle (NBC) Cabrio (2012) / Up! (2012) / Golf VII (2013) / Golf Variant (2014) / Polo MY (KH) (2014) / Polo MY (LIM) (2014) / eUp! (ab 2014) / eGolf (ab 2014) / Polo (2014) / Golf Sportsvan (2014 >) / Scirocco GP (2015) / Polo (Malaysia) (2015 >) / Passat Lim (2015 >) / Polo G (Indien) (2015) / Touareg FL (2015 > ) / Passat Var. (2015 >) / Sharan (2016 > ) / Polo G (Indien) (2015) / Polo Malaysia (2016) / Touran (2016 > ) / Passat (2016) / Tiguan (2016) / VW eUP (2012) / VW Beetle (2011) / Golf VII (2017) / Arteon () / Beetle (2017) / e-Golf (2017) / e-UP! (2017) / Golf [MX] (2018 >) / Polo (2018) / Polo [IN] (2016 >) / T-Roc (2018 >) / Golf Sportsvan (2018 >) / Passat (USA) (2019 >) / e-Up! (2020 >) / Up! (2020 >) / T-Roc Cabriolet (2020 >) / Tiguan (2021 >) / Arteon (2021 >) / Arteon Shooting Brake (2021 >) / Tiguan [MX] (2022 >) / Polo (2022)

13,78 € Details

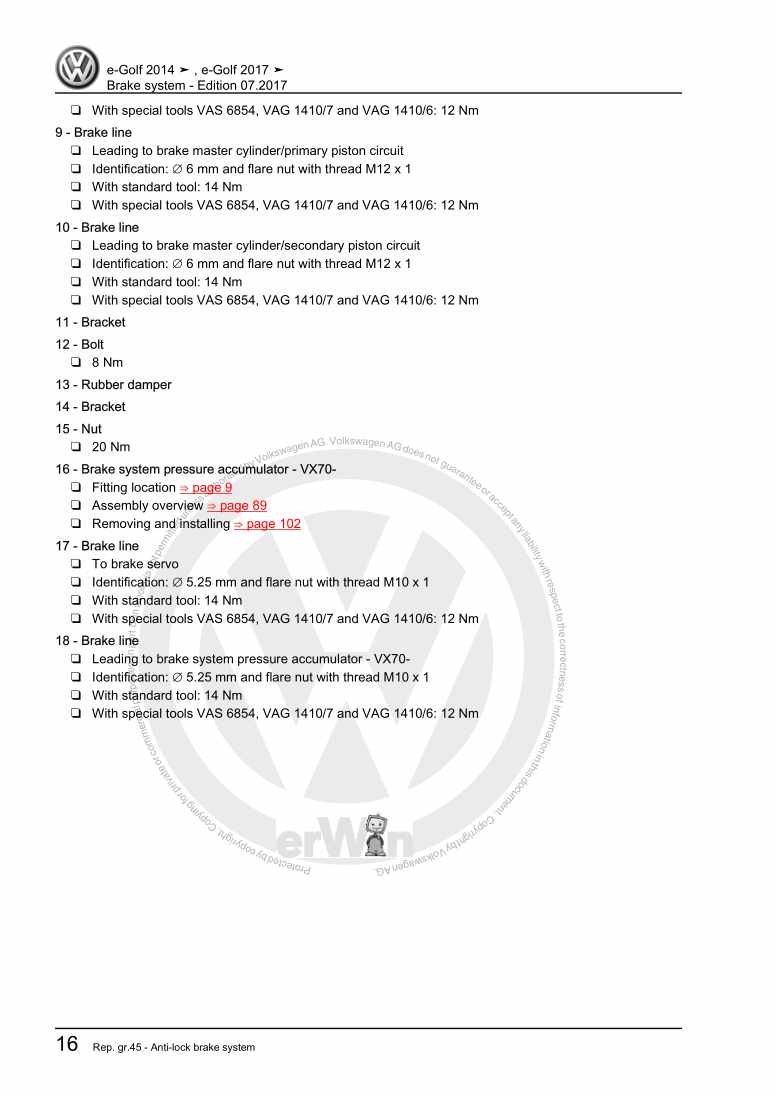
Brake system

Examplepage for repair manual Brake system

For eGolf (ab 2014) / e-Golf (2017)

12,11 € Details

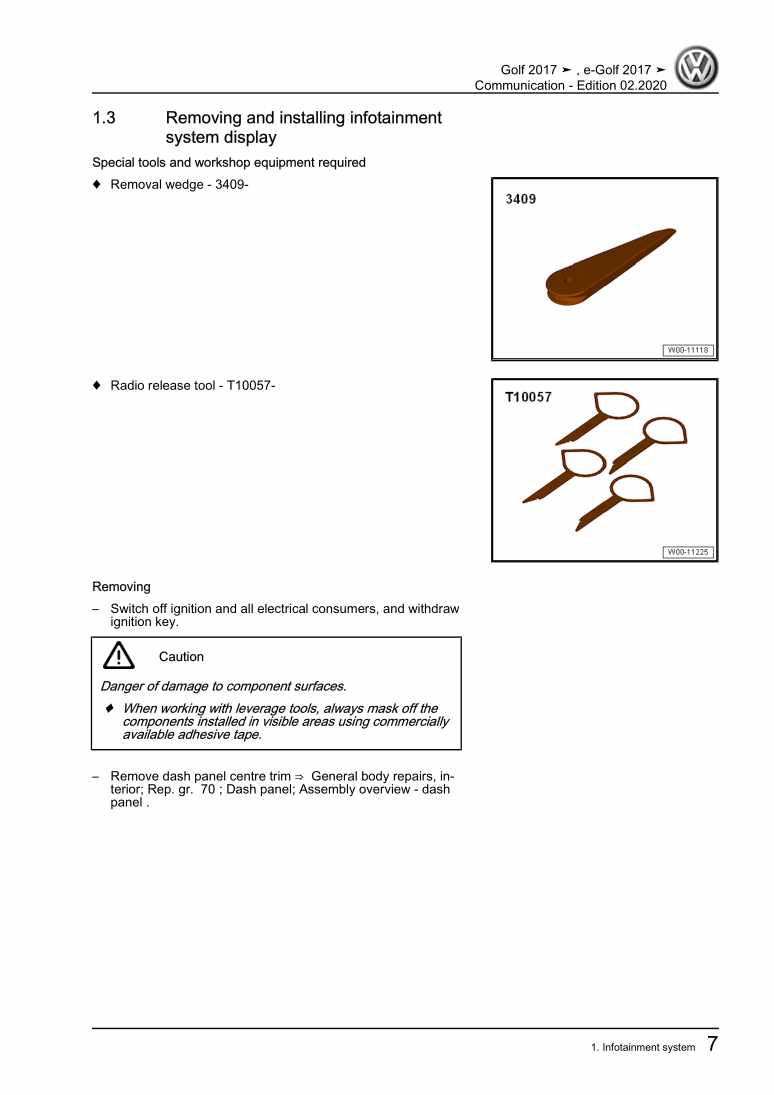
Communication

Examplepage for repair manual Communication

For Golf VII (2017) / e-Golf (2017)

7,82 € Details

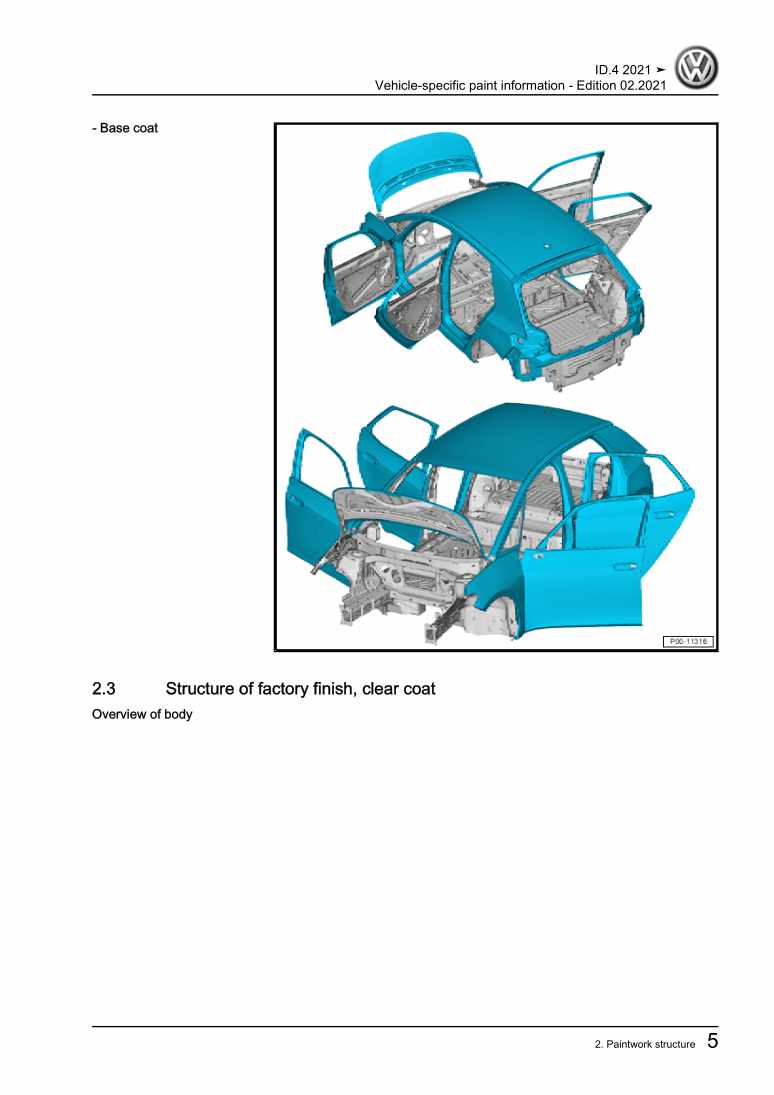
Vehicle-specific paint information

Examplepage for repair manual Vehicle-specific paint information

For ID.4 (2020 >)

5,36 € Details

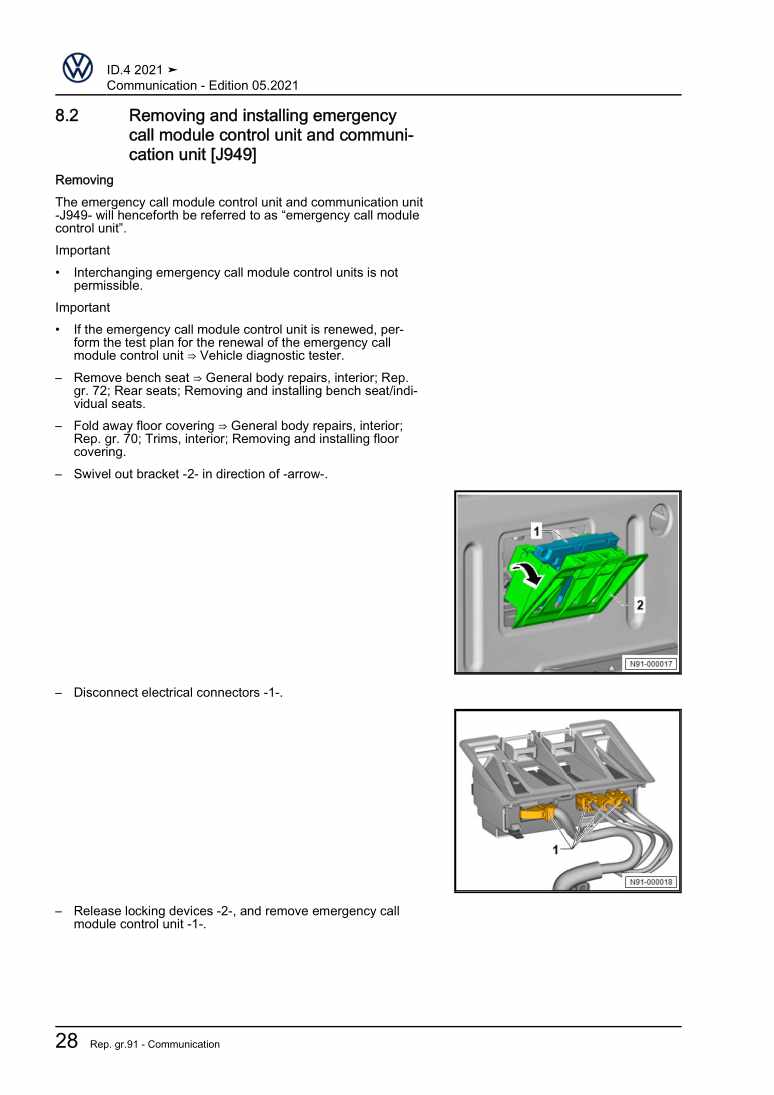
Communication

Examplepage for repair manual Communication

For ID.4 (2020 >)

5,41 € Details

High-voltage system - General information
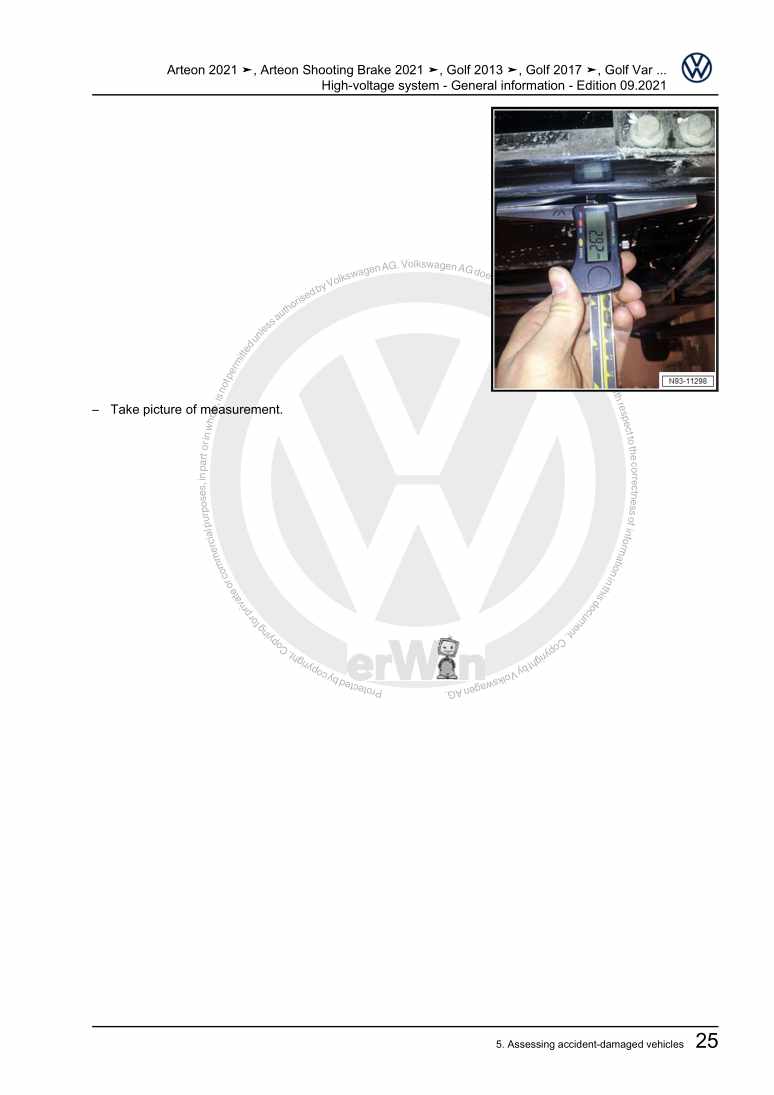
Examplepage for repair manual High-voltage system - General information

For Jetta 2-türig Rl (1980 - 1984) / Touareg (2011) / Golf VII (2013) / Golf Variant (2014) / eUp! (ab 2014) / eGolf (ab 2014) / Passat Lim (2015 >) / Touareg FL (2015 > ) / Passat Var. (2015 >) / Golf VII (2017) / e-Golf (2017) / e-UP! (2017) / Touareg (2018 >) / Passat Variant (2019 >) / Passat Limousine (2019 >) / Crafter (2019 >) / ID.3 (2020 >) / e-Up! (2020 >) / Tiguan (2021 >) / Arteon (2021 >) / Arteon Shooting Brake (2021 >) / ID.4 (2020 >)

9,22 € Details

Air conditioning systems with refrigerant R744 – General information
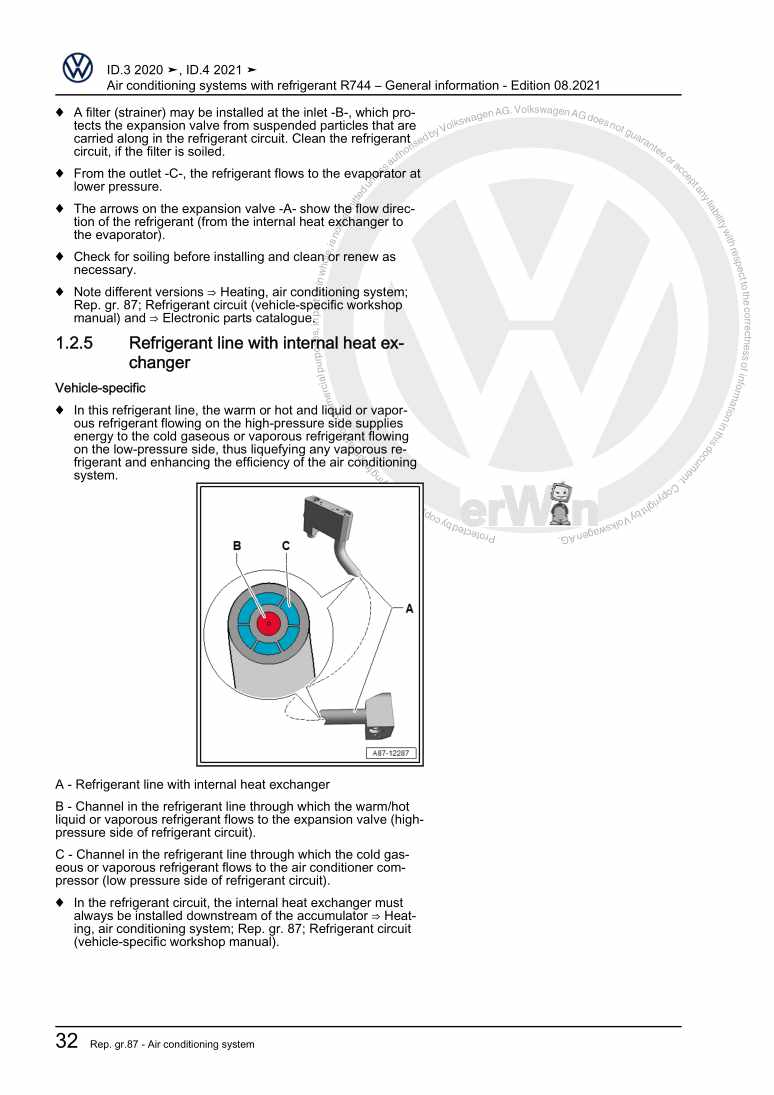
Examplepage for repair manual Air conditioning systems with refrigerant R744 – General information

For ID.3 (2020 >) / ID.4 (2020 >)

7,95 € Details

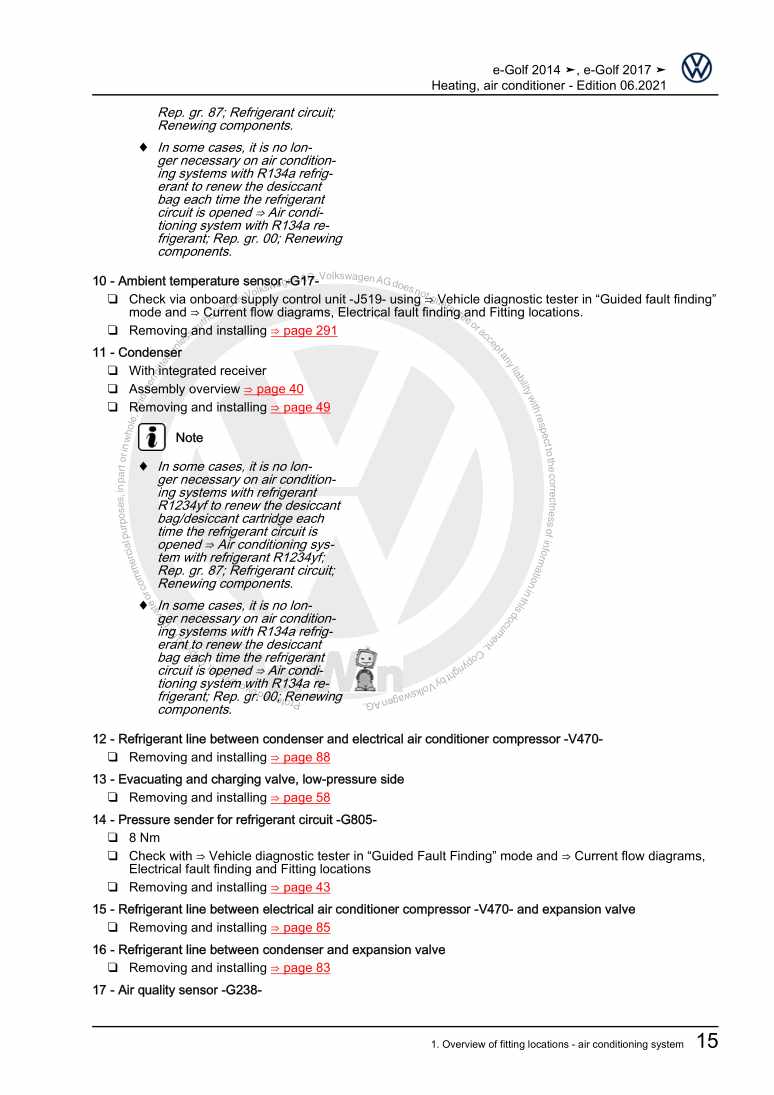
Heating, air conditioner

Examplepage for repair manual Heating, air conditioner

For eGolf (ab 2014) / e-Golf (2017)

23,90 € Details

Wheels and Tyres Guide - General Information
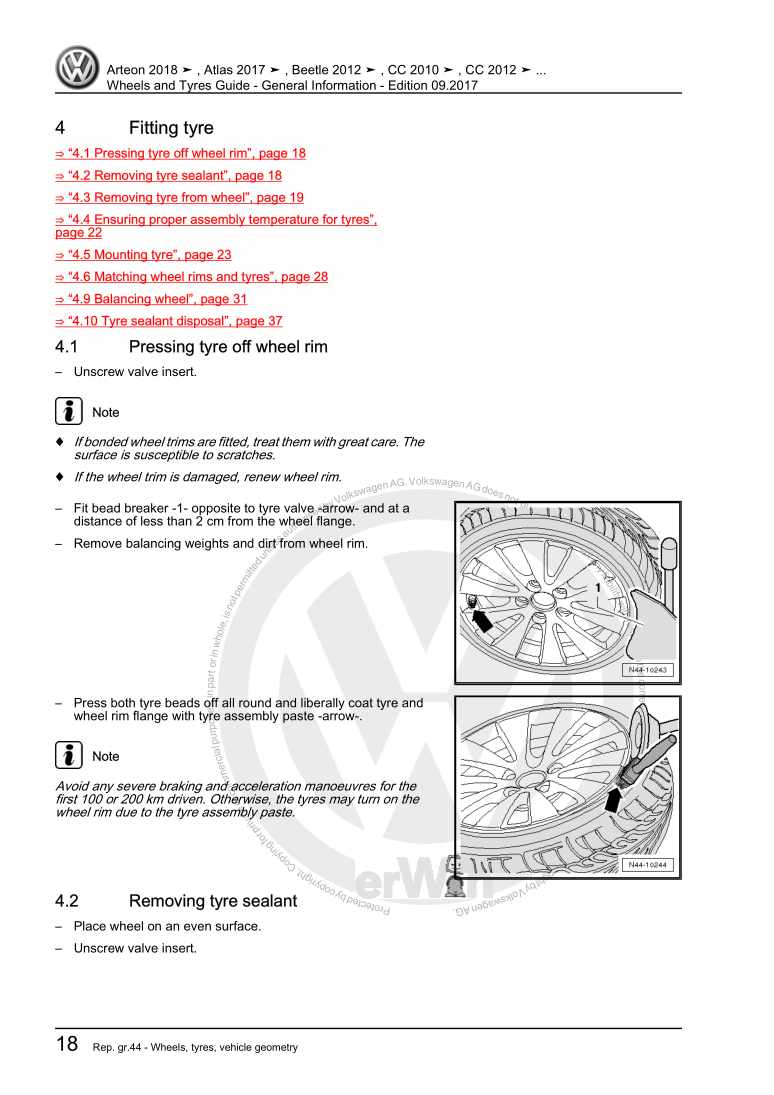
Examplepage for repair manual Wheels and Tyres Guide - General Information

For Phaeton (2001 - 2008) / Touran (2003 - 2011) / EOS (2006) / Jetta 2-türig Rl (1980 - 1984) / Jetta 4-türig Ll (1980 - 1984) / Tiguan (2008) / Passat CC (2009) / Golf (2009) / Scirocco (2008) / Golf Plus (2009) / Golf VI Variant (2010) / Touareg (2011) / Sharan (2011) / Polo A05 (2010) / Passat/Passat Variant (2011 >) / Passat/Passat Variant (2011 >) / Golf Cabriolet (2012) / Beetle (NBL) Limousine (2012) / Passat CC (2009) / Beetle (NBC) Cabrio (2012) / Up! (2012) / Golf VII (2013) / Golf Variant (2014) / eUp! (ab 2014) / eGolf (ab 2014) / Polo (2014) / Golf Sportsvan (2014 >) / Scirocco GP (2015) / Passat Lim (2015 >) / Touareg FL (2015 > ) / Passat Var. (2015 >) / Sharan (2016 > ) / Touran (2016 > ) / Tiguan (2016) / VW eUP (2012) / VW Beetle (2011) / Golf VII (2017) / Arteon () / Golf (2017) / Beetle (2017) / e-Golf (2017) / e-UP! (2017) / Polo (2018) / Atlas (2017 >)

11,39 € Details

Manual for Troubleshooting and Diagnosing Noises
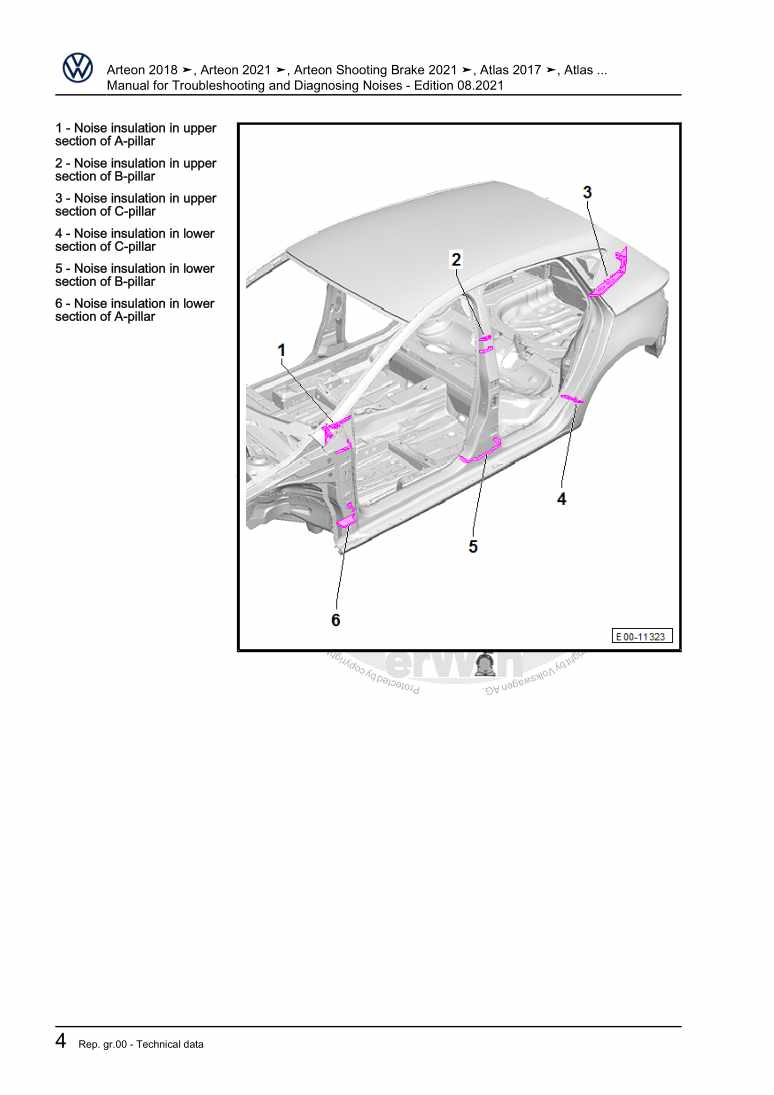
Examplepage for repair manual Manual for Troubleshooting and Diagnosing Noises

For Touran (2003 - 2011) / EOS (2006) / Passat Variant (2006 - 2007) / Jetta 2-türig Rl (1980 - 1984) / Passat (2005 - 2008) / Jetta 4-türig Ll (1980 - 1984) / Tiguan (2008) / Passat CC (2009) / Scirocco (2008) / Golf (2009) / Golf Plus (2009) / Golf VI Variant (2010) / Touareg (2011) / Sharan (2011) / Polo (Russ.) (2010) / Polo A05 (2010) / Passat/Passat Variant (2011 >) / Passat/Passat Variant (2011 >) / Golf Cabriolet (2012) / Beetle (NBL) Limousine (2012) / Passat (NMS - US) (2012) / Passat CC (2009) / Beetle (NBC) Cabrio (2012) / Up! (2012) / Golf VII (2013) / Golf Variant (2014) / Polo MY (KH) (2014) / Polo MY (LIM) (2014) / Jetta (2014 >) / eUp! (ab 2014) / eGolf (ab 2014) / Polo (2014) / Golf (Mexiko) (2014 >) / Jetta (Malaysia) (2013 >) / Golf Sportsvan (2014 >) / Scirocco GP (2015) / Polo (Malaysia) (2015 >) / Passat Lim (2015 >) / Polo G (Indien) (2015) / Touareg FL (2015 > ) / Passat Var. (2015 >) / Sharan (2016 > ) / Polo G (Indien) (2015) / Polo (Russland) (2015 >) / Polo Malaysia (2016) / Touran (2016 > ) / Passat (2016) / Tiguan (2016) / VW eUP (2012) / VW Beetle (2011) / Golf VII (2017) / Arteon () / Tiguan RUS (2017) / e-Golf (2017) / e-UP! (2017) / Golf [MX] (2018 >) / Polo (2018) / T-Roc (2018 >) / Jetta [MX] (2018 >) / Golf Sportsvan (2018 >) / Passat (USA) (2019 >) / T-Roc Cabriolet (2020 >) / Tiguan (2021 >) / Arteon (2021 >) / Arteon Shooting Brake (2021 >)

4,97 € Details

Our Best Sellers

Did you know? We also offer original spare parts.

car part 070109153 Deckel

070109153

Deckel

38,73 €

Details
car part 035103245G Ventil

035103245G

Ventil

22,92 €

Details
car part 80B265340S Schlauch

80B265340S

Schlauch

138,22 €

Details
car part 028103531B Schraube

028103531B

Schraube

8,90 €

Details
car part 3C8010731D Kennschild

3C8010731D

Kennschild

5,13 €

Details

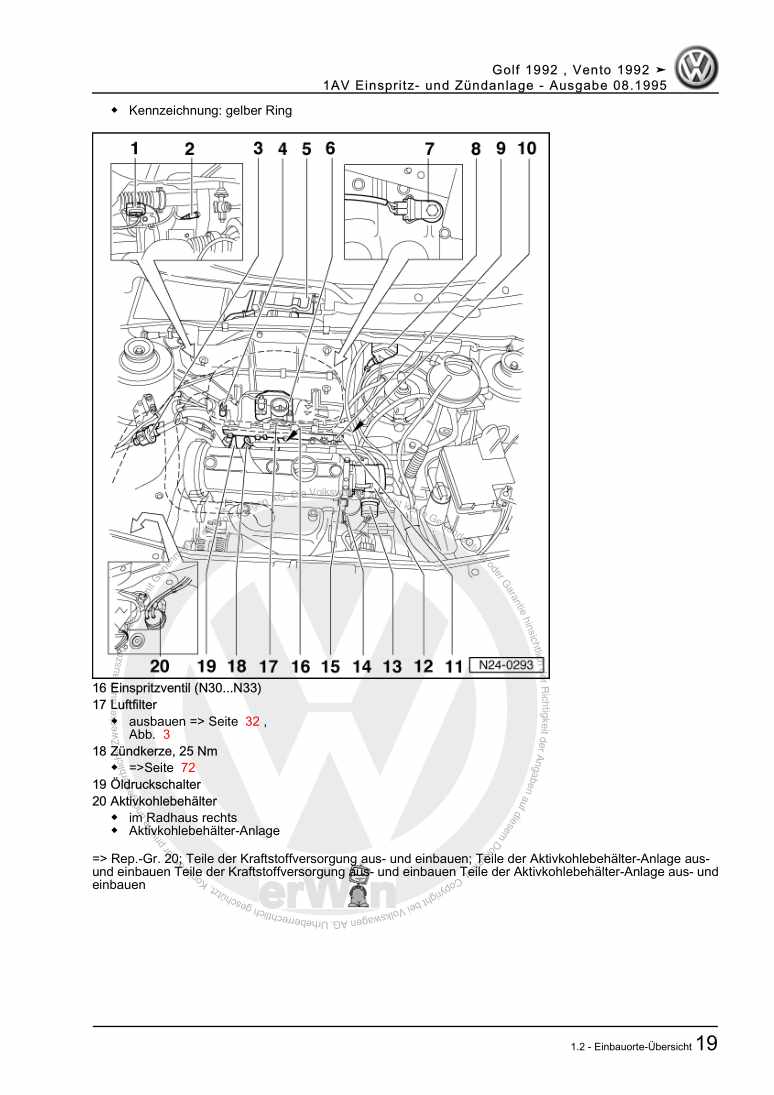
1AV Einspritz- und Zündanlage

Examplepage for repair manual 1AV Einspritz- und Zündanlage

For Golf / Golf Variant / Vento (1992 - 1999)

8,28 € Details

Digijet-Einspritzanlage/ TSZ-H Zündanlage
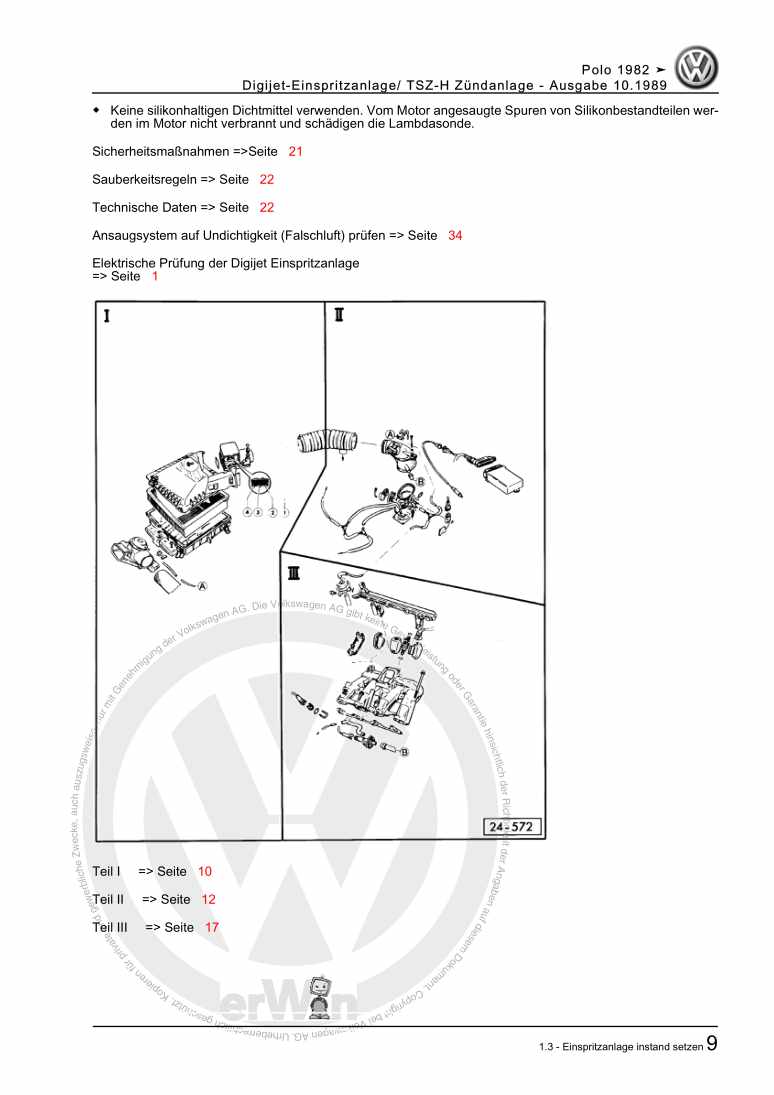
Examplepage for repair manual Digijet-Einspritzanlage/ TSZ-H Zündanlage

For Polo / Polo Coupe / Polo Steilheck / Polo Stufenheck (1987 - 1994)

6,35 € Details

Nr. 540: Das Abgasnachbehandlungssystem Selective-Catalytic-Reduction
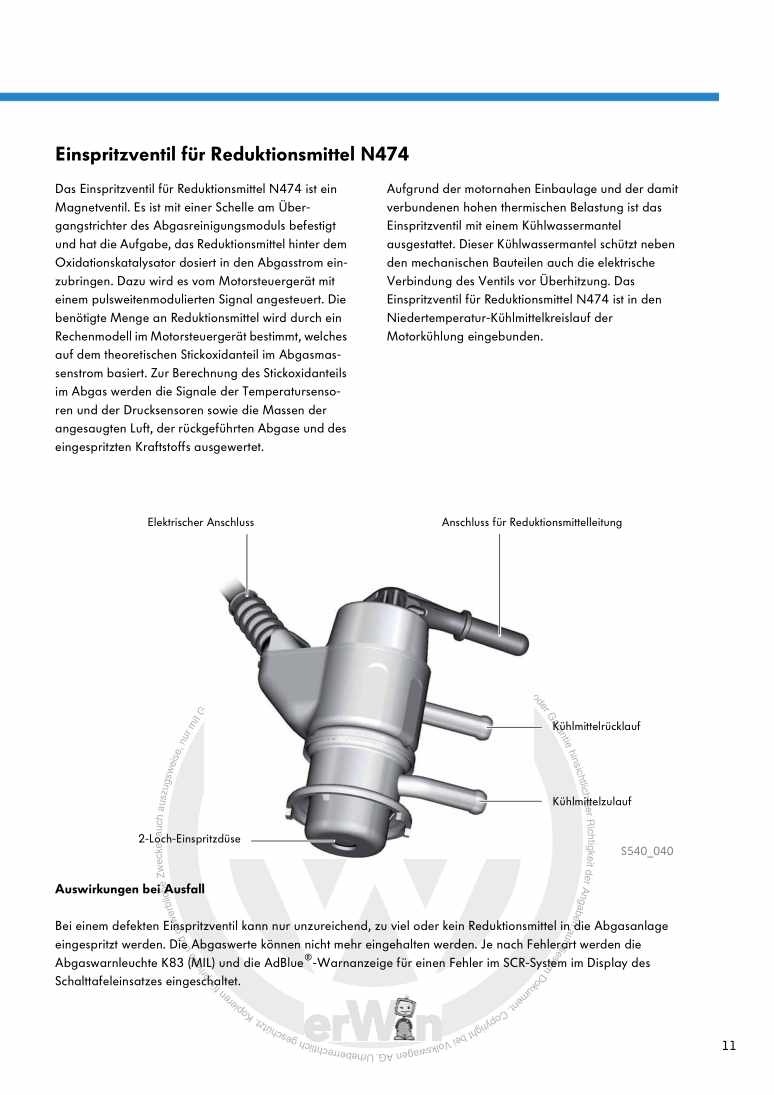
Examplepage for repair manual Nr. 540: Das Abgasnachbehandlungssystem Selective-Catalytic-Reduction

5,67 € Details

image/svg+xml About Clonck

Original repair manuals und spare parts

Our repair manuals are original, come directly from Volkswagen and meet the highest quality standards.

In our original parts shop we sell high-quality original spare parts from car manufacturers. Use the search function to enter the desired part number (OE number) and order the required spare part quickly and easily.

Highest quality standards

At Clonck, we want to make car mechanics and car professionals happy. That's why you will only find professional and high-quality repair manuals at Clonck that will help you to repair your vehicle professionally.

Our partners

Autohaus Schmidt GmbH
Automag GmbH Filiale Laim
KFZ-VERLAG GmbH
Zimpel und Franke GmbH

Clonck: The car repair shop - also as app!

Clonck App Logo Play Store

Clonck: Fitting car parts for your car repair

4,5 90

With Clonck you can order the right original spare parts in no time.

  • Add your car model
  • Select assembly group
  • Enter vehicle identification number (VIN)
  • Access to over 5,000 original repair manuals
Start app now
Clonck App Preview Car Mobilephone Carparts