Starter, current supply, CCS
11 Battery
11.1 Types of battery
11.2 Warning notices and safety regulations
11.3 Battery terminal connection
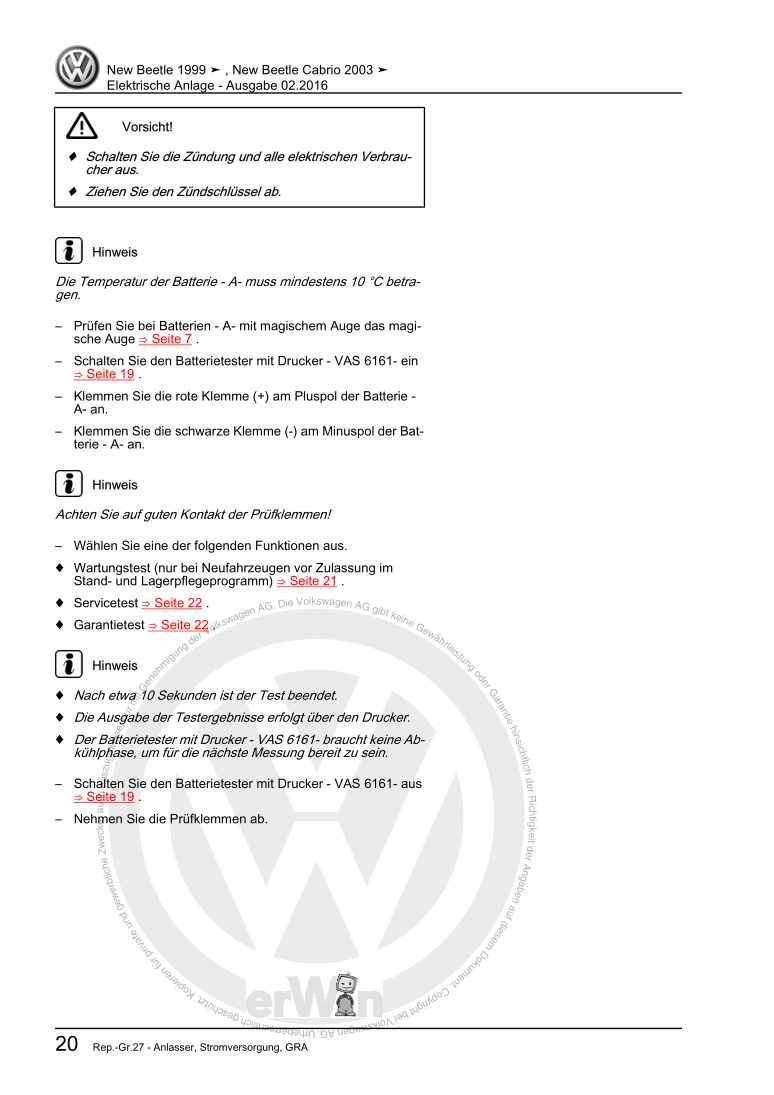
12 Checking battery
23 Charging battery
34 Disconnecting and reconnecting battery
44.1 Disconnecting battery
44.2 Reconnecting battery
45 Removing and installing battery
65.1 Vehicles with a petrol engine
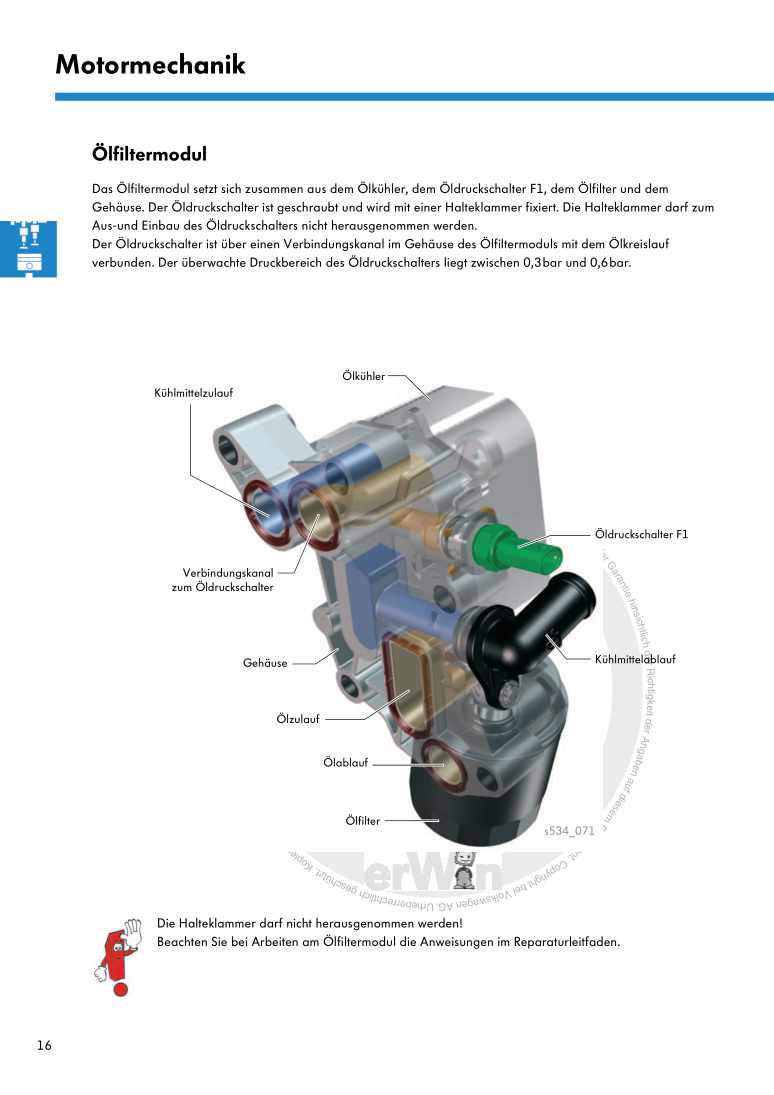
65.2 Vehicles with a diesel engine
76 Specified torques: battery
97 Starter
107.1 Removing and installing starter, automatic gearbox
107.2 Removing and installing starter, manual gearbox
197.3 Removing and installing starter, dual clutch gearbox (DSG)
378 Specified torques: starter
479 Alternator
489.1 Securing B+ (battery positive) wire to alternator
489.2 Checking poly V-belt
489.3 Alternator, 1.4 l TSI engine
489.4 Alternator, 1.6 l injection engine
549.5 Alternator, 1.6 l FSI engine
609.6 Alternator, 2.0 l FSI engine
649.7 Alternator, 2.0 l natural gas engine
729.8 Alternator, 1.9 l and 2.0 l TDI engine (with no dual clutch gearbox “DSG”)
799.9 Alternator, 1.9 l and 2.0 l TDI engine (with dual clutch gearbox “DSG”)
899.10 Removing and installing poly V-belt pulley on alternator
969.11 Voltage regulator for alternator
10110 Cruise control system (CCS)
104Gauges, instruments
1051 Dash panel insert
1051.1 Renewing dash panel insert
1051.2 Removing and installing dash panel insert
1061.3 Description of back of dash panel insert
1061.4 Warning lamp symbols in dash panel insert, vehicles to 09/06
1071.5 Warning lamp symbols in dash panel insert, vehicles from 10/06
1092 Service interval display
1112.1 Resetting service interval display
111Windscreen wash/wipe system
1121 Windscreen wiper system (opposing action system)
1121.1 General description
1121.2 Deactivating APP function of wiper motors
1131.3 Removing and installing windscreen wiper system
1131.4 Removing and installing wiper arms
1171.5 Adjusting wiper blade park position
1181.6 Removing and installing joint-free wipers
1191.7 Removing and installing wiper blade of joint-free wiper
1191.8 Removing and installing rain and light sensor G397
1212 Windscreen wiper system (parallel action system)
1242.1 General description
1242.2 Deactivating APP function of wiper motor
1242.3 Removing and installing windscreen wiper system
1252.4 Removing and installing wiper arms
1282.5 Adjusting windscreen wiper park position
1292.6 Removing and installing joint-free wipers
1302.7 Removing and installing wiper blade of joint-free wiper
1312.8 Removing and installing rain and light sensor G397
1333 Windscreen washer system
1363.1 Assembly overview - windscreen washer system
1363.3 Removing and installing windscreen and rear window washer pump V59
1423.4 Removing and installing windscreen washer fluid level sender G33
1423.5 Removing and installing windscreen washer system spray jets
1433.6 Adjusting windscreen washer system spray jets
1444 Rear window wiper system
1454.1 Removing rear window wiper
1454.2 Adjusting rear window wiper park position
1474.3 Renewing wiper rubber blade
1474.4 Removing and installing joint-free wiper
1485 Rear window washer system
1505.1 Assembly overview - rear window washer system
1505.2 Renewing spray jet
1515.3 Adjusting spray jet
1516 Headlight washer system
1526.1 Assembly overview - headlight washer system
1526.2 Removing and installing headlight washer system pump V11
1546.3 Removing and installing spray jet pop-up cylinders
1546.4 Removing and installing spray jet assembly
1556.5 Adjusting headlight washer system spray jets
1566.6 Bleeding headlight washer system
1567 Washer fluid line hose couplings
1578 Hose repair
1589 Specified torques: window wash/wipe system
159Lights, bulbs, switches - exterior
1601 Headlights with halogen bulbs, vehicles to 09/06
1601.1 General description
1601.2 Assembly overview - headlights with halogen bulbs
1601.3 Removing and installing headlight
1621.4 Adjusting headlight installation position
1631.5 Renewing headlight bulbs
1641.6 Removing and installing headlight range control motor
1691.7 Repairing headlight retaining tabs
1711.8 Converting headlights for use when driving on the left or right
1721.9 Adjusting headlights
1752 Headlights with halogen bulbs, vehicles from 10/06
1762.1 General description
1762.2 Assembly overview - headlights with halogen bulbs, vehicles from 10/06
1762.3 Removing and installing headlight
1782.4 Adjusting headlight installation position
1792.5 Renewing headlight bulbs
1802.6 Headlight range control motor
1862.7 Repairing headlight retaining tabs
1882.8 Converting headlights for use when driving on the left or right
1903 Headlights with gas discharge bulbs
1933.1 General description
1933.2 Assembly overview - gas discharge headlights
1933.3 Removing and installing headlight
1953.4 Adjusting headlight installation position
1953.5 Renewing headlight bulbs
1953.6 Removing and installing headlight range control motor
1973.7 Removing and installing gas discharge bulb control unit
1993.8 Headlight range control unit J431
2003.9 Vehicle level sender
2003.10 Repairing headlight retaining tabs
2033.11 Converting headlights for use when driving on the left or right
2033.12 Adjusting headlights
2044 Headlights with gas discharge bulbs and cornering lights
2054.1 General description
2054.4 Adjusting headlight installation position
2094.5 Renewing headlight bulbs
2104.6 Headlight range control motor
2174.7 Control motor for dynamic cornering light
2174.8 Static cornering light
2184.9 Swivel module position sensor
2184.10 Dipped beam screen
2194.11 Electronic starter unit with AFS output module
2194.12 Headlight range control unit
2204.13 Vehicle level sender
2214.14 Converting headlights for use when driving on the left or right
2234.15 Adjusting headlights
2254.16 Operation and safety notes for gas discharge bulbs
2255 Fog lights
2285.1 Removing and installing fog light
2285.2 Removing and installing left fog light bulb L22 or right fog light bulb L23
2285.3 Adjusting fog lights
2296 Turn signal in exterior mirror
2306.1 Removing and installing turn signal in exterior mirror
2307 Tail lights (tail light cluster)
2317.1 Assembly overview - tail light
2317.2 Removing and installing tail light
2317.3 Removing and installing tail light bulb carrier
2337.4 Adjusting installation position of tail light
2348 Number plate light
2358.1 Removing and installing number plate light X
2359 Additional brake light
2369.1 Removing and installing additional brake light M25
23610 Steering column switch
23810.1 Assembly overview - steering column switch
23810.2 Removing and installing steering column switch
24010.3 Steering column electronics control unit J527
24610.4 Steering angle sender G85
24611 Ignition/starter switch and lock cylinder
24711.1 Removing and installing steering lock housing
24711.2 Removing and installing lock cylinder
24711.3 Removing and installing ignition/starter switch
24911.4 Removing and installing ignition key withdrawal lock solenoid N376
25012 Rear parking aid (PDC)
25212.1 General description
25212.2 Assembly overview - rear parking aid (PDC)
25212.3 Rear parking aid control unit
25412.4 Removing and installing rear parking aid sender
25612.5 Removing and installing rear parking aid warning buzzer H15
25712.6 Rear parking aid final control diagnosis
25813 Front parking aid (PDC)
25913.1 General description
25913.2 Assembly overview - front parking aid (PDC)
25913.3 Control unit for front parking aid
25913.4 Front parking aid senders
25913.5 Front parking aid button E266
25913.6 Front parking aid warning buzzer H22
26014 Park assist steering (PAS)
26114.1 General description
26114.2 Assembly overview of park assist steering
26214.3 Park assist steering control unit J791
26414.4 Front parking aid sender and park assist steering sender
26514.6 Park assist steering button E581
27114.7 Front parking aid warning buzzer H22
27114.8 Rear parking aid warning buzzer H15 (vehicles with park assist steering)
27215 Specified torques: lights, bulbs, switches - exterior
27415.1 Specified torques: headlights
27415.2 Specified torques: fog lights
27415.3 Specified torques: tail light cluster
27415.4 Specified torques: vehicle level sender
274Lights, bulbs, switches - interior
2751 Interior lights and switches
2752 Lights and switches in engine compartment
2782.1 Removing and installing bonnet contact switch F266
2783 Lights and switches in dash panel
2793.1 Removing and installing light switch E1
2793.2 Removing and installing glove compartment light W6 and glove compartment light switch E26
2803.4 Removing and installing key-operated switch to deactivate front passenger side airbag E224
2833.6 Removing and installing hazard warning light switch E3
2844 Lights and switches in front doors
2864.1 Front left entry light W31 and front right entry light W32
2864.2 Removing and installing window regulator switch in front passenger door E107
2884.3 Removing and installing switch element for mirror adjustment on driver side
2894.4 Removing and installing driver side interior locking button for central locking system E308
2904.5 Components - front door locks
2914.6 Removing and installing driver side window regulator switch element
2914.7 Removing and installing fuel tank flap release button E319
2935 Lights and switches in rear doors
2955.1 Rear left entry light W33 and rear right entry light W34
2955.2 Components - rear door locks
2956 Lights and switches in luggage compartment
2976.1 Removing and installing luggage compartment light W3
2976.2 Removing and installing rear lid locking unit F256
2987 Lights and switches in roof trim
2997.1 Front interior and reading lights
2997.2 Removing and installing sliding sunroof switch E8
3037.3 Rear interior and reading lights
3047.4 Removing and installing light for vanity mirror
3088 Lights and switches in centre console
3108.1 Removing and installing buttons in centre console storage compartment
3109 12 V socket
31210 Cigarette lighter U1
31311 Horn
31411.1 Removing and installing treble horn H2 and bass horn H7
31411.2 Checking treble horn H2 and bass horn H7
31611.3 Horn plate H
31612 Immobiliser, vehicles up to 09.06
31712.1 Immobiliser control unit J362
31712.2 Immobiliser reader coil D2
31712.3 Ignition key
31812.4 Exchanging all immobiliser components
31812.5 Online system test
31813 Immobiliser, vehicles from 10/06
31913.1 Immobiliser control unit J362
32013.2 Ignition key
32013.3 New identity on renewing all components
32013.4 Fazit system test
32014 Anti-theft alarm (ATA)
32214.1 Activating and deactivating anti-theft alarm
32214.3 Removing and installing interior monitoring sensor G273
32314.4 Removing and installing vehicle inclination sender G384
32314.5 Central locking and anti-theft alarm system aerial R47
32414.6 Alarm horn H12
32415 Specified torques: lights, bulbs and switches - interior
32615.1 Torque settings: alarm horn H12
32615.2 Torque settings: alarm horns
326Wiring
3271 Vehicle diagnosis, testing and information systems
3272 Removing and installing fuse holder
3282.1 Removing and installing fuse holder on left beneath dash panel
3283 Removing and installing relay carrier
3293.1 Removing and installing relay carrier on left of dash panel
3293.2 Removing and installing relay carrier on onboard supply control unit
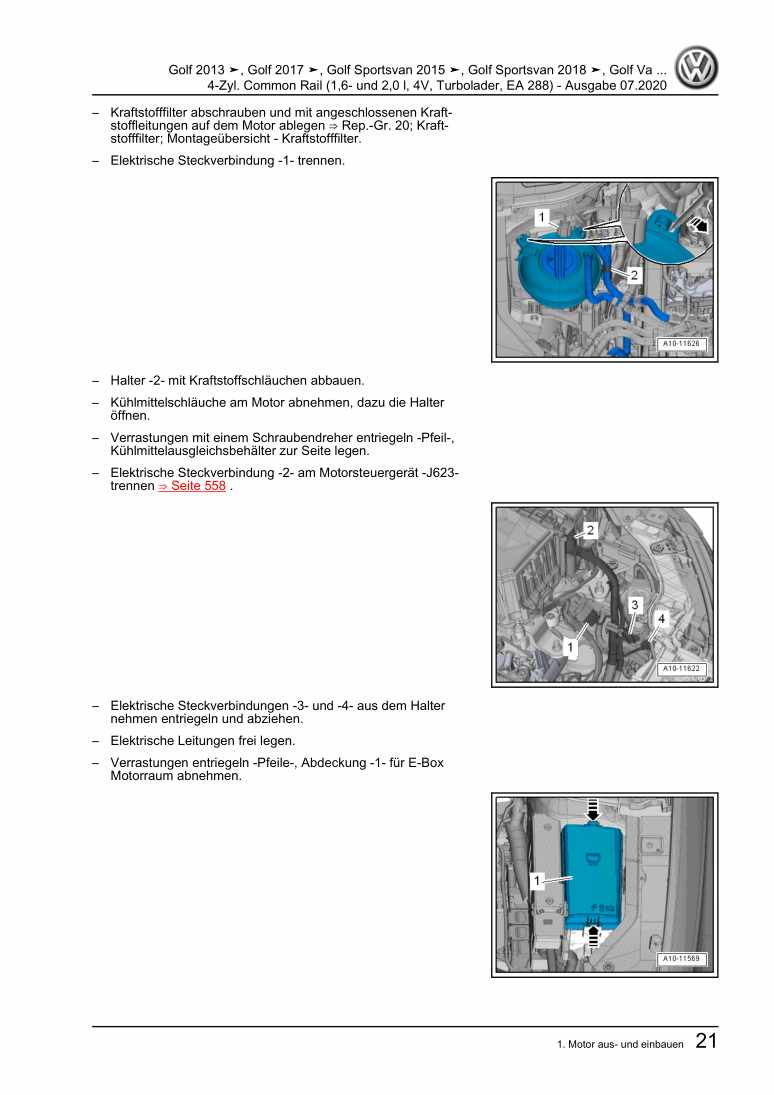
3294 Removing and installing electronics boxes (E-boxes)
3315 Control units
3405.1 Onboard supply control unit J519 , vehicles to 05/10
3415.2 Onboard supply control unit J519 , vehicles from 06/10
3435.3 Convenience system central control unit J393
3465.4 Data bus diagnostic interface J533 (gateway)
3495.5 Trailer detector control unit J345
3515.6 Trailer detector control unit J345 from 06/2007
3545.7 Special vehicle control unit J608
3566 Specified torques: wiring
3586.1 Specified torques: E-box on left side of engine compartment up to 10/2008
3587 Wiring harness and connector repairs
359


