THE CAR REPAIR SHOP
0
Home » Manuals » Electric rear-wheel drive EIP220 and all-wheel drive EIA200, EIP220
  • Examplepage for repair manual Electric rear-wheel drive EIP220 and all-wheel drive EIA200, EIP220
  • Examplepage for repair manual 2 Electric rear-wheel drive EIP220 and all-wheel drive EIA200, EIP220
  • Examplepage for repair manual 3 Electric rear-wheel drive EIP220 and all-wheel drive EIA200, EIP220

Electric rear-wheel drive EIP220 and all-wheel drive EIA200, EIP220

For ID.3 / ID.4

Original Volkswagen repair manual


22,40 €7% VAT incl.

  • Deutsch
  • English

Immediately available for download

Language: English

Digital PDF file

22.250 KB

281 Sites

Detailed technical data

Immediately readable

This repair manual contains: Safety information and repair notes, Removing and installing front motor, Front assembly mountings, Cooling system/coolant, Warning stickers, High-voltage battery unit, kWh, Power and control electronics for electric drive, Vehicle noise/engine sound and Accelerator pedal. Show more
Secure Payment via PayPal, credit card, direct debit and more
PayPal Logo SEPA Lastschrift Logo Giropay Logo Sofort Überweisung Logo

Repair manual ID.3 / ID.4 Electric rear-wheel drive EIP220 and all-wheel drive EIA200, EIP220 PDF download has the following content:

Chapter overview

  • Technical data
    1
  • 1 Identification
    1
  • 1.1 Motor number/motor data
    1
  • 2 Electrical components
    3
  • 2.1 Access to diagnoses
    3
  • 3 Hazard classification of high-voltage system
    5
  • 3.1 Hazard classification of high-voltage system
    5
  • Removing and installing engine
    14
  • 1 Safety information and repair notes
    14
  • 1.1 Safety information
    14
  • 1.2 Repair notes
    14
  • 2 Removing and installing front motor
    15
  • 2.1 Assembly overview – front motor
    15
  • 2.2 Removing front motor
    19
  • 2.3 Securing motor (front) to engine and gearbox support
    23
  • 2.4 Installing front motor
    25
  • 3 Removing and installing rear motor
    30
  • 3.1 Exploded view - motor (rear)
    30
  • 3.2 Removing rear motor
    32
  • 3.3 Securing motor to engine and gearbox support, rear motor
    37
  • 3.4 Installing rear motor
    40
  • 4 Front assembly mountings
    44
  • 4.1 Removing and installing motor mountings
    44
  • 4.2 Removing and installing gearbox mountings
    44
  • 5 Rear assembly mountings
    45
  • 5.1 Removing and installing assembly mountings
    45
  • Cooling
    46
  • 1 Safety information and repair notes
    46
  • 1.1 Safety information
    46
  • 1.2 Repair notes
    46
  • 2 Cooling system/coolant
    47
  • 2.1 Connection diagram – coolant hoses, refrigerant R744
    47
  • 2.2 Connection diagram – coolant hoses, refrigerant R1234yf
    48
  • 2.3 Overview of fitting locations – cooling system, rear-wheel drive
    50
  • 2.4 Overview of fitting locations – cooling system, all-wheel drive
    52
  • 2.5 Assembly overview – cooling system, rear-wheel drive
    54
  • 2.6 Assembly overview – cooling system, all-wheel drive
    59
  • 2.7 Checking cooling system for leaks
    64
  • 2.8 Draining coolant
    66
  • 2.9 Filling cooling system
    68
  • 2.10 Removing and installing coolant expansion tank
    74
  • 2.11 Checking filling quality
    76
  • 3 Coolant pump/coolant regulation
    78
  • 3.1 Assembly overview - electric coolant pump
    78
  • 3.2 Assembly overview – coolant valves
    78
  • 3.3 Exploded view - coolant temperature senders
    79
  • 3.4 Removing and installing coolant pump for high-voltage battery [V590]
    81
  • 3.5 Removing and installing coolant pump for low-temperature circuit [V468]
    83
  • 3.6 Removing and installing mixing valve for high-voltage battery pre-heating [V683]
    84
  • 3.8 Removing and installing temperature sensor [G18]
    87
  • 4 Radiator, radiator fan
    92
  • 4.1 Assembly overview - radiator/radiator fan
    92
  • 4.2 Assembly overview – radiator cowl and radiator fan
    92
  • 4.3 Removing and installing radiator module
    93
  • 4.4 Dismantling and assembling radiator module
    95
  • 4.5 Removing and installing radiator cowl with radiator fans
    99
  • 4.6 Removing and installing radiator fan VX57
    100
  • 4.7 Removing and installing control motor for radiator roller blind [V711], ID.3
    100
  • 4.8 Removing and installing control motor for radiator roller blind [V711], ID.4
    101
  • Electric drive systems
    104
  • 1 Safety information and repair notes
    104
  • 1.1 Safety information
    104
  • 1.2 Repair notes
    104
  • 2 High-voltage components
    105
  • 2.1 Overview of fitting locations – high-voltage components, all-wheel drive
    105
  • 2.2 Overview of fitting locations – high-voltage components, rear-wheel drive
    107
  • 3 Warning stickers
    110
  • 3.1 Checking warning stickers
    110
  • 4 High-voltage battery unit
    115
  • 4.1 Assembly overview – high-voltage battery, installed, 82 kWh
    115
  • 4.2 Visual inspection of high-voltage battery 1 [AX2]
    116
  • 4.3 Diagnosis of high-voltage battery 1 [AX2]
    116
  • 4.4 Searching for leaks from high-voltage battery
    117
  • 4.5 Leakage test of high-voltage battery 1 [AX2]
    117
  • 4.6 Removing and installing high-voltage battery 1 [AX2], 48, 55, 62 kWh
    118
  • 4.7 Raising high-voltage battery 1 [AX2]
    127
  • 4.8 Opening high-voltage battery 1 [AX2]
    129
  • 4.9 Sealing high-voltage battery 1 [AX2], 48, 55, 62 kWh
    130
  • 4.10 Voltage and insulation measurement
    132
  • 4.11 Opening electrical circuit, 48, 55 kWh
    135
  • 4.12 Removing and installing battery regulation control unit [J840]
    137
  • 4.13 Charging and discharging battery modules
    138
  • 4.14 Renewing lower part of battery housing
    139
  • 4.15 Assembly overview – high-voltage battery, installed, 48, 55, 62 kWh
    140
  • 4.16 Removing and installing high-voltage battery 1 [AX2], 82 kWh
    142
  • 4.17 Sealing high-voltage battery 1 [AX2], 82 kWh
    151
  • 4.18 Opening electrical circuit, 62 kWh
    153
  • 4.19 Opening electrical circuit, 82 kWh
    155
  • 5 High-voltage battery components
    158
  • 5.1 Removing battery module
    158
  • 5.2 Installing battery module
    162
  • 5.3 Removing and installing battery modules control unit
    165
  • 5.4 Removing and installing connecting element, 48, 55 kWh
    167
  • 5.6 Overview of fitting locations – battery connectors
    171
  • 5.7 Assembly overview – high-voltage battery, battery modules
    171
  • 5.8 Removing and installing connecting element, 62 kWh
    172
  • 5.9 Removing and installing connecting element, 82 kWh
    174
  • 82 kWh
    177
  • 82 kWh
    179
  • 5.13 Overview of fitting locations – battery modules, 48, 55 kWh
    183
  • 5.14 Overview of fitting locations – battery modules, 62 kWh
    184
  • 5.15 Overview of fitting locations – battery modules, 82 kWh
    186
  • 5.16 Assembly overview – high-voltage battery, removed, 48, 55, 62 kWh
    188
  • 5.17 Assembly overview – high-voltage battery, removed, 82 kWh
    190
  • 5.18 Assembly overview – switching unit for high-voltage battery, 48, 55, 62 kWh
    192
  • 5.19 Assembly overview – switching unit for high-voltage battery, 82 kWh
    193
  • 5.20 Assembly overview – high-voltage battery, connecting element, 48, 55, 62 kWh
    194
  • 5.21 Assembly overview – high-voltage battery, connecting element, 82 kWh
    196
  • 6 Power and control electronics for electric drive
    198
  • 7 Electric drive motor
    221
  • 7.1 Calibrating three-phase current drive [VX54-
    221
  • 7.2 Leakage test of electric drive motor, rear motor
    221
  • 7.3 Assembly overview – electric drive motor, rear-wheel drive
    230
  • 7.4 Assembly overview – electric drive motor, all-wheel drive
    232
  • 7.5 Removing and installing drive motor rotor position sender, rear-wheel drive
    237
  • 7.6 Removing and installing drive motor rotor position sender, all-wheel drive
    238
  • 8 Motor control unit
    243
  • 8.1 Assembly overview – motor control unit
    243
  • 8.2 Removing and installing motor control unit [J623]
    243
  • 8.3 Removing and installing bracket for motor control unit [J623]
    244
  • 9 De-energising high-voltage system
    245
  • 9.1 De-energising high-voltage system
    245
  • 10 Re-energise high-voltage system
    246
  • 10.1 Re-energising high-voltage system
    246
  • 11 Potential equalisation lines
    247
  • 11.1 Overview of fitting locations – potential equalisation lines, all-wheel drive
    247
  • 11.2 Overview of fitting locations – potential equalisation lines, rear-wheel drive
    247
  • 12 Charging socket
    249
  • 12.1 Assembly overview – charging socket
    249
  • 12.2 Removing and installing high-voltage battery charging socket 1 [UX4]
    249
  • 12.3 Removing and installing actuator for high-voltage charging socket lock 1 [F498]
    252
  • 13 Charging unit for high-voltage battery
    254
  • 13.1 Assembly overview – charging unit for high-voltage battery, rear-wheel drive
    254
  • 13.2 Assembly overview – charging unit for high-voltage battery, all-wheel drive
    255
  • 14 Vehicle noise/engine sound
    267
  • 14.1 Overview of fitting locations – vehicle noise/engine sound
    267
  • 14.2 Removing and installing engine sound generator module
    267
  • 15 Accelerator pedal
    269
  • 15.1 Assembly overview – accelerator pedal module
    269
  • 15.2 Removing and installing accelerator pedal module [GX2]
    269
  • 16 Voltage converter
    271
  • 16.1 Assembly overview – voltage converter, rear-wheel drive
    271
  • 16.2 Assembly overview – voltage converter, all-wheel drive
    271
  • 16.3 Removing and installing voltage converter, rear-wheel drive
    272
  • 16.4 Removing and installing voltage converter, all-wheel drive
    274
Manufacturer's designation Electric rear-wheel drive EIP220 and all-wheel drive EIA200, EIP220
Manufacturer Volkswagen
Suitable for ID.3 (2020 >) / ID.4 (2020 >)
Suitable car types E1, E2
Engine code EBJC, EBJD, EBRA
Category Reparaturanleitung

There are no reviews for this product at the moment.

Similar repair manuals

Fuel supply system - natural gas engines
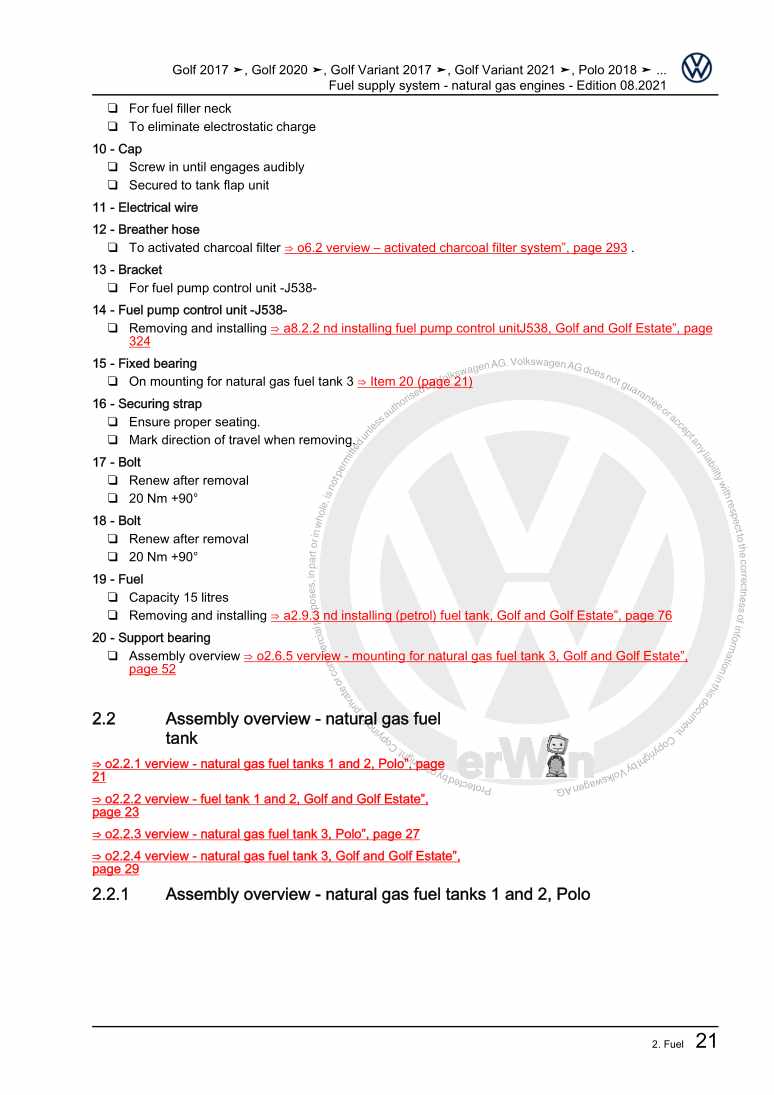
Examplepage for repair manual Fuel supply system - natural gas engines

For Golf VII (2017) / Golf (2017) / Polo (2018) / Golf (2020 >) / Golf Variant (2021 >) / Polo (2022)

26,17 € Details

Basic equipment, From March 2014

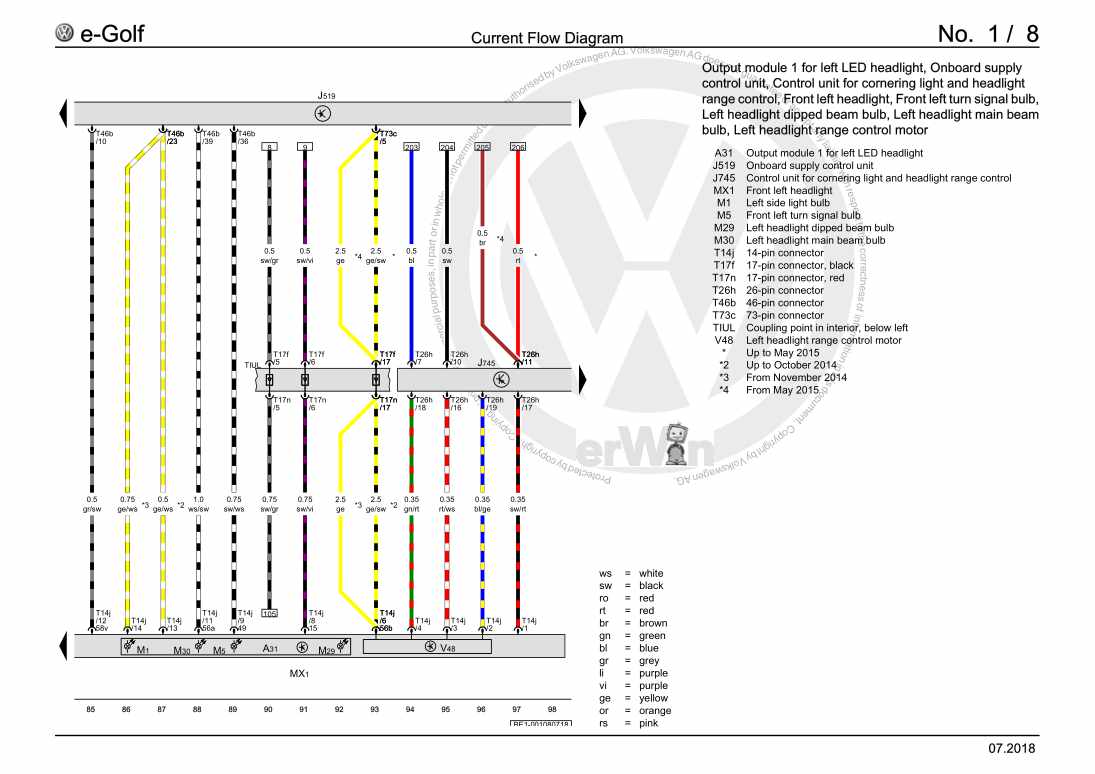
Examplepage for repair manual Basic equipment, From March 2014

For eGolf (ab 2014) / e-Golf (2017)

47,93 € Details

1-speed gearbox 0CZ

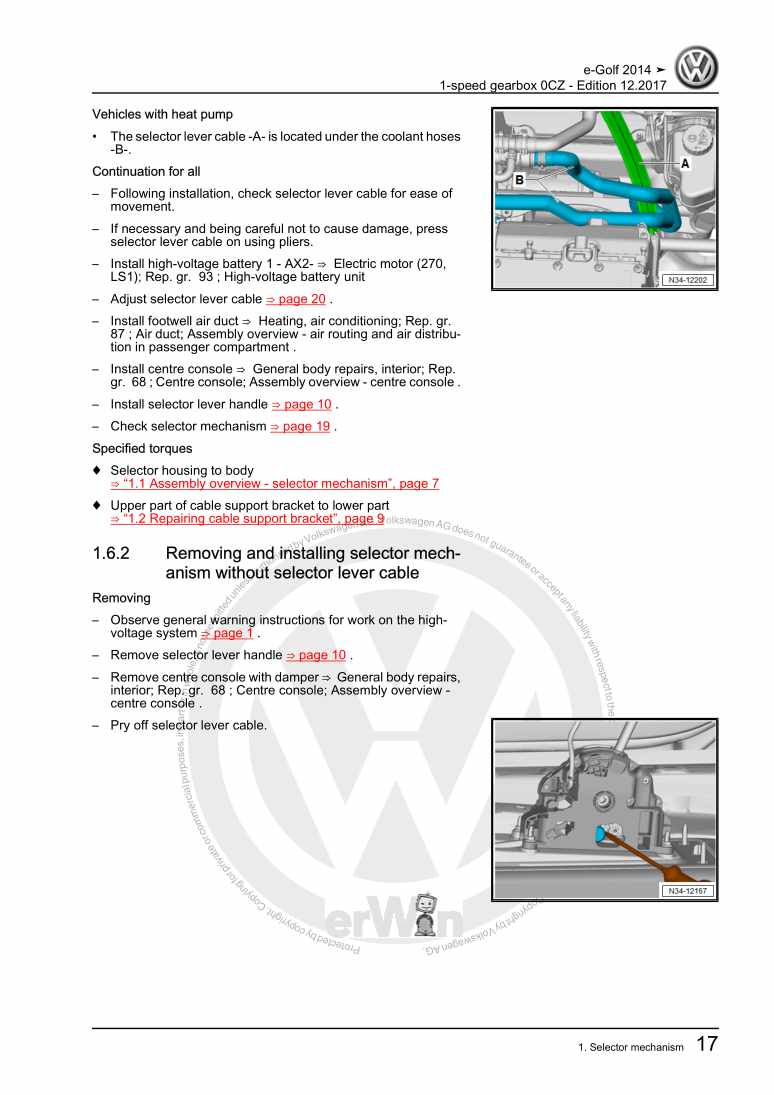
Examplepage for repair manual 1-speed gearbox 0CZ

For eGolf (ab 2014)

6,35 € Details

Electrical system

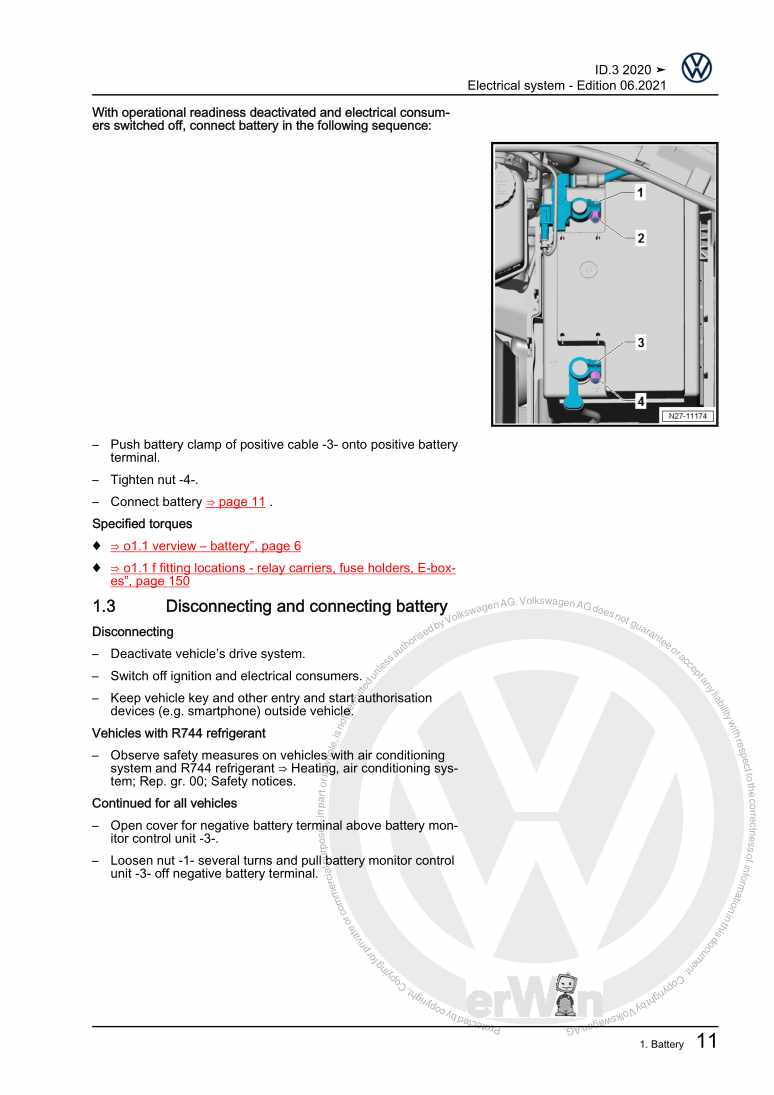
Examplepage for repair manual Electrical system

For ID.3 (2020 >)

15,16 € Details

Car paint summary

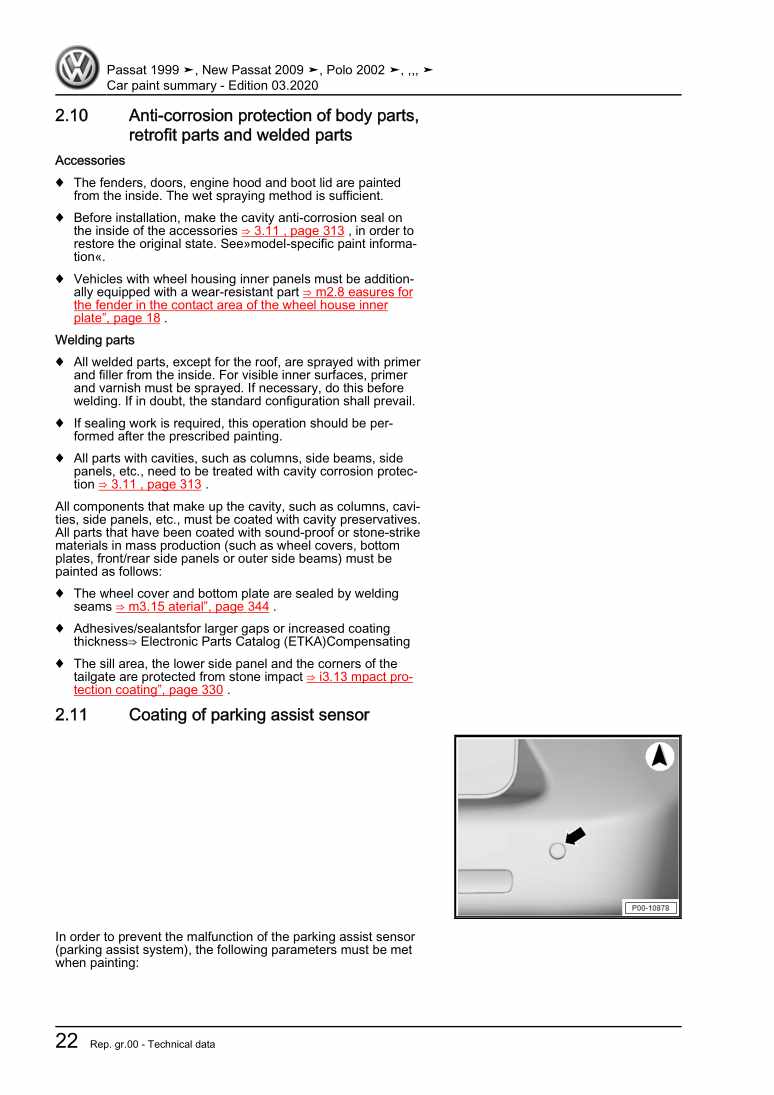
Examplepage for repair manual Car paint summary

For Polo A04 (China) (2002 - 2006) / Polo A04 (China) (2002 - 2006) / Iltis (1979 - 1988) / Passat (China) (2005 - 2006) / Touran (China) (2004 - 2006) / Modell 181 Ll (1970 - 1979) / Polo A04 (China) (2006) / Passat (China) (2000 - 2006) / Polo A04 (China) (2006) / Modell 181 Rl (1970 - 1979) / Tiguan [CN] (2017 >) / NMS [CN] (2012 >) / New Polo [CN] (2010 >) / Lavida Family [CN] (2015 >) / Lavida Family [CN] (2015 >) / NMS [CN] (2016 >) / Touran [CN] (2016 >) / Phideon [CN] (2017 >) / B-SUV [CN] (2017 >) / Lamando [CN] (2015 >) / Tiguan [CN] (2009 >) / Tiguan [CN] (2013 >) / Santana NF [CN] (2017 >) / Santana Derivat [CN] (2015 >) / Santana NF [CN] (2013 >) / Lavida NF Hatchback [CN] (2017 >) / Lavida NF Notchback [CN] (2017 >) / Tharu (CN) (2018 >) / Passat [CN] (2019 >) / Lavida BEV [CN] (2019 >) / T-Cross [CN] (2019 >) / Teramont Coupe [CN] (2019 >) / Polo NF [CN] (2019 >) / Tharu [CN] (2020 >) / Viloran MPV (2020 >) / Passat [CN] (2009 - 2012) / Touran [CN] (2010 >) / Polo [CN] (2011 >)

33,83 € Details

Communication

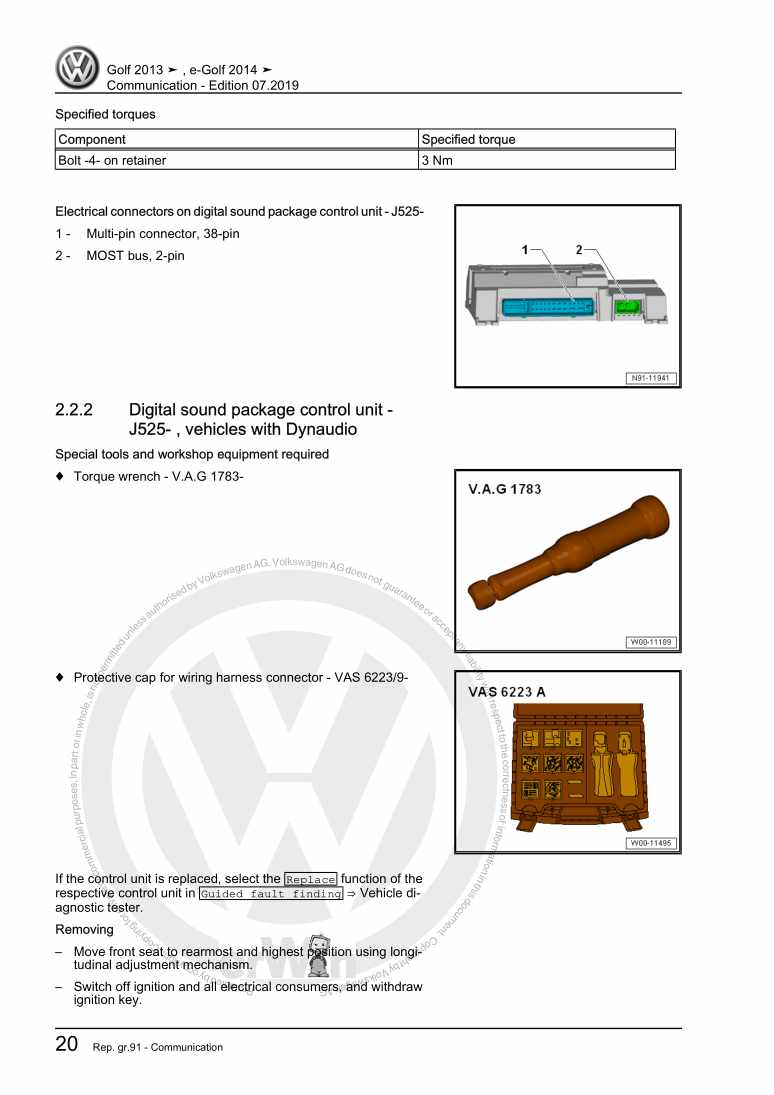
Examplepage for repair manual Communication

For Golf VII (2013) / eGolf (ab 2014)

7,50 € Details

Wheels and Tyres Guide - General Information
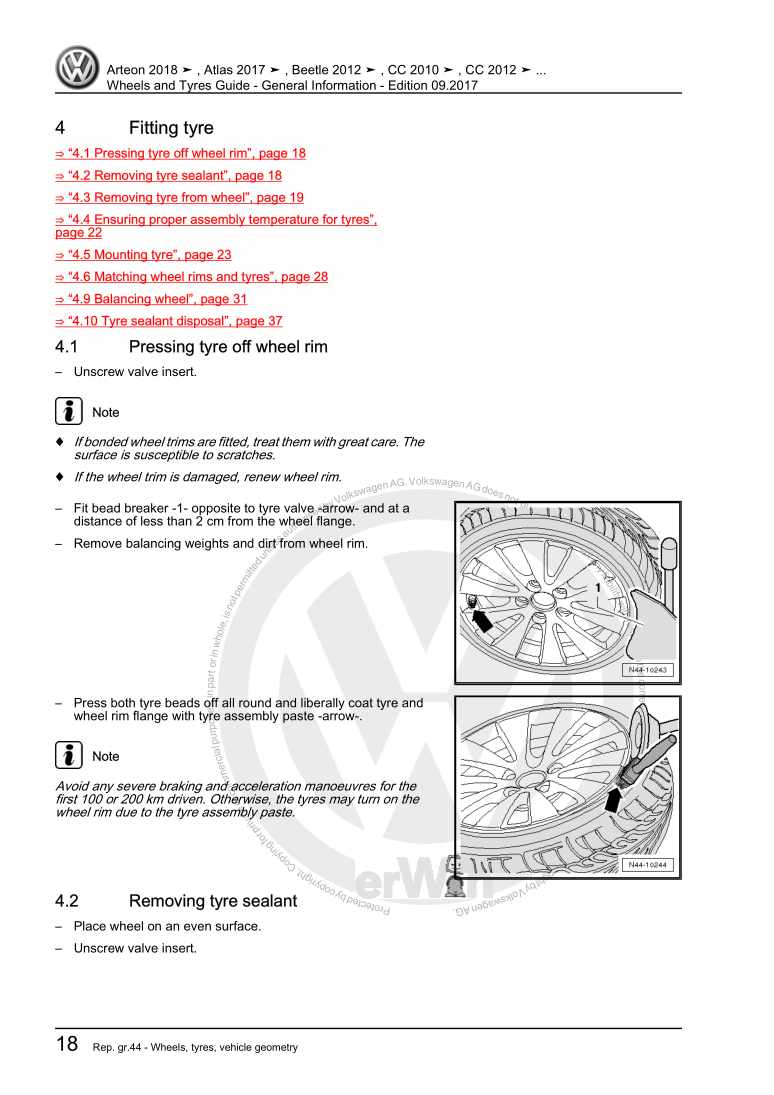
Examplepage for repair manual Wheels and Tyres Guide - General Information

For Phaeton (2001 - 2008) / Touran (2003 - 2011) / EOS (2006) / Jetta 2-türig Rl (1980 - 1984) / Jetta 4-türig Ll (1980 - 1984) / Tiguan (2008) / Passat CC (2009) / Golf (2009) / Scirocco (2008) / Golf Plus (2009) / Golf VI Variant (2010) / Touareg (2011) / Sharan (2011) / Polo A05 (2010) / Passat/Passat Variant (2011 >) / Passat/Passat Variant (2011 >) / Golf Cabriolet (2012) / Beetle (NBL) Limousine (2012) / Passat CC (2009) / Beetle (NBC) Cabrio (2012) / Up! (2012) / Golf VII (2013) / Golf Variant (2014) / eUp! (ab 2014) / eGolf (ab 2014) / Polo (2014) / Golf Sportsvan (2014 >) / Scirocco GP (2015) / Passat Lim (2015 >) / Touareg FL (2015 > ) / Passat Var. (2015 >) / Sharan (2016 > ) / Touran (2016 > ) / Tiguan (2016) / VW eUP (2012) / VW Beetle (2011) / Golf VII (2017) / Arteon () / Golf (2017) / Beetle (2017) / e-Golf (2017) / e-UP! (2017) / Polo (2018) / Atlas (2017 >)

11,39 € Details

Brake system

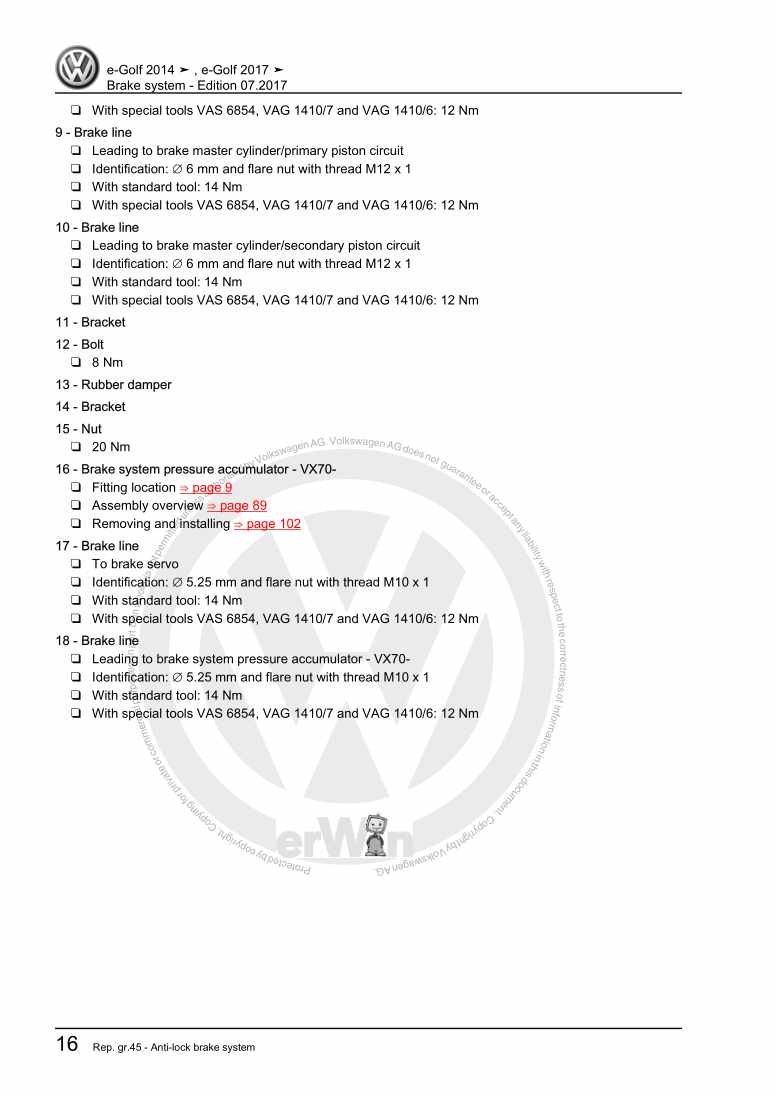
Examplepage for repair manual Brake system

For eGolf (ab 2014) / e-Golf (2017)

12,11 € Details

Maintenance

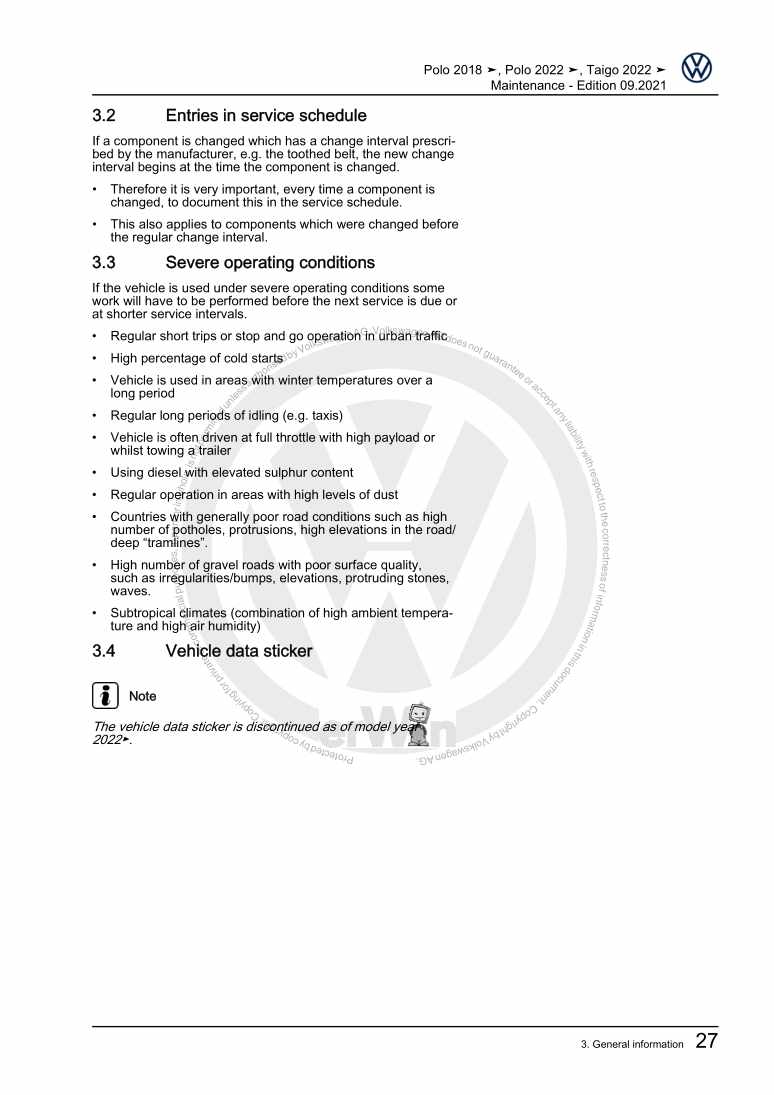
Examplepage for repair manual Maintenance

For Polo (2018) / Polo (2022)

16,33 € Details

Heating, air conditioner

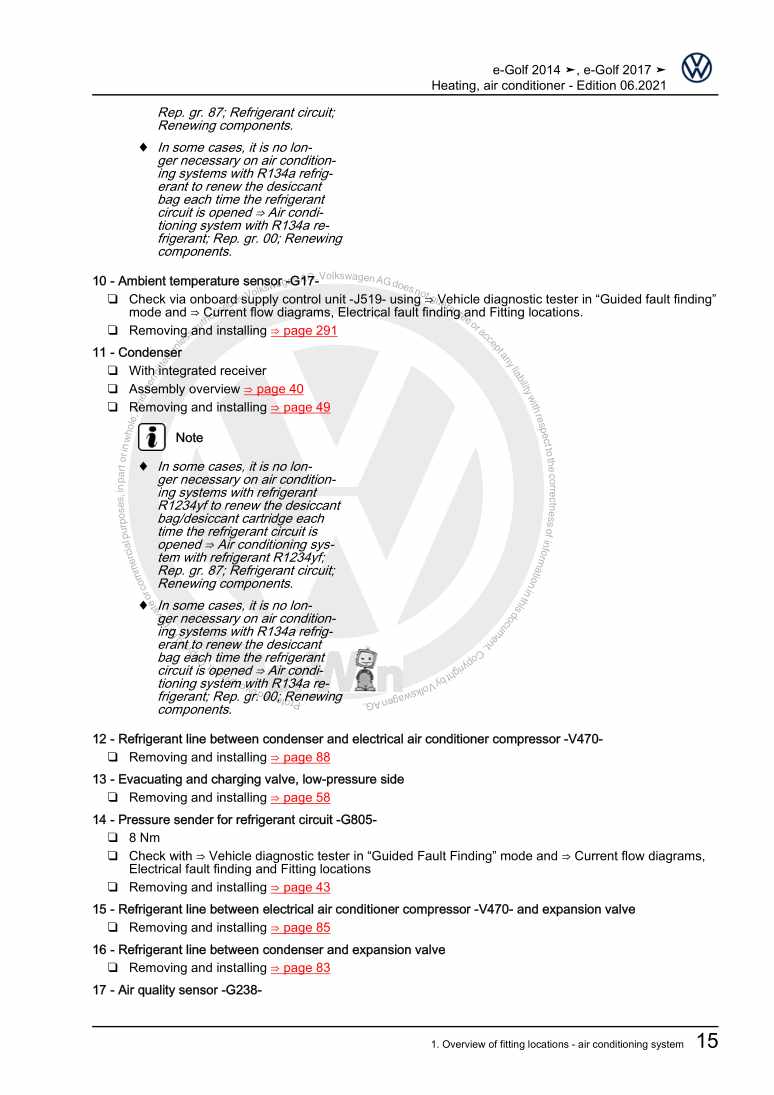
Examplepage for repair manual Heating, air conditioner

For eGolf (ab 2014) / e-Golf (2017)

23,90 € Details

Our Best Sellers

Did you know? We also offer original spare parts.

car part 0AM301212A Deckel

0AM301212A

Deckel

8,35 €

Details
car part 1J0972753 Gehaeuse

1J0972753

Gehaeuse

6,02 €

Details
car part 4L0898671B Lager

4L0898671B

Lager

55,56 €

Details
car part 2Q0971349LH Leitg.Satz

2Q0971349LH

Leitg.Satz

238,12 €

Details
car part N90851401 Dichtring

N90851401

Dichtring

4,04 €

Details

Eigendiagnose für Automatisches Getriebe 09A - 5 Gang
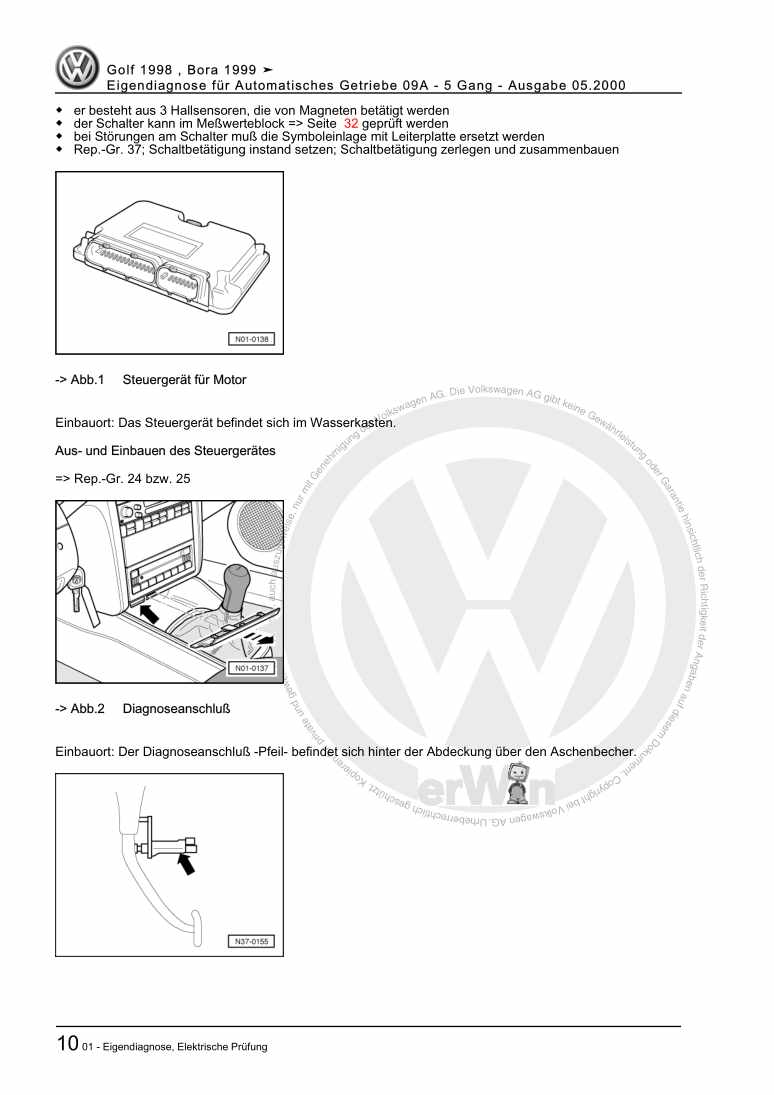
Examplepage for repair manual Eigendiagnose für Automatisches Getriebe 09A - 5 Gang

For Bora / Bora Variant / Golf / Golf Variant (1998 - 2006)

6,00 € Details

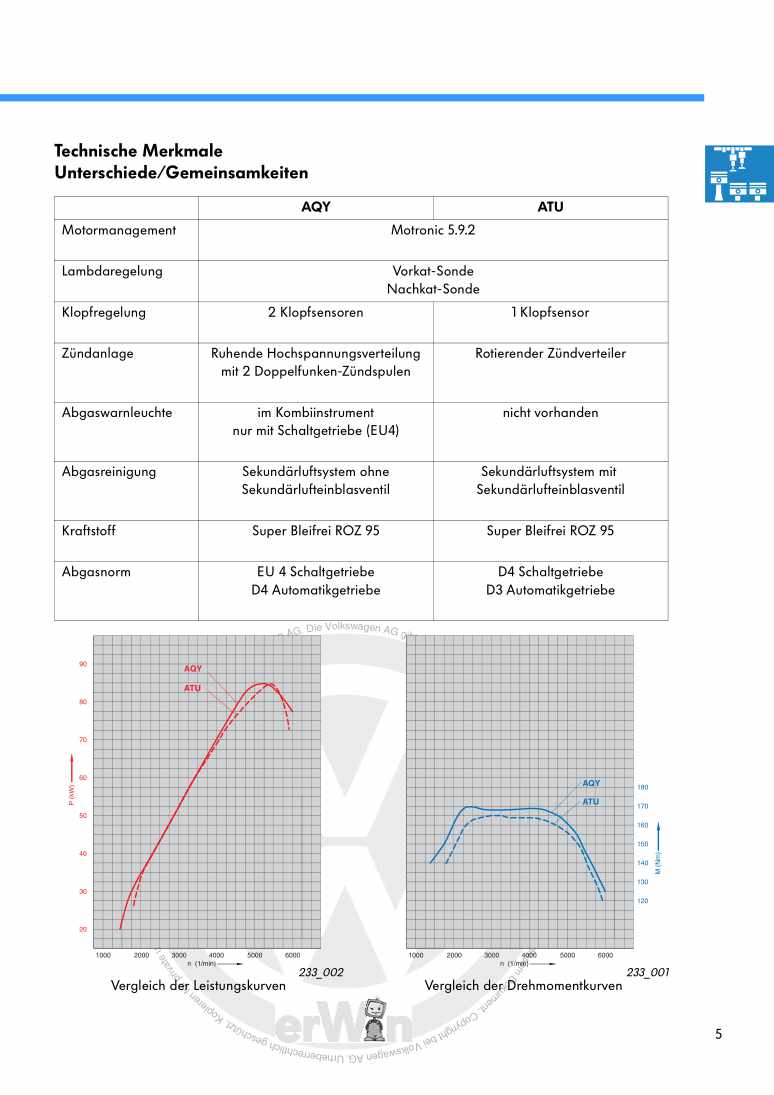
Nr. 233: 2,0 l-Motor

Examplepage for repair manual Nr. 233: 2,0 l-Motor

5,73 € Details

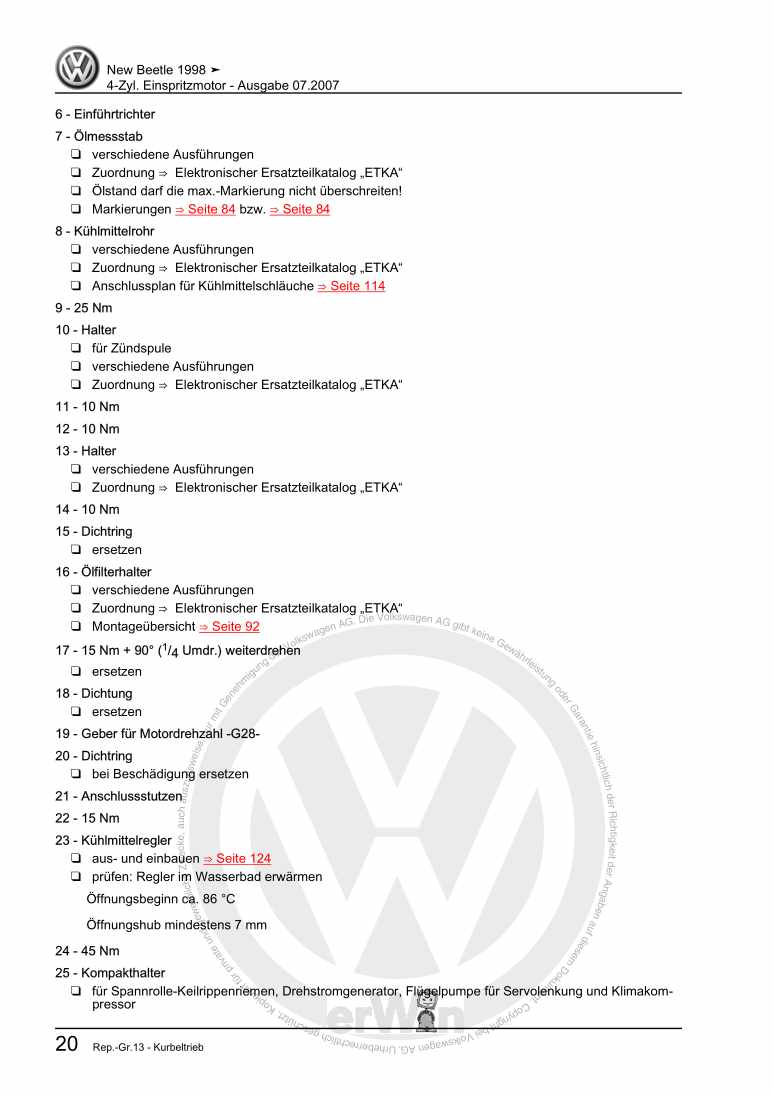
4-Zyl. Einspritzmotor

Examplepage for repair manual 4-Zyl. Einspritzmotor

For New Beetle Cabrio (2003 - 2010) / New Beetle / New Beetle (USA) (1998 - 2007) / New Beetle (Europe) (1999 - 2002)

21,00 € Details

image/svg+xml About Clonck

Original repair manuals und spare parts

Our repair manuals are original, come directly from Volkswagen and meet the highest quality standards.

In our original parts shop we sell high-quality original spare parts from car manufacturers. Use the search function to enter the desired part number (OE number) and order the required spare part quickly and easily.

Highest quality standards

At Clonck, we want to make car mechanics and car professionals happy. That's why you will only find professional and high-quality repair manuals at Clonck that will help you to repair your vehicle professionally.

Our partners

Autohaus Schmidt GmbH
Automag GmbH Filiale Laim
KFZ-VERLAG GmbH
Zimpel und Franke GmbH

Clonck: The car repair shop - also as app!

Clonck App Logo Play Store

Clonck: Fitting car parts for your car repair

4,5 90

With Clonck you can order the right original spare parts in no time.

  • Add your car model
  • Select assembly group
  • Enter vehicle identification number (VIN)
  • Access to over 5,000 original repair manuals
Start app now
Clonck App Preview Car Mobilephone Carparts