DER AUTOREPARATUR-SHOP
0
Home » Anleitungen » Body Repairs
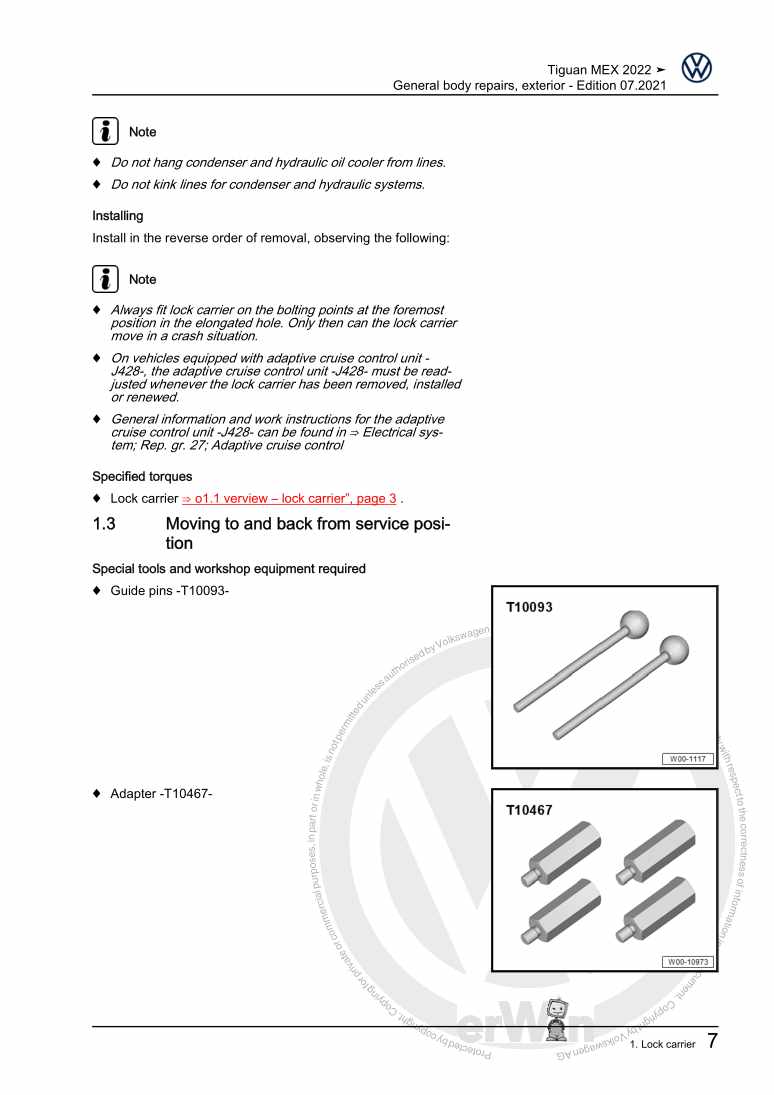
  • Beispielseite für Reparaturanleitung Body Repairs
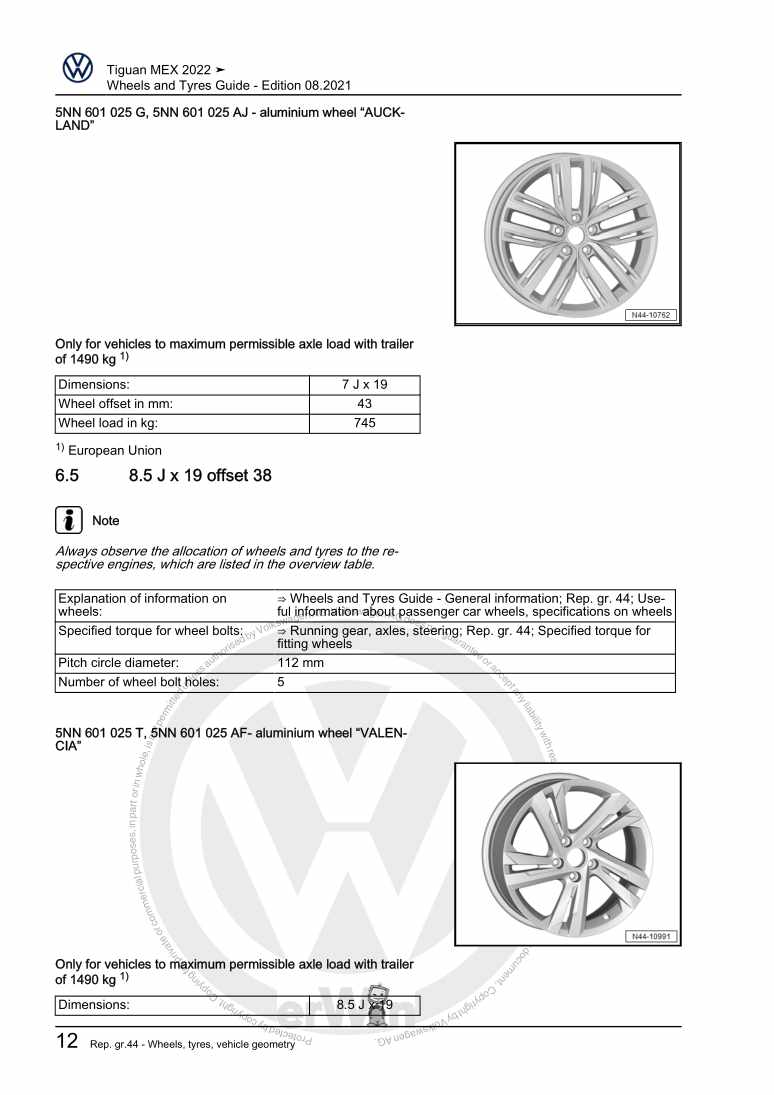
  • Beispielseite für Reparaturanleitung 2 Body Repairs
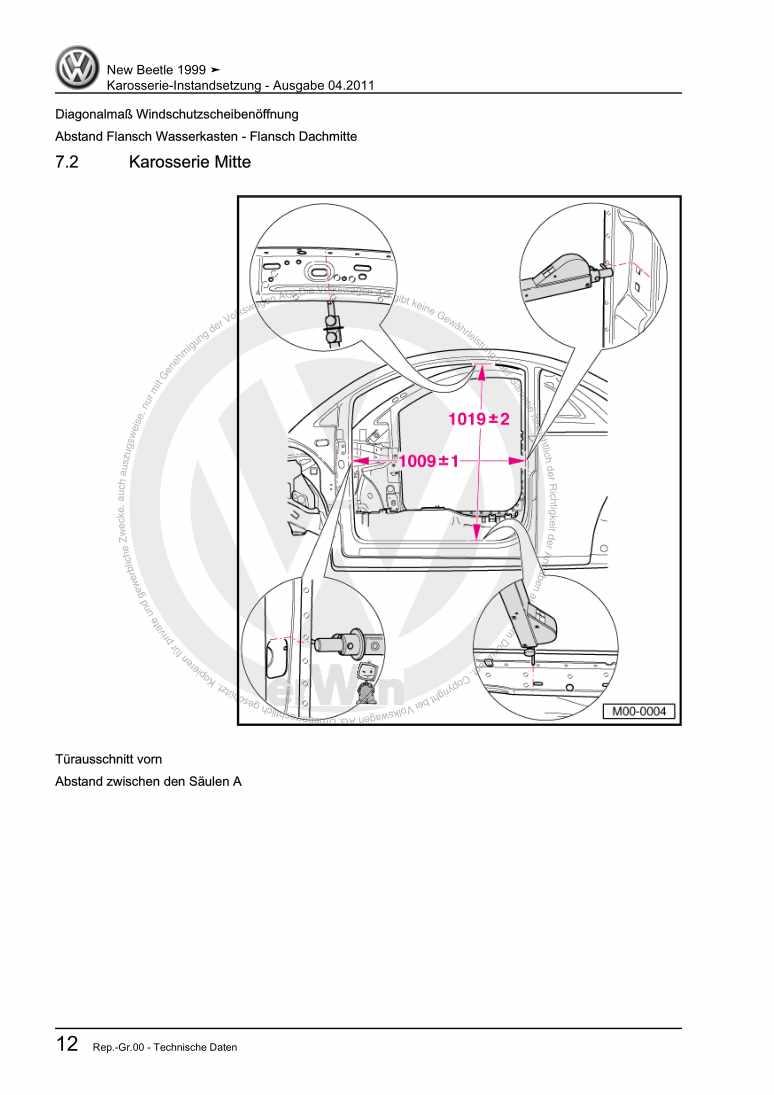
  • Beispielseite für Reparaturanleitung 3 Body Repairs
  • Beispielseite für Reparaturanleitung Body Repairs
  • Beispielseite für Reparaturanleitung 2 Body Repairs
  • Beispielseite für Reparaturanleitung 3 Body Repairs

Body Repairs

Für Tiguan [MX]

Original VW-Reparaturanleitung


28,22 €inkl. 7% MwSt.

Sofort als Download verfügbar

Sprache: English

Digitale PDF Version

33.968 KB

369 Seiten

Detaillierte technische Daten

Sofort lesbar

Diese Reparaturanleitung umfasst: Overview of parts - LWB, MEX, Repairing threads for securing subframe, Renewing front longitudinal member end plate und Renewing upper A-pillar reinforcement - LWB, EU, part section. Mehr anzeigen
Sichere Zahlung per PayPal, Kreditkarte, Lastschrift, Sofort-Überweisung oder Giropay
PayPal Logo SEPA Lastschrift Logo Giropay Logo Sofort Überweisung Logo

Reparaturanleitung Tiguan [MX] Body Repairs pdf Download mit dem Inhalt:

Kapitelübersicht

  • Technical data
    1
  • 1 Basic instructions
    1
  • 1.1 Original joint
    1
  • 1.2 Used joining techniques
    1
  • 2 Vehicle identification data
    3
  • 2.1 Vehicle identification number
    3
  • 2.2 Identification plate
    4
  • 2.3 Vehicle data sticker
    5
  • 3 Safety information
    7
  • 4 Moulded foam inserts
    8
  • 5 Galvanized body parts, high- and higher-strength and hot-formed body panels
    10
  • 6 Laser welding
    13
  • 7 Gaps/shut lines
    14
  • 7.1 Body - front
    14
  • 7.2 Body, centre
    16
  • 7.3 Body, rear
    19
  • 8 Body dimensions
    22
  • 8.1 Body - front
    22
  • 8.2 Body, centre
    23
  • 8.3 Body, rear
    28
  • 8.4 Floor panel, front
    29
  • 8.5 Floor panel, centre
    30
  • 8.6 Floor panel, rear
    31
  • 9 Straightening bracket set
    33
  • 9.1 Setup overview of complete body
    33
  • 10 Portal gauge
    35
  • 10.1 Setup overview of complete body
    35
  • Body - front
    37
  • 1 Overview of parts - LWB, MEX
    37
  • 2 Overview of parts - LWB, EU
    38
  • 3 Renewing bracket (right) - LWB, MEX
    39
  • 3.1 Tools
    40
  • 3.2 Removing
    40
  • 3.3 Installing
    42
  • 4 Renewing bracket (right) - LWB, EU
    45
  • 4.1 Tools
    46
  • 4.2 Removing
    46
  • 4.3 Installing
    47
  • 5 Repairing threads for securing subframe
    50
  • 5.1 Contents of thread repair kit
    51
  • 5.2 Repairing threads
    52
  • 6 Renewing mounting bracket for subframe
    56
  • 6.1 Tools
    57
  • 6.2 Removing
    57
  • 6.3 Installing
    59
  • 7 Renewing front longitudinal member end plate
    62
  • 7.1 Tools
    63
  • 7.2 Removing
    63
  • 7.3 Installing
    64
  • 8 Renewing upper wheel housing longitudinal member
    67
  • 8.1 Tools
    68
  • 8.2 Removing
    68
  • 8.3 Installing
    69
  • 9 Renewing upper inner wheel housing longitudinal member
    73
  • 9.1 Tools
    74
  • 9.2 Removing
    74
  • 9.3 Installing
    75
  • 10 Renewing front wheel housing - LWB, MEX
    79
  • 10.1 Tools
    80
  • 10.2 Removing
    80
  • 10.3 Installing
    82
  • 11 Renewing front wheel housing - LWB, EU
    87
  • 11.1 Tools
    88
  • 11.2 Removing
    88
  • 11.3 Installing
    90
  • 12 Renewing front wheel housing (part section) - LWB, MEX
    95
  • 12.1 Tools
    96
  • 12.2 Removing
    96
  • 12.3 Installing
    98
  • 13 Renewing front wheel housing (part section) - LWB, EU
    103
  • 13.1 Tools
    104
  • 13.2 Removing
    104
  • 13.3 Installing
    106
  • 14 Renewing front longitudinal member - LWB, MEX
    111
  • 14.1 Tools
    112
  • 14.2 Removing
    112
  • 14.3 Installing
    113
  • 15 Renewing front longitudinal member - LWB, EU
    117
  • 15.1 Tools
    118
  • 15.2 Removing
    118
  • 15.3 Installing
    119
  • 16 Renewing front left longitudinal member (part section)
    123
  • 16.1 Tools
    124
  • 16.2 Removing
    124
  • 16.3 Installing when using complete longitudinal member assembly
    126
  • 16.4 Installing when using individual components of longitudinal member
    130
  • 17 Renewing front right longitudinal member (part section)
    137
  • 17.1 Tools
    138
  • 17.2 Removing
    138
  • 17.3 Installing when using complete longitudinal member assembly
    140
  • 17.4 Installing when using individual components of longitudinal member
    144
  • 18 Renewing studs
    151
  • Body - centre
    153
  • 1 Overview of parts - LWB, MEX
    153
  • 2 Overview of parts - LWB, EU
    154
  • 3 Renewing roof - vehicles with no panorama tilting sunroof
    155
  • 3.1 Tools
    156
  • 3.2 Removing
    156
  • 3.3 Installing
    160
  • 4 Renewing roof - vehicles with panorama tilting sunroof
    171
  • 4.1 Tools
    172
  • 4.2 Removing
    172
  • 4.3 Installing
    176
  • 5 Renewing A-pillar
    186
  • 5.1 Tools
    187
  • 5.2 Moulded foam inserts
    188
  • 5.3 Removing
    188
  • 5.4 Installing
    189
  • 6 Renewing A-pillar reinforcement - LWB, EU, part section
    195
  • 6.1 Tools
    196
  • 6.2 Removing
    196
  • 6.3 Installing
    197
  • 7 Renewing upper A-pillar reinforcement - LWB, EU, part section
    202
  • 7.1 Tools
    203
  • 7.2 Moulded foam inserts
    203
  • 7.3 Removing
    203
  • 7.4 Installing
    206
  • 8 Renewing B-pillar
    215
  • 8.1 Tools
    217
  • 8.2 Identification plate
    217
  • 8.3 Moulded foam inserts
    219
  • 8.4 Removing
    219
  • 8.5 Installing
    220
  • 9 Renewing B-pillar reinforcement
    225
  • 9.1 Tools
    226
  • 9.2 Identification plate
    226
  • 9.3 Removing
    227
  • 9.4 Installing
    229
  • 10 Renewing B-pillar reinforcement - LWB, EU, part section
    234
  • 10.1 Tools
    235
  • 10.2 Identification plate
    235
  • 10.3 Removing
    236
  • 10.4 Installing
    240
  • 11 Renewing outer side member
    249
  • 11.1 Tools
    250
  • 11.2 Identification plate
    251
  • 11.3 Moulded foam inserts
    252
  • 11.4 Removing
    252
  • 11.5 Installing
    254
  • 12 Renewing side member reinforcement - LWB MEX
    259
  • 12.1 Tools
    260
  • 12.2 Identification plate
    261
  • 12.3 Removing
    261
  • 12.4 Installing
    263
  • Body - rear
    268
  • 1 Overview of parts - LWB, MEX
    268
  • 2 Overview of parts - LWB, EU
    269
  • 3 Renewing rear cross panel
    270
  • 3.1 Tools
    271
  • 3.2 Removing
    271
  • 3.3 Installing
    273
  • 4 Renewing rear cross member
    278
  • 4.1 Tools
    279
  • 4.2 Removing
    279
  • 4.3 Installing
    280
  • 5 Renewing lower corner part
    285
  • 5.1 Tools
    286
  • 5.2 Removing
    286
  • 5.3 Installing
    287
  • 6 Renewing luggage compartment floor
    291
  • 6.1 Tools
    292
  • 6.2 Moulded foam inserts
    292
  • 6.3 Removing
    292
  • 6.4 Installing
    294
  • 7 Renewing rear longitudinal member - LWB, MEX, part section
    300
  • 7.1 Tools
    301
  • 7.2 Moulded foam inserts
    301
  • 7.3 Removing
    301
  • 7.4 Installing
    304
  • 8 Renewing rear longitudinal member - LWB, EU, part section
    308
  • 8.1 Tools
    309
  • 8.2 Moulded foam inserts
    309
  • 8.3 Removing
    309
  • 8.4 Installing
    312
  • 9 Renewing rear longitudinal member - LWB (part section – second parting cut)
    316
  • 9.1 Tools
    317
  • 9.2 Moulded foam inserts
    318
  • 9.3 Removing
    318
  • 9.4 Installing
    321
  • 10 Permitted parting cuts on side panel
    334
  • 11 Renewing side panel (part section)
    335
  • 11.1 Tools
    337
  • 11.2 Moulded foam inserts
    337
  • 11.3 Removing
    337
  • 11.4 Installing
    340
  • 12 Renewing outer wheel housing liner
    346
  • 12.1 Tools
    347
  • 12.2 Moulded foam inserts
    347
  • 12.3 Removing
    347
  • 12.4 Installing
    350
  • 13 Renewing rear wheel housing
    355
  • 13.1 Tools
    356
  • 13.2 Removing
    356
  • 13.3 Installing
    358
Hersteller­bezeichnung Body Repairs
Hersteller Volkswagen
Passend für Tiguan [MX] (2022 >)
Passende Autotypen BJ2
Kategorie Reparaturanleitung

Im Moment sind noch keine Bewertungen für dieses Produkt vorhanden.

Ähnliche Reparaturanleitungen

Driver assist systems
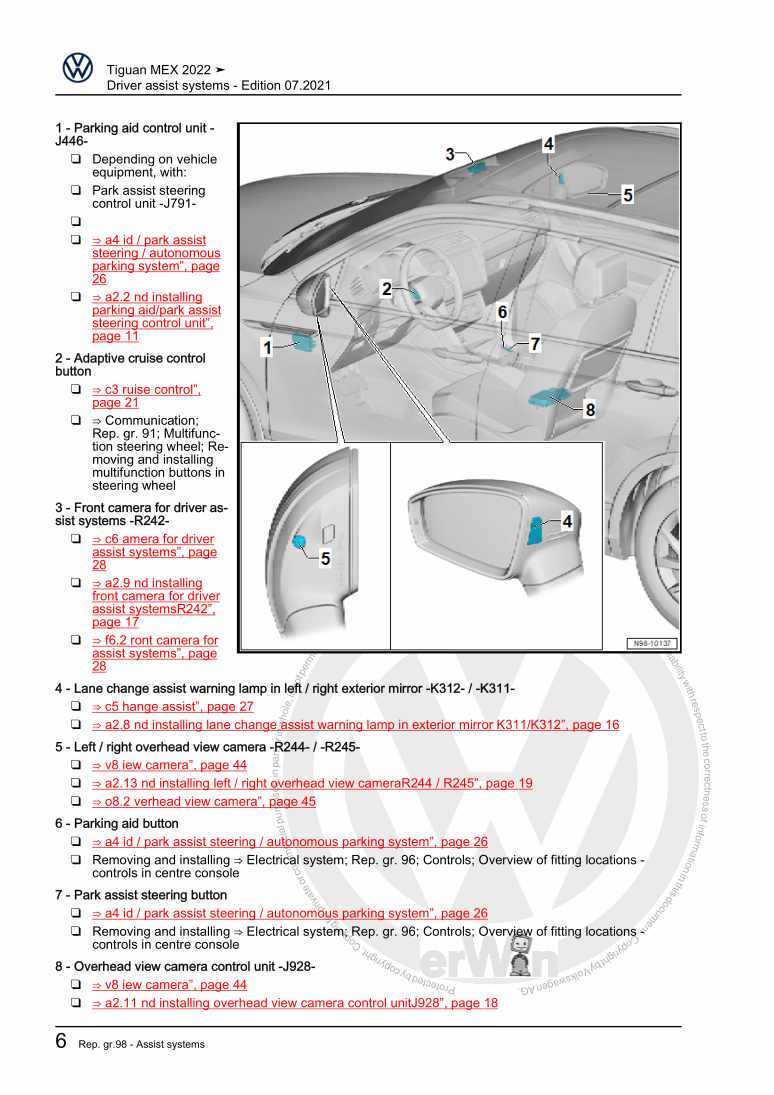
Beispielseite für Reparaturanleitung Driver assist systems

Für Tiguan [MX] (2022 >)

6,35 € Details

Heating, air conditioner

Beispielseite für Reparaturanleitung Heating, air conditioner

Für Tiguan [MX] (2022 >)

20,15 € Details

Electrical system

Beispielseite für Reparaturanleitung Electrical system

Für Tiguan [MX] (2022 >)

21,77 € Details

2.0l diesel engine, DFHA, From July 2021
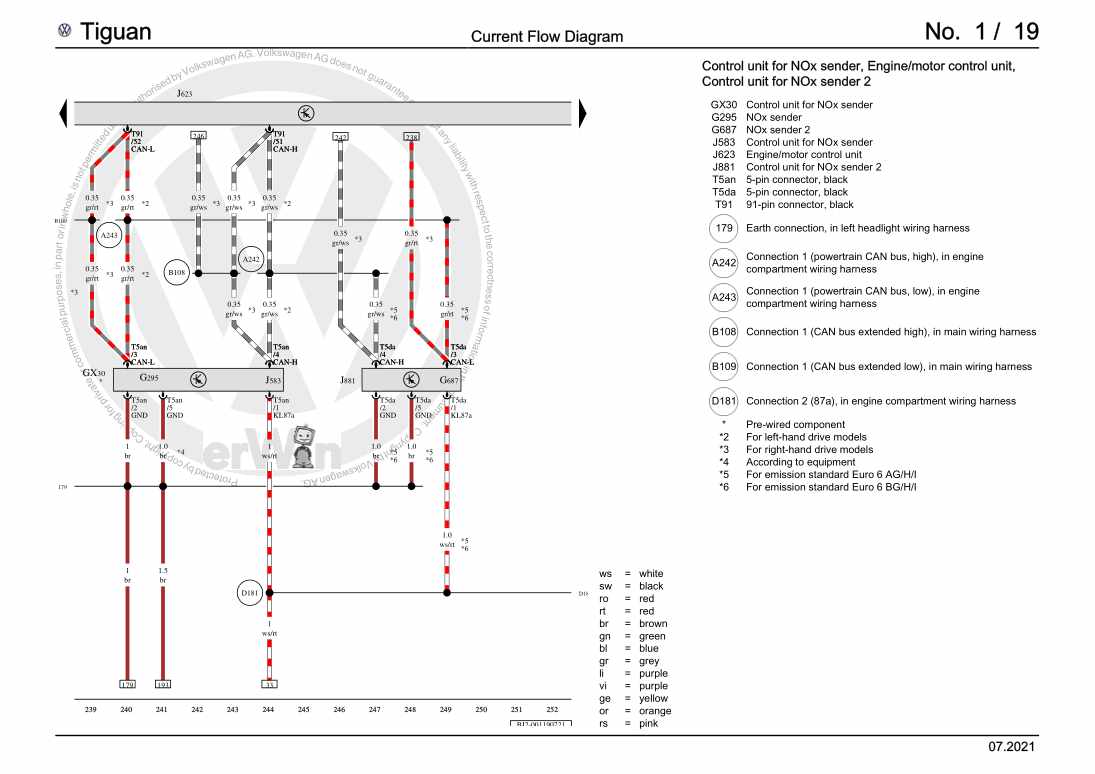
Beispielseite für Reparaturanleitung 2.0l diesel engine, DFHA, From July 2021

Für Tiguan [MX] (2022 >)

65,15 € Details

Running gear, axles, steering

Beispielseite für Reparaturanleitung Running gear, axles, steering

Für Tiguan [MX] (2022 >)

27,07 € Details

Vehicle-specific paint information

Beispielseite für Reparaturanleitung Vehicle-specific paint information

Für Tiguan [MX] (2022 >)

5,41 € Details

Brake system

Beispielseite für Reparaturanleitung Brake system

Für Tiguan [MX] (2022 >)

14,36 € Details

Auxiliary heater, supplementary heater
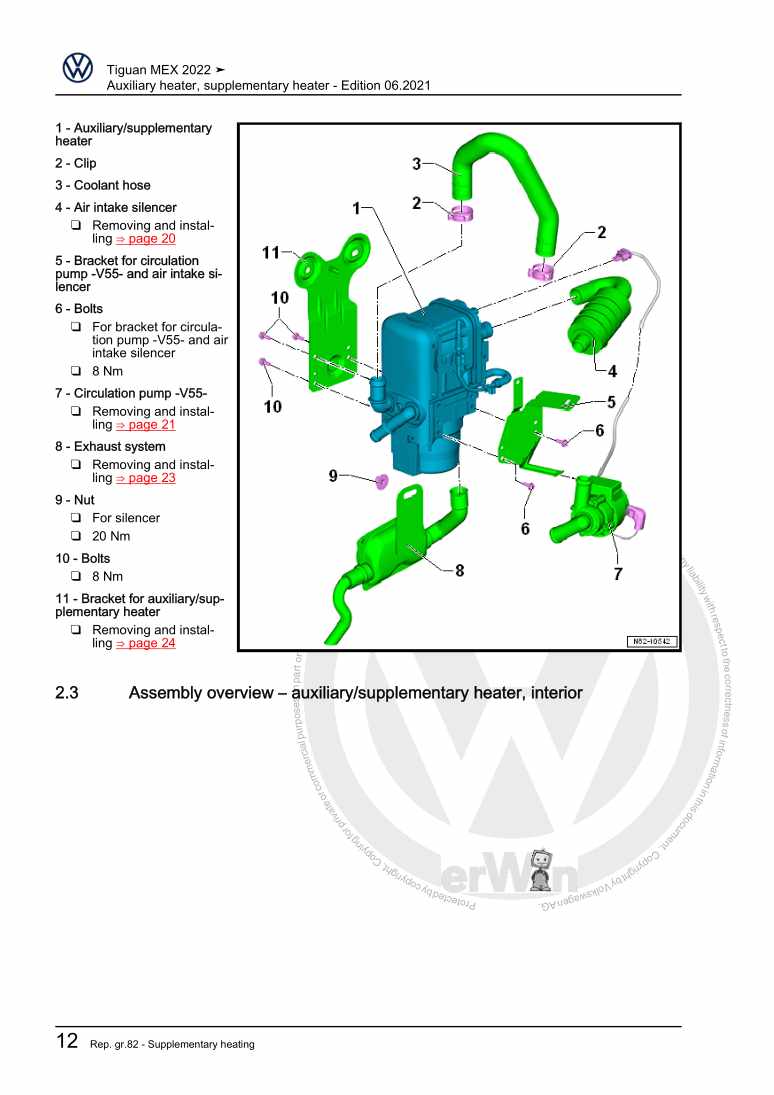
Beispielseite für Reparaturanleitung Auxiliary heater, supplementary heater

Für Tiguan [MX] (2022 >)

6,29 € Details

General body repairs, exterior

Beispielseite für Reparaturanleitung General body repairs, exterior

Für Tiguan [MX] (2022 >)

31,32 € Details

Wheels and Tyres Guide

Beispielseite für Reparaturanleitung Wheels and Tyres Guide

Für Tiguan [MX] (2022 >)

4,79 € Details

Unsere Best Seller

Schon gewusst? Wir bieten auch originale Autoteile an.

Autoteil 4G0919268H Aufnahme

4G0919268H

Aufnahme

21,35 €

Details
Autoteil 5Q0713128A Schalter

5Q0713128A

Schalter

46,12 €

Details
Autoteil 7H7067081 Gasdrfeder

7H7067081

Gasdrfeder

35,85 €

Details
Autoteil 8S0827990 Adapter

8S0827990

Adapter

67,54 €

Details
Autoteil 1S0823363F Stuetze

1S0823363F

Stuetze

19,43 €

Details

Karosserie-Instandsetzung

Beispielseite für Reparaturanleitung Karosserie-Instandsetzung

Für New Beetle / New Beetle (USA) (1998 - 2007) / New Beetle (Europe) (1999 - 2002)

10,12 € Details

Nr. 528: Der Erdgasantrieb im Golf/Golf Variant TGI BlueMotion
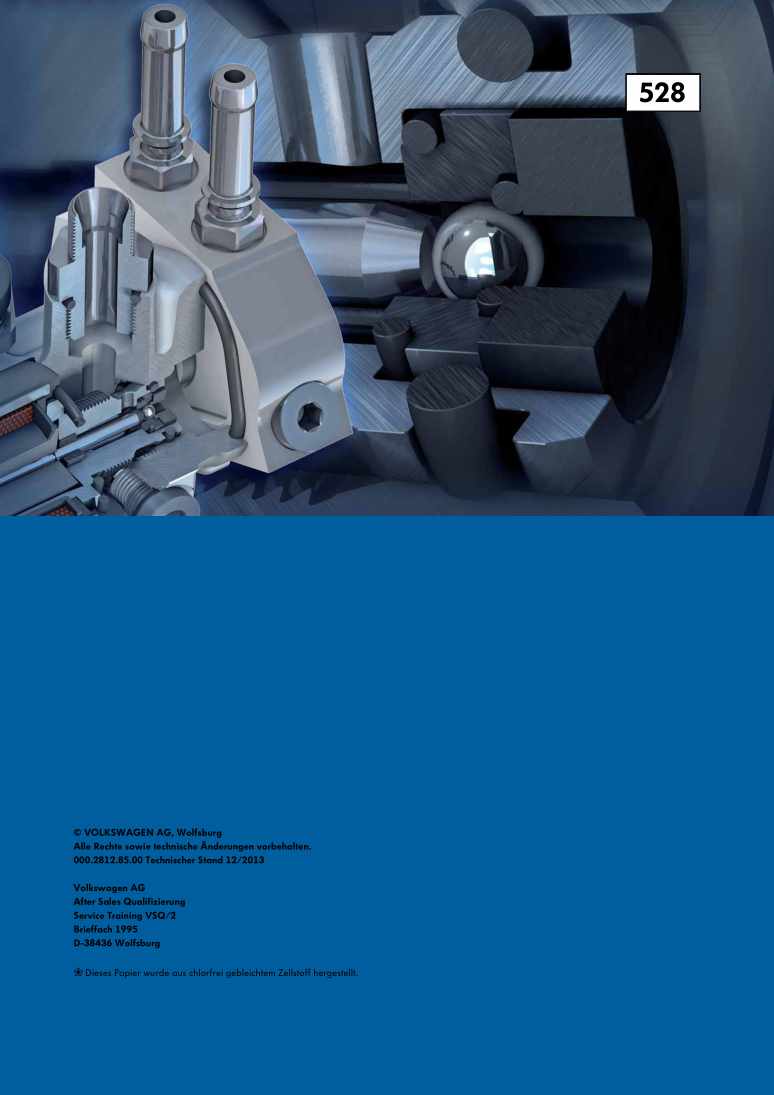
Beispielseite für Reparaturanleitung Nr. 528: Der Erdgasantrieb im Golf/Golf Variant TGI BlueMotion

5,26 € Details

Heizung, Klimaanlage

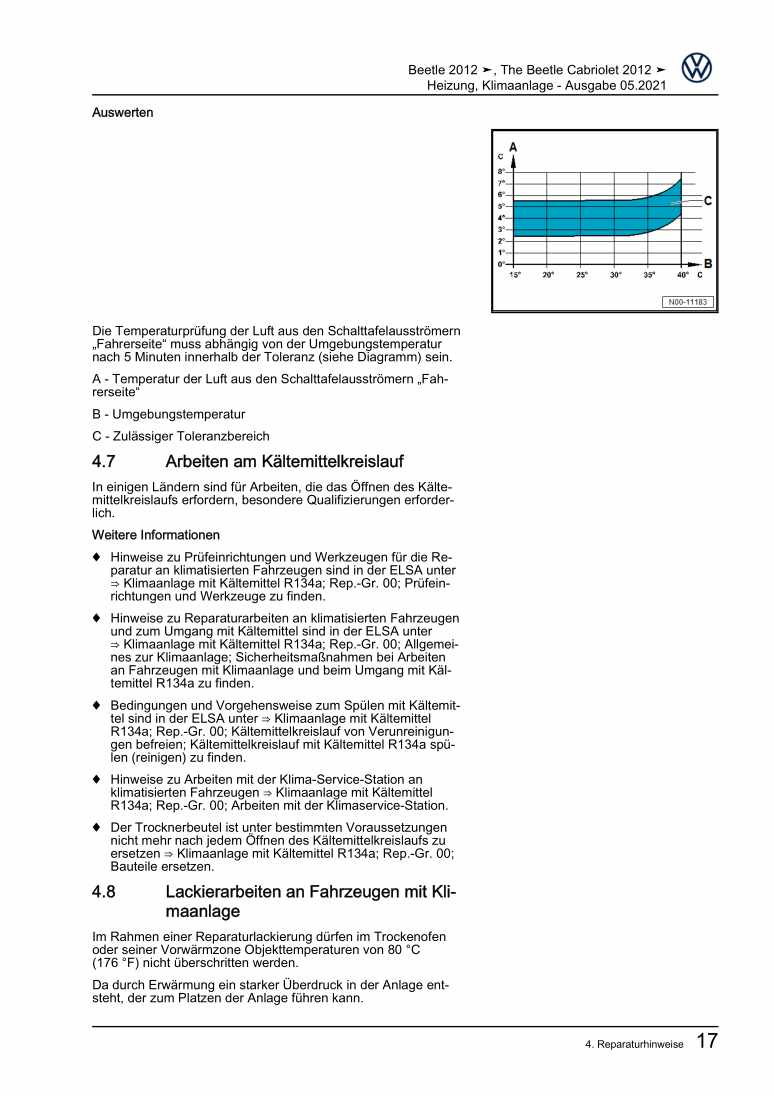
Beispielseite für Reparaturanleitung Heizung, Klimaanlage

Für Beetle (NBL) Limousine (2012) / Beetle (NBC) Cabrio (2012)

15,89 € Details

image/svg+xml Über Clonck

Originale Reparaturanleitungen und Ersatzteile

Unsere Reparaturanleitungen sind Originale, kommen direkt von Volkswagen und erfüllen die höchsten Qualitätsstandards.

In unserem Originalteile-Shop verkaufen wir hochwertige Originalersatzteile der Fahrzeughersteller. Mithilfe der Suche gibst du die gewünschte Teilenummer (OE-Nummer) ein und bestellst schnell und einfach das benötigte Ersatzteil.

Höchste Qualitätsstandards

Bei Clonck wollen wir Autoschrauber und Kfz-Profis glücklich machen. Aus diesem Grund findest du bei Clonck ausschließlich professionelle und hochwertige Reparaturanleitungen, mit deren Hilfe du dein Fahrzeug fachgerecht reparieren kannst.

Unsere Partner

Autohaus Schmidt GmbH
Automag GmbH Filiale Laim
KFZ-VERLAG GmbH
Zimpel und Franke GmbH

Clonck: Der Autoreparatur-Shop - gibt's auch als App!

Clonck App Logo Play Store

Clonck: Passende Autoteile für deine Autoreparatur

4,5 90

Mit Clonck bestellst du die richtigen Originalersatzteile im Handumdrehen.

  • Fahrzeugmodell hinzufügen
  • Baugruppe auswählen
  • Fahrzeug-Identifizierungsnummer (FIN) eingeben
  • Über 5.000 originale Reparaturanleitungen einsehen
Jetzt App starten
Clonck App Preview Auto Mobiltelefon Autoteile