DER AUTOREPARATUR-SHOP
0
Home » Anleitungen » 4-Cyl. injection engine (1.6 l) EA211
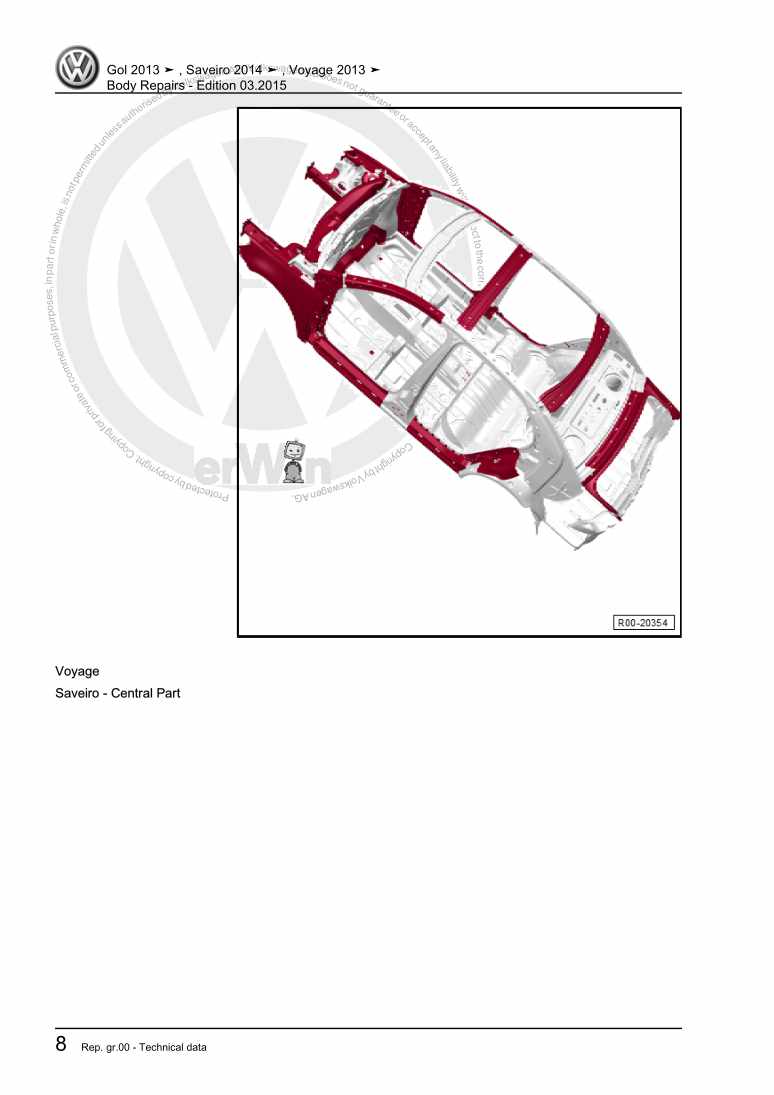
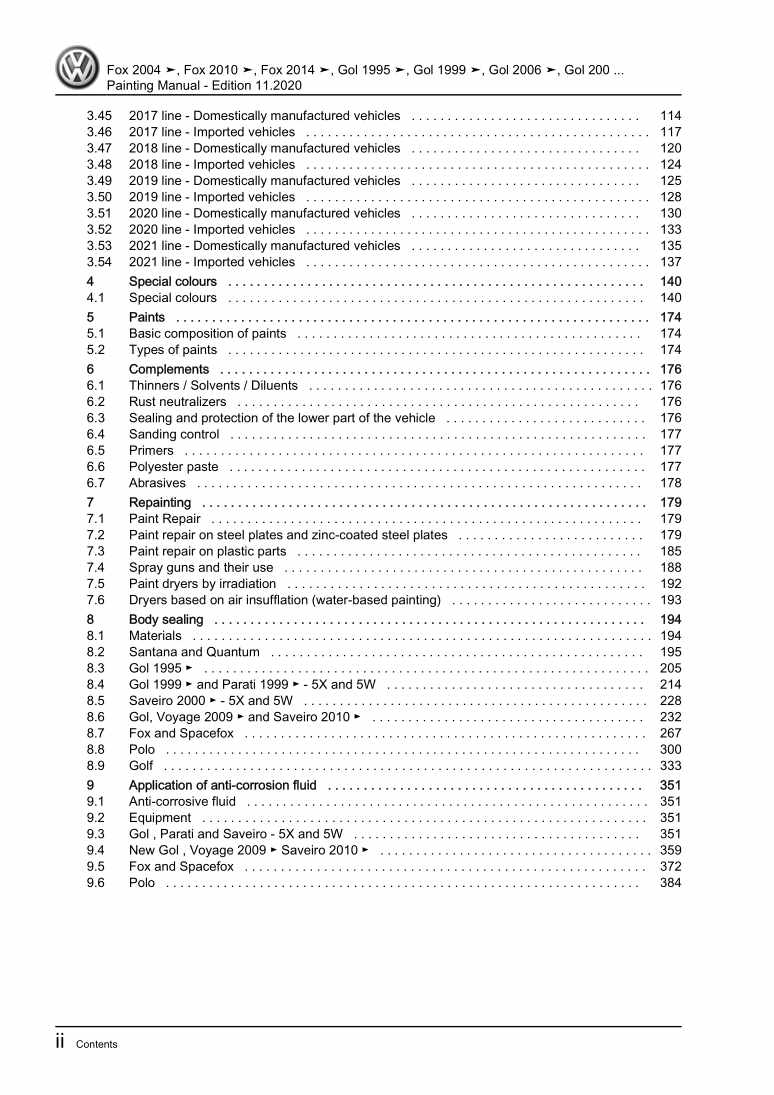
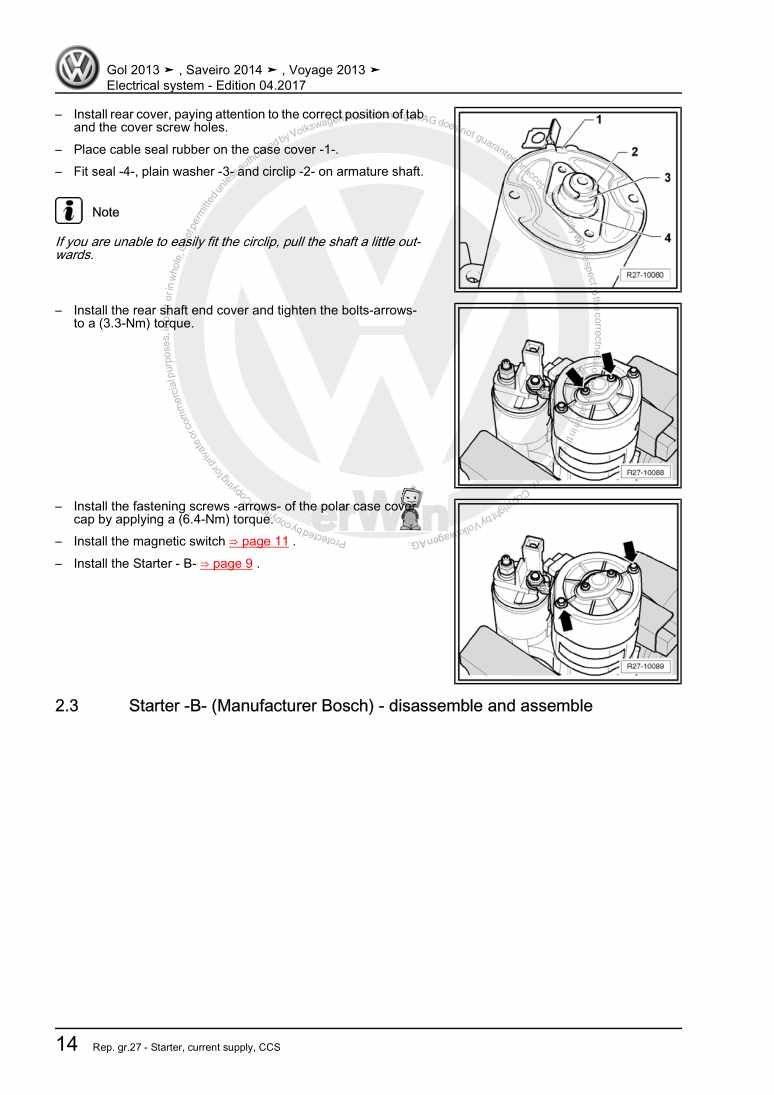
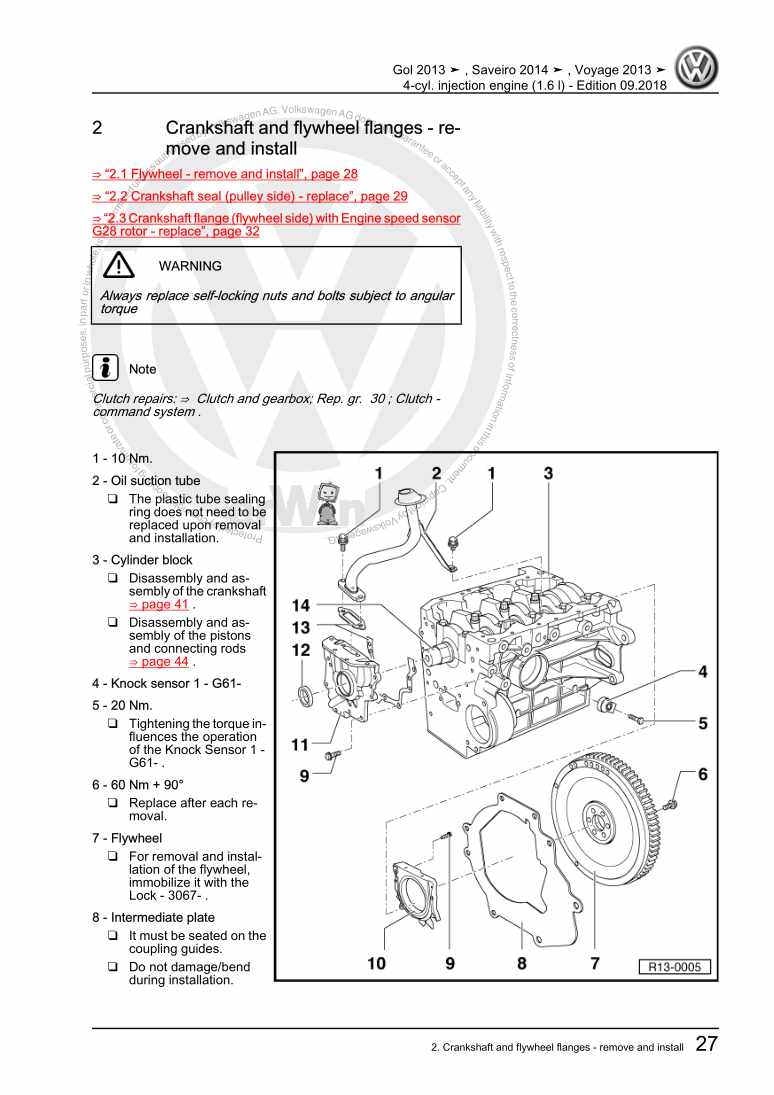
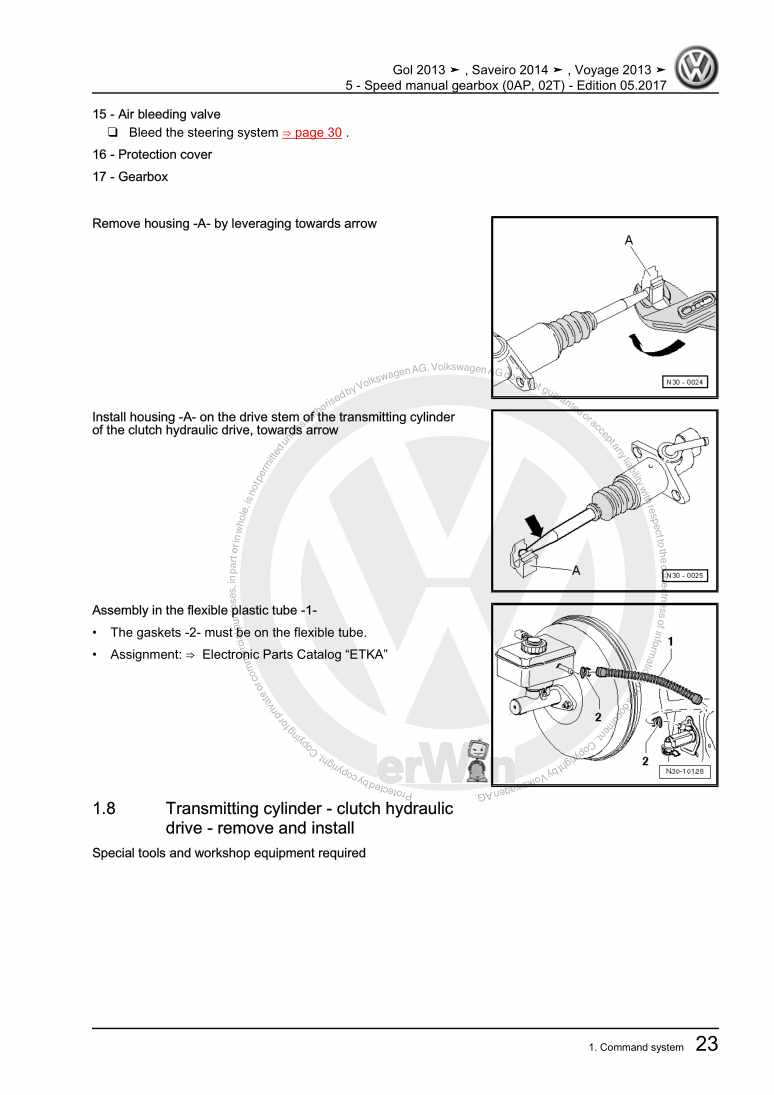
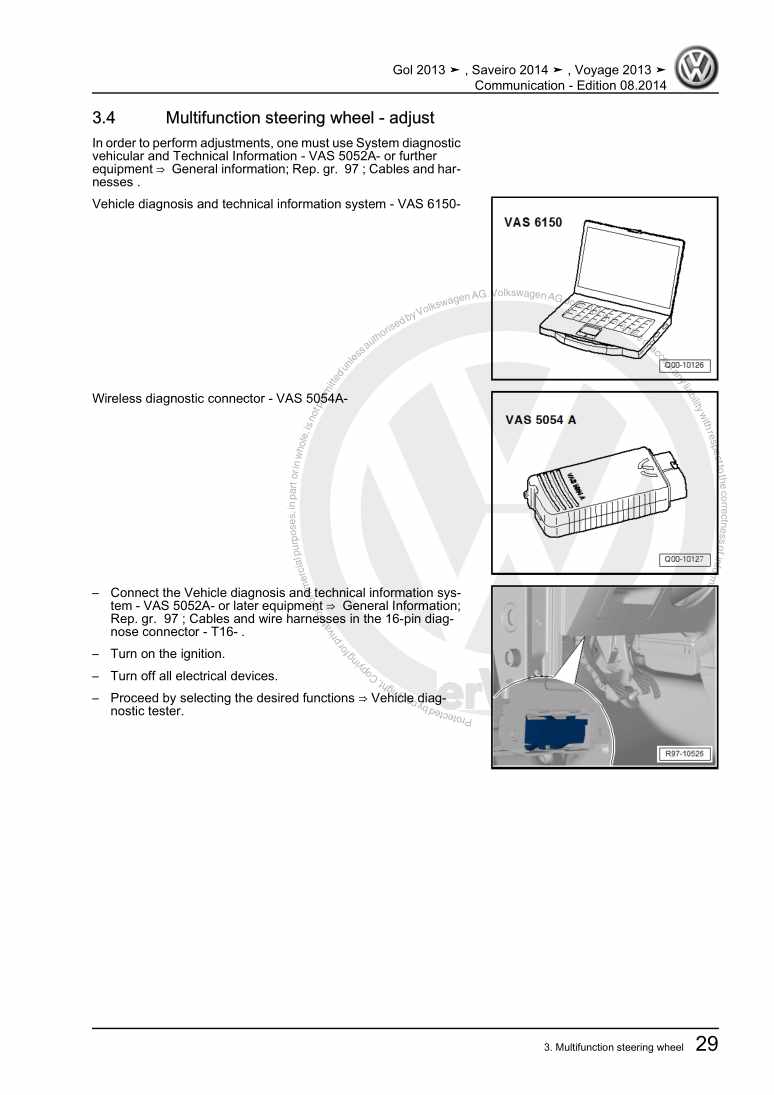
  • Beispielseite für Reparaturanleitung 4-Cyl. injection engine (1.6 l) EA211
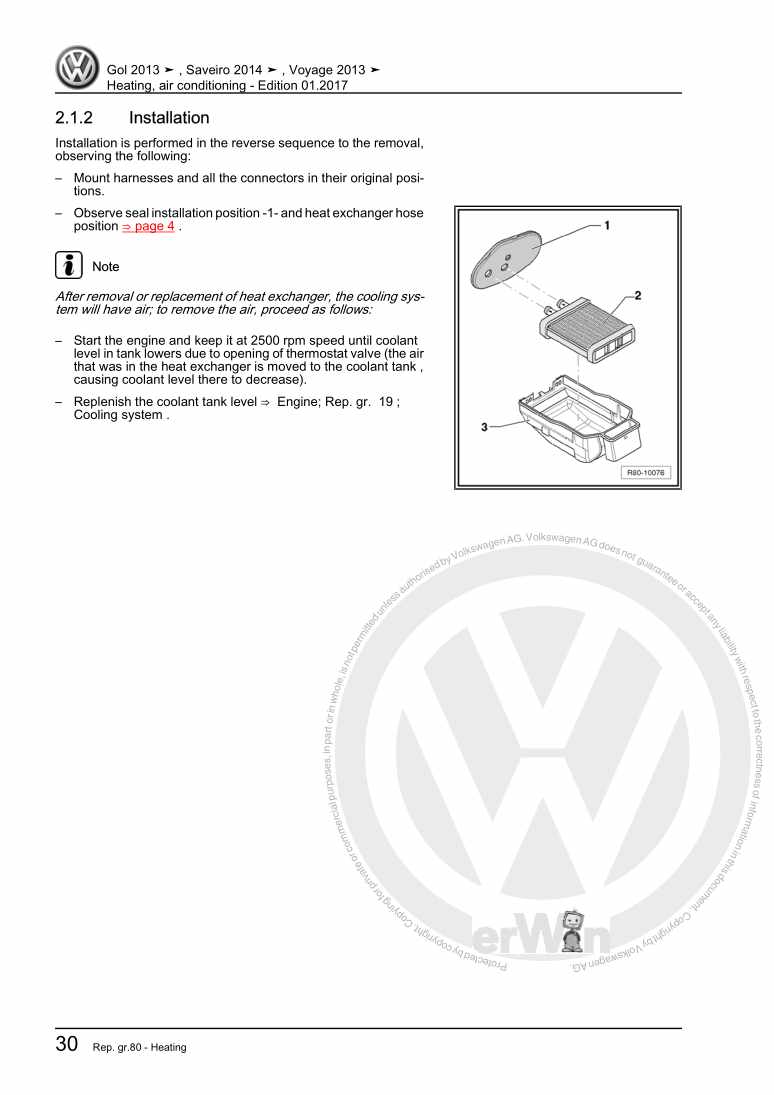
  • Beispielseite für Reparaturanleitung 2 4-Cyl. injection engine (1.6 l) EA211
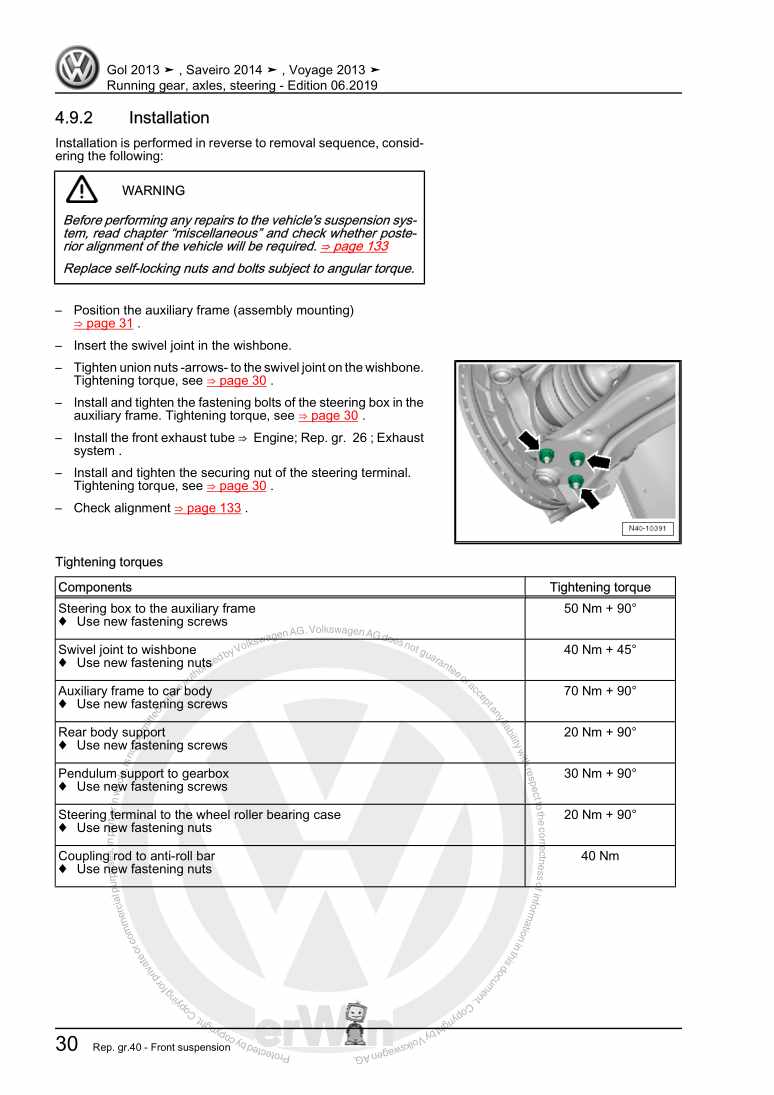
  • Beispielseite für Reparaturanleitung 3 4-Cyl. injection engine (1.6 l) EA211
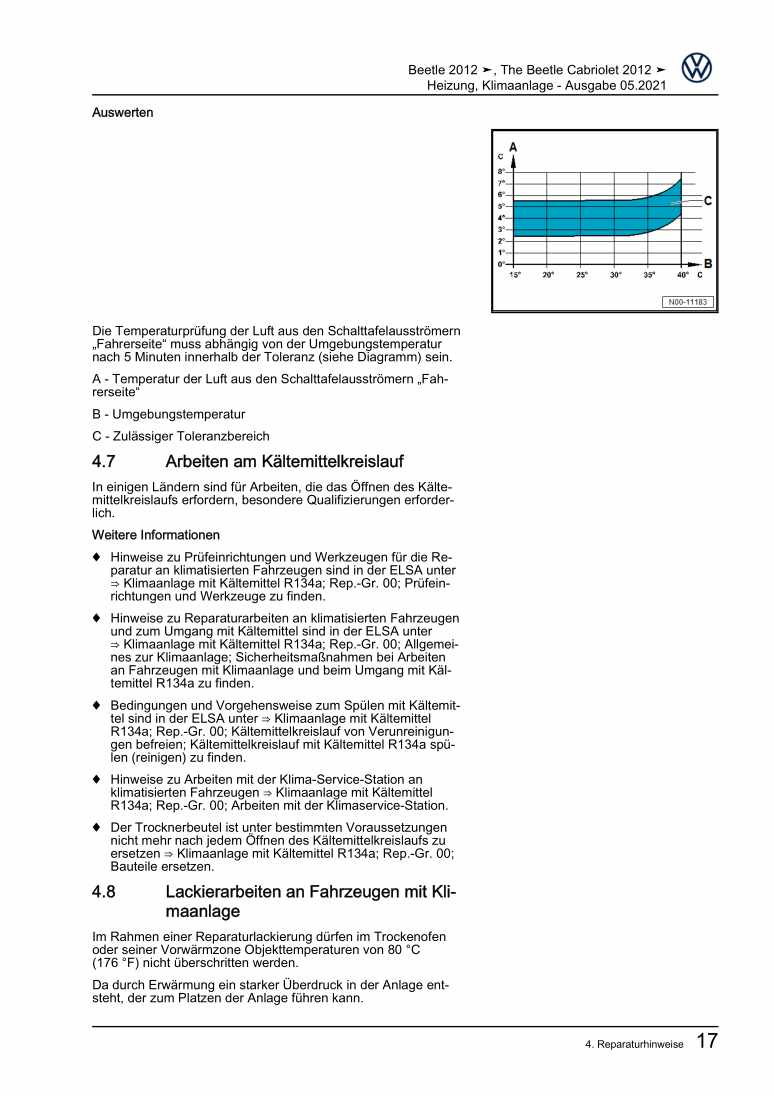
  • Beispielseite für Reparaturanleitung 4-Cyl. injection engine (1.6 l) EA211
  • Beispielseite für Reparaturanleitung 2 4-Cyl. injection engine (1.6 l) EA211
  • Beispielseite für Reparaturanleitung 3 4-Cyl. injection engine (1.6 l) EA211

4-Cyl. injection engine (1.6 l) EA211

Für Gol / Saveiro / Saveiro Cab. Dupla

Original VW-Reparaturanleitung


26,04 €inkl. 7% MwSt.

Sofort als Download verfügbar

Sprache: English

Digitale PDF Version

28.933 KB

335 Seiten

Detaillierte technische Daten

Sofort lesbar

Diese Reparaturanleitung umfasst: Engine - remove and install, Power-drive unit supports, Cylinder block (pulley side), Crankshaft, Toothed belt drive, Oil filter/Oil pressure switch F1, Cooling system components, Radiator, Engine power electronic adjustment (electronic accelerator), Activated charcoal filter system, Injection valves, Air cleaner, Intake manifold, READINESS code und Exhaust pipes/silencers. Mehr anzeigen
Sichere Zahlung per PayPal, Kreditkarte, Lastschrift, Sofort-Überweisung oder Giropay
PayPal Logo SEPA Lastschrift Logo Giropay Logo Sofort Überweisung Logo

Reparaturanleitung Gol / Saveiro / Saveiro Cab. Dupla 4-Cyl. injection engine EA211 pdf Download mit dem Inhalt:

Kapitelübersicht

  • Technical data
    1
  • 1 \--- Change history ---
    1
  • 2 Safety instructions
    2
  • 2.1 Safety measures regarding work on the fuel supply
    2
  • 2.2 Safety measures in test drives using testing and measurement devices
    3
  • 2.3 Safety measures when working on the cooling system
    4
  • 2.4 Safety measures when working on the ignition system
    4
  • 3 Identification
    6
  • 3.1 Engine number/engine characteristics
    6
  • 4 Repair instructions
    8
  • 4.1 Cleaning rules
    8
  • 4.2 Foreign bodies on the engine
    8
  • 4.3 Contact corrosion
    8
  • 4.4 Connection installation and fastening
    8
  • 4.5 Radiator and capacitor installation
    9
  • Removing and installing engine
    10
  • 1 Engine - remove and install
    10
  • 1.1 Engine - removal
    10
  • 1.2 Engine - separate gearbox
    19
  • 1.3 Secure the engine to the engine and gearbox swivelling stand
    21
  • 1.4 Engine - installation
    22
  • 2 Power-drive unit supports
    25
  • 2.1 Power unit brackets - assembly overview
    25
  • 2.2 Power-drive unit supports (engine side) - remove and install
    27
  • 2.3 Power-drive unit supports (gearbox side) - remove and install
    29
  • 2.4 Pendulum support (torque limiter) - remove and install
    32
  • 2.5 Additional notes and installation works in vehicles with air conditioning
    33
  • Crankshaft group
    34
  • 1 Cylinder block (pulley side)
    34
  • 1.1 Poly-V belt - assembly overview
    34
  • 1.2 Poly-V belt - remove and install
    36
  • 1.3 Poly-V belt tensioner - remove and install
    39
  • 1.4 Crankshaft pulley (vibration damper) - remove and install
    40
  • 1.5 Engine console - remove and install
    41
  • 1.6 Crankshaft seal (pulley side) - replace
    43
  • 2 Cylinder block (gearbox side)
    47
  • 2.1 Cylinder block (gearbox side) - assembly overview
    47
  • 2.2 Flywheel - remove and install
    48
  • 2.3 Crankshaft flange (flywheel side) - replace
    49
  • 3 Crankshaft
    62
  • 3.1 Crankshaft dimensions
    62
  • 3.2 Crankshaft - check axial clearance
    62
  • 4 Pistons and conrods
    64
  • 4.1 Pistons and conrods - assembly overview
    64
  • 4.2 Pistons - remove and install
    68
  • 4.3 Pistons, rings, and cylinders - check (conrod with bushing)
    69
  • 4.4 Pistons, rings, and cylinders - check (conrod without bushing)
    71
  • 4.5 Connecting rod (radial clearance) - check
    74
  • 4.6 Oil injectors - remove and install
    74
  • Cylinder head, valve gear
    76
  • 1 Engine cylinder head
    76
  • 1.1 Engine cylinder head - assembly overview
    76
  • 1.2 Cylinder head cover with camshafts - assembly overview
    78
  • 1.3 Engine cylinder head - remove and install
    81
  • 1.4 Cylinder head cover with camshafts - remove and install
    88
  • 1.5 Compression - check
    91
  • 2 Toothed belt drive
    95
  • 2.2 Toothed belt - assembly overview
    96
  • 2.3 Mechanical distribution cover - removal and installation
    98
  • 2.4 Valve timing - check
    99
  • 2.5 Remove the toothed belt from the camshafts
    106
  • 2.6 Toothed belt - remove and install
    116
  • 3 Camshaft mechanism - repair
    124
  • 3.1 Camshaft mechanism - assembly overview
    124
  • 3.2 Crankshaft - check axial clearance
    126
  • 3.3 Inlet camshaft regulator - remove and install
    127
  • 3.4 Exhaust camshaft sprocket - remove and install
    133
  • 3.5 Camshaft seal - replace
    138
  • 3.6 Camshaft adjustment valve 1 N205 - remove and install
    145
  • 3.7 Valve stem sealant - replace
    145
  • 4 Inlet and exhaust valves
    156
  • 4.1 Valve guides - check
    156
  • 4.2 Valves - check
    157
  • 4.3 Valves - dimensions
    157
  • Lubrication
    158
  • 1 Crankcase/oil pump
    158
  • 1.1 Crankcase/oil pump - assembly overview
    158
  • 1.2 Lower sump - remove and install
    161
  • 1.3 Upper crankcase - remove and install
    164
  • 1.4 Oil pump - remove and install
    168
  • 1.5 Engine oil
    171
  • 2 Engine oil cooler
    172
  • 2.1 Engine oil cooler - assembly overview
    172
  • 2.2 Engine oil cooler - remove and install
    172
  • 3 Engine crankcase ventilation
    174
  • 3.1 Engine crankcase ventilation - assembly overview
    174
  • 3.2 Crankcase ventilation device - remove and install
    175
  • 4 Oil filter/Oil pressure switch F1
    178
  • 4.1 Oil filter/Oil pressure switch F1 - assembly overview
    178
  • 4.2 Oil pressure switch 0.3...0.6 bar F1 - remove and install
    178
  • 4.3 Oil filter - remove and install
    180
  • 4.4 Oil pressure and Oil pressure switch F1 - check
    181
  • Cooling
    184
  • 1 Cooling system components
    184
  • 1.1 Cooling system - assembly overview
    184
  • 1.2 Hose connection diagram for cooling system
    186
  • 1.3 Cooling system - drainage and replenishment
    187
  • 1.4 Cooling system - check air-tightness
    196
  • 1.5 Coolant tank flap - check safety valve
    198
  • 2 Coolant/cooling system water pump
    200
  • 2.1 Water pump - assembly overview
    200
  • 2.2 Water pump - remove and install
    203
  • 2.3 Water pump sprocket - remove and install
    209
  • 2.4 Thermostat valve - remove and install
    210
  • 2.5 Water pump toothed belt - remove and install
    218
  • 2.6 Coolant temperature sensor G62 - remove and install
    221
  • 3 Radiator
    224
  • 3.1 Radiator - remove and install
    224
  • 3.2 Cowling with Radiator fan V7 - remove and install
    227
  • 3.3 Radiator fan V7 - remove and install
    227
  • Fuel supply system
    228
  • 1 Fuel supply system components
    228
  • 1.1 Fuel tank - assembly overview
    228
  • 1.2 Safety measures regarding work on the fuel supply
    232
  • 1.3 Cleaning rules
    232
  • 1.4 Cold start system components - remove and install
    233
  • 1.5 Fuel pump (pre-supply pump) G6 - remove and install
    234
  • 1.6 Fuel gauge sensor G - remove and install
    238
  • 1.7 Fuel tank - remove and install
    238
  • 1.8 Fuel shutoff in case of crash
    240
  • 1.9 Fuel pump (pre-supply pump) G6 - check
    241
  • 2 Engine power electronic adjustment (electronic accelerator)
    254
  • 2.1 Engine power electronic adjustment (electronic accelerator) - assembly overview
    254
  • 2.2 Electronic accelerator system operation
    254
  • 3 Activated charcoal filter system
    256
  • 3.1 Operation
    256
  • 3.2 Activated charcoal filter system components - repair
    256
  • 3.3 Fuel tank ventilation - check
    258
  • Mixture preparation - injection
    260
  • 1 Injection system
    260
  • 1.1 Sensors, switches (intake side) - assembly overview
    260
  • 1.2 Sensor, ignition coils and lambda probe (exhaust side) - assembly overview
    261
  • 1.3 Injection system - assembly overview
    262
  • 2 Injection valves
    267
  • 2.1 Fuel rail with injection valves - assembly overview
    267
  • 2.2 Injection valves - remove and install
    270
  • 2.3 Injection valves - check
    274
  • 3 Air cleaner
    279
  • 3.1 Air filter - assembly overview
    279
  • 3.2 Air filter - remove and install
    280
  • 4 Intake manifold
    281
  • 4.1 Intake manifold - assembly overview
    281
  • 4.2 Intake manifold - remove and install
    282
  • 4.3 Throttle butterfly valve control unit J338 - remove and install
    286
  • 4.4 Throttle valve control unit J338 - clean
    287
  • 4.5 Supply system pressure, fuel pressure gauge and residual pressure - check
    288
  • 5 READINESS code
    296
  • 5.1 Function
    296
  • 5.2 Creating and Interpreting the READINESS code
    296
  • 6 Transmitters and sensors
    297
  • 7 Engine control unit J623
    299
  • 7.1 Engine control unit J623 - remove and install
    299
  • 8 Lambda probe
    303
  • 8.1 Lambda probe - assembly overview
    303
  • 8.2 Lambda probe - remove and install
    304
  • Exhaust system
    308
  • 1 Exhaust pipes/silencers
    308
  • 1.1 Exhaust pipes/silencers - exploded view
    308
  • 1.2 Separate exhaust pipes/silencers
    309
  • 1.3 Silencers - remove and install
    310
  • 1.4 Exhaust system - free of stress alignment
    311
  • 1.5 Exhaust system - check air-tightness
    311
  • 1.6 Pipe clamp installation position
    312
  • 2 Exhaust gas purging
    313
  • 2.1 Front exhaust pipe with catalytic converters - assembly overview
    313
  • 2.2 Front exhaust pipe with catalytic converters - remove and install
    315
  • Ignition system
    318
  • 1 Ignition system
    318
  • 1.1 Ignition system - assembly overview
    318
  • 1.2 Ignition coils with final power stage - assembly overview
    320
  • 1.3 Test data, spark plugs
    321
  • 1.4 Ignition coil with final power stage - remove and install
    321
  • 1.5 Knock sensor 1 G61 - remove and install
    324
  • 1.6 Hall Sensor G40 - remove and install
    326
  • 1.7 Engine speed sensor G28 - remove and install
    327
Hersteller­bezeichnung 4-Cyl. injection engine (1.6 l) EA211
Hersteller Volkswagen
Passend für Gol (2013) / Saveiro (2014) / Saveiro Cab. Dupla (2015 >)
Passende Autotypen 5U3, 5UB
Motor­kennbuchstaben CWSA
Kategorie Reparaturanleitung

Im Moment sind noch keine Bewertungen für dieses Produkt vorhanden.

Ähnliche Reparaturanleitungen

Brake systems
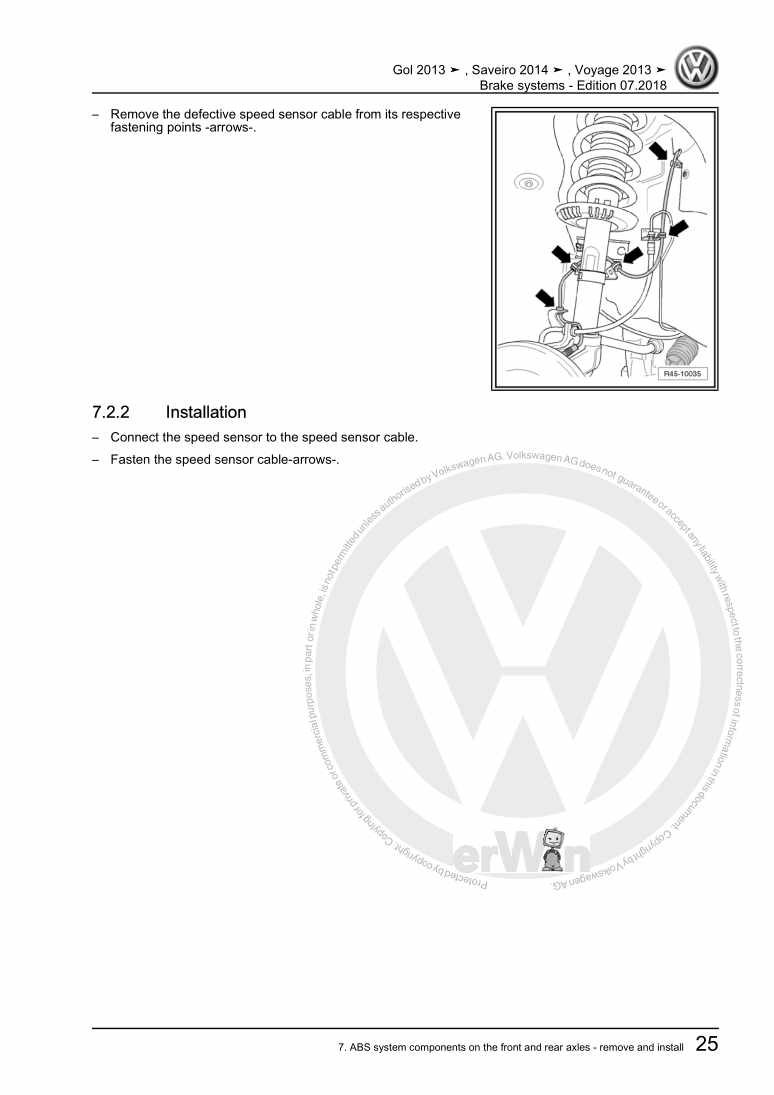
Beispielseite für Reparaturanleitung Brake systems

Für Gol (2013) / Gol (2013 >) / Saveiro (2014) / Saveiro (2014) / Saveiro Cab. Dupla (2015 >)

9,63 € Details

Body Repairs

Beispielseite für Reparaturanleitung Body Repairs

Für Gol (2013) / Gol (2013 >) / Saveiro (2014) / Saveiro (2014) / Saveiro Cab. Dupla (2015 >)

27,20 € Details

Heating, air conditioning

Beispielseite für Reparaturanleitung Heating, air conditioning

Für Gol (2013) / Gol (2013 >) / Saveiro (2014) / Saveiro (2014) / Saveiro Cab. Dupla (2015 >)

12,11 € Details

Running gear, axles, steering

Beispielseite für Reparaturanleitung Running gear, axles, steering

Für Gol (2013) / Gol (2013 >) / Saveiro (2014) / Saveiro (2014) / Saveiro Cab. Dupla (2015 >)

17,93 € Details

General body repairs, exterior

Beispielseite für Reparaturanleitung General body repairs, exterior

Für Gol (2013) / Gol (2013 >) / Saveiro (2014) / Saveiro (2014) / Saveiro Cab. Dupla (2015 >)

30,43 € Details

Painting Manual

Beispielseite für Reparaturanleitung Painting Manual

Für FOX (2004 - 2010) / Polo (Brasil) (2003 - 2006) / Polo Sedan (Brasil) (2003 - 2006) / Suran/Spacefox/SportV (2006 - 2007) / Gol Special (2001 - 2005) / Parati Plus (2006 - 2007) / Gol (2000 - 2006) / Polo Sedan (Brasil) (2007) / Parati (2000 - 2006) / Saveiro (2000 - 2006) / Gol (2006 - 2007) / Golf (Mexico) (2007 - 2008) / Golf (Brasil) (1999 - 2007) / Saveiros (2006 - 2007) / Quantum (2000 - 2002) / Polo (Brasil) (2007) / Gol V (2009) / Sedan (2009) / FOX (2010) / FOX (2010) / Polo Sedan (Brasilien) (2012) / Polo Sedan (2012) / Gol (2013) / Gol (2013) / Gol (2013 >) / Kombi / Kombi Furgao / Transporter T2 (2000 - 2007) / Quantum / Santana (2000 - 2006) / Saveiro (2014) / Saveiro (2014) / FOX (2014) / VW UP (Brasilien ) (2014 >) / VW UP (Brasilien) (2014) / FOX (BR) (2015 >) / Spacefox (Brasilien) (2015 >) / Golf Brasilien (2016 >) / GOL BR (2017) / Voyage BR (2017) / Saveiro Cab. Dupla [BR] (2017 >) / Polo [BR] (2018 >) / Virtus [BR] (2018 >) / Saveiro Cab. Sim. (2017 >) / Saveiro Cab. Est. (2017 >) / Golf [BR] (2018 >) / VW Up [BR] (2014 >) / Voyage [BR] (2019 >) / Gol [BR] (2019 >) / T-Cross [BR] (2020 >) / Nivus [BR] (2020 >)

30,01 € Details

Electrical system

Beispielseite für Reparaturanleitung Electrical system

Für Gol (2013) / Gol (2013 >) / Saveiro (2014) / Saveiro (2014) / Saveiro Cab. Dupla (2015 >)

16,55 € Details

4-cyl. injection engine (1.6 l)

Beispielseite für Reparaturanleitung 4-cyl. injection engine (1.6 l)

Für Gol (2013) / Gol (2013 >) / Saveiro (2014) / Saveiro (2014) / Saveiro Cab. Dupla (2015 >)

15,97 € Details

5 - Speed manual gearbox (0AP, 02T)

Beispielseite für Reparaturanleitung 5 - Speed manual gearbox (0AP, 02T)

Für Gol (2013) / Gol (2013 >) / Saveiro (2014) / Saveiro (2014) / Saveiro Cab. Dupla (2015 >)

13,56 € Details

Communication

Beispielseite für Reparaturanleitung Communication

Für Gol (2013) / Gol (2013 >) / Saveiro (2014) / Saveiro (2014) / Saveiro Cab. Dupla (2015 >)

5,78 € Details

Unsere Best Seller

Schon gewusst? Wir bieten auch originale Autoteile an.

Autoteil 077905390 Adapter

077905390

Adapter

3,90 €

Details
Autoteil 8K0807681J01C Gitter

8K0807681J01C

Gitter

50,43 €

Details
Autoteil 03L103647G Abdeckung

03L103647G

Abdeckung

17,65 €

Details
Autoteil 3C8010731D Kennschild

3C8010731D

Kennschild

5,13 €

Details
Autoteil 5G0959855JWZU Schalter

5G0959855JWZU

Schalter

31,41 €

Details

4-Zylinder-Dieselmotor, Mechanik CS,JX,KY
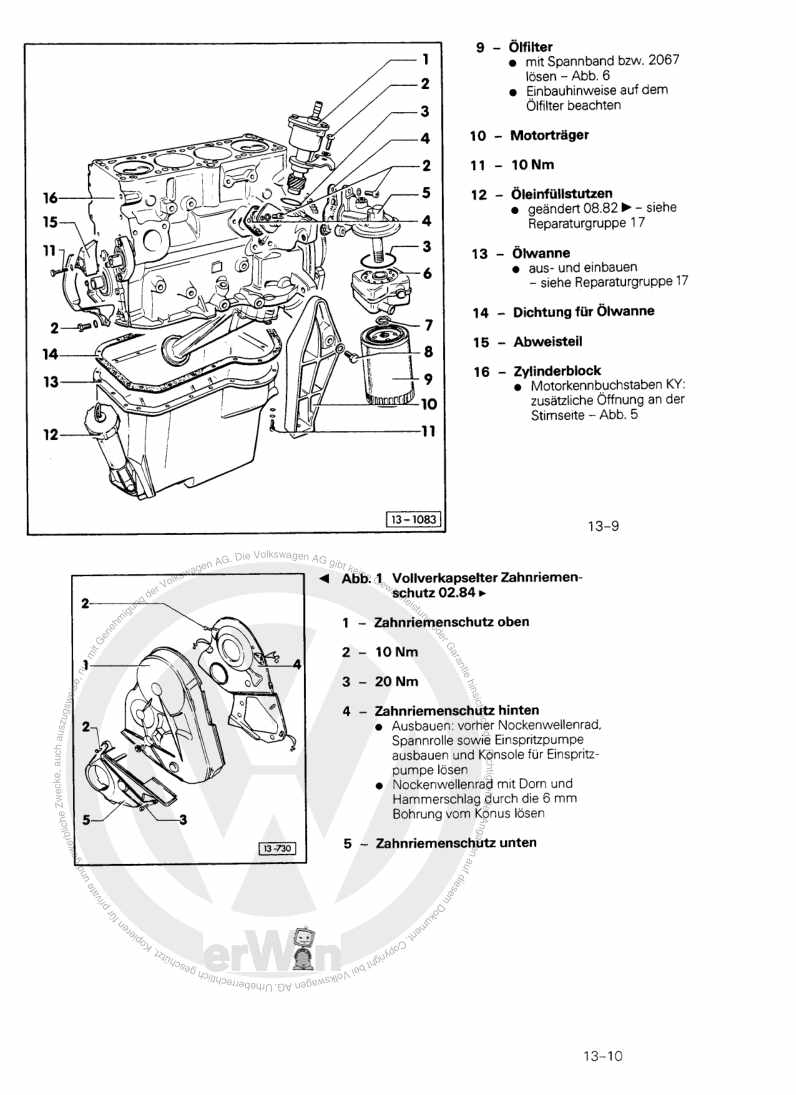
Beispielseite für Reparaturanleitung 4-Zylinder-Dieselmotor, Mechanik CS,JX,KY

Für Typ 2 / Typ 2 7-9-Sitzer / Typ 2 Doppelkabine / Typ 2 Pritsche (1968 - 2007) / MICROBUS / Typ 2 Bus/Caravelle / Typ 2 Kasten / Typ 2 Kombi/... / VAN (1980 - 1999)

8,15 € Details

Motronic Einspritz- und Zündanlage (6-Zyl. Motor)
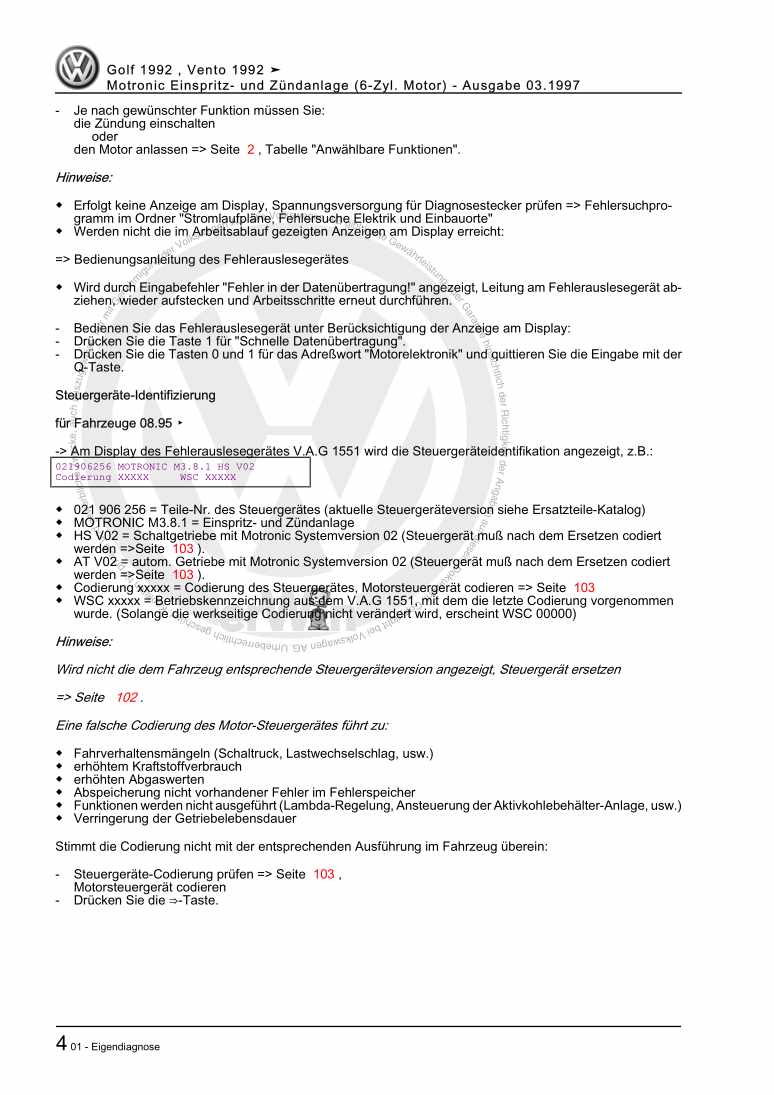
Beispielseite für Reparaturanleitung Motronic Einspritz- und Zündanlage (6-Zyl. Motor)

Für Golf / Golf Variant / Vento (1992 - 1999)

12,04 € Details

Heizung, Klimaanlage

Beispielseite für Reparaturanleitung Heizung, Klimaanlage

Für Beetle (NBL) Limousine (2012) / Beetle (NBC) Cabrio (2012)

15,89 € Details

image/svg+xml Über Clonck

Originale Reparaturanleitungen und Ersatzteile

Unsere Reparaturanleitungen sind Originale, kommen direkt von Volkswagen und erfüllen die höchsten Qualitätsstandards.

In unserem Originalteile-Shop verkaufen wir hochwertige Originalersatzteile der Fahrzeughersteller. Mithilfe der Suche gibst du die gewünschte Teilenummer (OE-Nummer) ein und bestellst schnell und einfach das benötigte Ersatzteil.

Höchste Qualitätsstandards

Bei Clonck wollen wir Autoschrauber und Kfz-Profis glücklich machen. Aus diesem Grund findest du bei Clonck ausschließlich professionelle und hochwertige Reparaturanleitungen, mit deren Hilfe du dein Fahrzeug fachgerecht reparieren kannst.

Unsere Partner

Autohaus Schmidt GmbH
Automag GmbH Filiale Laim
KFZ-VERLAG GmbH
Zimpel und Franke GmbH

Clonck: Der Autoreparatur-Shop - gibt's auch als App!

Clonck App Logo Play Store

Clonck: Passende Autoteile für deine Autoreparatur

4,5 90

Mit Clonck bestellst du die richtigen Originalersatzteile im Handumdrehen.

  • Fahrzeugmodell hinzufügen
  • Baugruppe auswählen
  • Fahrzeug-Identifizierungsnummer (FIN) eingeben
  • Über 5.000 originale Reparaturanleitungen einsehen
Jetzt App starten
Clonck App Preview Auto Mobiltelefon Autoteile